













Article Contents:
- Painted Walls With Molding: The Design Decision in One Minute
- Why Painted Drywall Works With Architectural Trim
- An architectural frame is not a structural panel
- Why the baseboard and door casing matter
- What "paintable" really means
- What not to assume about product performance
- Small lines: MLDPU-001 and MLDPU-004
- Medium and large frames: MLDPU-002 and MLDPU-003
- Choose by viewing distance, not keywords alone
- 1. One large statement frame behind a sofa
- 2. Three panels on a long dining or living room wall
- 3. Painted lower-wall frames with a chair-rail effect
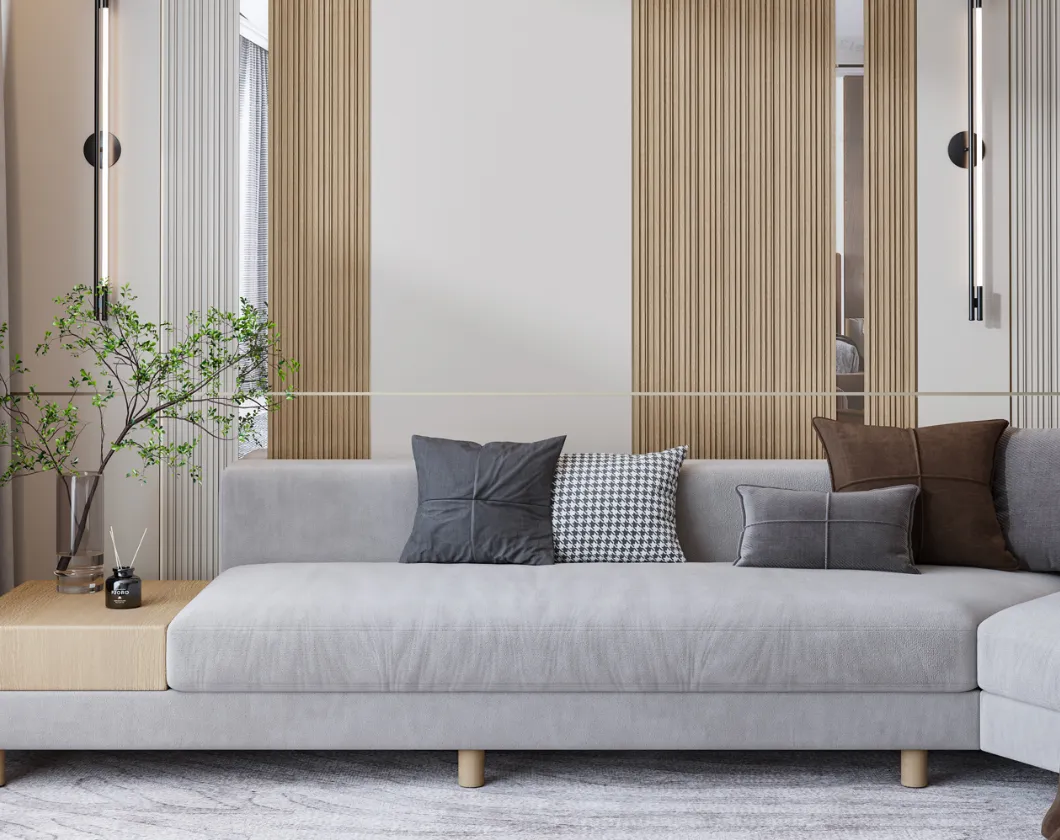
- 4. Tall vertical strips for a narrow space
- 5. An asymmetrical field that follows the furniture
- 6. Recessed-looking panels made only with paint and trim
- 7. A painted picture-frame wall with carefully placed art
- Establish a visible design area
- Calculate the cut list, not just linear footage
- Add waste intelligently
- Tone-on-tone for subtle architectural relief
- White trim on a darker painted wall
- Step 1: Inspect the paint and underlying drywall
- Step 2: Test the chosen bonding system
- Step 3: Mark a full-size layout
- Step 4: Cut and dry-fit before applying adhesive
- Step 5: Bond and support the profiles as directed
- Step 6: Fill joints, prime where necessary, and paint
- Step 7: Inspect in the room's real light
- Living room: let the sofa set the axis
- Bedroom: keep the wall restful
- Entryway: avoid delicate trim where belongings strike the wall
- Kids' room: plan for changing furniture and active use
- Home office: build a background, not a distraction
- Can I install molding directly on a painted wall?
- Is decorative wall molding the same as wainscoting?
- What is the best molding profile for a modern painted wall?
- Should I paint the wall or the molding first?
- How much molding do I need for two wall frames?
- Can I put molding over textured paint or knockdown drywall?
- Will polyurethane molding cover drywall cracks?
- Is a 10 mm profile too small?
- Can I use the same polyurethane strip as crown molding or baseboard?
- Are polyurethane moldings safe for children's rooms and bathrooms?
- Do I need to remove wallpaper before adding molding?
- What should I check before ordering STAVROS molding?
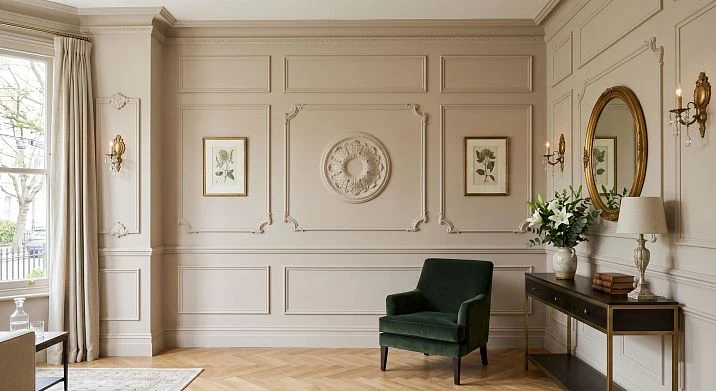
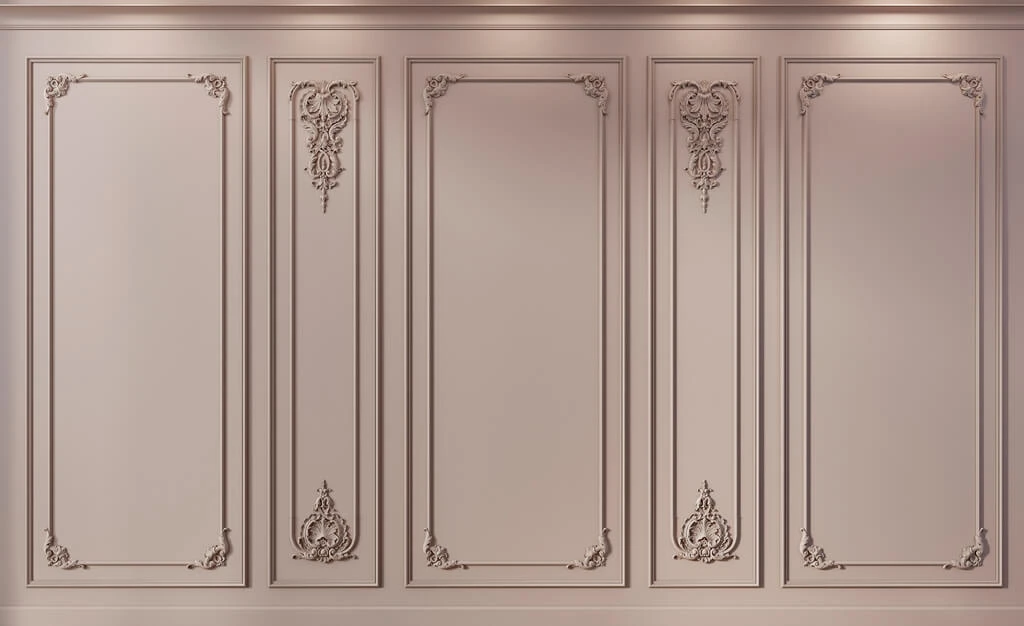
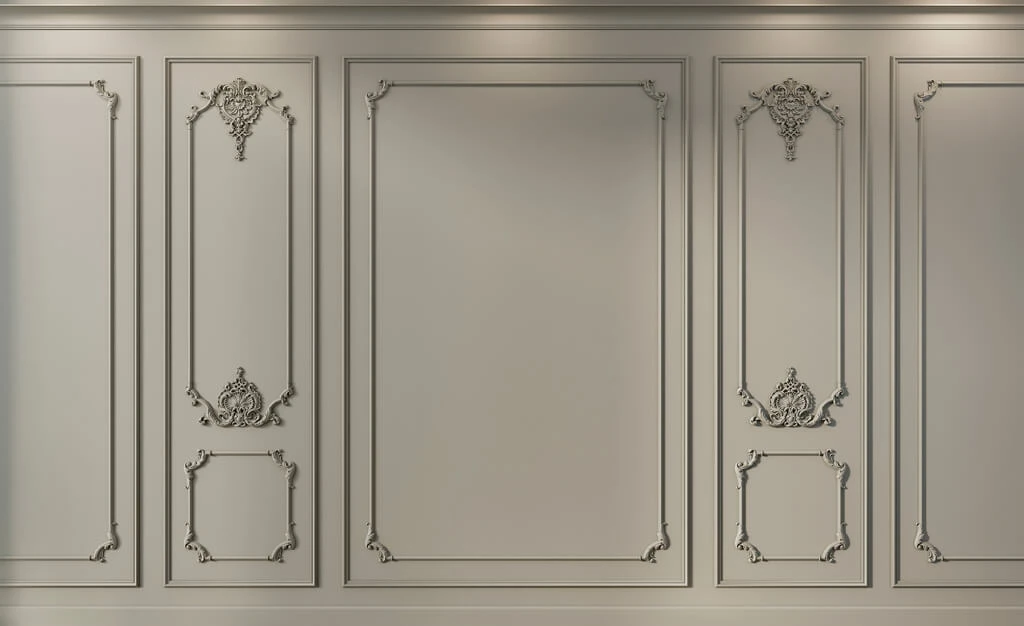
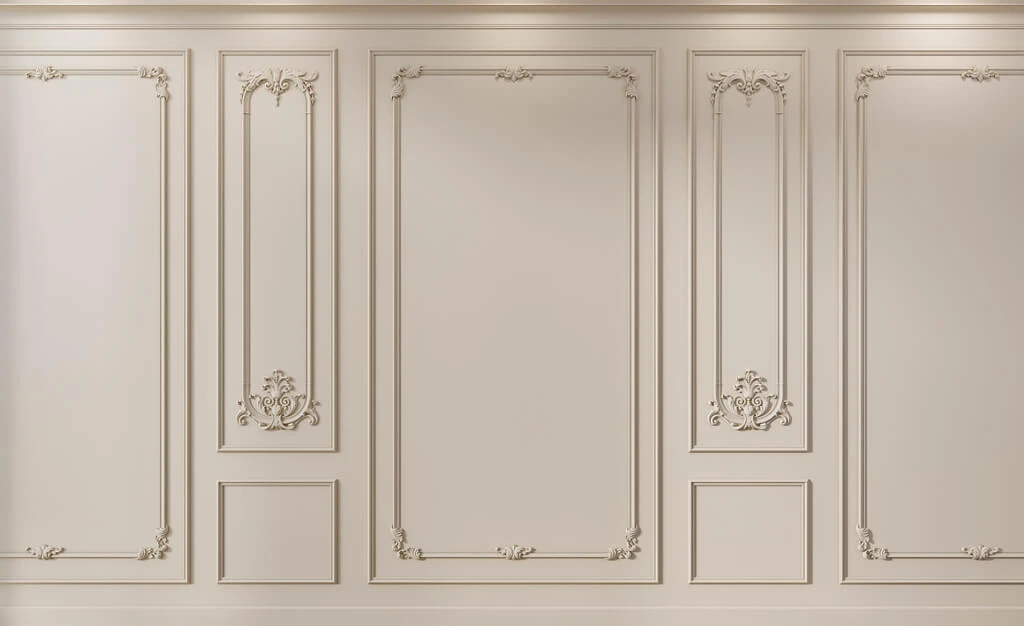
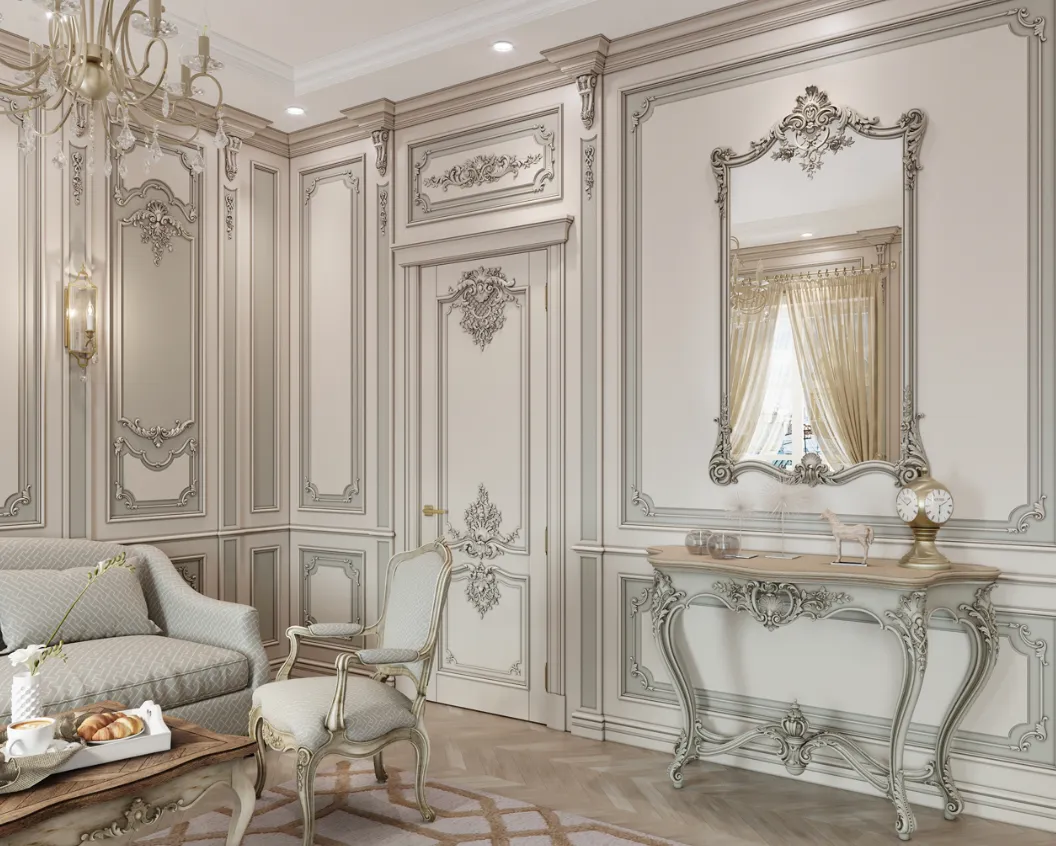
A freshly painted wall can be beautiful without wallpaper, wood paneling, or a gallery of framed art. It can also feel surprisingly empty when a long surface has no architectural rhythm. Applied wall molding offers a middle ground: thin, shaped profiles installed directly on the wall create rectangular frames, quiet vertical lines, or a restrained lower-wall treatment. The painted surface remains the background; the trim gives it proportion and depth.
For a U.S. homeowner deciding how to finish a living room, bedroom, entryway, or home office, the practical answer is to begin with the wall's actual usable dimensions, choose one clearly defined layout, and only then select a paintable profile. Decide whether the molding should almost disappear into a matching wall color or become an intentional contrasting feature. Most successful projects use fewer, better-proportioned details than the first sketch suggests.
This guide adapts the STAVROS approach to painted interiors for American homes. It covers what decorative trim can and cannot accomplish, how polyurethane differs from wood, MDF, plaster, PVC, and polystyrene, which specific STAVROS profiles are suitable for applied frames, how to calculate a realistic cut list, and how to install and paint the finished design. The examples use inches, feet, and linear feet. There is no assumption that every product is stocked or shipped domestically in the United States; those arrangements should be verified before purchasing.

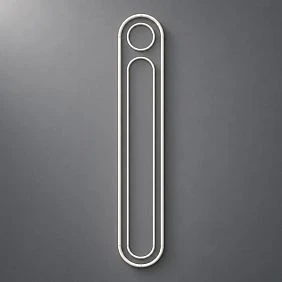
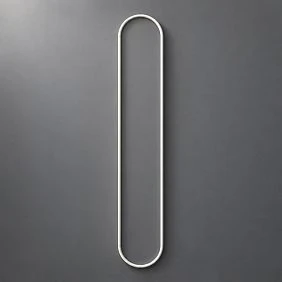
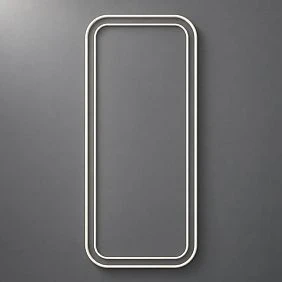
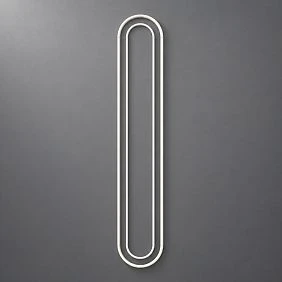
Painted Walls With Molding: The Design Decision in One Minute
The most useful starting question is not "Which molding looks expensive?" It is "What should this wall do in the room?" A wall behind a sofa may need one broad architectural field. A long hallway may benefit from repeated vertical panels. A narrow wall beside a door may look better with one slim line than with a complete rectangle. An office background might need a subtle grid that remains legible on camera without drawing attention away from the person working there.
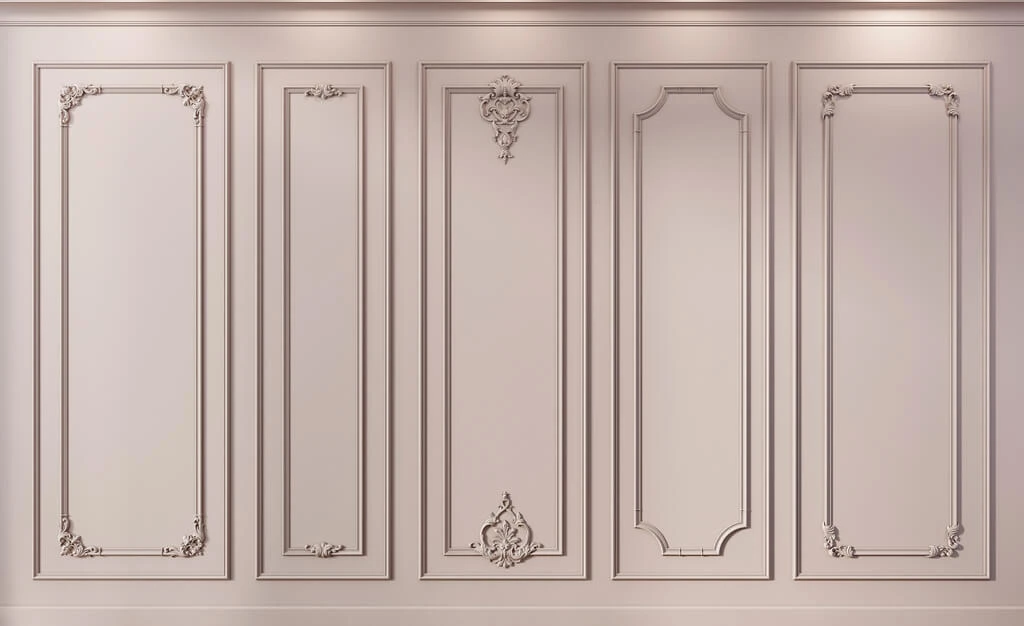
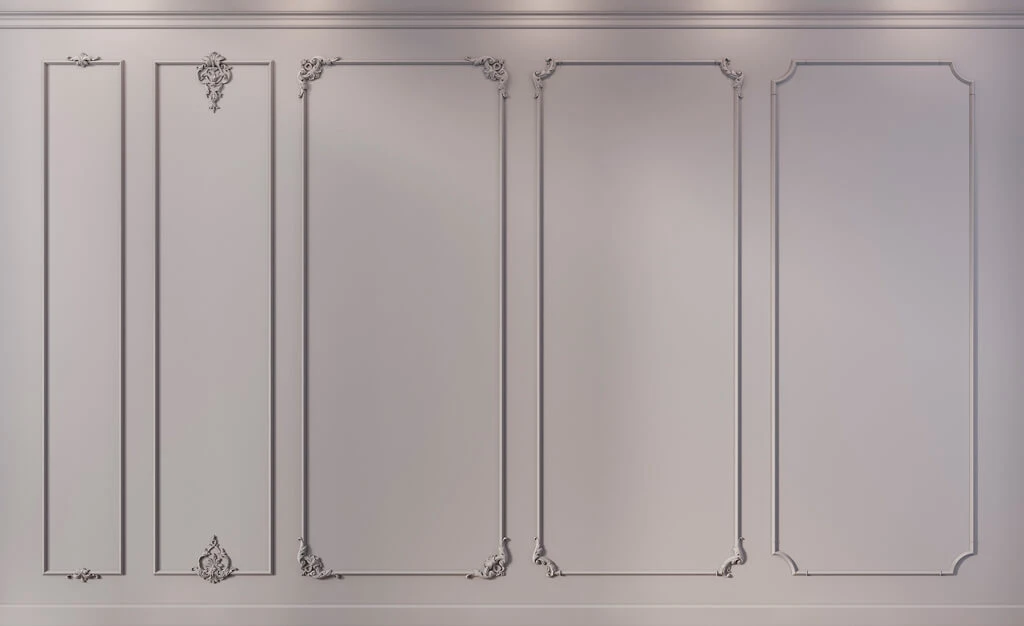
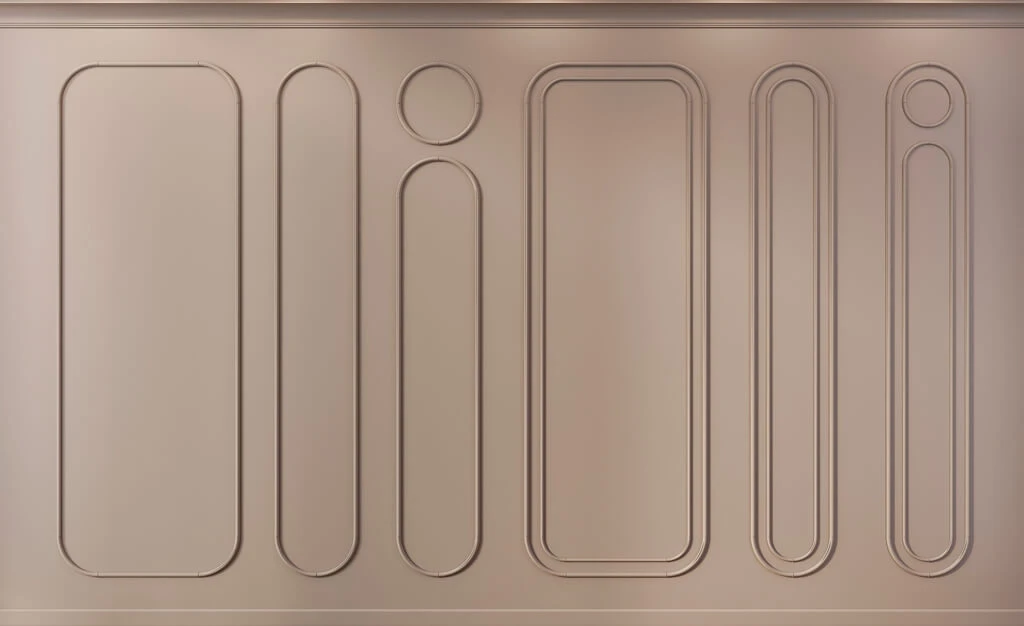
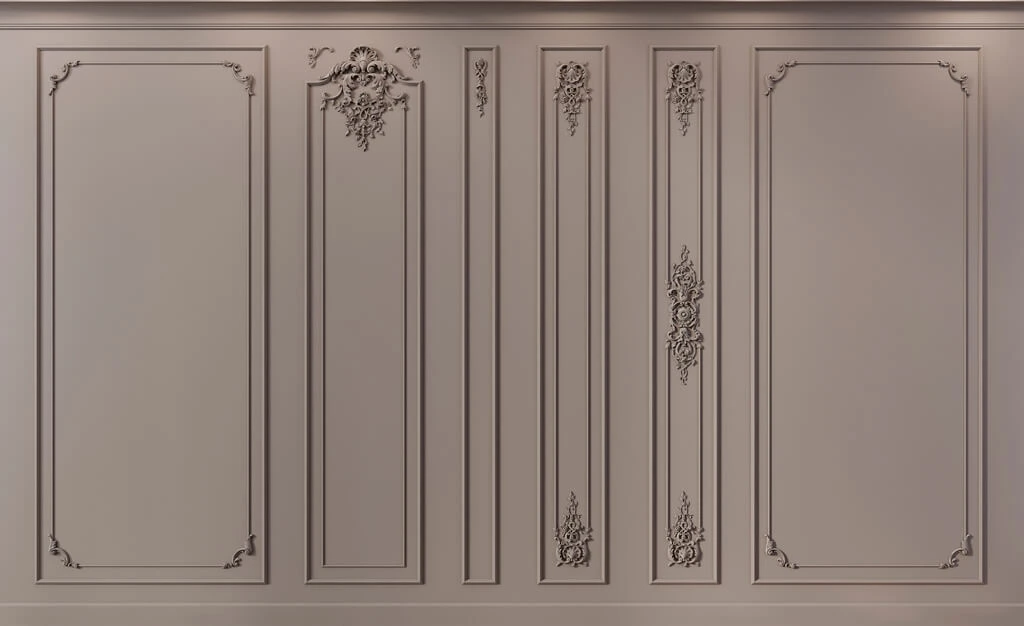
Choose picture-frame molding when you want clearly bounded areas that can remain empty or hold artwork. Choose individual vertical strips when full frames would compete with furniture or make a tight room look busy. Consider a chair-rail-height division when you want a painted lower-wall treatment resembling simplified wainscoting, but understand that surface-applied trim is not the same as solid protective paneling. For the restrained appearance of a boutique interior, finish the wall and molding in the same color and let the sidelight show the profile.
A useful first pass is a photograph of the wall taken straight on. Mark doors, switches, outlets, thermostat, sconces, furniture, baseboard, and ceiling transitions. Then draw only the shapes that remain visible after the room is furnished. The best wall molding ideas solve a composition problem; they do not merely fill every available square inch.


Why Painted Drywall Works With Architectural Trim
In most U.S. houses, a typical interior wall is gypsum drywall finished with joint compound, primer, and paint. A flat, uninterrupted paint surface reflects light fairly evenly. Applied molding changes the shadow pattern without requiring a new panel substrate or replacing the wall finish. That makes it especially useful in rooms where wallpaper would introduce a pattern that fights with upholstery, rugs, or bookshelves.
Paint also lets the designer control emphasis. If the molding and wall have the same sheen and color, the viewer perceives a small change in relief rather than a graphic outline. If the molding is bright white against a deep green or navy wall, every corner becomes more prominent. Neither is automatically better. The degree of contrast must match the room's scale, the lighting, and the amount of other decoration.
Наша фабрика также производит:
Смотреть весь Каталог продукции
An architectural frame is not a structural panel
Decorative wall molding is applied to the finished wall. It does not turn standard drywall into impact-resistant wainscoting or make a damaged substrate sound. It also should not be used to support shelves, mirrors, curtain rods, wall-mounted televisions, or any other load. Such items need appropriate fasteners anchored to suitable framing or another verified support. A wall can look paneled without containing actual wood panels; describe and budget the project accordingly.
Получить консультацию
Why the baseboard and door casing matter
A new rectangular frame looks deliberate when its outer edges relate to the existing trim. For example, a bold traditional baseboard can support a larger panel-molding profile, while a shallow modern baseboard often suits narrow, simplified frames. Check how the frame terminates beside a door casing: a strip ending only half an inch from a deep casing may look accidental even if the cuts are perfect. For a detailed discussion of this junction, see the STAVROS guide to baseboard and door casing proportions.
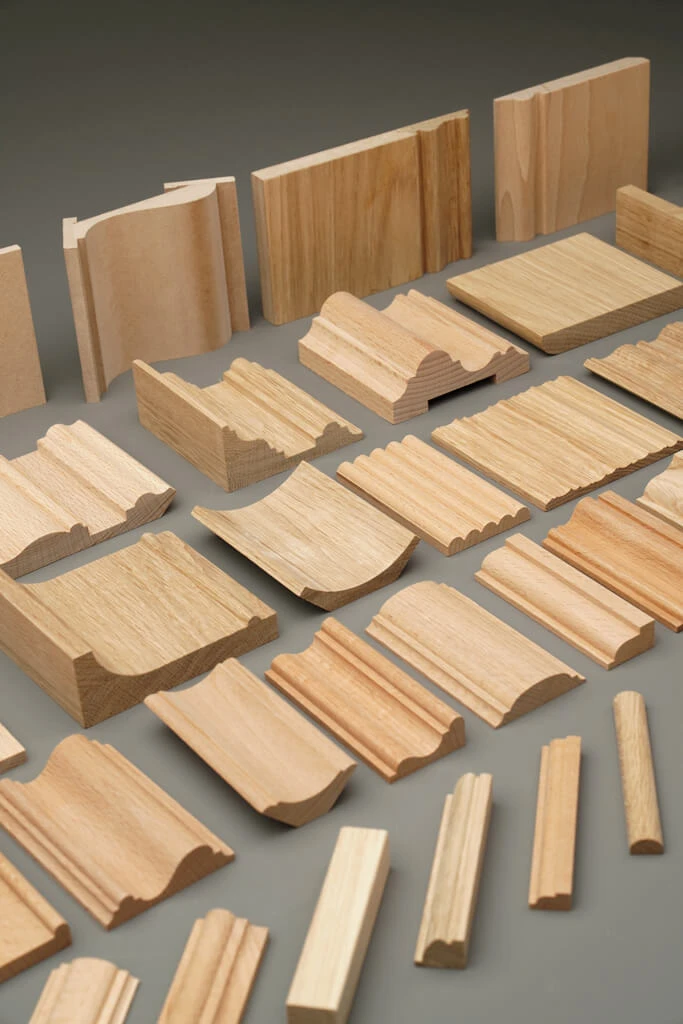
Materials: Polyurethane, MDF, Wood, Plaster, PVC, and Polystyrene
Material matters because the desired result is more than a decorative silhouette. The trim must be cut cleanly, remain attached to the intended substrate, accept the chosen finish, and tolerate the room's conditions. Names such as "foam trim" and "decorative molding" are too broad to tell you what an item actually contains.
| Material | Best reasons to consider it | Important trade-offs |
|---|---|---|
| Polyurethane | Molded decorative detail, paint-grade profiles, modest profile weight | Verify the precise product, adhesive, coating compatibility, and exposure limitations |
| Solid wood | Real grain, stain-grade finishes, traditional carpentry | Movement with moisture, filling and joinery requirements, variation between pieces |
| MDF | Smooth paint-grade millwork and repeatable profiles | Cut edges need sealing; moisture exposure and swelling are concerns |
| Plaster | Traditional ornamental restoration and crisp cast details | Heavier and often more demanding to handle and attach |
| PVC | Certain trim environments where a specified PVC product is appropriate | Different expansion, fastening, and paint requirements; not a generic substitute |
| Polystyrene | Lightweight decorative products in styles intended for that material | Surface durability and coating compatibility vary considerably by product |
There is no universal ranking that makes polyurethane superior in every room. For stain-grade built-ins, wood may be the correct choice. For a project that requires authentic period plaster, a modern polyurethane profile may not match the preservation brief. For a painted decorative frame on ordinary interior drywall, however, a suitable polyurethane molding can be a practical candidate because relatively fine profiles are available without carving individual wood pieces.
What "paintable" really means
A paintable product is not permission to apply any coating at any time. Check whether the specific molding arrives primed, the type of primer used, which topcoats are supported, and whether filling or additional priming is required at cut ends and seams. Allow any bonding products to cure as instructed. Where existing walls have an unknown coating history, test a small sample first. This is particularly important with very glossy finishes, specialty paints, and older substrates.
What not to assume about product performance
A polyurethane profile should not automatically be called waterproof, fire-rated, impact-proof, child-safe, or suitable beside heat sources. Such statements require a particular manufacturer's documentation and a defined installation. The fact that an item has a polymer name does not establish its fire performance, emissions, or compatibility with an unusual room environment. In a bathroom, laundry, or area near a heat-producing appliance, check the complete assembly, not just the material label.
Four Real STAVROS Profiles for Painted Wall Frames
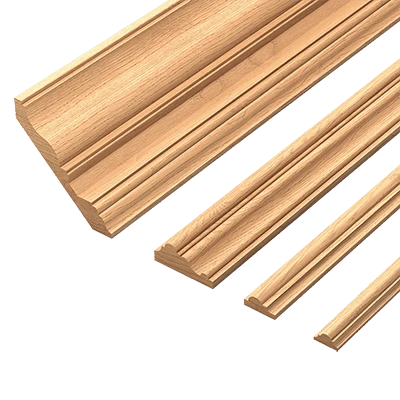
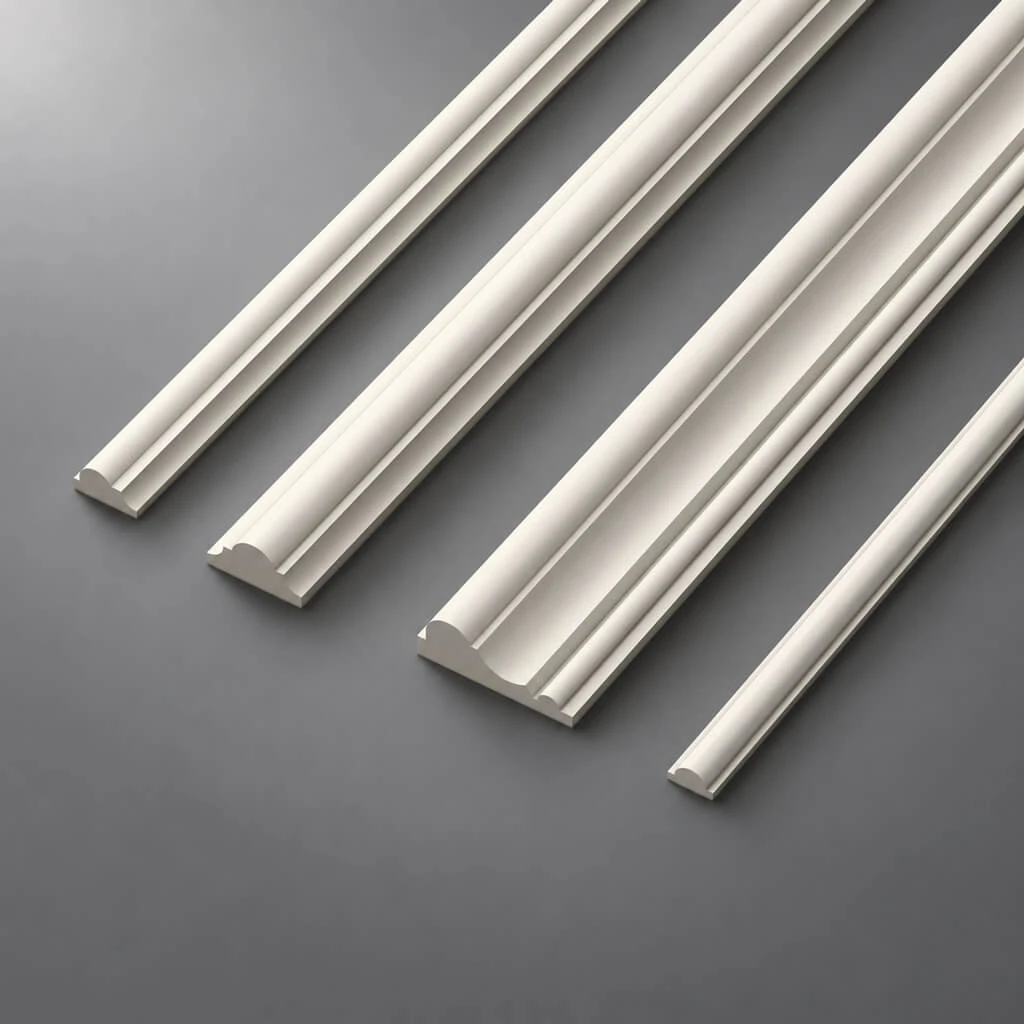
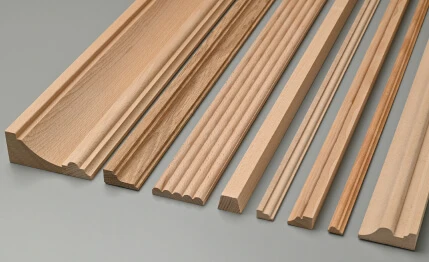
The STAVROS polyurethane molding catalog includes multiple decorative profiles. The following four have publicly documented dimensions and polyurethane material specifications. They are applied wall moldings, not structural framing, load-bearing rails, or automatically interchangeable crown and baseboard profiles.
| Product | Face width | Projection | Stock length | General design role |
|---|---|---|---|---|
| MLDPU-001 | 0.39 in (10 mm) | 0.24 in (6 mm) | 102.36 in (2600 mm) | Fine beaded outline or secondary contour |
| MLDPU-004 | 0.59 in (15 mm) | 0.31 in (8 mm) | 102.36 in (2600 mm) | Restrained small and medium picture frames |
| MLDPU-002 | 0.87 in (22 mm) | 0.43 in (11 mm) | 102.36 in (2600 mm) | Clearer architectural frame with stepped relief |
| MLDPU-003 | 1.38 in (35 mm) | 0.47 in (12 mm) | 102.36 in (2600 mm) | More visible border on a large wall |
Small lines: MLDPU-001 and MLDPU-004
A very narrow profile is useful when its job is to add a second line, outline a modest inset, or keep a wall calm. MLDPU-001 has a 10 mm face and a shallow 6 mm projection, giving it a delicate, bead-like appearance. It is easy to lose visually across a large, dark wall, especially when painted in exactly the wall color, so judge it from the normal viewing distance rather than from a close-up product photograph.
MLDPU-004 is 15 mm wide with an 8 mm projection. Its stepped, rounded relief can read more distinctly than a nearly flat strip while remaining controlled. Consider it for a bedroom wall with a single framing field, narrow vertical accents, or a secondary inner frame within a larger scheme. These are design applications, not claims about its performance under impact or moisture.
Medium and large frames: MLDPU-002 and MLDPU-003
For a framed wall that needs to remain visible from the opposite side of a room, MLDPU-002 offers a 22 mm face and 11 mm projection. Its stepped geometry gives the outline more weight than a very slim profile without requiring an elaborate ornament. It is a useful starting point for three-panel living room layouts and painted feature walls with balanced margins.
The broader MLDPU-003 measures 35 by 12 mm. Its visible relief can suit a tall room or a larger standalone frame, but that same depth may be too assertive next to narrow casing or close to furniture. Check the physical sample under the intended paint and lighting. A wide profile cannot rescue poorly chosen frame proportions.
Choose by viewing distance, not keywords alone
Place a sample or a cardboard strip with the proposed face width on the wall and step back six to twelve feet. Consider whether the line looks heavy or disappears at that distance. Compare it with the nearest baseboard and casing. If your primary purpose is a quiet tone-on-tone effect, move toward the narrower options. For a sizable accent wall seen across a large room, compare the 22 mm and 35 mm options. The correct scale depends on the complete composition, not a fixed rule that every American wall needs the same width.
Seven Layouts That Make Painted Walls Look Designed
All of the layouts below preserve the concept of a painted wall; none requires a wallpaper field or real wood panel infill. Before copying dimensions, map the furniture and openings. A drawing that looks balanced on an empty wall can fail behind a tall headboard or when a door swings across a corner.
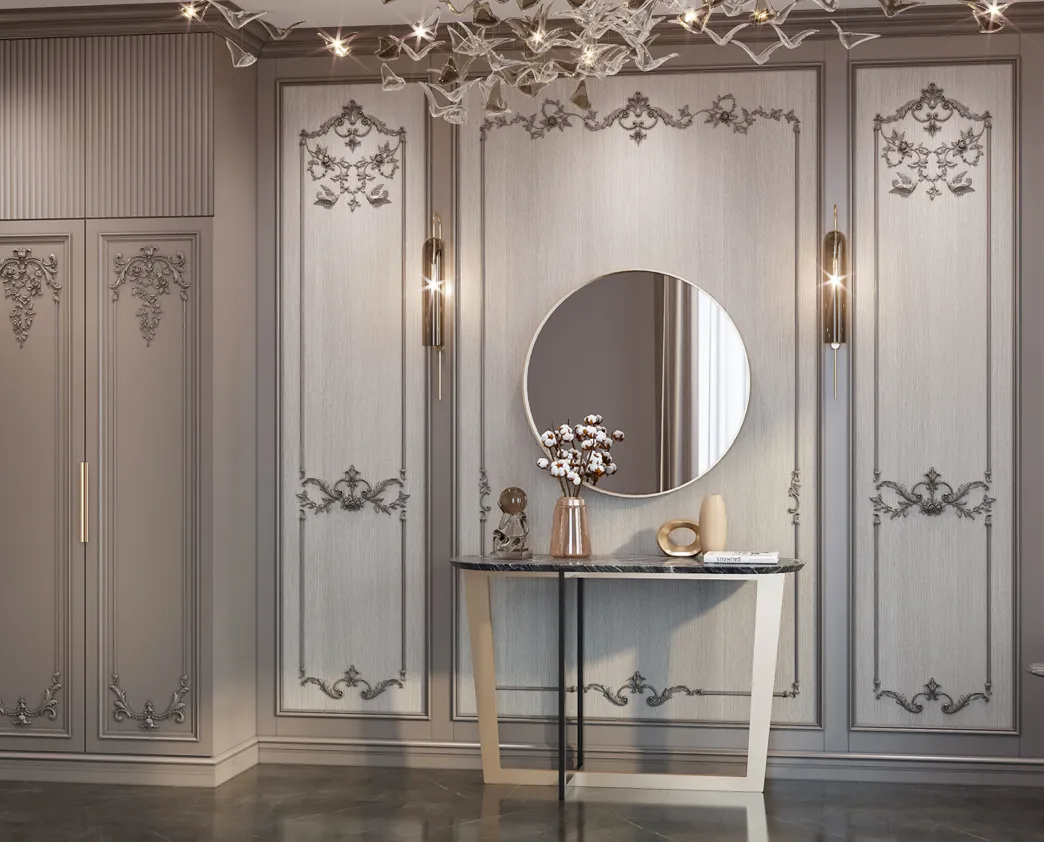
1. One large statement frame behind a sofa
A single large rectangle is often better than three crowded ones. Imagine a 10-foot-wide living room wall with an 80-inch sofa centered against it. A frame approximately 84 to 92 inches wide can surround the main seating zone visually, provided its side margins and nearby furniture leave breathing room. Its lower edge should remain visible above the sofa, or the rectangle can be deliberately composed as a tall field with the sofa overlapping its lower portion. Those are two different design intentions; avoid an accidental half-hidden lower rail.
The frame can be empty, contain a picture with enough separation from the molding, or receive a tone-on-tone painted inset. Use it to organize a blank surface rather than as a second border touching existing artwork. If the room already contains a decorative ceiling, keep the wall profile quiet so the two systems do not compete.
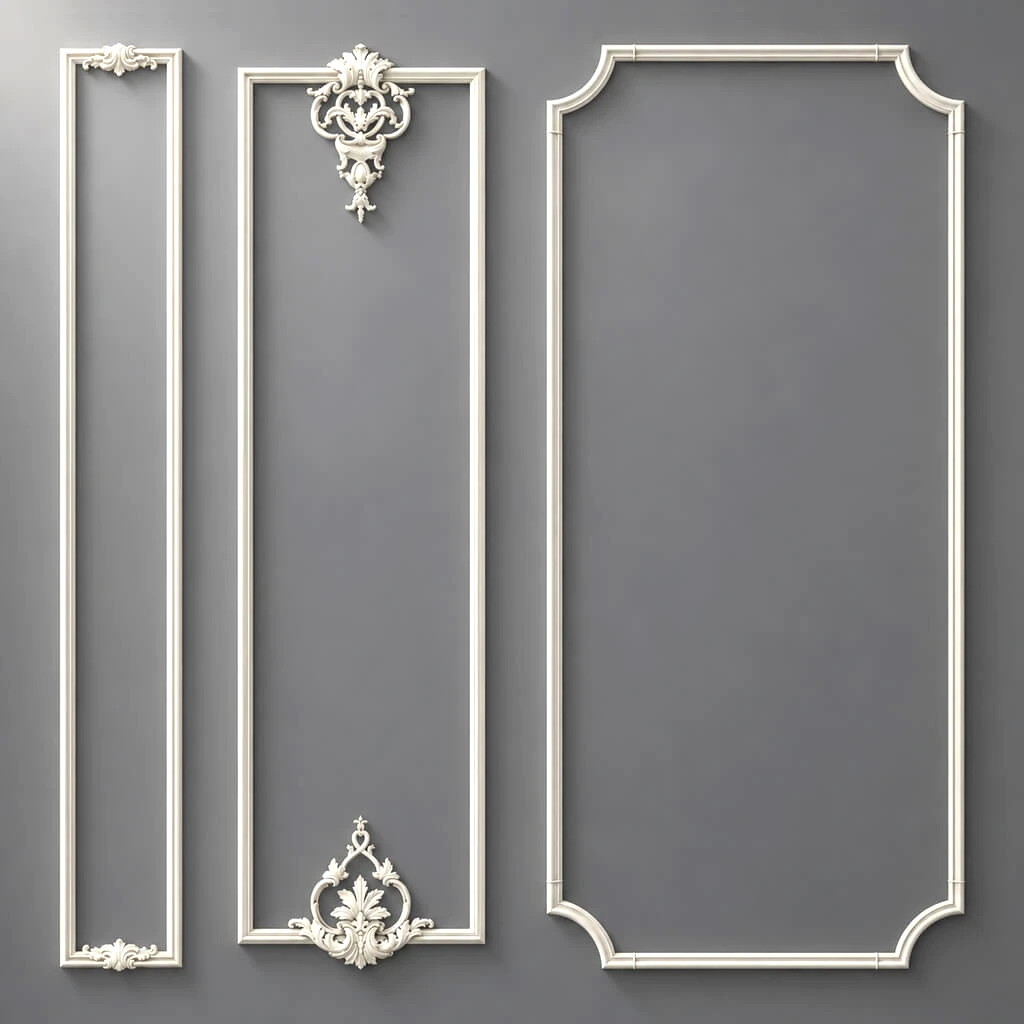
2. Three panels on a long dining or living room wall
Three equal applied frames produce an orderly rhythm on a long, uninterrupted wall. They work when there is enough width for generous outer margins and consistent gaps. The central panel may align with a buffet, a dining table, or the main axis of the room. On an 11-foot wall, one possible preliminary drawing uses three 29-inch-wide frames with 12-inch gaps; the remaining 21 inches create approximately 10.5-inch outer margins. This is a geometric starting point, not a mandatory interior-design standard.
Use a laser level or verified reference line, since a difference of half an inch between repeating panels becomes noticeable. If one side of the wall ends at a door casing and the other at a corner, the two boundaries may need visually adjusted margins. Mathematical equality is not always the same as apparent balance.
3. Painted lower-wall frames with a chair-rail effect
A lower-wall composition can suggest wainscoting without replacing drywall with panels. Mark a common upper boundary, install a suitable horizontal trim only where the wall design calls for it, and arrange small painted rectangles underneath. The lower fields remain drywall. In a dining room, such a treatment can visually anchor the room beneath art and sconces while preserving a simple painted wall above.
Do not confuse a decorative horizontal molding with an actual impact-resistant chair rail. If chair backs regularly strike this surface, select a finish and trim system designed for the use, or provide genuine protection. Keep the horizontal line consistent around corners and decide how it meets door casings before work begins. A continuous rail that terminates awkwardly at an opening is more conspicuous than no rail at all.
4. Tall vertical strips for a narrow space
Closed rectangles are not required. A row of vertical lengths can give a long hallway or compact office wall a measured rhythm while keeping the floor area visually open. They can run between a carefully chosen lower datum and an upper ceiling reference, stopping short of both. Their exact position should respect switches and adjoining door trim.
With profiles supplied at 102.36 inches, a 94-inch vertical run can be made from one stock length. A 106-inch run will require a joint or a different planning strategy; do not promise an invisible splice. If the height of the design can reasonably be revised to avoid a visible joint, revise it before ordering. In a very small room, two or three controlled verticals are frequently preferable to a dense field of narrow stripes.
5. An asymmetrical field that follows the furniture
Not every good wall is symmetrical. A home office with a desk on one side and an open bookcase on the other may call for a single off-center rectangular field, aligned with the desk rather than with the full room. The rectangle can create a calm backdrop for video calls without taking over a working surface. Keep outlets, cable openings, and wall-mounted monitor hardware outside the trim path.
An asymmetrical design should have a discoverable rule: alignment with the desk, the bookcase, an architectural column, or the main light. Random asymmetry looks less intentional. The related STAVROS article on accent walls behind a workspace expands on the relationship between a wall composition and the desk placed in front of it.
6. Recessed-looking panels made only with paint and trim
A decorative frame can suggest a recessed or raised panel, although the wall remains flat between the profiles. Paint the center the same hue with a subtly different finish only if the coatings are designed to work together; a slight sheen shift can make the field readable without a sharp color border. If changing sheen, make sample boards first because grazing light can exaggerate flaws in drywall finishing.
For a stronger effect, add a slim secondary contour inside a larger frame. Maintain a consistent separation between the two profiles. Check the combined projection so it does not create an overly busy shadow at the wall's edge. This solution works well in a formal dining room or a restrained traditional living room, but adding multiple layers across every wall can become visually tiring.
7. A painted picture-frame wall with carefully placed art
If the owner wants to display paintings or photographs, the molding can define generous fields rather than competing with the frames themselves. The art should not touch the applied trim; allow visible space between the art object's outer edge and the molding. Use independent, appropriate anchors for the artwork. Molding adhesive is never an artwork hanging system.
For hanging arrangements, determine the art dimensions first. A beautiful three-panel wall can be awkward if an existing picture is wider than the central panel. Draw the art at scale and test the composition with painter's tape. The practical technique behind picture frame molding on walls is especially useful when the frames themselves must be accurately mitered, installed, and painted.
Measuring a Painted Wall Before Buying Any Molding
Measurement is where a decorative concept becomes a buildable project. A sketch needs more than the total length of the wall. Record the clear horizontal surface between the actual finished edges, the vertical distance between baseboard and ceiling trim, and the locations of every obstruction. Measure at several heights because existing walls and ceilings are not necessarily parallel. Use the real finished dimensions, not an assumption based on the room's advertised square footage.
Establish a visible design area
For a 9-foot-high wall, the usable frame height is usually less than 108 inches because the baseboard occupies the bottom and any crown molding occupies the top. Leave intentional space between the decorative frame and both boundaries. Check where the back of a sofa, bed, console, or headboard will sit. Make a separate measurement of the visible wall after that furniture is installed or shown on a scaled elevation.
If the design uses three panels, calculate from the exterior outline of the molding, not from the center of the profile. A 1.38-inch-wide profile changes the apparent inner opening more than a 0.39-inch profile. Also decide whether your dimensions describe the outside of the frame or the long points of the miter cuts; these are not always identical. Use the same convention in every cut-list entry.
Calculate the cut list, not just linear footage
Each STAVROS molding in the comparison above is supplied in a 102.36-inch (2600 mm) length. A simple calculation of total perimeter divided by stock length is a theoretical minimum, not a guaranteed order quantity. Long vertical sides cannot always be combined on one stick; several small pieces might share a stick. Saw kerf, out-of-square corners, and damaged ends further reduce usable material. Treat the examples as geometric illustrations and adjust the cut dimensions for the actual profile and saw setup.
| Sample project | Required pieces | Total finished trim | Feasible stock-piece plan |
|---|---|---|---|
| Two tall frames, each 30 × 80 in | Four 80-in sides, four 30-in rails | 440 in = 36.7 linear ft | Six 102.36-in sticks: four long sides individually, three short rails from a fifth stick, one short rail from a sixth |
| Three panels, each 24 × 54 in | Six 54-in sides, six 24-in rails | 468 in = 39.0 linear ft | Six sticks, each supplying one 54-in side and one 24-in rail, with room for saw kerf |
| One wide frame, 92 × 44 in | Two 92-in rails, two 44-in sides | 272 in = 22.7 linear ft | Three sticks: one for each long rail and one carrying both 44-in sides |
| Four vertical accents, each 94 in | Four 94-in verticals | 376 in = 31.3 linear ft | Four sticks, one per uninterrupted vertical |
Example A: two tall frames. The 440 inches of finished material equal only about 4.30 stock lengths mathematically. But each of four 80-inch sides occupies its own 102.36-inch stick and leaves an offcut too short for a 30-inch rail. Three short rails can fit in a fifth stick, and the fourth comes from a sixth. Ordering five pieces on linear footage alone would leave the project short even before allowance for mistakes. Consider an additional spare piece if the site, cuts, or finish presents unusual risks.
Example B: three smaller panels. Here, a 54-inch side plus a 24-inch top or bottom rail fit within one stick. Six long sides require six sticks, and the six short pieces can ride with them. The resulting layout is more efficient than Example A despite the slightly larger finished perimeter. This is why changing frame height by even a few inches can alter the material order substantially.
Example C: a broad frame. Two 92-inch lengths cannot come from the same stick. Both 44-inch pieces can, with enough allowance for normal cuts. This is a good demonstration of how the longest dimension governs stock planning. If the wall requires 106-inch uninterrupted horizontal rails, a 102.36-inch stock profile cannot supply them without joints; either revise the design, specify another stock product, or plan an intentional joint where acceptable.
Add waste intelligently
A 10–15% contingency is a common early budgeting allowance, but it is not a substitute for a real cutting diagram. First count the minimum number of full sticks that can produce every required piece. Then consider one extra length for a small room if a failed miter, damaged end, or on-site revision would otherwise interrupt the project. A larger room may justify a different contingency based on its actual cut pattern. Keep all visible parts of a frame from the same approved finish batch where practical and verify the dimensions when products arrive.
For help coordinating other wall interruptions, the STAVROS discussion of molding around niches and drywall projections shows why every recess needs its own layout decision. A recessed opening should not simply inherit a rectangular pattern that ignores the new inside and outside corners.
Should Molding Match the Painted Wall or Contrast With It?
Color is the fastest way to control how much attention applied trim receives. For painted walls without wallpaper, the trim's shape can be the entire decorative statement. That makes tone-on-tone especially effective, but not mandatory.
Tone-on-tone for subtle architectural relief
Painting the wall and profiles in the same color reduces the contrast between each geometric line and the background. A soft off-white, muted olive, dusty blue, or medium taupe can support this approach. Under grazing daylight, shadows still reveal the profile, while at night the wall can appear almost flat. This is a useful answer for bedrooms, small living rooms, and home offices where the room needs structure without strong pattern.
Match finish as carefully as color. A satin molding against a flat wall may create a distinct visual line even when the paint color is identical. That can be intentional, but test it rather than discovering it after installation. Keep sample boards close to the window and view them under the room's actual lamps as well as daylight. The apparent color of a narrow relief face changes with the angle of light.
White trim on a darker painted wall
White profiles on a rich wall color make the frame outlines conspicuous. This works in a dining room or formal sitting room with enough scale for a clearly defined pattern. Consider the entire trim system: if the door casing and baseboard are already white, a white frame may connect to them. If those elements are natural wood or a different painted color, additional white lines can create a confusing hierarchy.
Use stronger contrast selectively. One feature wall can carry a white-on-navy panel composition while neighboring walls remain plain. Repeating contrasting molding on every surface can turn a quiet room into an overly graphic grid. The point is to establish an architectural focal point, not to prove that every painted wall could accommodate trim.
Installation on Existing Painted Drywall: A Practical Sequence
The installation method depends on the exact molding, adhesive, coating, and surface conditions. The steps below describe a general interior planning workflow, not a substitute for the instructions supplied with a particular product. Where the wall is damaged, unusually damp, textured, or contains questionable older coatings, address that substrate before starting decorative work.
Step 1: Inspect the paint and underlying drywall
Look for peeling, flaking, powdery residue, raised tape joints, water staining, and areas repaired without primer. Do not rely on molding to bridge a crack that continues to move. Repair the substrate appropriately, let it dry, and confirm the surface is sound. A little dent in the wall can be filled; a recurring structural movement or moisture problem needs a separate diagnosis before trim is attached.
Avoid sanding unknown old paint without assessing the risks. Older buildings can have coatings that require special handling. When the coating history is uncertain, use a qualified professional and follow applicable safe-work practices rather than creating dust casually in an occupied home. Even newer interior paint can be damaged by overly aggressive preparation.
Step 2: Test the chosen bonding system
Use the molding manufacturer's current guidance to select compatible adhesive and preparation. A high-gloss or slick finish may need additional treatment, but do not abrade it simply because a generic online article says every wall must be sanded. A small test area lets you confirm the adhesive bonds to the paint and the paint bonds to the wall. The intended result is a complete, stable system, not just a strong bond between glue and the back of the profile.
For new construction, be patient about curing and finishing schedules. Fresh joint compound and fresh paint need time appropriate to their specific products and conditions. Do not attach molding over damp or incompletely cured material. This issue is explored further in the STAVROS guide to new construction wall molding.
Step 3: Mark a full-size layout
A level frame on an uneven wall may appear crooked relative to a nearby ceiling. Use a level to establish true reference lines, then assess the relationship with baseboards, casing, and other visible datums. Make a full-size tape mockup and stand at the main viewing points: doorway, sofa, bed, and desk. Check the composition with furniture and lamps in place, not merely with an empty wall.
Record each finished piece with a unique identifier and its measured length. Mark the outside or inside corner convention clearly. Transfer the measured lengths to the cut list rather than cutting several identical pieces based on an assumption. Walls can vary in width or be subtly out of square, especially across a long run.
Step 4: Cut and dry-fit before applying adhesive
Use a cutting method appropriate to the specified material and profile. A miter saw with a suitable blade or a properly set cutting guide may help achieve consistent 45-degree corners in a rectangular layout. Protect the visible molding surface during cutting and test a pair of corners with offcuts first. Not every imperfect intersection should be corrected with a large amount of filler; the fit of the pieces matters.
Lay out the four sides of each frame on the floor or lightly position them on the wall before bonding. This is the time to catch a rail cut to the wrong long-point dimension, a reversed profile, or a pair of corners that do not close properly. Label pieces so they do not get swapped between frames with slightly different dimensions.
Step 5: Bond and support the profiles as directed
Apply the manufacturer-recommended amount and pattern of adhesive. Too little may compromise contact; too much may squeeze onto the visible surface and complicate finishing. Hold or temporarily support each length as directed by the product instructions. On a vertical strip, confirm the top and bottom line up with the marked points; on a rectangular frame, check each corner before the adhesive sets.
Do not use decorative molding to conceal an electrical box, restrict access to a service panel, cover a required vent, or cross a movement joint without an approved detail. Keep fasteners clear of wires and plumbing. For unusual wall assemblies, obtain advice specific to the actual substrate rather than treating every surface like ordinary drywall.
Step 6: Fill joints, prime where necessary, and paint
After the adhesive has reached the appropriate stage, address seams and minor gaps using compatible filler or caulk according to manufacturer instructions. Finish the face without smearing the relief. Prime bare repairs, cuts, or the molding surface if the specified finish system requires it. Then paint with a compatible architectural topcoat, controlling drips where the relief catches excess paint.
A small brush may be needed to work paint into profile details; a mini roller can blend adjacent flat wall areas. Maintain a clean wet edge when painting wall and molding together. If the profile is a contrasting color, mask carefully and plan the sequence so the joint line looks intentional. The STAVROS installation and painting guide for picture-frame molding provides additional context for this kind of detailed work.
Step 7: Inspect in the room's real light
A frame can look perfect under a work light and show uneven caulk lines in morning sidelight. After the finish dries according to the coating guidance, view the wall from the room's principal sight lines. Look for inconsistent shadows, missed paint in relief grooves, visible joints, and areas where the decorative line crowds furniture. Correct manageable finish defects promptly; avoid reopening sound joints merely to chase a nearly invisible irregularity that no one will notice at normal distance.
Room-by-Room Ideas for Painted Molding Walls
Living room: let the sofa set the axis
The seating arrangement usually establishes the wall's visual center. One large frame behind a sofa is a sound default; three frames may fit a longer wall with a console or art arrangement. Coordinate the frame's overall width with the furniture, but do not mechanically match it inch for inch. The sofa may move in the future, so the layout should still make sense with the room empty. Where the seating wall has a window, check how the trim relates to drapery and casing before making cuts. The separate STAVROS guide to window-wall molding and curtains is useful for that particular geometry.
Bedroom: keep the wall restful
A bedroom generally benefits from fewer, calmer outlines. Think about the headboard's shape, nightstands, sconces, and the path of reading lamps. On a small wall behind the bed, a single framed area can make the room feel considered without a heavy ornamental vocabulary. Paint the molding the same color as the wall if the bedding and textiles already introduce patterns. The STAVROS article on bedroom molding around the bed explores this relationship in greater detail.
Entryway: avoid delicate trim where belongings strike the wall
An entryway has coats, bags, furniture corners, and frequent movement. A lower-wall frame may look polished but be vulnerable to repeated contact if its profile projects into a busy path. Keep the strongest relief away from the most exposed surfaces or choose a wall treatment better suited to impact. A vertical molding composition on a less-used side wall can provide an architectural welcome without becoming an obstacle. Check hooks, light switches, and any bench before committing to the design.
Kids' room: plan for changing furniture and active use
Applied molding can be an attractive painted background, but children's spaces require careful placement and secure installation. Avoid fragile projecting features in areas used for rough play, and do not assume a decorative product has certified safety properties unless documented. Leave flexibility for a larger bed, shelving, and new artwork as the child grows. A simple upper-wall frame can be easier to live with than a complicated floor-to-ceiling pattern. The kids' room molding guide addresses design choices across different ages.
Home office: build a background, not a distraction
The wall behind a desk often appears on video calls. Narrow, monochrome verticals or one rectangular field can add structure while keeping the image calm. Avoid positioning a molding joint directly behind the center of a person's head on camera, where the relief may look like an awkward line. If shelves will be installed later, plan the shelf support independently and keep the decorative trim out of the drilling area.
Common Mistakes That Make an Accent Wall Look Unfinished
Drawing frames before locating furniture. A perfectly centered frame can disappear behind a large headboard. Tape the furniture silhouettes onto an elevation first, including lamp and art locations.
Making every gap different. Repeating panel systems depend on readable rhythm. Small variations may be necessary to accommodate doors and windows, but they should be deliberate and visually reviewed.
Choosing a profile too bold for the room. A large molding casts deeper shadows and can crowd door casing or narrow side walls. Evaluate samples at viewing distance, not just in a catalog zoom view.
Copying a five-panel inspiration photo onto a short wall. Design images rarely show the wall dimensions, door swings, or outlets. The result may be a sequence of tiny rectangles with no breathing space.
Ignoring the actual paint film. Adhesive attached to a loose or powdery paint layer is still attached to an unstable wall. Preparation and a test area are part of the project.
Using trim to cover a flawed structure. A moving drywall crack or moisture stain is not an aesthetic problem. Resolve the cause before adding applied detail.
Forgetting the doors. The frame may conflict with a hinged door that opens flat against the wall, or with the path of a concealed door. If the room includes a flush door, the STAVROS guide to hidden-door wall molding discusses the additional clearance and alignment constraints.
Buying by linear feet only. A theoretically adequate length can be impossible to cut into the long pieces you need. Prepare a piece-by-piece diagram using actual stock lengths and the saw's kerf.
Treating a decorative border as hardware. Polyurethane molding is not a shelf support, mirror hanger, chair-bumper specification, or curtain track. Mount functional fixtures through an independently suitable system. In a mirror wall, that distinction is especially important; the STAVROS guide to molding around a mirror addresses the difference between wall decoration and a real mirror frame.
What to Order for a Painted Wall Molding Project
Begin with a measured elevation, a chosen profile, and a cutting schedule. The central purchase is the decorative molding itself. Add only the accessories required by your selected profile's installation guidance and the actual wall condition. That may include compatible adhesive, a joint treatment, primer, paint, cutting consumables, temporary supports, and protection for the floor and furnishings. Do not assume that every STAVROS decorative kit contains the same material or all installation supplies.
The purchase sequence is easiest when separated into decisions. First confirm a suitable profile from the polyurethane molding range. Second compare its material, width, projection, and real stick length. Third make sure the number of full sticks covers the cut list, with a sensible contingency. Fourth confirm the actual ordering terms, shipping arrangements, availability, and finish information with the seller; a visible product page is not a promise of local U.S. inventory or a particular delivery window.
If a complete decorative set looks attractive, inspect its component list and measurements rather than assuming that it will fit a custom wall. A premade frame designed for one dimension may require reworking when installed beside a door casing or beneath an angled ceiling. Individual strips offer design flexibility but require more planning and accurate miter cuts. Use the option that matches the wall and your available installation skills, not just the most elaborate catalog photograph.
Frequently Asked Questions
Can I install molding directly on a painted wall?
Possibly, provided the existing coating is sound and the chosen product's installation instructions support the substrate and preparation. Check for loose paint, gloss, contamination, and uncured repairs. A hidden adhesion test is more useful than a universal claim that glue works on any paint. If the surface is unstable, repairing it should come before the decorative work.
Is decorative wall molding the same as wainscoting?
Not exactly. Wainscoting can describe several types of lower-wall treatment, including actual paneling. Applied frame molding on painted drywall can imitate its visual structure without installing a separate wood or MDF panel substrate. It will not necessarily offer the same resistance to chair impacts or scuffing.
What is the best molding profile for a modern painted wall?
There is no single best profile. A narrow, simple shape creates restrained relief; a wider stepped profile reads more strongly across a large wall. Compare the STAVROS 10 mm, 15 mm, 22 mm, and 35 mm examples with the existing baseboard, casing, and room proportions. Judge sample pieces under the intended paint and lighting before committing to a full order.
Should I paint the wall or the molding first?
The appropriate sequence depends on the product and finish system. Many tone-on-tone projects install trim, fill seams, prime as required, and paint the final wall as one composition. A contrasting trim design may involve separately priming or prefinishing pieces and then carefully completing the joints and final coats in place. Follow the specified adhesive and coating cure times.
How much molding do I need for two wall frames?
Calculate every finished side first. Two frames that are 30 inches wide and 80 inches tall require four 80-inch sides and four 30-inch rails, totaling 440 inches, or about 36.7 linear feet. With 102.36-inch stock lengths, a feasible minimum layout uses six full sticks, not the five suggested by rounding up the total linear footage. Allow for the actual kerf and the possibility of a spare length.
Can I put molding over textured paint or knockdown drywall?
Texture changes the bonding surface and may create visible gaps. Some installations need a suitably prepared flat bonding area, but the acceptable method depends on the molding and adhesive manufacturer. Do not expect filler to compensate for deep, irregular texture across the full length of every strip. Test a representative section before laying out an entire room.
Will polyurethane molding cover drywall cracks?
A decorative strip can obscure a superficial mark, but it does not repair the cause of a moving crack. Investigate ongoing movement, water damage, or an improperly finished joint before installing the trim. Otherwise the defect can reappear beside the molding or cause the paint and adhesive layers to separate.
Is a 10 mm profile too small?
Not always. A 10 mm face can be effective as a subtle outline, secondary contour, or detail on a small wall. It may be difficult to read across a large room when painted to match a dark wall. Test it from the normal viewing distance. If it disappears more than desired, compare a wider face rather than multiplying narrow lines everywhere.
Can I use the same polyurethane strip as crown molding or baseboard?
Do not assume so. A wall molding intended for decorative frames is not necessarily engineered or shaped for the wall-to-ceiling junction or for floor-level use. Crown molding and baseboard are distinct product categories with their own geometries and installation considerations. Choose a product specifically suitable for the intended location and verify its specification.
Are polyurethane moldings safe for children's rooms and bathrooms?
Those are application-specific questions, not claims that can be answered from the material name alone. For children's rooms, consider placement, security, surface finish, impact and maintenance, and any product documentation relevant to safety. For humid rooms, assess the finish, adhesive, ventilation, substrate, and actual product guidance. Do not treat decorative polyurethane as automatically waterproof or certified for all rooms.
Do I need to remove wallpaper before adding molding?
This project intentionally focuses on painted walls without wallpaper. Molding applied over wallpaper relies on the wallpaper's attachment and compatibility with the adhesive, which may not be suitable. If the goal is a long-lasting, uniformly painted wall, properly preparing the actual substrate often produces a more predictable finish than bonding decorative strips to an unknown covering.
What should I check before ordering STAVROS molding?
Confirm the article's product identifier, material, cross-section, stock length, and intended use. Prepare an accurate cut diagram; compare real samples if available; and establish the necessary adhesive and paint compatibility. Check current ordering conditions with STAVROS rather than assuming U.S. inventory, a fixed dollar price, a shipping time, or a guarantee not shown in the applicable terms. The design and purchasing details should support the wall you have measured, not an idealized catalog rendering.
A Practical Final Design Test
Before ordering, stand in the room and ask four questions. Will the decoration still make sense after furniture is installed? Does its scale relate clearly to the doors, baseboards, and ceiling? Can every required piece actually be cut from the manufacturer's available lengths? And can the substrate, adhesive, and finish form a sound assembly under the room's real conditions?
If those answers are clear, you do not need wallpaper or an elaborate panel system to create a finished interior. A carefully measured painted wall, a small number of appropriately chosen polyurethane profiles, and disciplined finishing can establish architectural order while leaving the room flexible for future changes in color, furniture, and artwork.