
























































Polyurethane Moldings & Decorative Accents
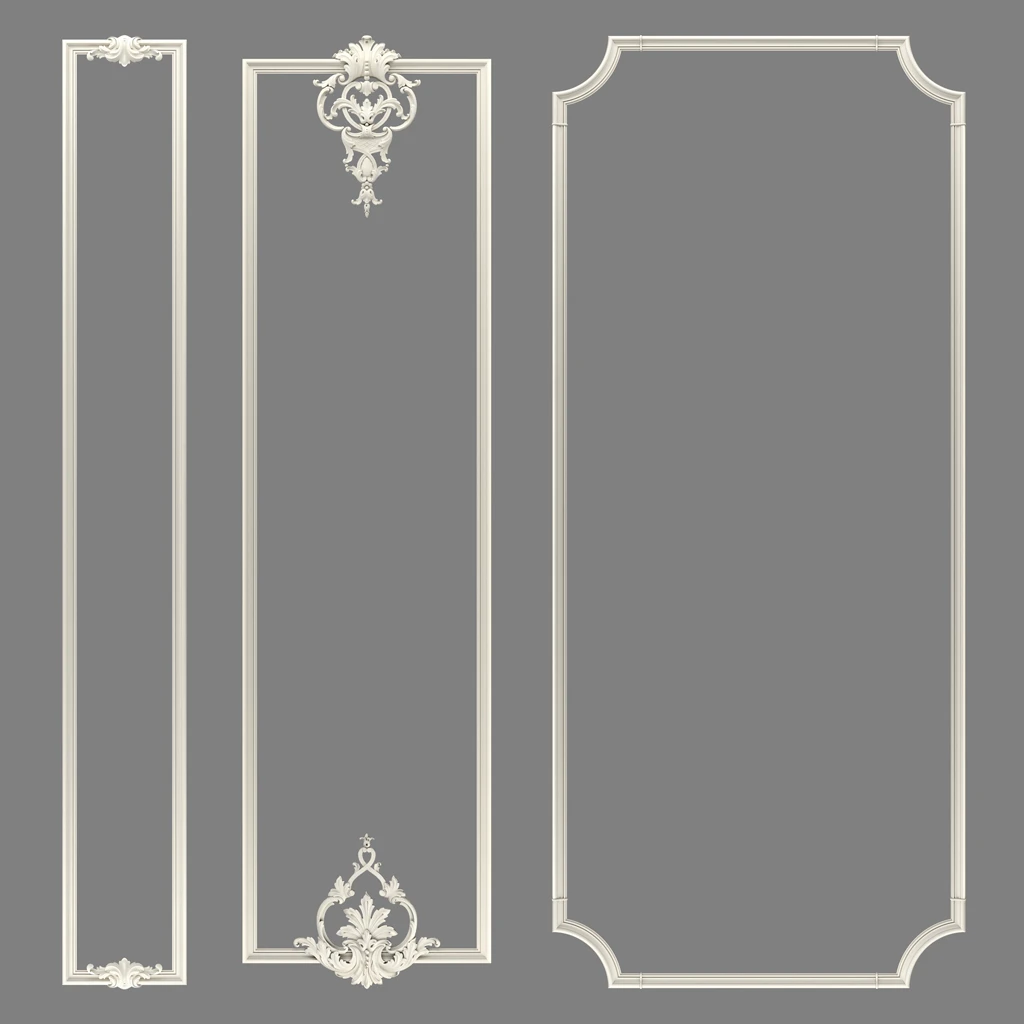
Wall Decor
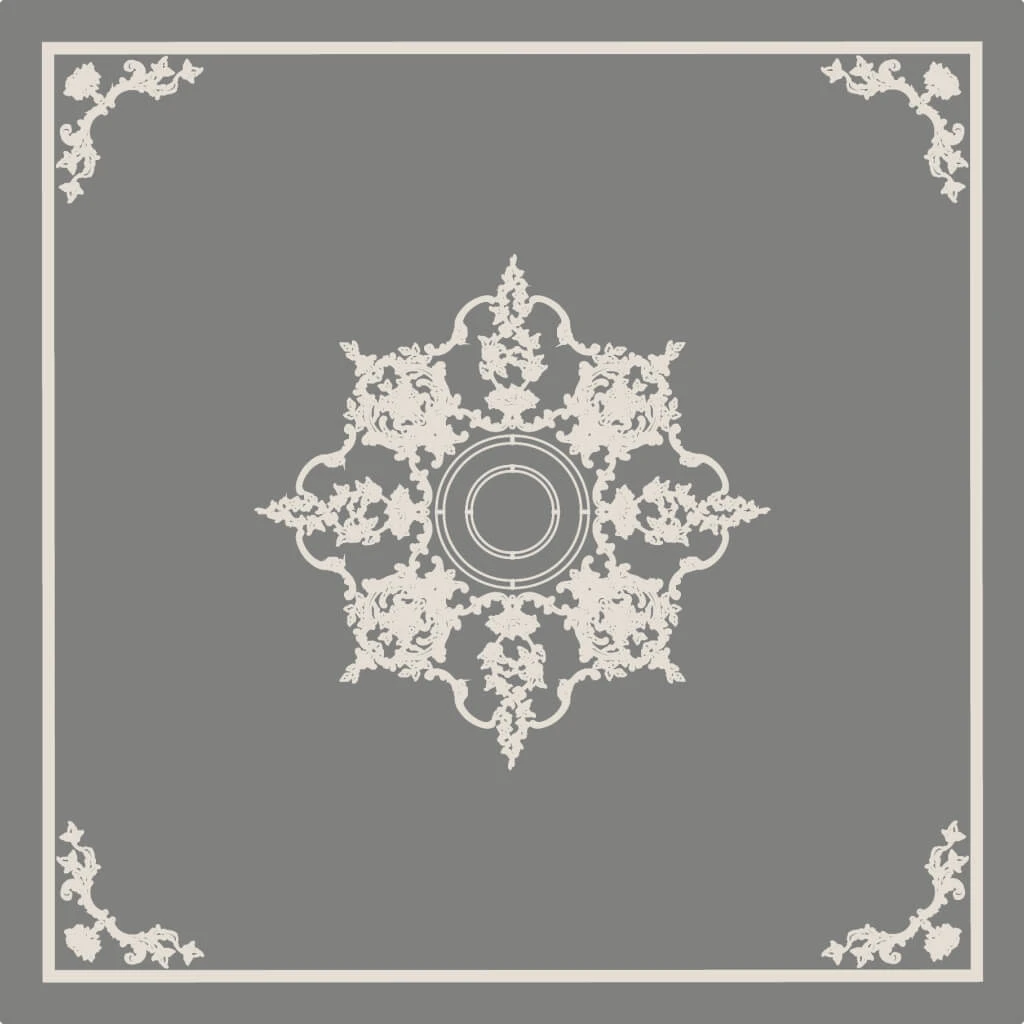
Ceiling Decor
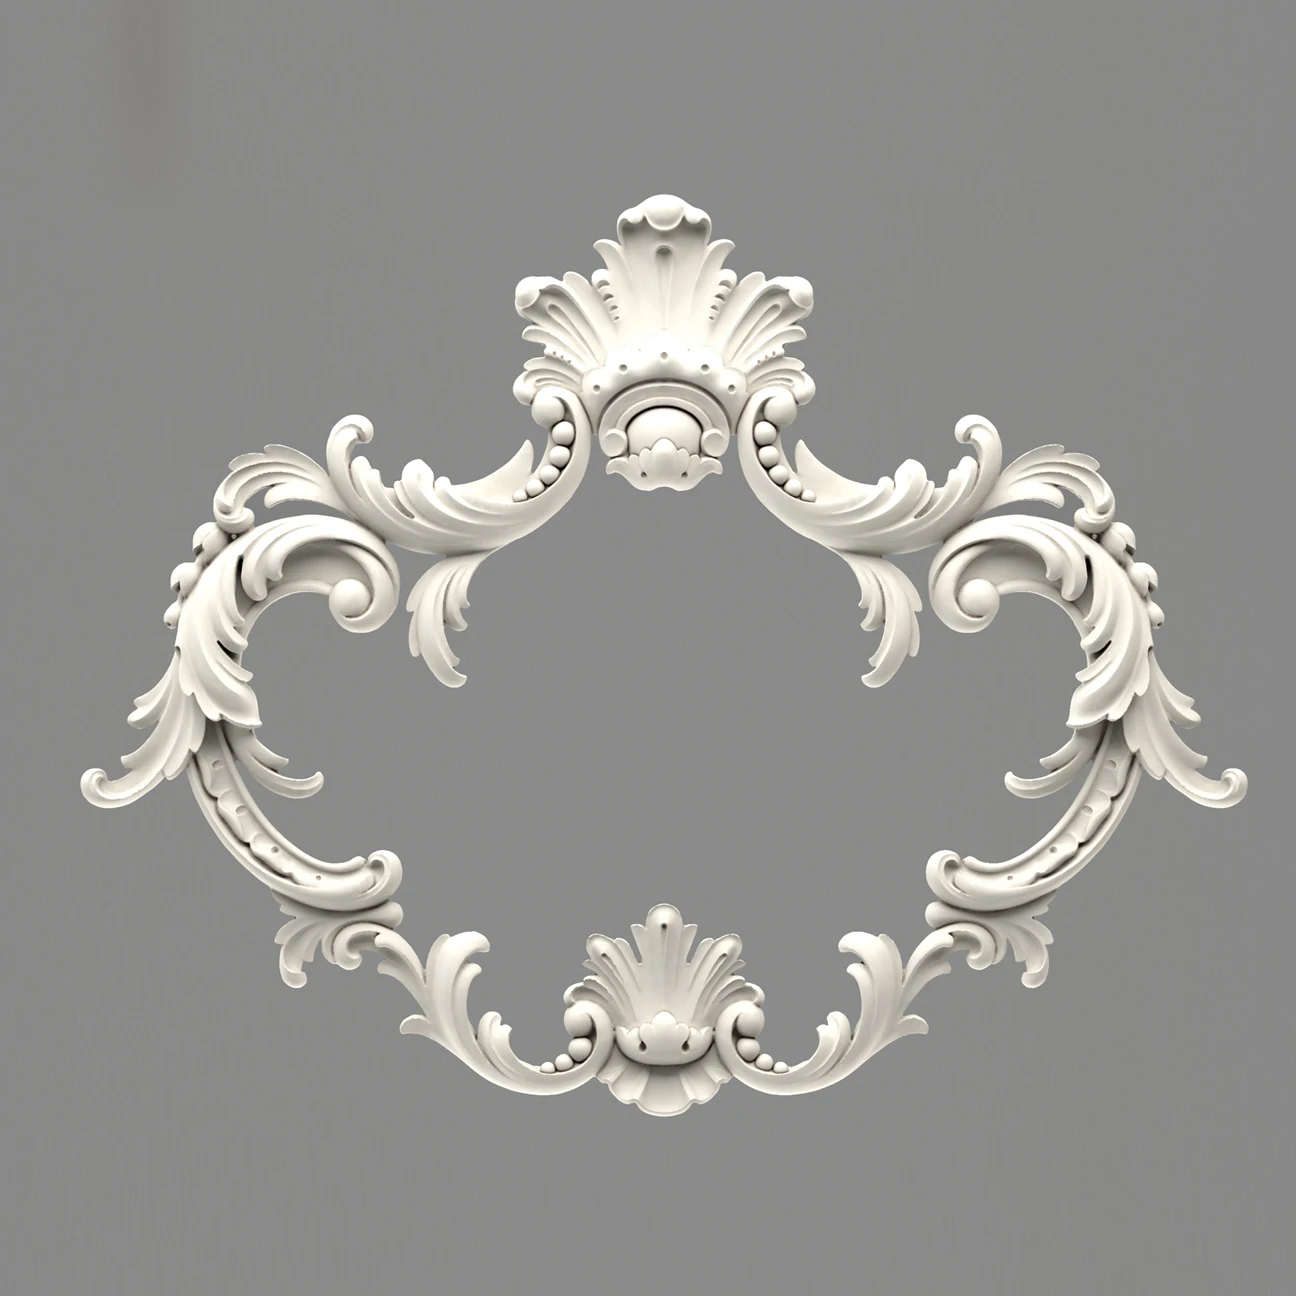
Polyurethane Moldings
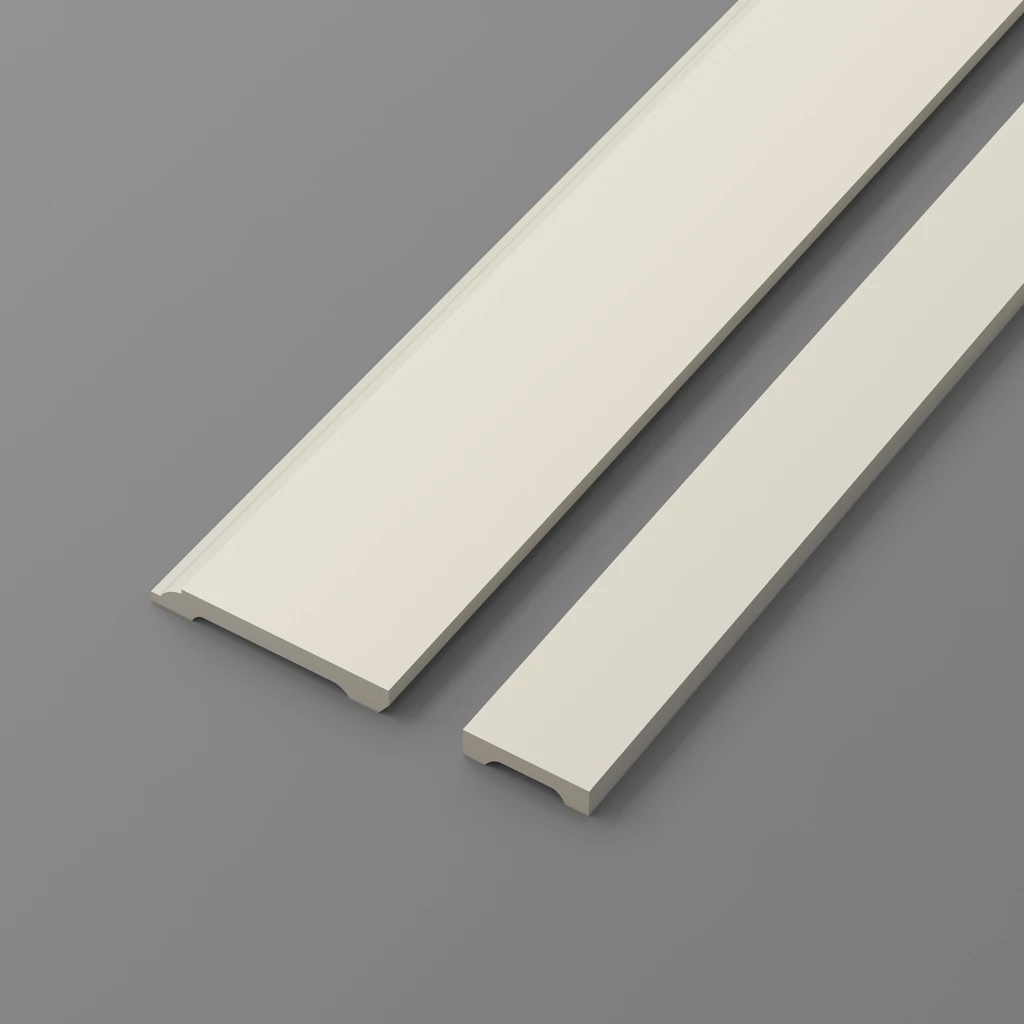
Baseboards
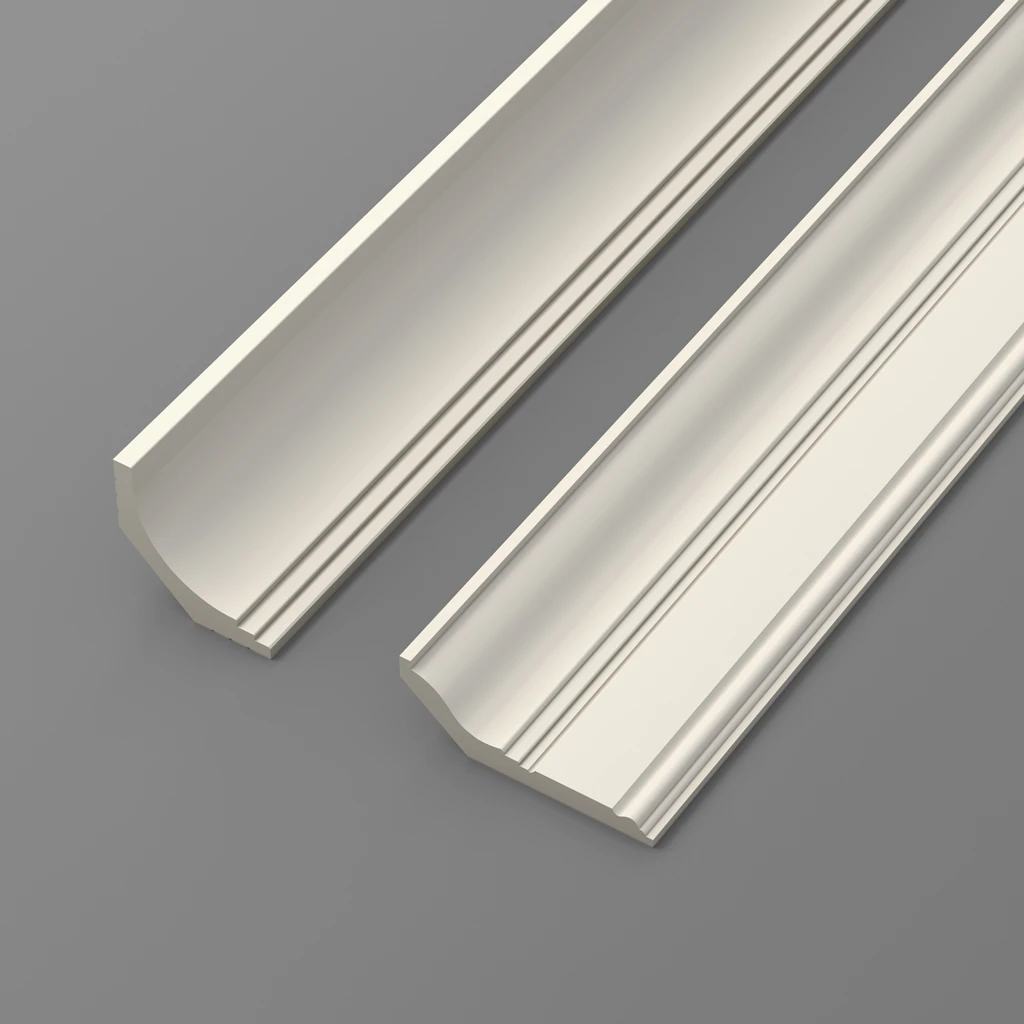
Crown Molding
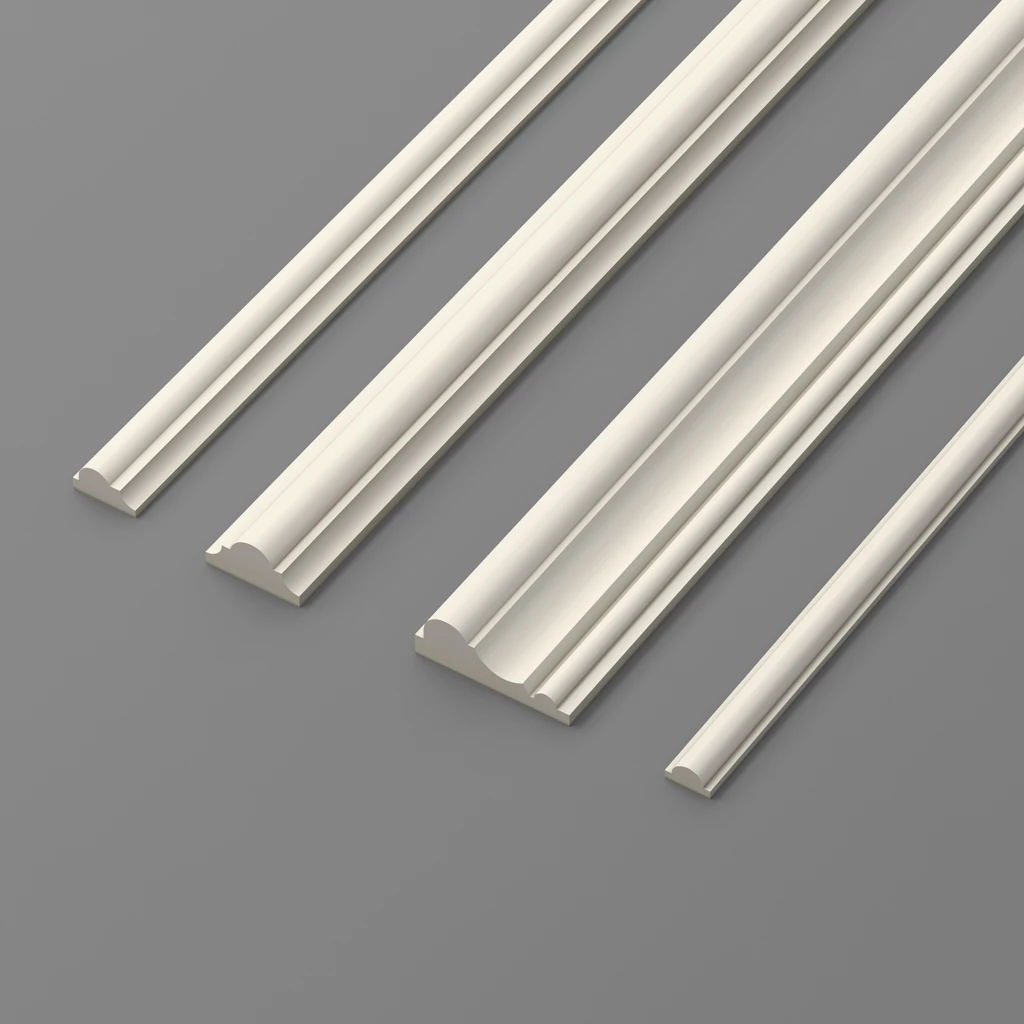
Moldings
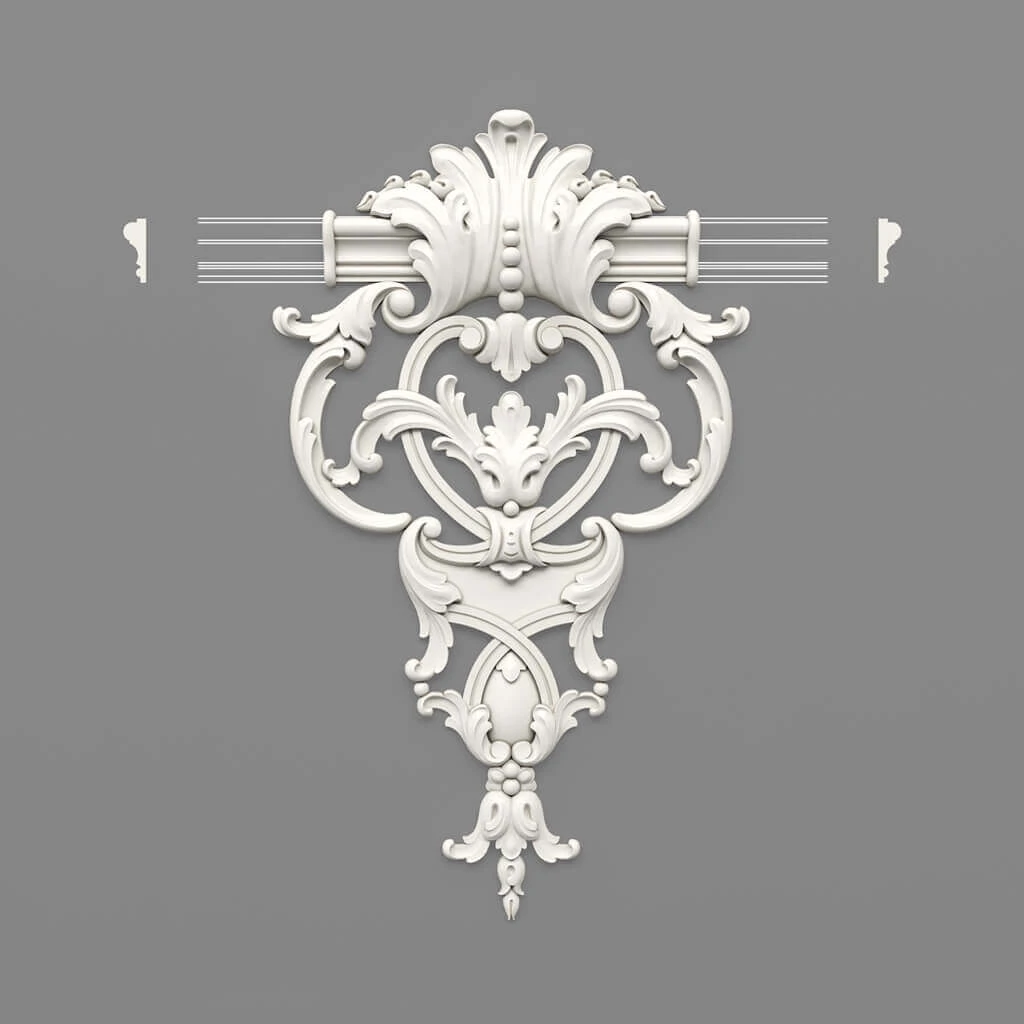
Molding Decor
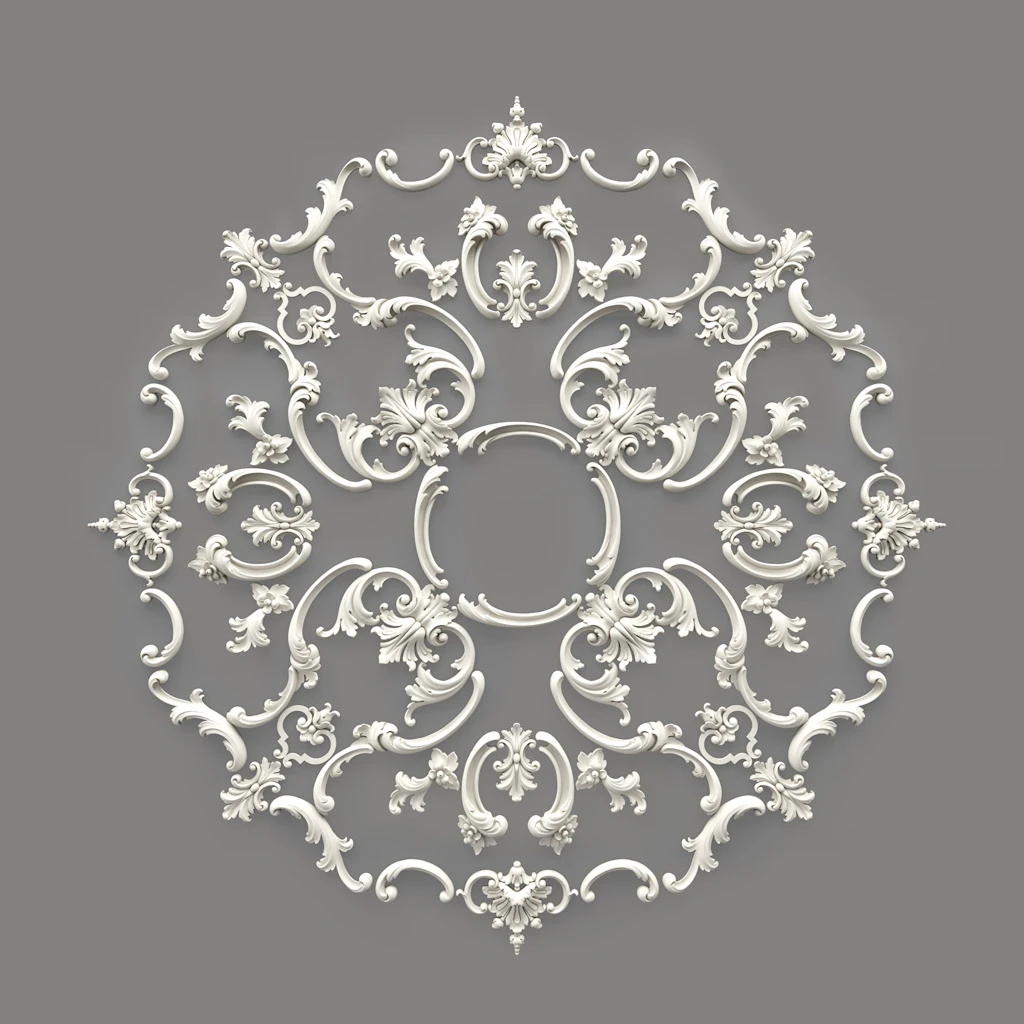
Ceiling Outlets
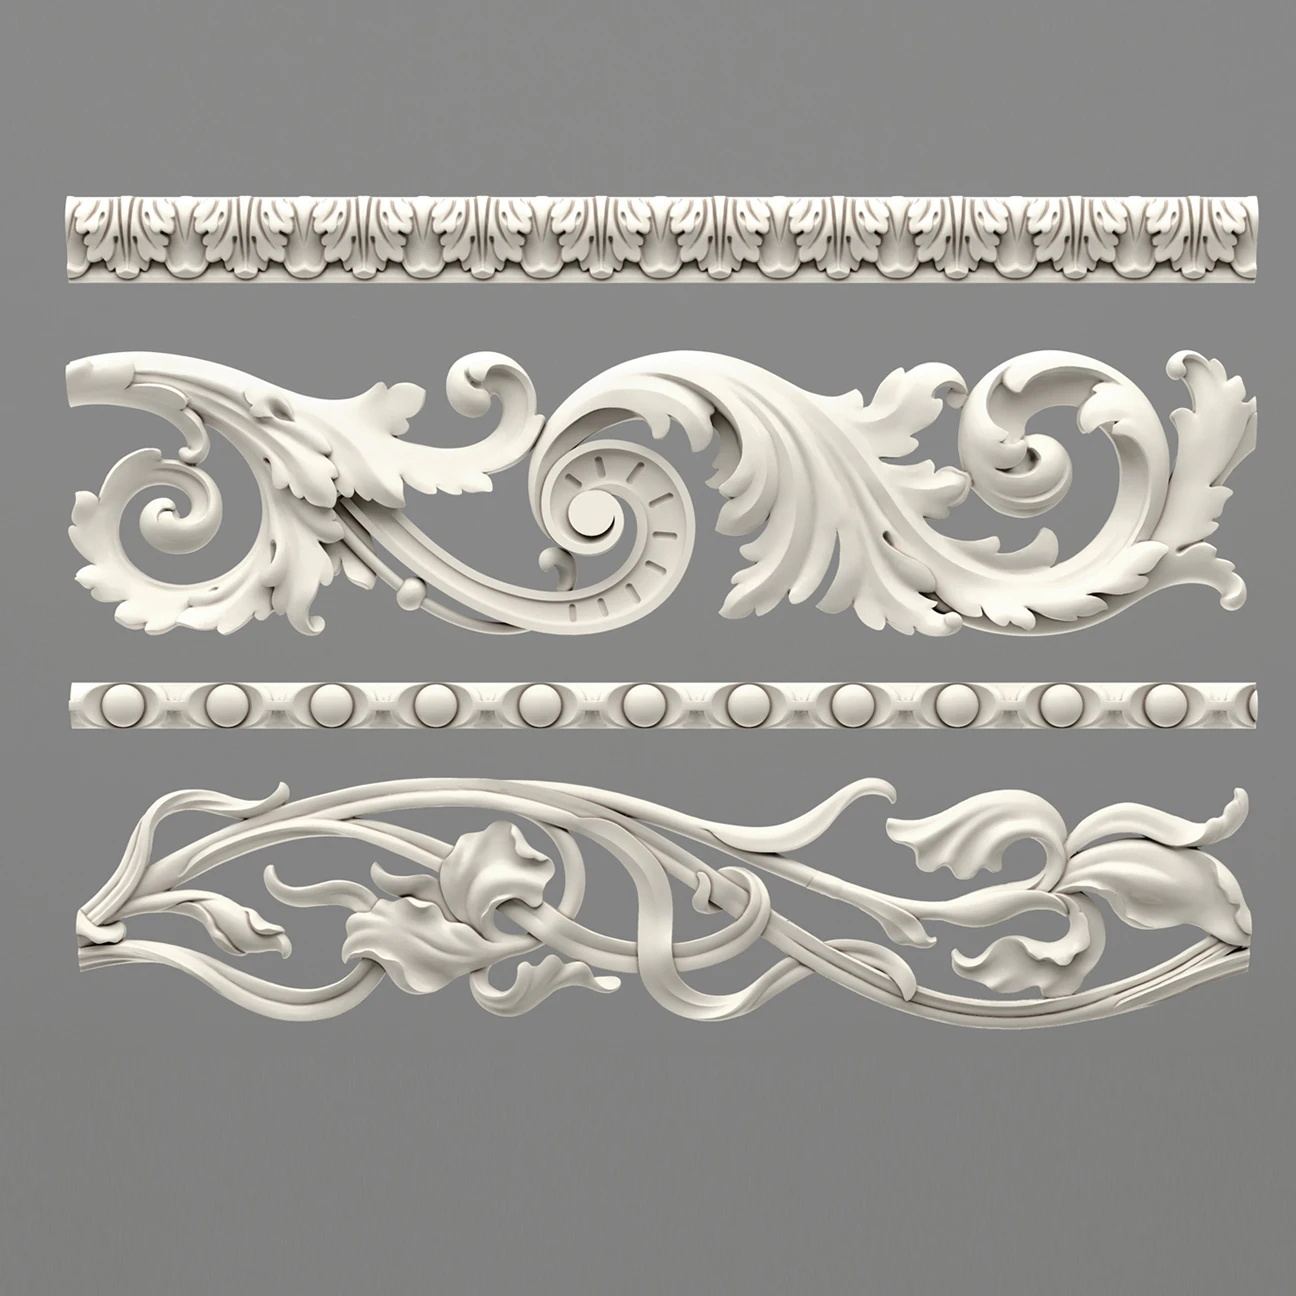
Trim
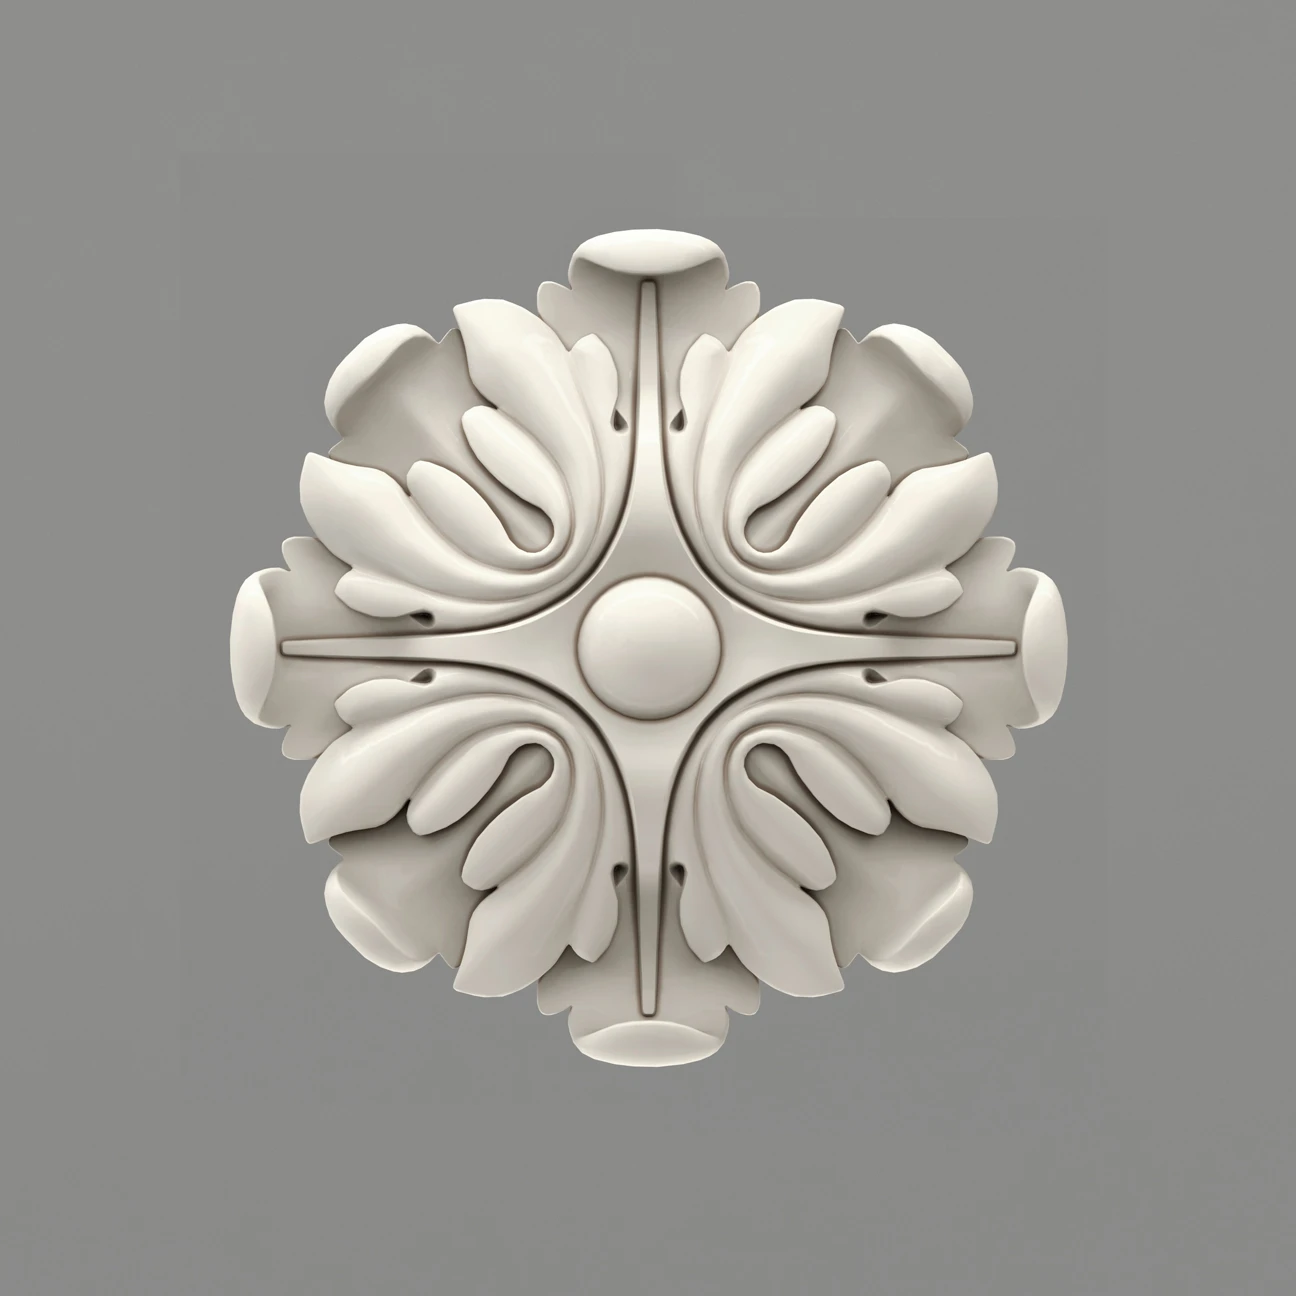
Rosettes
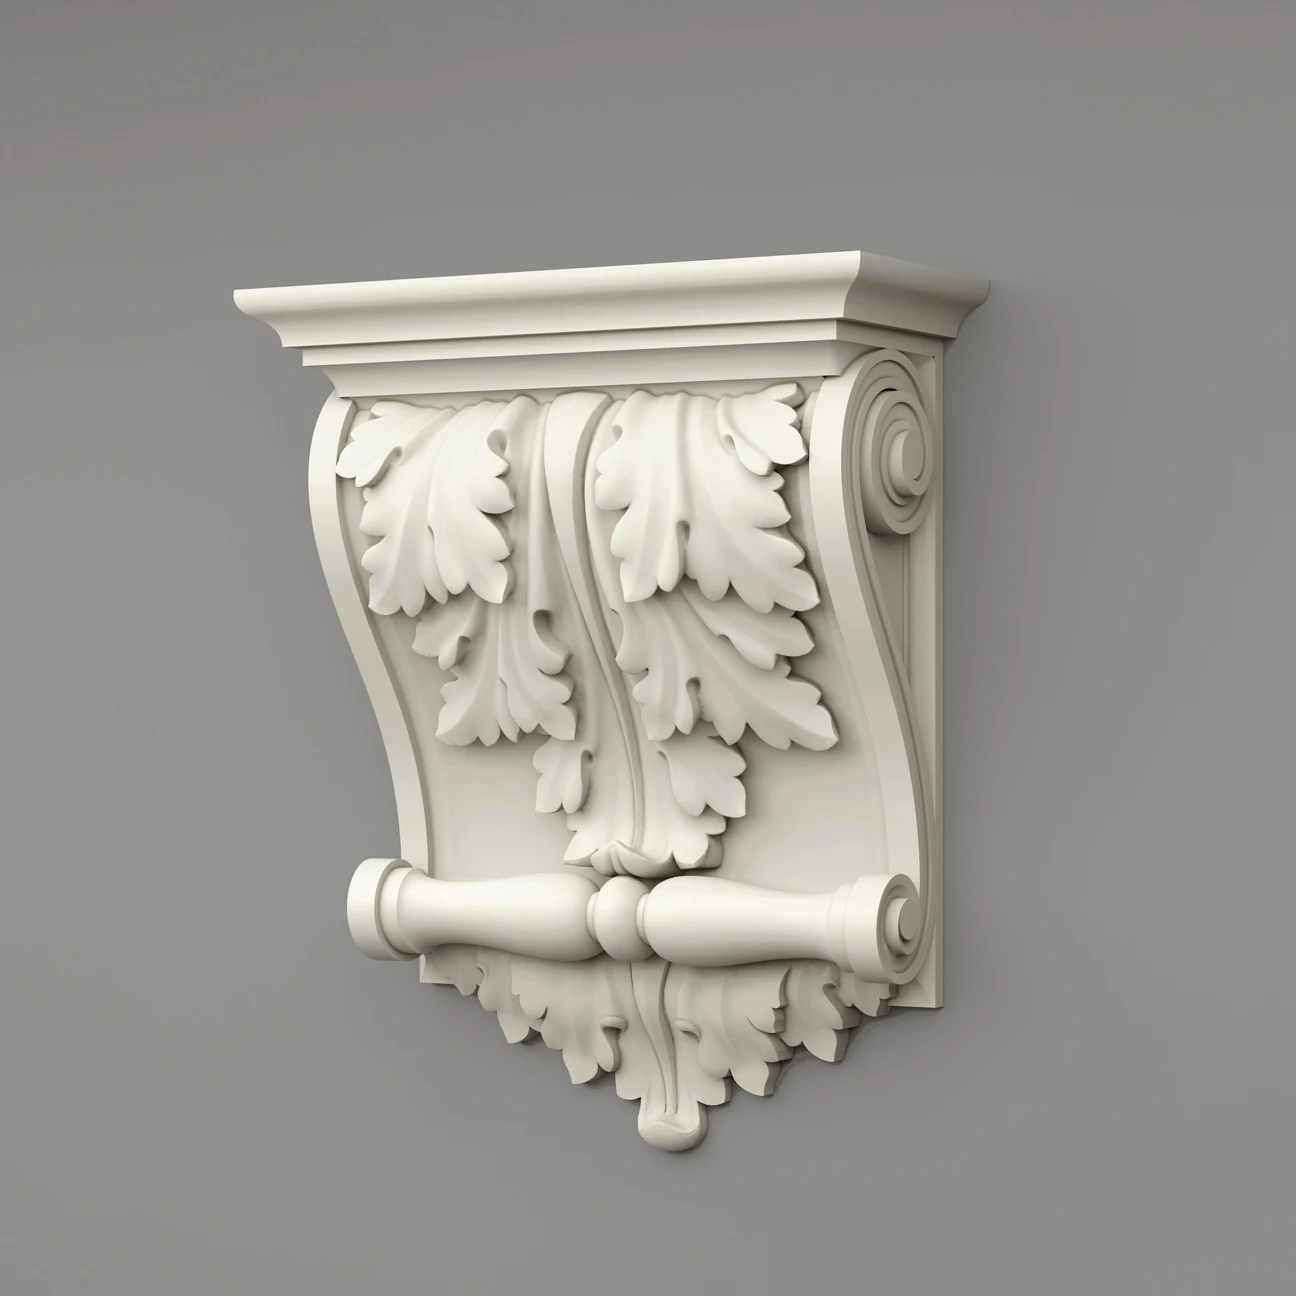
Brackets, capitals
Samples, catalogs, stands
With STAVROS stucco decor, every project becomes a true work of art.
Create. Dare. Inspire. Your clients will be absolutely delighted!
Stucco Decoration Application Gallery
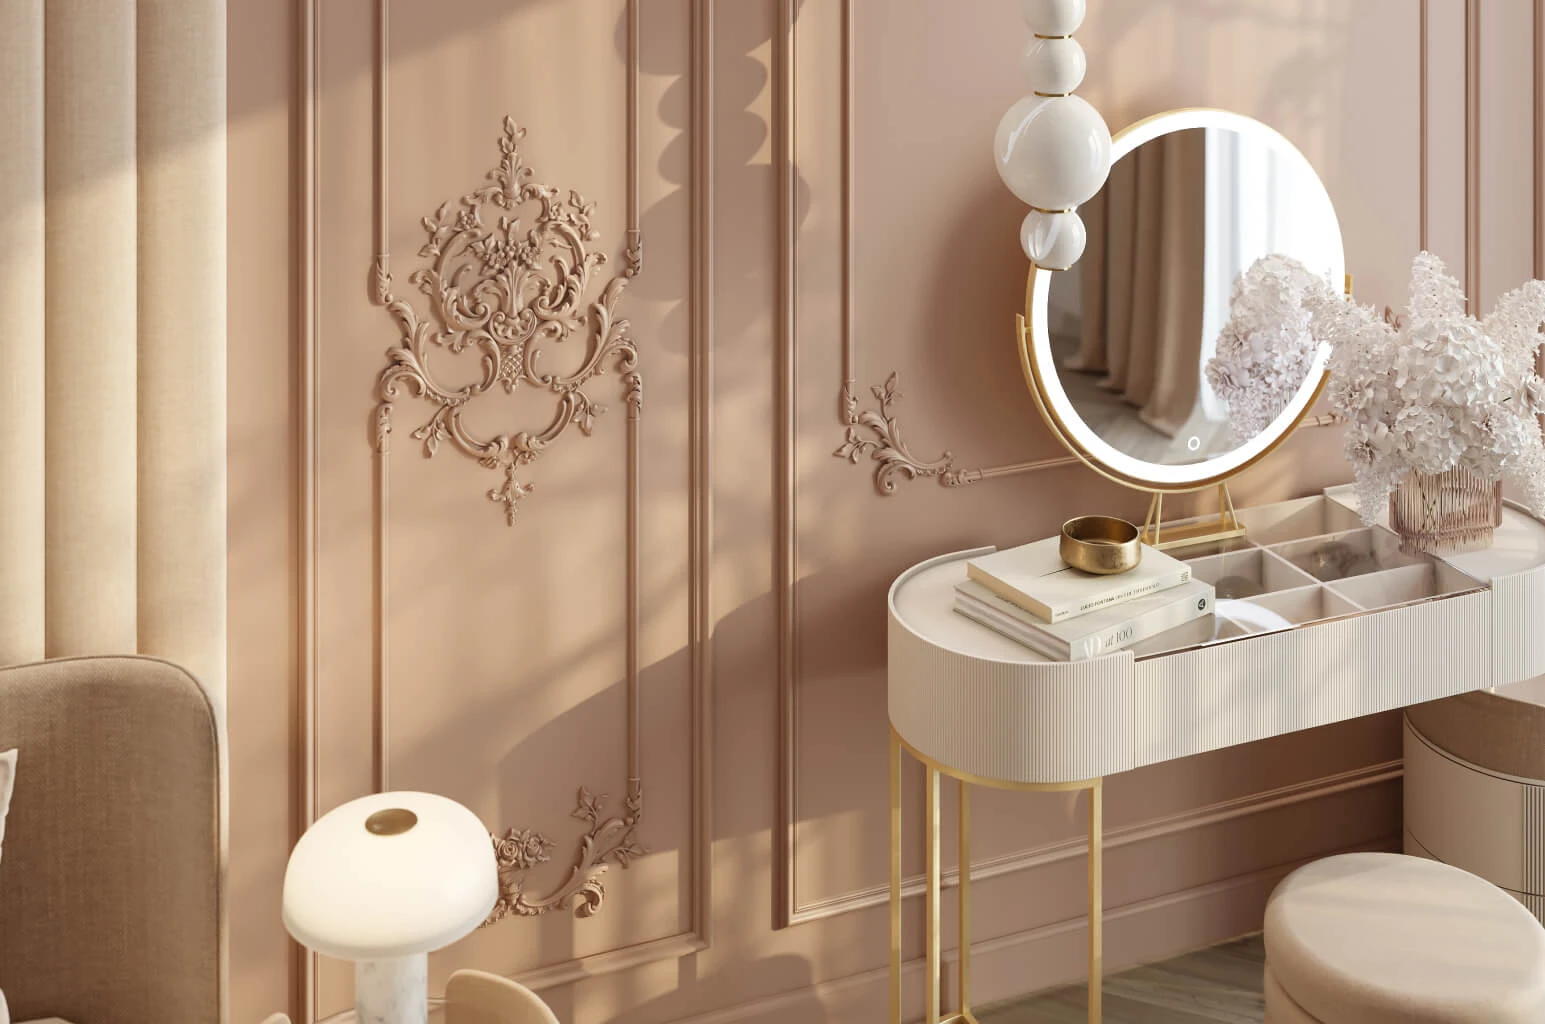
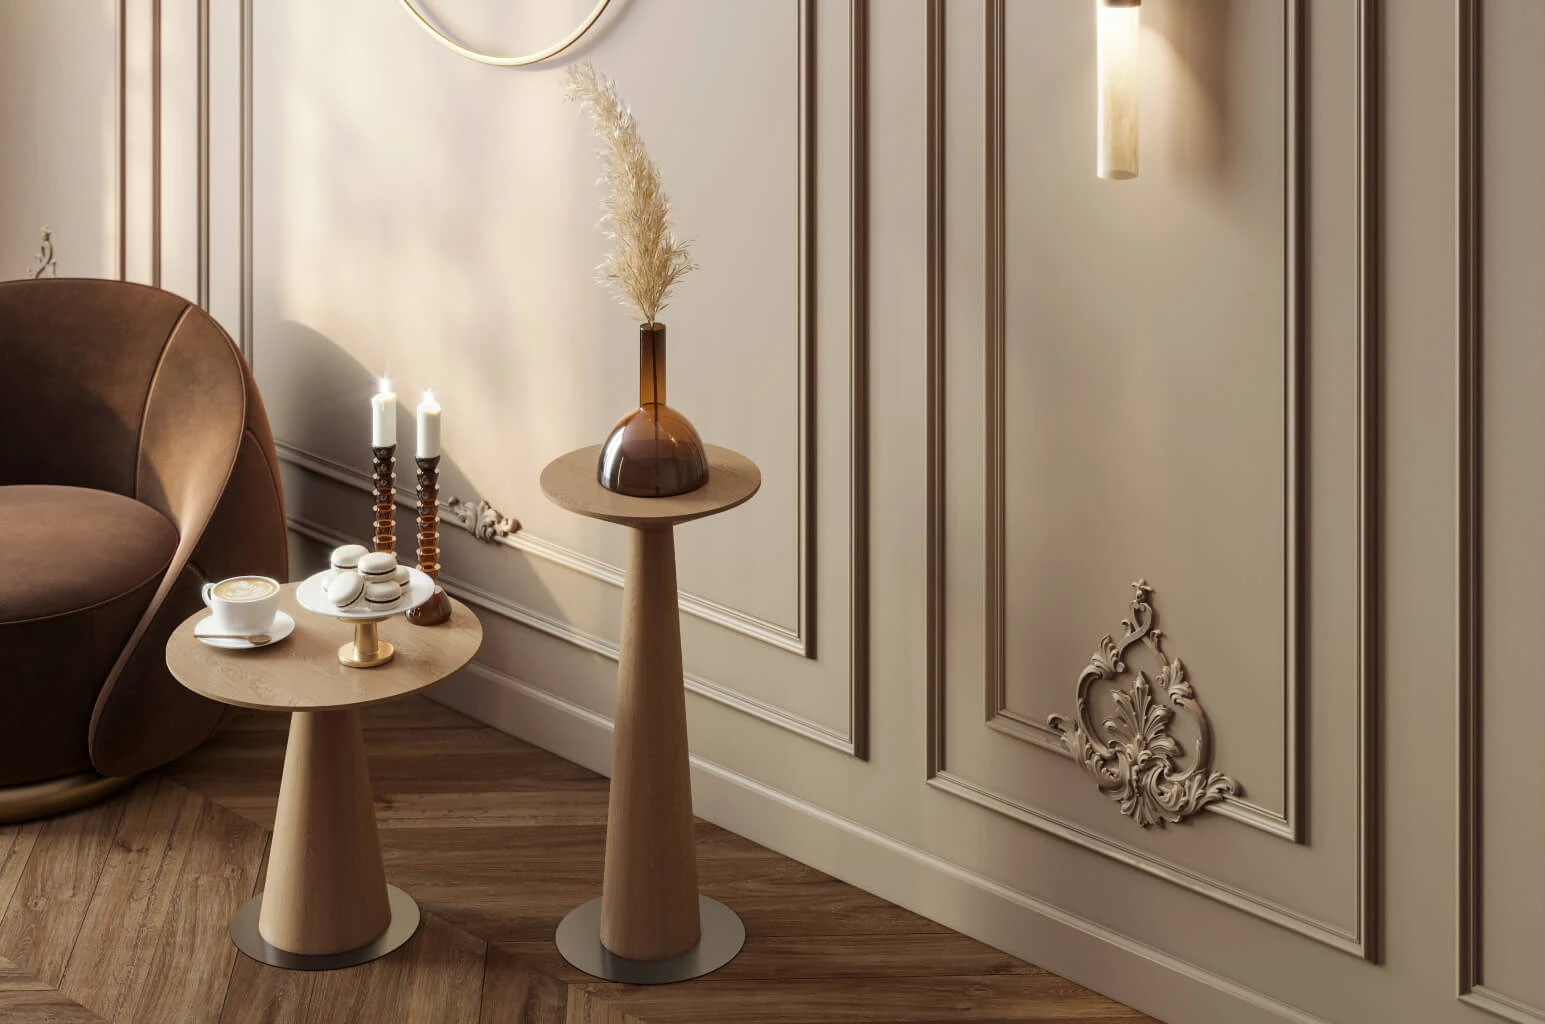
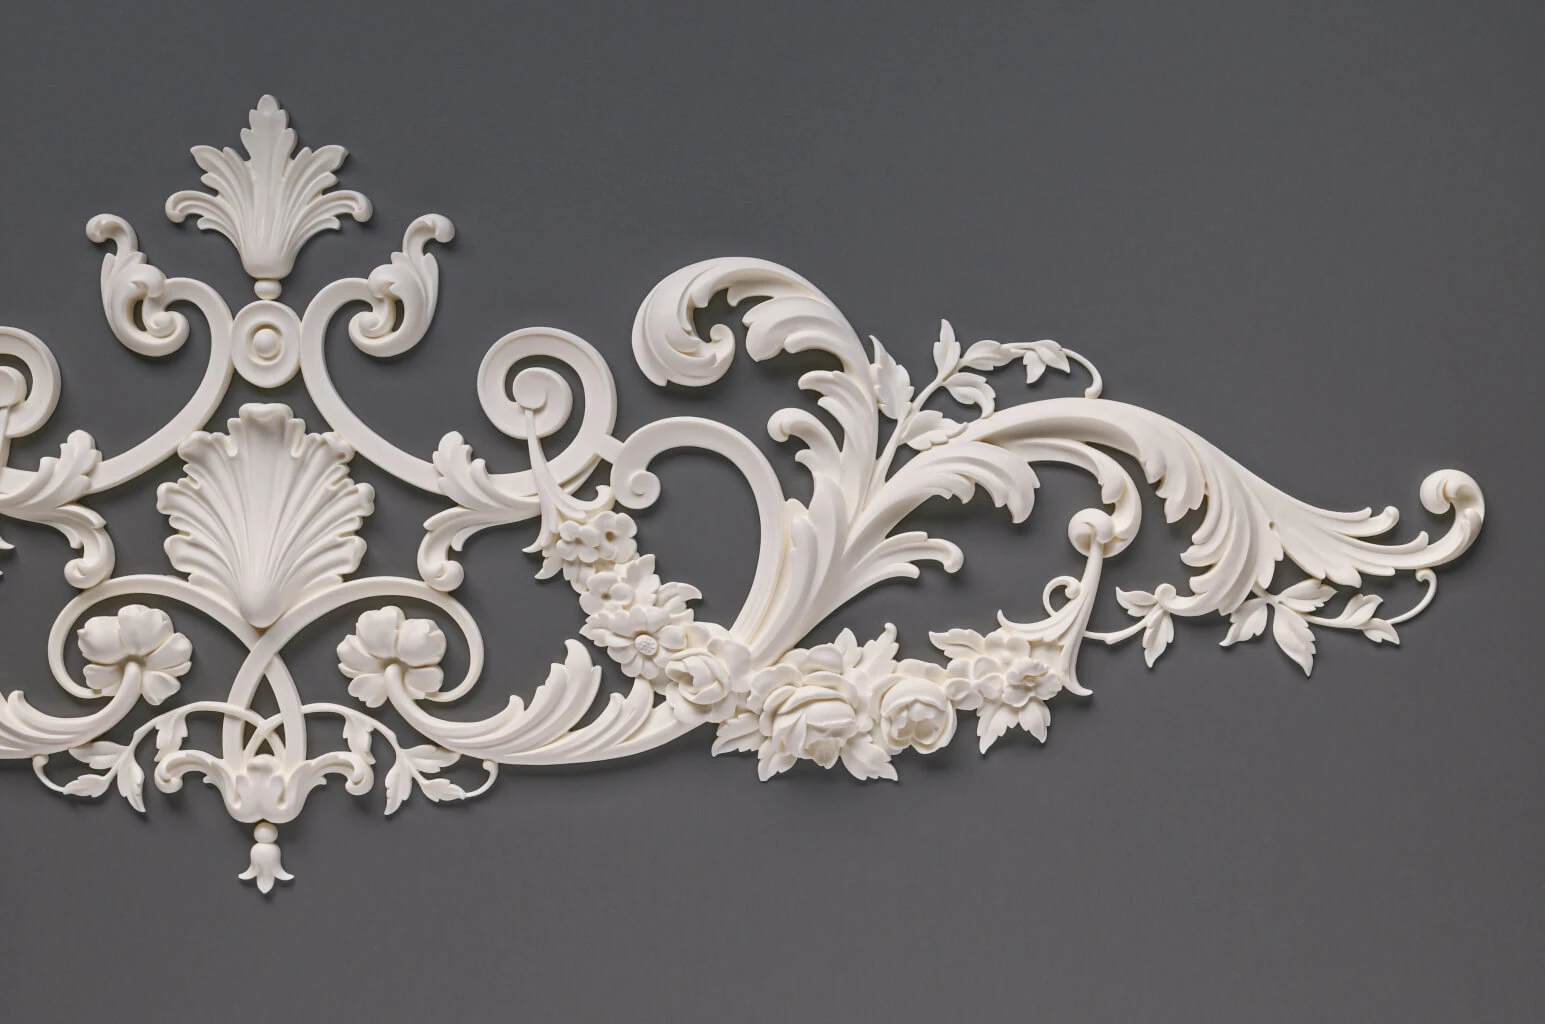
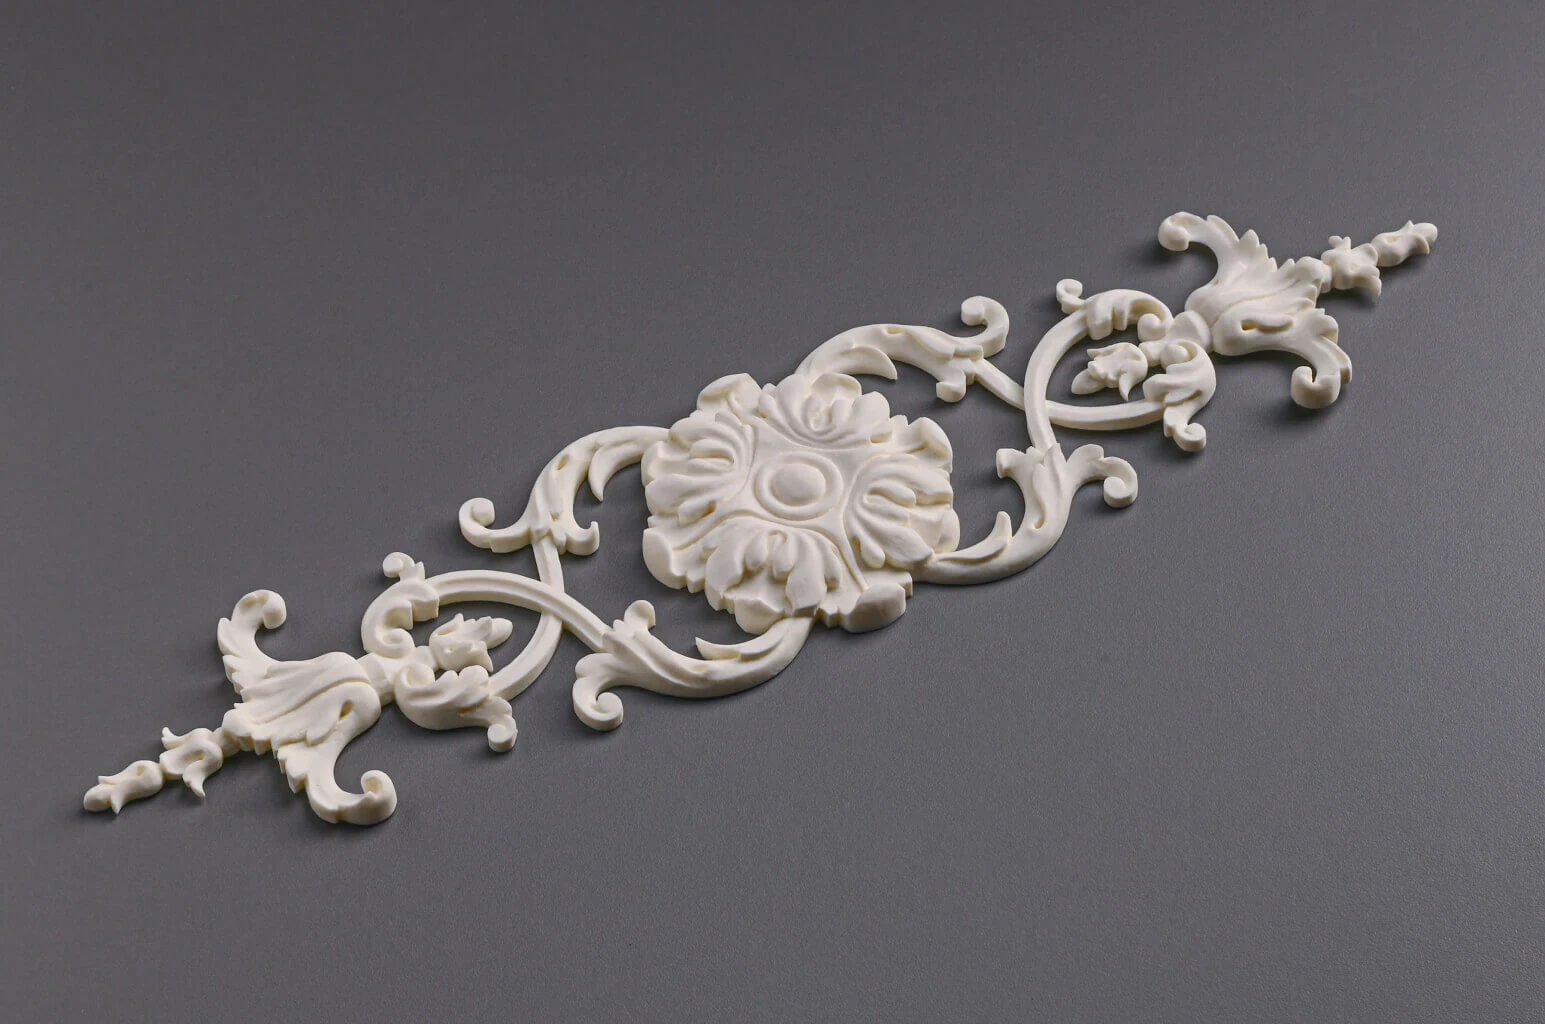
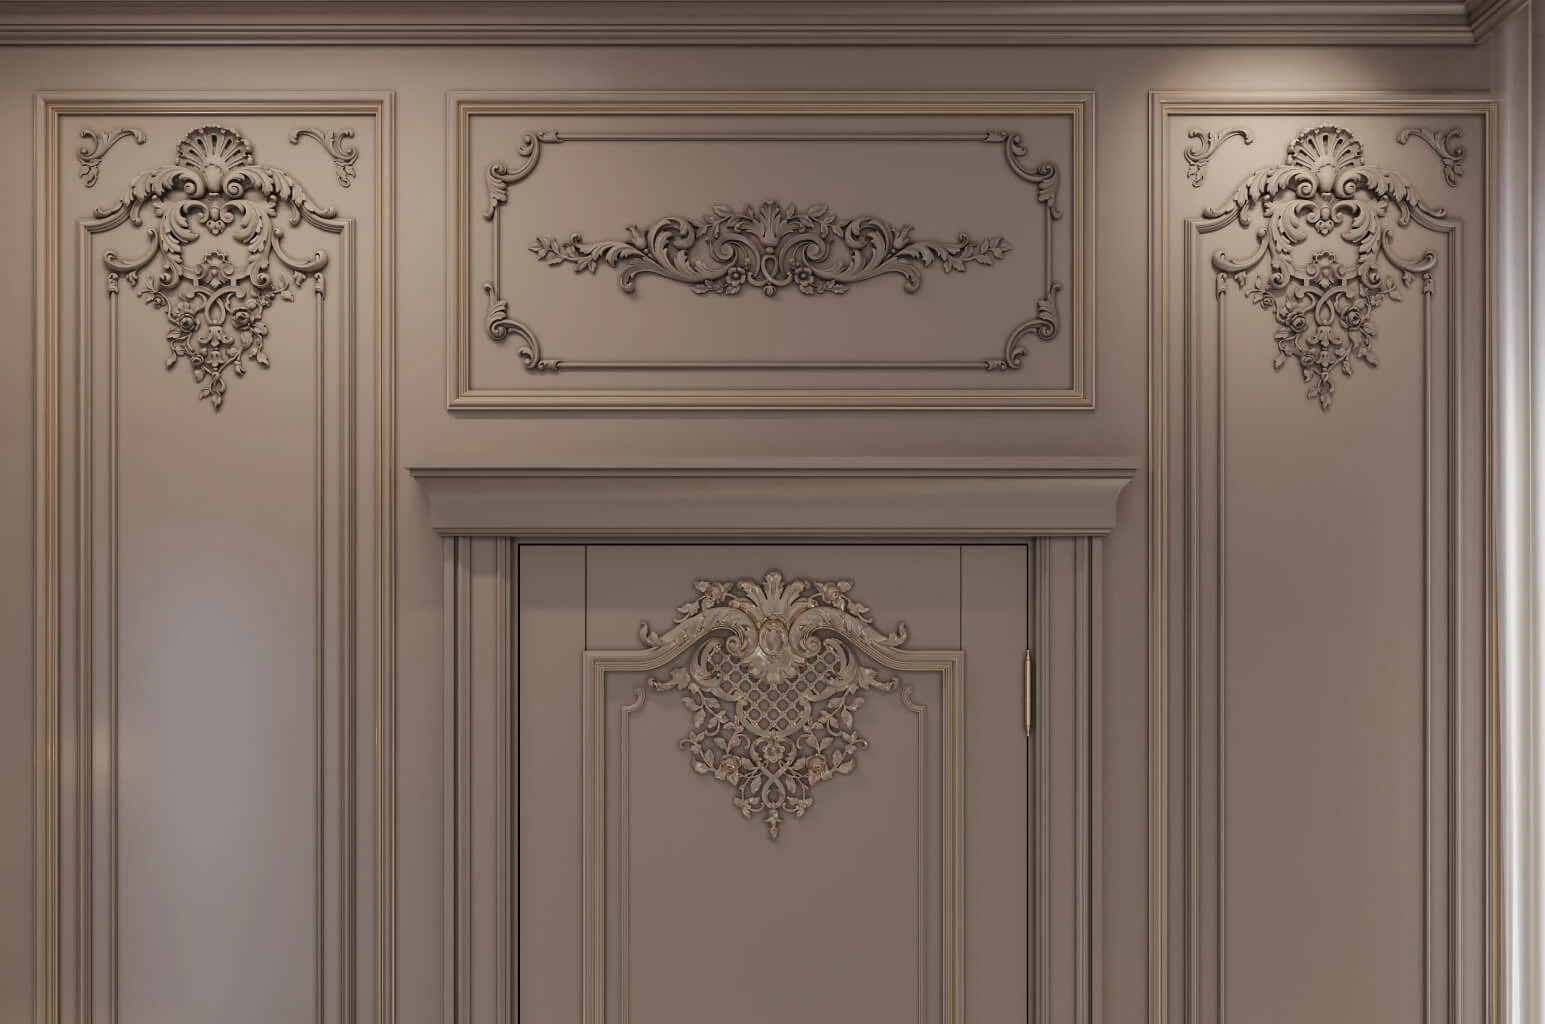
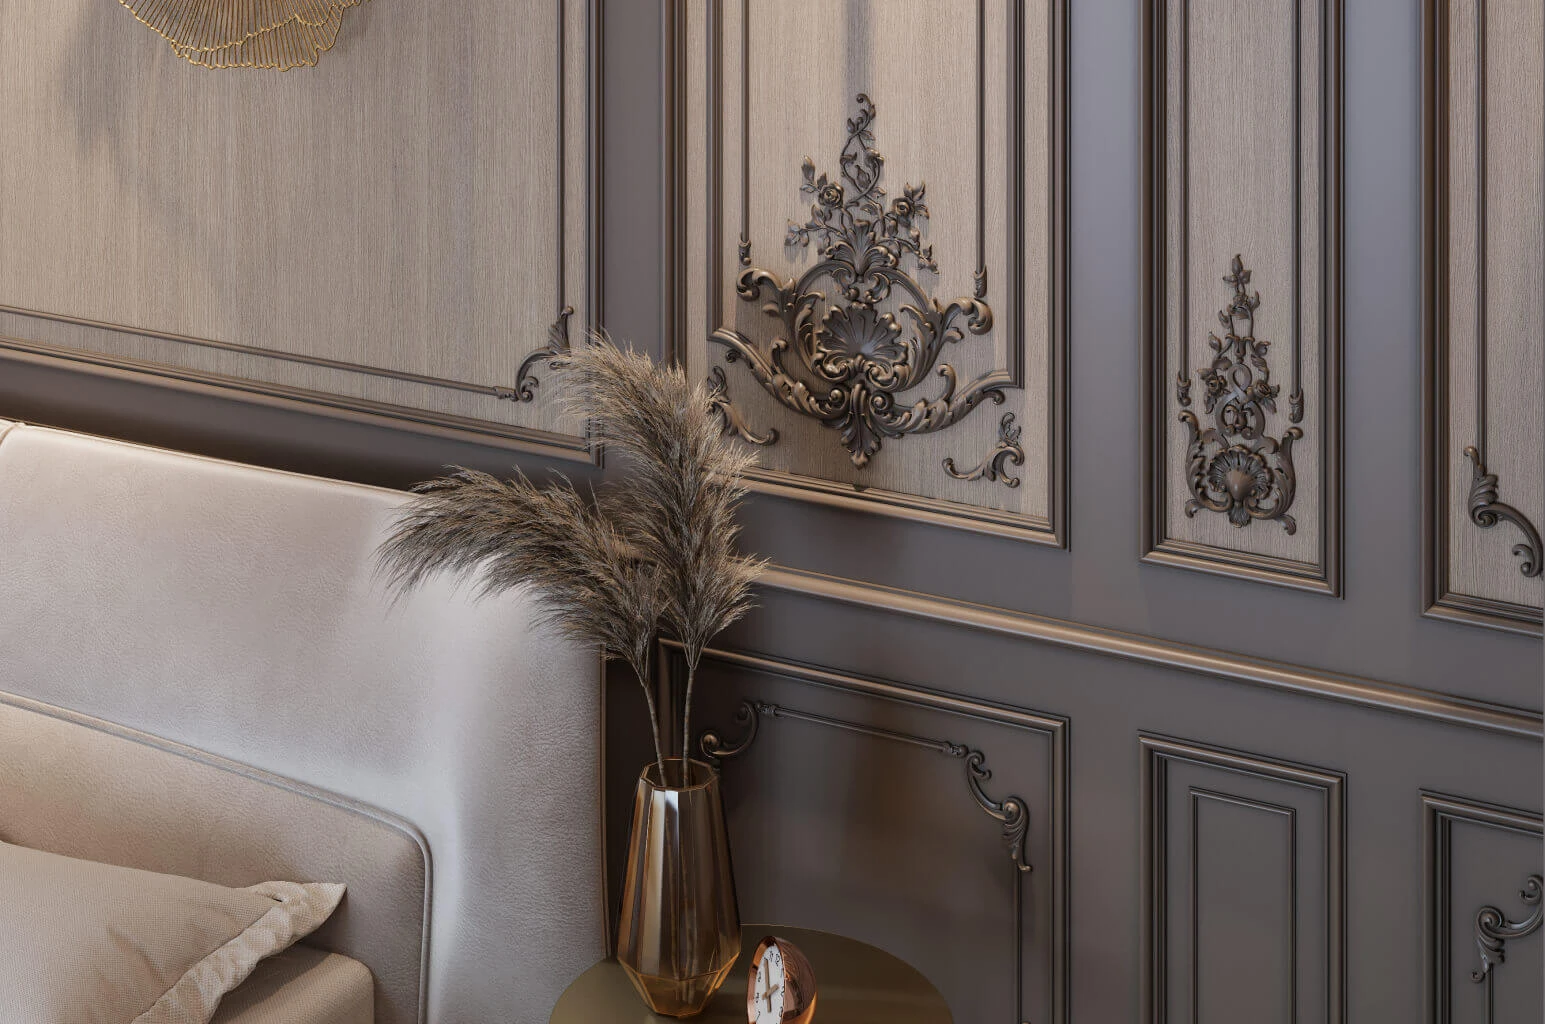
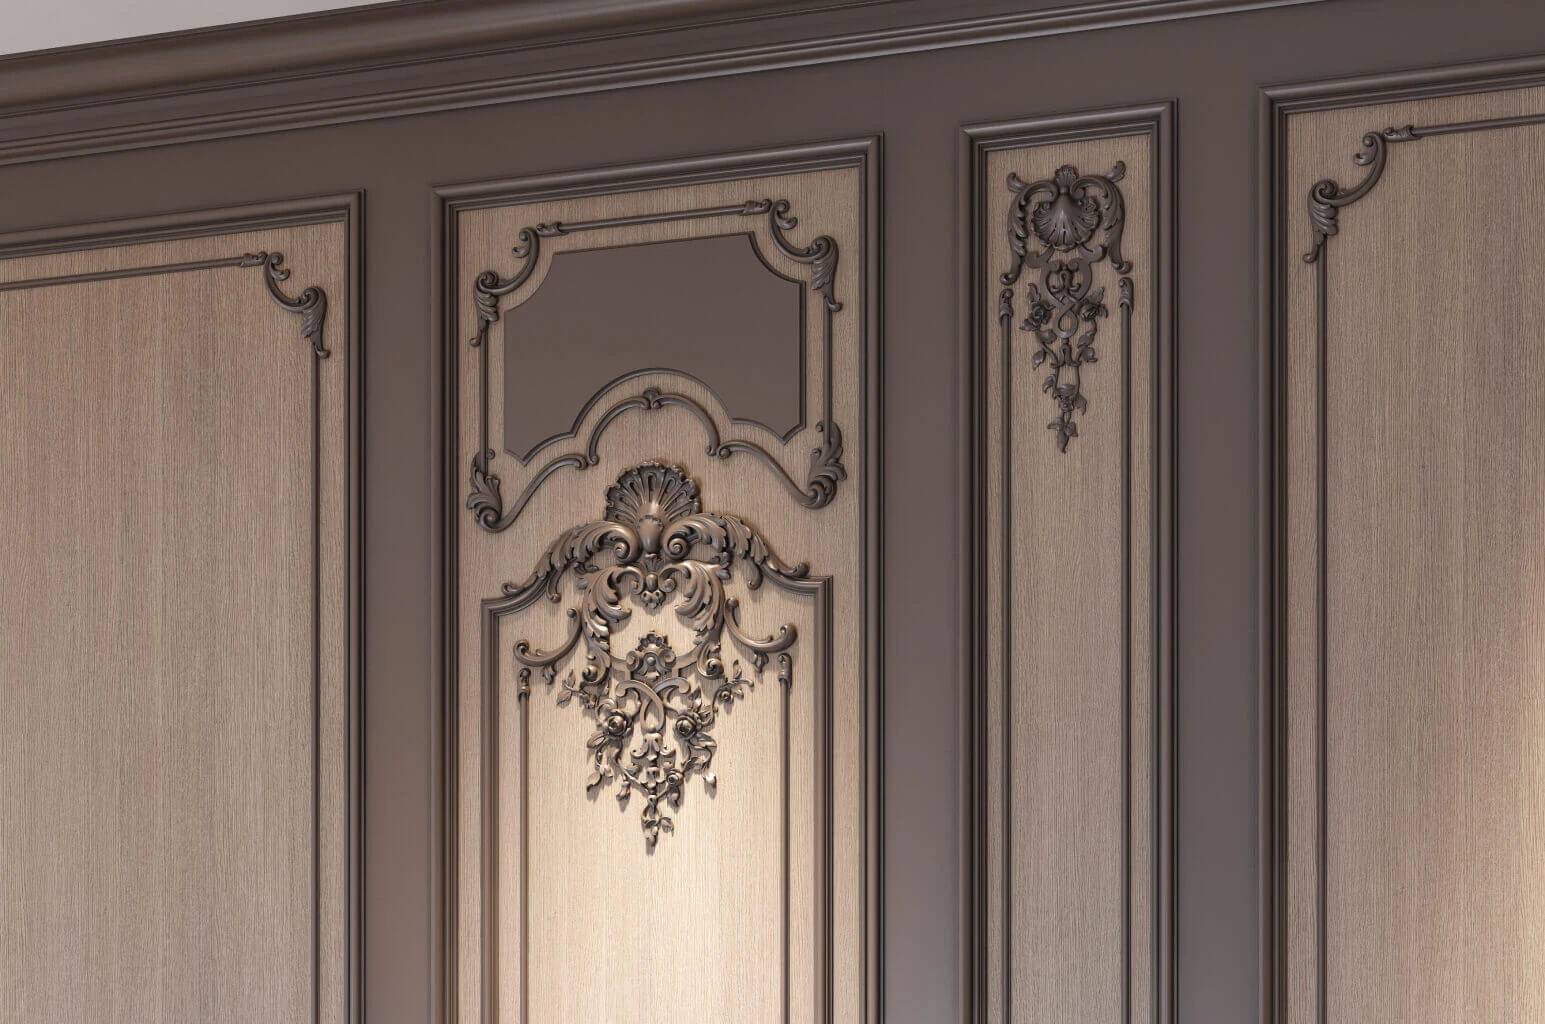
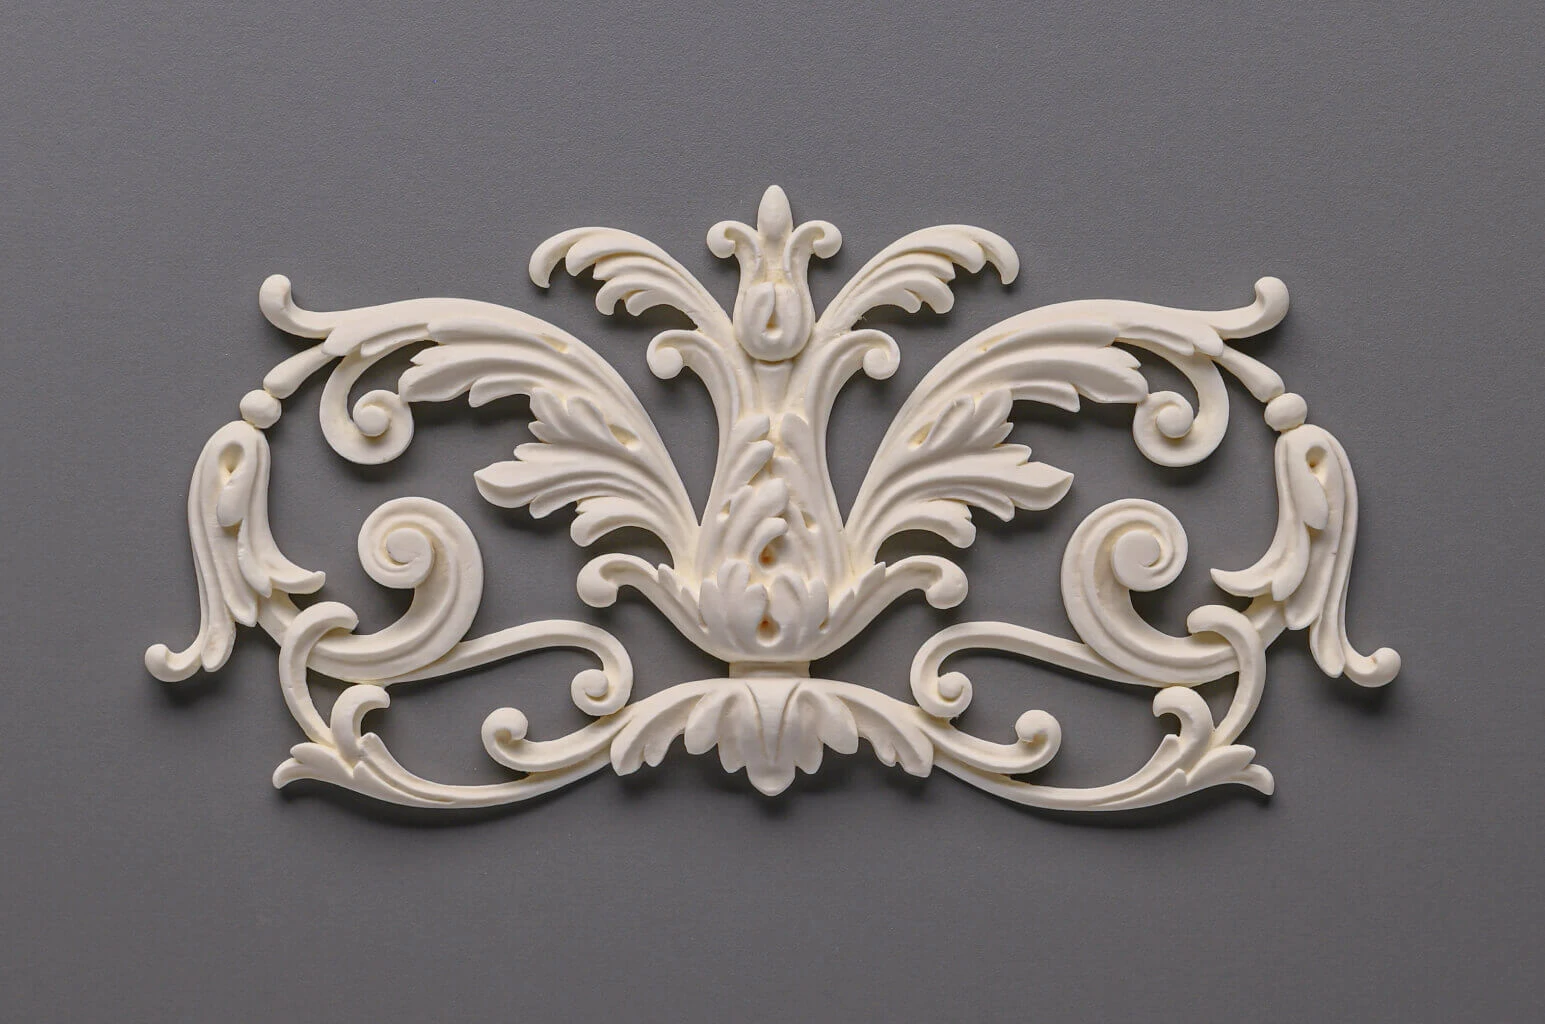
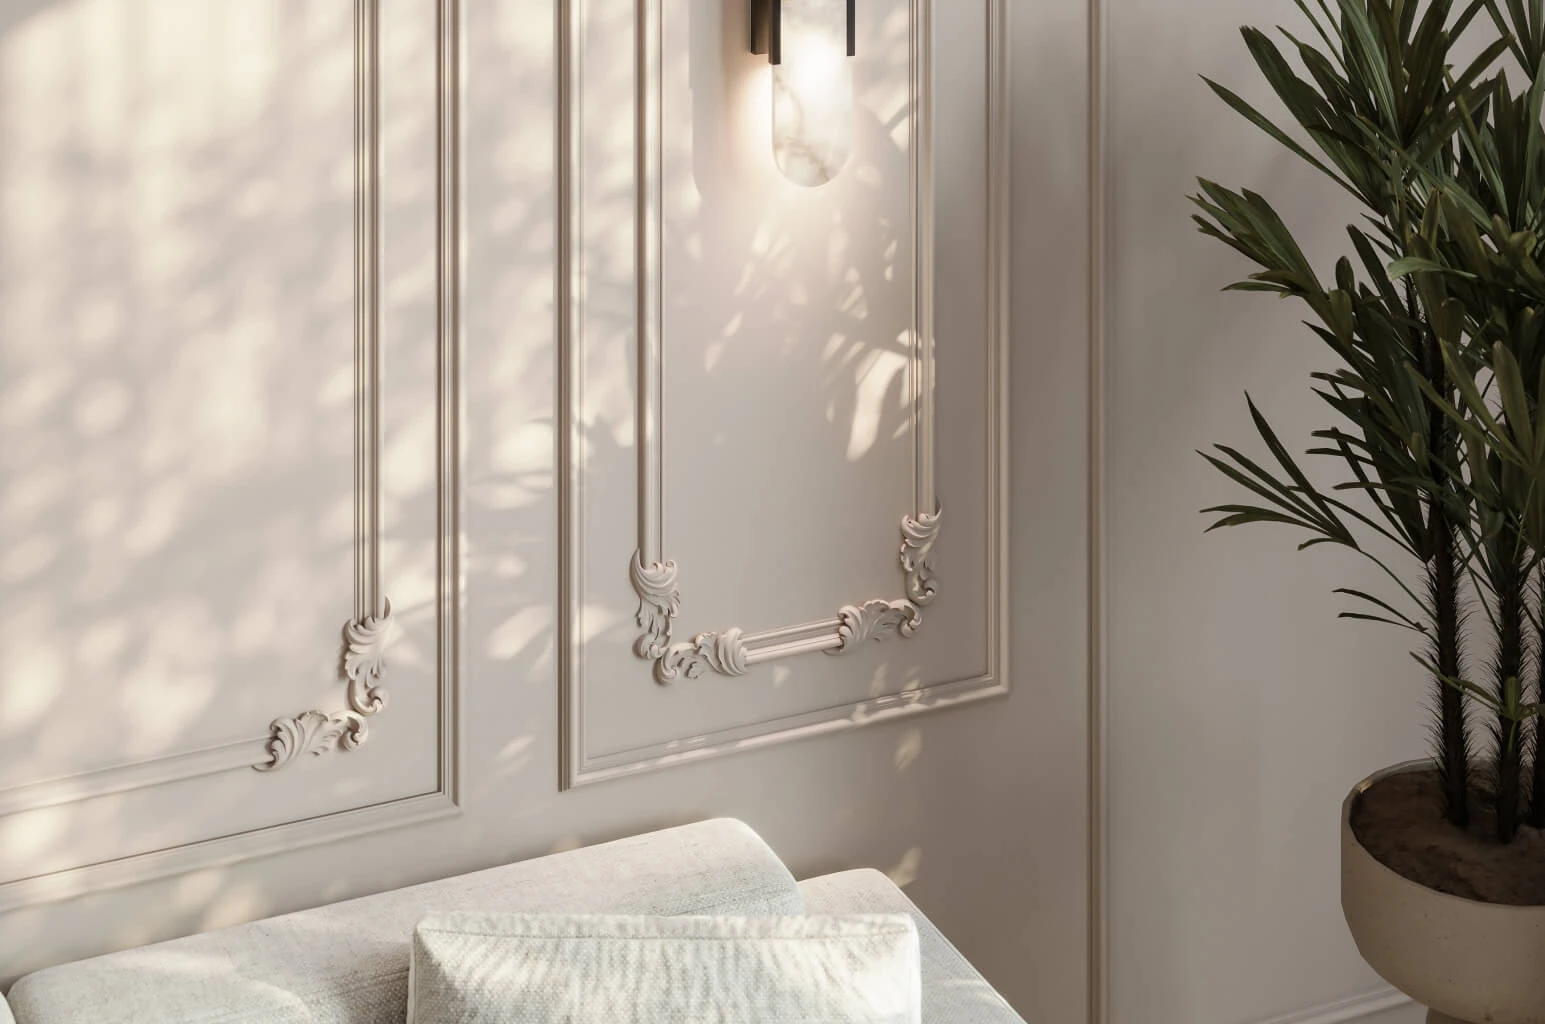
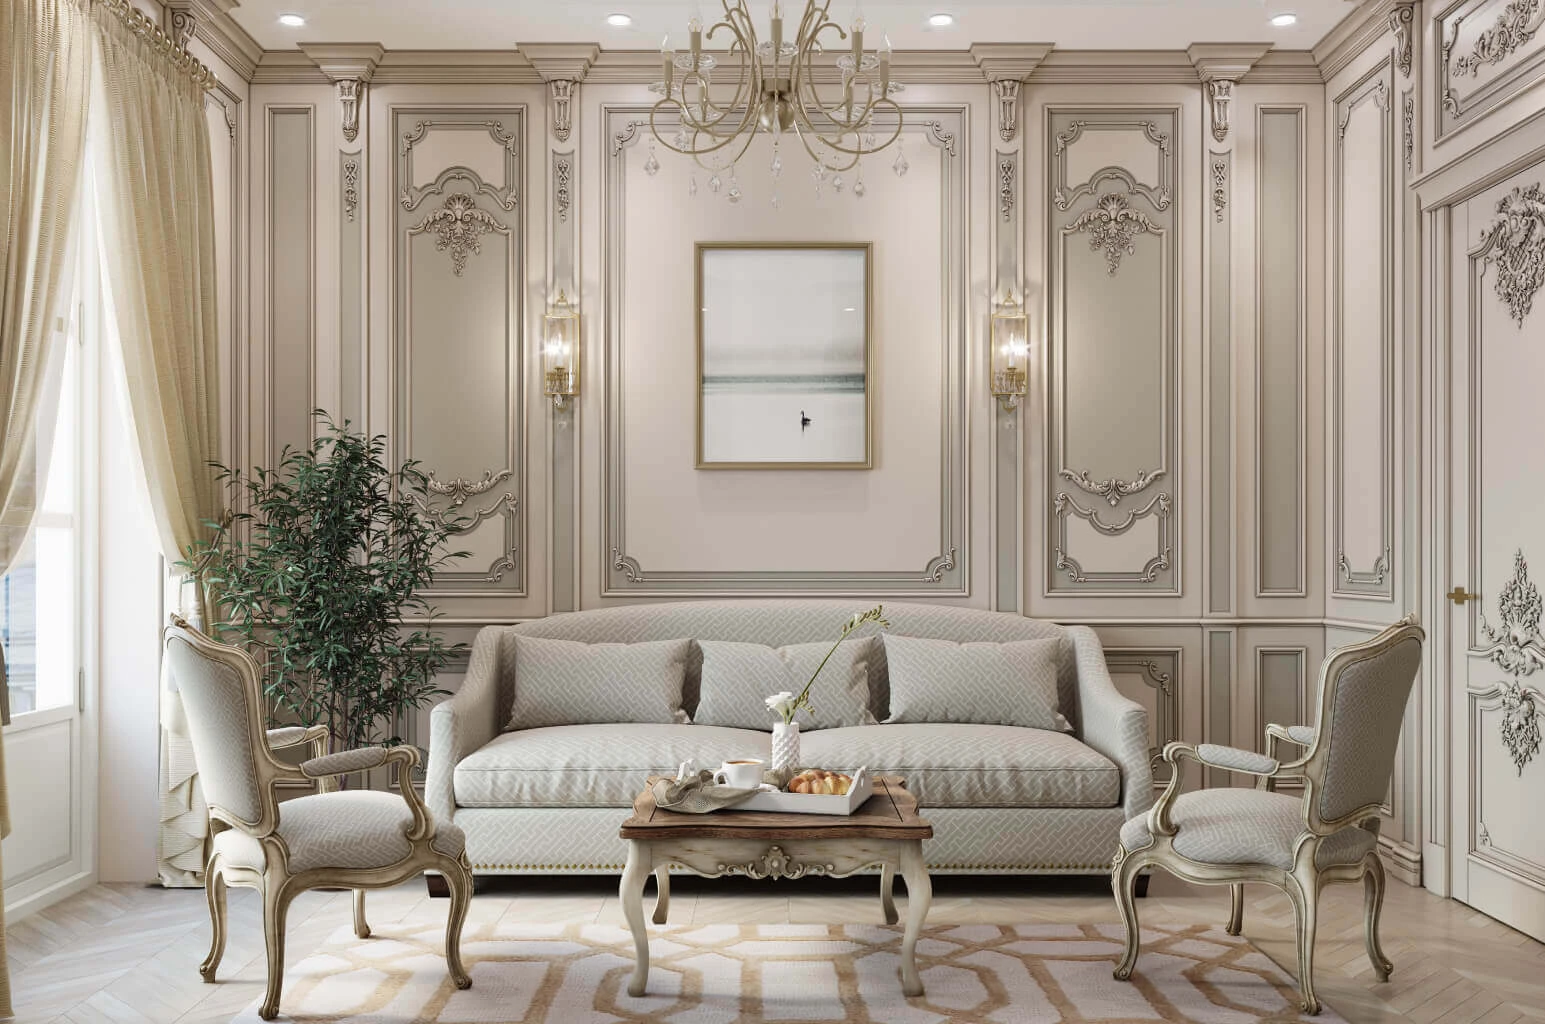
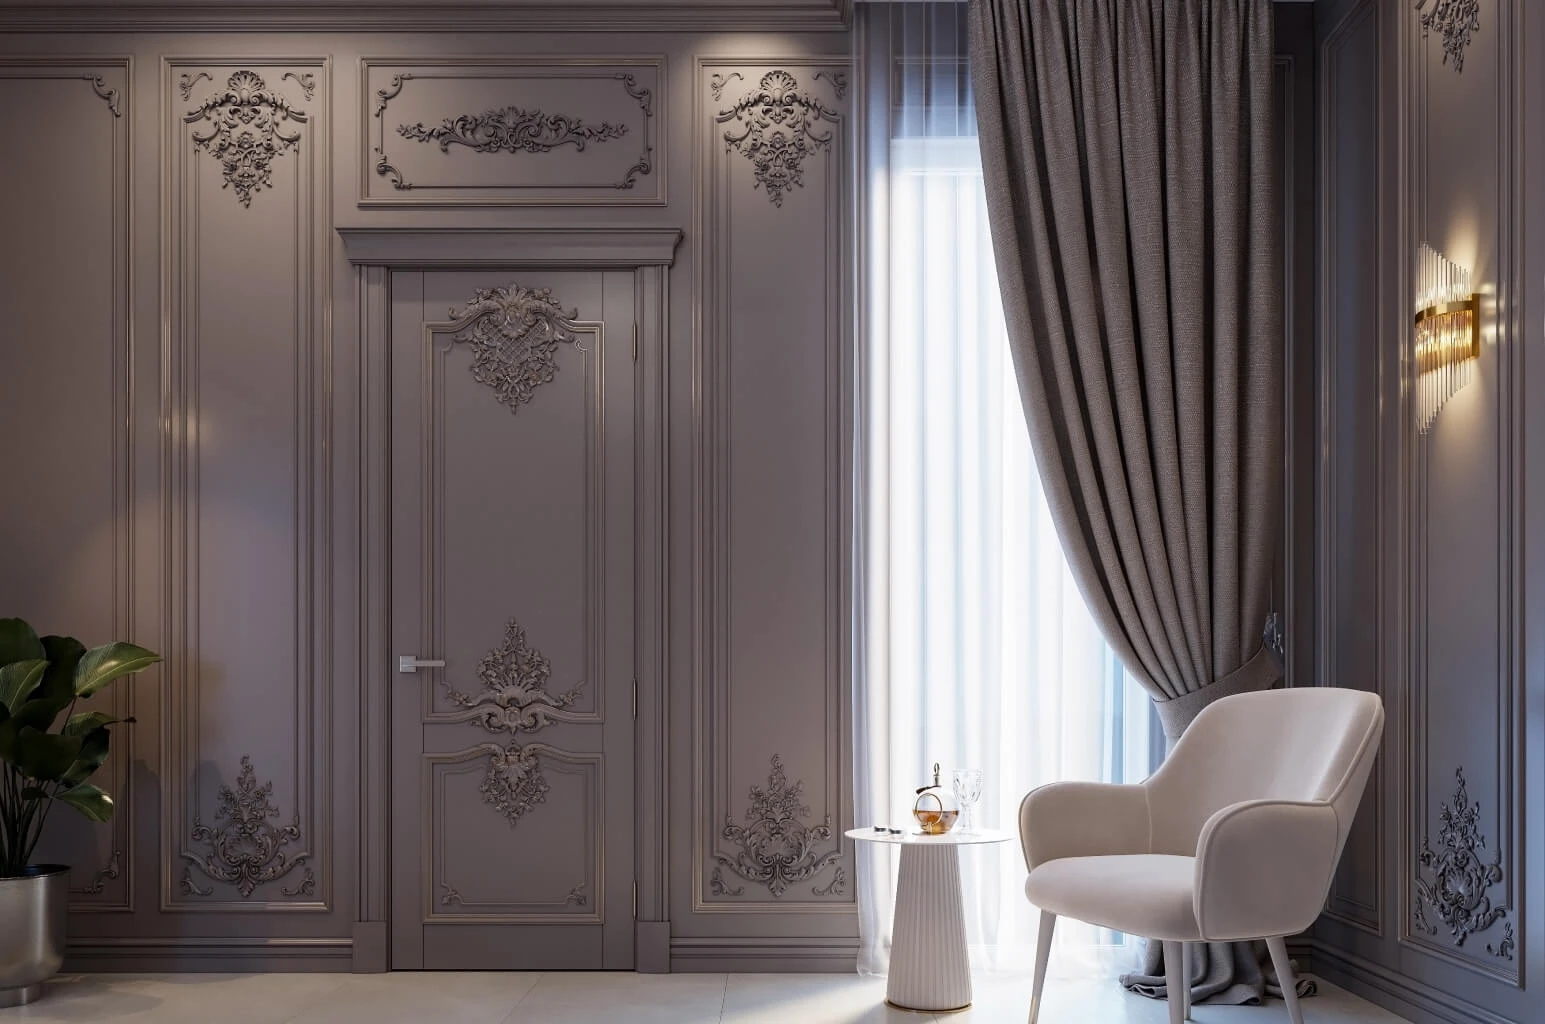
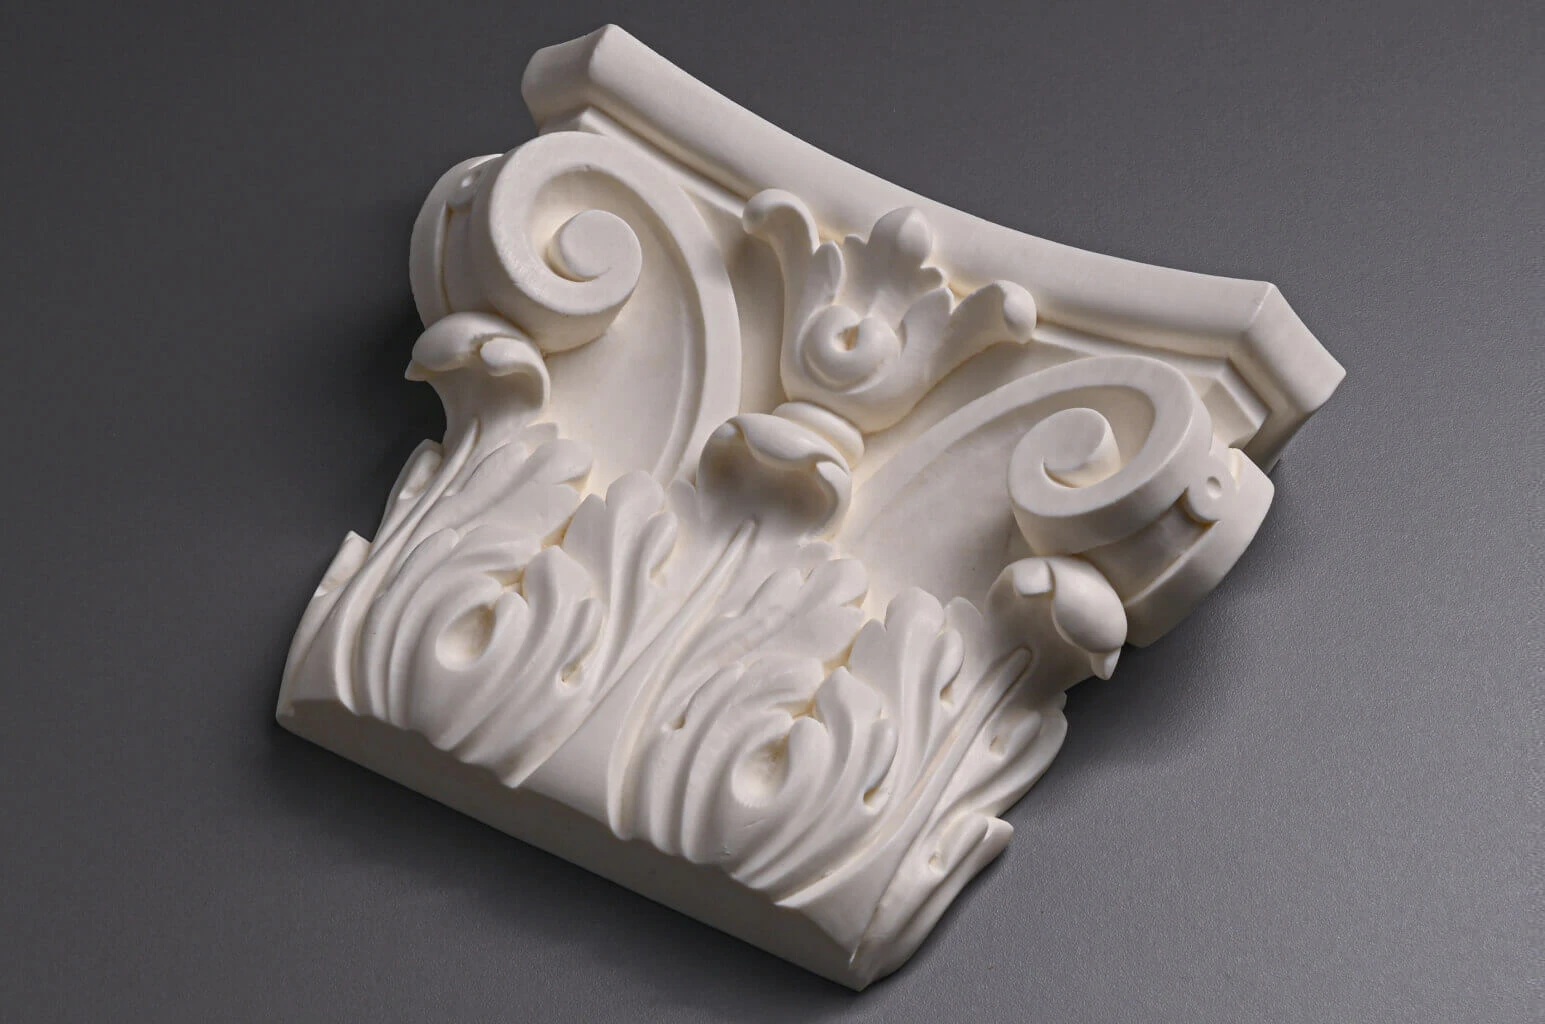
Stucco Decoration Advantages
Elegant and stylish
Impact-resistant
Detailed and meticulously crafted
Ecologically safe
Moisture-resistant
European material
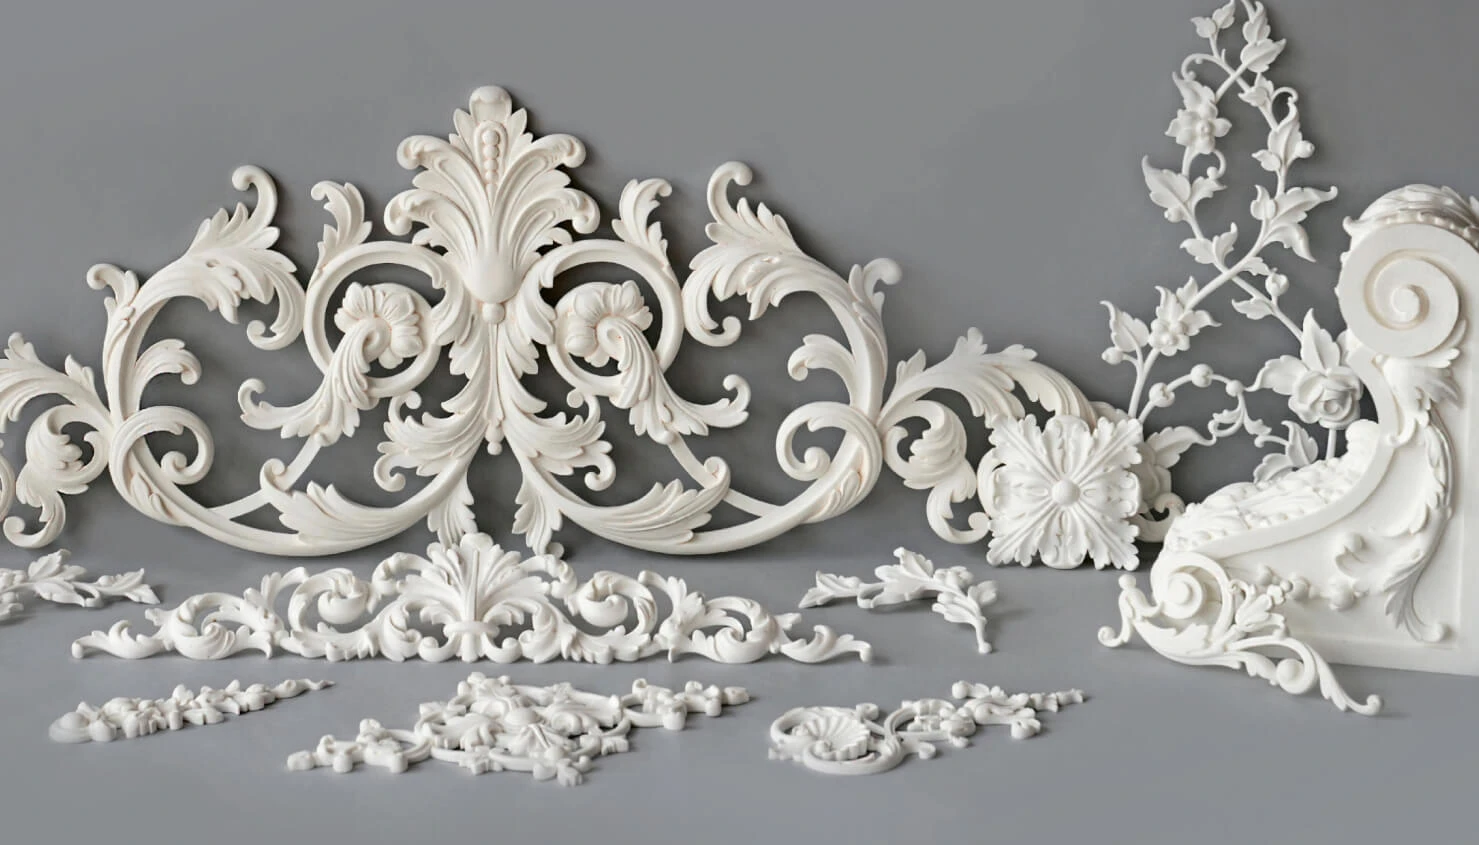
Create distinctive interiors with STAVROS polyurethane moldings and decorative accents. Add character to walls, ceilings, and furniture with details that complement your design.
Explore subtle molding profiles, ornate appliques, and decorative onlays. Choose elements that work together to create balanced compositions and a cohesive interior.
Bring your boldest ideas to life with STAVROS.
Polyurethane Moldings and Decorative Accents for Interiors
A molding line should look as though it belongs to the room. It needs to meet the surrounding trim cleanly, leave space for a light switch, and frame the furniture without crowding it. The same attention to fit matters on a cabinet door or around a ceiling light: a beautiful ornament still needs the right proportions.
STAVROS polyurethane moldings and decorative accents give you a choice of profiles, appliques, onlays, ceiling medallions, rosettes, and decorative corbels for interior projects. Use a slim molding to outline a wall panel, add a sculpted detail to a furniture front, or build a more elaborate ceiling composition around a light fixture.
Start with the surface you want to decorate, then compare the shape, dimensions, and material of the individual products. This makes it easier to buy a coordinated selection for a room, a furniture piece, or a larger design project. A product photograph introduces the pattern; the dimensions and mounting requirements tell you whether it will work.
Choose the Decorative Element That Fits the Job
Linear profiles, ornamental accents, and ceiling centerpieces play different roles. Knowing which one you need will narrow the selection before you begin comparing styles.
| Your project | Elements to explore | Details to check before ordering |
|---|---|---|
| Framing a painted wall or decorative insert | Polyurethane wall molding and compatible corner elements | Profile width, projection, stock length, corner fit, and the overall frame dimensions |
| Adding ornament to a cabinet, door, or furniture front | Polyurethane appliques and onlays | Available flat mounting area, orientation, thickness, and clearance around hardware |
| Decorating around a chandelier or pendant light | Polyurethane ceiling medallions and ceiling compositions | Overall dimensions, center opening, fixture canopy, and the number of supplied pieces |
| Introducing a small repeated accent | Decorative rosettes | Diameter or overall size, relief depth, spacing, and the surrounding profile |
| Adding a sculptural detail | Decorative polyurethane corbels, brackets, or capitals | Height, width, projection, mounting surface, and the role of the element in the design |
The material field on each product page matters. STAVROS also carries decorative products made from other materials, and a coordinated set can combine different components. Match the material to the location and finish you have planned.
Polyurethane Wall Molding: Plan the Layout Before the Cut
Wall frames work best when they respond to the actual room. A sofa, bed, fireplace surround, or console may establish the center of a composition more clearly than the midpoint between two corners. Doorways, outlets, switches, and wall lights then determine how much uninterrupted space remains.
Lay out those fixed features first. Decide where the top and bottom of each frame will sit, and keep the margins around related frames consistent. Painter's tape can help you judge the arrangement at full size before ordering. Stand in the doorway as well as directly in front of the wall; both views will be part of everyday use.
Profile width changes the effect considerably. A narrow bead creates a delicate outline, while a wider or more ornamental profile gives the frame more presence. STAVROS MLDPU-001 polyurethane molding is an example of a slim beaded profile that can be considered for finer interior and furniture detailing. Compare its dimensions with the surface you intend to frame.
Projection deserves equal attention. In a hallway, deep relief may interrupt a clear passage or compete with adjacent door trim. On a larger feature wall, that same depth can create a stronger shadow line. View the profile in relation to nearby surfaces, rather than judging its face pattern alone.
For ornamental corners, check the intended profile connection. Similar-looking pieces can have different widths, relief depths, or meeting points. A corner that belongs to a particular molding series should be matched to that series before the order is finalized.
Polyurethane Appliques and Onlays for Furniture and Doors
An ornament on a furniture front sits close to handles, drawer edges, rails, and neighboring doors. Those relationships make scale especially important. A small change in width or projection can determine whether a detail looks integrated or feels awkward in daily use.
Browse polyurethane appliques and onlays with a drawing or photograph of the intended surface beside you. Measure the usable flat area inside the existing frame. On a cabinet door, allow space for the handle and check the full opening movement. On a drawer, keep relief clear of the fingers that will reach for the pull.
Applique and onlay are overlapping product terms for applied ornamental details. The useful distinctions are the actual shape, orientation, and size: a vertical ornament suits a different space from a wide horizontal centerpiece or a corner accent. For example, NPU-501 provides a vertical ornamental format to consider for a narrow decorative area.
Polyurethane onlays can also introduce a repeated motif across a furniture project. A central ornament on a tall door might be echoed by smaller accents elsewhere. Keep that repetition selective. Giving every available surface an equally prominent ornament can make the overall design harder to read.
Where a composition uses mirrored details, confirm the left and right versions individually. Rotating an asymmetrical ornament does not always produce the intended pair. Record the product codes and quantities for each orientation so that the order matches the drawing.
Polyurethane Ceiling Medallions Around Light Fixtures
A ceiling medallion creates a transition between a light fixture and the ceiling around it. Its outline and relief should relate to the fixture, the ceiling height, and the room below. A broad, quiet design and a smaller, deeply ornamented design can have very different visual weight.
When choosing a polyurethane ceiling medallion, compare the overall dimensions with the light fixture and its ceiling canopy. Also check the center detail. A photographed opening may not tell you everything about how the selected product will fit around an existing fixture.
Some ceiling designs are compositions assembled from several elements. For those, work from the full layout dimensions as well as the dimensions of the individual pieces. Confirm what the set includes, how the pieces are positioned, and whether the proposed light location suits the arrangement.
Consider the rest of the ceiling before choosing the most elaborate option. Recessed lights, ventilation grilles, beams, and wall-to-ceiling trim can all affect placement. Leave enough visual space for the medallion's outline to remain legible.
The decorative element and the light fixture have different installation roles. The fixture needs its own suitable support; the medallion completes the appearance around it. Coordinate their installation sequence before finishing the ceiling.
Decorative Rosettes, Corbels, Brackets, and Capitals
Small accents can bring together a design without requiring a large central ornament. Polyurethane rosettes can provide repeated points of detail within a decorative arrangement. Judge their size against the surrounding molding and the space between adjacent elements. The same rosette can look restrained in one setting and oversized in another.
Decorative polyurethane corbels introduce more depth. Their side profile is particularly important, since much of their character comes from the way they project from the mounting surface. Compare front and side views, and consider how the element will look from the room's main approach.
The STAVROS decorative brackets and capitals collection includes different forms with different proportions. Polyurethane brackets should be selected by their documented purpose and mounting requirements. For any load-bearing application, obtain the relevant load and fixing specifications; appearance alone does not establish structural capacity.
A capital also needs a dimensional relationship with the surface beneath it. Check its footprint and projection rather than assuming that it will fit another element because the ornament is similar. A measured elevation makes these relationships easier to resolve before installation.
Build a Consistent Design Across Walls, Ceilings, and Furniture
A room does not need the same ornament on every surface to feel consistent. Often, one repeated profile, a related curve, or a shared finish provides enough connection. Choose the detail that will carry the most emphasis, then give the surrounding elements a quieter role.
For a traditional interior, that focal point might be an ornamental ceiling composition or a decorated furniture front. Wall frames can establish a regular rhythm around it. For a contemporary room, a simpler profile and generous spacing can define surfaces while leaving the furniture and lighting visually prominent.
Color changes how strongly relief is perceived. Painting a frame in the wall color allows light and shadow to define its edges. A contrasting finish makes the outline more explicit. Before committing to either approach, view a finish sample in the room's daylight and evening lighting.
Side lighting can make even a modest profile appear pronounced. Check wall lights, nearby windows, and the direction of ceiling lighting when choosing relief depth. A sample viewed flat on a desk will not reveal the same shadows as a piece mounted vertically.
A Wall Molding Layout You Can Order Accurately
A clear drawing turns a visual idea into a workable purchase list. Mark the outside dimensions of each frame, its position on the wall, and the intended profile. State whether your measurements refer to the outside edge, inside opening, or centerline of the molding; changing that reference changes the finished frame.
For example, a rectangular frame measuring 24 by 48 inches at its outside edges has a nominal perimeter of 144 inches, or 12 linear feet. That figure is a starting point for planning. The required stock pieces also depend on their supplied length, the cutting layout, saw cuts, and any pattern that must align at the corners.
Plan the longest pieces first and see which shorter sections can be cut from the remaining lengths. For several frames, a shared cutting plan may be more efficient than treating each frame as an isolated order. Check where joints would fall, particularly at eye level or on a strongly patterned profile.
List decorative corners and center ornaments separately from straight molding. For a repeating design, calculate the count of each component from the actual drawing. Keep dimensions in one unit system throughout the order so that conversions do not obscure a mismatch.
Coordinated Sets and Mixed Materials
A ready-designed arrangement can provide a useful starting point when you want the proportions of several elements to work together. Before selecting it, compare the complete arrangement with your available wall or ceiling area and check which components are included.
Some STAVROS decorative sets combine polyurethane ornaments with profiles or components made from MDF or polystyrene. The appearance can be coordinated while the preparation and finishing requirements differ. Read the component list and material information for the selected set.
This distinction matters when you plan adhesive, paint, and installation. It also matters in rooms with demanding conditions. Choose a finish and fixing method suitable for every component involved, and verify any environmental requirements against the individual product specifications.
If you intend to resize a composition, check the pattern before shortening a profile or changing the spacing. A design that depends on a centered ornament, mirrored corners, or a repeating motif may need a revised layout to keep those relationships intact.
Preparation, Installation, and Painting
Good installation begins with the receiving surface and the selected product's instructions. A loose coating, uneven substrate, or poorly supported mounting area can compromise the result, however carefully the visible pattern has been chosen. Resolve those conditions before laying out the finished decoration.
Check the material, surface finish, and preparation requirements of each component. NPU-501, for example, is listed with a primed surface for subsequent finishing. Use the information for your actual product to select a compatible adhesive and coating system. Preparation can differ when decorative elements are combined with existing painted furniture, wall finishes, or other materials.
Lay out the pieces and check their fit before fixing them permanently. Inspect corner connections, mirrored pairs, and the position of central ornaments. This is the point to adjust spacing or identify a missing component, while the arrangement is still easy to change.
Follow the specified fixing method for the product and mounting location. Size, projection, substrate, and installation position all affect what is appropriate. Allow the adhesive, joint treatment, primer, and finish to cure according to their own instructions rather than applying one assumed timetable to the whole assembly.
Test the proposed finish on a sample or an inconspicuous area. Examine it after drying, especially in recessed ornament where excess paint can soften fine detail. In a room with strong side lighting, an even finish and careful joints may be more noticeable than a small difference between two similar patterns.
Plan the Complete Cost Before You Buy
The price of an individual molding or ornament is one part of the project budget. Quantities, available stock lengths, cutting waste, finishing materials, and installation also affect the total. A design with many small frames can require more cuts and joints than a simpler arrangement of similar overall size.
Compare complete solutions. If one composition uses straight profiles with cut corners and another uses separate ornamental corners, price each component and consider the work involved. A lower price per piece does not necessarily produce the lower finished cost.
Before you buy polyurethane moldings, prepare a concise specification:
- Product code and selected size for every profile or ornament.
- Material and supplied finish for each component.
- Quantity in the unit used on the product page: individual pieces, stock lengths, or sets.
- Left and right versions, matching corners, and other required companion elements.
- The drawing or measurements that explain where the products will be used.
Photograph existing trim beside a ruler if you are matching an installed detail. Include a side view where possible. A face-on photograph often hides projection, and two profiles with a similar outline can meet the wall or another molding differently. These reference images make a product inquiry more precise.
Then confirm current availability, production timing where applicable, and the delivery arrangements for your destination. Keeping the full list together makes it easier to resolve a dimensional question or adjust a quantity before the order is placed.
Specifying Decor for a Multiroom Project
For an apartment, house, hotel, or restaurant, separate the order by room as well as by product code. A shared profile can run through several spaces, but each room may need different lengths, corner counts, and accent pieces. This helps the installation team identify where each item belongs.
Agree on a representative finished sample before repeating a treatment throughout the project. It can establish the expected color, sheen, joint appearance, and level of detail more clearly than separate photographs of the molding and paint.
Record substitutions carefully. A replacement that looks close in a catalog may differ in projection or in the position where it meets an existing corner. Update both the drawing and component list when a product changes so that the revised selection remains consistent.
Questions About Polyurethane Moldings and Decor
Are urethane moldings the same product category?
Urethane moldings is another term used in architectural product catalogs for this type of decorative product. When comparing options, check the listed material and intended application as well as the name. Similar terminology does not establish that two profiles have the same dimensions, finish, or installation requirements.
How do I choose between a molding and an onlay?
A molding creates a continuous line or frame. An onlay introduces a localized ornament. Choose a molding when the task is to define an edge or outline a surface; choose an onlay when the surface needs a central, corner, or repeated decorative accent. Many designs use both, with their proportions planned together.
Can I paint the decor to match my walls or furniture?
Check the supplied surface and finishing instructions for the product you select. Where a primed surface is specified, use a compatible finishing system and test the proposed color. If the project combines different materials, confirm that the preparation and coating are suitable for each one.
How much extra molding should I order?
Work from a cutting plan. The useful allowance depends on stock lengths, frame sizes, corners, pattern alignment, and the opportunity to reuse offcuts. A single percentage can conceal an inefficient cutting layout. First calculate the pieces you need, then include a considered allowance for the actual work.
Can interior polyurethane decor be used outdoors?
Exterior suitability must be established for the specific product and installation system. Check the manufacturer's application guidance before specifying an item outdoors or in another demanding location. The material name by itself does not establish the conditions for which a finished product is intended.
Find the Right STAVROS Details for Your Project
Shop STAVROS polyurethane moldings and decorative accents with your dimensions and layout in hand. Compare profiles for wall frames, appliques and onlays for furniture, ceiling medallions for light fixtures, and smaller accents for the details that connect them.
Once the proportions work, bring the selected product codes, sizes, and quantities into a single order list. A clear specification makes it easier to order the right pieces and carry the intended design through installation.
Order a call
Do you have questions? Fill out the form and send it.
Your request has been sent!
Our manager will contact you within 5 minutes