














Article Contents:
- Bathroom Molding Starts With Water Exposure
- Dry-Zone Bathroom Wall Molding
- Splash-Zone Trim
- Direct-Water Zones
- Is Polyurethane Good for Bathroom Molding?
- Polyurethane vs. MDF vs. Wood in Bathrooms
- Molding for Bathroom Walls
- Picture Frame Molding in a Bathroom
- How to Size Bathroom Wall Frames
- Bathroom Chair Rail
- Chair Rail for Bathroom Tile Transitions
- Bathroom Wainscoting Molding
- Bathroom Wall Molding Behind a Vanity
- Design the Mirror First
- Bathroom Mirror Molding
- Mirror Edge vs. Wall Molding
- Bathroom Sconces and Molding
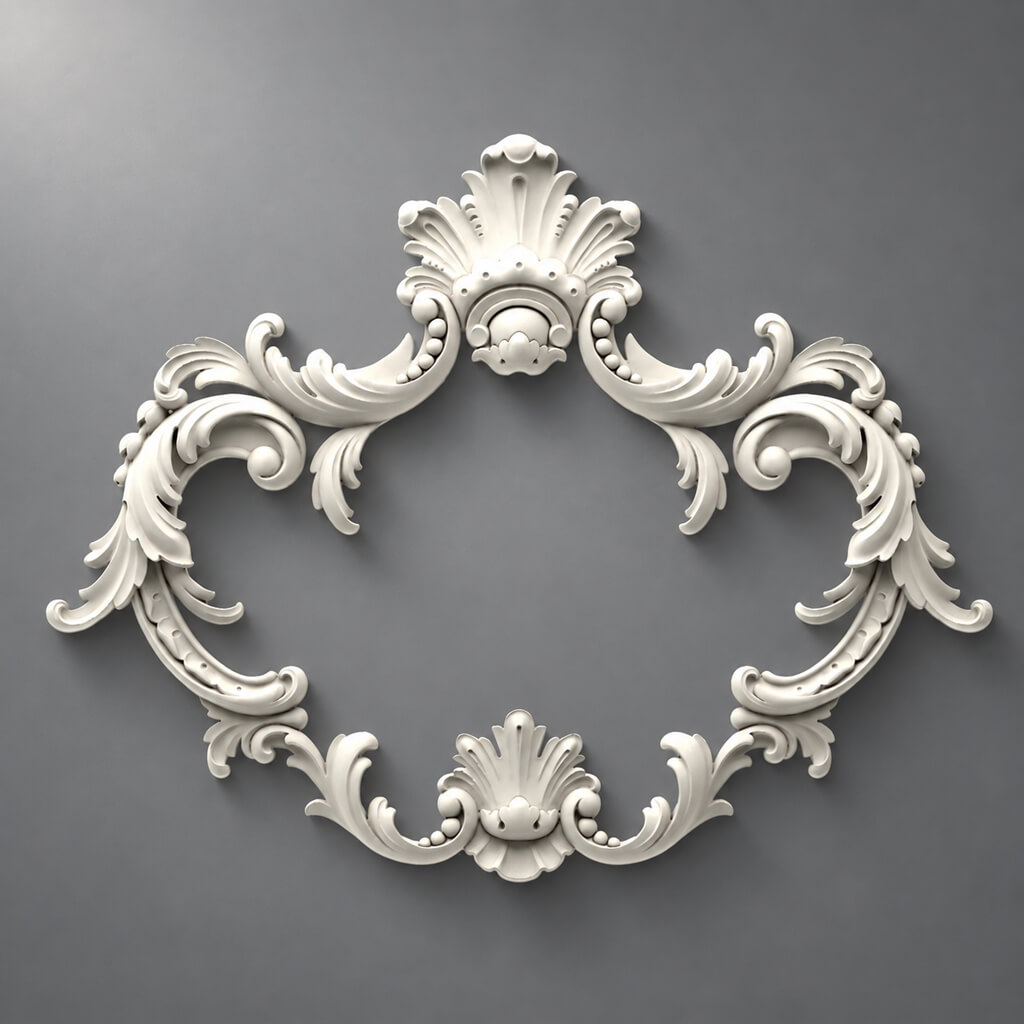
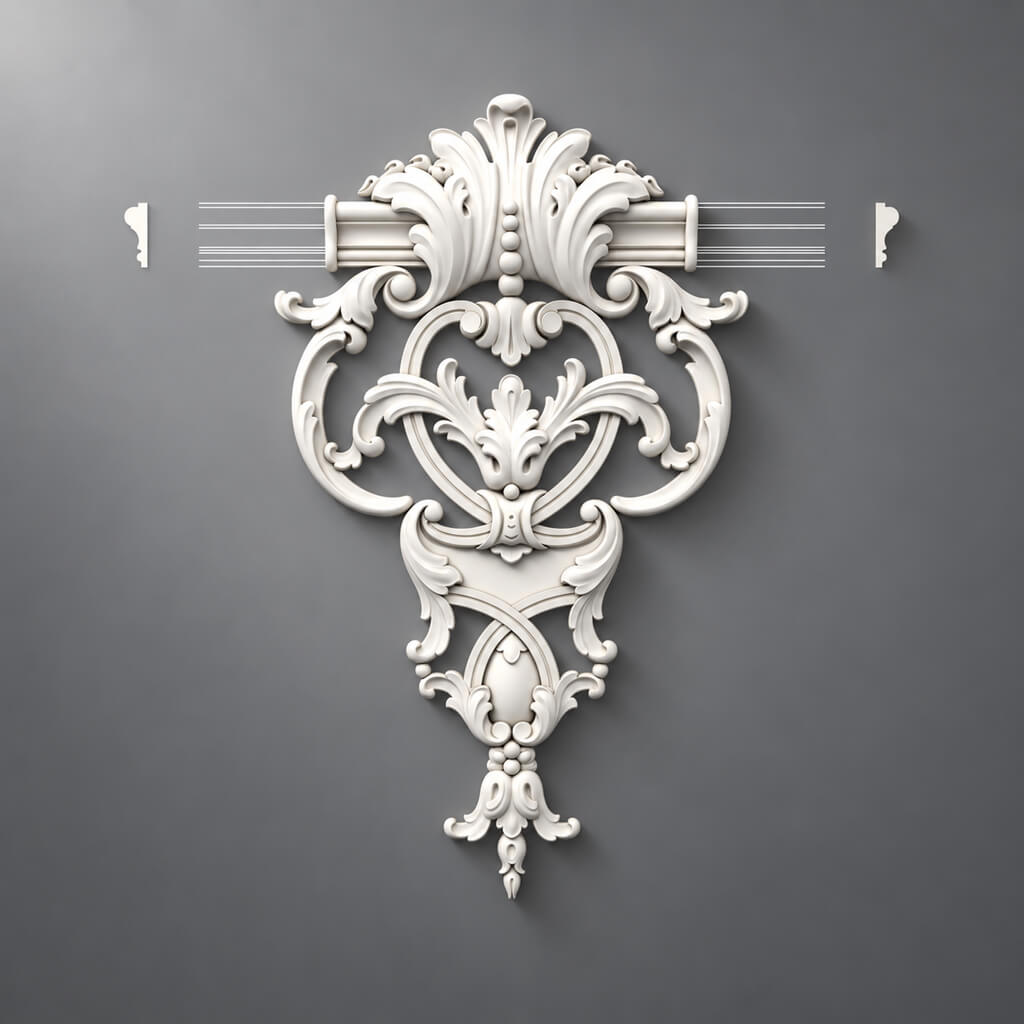
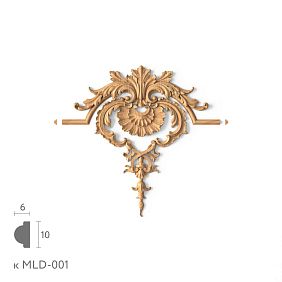
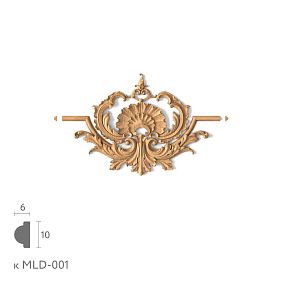
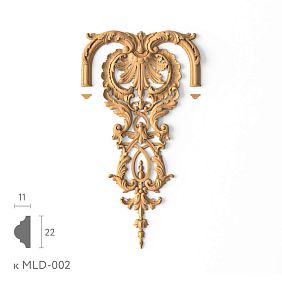
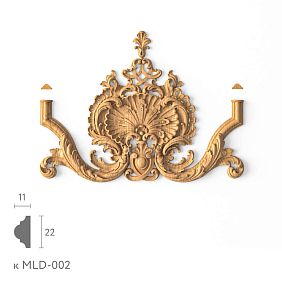
- Polyurethane Appliques in a Bathroom
- Do Not Put an Applique in Every Bathroom Panel
- Bathroom Molding Around a Door
- Bathroom Wall Molding and Tile
- Do Not Bridge a Movement Joint With Decorative Molding
- Bathroom Baseboard and Wall Molding
- Wood Baseboards in Bathrooms
- MDF Baseboards in Bathrooms
- Bathroom Crown Molding
- Crown Molding in Small Bathrooms
- Crown Molding in Large Bathrooms
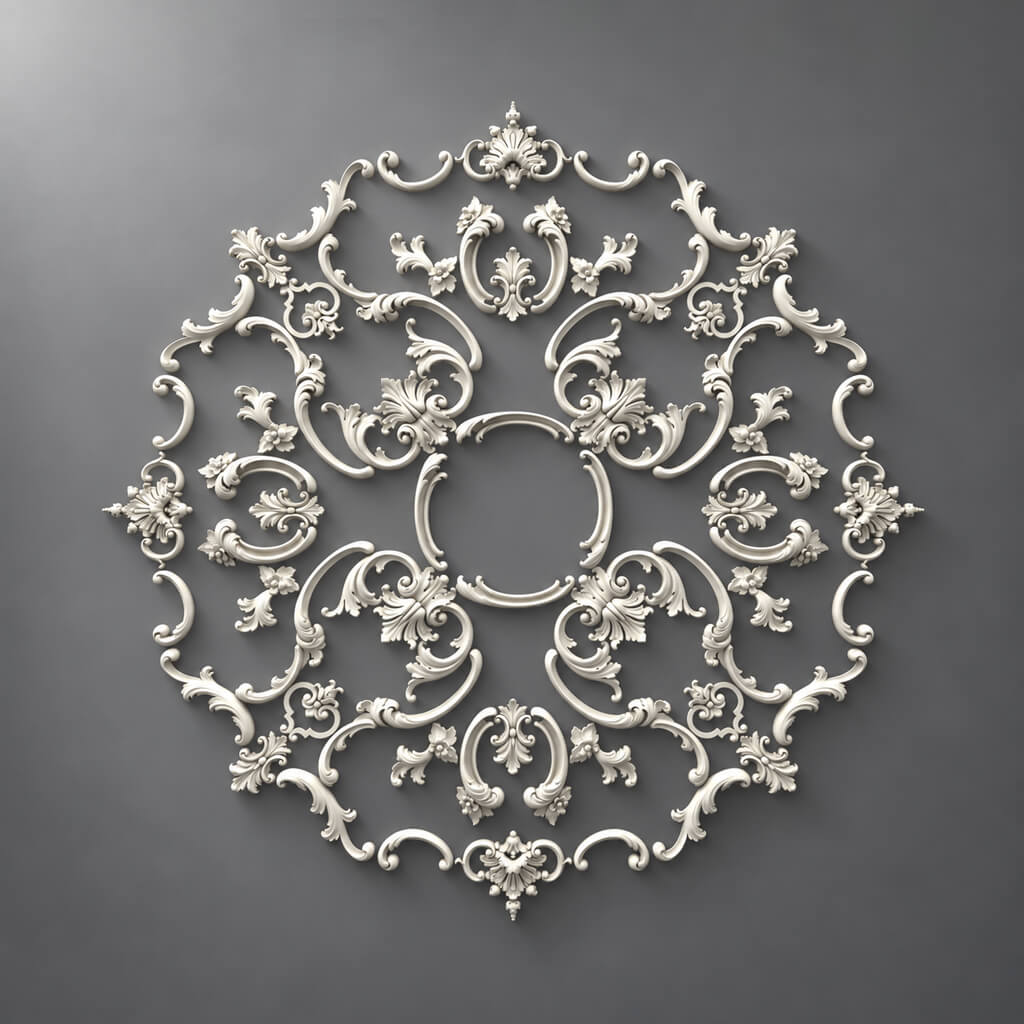
- Bathroom Ceiling Medallions
- Ceiling Medallion vs. Exhaust Fan
- Bathroom Ceiling Molding
- Bathroom Wall Trim Around a Freestanding Tub
- Bathroom Wall Trim Around a Built-In Tub
- Molding Around a Shower Exterior
- Decorative Molding Inside a Shower
- Bathroom Molding and Wallpaper
- Bathroom Molding and Paint
- Matte vs. Satin Bathroom Trim
- Monochromatic Bathroom Molding
- Contrasting Bathroom Molding
- Metallic Accents
- Do Not Gild Every Bathroom Molding Edge
- Classic Bathroom Molding
- Neoclassical Bathroom Molding
- Modern Bathroom Molding
- Transitional Bathroom Trim
- Art Deco Bathroom Molding
- Powder Room Molding
- Primary Bathroom Molding
- Small Bathroom Molding
- Large Bathroom Molding
- Bathroom Molding Around Built-In Cabinets
- Polyurethane Onlays on Bathroom Furniture
- Bathroom Wall Decor Kits
- Decorative Molding Corners in a Bathroom
- Bathroom Ventilation Is Part of the Trim Specification
- Condensation on Ceiling Trim
- Mold and Mildew Claims
- Installation Planning: Start With the Finished Wall Assembly
- Do Not Install Over Unresolved Moisture Damage
- Surface Preparation
- Adhesive Selection
- Mechanical Fastening
- Cutting Bathroom Molding
- Dry-Fit Before Adhesive
- Joint Finishing
- Caulk in Bathrooms
- Priming and Painting
- How to Lay Out Bathroom Wall Molding
- Centerline Strategy
- One Large Frame vs. Several Small Frames
- Double-Frame Bathroom Molding
- Symmetrical Bathroom Molding
- Asymmetrical Bathroom Molding
- Bathroom Molding Around Windows
- Bathroom Molding Around a Niche
- Bathroom Molding and Recessed Medicine Cabinets
- Bathroom Molding and Outlets
- Bathroom Electrical Safety
- Bathroom Molding and Heated Floors
- Bathroom Molding and Radiant Wall Systems
- Cleaning Decorative Bathroom Trim
- Simple Profiles Are Easier to Maintain
- Common Mistake #1: Treating the Whole Bathroom as One Moisture Zone
- Common Mistake #2: Calling Any Polyurethane Molding Waterproof Shower Trim
- Common Mistake #3: Using Standard MDF in Repeatedly Wet Areas
- Common Mistake #4: Installing Molding Before Tile Heights Are Final
- Common Mistake #5: Designing the Wall Before the Mirror
- Common Mistake #6: Letting Sconce Backplates Intersect Molding
- Common Mistake #7: Using Too Many Small Frames
- Common Mistake #8: Using Decorative Trim to Hide Moisture Damage
- Common Mistake #9: Ignoring Ventilation
- Common Mistake #10: Calling Crown Molding Polyurethane Without Checking the Product
- Common Mistake #11: Installing a Ceiling Medallion Without Checking the Fan and Fixture Layout
- Common Mistake #12: Putting Decorative Molding Inside the Shower by Default
- Common Mistake #13: Treating Paint as Waterproofing
- Common Mistake #14: Using Deep Relief Where Cleaning Is Difficult
- Common Mistake #15: Ignoring Baseboard and Tile-Base Transitions
- Common Mistake #16: Using Metallic Finish Everywhere
- Common Mistake #17: Choosing Profile Size From a Product Photo
- Common Mistake #18: Hiding Junction Boxes or Drivers Behind Trim
- Common Mistake #19: Assuming Every Wall Decor Kit Is 100% Polyurethane
- Common Mistake #20: Skipping a Full-Scale Tape Mockup
- Designer Checklist
- Installer Checklist
- SEO Intent: Bathroom Molding and Wall Trim
- Internal Linking Strategy
- Frequently Asked Questions
- Can you use molding in a bathroom?
- What type of molding is best for a bathroom?
- Is polyurethane molding waterproof?
- Can polyurethane molding go inside a shower?
- Can I use picture frame molding in a bathroom?
- Can I use chair rail in a bathroom?
- Can molding go above bathroom tile?
- Can I frame a bathroom mirror with molding?
- Can decorative onlays be used in a bathroom?
- Can I use MDF molding in a bathroom?
- Can I use wood trim in a bathroom?
- What is the best bathroom molding layout?
- Should bathroom molding match the wall color?
- Can bathroom molding be a contrasting color?
- Can I use crown molding in a bathroom?
- Can I use a ceiling medallion in a bathroom?
- Does polyurethane prevent mold?
- Do I need special bathroom paint on molding?
- Should bathroom wall molding be installed before or after tile?
- How do I calculate bathroom molding quantities?
- What makes bathroom molding look high-end?
- Layout 1: Vanity Wall With One Large Architectural Frame
- Layout 2: Tile Wainscot + Chair Rail + Painted Upper Wall
- Layout 3: Monochromatic Picture-Frame Molding in a Powder Room
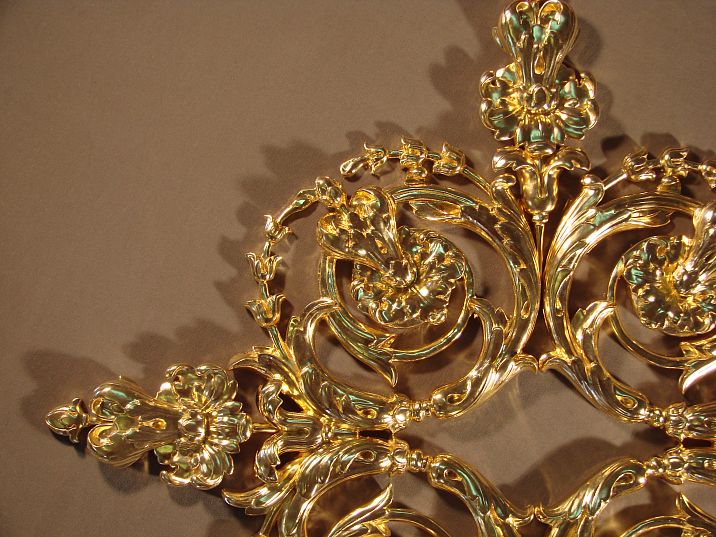
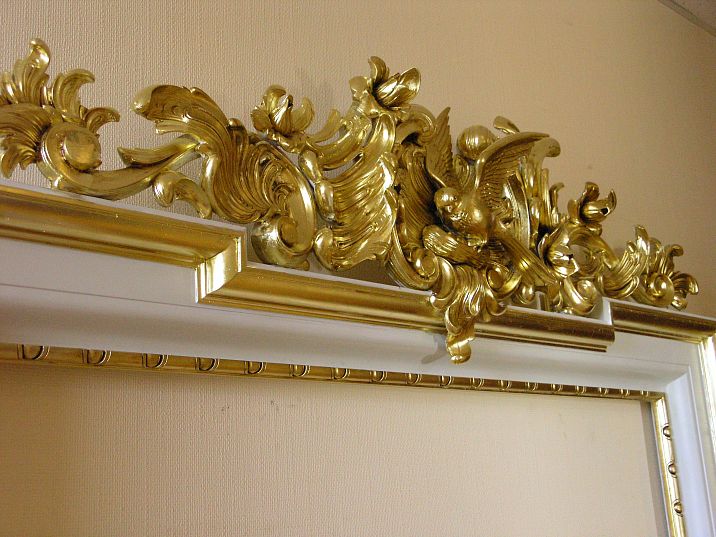

A bathroom can handle architectural detail beautifully, but it has to be designed differently from a living room or dining room. Steam, condensation, splashing, cleaning products, tile transitions, mirrors, vanity backsplashes, plumbing fixtures, and ventilation all affect where decorative trim can go and how it should be finished.
That is why a good bathroom molding plan starts with the wet conditions of the room, not with a decorative profile. The first question is not “Which molding looks best?” It is “Where will this molding actually live?” A frame around a vanity mirror, a chair rail on a dry wall, a ceiling medallion above a pendant, and trim inside a shower are four very different applications.
For the U.S. market, the relevant search language includes molding for bathroom, molding in bathroom, bathroom wall molding, bathroom wall trim, chair rail for bathroom, bathroom chair rail, picture frame molding bathroom, bathroom wainscoting molding, decorative molding for bathroom, and polyurethane molding bathroom. The broad terms are material-neutral, so the design should be selected first and the material specified second.
STAVROS offers several product groups that can be used in appropriate bathroom applications, including polyurethane wall molding, decorative polyurethane trim, polyurethane appliques and onlays, polyurethane ceiling medallions, and decorative molding corners. The important word is “appropriate”: the exact placement, substrate, adhesive, coating, and water exposure must match the product and the bathroom zone.

Bathroom Molding Starts With Water Exposure
Bathrooms are not uniformly wet. A wall beside the toilet, a vanity backsplash, the ceiling above a tub, and the inside of a shower enclosure do not experience the same conditions.
A practical way to design trim is to divide the room into three zones:
- Dry zone: walls and ceilings normally exposed only to ambient humidity.
- Splash zone: areas near sinks, tubs, and other fixtures where intermittent splashing is possible.
- Direct-water zone: shower interiors and other surfaces expected to receive repeated direct water exposure.
This distinction is more useful than calling the entire room “moist.”




Dry-Zone Bathroom Wall Molding
Dry walls are the easiest place to use architectural trim.
Good locations include:
- the wall behind a freestanding vanity;
- the wall opposite the shower;
- the toilet wall;
- a dressing or makeup zone;
- upper walls above wainscoting;
- the wall around a framed mirror;
- the wall around a decorative cabinet.
These areas can support bathroom wall molding, picture-frame layouts, decorative onlays, and other paint-grade architectural details when the wall surface and coating system are suitable.
Наша фабрика также производит:


Смотреть весь Каталог продукции
Splash-Zone Trim
Near a sink or tub, the trim may be exposed to droplets and frequent cleaning.
Here the entire assembly matters:
- molding material;
- wall substrate;
- adhesive;
- primer;
- paint or protective coating;
- sealed joints;
- ventilation;
- distance from faucets and spray.
A moisture-tolerant molding does not make the wall behind it waterproof.
Получить консультацию
Direct-Water Zones
Inside a shower or another continuously wet area, decorative molding should not be specified casually.
Direct-water assemblies are typically designed around waterproof substrates, membranes, tile, stone, solid-surface materials, sealed joints, and drainable details. If a decorative profile is proposed there, the exact product must be approved for that use and integrated into the waterproofing system.
Do not assume that a general-purpose polyurethane wall molding is automatically shower trim.
Is Polyurethane Good for Bathroom Molding?
Polyurethane can be a useful paint-grade decorative material in bathrooms, especially in dry and controlled splash zones. It is lightweight, can reproduce detailed relief, and can be painted to coordinate with the wall, vanity, tile, or ceiling.
But the statement “polyurethane is waterproof, therefore any PU molding can go anywhere in a bathroom” is too simplistic.
You still need to verify:
- the exact product;
- approved interior application;
- adhesive compatibility;
- surface preparation;
- paint system;
- joint treatment;
- cleaning method;
- direct-water exposure.
Polyurethane vs. MDF vs. Wood in Bathrooms
| Material | Best bathroom use | Main advantage | Main caution |
|---|---|---|---|
| Polyurethane | Paint-grade decorative molding, onlays, medallions in appropriate dry/splash locations | Detailed relief, lightweight, paintable | Not a complete waterproofing system; verify exact product and application |
| MDF | Paint-grade trim and panels in dry areas when specified for the environment | Clean geometry, economical paint-grade surface | Standard MDF is vulnerable to moisture; edges and substrate matter |
| Wood | Vanity-area trim, mirror frames, cabinetry, dry-zone millwork | Natural grain and premium millwork character | Movement, finish maintenance, and moisture exposure must be managed |
| Tile/stone | Wet and splash zones | Integrates with waterproof wall assemblies | Different installation logic from applied molding |
Molding for Bathroom Walls
Molding for bathroom walls can be used to create:
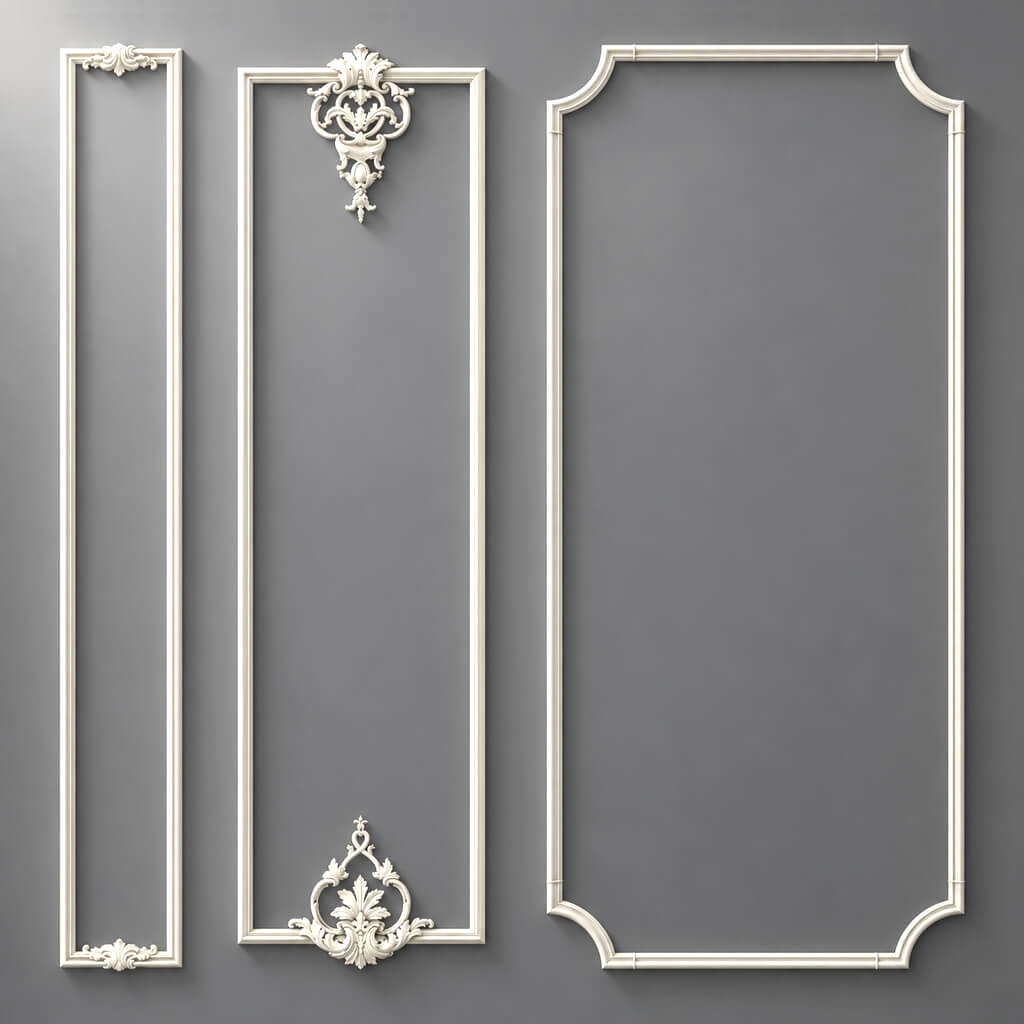
- picture-frame panels;
- vertical divisions;
- chair rails;
- wainscoting;
- mirror surrounds;
- tile transition lines;
- decorative borders around vanity zones;
- small classical compositions around sconces.
The layout should be driven by the fixtures and tile, not placed over them afterward.
Picture Frame Molding in a Bathroom
Picture frame molding bathroom layouts work particularly well on dry painted walls because they create architecture without adding a full panel system.
Good locations include:
- behind a freestanding tub, if outside the direct splash area;
- behind a vanity and mirror;
- on the toilet wall;
- on a long wall opposite the shower;
- inside a dressing area connected to the bath.
The best layouts use large, calm rectangles rather than many small frames.
How to Size Bathroom Wall Frames
Do not use one universal panel size.
Start with:
- wall width;
- ceiling height;
- vanity width;
- mirror width;
- sconce positions;
- tile height;
- baseboard or lower trim;
- door casing;
- switches and outlets.
Then build the wall geometry around those fixed elements.
Bathroom Chair Rail
A chair rail for bathroom can serve as the transition between two wall materials or two paint colors.
It can separate:
- tile below and paint above;
- wainscoting below and painted wall above;
- wallpaper above and paneling below;
- two paint colors;
- lower decorative paneling and a simpler upper wall.
Chair Rail for Bathroom Tile Transitions
When tile stops partway up the wall, the top edge needs a deliberate termination.
Possible solutions include:
- tile trim;
- stone cap;
- ceramic chair rail;
- painted molding in an appropriate dry/splash application;
- a reveal or shadow line.
Do not use decorative wall molding as a substitute for a properly detailed tile edge in a high-water area.
Bathroom Wainscoting Molding
Wainscoting can be beautiful in a bathroom when the lower wall assembly is appropriate for the moisture conditions.
The design may use:
- painted panel fields;
- applied molding;
- tile wainscoting;
- wood or MDF in dry zones;
- chair rail or cap molding at the top.
For general proportion and layout principles, see the STAVROS guide to wainscoting and chair rail molding.
Bathroom Wall Molding Behind a Vanity
The vanity wall is one of the best places for architectural trim because it already has a clear center.
The molding can organize:
- mirror;
- sconces;
- backsplash;
- faucet;
- vanity width;
- medicine cabinet;
- electrical devices.
Design the Mirror First
Before drawing molding frames, establish the mirror dimensions.
Then decide whether the wall molding should:
- frame the mirror directly;
- create a larger architectural frame around mirror and sconces;
- sit beside the mirror as vertical panels;
- form one large panel behind the vanity.
Bathroom Mirror Molding
A mirror can be framed in several ways:
- real wood or MDF frame;
- applied wall molding around the mirror;
- polyurethane decorative trim;
- decorative onlays at the top or corners;
- a wall panel field with the mirror centered inside it.
For a detailed framing guide, see mirror frame molding.
Mirror Edge vs. Wall Molding
Do not place molding so close to the mirror that cleaning becomes difficult or the reflection makes the spacing look accidental.
Either:
- use the trim as the actual mirror frame;
- or leave a clear wall margin between mirror and molding.
Bathroom Sconces and Molding
Sconces should be part of the wall elevation from the beginning.
Check:
- backplate width;
- electrical box location;
- mirror edge;
- molding frame width;
- distance to tile or backsplash;
- shadow from the profile.
A sconce backplate landing partly on molding and partly on flat wall usually looks like a coordination error.
Polyurethane Appliques in a Bathroom
Polyurethane appliques and onlays can be used to create focal decoration in appropriate dry or controlled splash areas.
Good locations include:
- above a mirror;
- inside one large wall panel;
- on a vanity or cabinet front, if the furniture construction and finish permit it;
- above a doorway;
- in a decorative ceiling composition.
Do Not Put an Applique in Every Bathroom Panel
Bathrooms are relatively small rooms. One or two focal details are usually enough.
Too much ornament competes with:
- tile pattern;
- plumbing fixtures;
- mirror;
- lighting;
- hardware;
- stone veining.
Bathroom Molding Around a Door
The bathroom door is often surrounded by painted casing. Wall molding should terminate cleanly at that casing rather than creating narrow leftover strips.
For door-opening relationships, see the STAVROS guide to open doorway trim and archway molding.
Bathroom Wall Molding and Tile
Tile and molding should be planned as one elevation.
Common strategies include:
- tile only in wet zones, molding on painted dry walls;
- tile wainscoting with a deliberate cap;
- full-height tile on one wall and molding on another;
- stone backsplash behind vanity, picture-frame molding beside it;
- molding above the tile line in a dry upper-wall zone.
Do Not Bridge a Movement Joint With Decorative Molding
Tile assemblies may require movement joints. Decorative trim should not lock or conceal a joint that needs to function.
Bathroom Baseboard and Wall Molding
The lower edge of the wall needs as much thought as the upper panel layout.
Depending on the room, the base may be:
- tile base;
- stone base;
- painted baseboard in dry areas;
- wood or MDF baseboard where appropriate;
- minimal reveal.
The wall molding should start above or terminate into that base intentionally.
Wood Baseboards in Bathrooms
Wood baseboards can work in dry, well-ventilated bathroom areas when the species, finish, installation, and moisture exposure are appropriate.
They should not be assumed suitable for standing water, repeated saturation, or shower conditions.
MDF Baseboards in Bathrooms
Standard MDF is sensitive to water, especially at cut edges and joints. If MDF is used, the exact product and finish system should be appropriate for the room conditions.
Do not rely on paint alone to compensate for unsuitable material in a wet location.
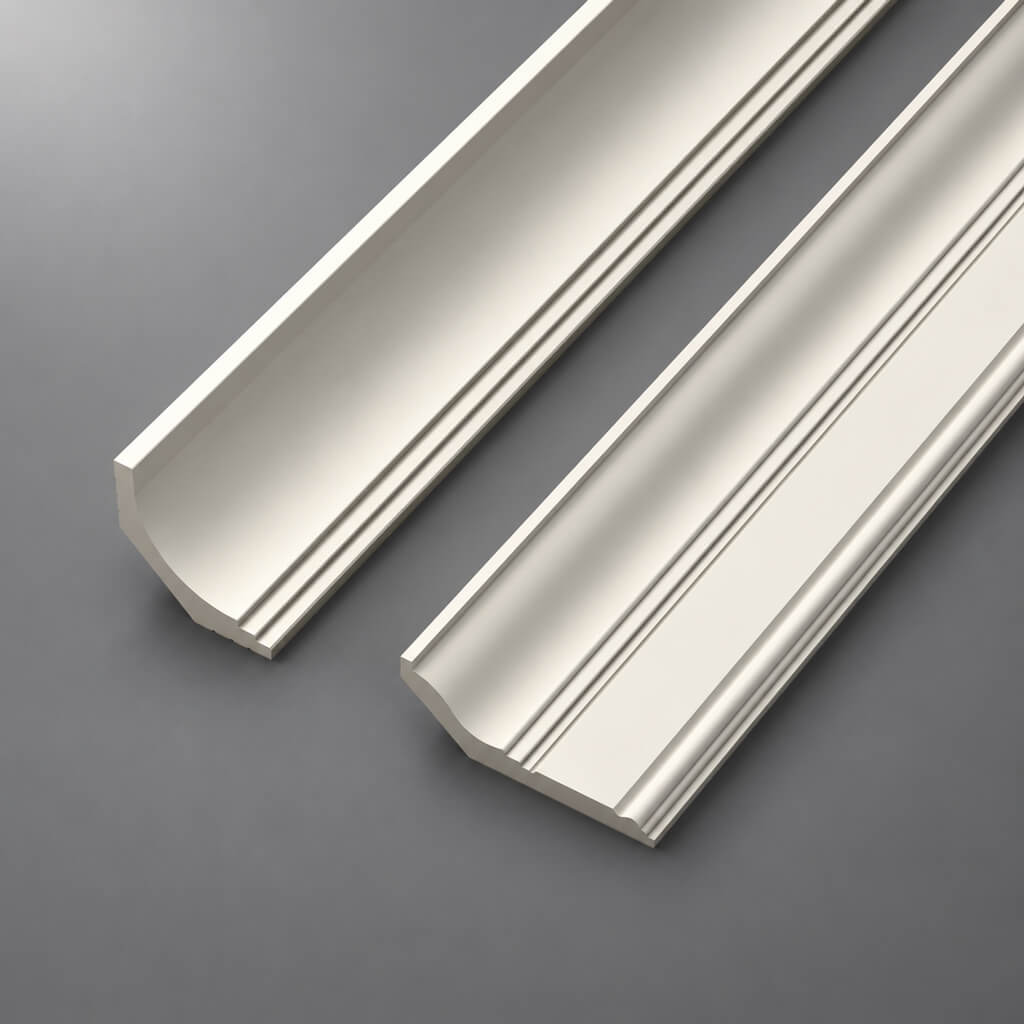
Bathroom Crown Molding
Crown molding can make a bathroom feel finished, but material accuracy matters.
The current STAVROS Crown Mouldings category is primarily HIWOOD polystyrene rather than polyurethane. That means a bathroom article should not casually describe every ceiling cornice as PU simply because other decorative products are polyurethane.
Crown can be useful in:
- powder rooms;
- primary bathrooms with painted ceilings;
- traditional bathrooms;
- Neoclassical bathrooms;
- rooms where wall paneling needs a strong upper boundary.
Crown Molding in Small Bathrooms
Small rooms benefit from restraint.
Use:
- narrow or medium-scale profiles;
- simple geometry;
- same-color ceiling and crown;
- limited ornament.
Oversized crown can visually reduce the wall height and make a compact bathroom feel crowded.
Crown Molding in Large Bathrooms
A larger primary bathroom can support:
- stronger crown;
- ceiling medallion;
- picture-frame wall molding;
- wainscoting;
- decorative mirror composition;
- larger-scale onlays.
But the room still needs one clear hierarchy. Do not make every surface equally ornate.
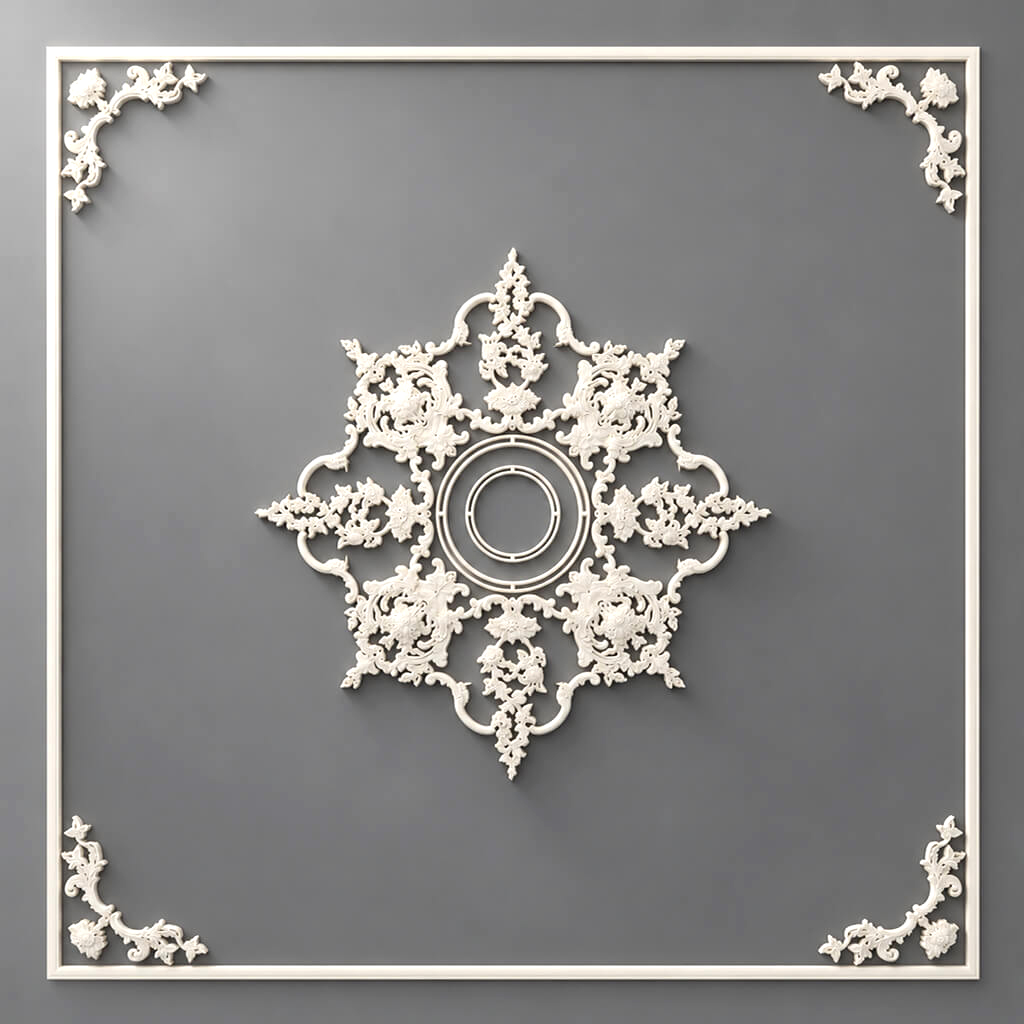
Bathroom Ceiling Medallions
A ceiling medallion can turn a pendant or chandelier into an architectural focal point.
STAVROS offers polyurethane ceiling medallions and rosettes that can be considered for appropriate bathroom ceiling applications.
Before using one, coordinate:
- fixture canopy;
- electrical box;
- ceiling height;
- vent fan;
- sprinkler or detector locations where applicable;
- condensation;
- paint system.
Ceiling Medallion vs. Exhaust Fan
The bathroom ceiling often contains more mechanical equipment than other rooms.
Do not place a decorative medallion so that it interferes with:
- exhaust fan grille;
- service access;
- airflow;
- recessed lighting;
- fire-protection devices.
Bathroom Ceiling Molding
For broader ceiling ideas, see the STAVROS guide to ceiling molding ideas.
In a bathroom, ceiling molding can include:
- perimeter crown;
- small ceiling frames;
- central medallion;
- decorative corners;
- simple paint-grade borders.
Keep the ceiling design coordinated with the wall architecture and ventilation equipment.
Bathroom Wall Trim Around a Freestanding Tub
A freestanding tub creates a natural focal wall, but the trim should stay outside zones of repeated direct splashing unless the full wall system is designed for it.
Good design options include:
- one large picture-frame panel behind the tub;
- two symmetrical wall panels;
- wall molding above tile wainscoting;
- one decorative applique centered above the tub;
- monochromatic molding and paint.
Bathroom Wall Trim Around a Built-In Tub
Built-in tubs often have tile or stone surrounds. In that case, decorative molding works best on adjacent painted walls or above the tiled zone rather than inside the wet surround.
Molding Around a Shower Exterior
Trim can be used on the wall outside the shower enclosure to frame the opening or coordinate with adjacent wall panels.
Do not project decorative molding into the shower door swing or create ledges that trap water.
Decorative Molding Inside a Shower
This should be treated as a specialty application, not a default use.
If the project requires decorative relief inside a shower, use materials and methods specifically approved for direct wet-area use and integrate them into the waterproofing system.
Standard interior molding should not be assumed suitable.
Bathroom Molding and Wallpaper
Wallpaper can work in selected bathroom areas when the room is well ventilated and the wall covering is appropriate for the environment.
Molding can frame wallpaper in:
- powder rooms;
- dry vanity walls;
- upper walls above wainscoting;
- toilet rooms separated from shower areas.
Do not let decorative trim trap moisture behind wallpaper edges.
Bathroom Molding and Paint
Paint is part of the performance system.
For bathroom wall trim, consider:
- primer compatibility;
- finish coat suitable for bathroom conditions;
- joint sealing;
- cleanability;
- sheen;
- mildew resistance where claimed by the paint manufacturer.
The molding substrate and coating should be selected together.
Matte vs. Satin Bathroom Trim
Matte finishes create a softer architectural effect, but they may be more difficult to wipe clean depending on the coating.
Satin or similar washable finishes can be practical on trim exposed to frequent cleaning.
The exact sheen should follow the paint system and design intent rather than a universal rule.
Monochromatic Bathroom Molding
Painting the molding and wall the same color is one of the best ways to make a small bathroom feel sophisticated without visual clutter.
The architecture appears through shadow rather than contrast.
This works especially well with:
- warm white;
- soft gray;
- sage;
- deep blue;
- charcoal;
- dusty rose;
- taupe.
Contrasting Bathroom Molding
Contrast makes every line more visible.
Examples include:
- white trim on navy walls;
- charcoal trim on warm white walls;
- deep green trim on light stone;
- cream molding on muted terracotta.
Use contrast only when the layout is precise.
Metallic Accents
Metallic paint or patina can be used selectively on:
- small appliques;
- mirror-frame details;
- ceiling medallion relief;
- ornamental corners.
Coordinate the metallic tone with faucets, hardware, sconces, and mirror frame.
Do Not Gild Every Bathroom Molding Edge
Metallic accents are strongest when they highlight a focal detail rather than outline every panel.
Classic Bathroom Molding
Classic bathrooms can support:
- symmetrical picture-frame molding;
- chair rail;
- wainscoting;
- decorative mirror frame;
- ceiling medallion;
- ornamental onlays;
- substantial crown.
For a broader trim hierarchy, see the STAVROS guide to classic interior trim and molding.
Neoclassical Bathroom Molding
Neoclassical bathrooms use classical structure with less ornament.
Use:
- large rectangular wall frames;
- simple molding profiles;
- one chair rail or wainscot cap;
- limited appliques;
- monochromatic paint;
- clean mirror geometry.
Modern Bathroom Molding
Modern bathrooms can still use molding if the profiles are simple.
Good approaches include:
- thin rectangular wall frames;
- same-color trim;
- one feature wall behind the vanity;
- minimal crown;
- simple chair rail at tile transition.
Transitional Bathroom Trim
Transitional bathrooms are ideal for mixing:
- clean tile;
- painted wall molding;
- simple crown;
- traditional vanity;
- contemporary fixtures.
Art Deco Bathroom Molding
Art Deco works well with bathrooms because mirrors, metal hardware, and geometric tile already support strong symmetry.
Use:
- stepped molding;
- geometric wall frames;
- black, cream, or jewel-tone paint;
- brass or bronze accents;
- strong mirror composition.
Powder Room Molding
Powder rooms often offer more freedom because they usually lack a shower or tub.
That makes them ideal for:
- full-height picture-frame molding;
- wallpaper + chair rail;
- ornamental appliques;
- dark paint;
- dramatic mirror frames;
- ceiling medallions;
- larger decorative profiles.
Primary Bathroom Molding
A primary bathroom often contains multiple zones, so use molding selectively.
One successful hierarchy might be:
- tile in shower and tub zones;
- picture-frame molding at vanity;
- wainscoting in dressing/toilet zone;
- simple crown around the room;
- one ceiling medallion over a central fixture.
Small Bathroom Molding
In a small bathroom, the goal is architecture without fragmentation.
Use:
- fewer, larger frames;
- thin molding;
- same-color paint;
- one focal mirror;
- limited crown;
- no unnecessary appliques.
Large Bathroom Molding
Larger rooms can support multiple zones and stronger trim, but the room should still have a clear hierarchy.
Use the vanity, tub, and central circulation axis to establish the main composition.
Bathroom Molding Around Built-In Cabinets
Cabinetry and wall trim should be coordinated before installation.
Check:
- cabinet crown;
- door swing;
- drawer clearances;
- molding projection;
- backsplash;
- wall panel geometry;
- baseboard.
Polyurethane Onlays on Bathroom Furniture
Decorative onlays can be used on vanity or cabinet fronts only when the furniture substrate, adhesive, finish, and moisture conditions are appropriate.
The decorative element should not interfere with:
- door operation;
- drawer pulls;
- cleaning;
- hinges;
- water exposure at the vanity edge.
Bathroom Wall Decor Kits
STAVROS also offers wall decor compositions that combine moldings and decorative elements into coordinated layouts.
For bathroom use, verify the exact material mix in the selected set. Some complete compositions can include more than one material, so the entire kit should not automatically be described as polyurethane.
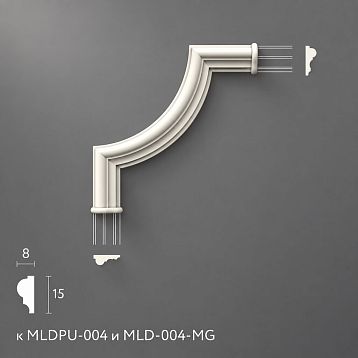
Decorative Molding Corners in a Bathroom
Decorative molding corners can turn a plain rectangular frame into a more formal composition.
Use them selectively around:
- mirror frames;
- vanity wall panels;
- one large feature panel;
- powder-room compositions.
Bathroom Ventilation Is Part of the Trim Specification
No decorative material performs well in a room with persistent condensation and poor ventilation.
Before adding wall or ceiling trim, confirm that the bathroom has appropriate ventilation for its size and use.
Condensation on Ceiling Trim
Ceiling surfaces near showers can experience repeated condensation.
Use compatible primer and paint, and avoid details that create difficult-to-clean horizontal ledges.
Mold and Mildew Claims
A molding material alone does not “prevent mold.” Mold growth depends on moisture, organic residue, surface conditions, ventilation, temperature, and cleaning.
Use accurate language: a non-absorptive decorative component may tolerate humid conditions better than an unsuitable porous material, but the bathroom still needs moisture control.
Installation Planning: Start With the Finished Wall Assembly
Bathroom trim installation is easier when the wall build-up is known before the molding is ordered.
Confirm:
- painted drywall thickness;
- tile thickness;
- stone or slab backsplash thickness;
- mirror depth;
- vanity position;
- cabinet projection;
- door casing;
- baseboard or tile base;
- ceiling crown;
- electrical devices.
Those dimensions determine whether the trim lands flush, projects too far, or creates awkward ledges.
Do Not Install Over Unresolved Moisture Damage
Decorative molding should not be used to cover:
- active leaks;
- damp drywall;
- mold growth;
- peeling paint;
- softened MDF;
- failed caulk;
- condensation damage.
Repair the moisture source and substrate first.
Surface Preparation
The substrate should be clean, dry, stable, and compatible with the installation system.
Depending on the wall, preparation may include:
- cleaning;
- degreasing;
- repairing holes;
- sanding;
- priming;
- removing loose coating;
- checking tile edge alignment.
Adhesive Selection
Use an adhesive compatible with the exact molding and substrate.
A bathroom may involve:
- painted drywall;
- primed plaster;
- tile;
- stone;
- MDF;
- wood;
- polyurethane trim.
One adhesive should not automatically be assumed suitable for all of them.
Mechanical Fastening
Wood and MDF trim may use mechanical fastening depending on the profile and wall construction.
Polyurethane applied molding is commonly adhesive-mounted, but temporary support may be useful while the adhesive cures.
Cutting Bathroom Molding
For straight picture-frame molding, precise miters are common.
But not every joint needs a 45-degree miter.
Depending on the style, trim may use:
- mitered corners;
- decorative corner blocks;
- butt joints;
- returns;
- series-specific corner elements.
Dry-Fit Before Adhesive
Before bonding the first frame, dry-fit one complete rectangle.
Check:
- corner closure;
- frame squareness;
- spacing from mirror;
- distance from tile;
- sconce clearance;
- relationship to vanity;
- baseboard or chair rail.
Joint Finishing
Small paint-grade joints can be finished with materials compatible with the molding and coating system.
Large gaps usually indicate bad cuts or a poor layout. Recut them instead of building the joint with filler.
Caulk in Bathrooms
Caulk is useful at certain trim-to-wall transitions, but it is not a substitute for waterproofing.
Use the correct sealant for the location and finish system, especially near splash zones.
Priming and Painting
After installation, prepare the trim according to the product and coating instructions.
For paint-grade compositions:
- complete installation;
- finish approved joints;
- spot-prime repaired areas if required;
- apply compatible finish coats;
- allow full cure before repeated cleaning or high humidity exposure.
How to Lay Out Bathroom Wall Molding
Start with the wall elevation, not with loose measurements.
Draw:
- wall boundaries;
- vanity;
- mirror;
- sconces;
- backsplash;
- tile;
- tub;
- shower glass;
- door;
- toilet;
- switches and receptacles;
- chair rail;
- baseboard;
- crown.
Then add molding around those fixed objects.
Centerline Strategy
The controlling centerline may be:
- center of the vanity;
- center of the mirror;
- center of a freestanding tub;
- center of a wall;
- center between paired sconces.
Choose one primary axis rather than forcing everything to align to different centers.
One Large Frame vs. Several Small Frames
Bathrooms usually benefit from fewer, larger frames.
Many small frames can conflict with mirrors, fixtures, tile, and plumbing.
Double-Frame Bathroom Molding
A double frame can work in a large powder room or formal primary bath, but use hierarchy:
- larger outer profile;
- smaller inner profile;
- clear negative space between them.
Symmetrical Bathroom Molding
Symmetry is easiest around:
- double vanities;
- centered mirrors;
- freestanding tubs;
- paired sconces;
- formal toilet rooms.
Asymmetrical Bathroom Molding
Asymmetry can be more realistic in rooms with:
- off-center vanity;
- window beside mirror;
- shower on one side;
- unequal wall lengths;
- built-in linen cabinet.
Balance visual weight rather than forcing mirror symmetry.
Bathroom Molding Around Windows
Window trim in a bathroom needs coordination with humidity, tile, shower location, and sill conditions.
For interior casing logic, see interior window trim molding.
Bathroom Molding Around a Niche
A decorative niche can be framed with molding in a dry wall, but niches inside showers are wet-area assemblies and should be detailed with waterproofing and tile/stone trim rather than generic decorative molding.
Bathroom Molding and Recessed Medicine Cabinets
A recessed cabinet changes wall depth and may need a custom trim detail around the face frame.
Check door swing and mirror thickness before adding molding around it.
Bathroom Molding and Outlets
Do not let a molding line pass directly through:
- GFCI receptacles;
- switch plates;
- thermostats;
- controls;
- lighting backplates.
Shift the frame or relocate the device during design when possible.
Bathroom Electrical Safety
Electrical work near sinks, tubs, and showers is governed by applicable electrical rules and product requirements. Decorative trim should never obstruct required access or clearances.
Bathroom Molding and Heated Floors
Heated flooring usually does not directly affect wall molding, but baseboard attachment should avoid damaging concealed heating components where they extend near wall edges.
Bathroom Molding and Radiant Wall Systems
If the wall contains heating elements, mounting depth and fasteners should be coordinated before installation.
Cleaning Decorative Bathroom Trim
Deep ornamental relief collects more dust and residue than a simple profile.
For frequently cleaned bathrooms, consider:
- profile depth;
- paint sheen;
- location relative to faucet spray;
- ease of wiping;
- cleaner compatibility.
Simple Profiles Are Easier to Maintain
Highly carved trim can be beautiful in a powder room but less practical beside a busy vanity.
Use ornament where it can be appreciated without creating a cleaning problem.
Common Mistake #1: Treating the Whole Bathroom as One Moisture Zone
Dry, splash, and direct-water areas need different solutions.
Common Mistake #2: Calling Any Polyurethane Molding Waterproof Shower Trim
Verify the exact product and wet-area assembly.
Common Mistake #3: Using Standard MDF in Repeatedly Wet Areas
Standard MDF is vulnerable at edges and joints.
Common Mistake #4: Installing Molding Before Tile Heights Are Final
Tile is one of the main datums in a bathroom.
Common Mistake #5: Designing the Wall Before the Mirror
Mirror and sconces usually control the vanity wall.
Common Mistake #6: Letting Sconce Backplates Intersect Molding
Coordinate the electrical boxes first.
Common Mistake #7: Using Too Many Small Frames
Bathrooms already contain many visual objects.
Common Mistake #8: Using Decorative Trim to Hide Moisture Damage
Fix the building problem before decorating.
Common Mistake #9: Ignoring Ventilation
Persistent condensation shortens the life of coatings, joints, and substrates.
Common Mistake #10: Calling Crown Molding Polyurethane Without Checking the Product
The current STAVROS crown category is primarily HIWOOD polystyrene.
Common Mistake #11: Installing a Ceiling Medallion Without Checking the Fan and Fixture Layout
Bathrooms have crowded ceilings.
Common Mistake #12: Putting Decorative Molding Inside the Shower by Default
Direct-water zones need dedicated wet-area construction.
Common Mistake #13: Treating Paint as Waterproofing
Paint is a finish, not a substitute for a waterproof membrane where one is required.
Common Mistake #14: Using Deep Relief Where Cleaning Is Difficult
Match profile complexity to maintenance.
Common Mistake #15: Ignoring Baseboard and Tile-Base Transitions
The lower wall is part of the composition.
Common Mistake #16: Using Metallic Finish Everywhere
Use gilding or patina as an accent.
Common Mistake #17: Choosing Profile Size From a Product Photo
Judge the molding at full room scale.
Common Mistake #18: Hiding Junction Boxes or Drivers Behind Trim
Serviceable components need access.
Common Mistake #19: Assuming Every Wall Decor Kit Is 100% Polyurethane
Verify the exact material mix.
Common Mistake #20: Skipping a Full-Scale Tape Mockup
Painter's tape can reveal proportion problems before you buy material.
Designer Checklist
Before specifying bathroom molding, confirm:
- dry, splash, and direct-water zones;
- wall substrate;
- tile and stone thickness;
- vanity dimensions;
- mirror dimensions;
- sconce locations;
- backsplash;
- chair rail height;
- wainscoting height;
- baseboard or tile base;
- crown or ceiling trim;
- ventilation;
- product material;
- adhesive;
- primer and paint;
- cleaning requirements;
- full-scale layout.
Installer Checklist
Before cutting or bonding trim, verify:
- moisture problems resolved;
- substrate clean and dry;
- tile work complete or final dimensions confirmed;
- vanity and mirror locations fixed;
- electrical boxes final;
- trim layout marked;
- adhesive compatible;
- test corners accepted;
- coating sequence known;
- wet-zone limitations understood.
SEO Intent: Bathroom Molding and Wall Trim
This article should own the bathroom-specific molding cluster rather than the broad wall-molding cluster.
Primary and supporting phrases include:
- molding for bathroom;
- molding in bathroom;
- bathroom wall molding;
- bathroom wall trim;
- chair rail for bathroom;
- bathroom chair rail;
- picture frame molding bathroom;
- bathroom wainscoting molding;
- decorative molding for bathroom;
- polyurethane molding bathroom.
The broad 880-volume cluster is material-neutral, so material-specific terms should support the article rather than redefine it.
Internal Linking Strategy
Use bathroom wall molding for appropriate paint-grade PU frame applications.
Use decorative polyurethane trim for ornamental linear details.
Use polyurethane appliques and onlays for focal relief.
Use polyurethane ceiling medallions for appropriate chandelier or pendant compositions.
Use decorative molding corners for compatible frame details.
Use wall decor compositions when discussing complete decorative layouts, with material verification for each set.
Frequently Asked Questions
Can you use molding in a bathroom?
Yes. Molding works well in dry and appropriate splash zones when the material, adhesive, substrate, primer, paint, and ventilation are suitable for the environment.
What type of molding is best for a bathroom?
There is no single best material. Polyurethane is useful for paint-grade decorative trim, tile or stone works well in wet zones, and wood or MDF can work in appropriate dry areas with the correct finish and construction.
Is polyurethane molding waterproof?
Do not treat that statement as a blanket installation rule. The exact product and the full wall assembly must be appropriate for the water exposure. A decorative PU profile does not waterproof the wall behind it.
Can polyurethane molding go inside a shower?
Only if the exact product and installation system are approved for direct wet-area use. General interior molding should not be assumed shower-safe.
Can I use picture frame molding in a bathroom?
Yes. It works especially well on dry painted walls, powder rooms, vanity walls, and walls outside direct splash zones.
Can I use chair rail in a bathroom?
Yes. A chair rail can divide tile and paint, wainscoting and upper wall, or two paint treatments when the material and location are appropriate.
Can molding go above bathroom tile?
Yes, especially in a dry upper-wall zone. Make sure the tile edge and molding transition are intentionally detailed.
Can I frame a bathroom mirror with molding?
Yes. Molding can frame the mirror directly or create a larger architectural frame around the mirror and sconces.
Can decorative onlays be used in a bathroom?
Yes, in appropriate locations and with compatible adhesive and finish. Avoid placing them where repeated direct water makes maintenance difficult.
Can I use MDF molding in a bathroom?
Only where the exact MDF product, edge sealing, finish, and moisture exposure are appropriate. Standard MDF should not be treated as a wet-area material.
Can I use wood trim in a bathroom?
Yes, particularly in dry vanity, mirror, door, or cabinet areas, but species, finish, ventilation, and water exposure should be considered.
What is the best bathroom molding layout?
Usually one that aligns with the vanity, mirror, sconces, tile height, and major wall axis. Large calm frames are often more successful than many small panels.
Should bathroom molding match the wall color?
It can. Same-color molding creates subtle shadow and works especially well in small bathrooms and Modern Classic interiors.
Can bathroom molding be a contrasting color?
Yes. Contrast makes the geometry more graphic, but it also exposes layout and joint errors more clearly.
Can I use crown molding in a bathroom?
Yes, when the profile, material, coating, and room conditions are appropriate. Verify the actual crown material rather than assuming it is polyurethane.
Can I use a ceiling medallion in a bathroom?
Yes, where the ceiling, fixture, ventilation, electrical layout, and product application are appropriate.
Does polyurethane prevent mold?
No material alone prevents bathroom mold. Moisture control, ventilation, cleaning, and the complete surface assembly matter.
Do I need special bathroom paint on molding?
Use a coating system suitable for the room conditions and compatible with the trim material. Follow the paint manufacturer's guidance.
Should bathroom wall molding be installed before or after tile?
The design should be coordinated before either is installed. The actual sequence depends on whether the molding meets, overlaps, or remains separate from the tile.
How do I calculate bathroom molding quantities?
Draw the complete wall elevation, calculate every frame perimeter and straight run, then optimize the cuts against actual stock lengths and add a practical allowance based on the cut plan.
What makes bathroom molding look high-end?
Precise layout, clean joints, coordination with tile and fixtures, restrained ornament, appropriate material, and good lighting matter more than using a large number of decorative pieces.
Final Design Principle: Bathroom Trim Must Work With the Room, Not Against It
Bathroom molding succeeds when decoration and building performance are designed together.
The mirror establishes a focal point. The vanity sets scale. Tile defines wet zones. A chair rail can create a clean transition. Picture-frame molding can organize dry walls. Polyurethane appliques can add focal relief. Crown can complete the upper edge. A ceiling medallion can connect a decorative fixture to the architecture.
But each element has to respect moisture, cleaning, ventilation, tile, electrical devices, and the real water exposure of the room.
Start with molding for bathroom walls in suitable dry or controlled splash zones. Add polyurethane decorative elements only where they strengthen a focal composition. Use ceiling medallions when the lighting plan supports them. Keep direct-water areas governed by dedicated wet-area materials and waterproof construction.
A beautiful bathroom is not the one with the most molding. It is the one where every decorative line looks intentional and every material is used where it actually belongs.
Three Reliable Bathroom Molding Layouts
Layout 1: Vanity Wall With One Large Architectural Frame
Center the vanity, mirror, and sconces first. Then build one large rectangular molding frame around the entire composition rather than framing each object separately.
This layout works well when:
- the vanity is the main focal point;
- the mirror is centered;
- the wall is mostly painted rather than fully tiled;
- the bathroom is Transitional or Neoclassical;
- the room needs architecture without dense ornament.
The molding should sit far enough from the mirror and sconces that each object has visual breathing room.
Layout 2: Tile Wainscot + Chair Rail + Painted Upper Wall
Use tile on the lower wall, terminate it with a deliberate cap or chair-rail line, and keep the upper wall painted.
The upper zone can then use:
- simple picture-frame molding;
- one decorative applique;
- wallpaper in a powder room;
- plain paint for a cleaner look.
This is one of the most practical ways to combine moisture-resistant lower-wall construction with more decorative upper-wall architecture.
Layout 3: Monochromatic Picture-Frame Molding in a Powder Room
Because a powder room normally has no shower or tub, the walls can often support a more decorative paint-grade treatment.
Use:
- full-height picture-frame molding;
- same-color wall and trim;
- one dramatic mirror;
- one pair of sconces or a decorative ceiling fixture;
- limited metallic hardware.
The result can feel highly architectural without requiring tile on every wall.
Designing a Double-Vanity Wall
A double vanity creates several competing centers: two sinks, two mirrors, sometimes three sconces, and one overall cabinet width.
There are three strong strategies:
- one large molding frame around the entire vanity;
- two equal frames centered on each mirror;
- a wider central frame with two mirrors placed symmetrically inside.
Choose one hierarchy. Avoid creating molding that follows every cabinet door and mirror edge independently.
Designing a Single-Vanity Wall
A single vanity gives the wall a clear centerline.
Use that line to align:
- mirror;
- faucet;
- sink;
- ceiling fixture if appropriate;
- central molding panel.
If sconces are asymmetrical, balance the whole wall rather than forcing the molding to remain perfectly mirrored.
Floating Vanity + Wall Molding
A floating vanity leaves the lower wall exposed, so the base and lower panel geometry become more visible.
Decide whether molding:
- continues behind the vanity;
- stops at the vanity edges;
- frames the vanity as one object;
- begins above the countertop only.
Wall-Mounted Faucet Considerations
A wall-mounted faucet creates another fixed point in the elevation.
Do not place horizontal molding where it interferes with:
- faucet escutcheon;
- service access;
- backsplash;
- mirror edge.
Backsplash Height and Molding
The backsplash should be finalized before the picture-frame layout.
Possible relationships include:
- molding begins above the backsplash;
- molding frame surrounds the backsplash and mirror as one composition;
- backsplash runs full vanity width and molding starts outside it;
- full-height slab backsplash replaces wall molding in the central zone.
Full-Height Stone Slab Behind a Vanity
If the vanity wall uses a full-height stone or porcelain slab, do not force applied molding onto the same surface unless the detail has been designed specifically for it.
Often the stronger solution is:
- stone center field;
- painted molding on adjacent side walls;
- simple crown or no crown;
- one strong mirror.
Bathroom Molding Around a Window Near a Tub
A window near a tub can create a beautiful focal wall, but the trim must account for splashing and condensation.
Coordinate:
- window casing;
- sill material;
- wall molding;
- tile height;
- privacy treatment;
- water exposure.
Bathroom Molding and Shower Glass
Frameless glass creates a strong vertical edge in the room.
Do not run picture-frame molding so close to the glass that the two lines visually collide.
Leave a deliberate margin or align the molding with the glass edge intentionally.
Bathroom Molding and Towel Bars
Towel bars, robe hooks, and toilet-paper holders should be included in the elevation before molding is installed.
Mounting hardware needs a flat, structurally supported surface. Do not place it partly over relief molding.
Bathroom Molding and Heated Towel Rails
Heated towel rails introduce electrical or hydronic connections and larger mounting plates.
Keep molding clear of:
- brackets;
- wiring;
- valves;
- service access.
Bathroom Wall Trim and Built-In Shelving
Built-in shelves or linen cabinets can become part of the same architectural system.
Align:
- shelf edges;
- panel widths;
- cabinet crown;
- baseboard;
- door casing;
- molding frames.
How to Measure Bathroom Molding
For each rectangular frame:
2 × width + 2 × height = basic linear molding length.
Then add:
- chair-rail runs;
- mirror surrounds;
- door or window trim if part of the project;
- returns;
- special corner elements;
- ceiling details.
Why a Cut List Is Better Than a Flat Waste Percentage
Waste depends on actual stock length and the number of short and long pieces.
Build a cut list first, then determine the practical ordering allowance.
This matters even more when the molding has a repeating ornament or when several rooms use the same profile.
Patterned Molding in Bathrooms
Ornamental trim can work in Classical and Art Deco bathrooms, but repeated patterns need careful corner planning.
Before cutting:
- dry-fit several repeats;
- check how the ornament lands at corners;
- center the pattern on focal panels where possible;
- avoid tiny partial motifs beside mirrors.
Ordering Strategy
A practical order sequence is:
- finalize tile, stone, and wall finishes;
- finalize vanity and mirror dimensions;
- finalize lighting and electrical locations;
- select molding profile and material;
- confirm crown/ceiling details;
- prepare full wall elevations;
- build the cut list;
- order sample pieces when color or relief scale matters;
- order the final quantity.
Sample First, Especially in Small Bathrooms
A profile can look refined in a catalog image and oversized when viewed at arm's length in a small powder room.
Hold the sample:
- beside the mirror;
- above the backsplash;
- next to the faucet finish;
- against the tile;
- under the actual bathroom lighting.
Maintenance Planning
Bathroom trim should be selected with cleaning in mind.
Ask:
- Can the relief be wiped easily?
- Will cosmetics or soap splash onto it?
- Is it close to a toilet or sink?
- Does the paint tolerate regular cleaning?
- Are joints sealed and finished cleanly?
Future Repainting
One advantage of paint-grade bathroom molding is that the room can be updated later without replacing the architectural layout.
A well-proportioned panel system can move from:
- white to deep green;
- cream to charcoal;
- monochrome to contrast;
- classic to more contemporary styling
simply through paint and hardware changes.
Future Fixture Replacement
Design permanent molding so that mirrors, sconces, and faucets can be serviced or replaced.
Do not build a frame so tightly around one proprietary fixture that future replacement requires rebuilding the wall.
Budget Strategy
If the bathroom budget is limited, spend on the architecture first.
Priority order:
- good wall layout;
- clean tile transitions;
- one appropriate molding profile;
- mirror and lighting coordination;
- decorative appliques or metallic accents last.
A restrained wall with precise proportions usually looks more expensive than a wall overloaded with low-cost ornament.
One Final Test Before Installation
Look at the bathroom elevation without color.
Ignore the tile pattern, faucet finish, and paint shade for a moment.
Ask:
- Does the wall have a clear center?
- Do mirror and molding relate?
- Are tile lines respected?
- Do the sconces have enough space?
- Does the chair rail terminate cleanly?
- Are the wet zones free of inappropriate trim?
- Can everything still be cleaned and serviced?
If the geometry works in a simple line drawing, the finishes can make it beautiful. If the geometry is unresolved, more decoration will only make the problem easier to see.