Article Contents:
- Why wires ruin the interior more than it seems
- Main scenarios: where wires create the most problems
- Five wooden solutions for hiding wires
- Wooden cable channel — an elegant box made of solid wood
- Wooden baseboard with cable zone — order at the baseboard
- Molding as a decorative cable channel — vertical and horizontal
- Slatted wall panel — when wires hide behind texture
- Frame and decorative strip — local concealment with character
- Zones and solutions — system table
- How to choose a solution based on interior style
- Modern minimalism and Scandinavian style
- Neoclassicism
- Classicism and Baroque
- Office and work area
- Children's room
- Installing a wooden cable channel — practice from A to Z
- What is important not to forget — technical safety requirements
- Mistakes when hiding wires with wooden decor
- What to buy for hiding wires — STAVROS system list
- Hiding wires in specific areas — scenario breakdown
- TV zone: from TV to cabinet
- Desk: taming cable chaos
- Router zone: invisible communication hub
- Shelf lighting: invisible LED strip
- FAQ — answers to the most frequently asked questions
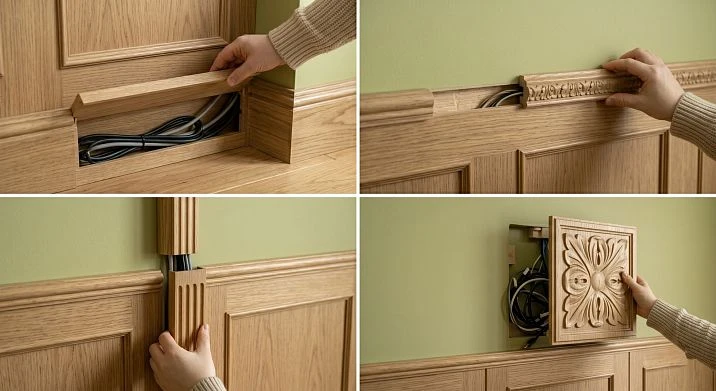
Wires are the silent enemy of any interior. The renovation is finished, the furniture is arranged, the lighting is adjusted — and then a bundle of cables hangs from behind the TV, a gray router wire stretches along the baseboard, and a tangle of chargers and extension cords clutters the desk area. Beautiful? No. Fixable? Absolutely.
How to hide wires in an interior without chiseling walls is a question asked after every renovation. The answer exists, and it's more beautiful than a plastic cable channel from a hardware store. Wooden trim, moldings, baseboards with a cable zone, slatted panels, decorative strips, and solid wood frames are the tools that remove wires and simultaneously decorate the space.
Let's break down each method in detail, by zone, by style, and with an honest list of mistakes.

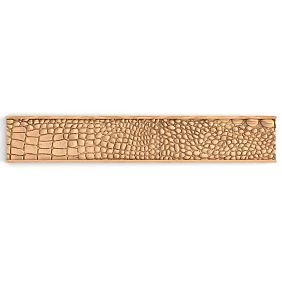
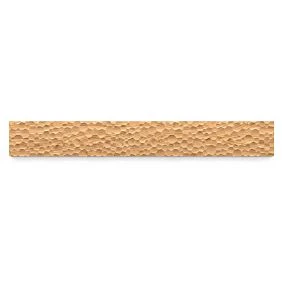
Why Wires Ruin an Interior More Than It Seems
The psychology of space perception is a concrete thing. The human eye in an interior moves along specific trajectories: along horizontals, toward accent points, between light sources. Wires are chaotic lines that cut across these trajectories. They don't fit into any logic: neither the geometry of the walls, nor the rhythm of the furniture, nor the lighting system.
A single cable running from the TV to the outlet can ruin the perception of an entire TV zone — even if everything else is done flawlessly. Not because the cable is ugly. But because it is an accident in a thoughtfully designed space. And an accident where everything should be intentional is an aesthetic mistake.
Add to this: wires collect dust, are hard to clean, create a tripping hazard, and give off a sense of "temporariness" — as if the owners haven't fully settled in yet. All of this together explains why hiding wires is not a perfectionist's whim, but an elementary completion of the renovation.




Main Scenarios: Where Wires Create the Most Problems
Before choosing a material, you need to understand which wires we are talking about.
TV zone. The most painful spot. The TV on the wall, a cabinet below it. From the TV downwards run: a power cable, HDMI from the set-top box, an antenna or internet cable, sometimes an optical cable to the soundbar. If the zone is not equipped with hidden wiring behind the wall, five wires hang down the wall from the screen to the cabinet.
Desktop. System unit or laptop, monitor, speakers, desk lamp, chargers, hub — at least 8–12 cables. Some of them go to an extension cord under the desk. The extension cord lies on the floor. Cables are draped over the desk legs.
Router zone. The router is often placed on a shelf or cabinet. From it come: the provider cable (incoming), power cable, sometimes patch cords to several devices. This is a zone of chronic mess.
Bed zone. Smartphone chargers, nightlights, sconces — all of this stretches along the bedside table and along the wall. Cleanliness is especially important in the bedroom: there is no "work" logic here that would justify cable chaos.
Lighting. LED strip under shelves, niche lighting, spotlights — all of these have power cables that need to be hidden somewhere. Often they are simply glued along the edge of the shelf and "hoped not to be seen." They are seen.
Sconces and wall lights. If a sconce is installed without hidden wiring in the wall, the cable runs along the wall in a cable channel or simply hangs. In a classic or neoclassical interior, this is unacceptable.
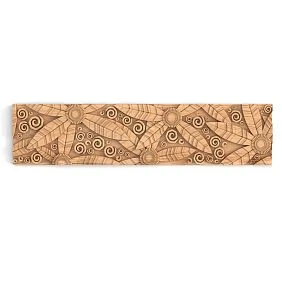
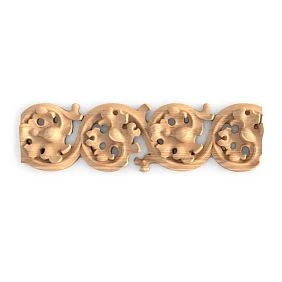
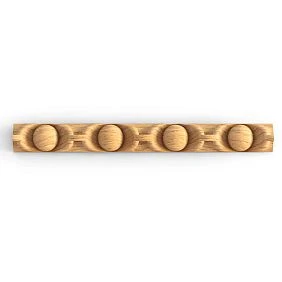
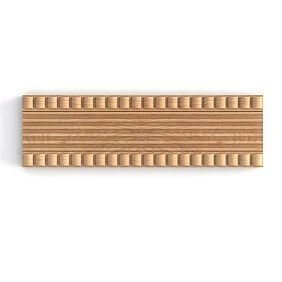
Our factory also produces:
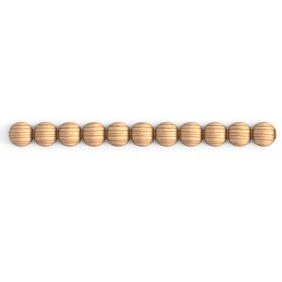
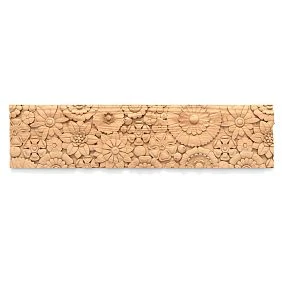

Five wooden solutions for hiding wires
Here is the fundamental difference between the right approach and the wrong one: a plastic cable channel hides wires technically. Wooden decor hides wires and simultaneously improves the interior. These are not the same thing.
Get Consultation
Wooden cable channel — an elegant box made of solid wood
A classic cable channel is an L-shaped or U-shaped profile with a cable running inside. The wooden version is the same, but made of solid oak or beech, with a decent profile and a proper finish.
How it works: the back part is attached to the wall (glue + dowel screw), the wire is laid inside, the front cover is closed. The cover either snaps on (removable — if access is needed) or is fixed with glue (permanent — if access is not needed).
Sizes: internal cavity from 12×12 mm (for one thin cable) to 25×25 mm (for 3–5 cables) and 40×20 mm (flat wide channel for flat cables or a group of wires).
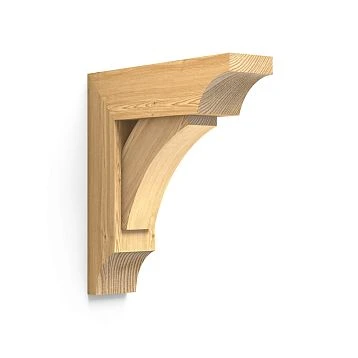
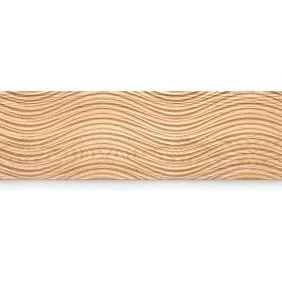
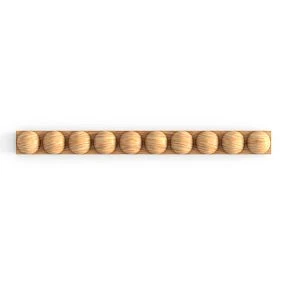
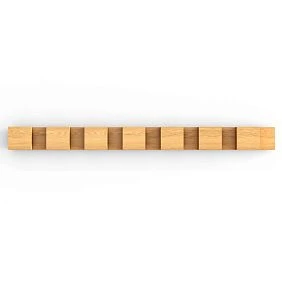
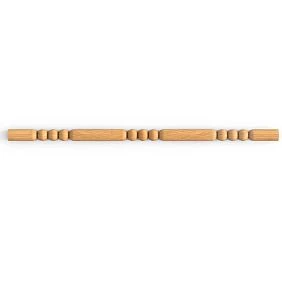
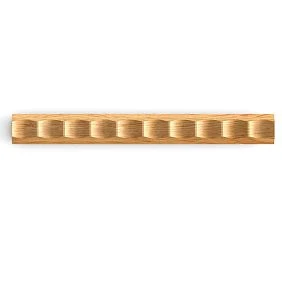
Wooden trim Made from solid oak and beech — the base for such a channel. It can be assembled into either a ready-made box or a cable channel system with a decorative cover. Rectangular beam + overlay strip = removable cable channel with a clean front surface.
Finish: in wall color — the channel 'disappears'. Matching doors and baseboards — integrates into the system of wooden elements. In a contrasting color — as a graphic accent.
Feature: a wooden cable channel is not only made from molding. It is also used to make a strip with a groove along the back wall: the cable is laid in the groove and covered with an overlay strip. This is more technologically advanced and visually thinner.
Wooden baseboard with cable zone — order at the baseboard
Wooden baseboard — the most logical place for laying cables along the wall. The horizontal line at the floor, which already marks the boundary between wall and floor, is an ideal route for power and low-current cables.
A baseboard with a cable zone comes in two types:
Type 1. Baseboard with an internal cable channel. Special design: behind the back wall of the baseboard — a cavity of 15–20 mm for laying cables. The baseboard is removable (on clips or clamps) for access to cables. Cables inside — cables are not visible from the outside at all.
Type 2. Baseboard + separate cable strip. Wooden baseboard 80–120 mm high + decorative strip made from wooden trim behind the baseboard (between the baseboard and the wall). Cables are laid in the gap, the strip or the baseboard itself hides them from the front side. Access — move the baseboard aside.
The height of the baseboard is important: for laying 3–5 cables, a baseboard height of at least 80 mm with a rear gap of 15–20 mm is required. solid wood baseboard STAVROS — heights 60–160 mm. Oak, beech, MDF for painting. Profiles: straight, with a chamfer, with a classic reverse profile, with a decorative relief.
Advantage: a baseboard with cables is not a "trick", it is a standard practice of proper installation. A horizontal route along the floor is the most logical for a cable path. From the baseboard, the cable goes vertically up to the socket or TV — and on this vertical section, a molding or cable channel works.
Molding as a decorative cable channel — vertical and horizontal
Wooden molding on the wall — it's not just decor. It's a potential cable channel if used correctly.
How it works: the cable runs along the wall vertically (from the TV down to the cabinet or baseboard). Instead of a bare wire on the wall — a molding 30–60 mm wide, behind which the cable is hidden. The front surface of the molding is textured, decorative, painted in the color of the wall or to match the doors. The cable is completely hidden.
For implementation: the molding is mounted on two horizontal bracket-rails (upper and lower), the cable is laid between the rails and the wall, the molding covers the space from the front side. If access to the cable is needed, the molding is removed from the clips.
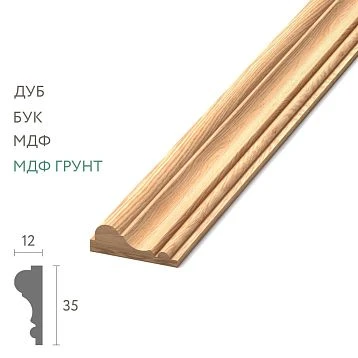
In a neoclassical interior, molding on the wall is also a decorative element. The vertical line of molding on an accent wall is part of the architectural program: the verticals of the molding echo the door trims, pilasters, and framed cabinet facades. Wooden moldings STAVROS — width 15–180 mm, oak, beech, MDF, for painting.
Horizontal molding — for cables running along the wall at a certain height. For example, horizontal molding at a height of 90 cm from the floor (tabletop height) in an office hides the cables of the work area and simultaneously divides the wall into lower and upper zones — a classic architectural technique.
Slat wall panel — when wires hide behind texture
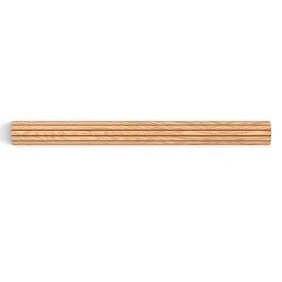
slatted panels made of MDF and solid oak— this is a different scale of solution. Not a separate channel for one cable, but a cladding for an entire wall zone, behind which all infrastructure is hidden: cables, power supplies, switches.
TV zone — an ideal application. The panel covers the wall behind the TV from floor to ceiling or in a specific area. Behind the panel — cables from the TV, outlets, router, and audio system. Nothing is visible. Outside — a smooth textured surface of a slat panel made of wood or MDF.
Slatted wall panelscreate not just cable concealment, but an architectural accent: rhythmic vertical slats turn the wall into a decorative plane behind which the apartment's "electrical life" resides. At the same time, the slats create gaps — and ventilation for power supplies is naturally ensured.
Construction: the slat panel is mounted on a wooden lathing (30×40 mm bars) or directly on the wall using mounting brackets. The gap between the wall and the panel is 40–60 mm. Any number of cables, power supplies, patch cords, and Wi-Fi access points fit in this gap.
Wooden wall panels— slatted, smooth, with patterns — a huge topic. It's important to understand here: in relation to hiding wires, this is not just aesthetics, it's a functional structure. The lathing under the panel is a cable tray integrated into the wall.
Frame and decorative strip — local concealment with character
It's not always necessary to hide an entire route. Sometimes the task is to hide one or two cables at a specific point: near a sconce, a wall lamp, or a decorative shelf with lighting.
wooden frames — wooden frames made of solid wood — are used as a decorative element around outlets, panels, distribution boxes, and switches. This turns a technical point into a decorative accent: not just a white plastic box on the wall, but a frame made of oak or beech.
Solid wood frames in the STAVROS catalog — for painting, for varnishing, for tinting. For outlets and switches — small overlay frames. For decorative panels and mirrors — larger format frames.
Decorative trim from molding — for local cable concealment near a sconce or a shelf with lighting. A small U-shaped or L-shaped element glued to the wall next to the cable. The cable is inside. Outside — a neat line painted to match the wall color.
Zones and solutions — system table
| Zone | Main problem | Recommended solution | Material |
|---|---|---|---|
| TV zone | 5–8 cables from the screen downwards | Slat panel or vertical molding | Slat or molding oak/MDF |
| Work desk | Cable chaos on the desk and floor | Wooden cable channel along the wall | Molding beech/oak |
| Router on the shelf | Cables from the router in all directions | Cable raceway or back panel | Cable raceway or slat panel |
| Bed area | Chargers and night light along the nightstand | Molding or box behind the nightstand | Molding 30–50 mm |
| Hallway | Extension cord/wire along the baseboard | Baseboard with cable zone | Skirting board 80–120 mm |
| Shelf lighting | Tape and cable visible along the edge | Molding strip hiding the tape | Molding 15–25 mm |
| Sconce without hidden wiring | Cable on the wall | Molding or decorative strip | Molding 30–40 mm |
| Home theater | Acoustic cables around the perimeter | Baseboard with cable zone + corner angle | Baseboard + corner profile |
How to choose a solution based on interior style
Technically, all options work. Aesthetically, the choice depends on the style.
Modern minimalism and Scandinavian style
Smooth strip or cable channel made of wooden trim without relief. Painting in the color of the wall — the channel is almost invisible. Or painting in a contrasting color — a graphic accent, a deliberate design element. No carvings, no profile protrusions. Pure geometry.
Slatted panel in white or light gray — for a TV zone in a Scandinavian interior. Rhythmic verticals create wall depth, with all cables behind them.slatted panels for walls — one of the most sought-after solutions for modern interiors.
Neoclassicism
Molding 40–70 mm wide, painted in the color of the wall. The vertical line of the molding — as a continuation of the architraves. The horizontal line — as a continuation of the cornice or baseboard. Symmetry: moldings for hiding cables are placed where they are visually justified by architectural logic.
Wooden baseboard 100–120 mm high with a cable zone — ideal for a neoclassical living room or bedroom. The baseboard profile carries a classic relief and at the same time functionally conceals the cable route near the floor.
Classical and Baroque
Wooden trim with a figured profile — for a decorative cable channel in a classic interior. Tinted to resemble walnut or mahogany. wooden decorative elements — overlays, frames, corner elements — complete the system. In a classic study, a wooden cable box is not a technical solution, it is part of the wood trim.
For hiding the cable from a sconce in a classic interior: A solid wood frame around the socket + molding channel from the sconce to the frame. Cable inside. Outside — a decorative vertical line, as if it was intended that way.
Office and work area
Dark oak, walnut, wenge. High baseboard (100–160 mm) with a cable zone. Horizontal molding at work surface level (90 cm). Behind the molding — cables for the monitor, chargers, hub. furniture moldings in a dark tint — a serious, 'masculine' material for a study.
Wooden corner pieces — for routing the cable path through an inside corner. Wood and MDF moldings: trims, cornices, baseboards, corner pieces — a systematic choice for a consistent study solution.
Children's room
Wires in a children's room are not only an aesthetic but also a safety task. Smooth profile without sharp protrusions. Fully enclosed design — no exposed cables, no protruding wires. Installation at a height of at least 150 cm or, conversely, along the baseboard near the floor — out of reach of small hands.
Material: wood with certified coating E0 or E1, solvent-free.Solid wood productsSTAVROS — with drying 8–10%, without resins and chemicals, safe for children with proper coating.
Installation of a wooden cable channel — practice from A to Z
Let's go through the installation step by step, because this is where most people have questions.
Step 1. Route planning. Before buying material, draw a diagram: where the cable comes from, where it goes, and what route it will take. The optimal route is straight along a corner, along the baseboard, or around the perimeter of the room. Avoid diagonal routes: they are visible and illogical.
Step 2. Cable count. How many cables run along the route? What is the maximum diameter? The total cross-section of the cables should be no more than 60–70% of the internal cross-sectional area of the channel (the remainder is for ventilation and ease of laying).
Step 3. Profile selection. Based on steps 1 and 2 — from the catalog wooden trim we select the required cross-section. Rectangular beam with a groove or composite (slat + cover). Length up to 3 m, joined in a line without noticeable seams.
Step 4. Surface preparation. The wall must be level, dust-free, with a solid base for installation. For adhesive installation — clean off grease and dust. For mechanical installation — mark the attachment points.
Step 5. Base installation. The rear rail of the channel is attached to the wall: glue (liquid nails) + dowel screw 6×40 mm with a pitch of 300–400 mm. Check vertical or horizontal with a level — it's important, otherwise the channel will "warp."
Step 6. Cable laying. Lay cables inside, starting with the thickest ones (power cables). Do not bend or tie tightly (heating!). Mark cables with colored stickers or cambric tubes — you won't mix them up later.
Step 7. Cover installation. Close with a cover — using clips, clamps, or glue. For removable access — clamps: the cover opens by hand without tools. For permanent — glue + finishing nails followed by puttying the heads.
Step 8. Painting. Putty the nail heads → prime → paint in 2 coats. Joints — acrylic sealant, smoothed with a finger.
Step 9. Check. After painting, check all devices for functionality. Ensure that heating power supplies are not tightly closed (ventilation).
What is important not to forget — technical safety requirements
Hiding wires is not just about aesthetics. There are rules that cannot be ignored.
Do not close power supplies without ventilation. Laptop, router, and amplifier power supplies heat up to 60–80°C during operation. Closing them in a tight wooden box without holes creates a risk of overheating and fire. Either place power supplies outside the box or make ventilation holes.
Do not hide connections under glued structures. Twists, terminal blocks, soldering points — must be accessible. Install non-removable structures only where there are no connections. Connection points — behind removable panels or in accessible spots.
Do not lay power and low-current cables in the same channel. Signal cables (HDMI, audio, Ethernet) should not run parallel to 220V at a distance of less than 30–50 mm. This is not theory — it's real interference affecting signal quality.
Do not overload the cable channel with cables. An overcrowded channel leads to overheating and makes future cable replacement impossible. Fill the channel to 60–70% of its volume.
Leave access to sockets and switches. If the channel passes through a socket area, either the socket is moved to the channel cover, or the channel goes around the socket. Never seal a socket completely.
Mistakes when hiding wires with wooden decor
List of mistakes — from real practice. Read before installation, not after.
Covering wires with a random board without a profile. A piece of chipboard glued to the wall over a cable is not a solution. It is visible, it is ugly, and it devalues the interior. Any solution must be systematic.
Choosing a channel that is too narrow. You counted 3 cables and bought a 12×12 mm channel. Later, you needed to add a 4th cable. It doesn't fit. Rule: choose with a 30–40% margin in cross-sectional area.
Making the entire structure non-removable without reason. In a year, a new device will be added, or a cable will fail. If the structure is non-removable, everything will have to be torn down. A removable cover on clips is a universal solution.
Not accounting for door opening. A vertical channel or molding near a door — check if it interferes with the door opening. Especially if the door opens toward the wall with the channel.
Using a plastic cable channel in a classic interior. A white PVC box under a carved oak baseboard is incompatible. Wooden trim in the same tint as the baseboard — the only correct solution.
Do not mismatch the channel color with the interior. A dark brown channel on a white wall without connection to furniture or doors is a random element that does not decorate but confuses the eye.
Do not glue a heavy decorative strip to a weak base. A wall with crumbling plaster + liquid nails = the strip will fall off in a month. Prepare the base.
Do not hide wires behind the baseboard without securing them. Cables simply lying behind the baseboard without fastening are chaos that will fall out as soon as the baseboard is accidentally bumped. Cables inside the channel — secure them with cable ties or mounting brackets.
What to buy for hiding wires — STAVROS system list
-
Wooden trim — base for cable channels, decorative strips, composite boxes. Bars, slats, U-profiles, groove structures. Oak, beech, MDF. For painting, varnish, stain.
-
Wooden molding — for decorative hiding of cables with vertical or horizontal molding. Width 15–180 mm, classic and smooth profiles.
-
Wooden moldings — full collection: moldings, cornices, baseboards, architraves, corners. One system, one quality.
-
solid wood baseboard — for cable routes along the floor. Height 60–160 mm. Oak, beech, MDF.
-
Wooden baseboard, corner — sales hits— the most popular items: wooden external corner UG-001 and other solutions for cable route corners.
-
slatted panels made of MDF and solid oak— for the TV zone and workspace: decorative cladding that hides all cable infrastructure.
-
Solid wood frames — decorative frames around sockets and switches.
-
wooden frames — complete catalog of solid wood frames.
-
wooden decorative elements — overlays, corner elements, adapters, decorative plugs.
-
Solid wood products— the entire catalog.
Hiding wires in specific zones — breakdown by scenarios
TV zone: from TV to cabinet
The most common task. Option 1 (simple): vertical molding 50–60 mm from TV to cabinet. Cables inside behind the molding. Paint to match the wall color. Option 2 (full-fledged):Rack panelcovers the wall area behind the TV. The TV hangs directly on the panel or on a bracket through the panel. All cables are in the space behind the panel. On the floor near the cabinet — Wooden baseboard with a cable zone for horizontal routing.
Desktop: taming cable chaos
Horizontal cable channel made of wooden trim along the back edge of the tabletop (if the desk is against the wall): 30–40 mm wide, at a height of 70–80 mm from the floor. Inside it — cables for the monitor, chargers, hub. From the channel down — a vertical rail to the outlet near the baseboard. A 100 mm baseboard with a cable zone — a horizontal route to the nearest wall outlet.
Extension cord — in a wooden box under the desk (a box made of oak plywood with a lid). Cables go into the box from below, the box is attached under the tabletop. Nothing visible outside. Order inside.
Router zone: invisible communication hub
Router on a shelf or behind a slatted panel. If on a shelf — a decorative back panel behind the shelf (wooden or MDF for painting) hides the cables. The provider cable runs behind the baseboard along the floor to the entry point. The power cable goes to an outlet hidden behind with a wooden frame.
Shelf lighting: invisible LED strip
The LED strip under the bottom edge of the shelf is powered by a power supply, which is usually just placed on the same shelf or hidden behind the shelf. The cable from the power supply to the outlet — Wooden trim with a groove along the side of the shelving unit. Or: a trim strip along the bottom edge of the shelving unit's back wall — the strip and cables are in the groove. Nothing visible from the front, light comes through.
FAQ — answers to the most frequently asked questions
How to hide wires without chiseling the wall?
Use surface-mounted solutions: Wooden baseboard with a cable zone, a decorative box made of trim, a molding channel orslatted panel with a lath. Chasing is not needed — proper surface routing with decorative covering is required.
Can TV wires be hidden with moldings?
Yes. A vertical Wooden molding 40–60 mm wide, installed from the screen to the cabinet, hides 3–5 cables. It is attached with clips (removable) or with glue + nails. Painted to match the wall — almost invisible.
How to hide wires along the floor?
Optimal is a wooden floor baseboard 80–120 mm high baseboard with a cable zone behind the back wall. Cables are laid during baseboard installation, the cover is removed when access is needed.
Can you make a wooden box for wires?
Yes, but: fill the internal cross-section no more than 60–70%, power supplies — outside the box or in a box with ventilation holes, connections — only in accessible points (removable lid).
How to hide wires in a classic interior?
Plastic cable channel — excluded. Wooden trim with a profile lid tinted to match the furniture. Wooden moldings as decorative verticals hiding cables. Skirting with a cable zone at the floor. Unified system: one material, one tone, one logic.
Do you need to remove the baseboard for laying cables?
If the baseboard is already installed — either remove it (if it's on clips), or add an additional cable rail in front of the baseboard. A new baseboard is installed immediately with cables inside — this is much more convenient.
What to do with wires near the desk in the interior?
Horizontal cable channel made of wooden trim along the back edge of the countertop or underneath it. Vertical molding from the table to the baseboard. Power supply in a wooden box under the table. Result: a desk without a single visible cable.
Wires are not a death sentence for an interior. They are a problem with a beautiful solution. A wooden cable channel, moldings, a baseboard with a cable zone, a slatted panel, or a decorative frame — each of these tools not only hides cables but also adds character to the interior. The difference between "wires are hidden" and "wires are hidden beautifully" lies precisely in the material and a systematic approach.
STAVROS — manufacturer wooden trim, molding, baseboards, of slatted panels, frames made of wood и decorative elements made of solid oak and beech. Everything needed for systematic cable concealment and creating a finished interior — in one catalog, from one manufacturer, with one quality standard. Warehouses in St. Petersburg and Moscow, Contact us to confirm shipping to your destination. STAVROS — where order looks beautiful.