Article Contents:
- Why decor should be chosen before furniture manufacturing
- Correct design sequence
- Which decorative elements actually affect furniture construction
- Legs
- Handles
- Moldings
- Plates and Receptacles
- Cornices and mouldings
- Center
- Corner
- Vertical
- Paired
- Oak
- Oak
- Make the front first, then look for the overlay
- Handle chosen after drilling
- Leg is considered only by appearance
- Molding chosen after the frame
- L/R merged into one row
- BOM states "decor set"
- SKU replaced without revision

The most inconvenient situation for a furniture maker does not arise when a decorative idea is lacking. It is far worse when the fronts have already been cut, the drilling has been done, the carcass is assembled, and the overlay chosen afterward turns out to be wider than the free field, the handle requires a different center-to-center distance, the leg changes the final height of the product, and the wooden molding eats into the inner size of the frame.
Finished decor has real geometry. This means it affects the furniture construction even before production starts.
The working sequence should be as follows:
furniture model → decor zone → real SKU → actual dimensions → material → front drawing → holes and free fields → BOM → test part → APPROVED → carcass manufacturing → purchasing.
Not the other way around.
If furniture is made first and only then one looks for "something suitable," the craftsman automatically narrows their choice to what happens to fit into the already finished geometry.
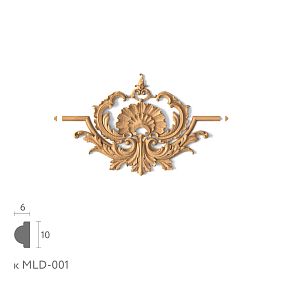

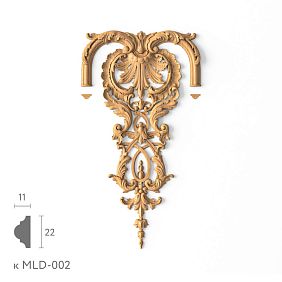
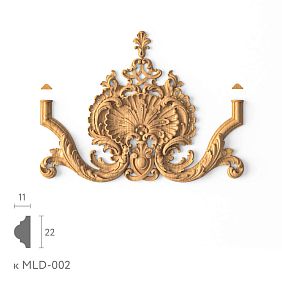
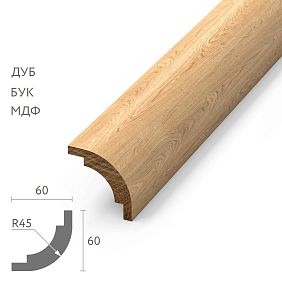
Why decor should be chosen before furniture manufacturing
A decorative part rarely exists separately from the construction.
A furniture leg sets the support height. A handle sets the hole placement. An overlay sets the size of the free field of the facade. A molding sets the width of the frame. A cornice sets the overall top dimension. A rosette sets the center of the composition. A bracket sets the depth and the nature of the junction.
Therefore, the actual decorative element must be introduced into the project before those operations that are already difficult or expensive to change:
- Cutting;
- Milling;
- drilling;
- drilling;
- painting;
- cabinet assembly.
The safest principle:
first product geometry, then furniture geometry.
For initial selection, it is convenient to use decorative elements for furniture manufacturing, and then transfer the specific SKU into the drawing.




Correct design sequence
The right way:
idea → decor type → catalog → SKU → actual dimensions → drawing → BOM → sample → APPROVED → production.
The wrong way:
a finished facade → searching for a similar part → trying to fit it on site.
The difference is especially noticeable in small-batch production.
If a craftsman makes a single piece of furniture, some problems can be solved by hand.
If ten identical dressers are planned, the mistake will be repeated ten times.
That is why even a small production benefits from SKU discipline already at the drawing stage.
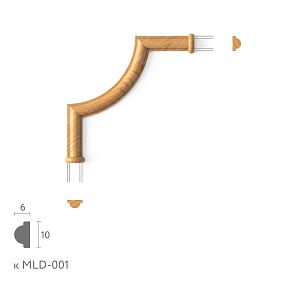
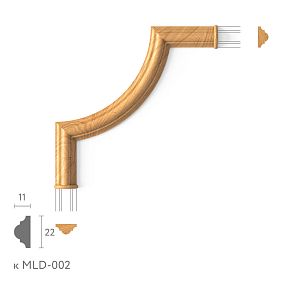
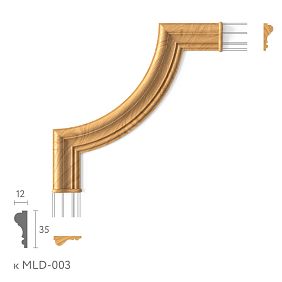
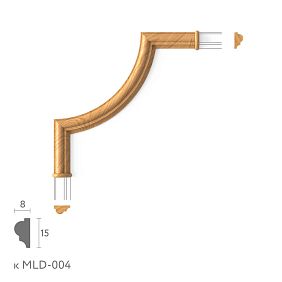
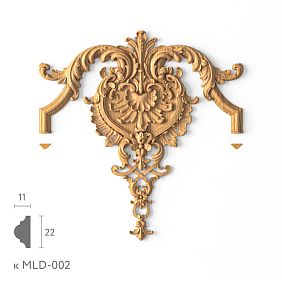
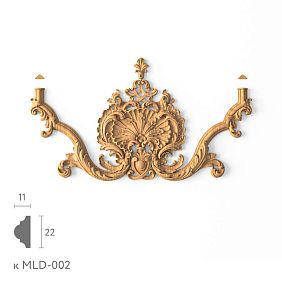
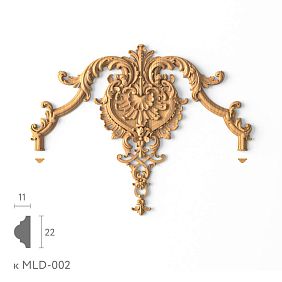
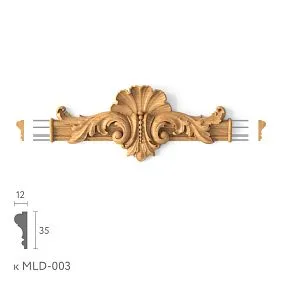
Our factory also produces:
Which decorative elements actually affect furniture construction
Get Consultation
Legs
They affect:
- final height;
- the clearance from the floor;
- base position;
- support geometry;
- method of fastening.
Handles
Determine:
- center distance;
- number of holes;
- drilling position;
- overhang;
- grip area.
Moldings
Change:
- inner frame field;
- distance to the edge;
- geometry of corners;
- free space for the overlay.
Overlays and rosettes
Require:
- free plane;
- central axis;
- specified fields;
- no conflict with the handle and frame.
Cornices and moldings
Change:
- top dimension;
- side protrusions;
- part lengths;
- Cutting.
How to record an element in a furniture drawing
Entry:
classic overlay
is almost useless.
Better:
STAVROS / SKU / A × B × C / material
or via a short project code:
DEC-01
In the specification:
DEC-01 → STAVROS → SKU → dimensions → material → quantity
This keeps the project readable and procurement unambiguous.
Project Code and manufacturer's SKU
These are two different identifiers.
DEC-01
— internal project code.
STAVROS / specific SKU
— the actual product.
Project Code is convenient:
- in CAD;
- on facades;
- in assembly drawings;
- in the BOM;
- on installation diagrams.
SKU is needed:
- for ordering;
- for reordering;
- for checking the product page;
- when replacing an item.
A single Project Code should not silently mean different products across different revisions.
If the SKU has been replaced, record the revision.
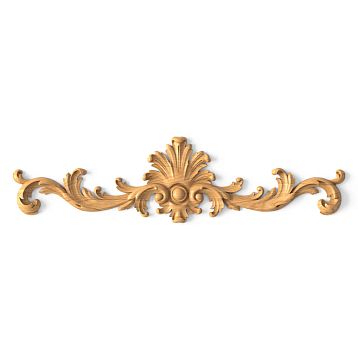
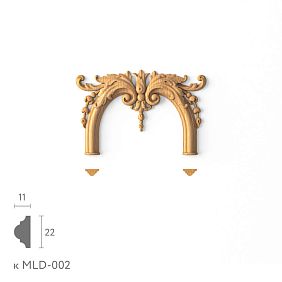
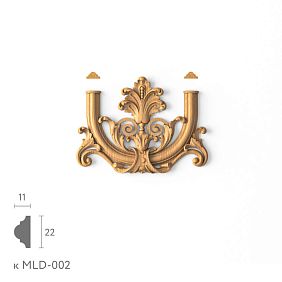
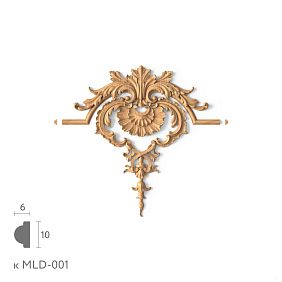
Central overlay on the facade
Let's imagine a front panel 520 mm wide and 720 mm high.
It already has:
- frame profile;
- handle;
- central axis.
The overlay must work within the remaining field.
Check:
- actual overlay width;
- actual height;
- distance to the frame;
- distance to the handle;
- front panel axis;
- margins at the top and bottom.
If a decorative element 310 mm wide is placed on a front panel 390 mm wide, after centering there will be approximately 40 mm of margin on each side.
This is already a specific composition.
The phrase "the overlay fits" does not provide such information.
The overlay must be selected before milling the facade
If the facade already has:
- panel;
- moulding frame;
- milling;
- the handle;
- dividing lines,
the free field is determined.
After that, the range of suitable overlays narrows sharply.
Therefore Carved decorative inserts for furniture it is better to select before milling and before the final dimensional chain of the facade.
First, the actual overlay.
Then a frame around it.
Carved overlays: central, corner, vertical, paired
A carved overlay can serve different functions.
Central
Works on the axis of the facade.
Corner
Depends on the orientation and geometry of the frame.
Vertical
Requires control of the height of the free field.
Paired
Works as an L/R system.
The same size does not make these elements interchangeable.
Therefore, in the BOM it is better to store not only the SKU and quantity, but also the role:
center
corner-L
corner-R
vertical
Left and right elements
If the catalog contains L и R, these are different purchasing items.
You cannot write:
overlays — 8 pcs.
if they are actually needed:
4 L + 4 R.
In the BOM:
| Code | SKU | Orientation | Qty |
|---|---|---|---|
| DEC-08-L | left SKU | L | 4 |
| DEC-08-R | right SKU | R | 4 |
This is especially critical for corner and paired compositions.
Wooden rosettes
Wooden sockets can work as:
- center of the frame;
- molding intersection node;
- point decorative accent;
- connecting element of a symmetrical composition.
Before manufacturing the facade, check:
- diameter or overall dimensions;
- thickness;
- the depth;
- axis position;
- free field;
- conflict with the handle.
If the socket intersects with the molding, it is better to include it as part of the overall composition from the start.
Molding and furniture frame
First, the profile is selected.
Then the frame is built.
Why?
Because the actual width of the molding determines the inner field.
If the outer size of the frame is 600 × 800 mm, and the molding has a width of 50 mm, the inner field:
500 × 700 mm.
If the profile changes to 75 mm:
450 × 650 mm.
The difference is already significant.
Therefore Wooden moldings must be linked to the drawing for the specific SKU.
Linear trim for furniture manufacturing
Wooden trim can be used as:
- top cornice of a wardrobe;
- facade frame;
- decorative strip;
- plinth;
- side trim;
- connecting profile.
It is especially dangerous to calculate moulding by total linear meters only.
You need actual cut lengths.
How to calculate linear metres
Not:
12 m needed.
But:
parts → lengths → quantity → product length → cutting map.
For example:
- 4 parts of 1800 mm;
- 8 parts of 650 mm;
- 4 parts of 420 mm each.
The total linear meters — first level only.
Next, we need to understand how these cut segments are distributed across whole strips.
If the profile is ornamental, the repeat is additionally taken into account.
Furniture Legs
Section Furniture legs this should be checked up to the final height of the cabinet.
Check:
- A;
- B;
- C/D;
- the upper mounting platform;
- mounting method;
- the material;
- the actual height.
The finished product has real geometry.
The leg is not a conventional “150 mm support” if the product page contains a specific design.
Overall furniture height
Basic formula:
cabinet + leg + tabletop = final height.
For example, if the final table should be 750 mm, the tabletop is 30 mm, and the selected leg is 720 mm, the cabinet or underframe scheme must account for these values.
If the leg is changed after the cabinet is manufactured, the final height also changes.
Therefore, supports are selected before cutting.
Wooden handles
Wooden furniture handles must be selected before drilling the front.
For the model, the following are specified:
- SKU;
- type;
- length;
- thickness;
- height;
- number of mounting points;
- center-to-center distance, if applicable;
- orientation.
The STAVROS catalog includes various types of surface-mounted handles — knobs, pulls, shell handles, and other options — therefore the conventional designation wooden handle is insufficient for a production drawing.
Why the handle cannot be changed after drilling without verification
Another model may have:
- a different center-to-center distance;
- a different number of mounting points;
- a different projection;
- a different width;
- a different grip zone.
If the holes have already been drilled, changing the SKU may require:
- a new front panel;
- decorative covering of old holes;
- changes to the mounting scheme.
Therefore, the handle must be APPROVED before drilling.
Wooden brackets
Wooden Brackets can be used as part of:
- console;
- shelves;
- a cabinet;
- a decorative portal;
- a furniture cornice.
If the bracket is part of a furniture composition, the drawing must include:
- width;
- height;
- depth;
- position;
- mounting plane;
- free space.
It cannot be added after manufacturing as a purely decorative accessory if it changes the overall dimensions.
Beech or oak
No single material can be declared universally best.
Beech
It is reasonable in scenarios where:
- opaque enamel is used;
- texture is secondary;
- a uniform color with the carcass or front is important.
Oak
It is more interesting when you need to preserve:
- natural texture;
- tinting;
- grain pattern;
- the look of solid wood as part of the design.
The specific finish still needs to be verified against the product page of the selected SKU.
Uncoated decor
For a small workshop, an unpainted part is often convenient as a semi-finished product.
The craftsman receives:
ready-made complex geometry
and independently applies the overall finish for:
- the facade;
- the legs;
- handles;
- the overlays;
- moldings.
This allows maintaining a unified color and finishing technology without spending production time on making each decorative element from scratch.
For such scenarios, the section is useful from STAVROS open boundless possibilities for designers, furniture makers, and anyone striving to create unique high-quality furniture..
Why it is worth buying one trial part before launching furniture production
Especially if used:
- new overlay;
- new handle;
- complex leg;
- large decorative element;
- unfamiliar material.
The product card provides dimensions.
3D shows the shape.
The physical part shows scale and installation.
One trial item is cheaper than redoing a batch of fronts.
What to check on a sample part
Check:
- actual size;
- surface quality;
- geometry;
- scale relative to the facade;
- installation area;
- paintability;
- compatibility with the drawing;
- position relative to neighboring elements.
For the handle — especially the mounting.
For the leg — the top plate.
For the overlay — the free area.
For the molding — the profile width.
After checking, you can assign a status:
APPROVED.
How to build a BOM
Minimum table:
| Code | SKU | Detail | Material | Qty | Status |
|---|---|---|---|---|---|
| LEG-01 | SKU | Leg | Beech | 4 | APPROVED |
| HND-01 | SKU | Handle | Oak | 4 | APPROVED |
| DEC-01 | SKU | Overlay | Beech | 2 | APPROVED |
| MLD-01 | SKU | Molding | Oak | Calculation | APPROVED |
it is useful to add:
- Size;
- Finish;
- Supplier;
- URL;
- Revision.
Why the line "decor — set" is bad
It does not allow:
- recalculate the quantity;
- reorder a single part;
- replace a single SKU;
- check the price;
- match the drawing;
- understand the material.
Each purchased SKU is a separate line item.
If several SKUs form a single composition, you can add a field Assembly.
For example:
Assembly = FACADE-A.
How to link the BOM and the drawing
The same codes must exist throughout the entire chain:
DRAWING → BOM → ORDER.
On the facade:
DEC-01
In the BOM:
DEC-01 → STAVROS → SKU → Qty
In the order:
SKU → Qty
This allows you to quickly trace back from a placed part to its place of use.
When to choose decor before cutting
Almost always, if it affects:
- front size;
- holes;
- the frame;
- overall dimensions;
- the height of the body;
- position of adjacent parts.
This group includes:
- legs;
- handles;
- large overlays;
- Moldings;
- cornices;
- Brackets.
They cannot be treated as a final decoration.
When an element can be selected later
Only if it is truly independent of the construction.
For example, a small decorative detail:
- does not require holes;
- does not affect the frame;
- does not change the dimensions;
- does not conflict with the handle;
- can move freely within a large clean plane.
But even in such a case, it is useful to leave a Project Code in advance.
This way the BOM remains ready to replace the proxy with the real SKU.
Small furniture series
After the first unit is approved, it is better to freeze the main SKUs.
The same BOM is used for the following items.
This provides:
- repeatability;
- identical drilling patterns;
- identical geometry;
- predictable reordering.
If the handle or leg is suddenly changed on the third item in the series, this is already a new version of the design.
What to do when replacing an SKU
You cannot change the item code only in the purchasing table.
Check again:
- dimensions;
- holes;
- the frame;
- height;
- the material;
- quantity;
- drawing;
- BOM.
The correct sequence is:
replacement SKU → geometry check → drawing update → BOM revision → sample → APPROVED.
If the dimensions do not match, this is a design change.
Typical mistakes of a furniture maker
Make the front first, then look for the handle
Consequence: the choice is limited to a random free field.
The handle was chosen after drilling
Consequence: the new center-to-center distance does not match.
The leg is judged only by appearance
Consequence: the final height of the furniture changes.
The molding was chosen after the frame
Consequence: the inner field becomes smaller than planned.
L/R combined into one line
Consequence: the purchase quantity is formally correct, but the composition is not.
The BOM lists “decor set”
Consequence: it is impossible to properly reorder a single element.
SKU replaced without revision
Consequence: the drawing, BOM, and order no longer describe the same piece of furniture.
How to buy decorative elements for furniture manufacturing
The commercial stage begins after the element has already been verified in the construction.
First:
SKU → dimensions → drawing → BOM → sample → APPROVED.
After that — the order.
For carved and furniture decor, you can use Carved furniture decor, carved appliqués, Wooden sockets и Wooden Brackets.
For structural parts — Furniture legs, Wooden furniture handles и Wooden trim.
The main principle remains the same:
furniture must be designed around real SKUs if the decor affects its geometry.
Don't look for the overlay after the finished facade.
Don't choose the leg after determining the body height.
Don't change the handle after drilling.
Don't replace the molding without recalculating the frame.
When a decorative element is included in the drawing before production starts, it stops being a "decoration for later" and becomes a normal production part of the project.