
























































Article Contents:
- What is a modular composition made of wooden decor
- What elements are used for wall decoration
- Wooden strips
- Moldings and layouts
- Cornices and Baseboards
- Carved overlays, rosettes, and capitals
- Decorative brackets
- Balusters and turned details
- Classic Interior
- Neoclassicism
- Modern minimalism
- Scandinavian interior
- Eclecticism
- Step 1. Measure the wall
- Step 2. Determine the central axis
- Step 3. Prepare a scaled sketch
- Step 4. Transfer the layout to the wall using painter's tape
- Spruce
- Oak
- Oak
- How to match parts from different batches
- Painting to match the wall
- Oil and other transparent coatings
- Contrasting coloring
- Construction Adhesive
- Mechanical Fastening
- Combined mounting
- Hidden mounting systems
- Frame corners
- Longitudinal joints
- Joints with baseboard and cornice
- Living Room
- Bedroom
- Hallway and corridor
- Kitchen
- Children's room
- Mistake 1. Buying elements without a general sketch
- Mistake 2. Too small pattern on a large wall
- Error 3. Excessive amount of carved decor
- Error 4. Designing without considering furniture
- Error 5. Installation on an unstable base
- Error 6. Lack of a test paint sample
- Error 7. Installation immediately after delivery
- Error 8. Placing electrical wiring without a project
- Can wooden slats be installed independently?
- Is it necessary to level the wall?
- Can wooden decor be glued onto wallpaper?
- When is it better to paint parts — before or after installation?
- How to choose the spacing between slats?
- Can different wood species be used in one composition?
- How to design outlets within a slat composition?
- Can wooden decor be installed in a bathroom?
- How to reduce differences in shades between parts?
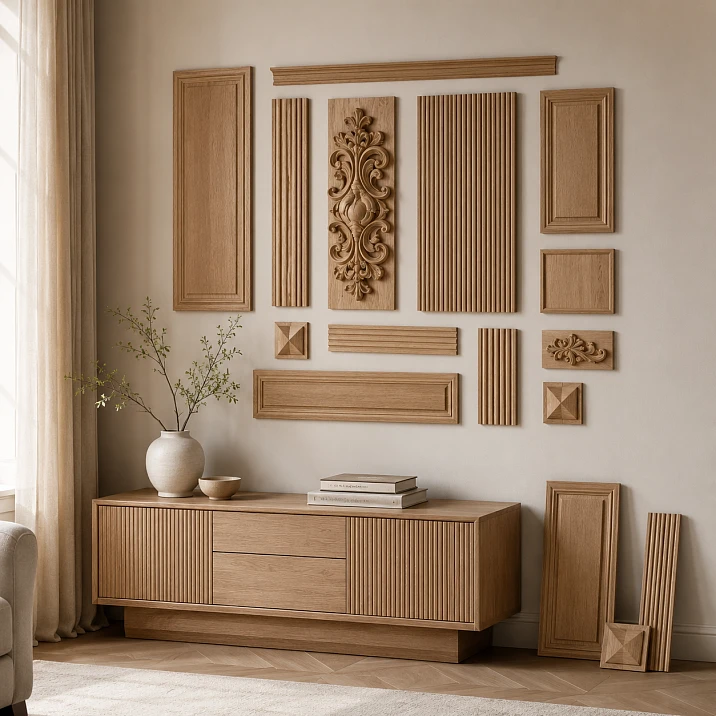
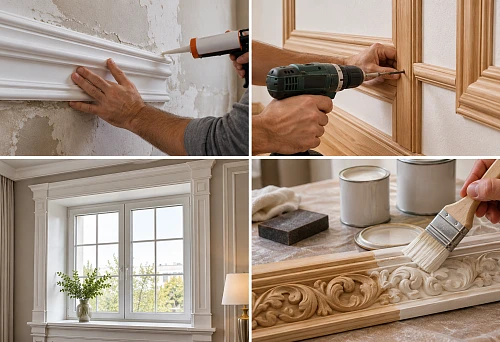
Wooden wall decor allows changing the perception of a room without redevelopment and complex construction work. Using slats, moldings, trims, carved overlays, rosettes, and decorative brackets, you can highlight an accent wall, design the area behind the headboard, emphasize the TV zone, frame a mirror, or create a cohesive architectural composition.
The main advantage of such decoration lies not in the number of decorative details, but in the ability to select them considering the wall dimensions, furniture arrangement, and room proportions. The same system of elements can look strict and modern, restrained and minimalist, or solemn and classic. The final perception depends on the scale of details, rhythm, symmetry, color, wood texture, and installation quality.
In this article, we will break down what elements wooden wall decor consists of, how to prepare a sketch, select materials, calculate their quantity, and avoid common mistakes during installation.
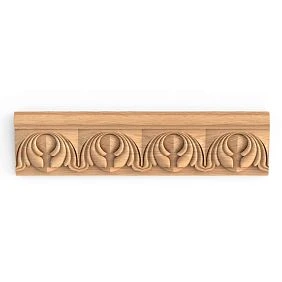
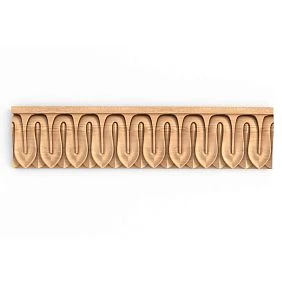
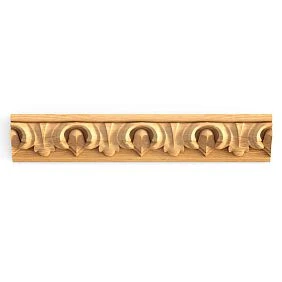
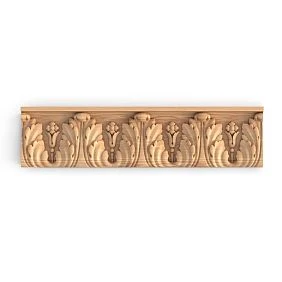
What is a modular composition made of wooden decor
A modular composition is one assembled from individual repeating or matching elements. These can be slats of the same cross-section, frames made of moldings, groups of carved overlays, vertical pilasters, cornice elements, decorative rosettes, or a combination of smooth and relief parts.
At the same time, the definition of "modular" does not always mean that the finished design can be removed and rearranged without consequences. If the elements are secured with mounting adhesive, the wall will most likely require local repair after removal. In this case, modularity primarily refers to the principle of construction: the composition is formed from individual parts, the number and arrangement of which can be changed at the design stage.
This approach offers several advantages:
- the design can be adapted to the width and height of a specific wall;
- the pattern can be easily coordinated with furniture, doorways, outlets, and lighting;
- wooden elements can be painted to match the wall color or highlighted with a contrasting shade;
- simple profiles can be combined with carved accents;
- it is not necessary to decorate the entire room — often one expressive zone is enough;
- the layout can be checked and adjusted before purchasing and cutting materials.




What elements are used for wall decoration
Our factory also produces:
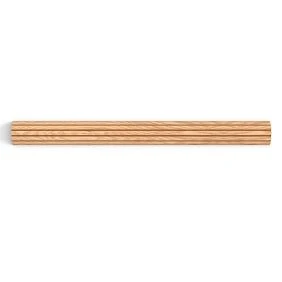
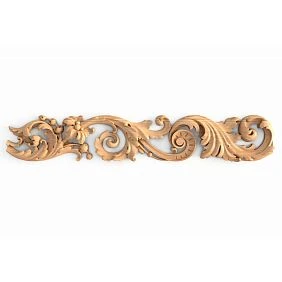
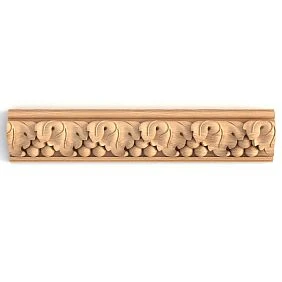
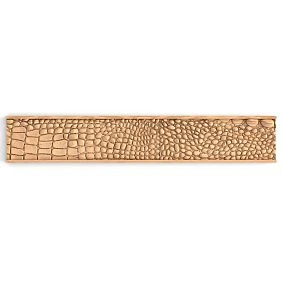
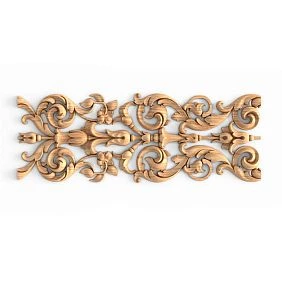
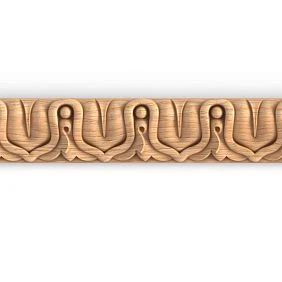
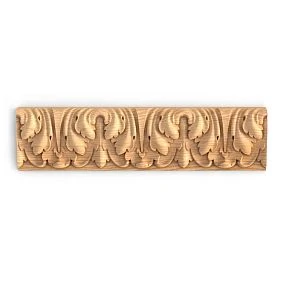
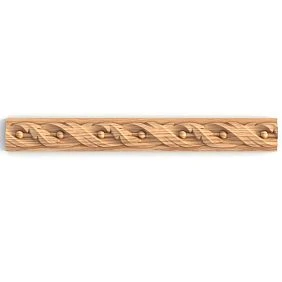
Wooden slats
Wooden planks are suitable for vertical, horizontal, and diagonal compositions. They create rhythm, visually change the proportions of the wall, and help define a functional zone.
Vertical placement of slats visually increases the height of the room. Horizontal direction visually widens the wall, but with an excessively large pattern it can visually reduce the height of the room. Diagonal and intersecting lines make the design more dynamic, so they are more often used locally — for example, within a separate panel or accent zone.
When choosing a slat, consider:
- width and thickness of the profile;
- shape of the front surface;
- type of wood;
- length of the element;
- direction of the texture;
- mounting method;
- type of subsequent finishing.
For modern interiors, profiles with simple geometry and a calm face surface are usually chosen. Expressive relief, flutes, and decorative beads are more appropriate in classical and neoclassical solutions.
More about the use of slats can be read in the article "Wooden slats in modern interiors".
Get Consultation
Moldings and battens
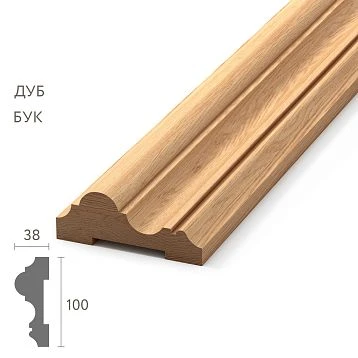
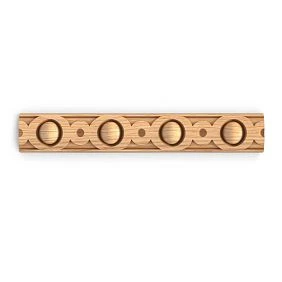
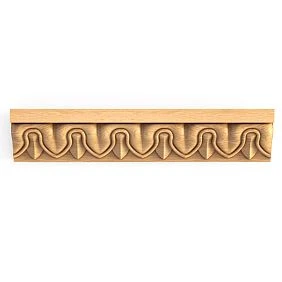
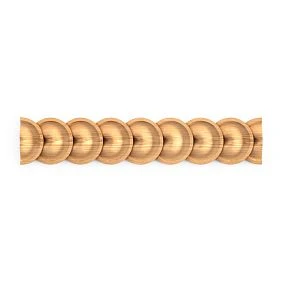
Moldings are used to create frames, panels, and geometric compositions. They are suitable for classical, neoclassical, modern, and eclectic interiors.
Battens, as a rule, have a more laconic cross-section. They are used to assemble straight-line grids, panel frames, decorative lines on walls and furniture facades. More about the possibilities of such elements is described in the article "Wooden battens: a universal solution for finishing and decor".
Before purchasing moldings or battens, calculate the total length of elements, plan the cutting scheme, and account for corner joints. The more complex the pattern and the more short fragments in the composition, the more material will be needed for trimming and matching joints.
Cornices and baseboards
wooden cornice completes the upper part of the composition and forms an expressive transition from the wall to the ceiling. It can be installed around the entire perimeter of the room or used only within a decorative portal, niche, built-in wardrobe, or accent wall.
Wooden baseboard completes the lower part of the wall. If vertical slats, moldings, or pilasters reach the floor, determine in advance how they will connect to the baseboard.
The following solutions are possible:
- rails or moldings end above the top edge of the baseboard;
- the baseboard is interrupted within the decorative composition;
- vertical elements are finished with bases or plinth details consistent with the baseboard profile;
- the baseboard profile is trimmed to accommodate the shape of the vertical element;
- a unified system of parts with consistent depth is used.
The method of joining must be chosen before installation. An unforeseen connection of vertical elements with a protruding baseboard often leads to steps, gaps, and untidy cuts.
Carved overlays, rosettes, and capitals
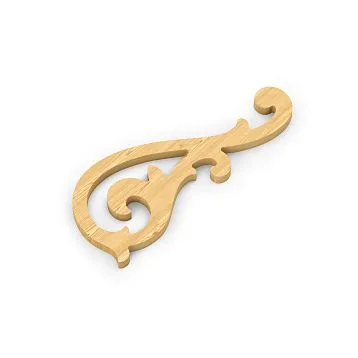
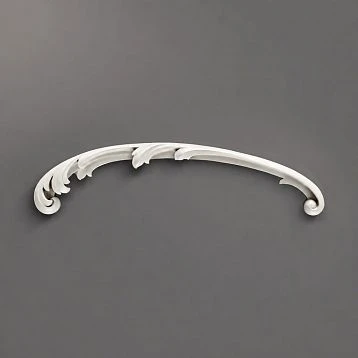
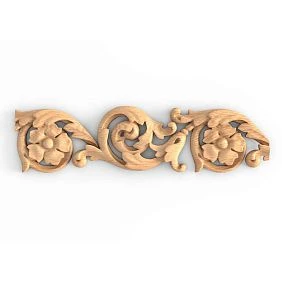
Carved elements are used as expressive accents. They can mark the center of a composition, frame corners, finish a vertical element, or tie wall decor to the style of furniture and doors.
The more complex and deep the carving, the calmer its surroundings should be. Placing many relief details close together makes individual patterns hard to perceive. Therefore, carved overlays are usually combined with smooth moldings, simple rails, and neutral wall finishes.
When selecting, consider not only the height and width of the item but also the depth of the relief. A thin overlay may get lost next to a massive cornice, while a large piece may look disproportionate on a narrow wall or next to a small piece of furniture.
Decorative brackets
Wooden Brackets can perform a decorative or supporting function. In wall compositions, they are used to frame shelves, console elements, portals, and transitions between horizontal and vertical parts.
If the bracket must hold a shelf, the mounting method is chosen based on the actual load, wall material, and the shelf's own construction. Gluing a decorative part does not replace the mechanical fastening of a load-bearing element.
Balusters and turned details
wooden balusters are used not only in stair structures. They can become part of a decorative partition, niche, furniture facade, or architectural portal.
However, a voluminous baluster should not be perceived as an ordinary wall overlay. The significant projection of the part from the wall reduces the usable passage width, complicates cleaning, and affects the perception of space.
For flat wall decoration, halves of voluminous parts, specially made overlays, or flat carved balusters.
How to choose a composition in accordance with the interior style
Classic Interior
A classic composition is built on symmetry, pronounced vertical axes, and coordinated proportions. The wall can be divided into several rectangular fields formed by moldings. The central frame is usually made larger than the side ones and is aligned with furniture, a mirror, a fireplace, or a decorative panel.
For more expressive decoration, the following are used:
- carved rosettes in the center of the frames;
- corner overlays;
- capitals and bases of vertical elements;
- cornice at the top of the wall;
- decorative brackets under shelves or a console;
- symmetrically placed pilasters.
It is not necessary to use gilding or dark wood. Classic decor can be painted in the color of the wall. In this case, the relief will be readable due to the play of light and shadow, and the composition will be restrained and architectural.
Neoclassicism
Neoclassical design preserves symmetry and clear geometry but looks lighter than classical. Instead of an abundance of complex carvings, thin moldings, elongated frames, and a small number of accent details are used.
A good solution is to repeat the proportions and position of the wall frames on the facades of the built-in wardrobe. This way, the furniture and the wall are perceived as a single architectural system.
The molding should not be placed flush against furniture, a doorway, or a wall corner. The size of the free offset is determined by the width of the profile, the scale of the frame, and the overall proportions of the wall. It is better to assess the distances on a sketch and a full-scale mockup.
Modern minimalism
For minimalist interiors, straight slats, smooth moldings, and laconic panels are suitable. The main focus is on rhythm, proportions, and quality of execution.
The most common options are:
- a vertical group of slats behind the TV;
- a strip of wooden elements from floor to ceiling;
- an asymmetrical composition near the desk;
- slats transitioning from the wall to the ceiling;
- a thin geometric grid of moldings;
- local framing of a mirror or wall panel.
In a minimalist interior, deviations from the layout are especially noticeable. Even a slight disruption of the spacing or verticality can ruin the overall impression. Therefore, before installation, check the entire scheme as a whole, rather than mounting elements sequentially by eye.
Scandinavian interior
Scandinavian style is characterized by light wood, calm geometry, and a combination of decorative elements with functional details. On the wall, you can place slats, small shelves, a mirror, and local lighting.
Natural wood tones pair well with white, gray, sand, and muted green colors of walls, furniture, and textiles. Do not overload the interior with a large number of wood species and shades. Usually, one primary wood color and one background tone are enough.
Eclecticism
An eclectic composition allows combining modern geometry and classic relief. For example, a mirror in a carved wooden frame can be surrounded by minimalist vertical slats.
However, eclecticism does not mean a random set of details. Even elements from different stylistic directions must be connected by a common principle: palette, geometry, material, scale, or a repeating rhythm.
If different shapes and ornaments are used in one composition, limit the number of colors and wood species. This will help maintain the visual integrity of the design.
How to design a composition before purchasing materials
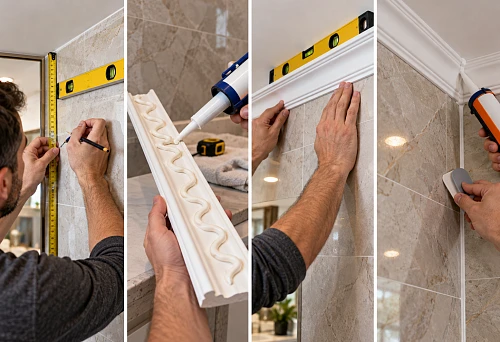
Step 1. Measure the wall
Record the full width and height of the wall. Separately note:
- door and window openings;
- floor baseboard and ceiling cornice;
- sockets and switches;
- radiators and ventilation grilles;
- wall lamps;
- furniture that will be located against the wall;
- gaps required for opening doors and facades;
- locations of accessible utility lines.
Check the dimensions in at least two points. In real rooms, the floor, ceiling, and corners are not always strictly parallel, so a single measurement may not be sufficient.
Step 2. Determine the central axis
The center of the composition is not always the geometric center of the wall. The reference point can be the center of a sofa, bed, TV, table, mirror, or doorway.
If the furniture is arranged asymmetrically, trying to align the design strictly to the center of the wall can lead to visual imbalance. First, identify the main item or functional area, then align the position of the wooden elements with them.
Step 3. Prepare a scale sketch
For a preliminary project, graph paper or a simple graphic editor is sufficient. The main condition is maintaining the scale.
On the sketch, indicate:
- outer boundaries of the composition;
- width of each element;
- intervals between details;
- position of furniture and equipment;
- cut lines and joint locations;
- direction of wood grain;
- color of future finish;
- location of outlets, switches, and light fixtures.
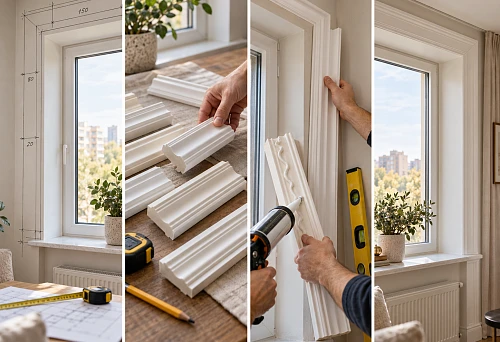
Step 4. Transfer the diagram to the wall using painter's tape
A 1:1 scale mockup helps spot errors that are not visible in a small sketch. Use strips of painter's tape to mark the boundaries of frames or the position of battens, then evaluate the result from different points in the room.
Check:
- Does the pattern match the furniture?
- Does the decorative zone look too narrow or excessively tall?
- Is there enough free space around the elements?
- Do switches and outlets fall on the molding line?
- Do the axes of the decor and furniture align?
- Is part of the pattern covered by the TV, headboard, or cabinet?
- Do doors, drawers, and furniture fronts open conveniently?
How to calculate the amount of material
The calculation method depends on the type of composition. For vertical battens, determine the number of elements and multiply it by the length of each piece. For frames, add up the lengths of all sides of each rectangle.
Add a margin to the resulting value for:
- corner trimming;
- fitting of joints;
- rejection of defective areas;
- selection of wood grain and shade;
- possible errors during cutting and installation.
The amount of allowance depends on the complexity of the project. For straight elements with a small number of cuts, it will be smaller. For frames with numerous corner joints and compositions of short fragments, a larger reserve will be required.
| Type of composition | What to measure | What to consider additionally |
|---|---|---|
| Vertical slats | Number of elements, their height and spacing | Floor and ceiling level differences, individual cutting of parts |
| Frames made of moldings | Perimeter of each frame | Corner cutting, profile selection, matching sizes of repeating frames |
| Solid slat zone | Zone width, slat width, and gap size | Edge offsets, position of sockets and switches |
| Carved composition | Size of each decorative element | Axis of symmetry, relief depth, and free background around details |
How to choose wood
Pine
Pine has an expressive grain, relatively low weight, and is easy to work with. It is suitable for painting and staining, and its noticeable natural texture looks great in interiors where it is important to emphasize the naturalness of the material.
The surface of pine is relatively soft, so dents may appear on it. For wall decor, this is less critical than for furniture or flooring, but during transportation, storage, and installation, the parts should be handled with care.
Beech
Beech has a dense and fairly uniform texture. It is suitable for turned and carved items, sands well, and allows for a neat surface ready for painting.
When using solid wood, it is important to follow storage and installation conditions. Wooden elements should not be installed immediately after being brought from a cold or damp room. The material needs time to adapt to the room's temperature and humidity in accordance with the manufacturer's or supplier's recommendations.
Oak
Oak is chosen when it is necessary to emphasize the naturalness of the material and the expressive grain of the wood. It looks especially striking under oil, wax, or a clear protective coating.
When applying opaque paint, the texture of oak becomes less noticeable. Therefore, the advisability of choosing this species is assessed taking into account the product's design, budget, and desired result.
How to match parts from different batches
Natural wood is never completely uniform. Elements may differ in shade, grain pattern, and other natural characteristics.
Before installation, lay out all parts on the floor and arrange them according to the future composition. Elements with a more uniform pattern can be placed nearby, while parts with pronounced texture should be used in accent areas.
If a transparent or semi-transparent finish is planned, pre-layout is especially important: after applying the coating, differences in the shade and pattern of the wood may become more noticeable.
Wooden Decor Finishing
Painting in wall color
If slats, moldings, and carved elements are painted in the same color as the wall, the design looks restrained and architectural. The relief becomes noticeable thanks to the natural play of light and shadow.
This solution is suitable for neoclassical and modern interiors, as well as for spaces where a pronounced color contrast is not needed.
Elements can be painted before or after installation. Pre-painting simplifies the treatment of complex relief, but after installation, local finishing of joints and attachment points may be required. Painting directly on the wall allows for a uniform coating but requires careful protection of adjacent surfaces.
Oil and other transparent coatings
Transparent and tinting compounds emphasize the natural texture of wood. Before applying the coating, the surface is sanded and thoroughly cleaned of dust.
Compatibility of the primer, tinting compound, and finish coating is checked according to the manufacturer's recommendations. A test application is done on a separate sample of the same wood species.
The shade of the coating on a small sample may be perceived differently than on a large area. Therefore, the result should be evaluated under both daylight and artificial lighting.
Contrast painting
Contrasting decor becomes a standalone accent. Dark slats on a light wall emphasize the geometry, while light elements against a rich background make the design more graphic.
The stronger the contrast, the more noticeable are trimming inaccuracies, uneven gaps, and coating defects. Such a solution requires particularly precise marking and careful installation.
Wall preparation
Before starting installation, check the surface for strength, evenness, and cleanliness. Peeling paint, a weak layer of plaster, and dirt must be removed.
Assembly adhesive connects the wooden element not to the load-bearing wall base, but to the top finishing layer. If the paint or putty holds poorly, the piece may detach along with the coating.
Before installation:
- check the strength of the base;
- eliminate pronounced unevenness;
- complete the main wet finishing work;
- allow the surface and materials to dry completely;
- apply precise marking;
- lay out the wooden elements in assembly order;
- verify the actual dimensions of the parts against the project;
- check the position of electrical wiring and hidden utilities.
How to attach wooden decor
There is no universal method for attaching all wooden parts. The solution depends on:
- the weight and size of the element;
- the area of contact with the wall;
- the base material;
- the strength of the finishing layer;
- the presence of a functional load;
- the need for subsequent dismantling;
- type of finishing treatment.
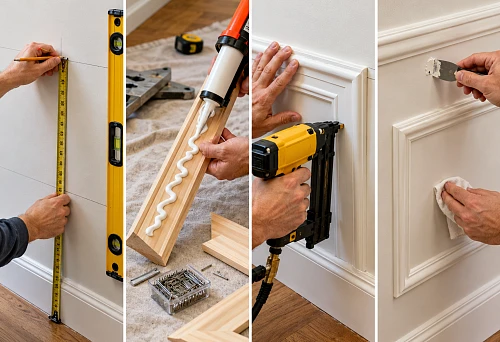
Construction adhesive
Assembly adhesive is used for decorative elements with sufficient contact area that do not bear a functional load.
The composition must be compatible with both the wood and the wall base. Consider the initial setting time, full cure time, and surface preparation requirements.
Until the adhesive dries, parts are secured with painter's tape, temporary supports, or another method that does not damage the visible surface.
Mechanical fastening
Screws, dowels, anchors, and other mechanical fasteners are selected based on the wall material and the expected load. Concrete, solid or hollow brick, blocks, drywall, and wooden lathing require different solutions.
When installing on drywall, the location of the metal or wooden frame must be considered. Heavy elements and shelves designed for load should preferably be attached to the load-bearing structure or to pre-installed embedded parts.
The diameter, length, quantity, and spacing of fasteners are determined individually. The same interval cannot be used for all slats and all wall types.
Combined installation
For long, heavy, or textured parts, a combination of assembly adhesive and mechanical fastening can be used. The adhesive ensures tight contact, while the fasteners reduce the risk of shifting or detachment of the element.
Fastener heads are countersunk and masked with a compound compatible with the subsequent finishing. If the wood will be coated with a transparent oil or varnish, the method of hiding the fasteners is planned in advance: putty may absorb the finishing compound differently and stand out in color.
Hidden mounting systems
For some products, mounting strips, dowels, clips, or prepared mating elements are used. The specific design depends on the shape and thickness of the profile.
It is not recommended to mill grooves and create hidden fasteners yourself without a precise project. An error in the depth of the cutout can weaken the part or cause deformation of the face surface.
How to connect elements
Frame corners
Moldings in rectangular frames are usually joined with a 45-degree cut. However, the quality of the joint depends not only on the precision of the cut, but also on the straightness of the wall, the shape of the profile, and the stability of the wood.
Before fixing, dry-fit all four sides of the frame together. If you install elements one by one without a general check, the joint in the last corner may not align.
Longitudinal joints
Whenever possible, use long visible elements without longitudinal joints. If a joint is unavoidable, place it in a less noticeable area and align the direction of the grain.
On a smooth painted profile, the joint can be prepared for subsequent finishing. With a transparent coating, such a joint will be more visible.
Joints with baseboard and cornice
Vertical parts should not accidentally rest against protruding parts of the floor plinth or ceiling cornice. For a neat transition, use:
- cutting to fit on site;
- finishing the vertical part above the plinth;
- a decorative base;
- changing the profile depth;
- interrupting the plinth within the composition;
- a specially designed connection joint.
It is recommended to first test the chosen joining method on a small sample or test piece.
Wooden decor in different rooms
Living room
In the living room, wooden elements are most often placed behind the sofa, around the TV, near the fireplace, or in the console area.
When designing the TV area, consider in advance:
- the installation location of the television bracket;
- the placement of cable channels;
- the position of electrical outlets;
- necessary ventilation gaps;
- the placement of backlighting;
- the possibility of subsequent equipment maintenance.
Moldings and slats should not interfere with the removal and maintenance of the television or restrict access to its connectors.
Bedroom
In the bedroom, a wooden composition is often placed on the wall behind the headboard. It can occupy the entire width of the wall or only its central part.
Ensure that relief elements are not located directly next to a person's head. Parts with a large protrusion from the wall are better installed higher up or on the sides of the bed.
Natural wood tones, wall-colored paint, and soft local lighting are suitable for a calm atmosphere.
Entryway and Corridor
In a narrow room, it is especially important to consider the depth of elements. Voluminous brackets, cornices, and carved details can reduce the usable width of the passage.
In places where the wall is regularly brushed by clothing, bags, or other items, choose a covering that is suitable for careful cleaning and local repair.
Kitchen
Wooden decor should not be automatically used instead of a kitchen backsplash. In areas of regular exposure to water, steam, grease, and cleaning agents, the material and protective coating must be designed for the corresponding conditions.
Slats and moldings are best placed on walls away from the sink and cooking surface, or additional protection should be provided.
Pay special attention to joints and edges: through unprotected areas, wood absorbs moisture more intensively.
Children's room
For a children's room, choose securely fastened elements without sharp protrusions and poorly fixed small parts. Wall decor should not be used as a support for climbing.
Shelves and other functional structures are mounted taking into account the expected load. Protective and finishing materials must be intended for interior use and used in accordance with the manufacturer's instructions.
Common Mistakes
Mistake 1. Buying elements without an overall sketch
Even high-quality and beautiful details may combine poorly in scale. A large rosette, a thin molding, and a massive cornice do not always form a unified system.
First, develop the overall composition, and then select pieces according to the intended sizes and proportions.
Mistake 2. Pattern too small for a large wall
A composition that looks good on paper or a screen can get lost in an interior. Therefore, it must be checked on the wall at full scale.
Mistake 3. Excessive amount of carved decor
Relief details require free background space. If you fill the entire surface with them, individual ornaments will cease to be perceived, and the design will look overloaded.
Mistake 4. Designing without considering furniture
Wall decor cannot be designed separately from a sofa, bed, wardrobe, or TV. After arranging the furniture, part of the pattern may end up covered.
Mistake 5. Installation on an unstable base
Even high-quality glue will not hold an element if the paint, plaster, or putty is peeling off the wall.
Mistake 6. Lack of a test swatch
The color of the coating depends on the wood species, surface preparation, number of layers, and lighting. The result cannot be evaluated solely by the image on the screen.
Mistake 7. Installation immediately after delivery
The material must be allowed to adapt to the room conditions in accordance with the manufacturer's or supplier's recommendations. A sharp change in temperature and humidity is especially undesirable when moving wood from a cold warehouse to a heated room.
Mistake 8. Placing electrical wiring without a project
Cables, power supplies, sockets, and connections must remain safe and accessible for maintenance. All necessary electrical work is performed before installing wooden elements.
How to care for wooden wall decor
Basic care involves regular dust removal. For smooth surfaces, use a soft dry cloth or microfiber. Recesses of carved ornaments are cleaned with a soft brush or brush.
Do not wet untreated wood excessively or allow water to accumulate in the relief. The acceptable method of wet cleaning depends on the applied finish coating.
Abrasive sponges and aggressive cleaning agents can damage paint, oil, patina, or gilding. Before using a new product, test it on an inconspicuous area.
The frequency of coating renewal is determined individually. It depends on the composition, room conditions, exposure to sunlight, and intensity of use.
What to prepare before ordering
To select elements and correctly calculate their quantity, prepare:
- exact wall dimensions;
- a photo of the room;
- a layout diagram of furniture and equipment;
- a sketch, photo, or reference of the desired design;
- preferred style;
- desired finish color;
- information about the wall material;
- requirements for installation timeline and method.
For a complex composition, it is useful to order a small sample of the profile or material. It will allow you to assess the actual scale, surface quality, wood shade, and compatibility with the chosen finish.
Who suits wooden wall decor
This design suits those who want to:
- create an expressive accent wall;
- support the style of furniture and doors;
- add architectural depth to the interior;
- emphasize the natural texture of wood;
- get a composition in custom sizes;
- combine smooth and carved elements;
- visually unify furniture, walls, and architectural details.
When it's better to choose another solution
It is better to avoid a complex wooden composition if:
- the wall is regularly exposed to direct water;
- the base is unstable and cannot be properly prepared;
- volumetric elements noticeably reduce the width of the passage;
- the decor blocks access to utilities;
- precise installation cannot be ensured;
- the wall is overloaded with furniture and equipment, so the decorative composition will not be perceived as a whole.
Frequently asked questions
Can wooden slats be installed independently?
A simple composition can be installed independently with an accurate project, working tools, and skills in finishing materials. Complex frames, carved portals, tall elements, and structures designed for load are better left to a specialist.
Is it necessary to level the wall?
Pronounced unevenness must be eliminated. A long straight slat or molding emphasizes surface differences, and noticeable gaps may appear between the wooden element and the wall.
Can wooden decor be glued onto wallpaper?
The reliability of such installation depends on the type of wallpaper and the strength of its adhesion to the wall. Even if the glue bonds well to the surface of the sheet, the entire structure may come off along with the wallpaper.
The decision is made considering the type of covering, the adhesive used, and the strength of the base. It is more reliable to attach wooden elements directly to a prepared wall surface.
When is it better to paint the parts — before or after installation?
Both methods are acceptable. Complex relief is more convenient to pre-paint in the workshop, while a unified coating of frames and wall is often done after installation. The decision depends on the type of finish, the design of the elements, and the requirements for joint treatment.
How to choose the spacing between slats?
The spacing is chosen considering the width of the slat, wall dimensions, and desired pattern density. There is no universal value. Prepare several layout options and test them on the wall using painter's tape.
Can different wood species be used in one composition?
Yes, if the elements will be painted with opaque paint or the difference in species is part of the design solution. With transparent finishing, it is necessary to evaluate the combination of shades and textures in advance.
How to design outlets within a slat composition?
The location of sockets is taken into account before ordering and cutting elements. Electrical installation products must remain accessible and be installed in accordance with safety requirements. If necessary, sockets are moved before installing the decor.
Can wooden decor be installed in a bathroom?
The solution depends on the specific area, wood species, element design, and protective coating. In places with direct contact with water, ordinary wooden decor without specially provided protection should not be used.
How to reduce differences in shades between parts?
It is impossible to completely eliminate natural differences in wood. Before installation, elements are sorted and laid out in the required sequence. To even out the shade, an agreed tinting system is used, and a test coat is mandatory.
Conclusion
Wooden wall decor becomes an expressive part of the interior only when it is designed as a unified system. It is necessary to consider not only the appearance of individual slats, moldings, and carved overlays, but also the proportions of the wall, furniture arrangement, base material, type of finish, and method of attachment.
Start not with buying random elements, but with measuring the wall and preparing a sketch. A 1:1 scale mock-up will help check proportions before cutting the material, and a test coat will allow you to evaluate the color and texture of the finish in advance.
The STAVROS assortment includes wooden slats, moldings, cornices, baseboards, carved overlays, brackets, and other elements for interior decoration. When selecting products, consider their actual dimensions, profile depth, wood species, and planned finish.
This approach allows creating a neat, durable, and cohesive composition that highlights the architecture of the room and harmoniously combines with furniture, doors, and other interior elements.