Article Contents:
- What small wholesale means for a decorative set
- First, identify the furniture zones
- The main element, support, and linear decor
- How to coordinate different types of decor
- Plates and Receptacles
- Pilasters, capitals, and cornice
- Brackets
- Moldings and connecting elements
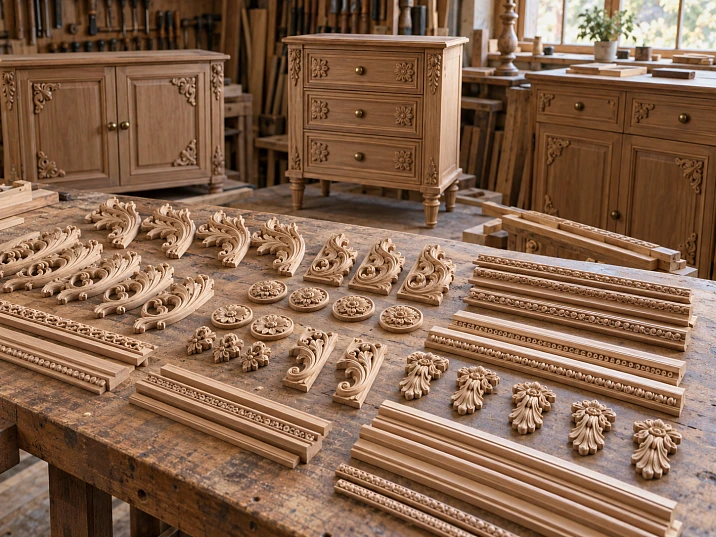
Eight cabinets need overlays, rosettes, and moldings. The quantity can be calculated precisely, one wood species can be selected, and yet the set can still end up mismatched: a rosette protrudes too much next to the central overlay, a side ornament sits flush against the handle, and a corner element does not fit the chosen profile.
These problems are easy to miss in individual images. They are discovered when comparing dimensions, joints, and the placement of the decor. That is why decorative elements in small wholesale should be purchased after checking the full set on one piece of furniture.
The work begins with placing the decor on the facade. Then specific models are selected, the material and finish are agreed upon, and a control set is assembled. Only after that is the number of parts multiplied by the size of the series and the purchase is placed.
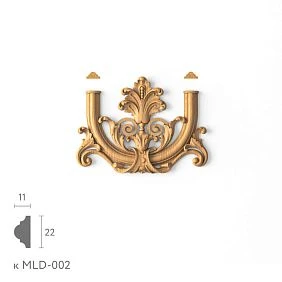
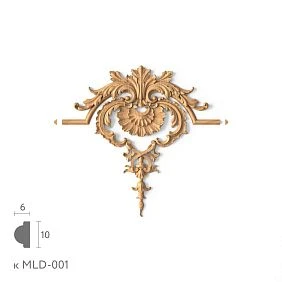
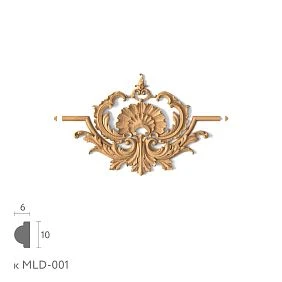
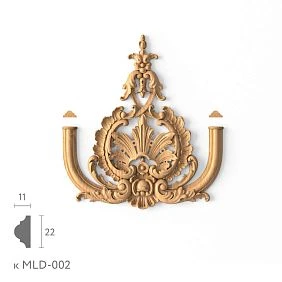
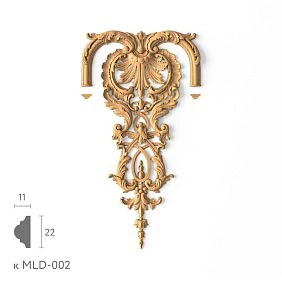
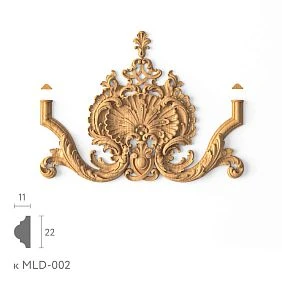
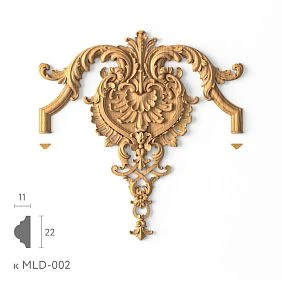
What small wholesale means for a decorative set
There is no universal threshold of ten, twenty, or fifty pieces for such a purchase. The practical meaning is that a workshop repeats one agreed-upon set across several items. For example, it produces six identical chests of drawers or eight cabinets with one design scheme.
The set may include different product groups: overlays, rosettes, capitals, pilasters, brackets, and moldings. They are purchased in different quantities but evaluated together. A missing left overlay can delay the completion of a cabinet even when the other items have been received with a surplus.
This specifically concerns visible decor. A full purchase of furniture parts additionally includes supports, handles, and fasteners, but a decorative set has its own task: to reproduce the agreed-upon appearance of each item in the series.
The price and delivery terms depend on the specific order. The phrase “small wholesale” itself does not confirm a particular discount, minimum amount, or the ability to receive all selected items at the same time.




First, identify the furniture zones
On the facade drawing, identify the upper part, side verticals, central panels, frames, and bottom line. Mark which sections are fixed and which open or slide out. Then assign each element its place and role.
| Furniture zone | Possible decor | What to check in the kit contents |
|---|---|---|
| Fixed top panel | Central overlay, finial | Connection to the cornice and side verticals |
| Door or drawer panel | Overlay, rosette, molding frame | Free space, handle, and opening |
| Side verticals | Vertical overlays, pilasters | Width of the area and direction of the ornament |
| Top of the pilasters | Capitals | Lower junction and projection under the cornice |
| Corners and frame endings | Corner elements, finials | Compatibility with a specific profile |
| Space under the protruding shelf | Brackets | Overhang, height and side view |
Not every area needs to be filled. The empty space between the frame and the applique helps the design read clearly. If you first buy the pieces you like and then look for a place for them, this pause is easily lost.
Use the actual mounting plane as your basis. The total width of the door includes the frame and the bevels, where the chosen applique may not have the necessary contact. For a large wardrobe, it is useful to show the top assembly and the side post separately in enlarged view.
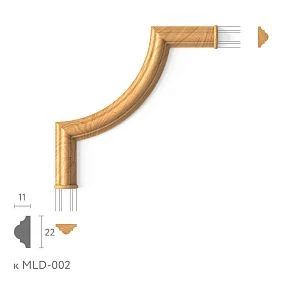
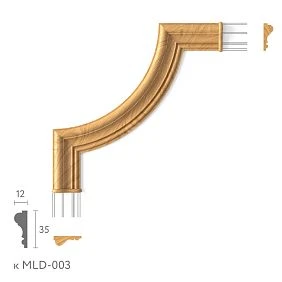
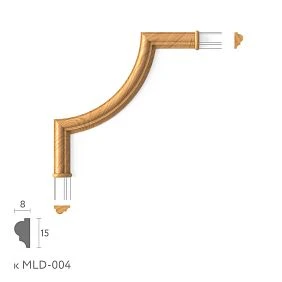
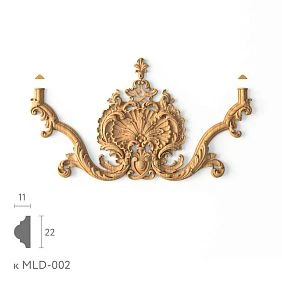
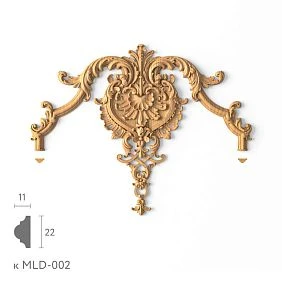
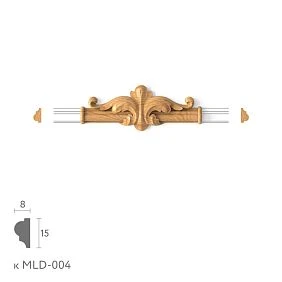
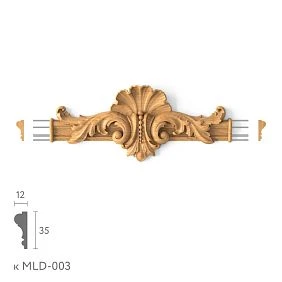
Our factory also produces:
Main element, support and linear decor
The set should have a clear hierarchy. The central applique can set the main accent, small rosettes can echo its motif, and the molding can outline the field. Equally expressive decor in all areas makes the facade harder to read.
Compare more than just sizes. A small rosette with dense carving and a strong relief is sometimes more noticeable than a large but calm applique. Perception is influenced by the density of the ornament, shadows and the contrast of the finish. Therefore, reducing a secondary element in width is not always enough.
Gather images of the selected pieces on a single drawing at the correct scale. See where attention goes first and how the pattern repeats on neighboring facades. Then temporarily remove one of the secondary elements. If the composition becomes clearer, it can be excluded before purchasing.
When selecting, wooden decorative elements focus on the role of the part within the overall set. Belonging to the same collection simplifies stylistic matching, but does not replace checking dimensions and joints.
Get Consultation
How to coordinate different types of decor
A set becomes unified through the connections between elements. For an overlay, the contour and direction matter; for a rosette, the position of the center; for a bracket, the transition to another plane. These features are checked on the overall layout, not only in individual product cards.
Overlays and rosettes
Carved decorative inserts for furniture group them by purpose: central, vertical, horizontal, or corner. For each, specify the exact installation plane. The same motif on a wide top panel and a narrow side post may require different models.
Carved outlets from wood convenient to use as compact repeating elements. Match their size to the width of the post or frame. If the rosette is meant to join moldings, check the geometry of that joint: a standard surface-mounted rosette is not necessarily suitable as a ready-made connector.
Pilasters, capitals, and cornice
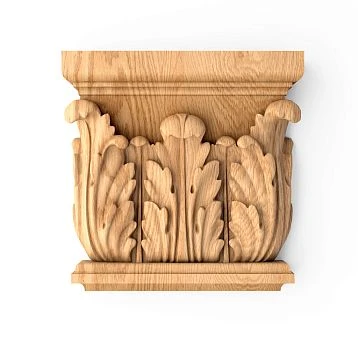
pilasters and columns are selected together with the terminations. First determine the overall dimensions of the vertical element, then the lower junction wooden capital and its position under the cornice.
Check the joint from the front and the side. The width may match, while the depth creates an unintended protrusion. If the capital is changed to a different size version, reassess the adjacent parts, not just the free space above the pilaster.
Brackets
Wooden Brackets are considered together with the shelf, side post, and the nearest ornament. An overly active side relief may clash with the front overlay, although from a front view this is almost invisible.
In a decorative set, the height, projection, orientation, and mounting method of the bracket are fixed. Its load-bearing function, if provided, is confirmed separately by the design. The appearance of the support element alone does not establish the permissible load.
Moldings and connecting elements
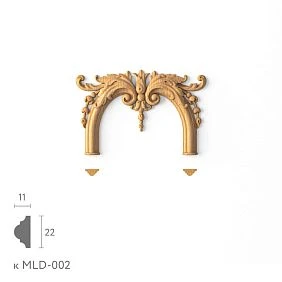
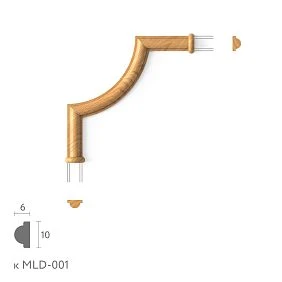
Decor for Molding choose for a specific profile. A corner piece or end cap may have a special recess on the back side. Matching overall width does not yet mean that the fit will be suitable.
On the drawing, mark where the profile ends, where it joins, and where it is covered by a decorative element. This affects both the appearance and the cut lengths for the entire batch.
What dimensions to record for each item
Instead of the label "large overlay," record the full article number, the selected size, and the orientation. Decode size letters according to the specific drawing: in different product groups they may indicate different directions.
For example, for STAVROS decorative overlays, size C indicates thickness. It cannot automatically be called the thread depth. The overall thickness of the part, the relief height difference, and the projection after installation are related but distinct characteristics.
To coordinate a set, you need the width and height of each element, the mounting surface, the actual projection, the dimensions of the junctions, and the clearances from adjacent parts. For a molding, the cross-section and the length of the commercial strip are additionally recorded.
Use drawings and product models, corresponding to the selected article numbers and sizes. If the required mounting type is not available, clarify it before ordering. A printed full-scale contour will help verify the scale, but the volume and fit are ultimately assessed on physical parts.
Anchor all distances on the furniture drawing to clear reference points: the facade axis, the edge of the frame, the top face of the panel. This way, the layout can be repeated on the next item without fitting from a photo.
Count left and right elements separately
If a cabinet is finished with a mirrored pair, the list must contain two items: left and right. For eight cabinets with one such pair, eight left and eight right parts will be required. The entry “16 side overlays” leaves room for error during assembly.
Keep the letter designations L and R in the full article number if they are used for the selected model. Verify the direction against the images and drawings. Rotating one element does not always replace the mirrored version: the top and bottom of the pattern may have a different character.
For each side, the agreed size, material, and surface preparation must match. Mark the location on the furniture diagram and transfer it to the kit packaging. Then, at the assembly area, there will be no need to determine again which way the scroll should face.
The material is selected for the entire set
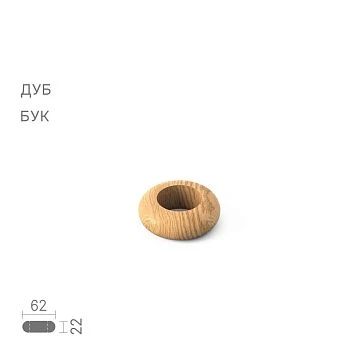
If the approved set includes oak, an accidental replacement of one rosette with a beech one is especially noticeable under a transparent finish. The texture, base tone, and perception of the surface after coating differ.
A material cannot be considered insignificant just because it will be covered with an opaque enamel. Different substrates may require their own preparation and coating verification. A mixed set is acceptable as a pre-developed solution, but it must be approved and reproduced in every item. You should not substitute wood simply because the required item was out of stock, without re-verification.
When choosing wooden decor for furniture, verify the material for each line item, including moulding. A single product group may contain different versions. Information about the quality of wooden products will help clarify the material and finish, and the specific selected option is carried over into the order.
Natural wood may vary in grain pattern and shade. For a clear finish, define in advance the requirements for matching adjacent parts. Matching species does not turn all elements in a batch into visually identical copies.
How to coordinate the finish of overlays, rosettes, and profiles
For the set, assign a common finish designation, for example "Finish 01". It must be backed by a clear technology: preparation, materials used, application method, and an approved sample of the result.
Check the coating on different surfaces of the set. On flat moulding, color and gloss read differently than in deep carving. Patina may accentuate the recesses of an overlay more strongly than the fine pattern of a rosette. If you evaluate only one part, these differences will only be discovered after the batch has been painted.
A unified finish means a coordinated appearance and a reproducible work sequence. It does not require mechanically repeating every operation on different substrates if the technology provides for differences. Additional preparation for a specific part is recorded separately and repeated throughout the entire series.
Compositions, intercoat processing, and drying times are selected according to the material manufacturers' instructions. Evaluate the result after the specified drying and development of coating properties, next to the cabinet sample and under agreed lighting.
It is useful to keep not only the painted overlay but also a section of the profile with a rosette or another mating element. Such a sample shows how adjacent surfaces and the transition between them should look.
Make a list of decor for one product
Before calculating the series, compile a list for one set. A conditional example for a cabinet: a central overlay on a fixed panel, two side directional parts, two identical rosettes, and one molding frame. This is an example composition, not a mandatory design scheme.
| Set item | Quantity per cabinet | What to include in the list |
|---|---|---|
| Central overlay | 1 pc. | Full SKU, size, and installation location |
| Left side overlay | 1 pc. | Left-hand SKU and direction |
| Right side overlay | 1 pc. | Right-hand SKU and direction |
| Rosette | 2 pcs. | Article number and two installation points |
| Frame molding | 4 blanks | Profile, lengths and cutting plan |
Each row must have material, surface preparation, finish, and a product link. For capitals, pilasters, and brackets, if provided by the project, add separate rows.
The number of commercial molding strips is not yet determined here. Four segments for the frame and four purchased strips are different quantities. The purchase of linear stock is calculated after the cutting plan is drawn up.
Before the batch, assemble one complete set
The control assembly should demonstrate how all elements work together. One central overlay is not enough if there are rosettes, a frame and side decor nearby. Prepare the entire set for one item and place it on the first product or a mock-up reproducing the required planes and assemblies.
First check the geometry and appearance without permanent fastening. Then work out the connections and finish specified by the project. The order of painting and installation may differ, so it is determined before final assembly.
On the control item, evaluate:
- whether the main accent reads clearly and whether the other parts compete with it;
- whether the axes, offsets, and ornament directions match;
- whether the fits and joints of the profiles work;
- whether the protrusions and shadows of adjacent elements are aligned;
- whether there is still room to grip the handle;
- whether the fronts open to the required angle;
- whether the finish of different parts of the set is perceived consistently.
A paper mock-up helps with scale, while Product samples — with individual properties of the material or profile. For final approval of complex junctions, a set of the selected parts is needed. The mock-up should also reproduce the movement of the fronts if opening is being checked.
Record the changes found in the schedule. If one overlay had to be replaced, check its neighbours and update the article number before sending the order for the series.
How to move from a single set to a batch
After the composition is approved, multiply the consumption of each item by the number of products. For eight cabinets from the example above, this gives:
| Piece item | For one cabinet | For eight cabinets |
|---|---|---|
| Central overlay | 1 | 8 |
| Left side overlay | 1 | 8 |
| Right side overlay | 1 | 8 |
| Rosette | 2 | 16 |
| Total piece items | 5 | 40 |
This table shows the requirement for the finished series. It is not yet equal to the additional order: some suitable parts may have been purchased for the test assembly, and a separate sample may remain in the workshop.
If the control cabinet is part of the eight delivered items and its decor is fully suitable, the remaining seven require seven central, seven left, seven right overlays, and fourteen rosettes — 35 piece parts. If the control set is kept separately, all 40 are needed for eight items.
A series with different fronts requires separate set variants. For example, a solid and a glazed section may differ in field dimensions and the number of rosettes. First determine the composition of each variant, then sum identical SKUs for purchasing.
Moldings are calculated by cutting plan, not just by meters
For procurement wooden moldings for furniture three values are needed: the lengths of individual blanks, their quantity, and the available length of the commercial strip. The total footage serves as a check but does not replace the cutting plan.
Let us consider a conditional calculation for eight frames. Each requires two workpieces of 950 mm and two of 650 mm. These lengths already include the allowance provided for subsequent corner trimming. In total, 16 long and 16 short workpieces are required, totaling 25.6 m.
Suppose the selected smooth profile is available in 2400 mm strips. Dividing 25.6 by 2.4 and rounding up gives 11 strips. However, this quantity is insufficient for the specified lengths: two blanks of 950 mm and one of 650 mm already require 2550 mm without accounting for saw cuts.
One of the cutting options:
| Layout for one strip | Planks | Workpieces of 950 mm | Blanks of 650 mm |
|---|---|---|---|
| 950 + 650 + 650 mm | 8 | 8 | 16 |
| 950 + 950 mm | 4 | 8 | 0 |
| Total | 12 | 16 | 16 |
This gives 12 strips, or 28.8 m of purchased profile. In the first layout, 150 mm remains before accounting for sawing; in the second, 500 mm. This remainder must cover the saw cuts and end preparation. The calculation assumes that the actual allowances are sufficient and the strips are usable along their entire used length.
Why can't eleven be enough? For 16 long workpieces, at least five strips will have to accommodate two long segments each. On the remaining six, one long and two short can be placed — totaling 12 short instead of the required 16.
For a carved profile, pattern matching is added, while other lengths require a different layout. Therefore, the 12 strips apply only to this example. The reserve for damage and additional checks is not included in it.
The sample and the reserve are separate calculation lines
Separate the three purposes of parts: finished furniture, control set, and reserve. Then the already purchased sample will not be automatically deducted from production requirements, and the reserve will not dissolve into the total quantity.
For piece items, the additional order can be calculated as follows: series demand plus the agreed reserve minus suitable parts already allocated to this series. Samples that remain for control are not included in the latter value.
A universal ten percent allowance is inconvenient here. For a mirrored pair, the reserve is determined for each side. For a rare central overlay, the possible reorder lead time is taken into account. For moulding, first look at the usable cutting remnants: a short offcut will not replace the long side of a frame.
Suppose, in our example, the control set is stored separately, and the workshop decided to add one left and one right overlay. The new order for piece decor will be 8 central, 9 left, 9 right, and 16 rosettes — 42 parts. This is the selected stock for a specific project, not a mandatory norm.
An approved set must have its own version
Give the set a clear designation, for example “Cabinet decor, option 01.” Attach to it the bill of materials, layout drawing, profile cutting plan, materials, finish, and photos of the control assembly. Record the approval date.
Keep the full item code and reference for each position. The internal name “side overlay” is convenient for production, but the supplier needs the exact product variant. Marking and installation sequence are described separately from the purchasing quantity.
If the molding changes, the previous corner elements cannot be silently left unchanged. If a rosette is replaced, check its place in the frame and its finish. A change to the set receives a new version, after which the related documents are updated.
This way, the buyer, finishing specialist, and assembler work from a single decision. An old printout with the previous size no longer looks equivalent to the new one, and the next series can be repeated using the saved data.
Upon acceptance, check that the sets are complete
After receiving the batch, verify the item codes, quantity, size variants, material, and surface preparation. Inspect the relief, thin areas, and joints. Then sort the parts by their future products.
The total quantity can hide a shortage of one item. Eight center, eight left, seven right overlays, and sixteen rosettes will yield only seven complete sets from our example. An extra rosette will not make up for the missing right-hand part.
For a clear finish, match adjacent elements according to agreed appearance requirements. Selection is performed within the available batch, taking into account the natural variations of the wood. You cannot promise an identical grain pattern based on a single article number alone.
Mark the set with the furniture or section number. The strips may be stored separately before cutting, but after the cut pieces are made, they are linked to the corresponding set. In the painting area, this link is preserved so that the matched parts do not get mixed up.
Separately mark the reserve and control samples. A damaged or experimentally treated element should not be returned to the production set without assessing its suitability.
How to plan delivery and reordering
Before starting, check the lead time for each item. The latest element is what matters for set readiness. Fast delivery of the molding does not solve the problem if the capitals arrive after the agreed assembly deadline.
Evaluate a partial delivery by which operations it allows you to start. Sometimes the profiles can be cut in advance, but painting and matching adjacent parts are better done after receiving the full set. The decision depends on the adopted technology and the workshop schedule.
When reordering, send the saved list with the required version of the set. Reconfirm availability, specifications, and lead time. If the previous finish is unavailable, the replacement is agreed as part of the entire composition.
A similar part may differ in thickness, fit, or surface preparation. Therefore, a matching photo is not sufficient grounds for replacement. For a clear finish, an additional batch may also require rechecking the color next to previously received items.
Where to buy decorative elements in small wholesale
At STAVROS you can select Carved wooden decoration and other decorative elements for furniture by individual product groups. The workshop assembles a coordinated set of its own from the selected models for a wardrobe, chest of drawers, or cabinet. Such a set is not necessarily a ready-made product with a single item code.
On the page with conditions for manufacturers shipping from a single unit is indicated. This allows you to start with a control set and then buy decorative elements in a small batch based on the calculated requirement. The cost, availability, and terms of a specific order are clarified according to its composition.
To place an order, prepare a list of item codes, sizes, materials, finish options, and quantities. Specify piece decor in pieces, and linear items in the agreed delivery units with the selected strip length. Also check payment and delivery, including the procedure for receiving items with different lead times.
A well-prepared purchase describes each future piece of furniture. It makes clear which overlay goes on the left, which profile the rosette connects to, how to finish the parts, and how many complete sets will come from the batch. It is precisely this calculation that allows the approved decor to be repeated across the entire small series.