





















Article Contents:
- What Does Two-Tone Wall Molding Actually Mean?
- Contrast between the wall and the applied molding
- Two finishes on the same raised profile
- When a single color is the better decision
- Polyurethane versus wood, MDF, and polystyrene
- MLDPU-001: a refined outline rather than a mini mural
- MLDPU-004: a compact profile with more visible contour
- MLDPU-002: more presence for classic wall frames
- MLDPU-003: room for selective dry-brushed accents
- White molding on dark walls
- Tone-on-tone molding for a quieter look
- Dark trim on a light background
- A metallic highlight that stays subtle
- What sheen changes in a two-tone finish
- Primer: first verify what is already on the molding
- Caulk, joint filler, and paint do different jobs
- Brush and roller selection
- Inspect every joint under raking light
- Clean without damaging the profile
- Check old paint before masking it
- Step 1: Make a finish schedule
- Step 2: Finish repairs and any required primer
- Step 3: Paint the larger background surface
- Step 4: Mask only where it improves precision
- Step 5: Apply the trim color in light coats
- Step 6: Inspect the edges before the paint fully cures
- Step 7: Evaluate the full room and touch up sparingly
- What to do if the tape pulls up the finish
- Prepare a convincing sample
- Load almost no paint onto the brush
- Keep the highlight in a consistent direction
- Know when to stop
- Advantages of prepainting
- Advantages of painting in place
- A hybrid approach
- Calculate the total linear footage
- Build a basic cut schedule
- Estimate the area that will be painted
- Recipe 1: Navy dining room with slim ivory frames
- Recipe 2: Charcoal home office with subtle silver relief
- Recipe 3: Light traditional living room with decorative corners
- When a small touch-up becomes a larger repair
- Can you paint polyurethane molding two different colors?
- What paint is best for polyurethane trim?
- Should molding match the wall color or the baseboards?
- Can I paint a molding gold without making it look gaudy?
- Is painter's tape required for clean lines?
- Should I prime factory-primed polyurethane molding again?
- How long should I wait before applying a second color?
- How do I paint molding with a detailed relief pattern?
- How can I figure out how much molding to buy?
- Can a paint-only makeover fix crooked molding?
- Is two-tone polyurethane molding appropriate in bathrooms?
- Can I repaint installed molding later?
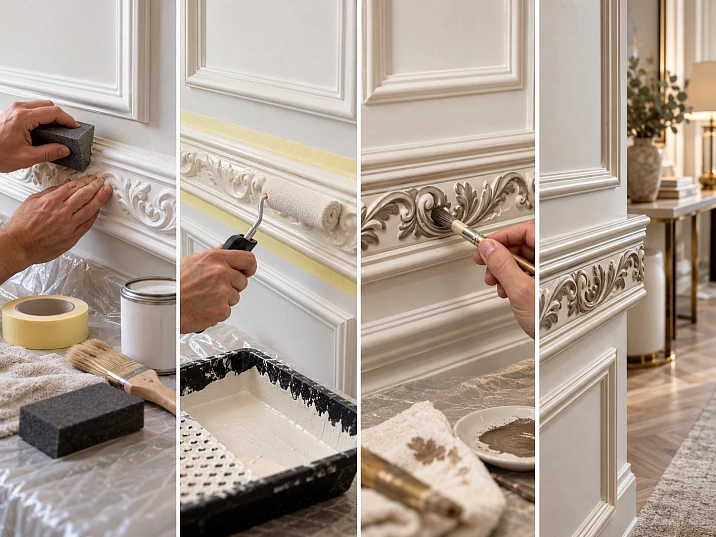
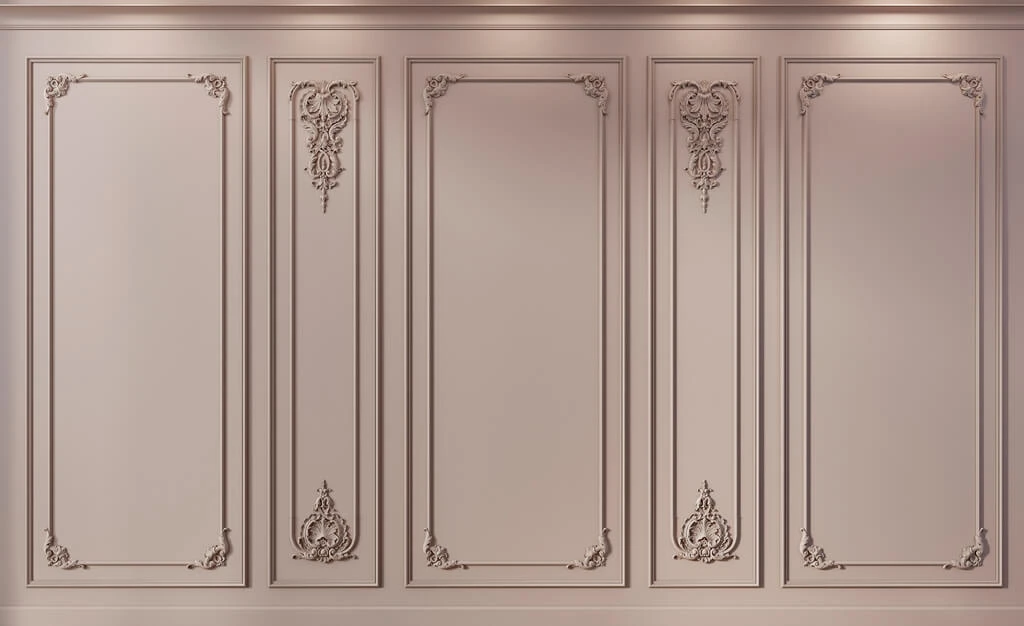
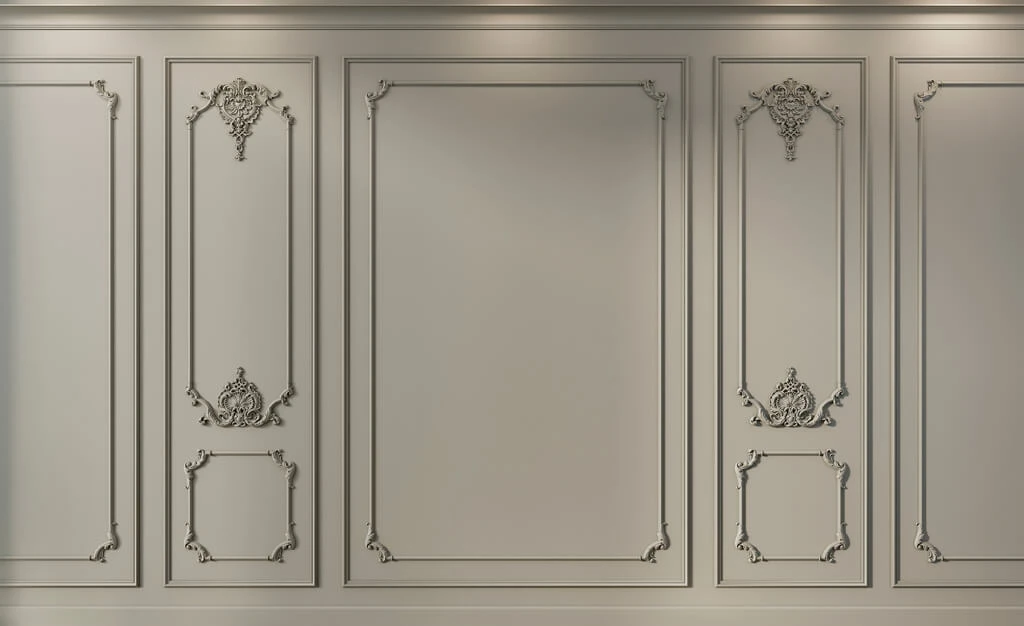
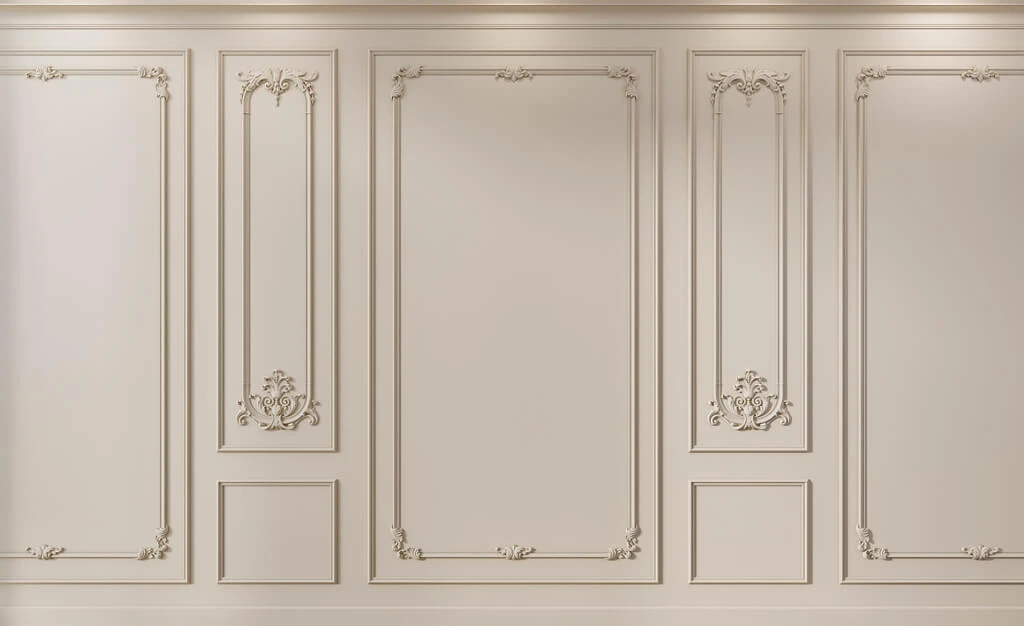
A painted wall can have beautiful proportions and still feel unfinished. The picture-frame molding may disappear into the wall color, a raised detail may look flat, or a bold trim color may draw attention to every imperfect joint. Two-tone painting gives you a way to adjust that result without rebuilding the wall. The challenge is to make the second color clarify the design rather than expose every brush mark.
For a U.S. home, there are two useful meanings of two-tone wall molding. One is a contrast between a wall and the molding attached to it: white trim on a navy accent wall, for example. The other is applying two finishes to the molding itself: a charcoal base with a restrained silver highlight across raised details. Both are possible with suitable polyurethane molding, but they call for different brushes, masking methods, and expectations.
This guide explains how to paint polyurethane molding in two colors, choose a profile that suits the effect, calculate material for applied wall frames, and handle common failures. It focuses on interior architectural trim and real STAVROS profiles. The product examples are dimensions and design references, not a promise that a particular coating, adhesive, or delivery method is suitable for every project. Always follow the instructions for the specific trim, primer, paint, tape, and mounting surface.

What Does Two-Tone Wall Molding Actually Mean?
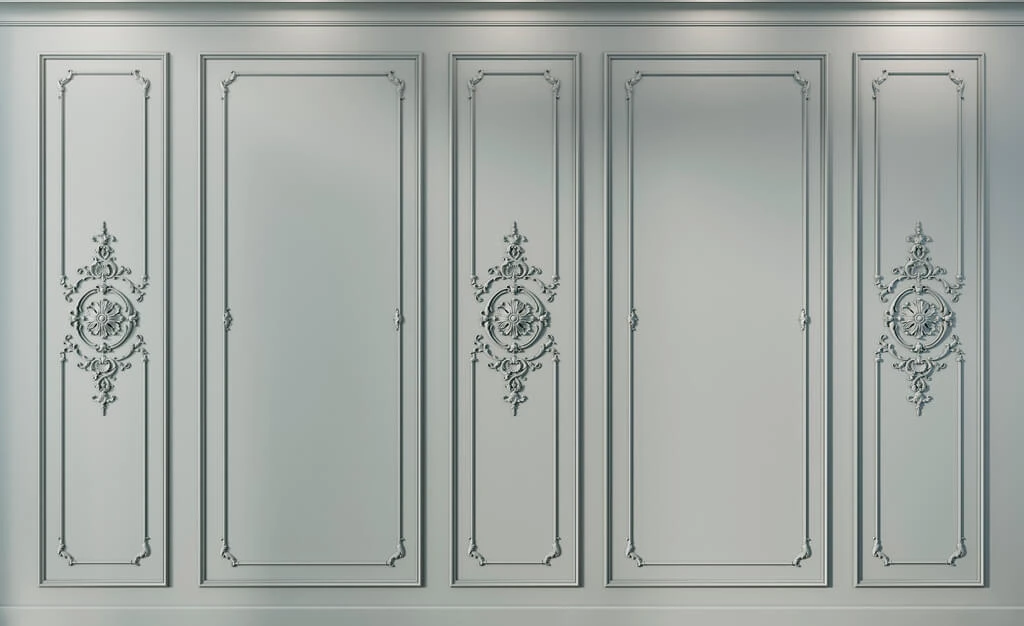
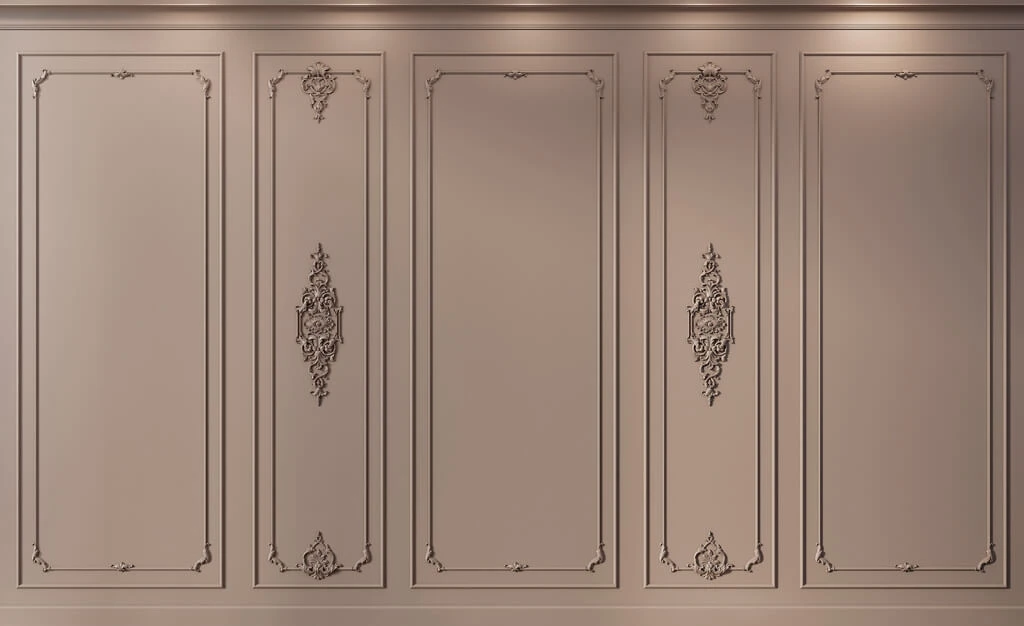
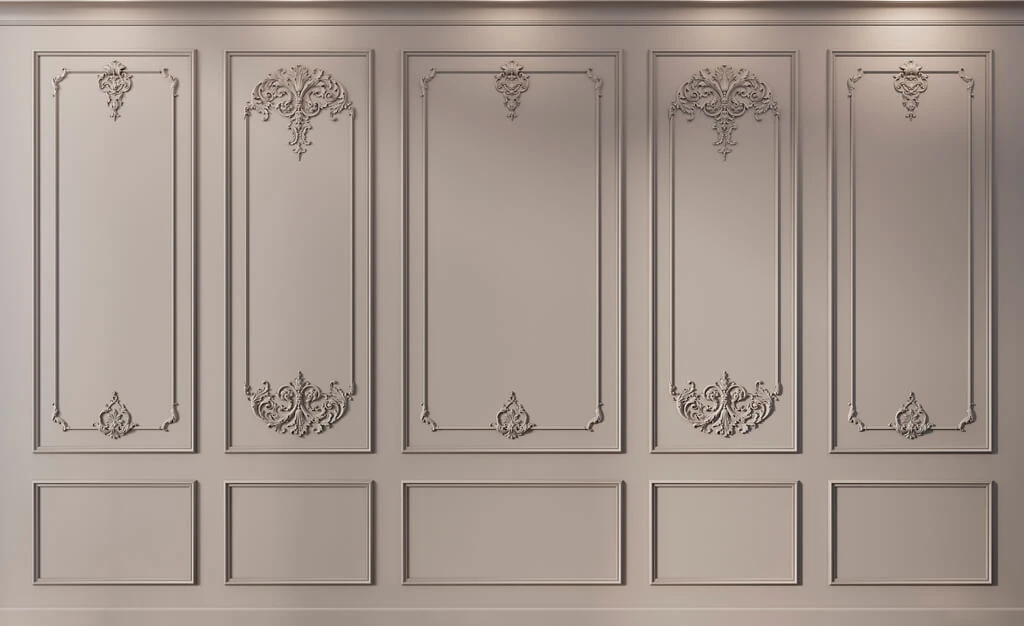
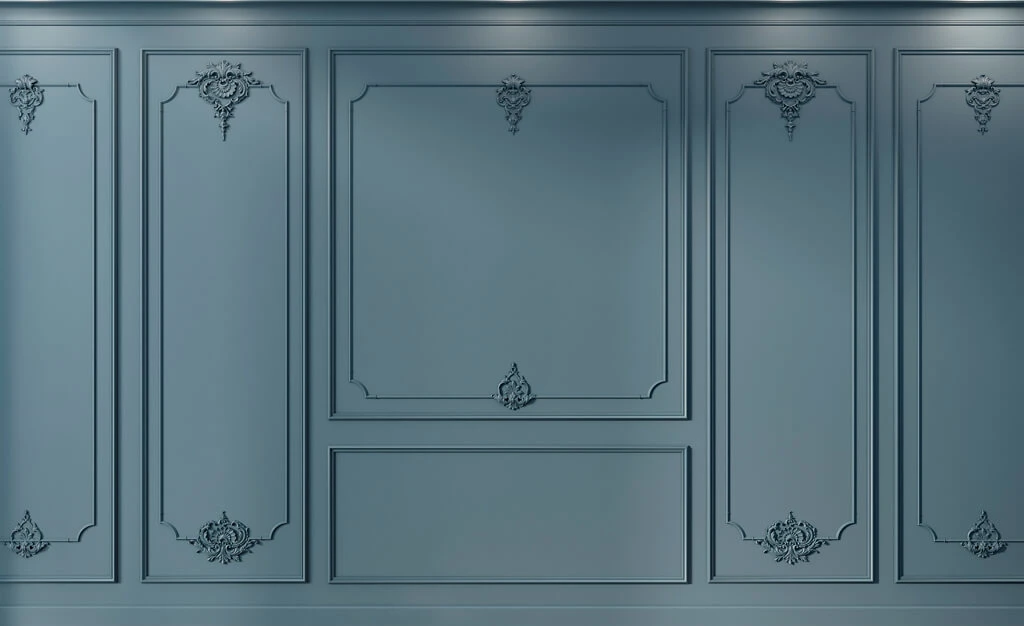
A strong two-color finish has a clear visual hierarchy. Usually one color belongs to the larger wall surface, while the second defines an edge, a raised element, or a focal point. When both colors compete for attention, a room can look busy even though the materials themselves are attractive. The first decision is therefore not which shade to buy; it is which architectural line deserves emphasis.


Contrast between the wall and the applied molding
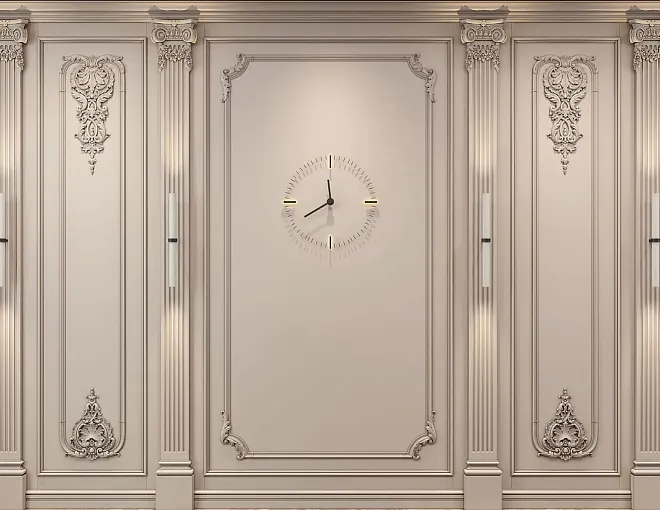
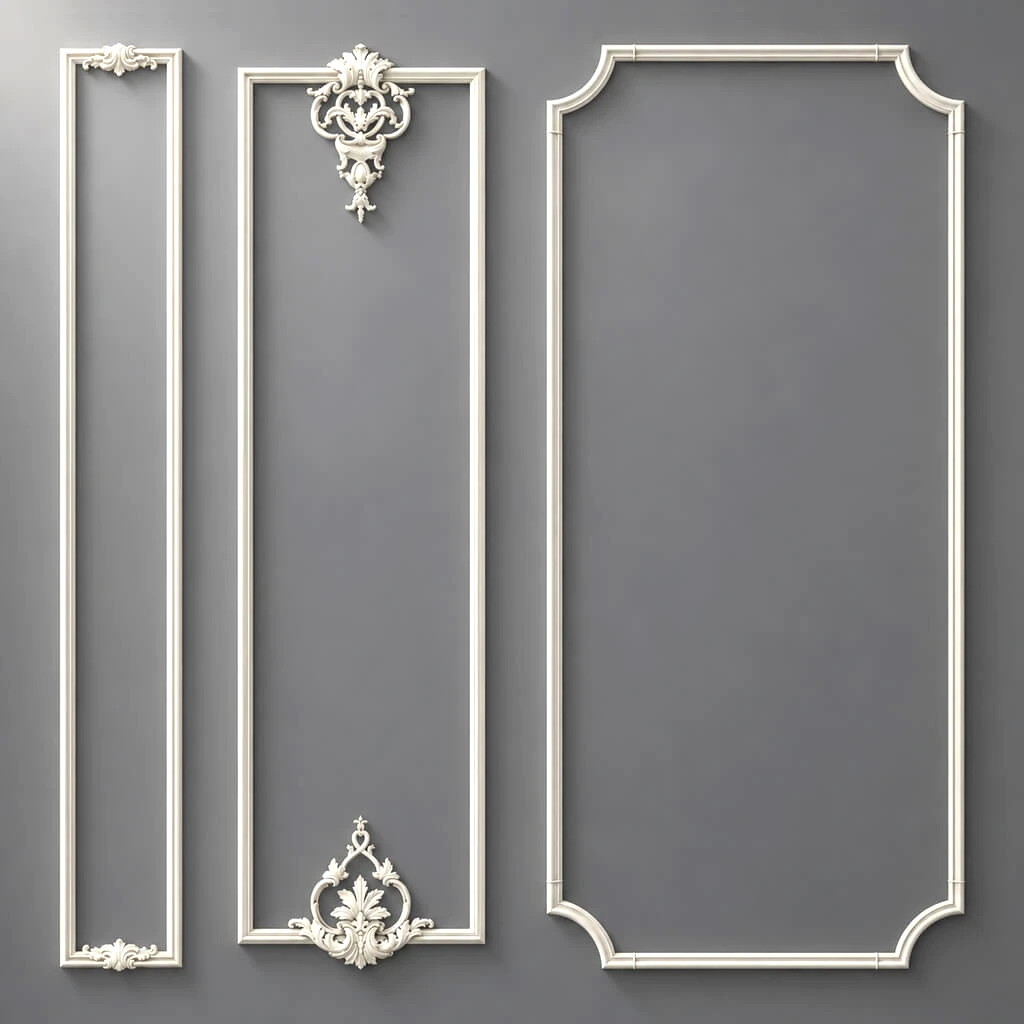
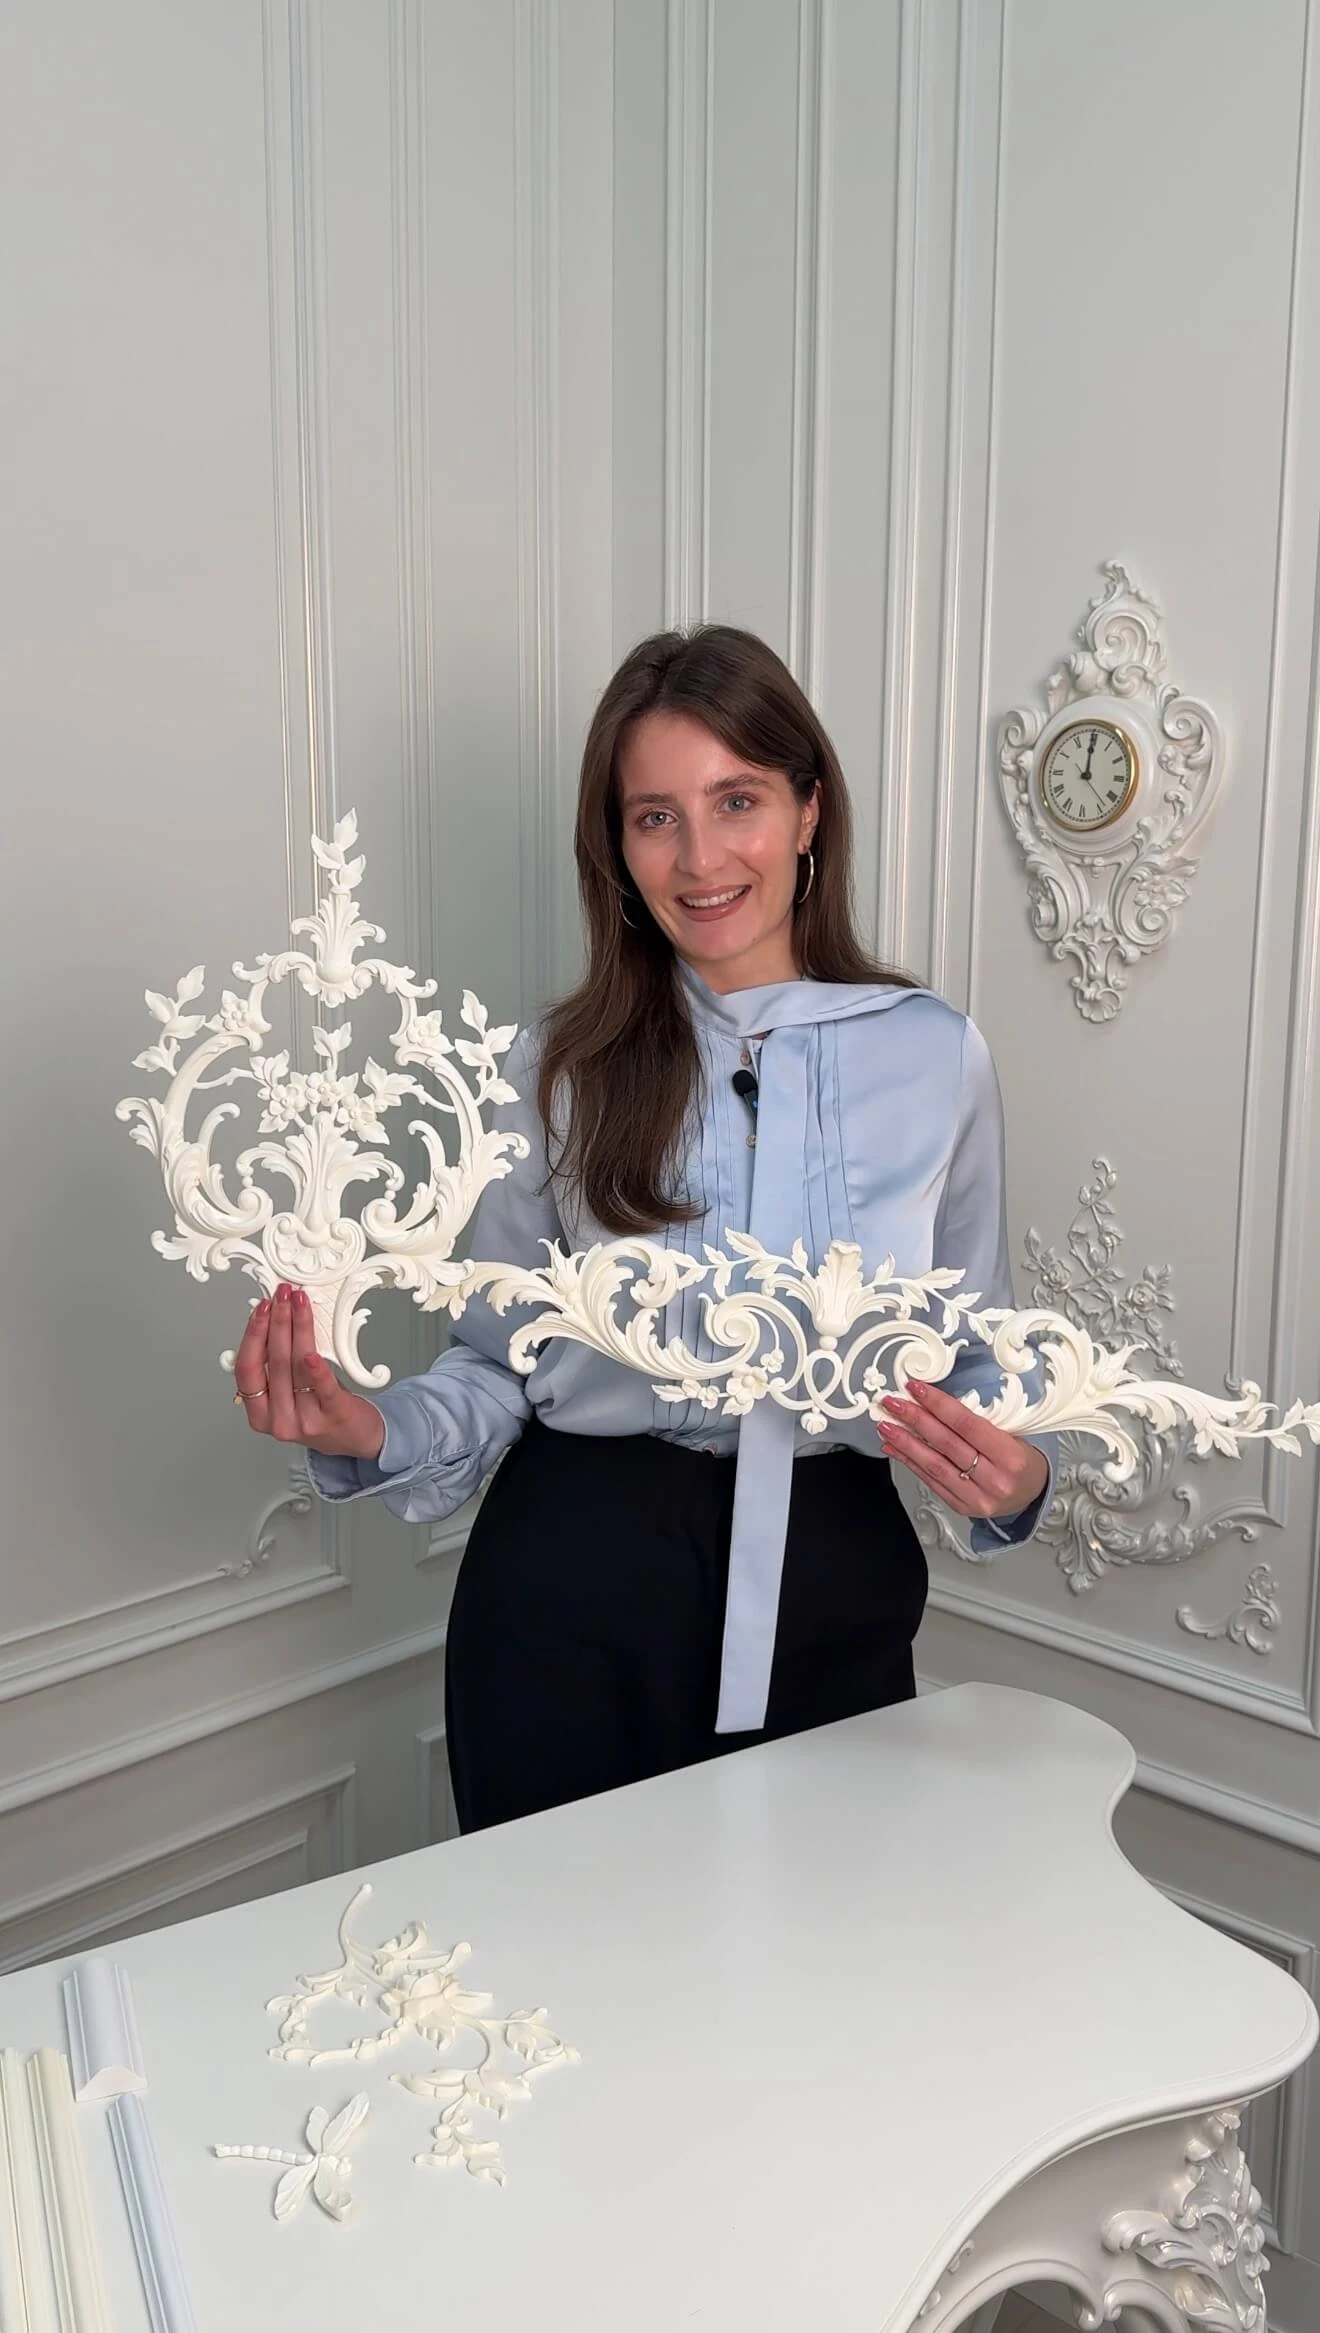
This is the most straightforward method for DIY picture frame molding. Paint the wall a background color, then make the narrow applied frames white, cream, deep brown, graphite, or a coordinated accent color. Each molding remains one color throughout its cross-section. The visual effect comes from the relationship between the two adjacent surfaces, not from complicated detail painting.
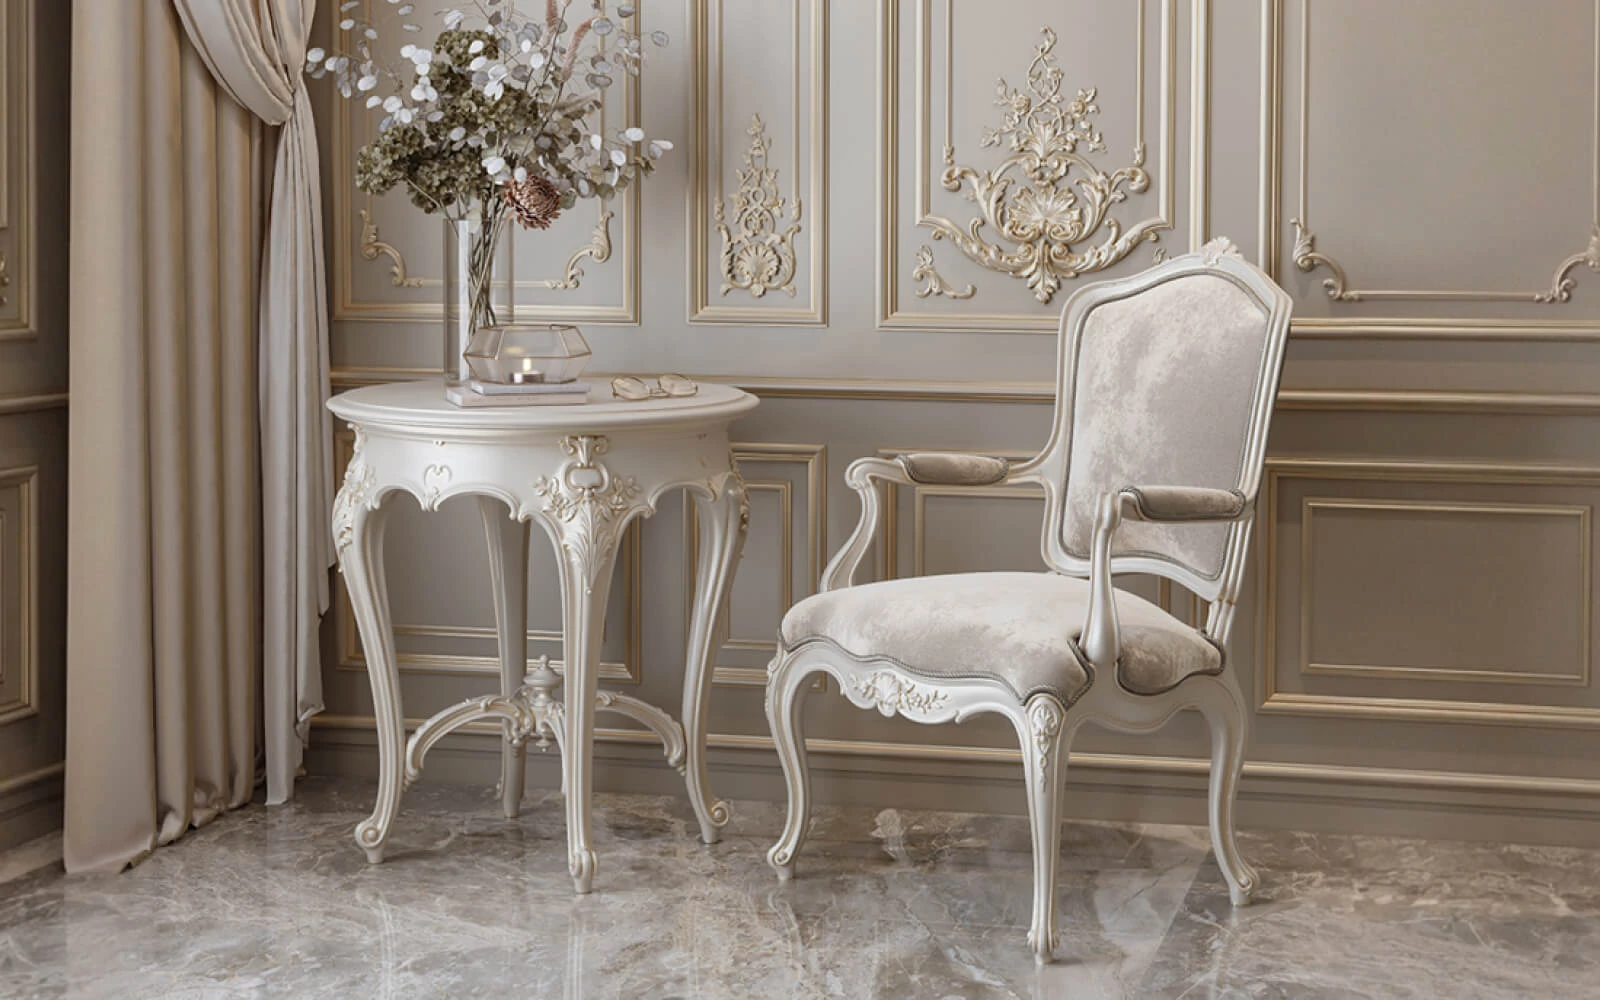
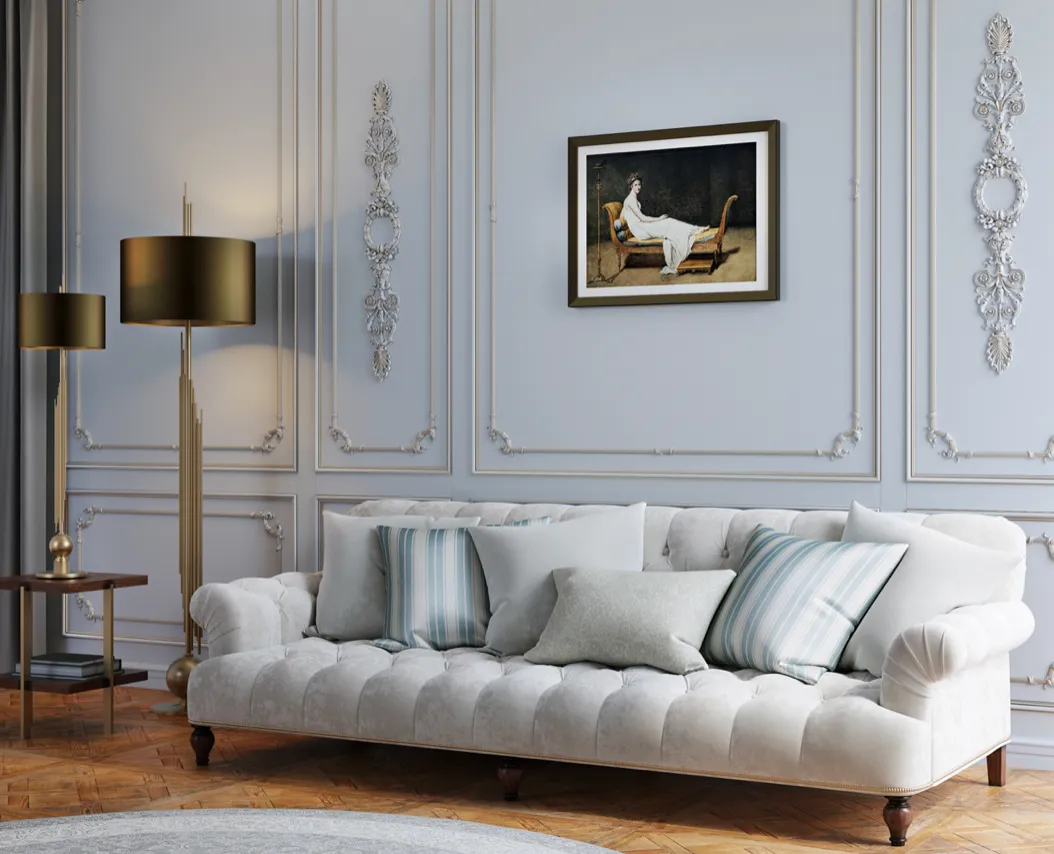
A pale molding on a saturated green wall creates a crisp, traditional outline. A dark molding on a warm off-white wall feels more graphic and contemporary. Matching both surfaces in hue while changing the sheen can provide a quieter, low-contrast variation. The best approach depends on the room's lighting, existing baseboards, doorway trim, and furniture.
Наша фабрика также производит:
Смотреть весь Каталог продукции
Two finishes on the same raised profile
A shaped profile offers ledges, curves, grooves, and raised beads. Paint it a base color and introduce a second finish only on selected parts of its relief. For example, a narrow dry-brushed brass-tone accent can catch a raised bead against a dark matte base. This type of finish belongs more to furniture detailing and ornamental wall panels than to a very narrow, flat strip.
It is easy to overdo. If every ridge and recess receives a different highlight, the profile loses depth. Treat the second shade like the final line in a drawing: visible where it adds information, absent where the base color and natural shadow already do the work.
Получить консультацию
When a single color is the better decision
Two colors are not automatically more sophisticated than one. In a compact hallway already filled with doors, switches, mirrors, and baseboard transitions, a monochromatic wall-and-molding treatment often looks calmer. The profile remains visible because it casts a real shadow. Likewise, a molding with very small face dimensions may not offer enough surface to support two separate finish zones without looking speckled.
Before buying paint, hold a short sample at the wall, step back to the room's normal viewing distance, and examine it with the lights you actually use. If the profile already reads clearly, consider saving contrast for a larger piece of furniture or artwork.
Why Polyurethane Makes Sense for Painted Wall Trim
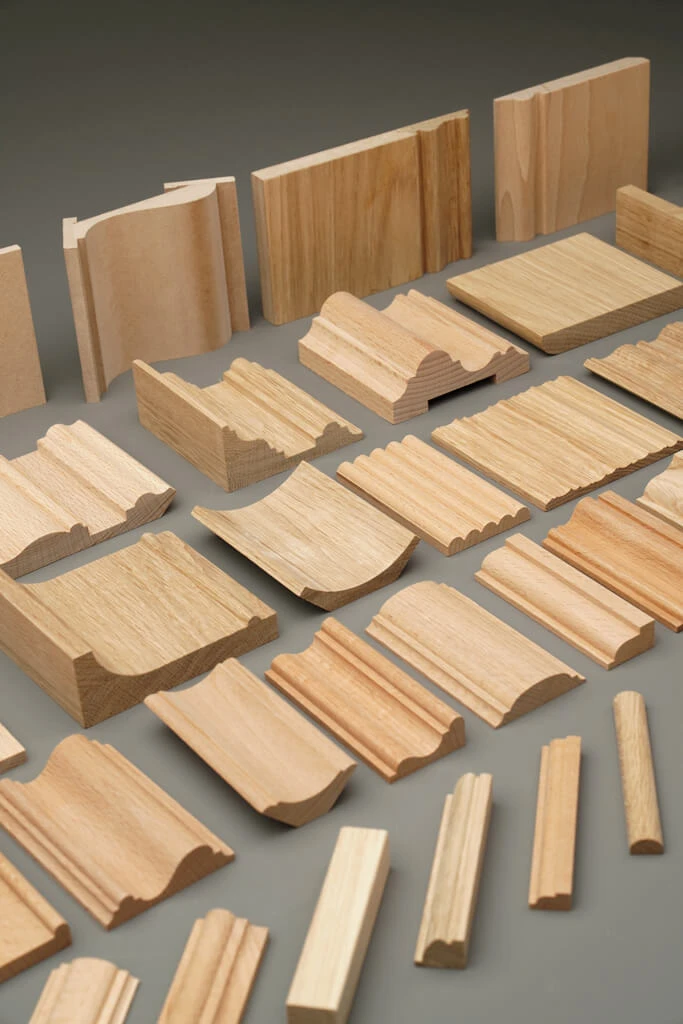
Polyurethane architectural molding is an applied decorative element, not a substitute for structural framing or protective baseboard in every location. It offers shaped contours without requiring the same carving or routing methods as traditional wood. That makes it attractive for repeated frames, decorative borders, and selected furniture details. See the STAVROS polyurethane molding collection for examples of different profile widths.
Compared with natural wood, polyurethane does not have visible grain that needs to be hidden for a smooth painted appearance. Compared with cast plaster, many polyurethane strips are easier to handle on a wall while you are checking a frame's alignment. Neither observation means all polyurethane can be painted with any product directly out of the can. Mold-release residue, factory coatings, previously applied finishes, and the chemistry of the paint can all affect adhesion.
The trim material and its finish also need to be considered separately. A polyurethane substrate may tolerate occasional room humidity, but a poorly cured coating, open joint, failing adhesive, or damp wall can still cause trouble. In bathrooms or near condensation, the entire assembly must be appropriate for the location. Avoid treating the word "polyurethane" as a blanket approval for shower enclosures, continuously wet surfaces, or outdoor exposure.
Polyurethane versus wood, MDF, and polystyrene
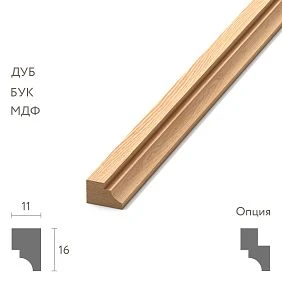
Wood trim remains a good choice where matching existing millwork and repairing a durable wood finish are priorities. MDF often supplies clean painted shapes at a different price point, but its behavior around sustained moisture depends on the grade, edge treatment, and finish. Polystyrene decorative profiles have their own installation and solvent-compatibility requirements. These materials should not be treated as interchangeable simply because two profiles look similar in a product photo.
If you plan to mix materials in one room, build a small test assembly. The paint may have different sheen or absorption on each product even when the color code is identical. A sample catches those differences before you commit to the full wall.
Choose a STAVROS Profile for the Painting Effect
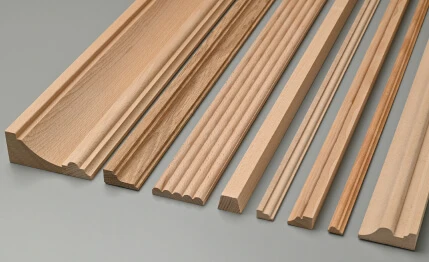
Selecting a profile is as important as selecting a color. A rounded bead emphasizes a clean outline. A stepped molding offers more separate planes for highlighting. A broad decorative corner can receive a different finish from the linear strips it joins. The measurement that matters for visual scale is the face width; the projection affects how much shadow and raised detail are visible.
The following STAVROS polyurethane profiles are listed with a 2,600 mm stock length, approximately 102.36 inches or 8.53 linear feet. Inch dimensions are rounded; use the metric product drawing for precise fit and cutting.
| Profile | Listed cross-section | Approximate U.S. dimensions | Two-color design use |
|---|---|---|---|
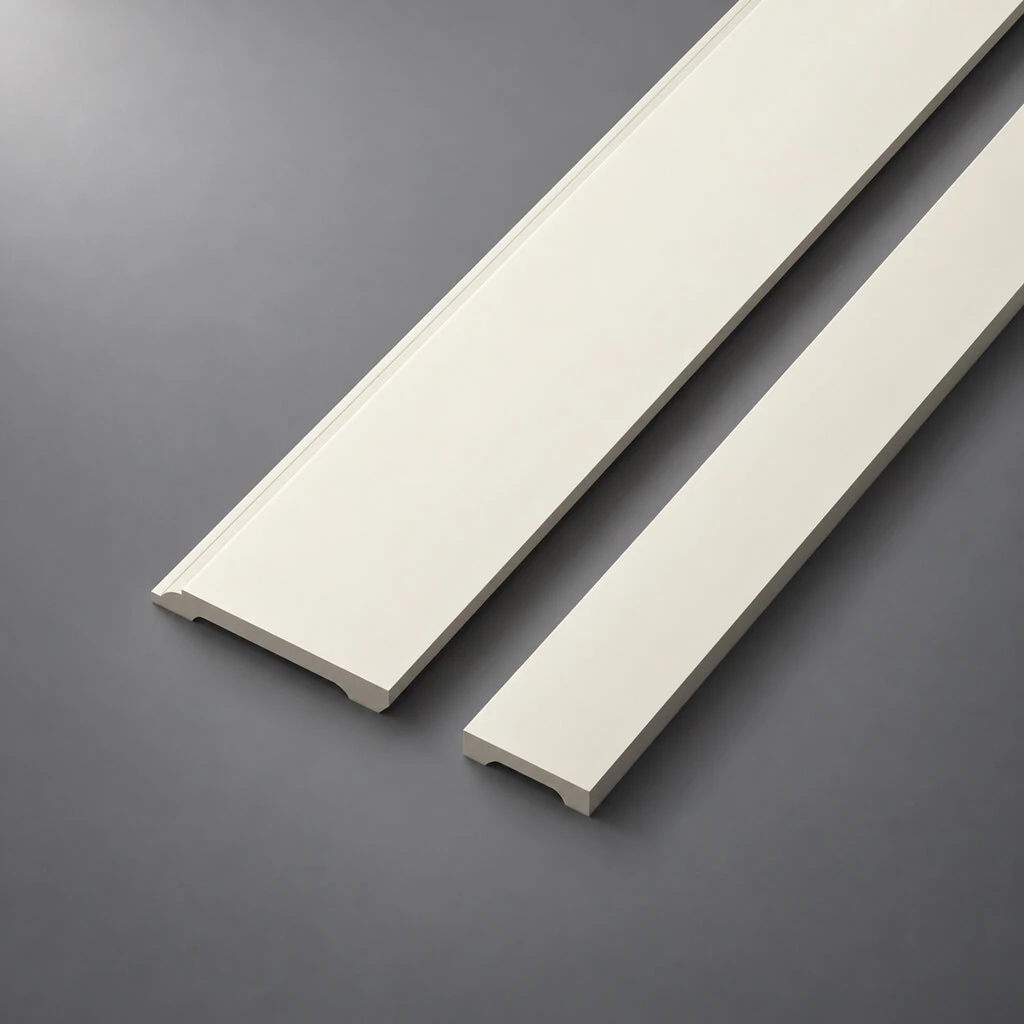
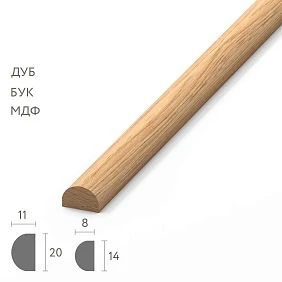
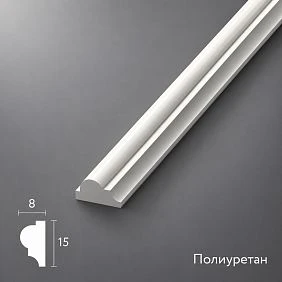
| MLDPU-001 | 10 × 6 mm | 0.39 × 0.24 in | Fine white or dark line against a different wall color |
| MLDPU-004 | 15 × 8 mm | 0.59 × 0.31 in | Delicate frame with slightly stronger relief |
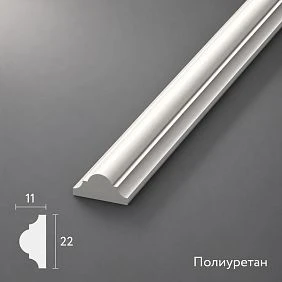
| MLDPU-002 | 22 × 11 mm | 0.87 × 0.43 in | Medium-scale frame, possibly with complementary ornamental corners |
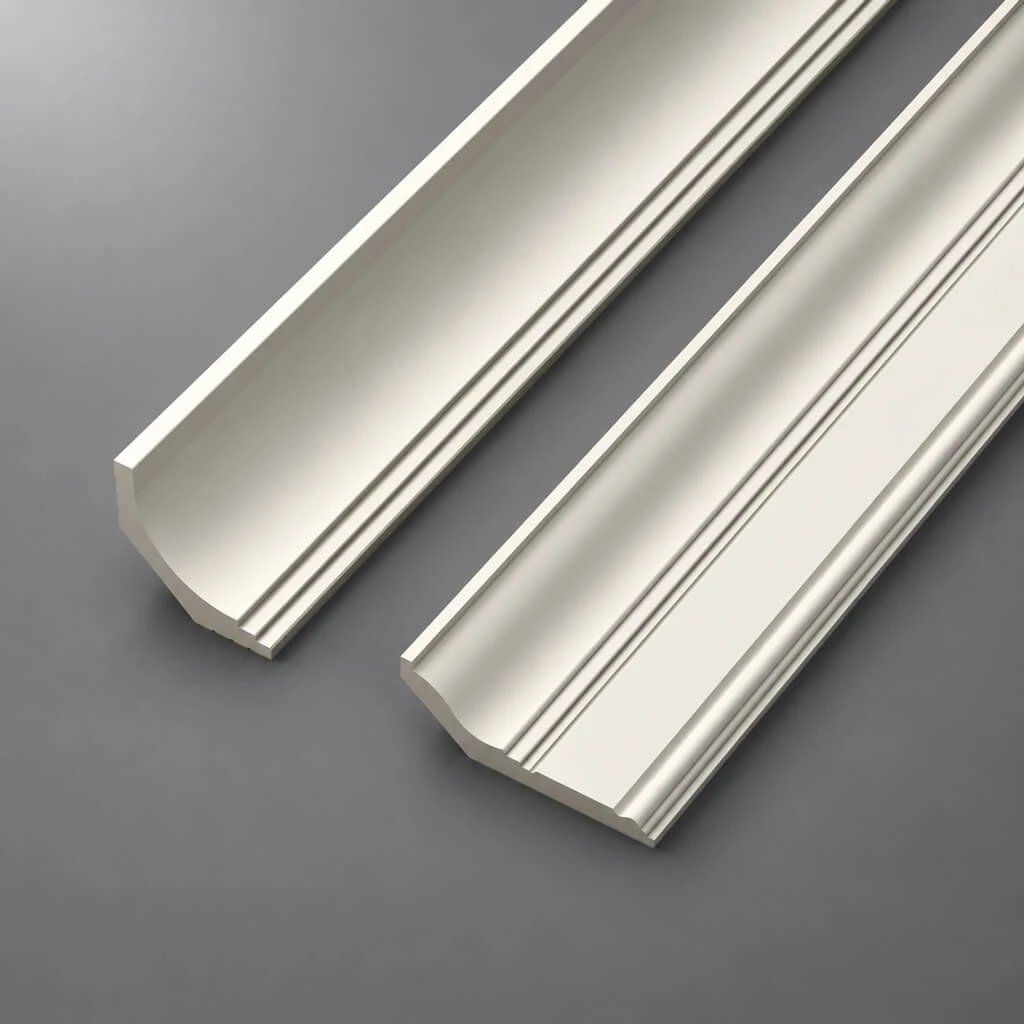
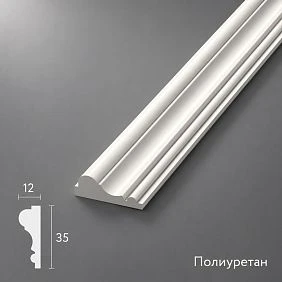
| MLDPU-003 | 35 × 12 mm | 1.38 × 0.47 in | Larger frame or selectively highlighted stepped profile |
MLDPU-001: a refined outline rather than a mini mural
The MLDPU-001 polyurethane molding is approximately 0.39 inch wide. Its slim rounded shape works best when the whole strip is one color and the wall is another. It can define repeated rectangles behind a headboard or outline a cabinet door without requiring a detailed decorative painting technique.
Trying to place a dark base and a bright metallic stripe on the tiny face of this profile can produce a visually uneven line. If the concept requires a metallic effect, test whether the entire bead should receive that tone instead. At the scale of a room, precision and consistent spacing will matter more than a microscopic change of shade.
MLDPU-004: a compact profile with more visible contour
The MLDPU-004 polyurethane molding is approximately 0.59 inch wide and 0.31 inch in projection. That makes it a useful step up when a very fine bead feels too delicate. It can serve as a framing element on a feature wall or as the inner line of a more layered arrangement.
It may support subtle highlighting after a sample test, but the most consistent approach remains painting the profile as a single continuous color. On an accent wall with strong afternoon light, the profile's own shadow is likely to contribute as much as any second painted shade.
MLDPU-002: more presence for classic wall frames
At approximately 0.87 inch wide, MLDPU-002 polyurethane molding has a more substantial face. It reads as an architectural frame on larger walls and can be paired with compatible decorative corners if a composition calls for them. Paint it a clean, consistent color first. Only add a narrow second accent if the actual cross-section has a plane you can control reliably with a brush.
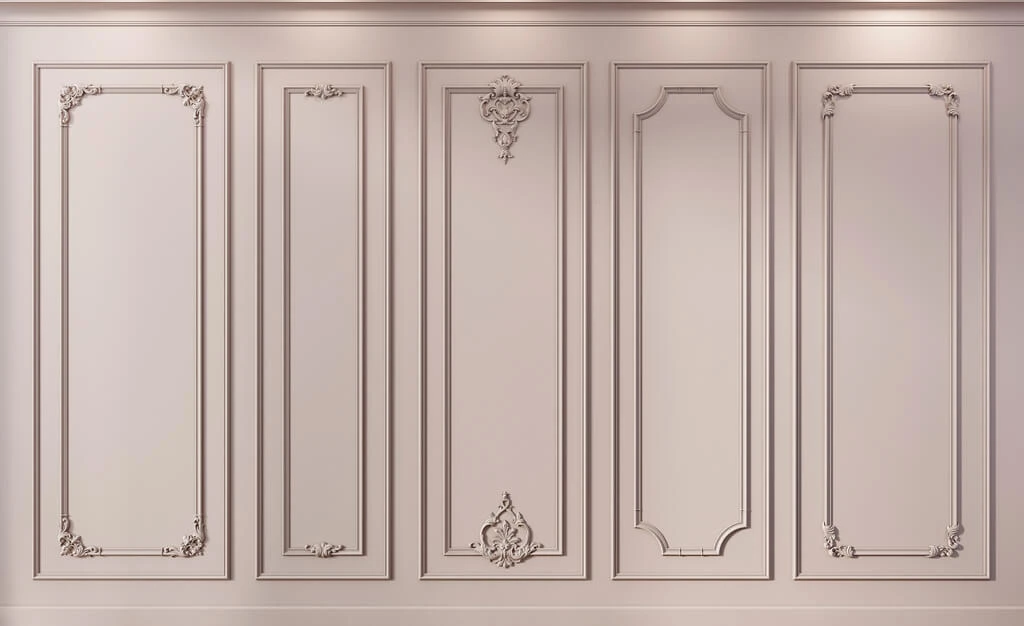
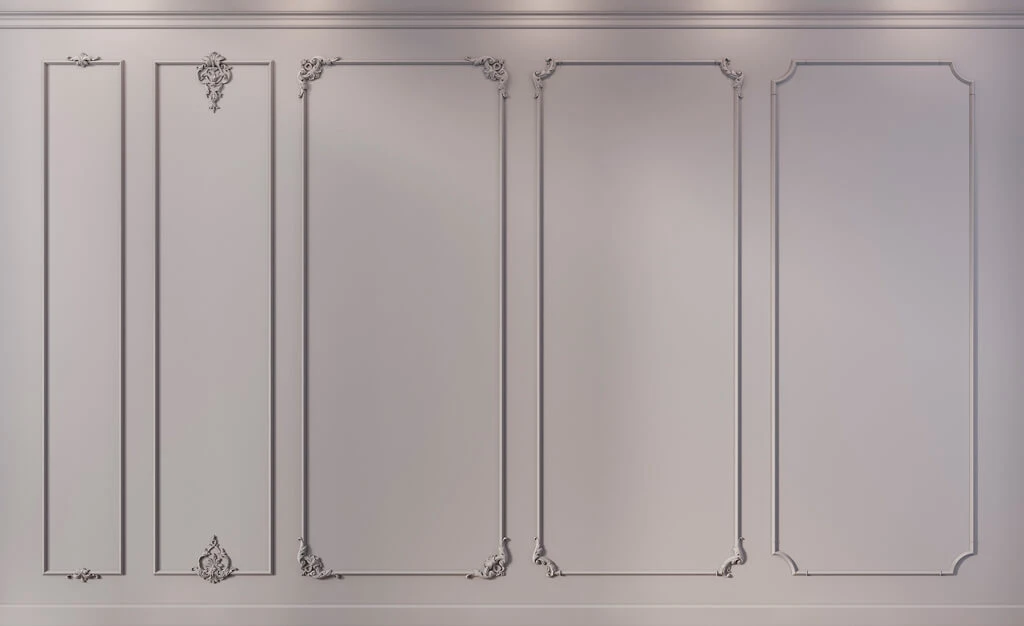
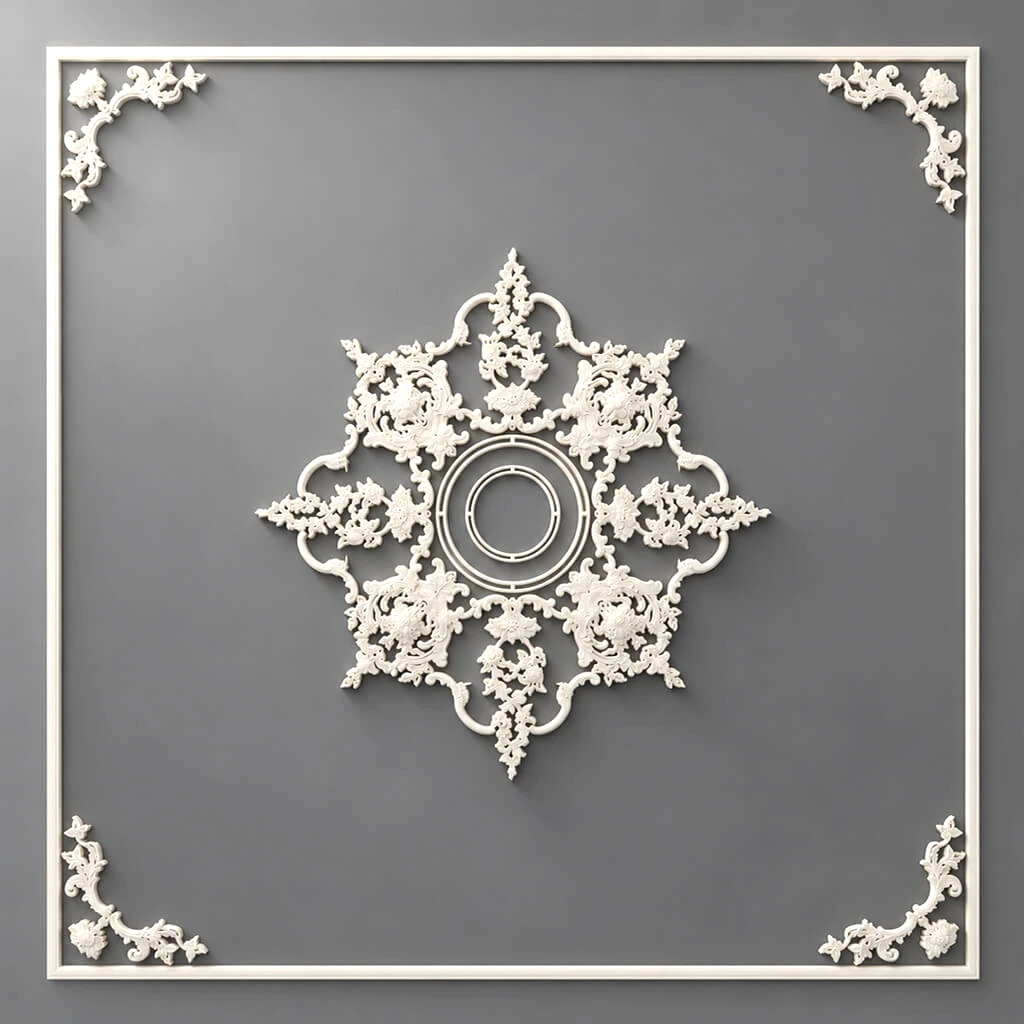
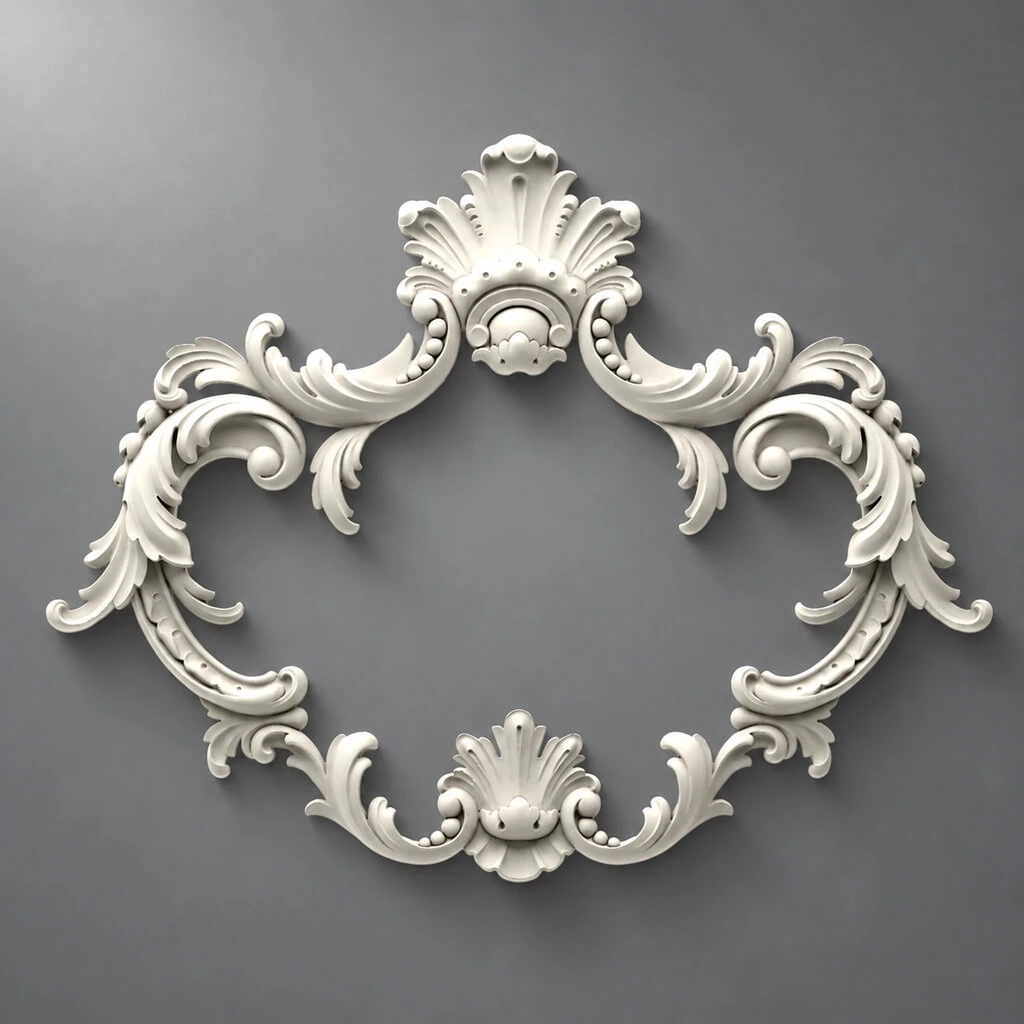
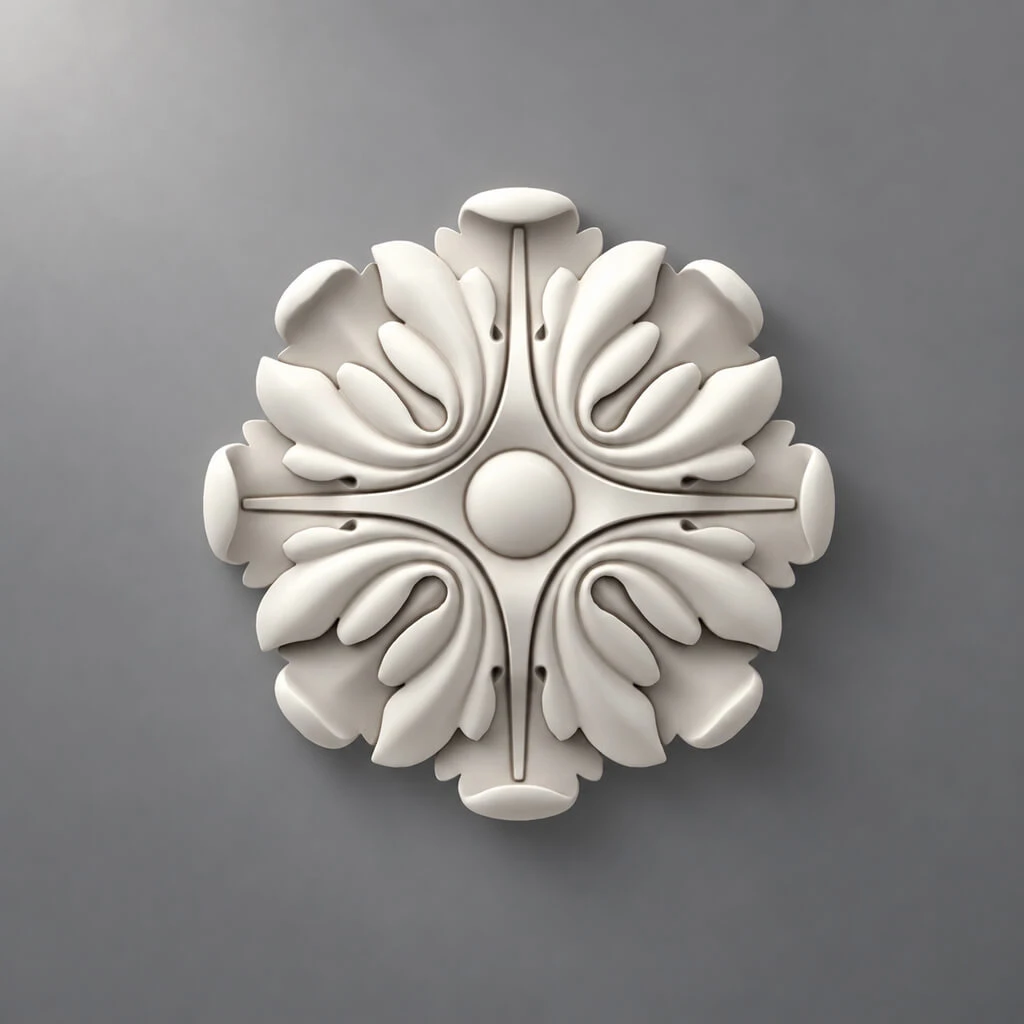
For trim with ornamental corners, coordinate the join visually. A painted corner that is dramatically brighter than the straight molding may look detached from the frame. Try a restrained shift in value or sheen to make the corner look intentional rather than pasted on. Explore decorative molding corners and accents, then verify the specific accessory's compatibility and material before ordering.
MLDPU-003: room for selective dry-brushed accents
The stepped MLDPU-003 polyurethane molding is approximately 1.38 inches wide and projects about 0.47 inch. It gives a painter more distinct raised edges to work with. That does not mean every step needs a color; it means you can choose one or two planes to emphasize while leaving the other recesses in the base shade.
A charcoal base with a soft pewter highlight can work in a traditional library or dramatic dining room. A warm beige base with a restrained ivory highlight feels lighter and more classical. Whichever palette you choose, create a sample on an offcut and inspect it after the coating has fully developed its final appearance.
Plan Two-Tone Colors for an American Interior
A useful color plan starts with the existing room rather than a picture of a different house. Painted walls, ceiling finish, baseboards, wood floors, doors, and cabinets already create a palette. The molding should explain those relationships, not become a completely separate decorative object. The more profiles you intend to repeat, the more restraint pays off.
White molding on dark walls
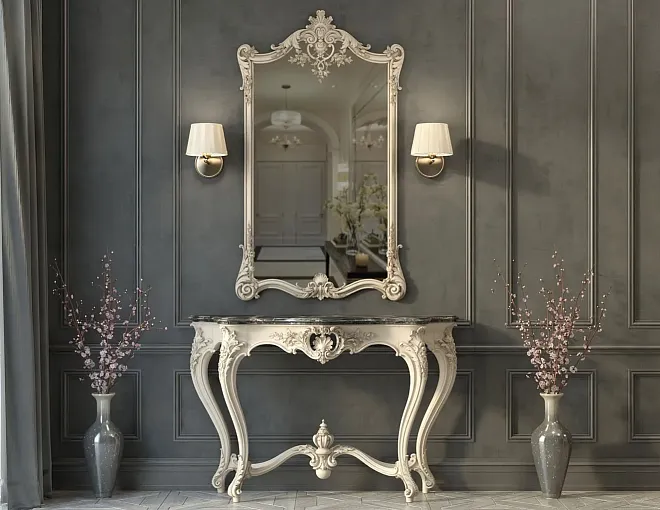
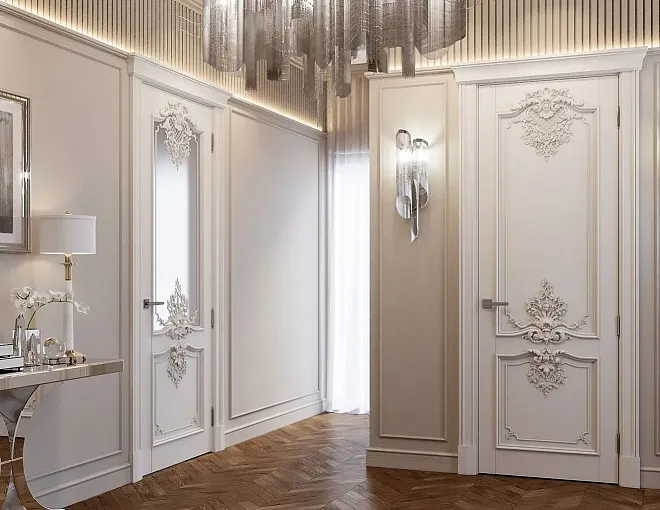
This familiar contrast works well for picture-frame molding behind a sofa, along a staircase landing, or in a dining room with an uninterrupted wall. Dark navy, charcoal, forest green, or burgundy provides a clear field for a white or cream line. However, dark paint can reveal uneven caulk edges, so the installation and preparation need to be as thoughtful as the palette.
Choose a white that belongs with the baseboards and door casing. A cool, bright white next to warm cream woodwork may make the wall look accidentally mismatched. If the current trim is off-white, consider matching that undertone instead of buying a generic bright-white enamel.
Tone-on-tone molding for a quieter look
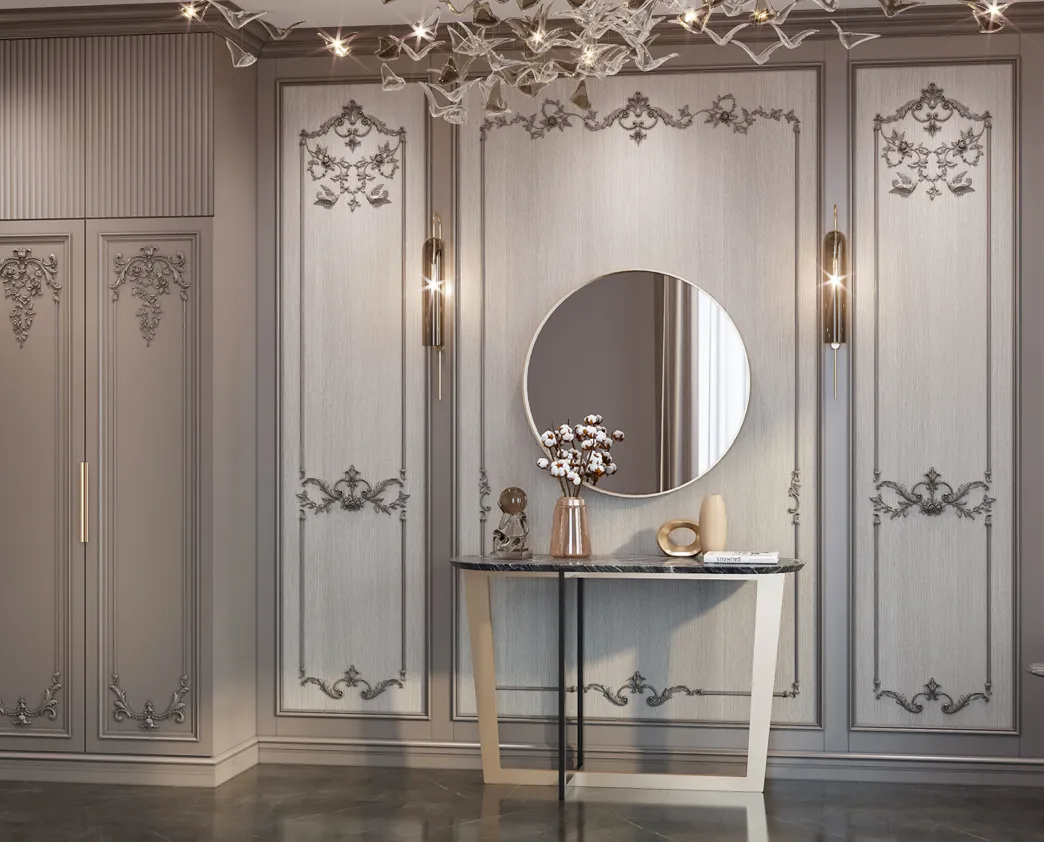
A wall and molding in the same hue can still read as a layered architectural design. The real shadows provide dimension; a slightly different sheen can change how light moves across the profile. This approach suits contemporary bedrooms, open-plan living rooms, and spaces where furniture or artwork should remain the focus.
When mixing finishes, do not assume a matte wall paint and a satin trim paint from different lines will produce exactly the same perceived color. Differences in binders, pigments, and reflectivity can shift the result. Test the actual combination on two adjoining sample surfaces in both daylight and artificial light.
Dark trim on a light background
Graphite, espresso, or a deep blue-black molding against warm white walls creates a tailored, high-contrast line. The effect is especially graphic with slender applied frames. Keep the geometry simple and repeat the same spacing so the contrast reads as design rather than surface clutter.
Dark edges can make miters, filler, and tiny gaps more visible. Check a test joint before painting all the profiles. If a corner requires heavy filler, correct the underlying cut or alignment first. Paint does not make a poorly fitted joint structurally sound.
A metallic highlight that stays subtle
Gold, brass, bronze, or silver is most convincing when it touches a narrow raised area and leaves the overall profile shape visible. A loud metallic finish across a broad strip can dominate the wall. Reserve it for selected details on a wider stepped molding, a cabinet inset, or a decorative corner that naturally belongs to the composition.
Metallic products vary greatly in opacity and sheen. Apply the base color first, let it reach the appropriate stage for recoating, and test the highlight over the exact same base. Do not assume every craft metallic paint is approved for factory-primed architectural polyurethane; verify coating compatibility before committing.
Choose Paint, Primer, and Sheen as a System
Homeowners often ask, "What is the best paint for polyurethane molding?" There is no single can that is best for every product, because the supplied surface matters. Some profiles are factory-primed, while others may have a different preparation requirement. The safest sequence is to read the selected product's finish instructions, choose a coating that is expressly compatible with that surface, and make a test application.
Many interior projects use water-based acrylic or acrylic-urethane trim paints, but a product label, technical data sheet, and adhesion test are more dependable than a general rule. Keep solvents and aggressive cleaners away from polyurethane unless the product manufacturer explicitly approves them. A finish that works on wood or metal is not automatically safe on this polymer or its primer. For further substrate and coating choices, compare the STAVROS guide to painting polyurethane molding.
What sheen changes in a two-tone finish
| Finish level | Visual effect | Practical consideration |
|---|---|---|
| Flat or matte | Soft background with fewer obvious reflections | May show marks or be harder to clean depending on product |
| Eggshell | Gentle light reflection | Popular wall effect; test where it meets trim |
| Satin | Defined but restrained highlight | Often suits painted decorative profiles |
| Semi-gloss | Crisp light line and stronger contrast | Can reveal brush marks and uneven joints |
| High gloss | Dramatic polished accent | Demands especially smooth prep and careful application |
A satin wall and satin molding in different colors can look polished without the hard shine of glossy woodwork. On a broad ornamental profile, semi-gloss might emphasize the wrong part of a small surface imperfection. Use the light from the actual room to decide, rather than treating the highest sheen as automatically the most durable or luxurious.
Primer: first verify what is already on the molding
A product described as primed does not necessarily need another primer coat, but that description also does not guarantee compatibility with every topcoat. Check the manufacturer's recommendation for the particular item. For an unknown existing finish, test adhesion and cleanliness before deciding whether a bonding primer is needed.
If sanding is permitted, use only the level of abrasion recommended for that surface. Aggressive sanding can soften details or damage a factory coating. Remove dust completely and let the surface dry. If there is peeling paint from an older wall, repair and stabilize the substrate instead of trying to glue or paint a decorative strip over a failing layer.
Caulk, joint filler, and paint do different jobs
An appropriate paintable sealant can hide a small gap where a properly secured molding meets a wall; it does not replace the installation adhesive. A suitable joint treatment can improve the appearance of a small miter seam; it does not fix a large geometric misalignment. The finish coat provides color and washability, not structural support. See the related guide to choosing adhesive for polyurethane molding when planning installation.
For a more detailed installation sequence, see the STAVROS article on polyurethane wall molding installation and panel layouts. Select every fixing and finishing product for the actual materials being joined rather than relying on a universal method.
Tools and Materials: Build a Small, Controlled Workstation
The right tools depend on whether you are painting an installed wall frame or a loose decorative profile. For most small indoor projects, a good-quality angled brush, mini roller for the wall, fine artist's brush for selective edges, compatible paint, tray, clean cloths, and suitable painter's tape are the core supplies. Add drop cloths and task lighting even when the job looks too small to need them.
An extra sample of the molding can save more frustration than an elaborate set of brushes. For more detail on preparing profiles before the first coat, review polyurethane moldings designed for painting. Use the sample to compare primer, base color, masking pressure, metallic effects, and cleaning. It can also reveal whether the paint levels smoothly over the particular cross-section.
A practical preparation kit includes a measuring tape, level, pencil, flexible sanding material only if permitted, non-abrasive cleaning supplies, a compatible filler or sealant where needed, and a plastic spreader for precise joints. Keep a small labeled container of each finish for touch-ups. Avoid mixing old and new paint that only appears to share a color name.
Brush and roller selection
A small angled synthetic-bristle brush is usually easier to control along installed trim than a large wall brush. A narrow foam or microfiber roller can help on wider, relatively flat faces when approved for the coating; avoid forcing roller paint into deep recesses. Use a much smaller flat brush for dry-brushing raised decorative details.
Whatever the tool, load less paint than you think you need. A molding is thin relative to an entire wall, so excess paint accumulates quickly along its lower edge or in a concave channel. Two controlled coats usually look better than one thick coat, but the specific number must follow coverage and recoat requirements of the product you choose.
Prepare an Installed Wall Before Painting
Once molding has been glued to the wall, the painting surface is no longer a single material. You are dealing with trim, adhesive, joint filler, sealant, and the previously painted wall. The weakest surface in that group often determines how well the finished paint behaves. Preparation should focus on removing contamination, stabilizing loose material, and making every transition look intentional.
Inspect every joint under raking light
Turn on a nearby floor lamp or hold a portable work light at an angle along the wall. This "raking" light makes uneven seams, filled nail holes, ridges of caulk, and paint drips much easier to see. A joint that is nearly invisible under ceiling light may become obvious when afternoon sun arrives from the side.
Mark only the spots that need work. Correct loose or misaligned molding according to the installation instructions before trying to improve its appearance with a finish coat. If a gap is genuinely small and stable, use a compatible paintable sealant and allow it to cure as instructed. Remove excess so that the sealant does not create a raised line around every frame.
Clean without damaging the profile
Dust can collect along the top of a horizontal molding and inside tiny recesses. Remove loose particles with a soft brush or clean cloth. If washing is needed, choose a method compatible with the trim's supplied surface and let the area dry completely. Do not assume an aggressive solvent is appropriate just because it removes old adhesive quickly.
Clean the wall around the frames too. Grease from a kitchen, polish from furniture, or residue from a previous cleaner can interfere with tape adhesion or new paint. The fact that a wall feels dry does not guarantee that residue has been removed.
Check old paint before masking it
A fresh painted wall may feel dry enough to touch while remaining vulnerable to tape. Review the paint manufacturer's cure and tape guidance, then test the planned tape on a discreet spot. Freshly painted, delicate, or poorly bonded surfaces may require a different masking strategy or more cure time.
If the old coating lifts with a gentle tape test, do not proceed with a full wall of tightly masked frames. Fix the failed coating first, or adjust the method to use careful freehand cutting rather than strong tape adhesion.
Step-by-Step: Paint Wall Molding a Different Color from the Wall
This is the best starting process for most homeowners who want clean, contrasting picture frame molding. It assumes that the molding is already installed correctly, the assembly is stable, and the chosen coatings are compatible with their respective surfaces. Set aside time for the actual drying and curing requirements instead of planning the entire project around a fixed number of hours.
Step 1: Make a finish schedule
Write down which color belongs to the wall and which belongs to the trim. Record the product and sheen for each. If you are also painting baseboards or door casings, decide whether those should match the new wall frames. This prevents last-minute changes that make the trim look unrelated to the rest of the room.
A quick pencil sketch showing the top, side, and bottom of a frame also helps. The lower edge is easy to overlook because it is rarely seen from above during painting, yet that is where drips tend to collect. For a room with several frames, paint one representative frame first and judge the result before continuing.
Step 2: Finish repairs and any required primer
Complete surface corrections, then follow the primer's instructions on application and curing. Do not hide uncured joint material beneath an impermeable coating. If the profile is supplied primed and the topcoat is approved for that substrate, extra primer may be unnecessary; if the surface is unknown, a small compatibility test provides better information than guessing.
Where an older painted wall meets the new trim, look for a straight, smooth line rather than a thick bead of filler. Uneven borders become more noticeable when the two paint colors have high contrast.
Step 3: Paint the larger background surface
Painting the wall first often makes sense because it is easier to cover a broad surface with a roller and then return to the narrow molding with a brush. Cut in near the trim carefully and avoid loading the molding with excess wall paint. Allow the wall finish to reach the stage specified for recoating and masking before introducing tape.
Some projects reverse the order because of a particular finish system or unusual geometry. The principle remains the same: protect the first coating only once it can tolerate the required masking and handling. Never use a universal "wait two hours" rule as a substitute for product-specific cure information.
Step 4: Mask only where it improves precision
Apply an appropriate painter's tape to the adjacent wall, following the tape manufacturer's surface recommendations. Work in short sections and make the edge sit firmly against the boundary without stretching it around irregular shapes. A delicate painted finish may need a low-tack product or a different technique entirely.
For narrow frames, a steady angled brush can be more efficient than trying to wrap tape around every corner. Use tape to support a controlled technique, not to replace it. Clean paint lines are achieved through small amounts of paint and correct brush direction as well as masking.
Step 5: Apply the trim color in light coats
Stir the compatible trim paint according to the label. Load a small angled brush, remove excess, and pull the paint along the length of the molding. Work from top to bottom to limit the chance of dripping onto finished sections. Keep your strokes aligned with the profile rather than brushing randomly across its ridges.
Where a profile has several channels, check that the paint reaches the relevant surfaces without building up into puddles. If a bead forms at the bottom of a recess, remove it with the brush before it begins to set. For a darker trim color over a light base, multiple thin coats may be required to obtain a uniform appearance. Use the specified recoat interval.
Step 6: Inspect the edges before the paint fully cures
Look at the frame with light arriving from several directions. Check the corners, lower horizontal pieces, and transitions where the brush changed direction. Catching a wet sag now is easier than scraping a hardened ridge later. If the coating has begun to form a skin, do not continue brushing over it; let it dry and repair it using the manufacturer's instructions.
Remove masking tape within the window advised for the actual tape and paint. Some manufacturers recommend removal when paint is dry to the touch and careful scoring if the coating bridges the tape edge. Others advise a different timing. Pull slowly, keeping tension controlled, and avoid dragging adhesive across the painted molding.
Step 7: Evaluate the full room and touch up sparingly
Stand where people normally enter the room. A tiny inconsistency seen from six inches away may disappear at normal viewing distance, whereas inconsistent frame spacing remains obvious. Repair only the finish defects you can identify, using a small brush and the original paint. Do not build a raised touch-up patch over a flat surrounding coat.
Keep a written record of the paint color, brand, product line, and sheen for future maintenance. A label such as "white semi-gloss" will not be enough to reproduce the finish accurately a year later.
How to Prevent Paint Bleeding Along Molding Edges
Paint bleeding is often described as a tape problem, but the full cause may be a combination of textured wall paint, an irregular caulk edge, loose dust, tape pressure, and too much wet paint. Even a good tape cannot seal a large gap under an uneven profile. Fix that geometry before you attempt a razor-sharp two-color line.
On a lightly textured wall, press the tape edge carefully and use thin coats directed away from the vulnerable boundary. Some painters seal a taped edge with a very thin layer of the existing wall color before adding the contrasting color. That may help when the existing coating is sound and compatible, but test the full sequence first; it is not appropriate for every substrate or paint system.
Do not force tape deep into decorative grooves. Complex relief is rarely a reliable straight edge for masking. Use a fine angled brush or select a simpler profile where a perfect color split is central to the design. If a clean line is the primary goal, a slender molding like MLDPU-001 may be easier to finish consistently than an ornate accessory with irregular borders.
What to do if the tape pulls up the finish
Stop rather than pulling harder. Determine whether the lifted material is a new topcoat, an old wall layer, a loose primer, or a film of caulk. Each has a different repair. If an edge of paint has bridged the tape, follow the tape manufacturer's scoring guidance with great care to avoid cutting the underlying wall or plastic trim.
Where the old coating is poorly bonded, clean and repair the substrate before repainting. Applying stronger tape, more paint, or additional caulk will not fix a surface-adhesion problem. If the finish is only chipped at a small stable edge, feather and touch it up after it has cured to the appropriate stage.
How to Dry-Brush Raised Polyurethane Details
Dry brushing creates the appearance that the second color has settled on the high points of a decorative profile while the original color remains in the recesses. It is the opposite of flooding a detail with paint. This technique can be effective on stepped moldings, carved-looking corner accents, and decorative onlays, especially when the base is dark and the highlight is restrained.
Prepare a convincing sample
Start on a spare length of a suitable profile such as MLDPU-003 or on a small ornamental sample. Paint it in the chosen base color, let that finish reach the required state for the next layer, and examine the sculpted edges under realistic lighting. Decide which raised plane should catch the highlight. Marking the planned area on a photograph can prevent impulsive overpainting.
Use a compatible second paint in a small quantity. Work over a tray or scrap board so you can test the brush before it touches the profile. A sample also tells you whether metallic particles look elegant or simply grainy at this scale.
Load almost no paint onto the brush
Dip the tip of a short, soft flat brush in the second finish, then remove most of it on a disposable surface. The brush should feel nearly dry. Lightly draw it across a raised edge. The paint should catch the highest parts rather than flow into the lowest recesses. If it fills a groove, there is too much material on the brush.
Build the highlight gradually. Several faint passes are easier to control than one aggressive swipe. Rotate the sample and inspect each angle. An edge that looks attractive in overhead light may look patchy under a wall sconce or near a window.
Keep the highlight in a consistent direction
On a long molding run, dry-brush along the same general direction with similar pressure. If every section receives a different amount of metallic paint, the eye notices irregular patches instead of a continuous architectural line. Corners may require a smaller brush and a fresh test because the raised detail changes direction.
Do not add extra highlight to hide a poorly filled miter. Repair the joint first. The dry-brushing technique is a finish accent; it is not an alternative to sound preparation and accurate joinery.
Know when to stop
Stop once the relief is legible from the normal viewing distance. Small silver or brass highlights can be surprisingly bright. A good rule is to inspect the piece from across the room after each pass rather than continuing until the brush looks like it is doing nothing. It is much easier to add a trace of accent than to remove an overly thick metallic coating from a deep groove.
Glazing, Patina, and Other Decorative Effects
A glaze or patina works differently from dry brushing. Instead of emphasizing the highest parts, the finish may be encouraged to remain in selected recesses or along shaped transitions. This can create a more antique appearance, particularly on a decorative corner or relief onlay. However, not every coating is suitable for use over every acrylic base, and no universal recipe should replace compatibility testing.
Use a decorative product intended for the chosen base and finish system. Prepare a small sample with the exact same primer, paint, and topcoat sequence. If the method calls for wiping excess glaze away, check whether the underlying paint is sufficiently cured and resistant to that action. An attractive effect on a sample board may behave very differently over a narrow molded channel.
For a contemporary interior, consider a tonal glaze rather than heavy faux gilding. Dark taupe in a warm neutral recess, for example, can make the shadow visible without turning the wall into a period-style set. In a traditional room, a faint bronze accent may look better than bright gold spread across the whole profile. The larger the repeated pattern, the more restrained each individual accent should be.
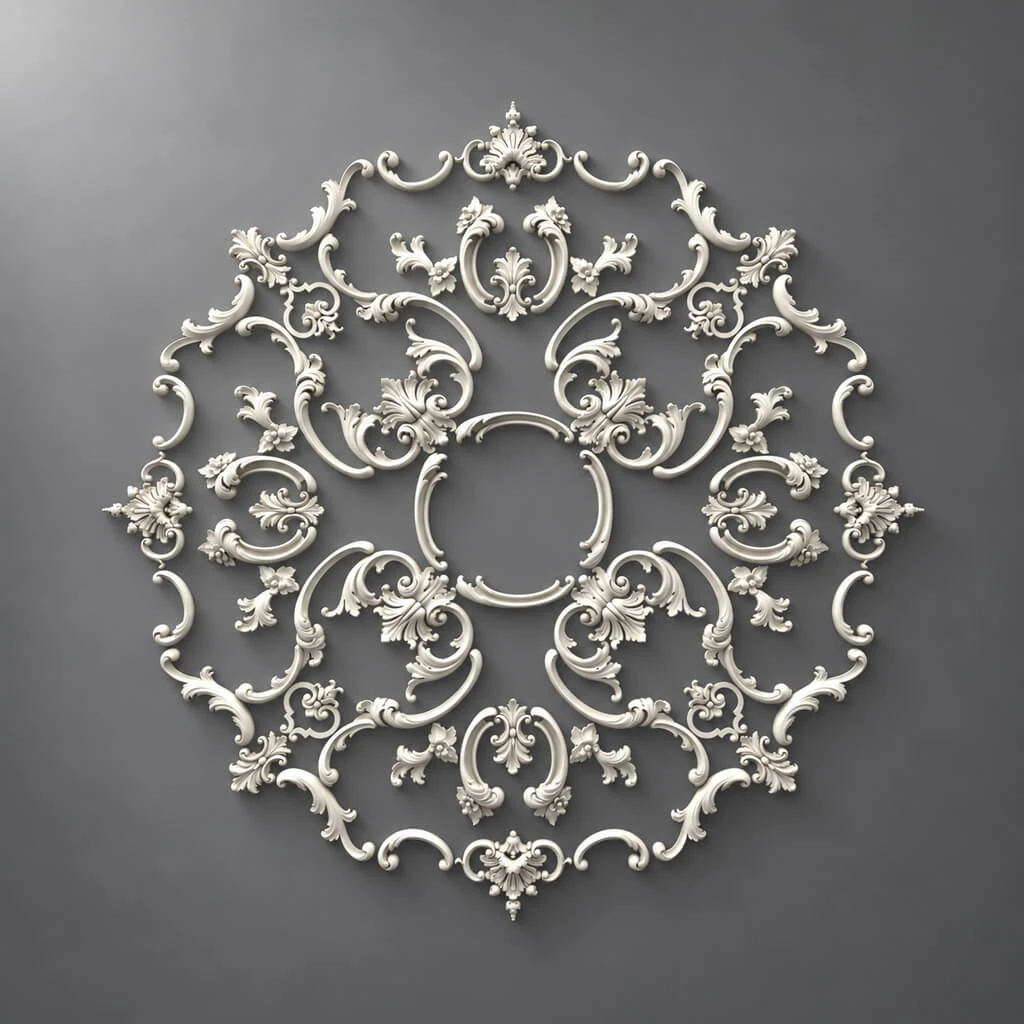
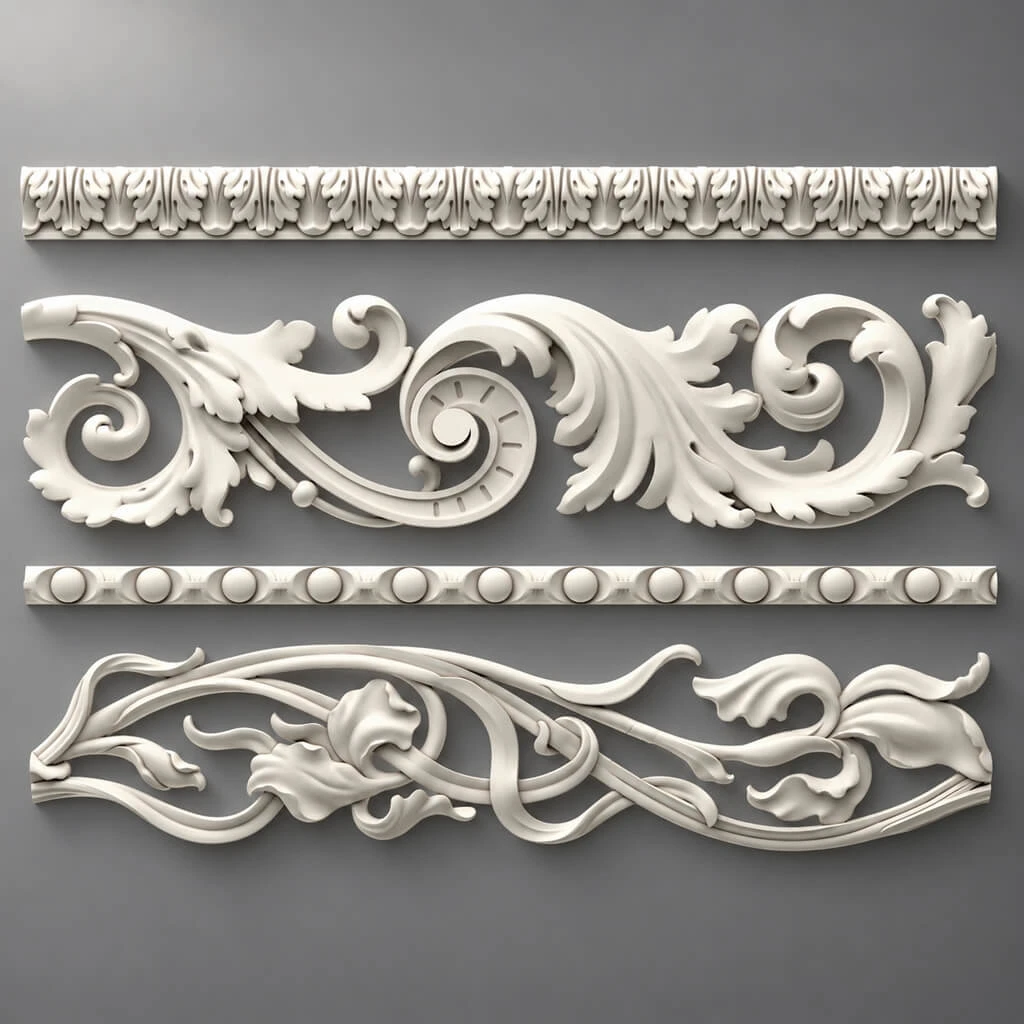
Decorative polyurethane elements can also be used alongside architectural polyurethane trim profiles when the overall composition needs several scales of detail. Check the material on each product page before applying the same decorative technique to every component.
Paint Before Installation or After?
Both methods have advantages. Prepainting loose profiles can make long straight passes and controlled dry-brushed accents easier. Painting installed trim helps produce a visually continuous finish over small joints and sealant lines. The best sequence depends on the profile, adhesive, handling requirements, and number of visible joints.
Advantages of prepainting
A loose strip can be placed on supports at a comfortable working height. You can turn it to see the bottom edge, wipe excess paint from channels, and compare sample sections without reaching above your head. It is particularly helpful when a metallic accent must be applied consistently to several identical strips.
Leave the areas that must receive adhesive or joint treatment in the condition required by those products. Handle cured painted pieces carefully during cutting and installation, because a finished edge can be scratched when it contacts a saw, clamp, or wall. Some touch-up after installation is almost inevitable.
Advantages of painting in place
Installed trim can be filled and sealed before the final color coat, giving miter joints and perimeter edges a more continuous appearance. You also see exactly how the frame looks against its wall background while selecting the second color. For most simple contrast-painted wall frames, this is a practical method.
The disadvantages are access and protection. Working overhead or next to a finished cabinet requires more care; a raised surface can collect drips where they are difficult to spot. If the room contains wallpaper or a delicate finish, masking and cleanup may be more demanding than the painting itself.
A hybrid approach
A useful compromise is to complete the compatible primer and first color coat on loose profiles, install them using the appropriate method, finish joints, and apply the final coat on the wall. Reserve decorative dry brushing for the end if it needs to bridge the visible pieces. Before using this sequence, confirm that the adhesive can bond to the prepared surfaces and that the finish does not interfere with joint treatment.
For layouts with several repeated wall frames, read the STAVROS guide to constructing polyurethane molding frames and panels. A sound installation plan reduces the number of finish repairs you will need later.
Calculate Molding for a Three-Frame Accent Wall
An American DIY article should help you understand actual stock lengths rather than giving only a vague percentage for waste. Consider a hypothetical wall that is 12 feet wide, or 144 inches. You want three equal rectangular applied frames, each 30 inches wide and 52 inches tall. For a simple demonstration, assume outside frame dimensions and ordinary mitered corners; actual cutting marks will depend on profile geometry and which edge is measured.
Three 30-inch frames occupy 90 inches of width. The remaining 54 inches can be divided into four equal horizontal gaps of 13.5 inches: one at each side and two between frames. That is a symmetrical layout, but it is only an example. In a real room you may need different side margins to align frames with a sofa, bed, or wall sconces.
Calculate the total linear footage
Each rectangle uses two vertical pieces at 52 inches and two horizontal pieces at 30 inches. Its nominal perimeter is 2 × (52 + 30) = 164 inches, or approximately 13.67 linear feet. Three frames therefore require 492 inches, or 41 linear feet of molding before kerf, cutting allowances, defects, and spare material.
One listed STAVROS 2,600 mm strip is approximately 102.36 inches long. Dividing 492 by 102.36 gives about 4.81 stock lengths, but rounding that number to five strips would be a poor purchase plan. Whole pieces must fit into available stock lengths, and the arrangement of cuts matters more than the simple sum.
Build a basic cut schedule
A feasible cutting plan uses six stock lengths. From each strip, cut one 52-inch piece and one 30-inch piece. Those two nominal lengths total 82 inches, leaving about 20.36 inches before cutting kerf and minor allowances. After six strips, you have six vertical pieces and six horizontal pieces: exactly the set required for three frames.
That schedule assumes the 52-inch and 30-inch requirements describe the dimensions at the correct measuring reference for the selected profile. With miters, outside-face and inside-face lengths are not the same; verify your actual reference and make one trial corner. If an ornamental pattern needs matched left and right ends, the cut schedule may change as well.
Six lengths are the theoretical working plan in this example, not a universal buying recommendation. One or two additional lengths may be sensible when you need a sample, expect material loss during learning, or must match a consistent production batch. Calculate the actual job instead of applying the same waste percentage to every room.
Estimate the area that will be painted
A narrow molding does not consume paint like a full wall. For illustration, the nominal face area of 41 linear feet of 0.87-inch-wide MLDPU-002 is roughly 492 × 0.87 ÷ 144 = 2.97 square feet. That is only a flat-face approximation. Curved and stepped surfaces have more actual area, and waste in a brush or roller can be significant on small pieces.
Do not use 2.97 square feet to predict an exact amount of paint. Read the coating's coverage instructions, account for multiple coats and sample work, and reserve enough for future touch-ups. The background wall area, of course, is a separate calculation and should be estimated as such.
Three Complete Two-Color Design Recipes
Abstract color rules become easier to use when the room and profile are specific. The following examples are design scenarios rather than documented STAVROS installations. Product selection and finishing recommendations still need verification for the particular job.
Recipe 1: Navy dining room with slim ivory frames
For a dining room with a dark navy accent wall and warm-white door casing, consider MLDPU-001 or MLDPU-004. Use a matching warm ivory trim color across three or four repeated rectangular frames. The small, continuous profile creates contrast without requiring a complicated decorative finish.
Keep the spacing consistent with fixed features such as a buffet and wall sconces. Place a full-size tape outline first and move around the room to check whether the frames feel centered from the doorway. Painting a whole row of frames at once can magnify small layout errors, so confirm geometry before cutting.
In this scheme, the second color is the trim color itself. Do not add a third bright metallic highlight merely because the molding is decorative. The navy and ivory already supply enough visual distinction. Use the STAVROS selection of polyurethane wall moldings to compare fine and medium-scale options.
Recipe 2: Charcoal home office with subtle silver relief
For a study with dark bookcases and muted wall color, choose a developed profile such as MLDPU-003, then test a charcoal or deep taupe base finish with a nearly invisible pewter dry-brushed line on one selected ridge. In normal daylight, the molding should read as shaped dark trim. Under directional lighting, the silver accent can reveal a small portion of its contour.
Keep the wall color quiet enough that the metallic edge does not compete with computer screens, desk lighting, or displayed objects. A dramatic sample viewed in a store can feel harsh when repeated over dozens of linear feet. Make two samples—one with less highlight and one with more—and inspect both near the actual bookcase before deciding.
Recipe 3: Light traditional living room with decorative corners
For a pale neutral room, medium-scale MLDPU-002 can outline applied panels while compatible ornamental corners mark selected intersections. Use cream or warm white for the linear profile. Consider a slightly warmer accent on the raised portions of the corner details, rather than coloring every part of the frame gold.
If the decorative corner is made from a different material than the straight strip, its priming and finishing needs may differ. Read the product specification and test both components under the same light. To explore coordinated decorative elements, browse the STAVROS architectural decor catalog. A good composition can mix product types without pretending they are made of the same material.
Cabinet Doors and Furniture: Smaller Surfaces, Higher Visibility
Painted polyurethane molding can also give a flat cabinet door a paneled appearance, but furniture finishing has more demanding wear conditions than a decorative wall. Hands, cleaning products, and hardware repeatedly contact cabinet surfaces. Verify that the selected adhesive and coating are appropriate for the furniture substrate and use; do not simply transfer a low-contact wall method to a frequently handled door.
A thin bead such as MLDPU-001 can establish a geometric border on a painted panel. A slightly more pronounced MLDPU-004 may be suitable where the door has enough flat area between hinges and hardware. Layout matters: a frame that is too close to the edge may interfere with adjoining doors or handles. Check the swing and clearance before attaching anything.
For a two-tone cabinet treatment, paint the door and molding in coordinated contrasting colors or finish the molding a subtle tonal shade. Keep the visible line consistent around all four sides. Because cabinets are viewed from close range, misaligned miters and patchy brushwork are more noticeable than on a large distant wall.
Where drawers or door panels are made of a coating or laminate that is difficult to bond, carry out a suitable adhesion test or consult a professional. Changing the color scheme is easy on paper; attaching decorative pieces to a moving furniture component involves mechanical and finish considerations that must be settled first.
Two-Tone Painting Problems and How to Fix Them
Most visible defects fall into one of four categories: surface preparation, paint application, masking, or design scale. Identify the actual category before adding another coat. Extra paint can conceal a faint color inconsistency, but it can also make a sag larger, bury an ornate profile, or bridge tape onto an adjacent surface.
| Problem | Likely cause | Practical correction |
|---|---|---|
| Jagged boundary | Uneven substrate, loose tape edge, overloaded brush | Let the finish reach the appropriate stage, refine the edge, and use lighter coats |
| Paint peels with tape | Inadequately cured or poorly bonded first coating | Repair adhesion and follow tape/paint cure guidance before remasking |
| Drips under a molding | Too much paint on lower bead or in a groove | Remove while workable; after curing, repair carefully and recoat thinly |
| Metallic flecks look patchy | Dry-brush pressure and loading vary | Test a nearly dry brush and keep passes consistent |
| Ornament looks flat | Too much finish fills recessed detail | Stop adding paint; use an approved correction method on a sample first |
| Brush marks catch side light | Heavy strokes or painting over a partly drying coat | Improve prep and tool choice; respect recoat windows |
| Dark trim reveals every miter | Gaps, uneven alignment, poorly finished filler | Correct the joint rather than using thicker paint |
| Finish won't adhere | Incompatible coating, residue, or unstable old paint | Identify and correct the substrate/primer system |
| Colors look mismatched | Different undertones or sheens | Compare actual dried samples in the room's light |
| Frame looks too busy | Profile or contrast too strong for the wall | Reduce accent intensity or simplify the layout |
When a small touch-up becomes a larger repair
A tiny nick can often be repaired locally, but a patch will look obvious if it changes the sheen in the middle of a long glossy run. Try the repair on an offcut or hidden area first. Keep the edges of touch-ups feathered and avoid multiple heavy passes in one spot. In some cases, repainting the full visible length between corners gives a more consistent result than spotting several disconnected areas.
Do not scrape or sand unfamiliar old coatings without checking the age and nature of the substrate. In older U.S. homes, renovation may involve lead-based paint or other hazards. Follow applicable safety guidance and use qualified professionals where appropriate; decorative painting is not a reason to disturb potentially hazardous existing coatings carelessly.
Care for Painted Polyurethane Trim
After the finish has cured as required, routine care usually begins with gentle dust removal. Horizontal tops of frames tend to collect more dust than vertical sides. Use a soft cloth or brush and avoid abrasive scrubbing that could change the sheen on raised details. Cleaning methods should match the selected paint and the manufacturer's maintenance instructions.
For a dark base with dry-brushed metallic accents, spot-test any cleaner in an inconspicuous area. A decorative effect may be more delicate than a conventional fully cured interior trim finish. If someone touches a raised metallic edge often, that repeated contact can gradually change its appearance even when the underlying molding remains intact.
Keep a small container of each finish labeled with its product name, color, sheen, and date. Record whether a primer or decorative glaze was used. These notes make future touch-ups much easier than trying to match a faded phone photograph of the original wall.
What to Check Before Ordering Polyurethane Molding
A paint plan should lead to a precise product list. Start with your measured layout and the molding's listed dimensions; only then choose how much to order. The real purchasing questions are face width, projection, stock length, material, finish, compatible accessories, and how the selected profiles will look under your room's light.
Compare models that create the desired scale. A very thin border may be the right answer for a small guest bedroom; a wider profiled molding may better suit a feature wall in a dining room. Review the product drawings rather than relying on photographs alone. An item listed as a corner accessory should be verified against the relevant linear profile before it is included on the order.
If you are planning several rooms, order a sample or prepare one approved mockup so that everyone agrees on color, sheen, and accent technique. For additional layout options, see STAVROS wall molding ideas for framed interiors. Once the design is approved, create a room-by-room cut list and reserve a consistent paint specification for the entire project.
When ordering from the U.S., confirm actual availability, delivery eligibility, shipping cost, lead time, and applicable terms for your location directly with the seller. The existence of a U.S.-facing product page or dollar display is not by itself a guarantee of domestic stock or delivery. The final decision should use the current product detail and checkout conditions, not assumptions about international logistics.
Frequently Asked Questions About Two-Tone Polyurethane Molding
Can you paint polyurethane molding two different colors?
Yes, provided the chosen coating system is compatible with the molding's supplied surface. The easiest approach is to paint the wall one color and the entire applied molding another. For a broader sculpted profile, the second color can be a small decorative highlight placed on selected raised details after the base coat has reached the required condition.
What paint is best for polyurethane trim?
The correct paint depends on the exact product, factory surface, primer, and indoor conditions. Water-based acrylic and acrylic-urethane coatings are common in interior trim work, but that does not make every product compatible. Read the technical guidance for the molding and paint and test adhesion before painting a full wall. Do not use an aggressive solvent coating simply because it dries hard on other materials.
Should molding match the wall color or the baseboards?
Either can work. Matching the wall creates a subtle architectural shadow. Matching the baseboards and door casings makes the applied frames feel like part of the room's existing millwork. A different accent color is a deliberate design choice, but it should repeat or complement another element in the room rather than appear without context.
Can I paint a molding gold without making it look gaudy?
A restrained gold or warm brass dry-brushed highlight on a raised detail is often more effective than coating the entire profile in bright metallic paint. Test a low-intensity application over the actual base color and inspect it at the room's normal viewing distance. Choose the metallic finish for compatibility and visual effect, not only for the color name on the bottle.
Is painter's tape required for clean lines?
Not always. On a narrow molding or a fragile painted surface, a steady angled brush may produce a safer, cleaner line than an aggressive tape application. Where tape is appropriate, use the type intended for that surface, follow the timing instructions, and avoid saturating the edge with heavy paint. A poorly bonded existing wall coating must be corrected before any masking method is relied upon.
Should I prime factory-primed polyurethane molding again?
Not automatically. Determine what preparation the manufacturer specifies for that particular item and coating system. A factory primer may be ready for an approved topcoat, while a different or previously used surface may require additional preparation. Check compatibility on a sample. Extra primer is not a substitute for removing contamination or repairing unstable material.
How long should I wait before applying a second color?
Follow the actual paint and tape instructions. "Dry to the touch," "ready to recoat," "ready to mask," and "fully cured" describe different states. They do not always occur at the same time. Temperature, ventilation, humidity, coat thickness, and product chemistry can change the schedule. A manufacturer-approved waiting period is more reliable than a universal number of hours.
How do I paint molding with a detailed relief pattern?
Apply a compatible base coat evenly and allow it to reach the required stage. For a highlight, use a nearly dry brush to touch only selected raised parts. Build gradually and avoid flooding recesses. The best result is not the one with the most metallic paint; it is the one in which each step of the profile remains readable.
How can I figure out how much molding to buy?
Draw a cut list with individual segment lengths, not just a total perimeter. Compare those pieces with the exact stock length shown on the selected product page. A nominal 8.53-foot strip might yield several shorter pieces, or only one long section if the design requires an uninterrupted run. Include kerf, failed trial cuts, and a reasonable reserve based on your layout.
Can a paint-only makeover fix crooked molding?
No. Paint changes the visual contrast, but it does not correct crooked installation, failing adhesive, large gaps, or incompatible materials. Strong contrast may make those issues more obvious. Repair the underlying fit and attachment first; then use the new color scheme to emphasize the finished shape.
Is two-tone polyurethane molding appropriate in bathrooms?
It may be appropriate in some bathroom locations when the specific molding, installation method, coating, and substrate are all suitable for the conditions. Ordinary intermittent humidity is different from persistent wetting, direct shower spray, or water intrusion behind the wall. Do not use a decorative molding-and-paint system as waterproofing; verify the proposed application separately.
Can I repaint installed molding later?
Often yes, but the current finish must be evaluated first. Clean the surface appropriately, check that the old coating is firmly attached, follow any necessary primer or surface-preparation steps, and test the new color in a discreet location. A sound old finish can be a useful base; a peeling or contaminated one must be corrected before repainting.
Final Checklist: Make the Two Colors Support the Architecture
A successful two-tone molding project is not measured by the number of shades on the wall. It is measured by whether the finished lines look deliberate. Choose the profile for its actual face width and projection, test the coating on that substrate, refine joints before finishing, and make a sample that shows the selected colors under real room lighting. Plan cuts from individual lengths, not from perimeter alone.
For most projects, start with the simplest contrast: one wall color and one continuous trim color. If you choose to highlight the molding's relief, use a broader profile with visible steps and apply the second shade sparingly. Take the same care with painter's tape and paint cure as with the decorative effect itself. A clean edge on modest molding usually looks more polished than a heavily decorated but uneven profile.
Explore the STAVROS collection of polyurethane molding and architectural trim to compare genuine dimensions and compatible decorative elements. Then confirm the exact product, finish system, quantities, and delivery arrangements for your own project. The goal is a wall that feels intentionally designed—not merely a wall with more paint on it.