



















Article Contents:
- Where to buy a ceiling medallion for a ready-made coffer in Omsk
- Why a ready-made coffered grid changes the usual order of selection
- Three central coffer designs: identical cells, an enlarged center and a combined field
- How to take measurements so you don't make a mistake when ordering
- Measurement schedule: which numbers the seller and installer will need
- Calculating five medallions for a central field of 1500 × 1400 mm
- How to match the medallion pattern with already installed moldings
- CRPU-070: when it's worth starting with a smaller scale
- CRPU-069: intricate ornament next to a regular grid
- RPU.VRS-001: eight parts instead of dozens
- CRPU-068: large size and the risk of tight fit to the frame
- CRPU-071: when the eight-ray pattern meets the boundaries
- If the chandelier is offset by 100 mm: recalculating without self-deception
- How to evaluate the rhythm of the entire grid, not just one beautiful cell
- What to do with a finished ceiling if the chosen composition fails the check
- Checking the pattern before installation: without repeating ready-made coffers
- How to make the transition between the finished trim and the new ceiling rose neat
- Which additional materials will really be needed and which should not be bought
- How to calculate the budget: comparing the price of a socket and the cost of the finished result
- What to ask the seller before paying for the full set
- Delivery to Omsk, Tara and Isilkul: how to preserve complex terrain
- Nine mistakes that turn one socket into a full ceiling redo
- Frequently asked questions about ceiling sockets for a coffered ceiling
- Can a large socket be installed in a coffer if measurements leave only 20 mm?
- Why is it sometimes better to leave the central coffer without a socket?
- Do I need to buy separate decorative sockets for adjacent cells?
- How can I tell that CRPU-069 is a better fit than RPU.VRS-001 if the sizes are almost the same?
- Can a socket be installed after the chandelier is already hanging?
- How do I check a caisson if its sides differ slightly in length?
- Do I need to buy a paper template if the installer has a laser level?
- Why does the larger CRPU-068 cost less than the smaller CRPU-069?
- What information is needed to order a single socket with delivery to Omsk Oblast?
- Can I order a socket first and decide a month later how to mount it?

In a central caisson measuring 1500 × 1400 mm, a wire for the chandelier has already been run, and a grid of ceiling moldings is installed around the perimeter of the room. I'd like to add a molded pattern around the light fixture without affecting the finished frames. At first glance, the task comes down to choosing a socket no wider than 1400 mm. But the CRPU-071 composition, measuring 1365 × 1365 mm, will formally fit and leave only 17.5 mm along the short side. Such a gap hardly separates the socket pattern from the adjacent molding. Will the center be expressive if the two ornaments visually merge?
Another model, CRPU-070 measuring 765 × 765 mm, leaves 317.5 mm to the short boundaries in the same cell. This is much calmer geometrically, but it doesn't mean this is the one to buy: the pattern must support the character of the existing grid and the scale of the chandelier. So the decision comes from measuring, comparing actual products, and checking the installation layout. If the center of the light fixture is offset, simply dividing the free width in half is downright misleading.
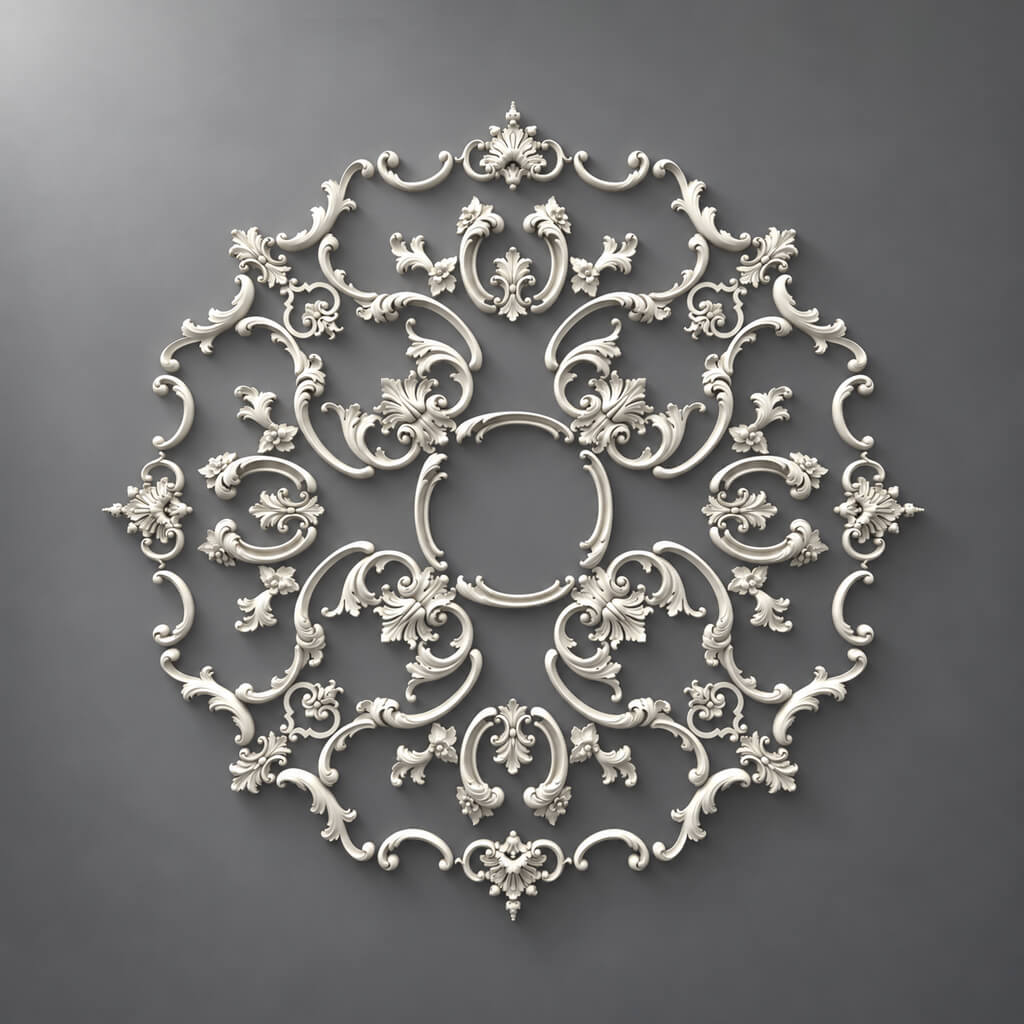
В catalog of polyurethane ceiling sockets STAVROS offers several composite compositions of different scales. For a finished coffered ceiling, you need to buy one suitable complete ceiling medallion and the materials required for its installation, not a new set of moldings for the entire room. Below is a verifiable example for Omsk with five specific product codes, their dimensions, and a separate estimate without invented installation prices.


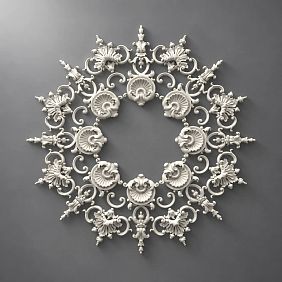


Where to buy a ceiling medallion for a finished coffered ceiling in Omsk
A buyer who is going to buy a ceiling medallion in Omsk, usually already knows where it should go. Unlike a bare ceiling, a finished coffered grid has boundaries and a sequence of decorative lines. Therefore, when contacting the seller, it is more useful to send not just one photo of the product you like, but three images: a general view of the ceiling, the central cell with a tape measure, and an angled view of the molding. The latter shows the relief projection that is lost in a frontal shot.
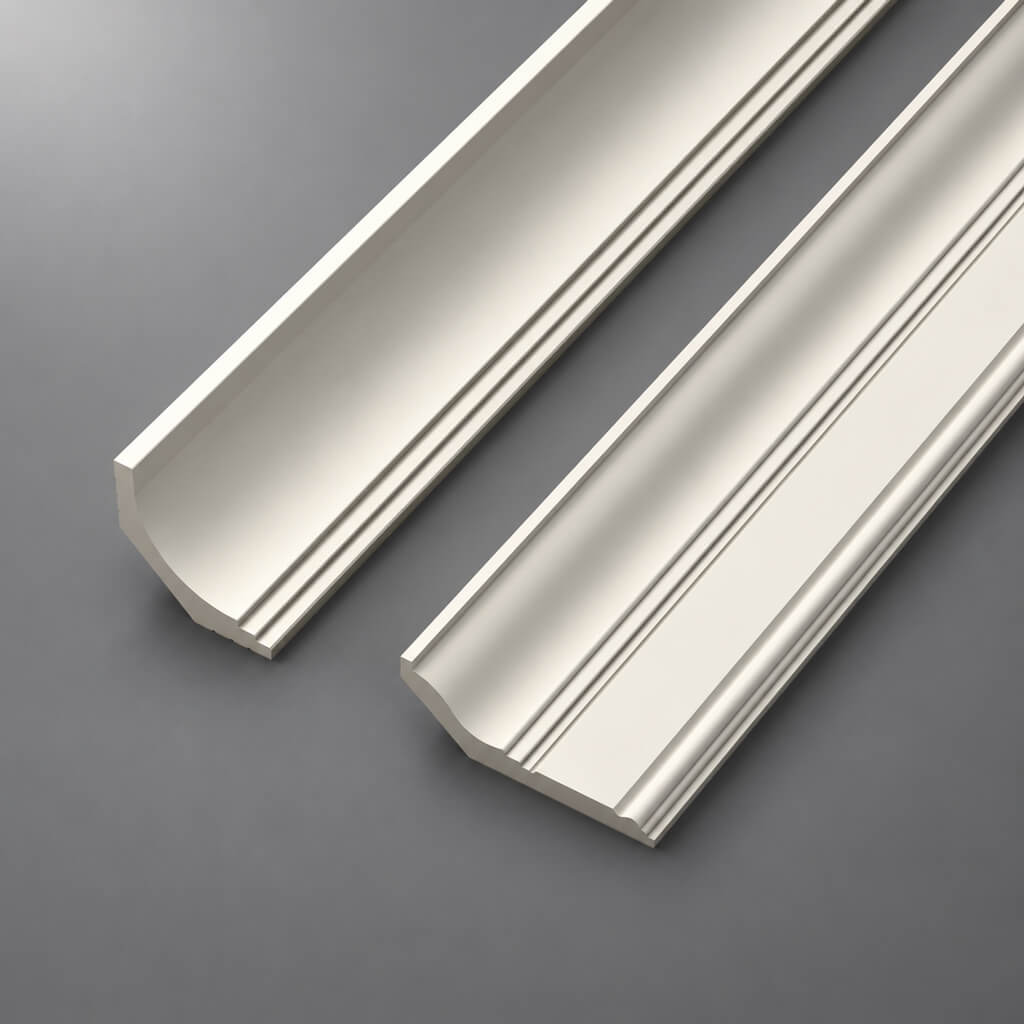
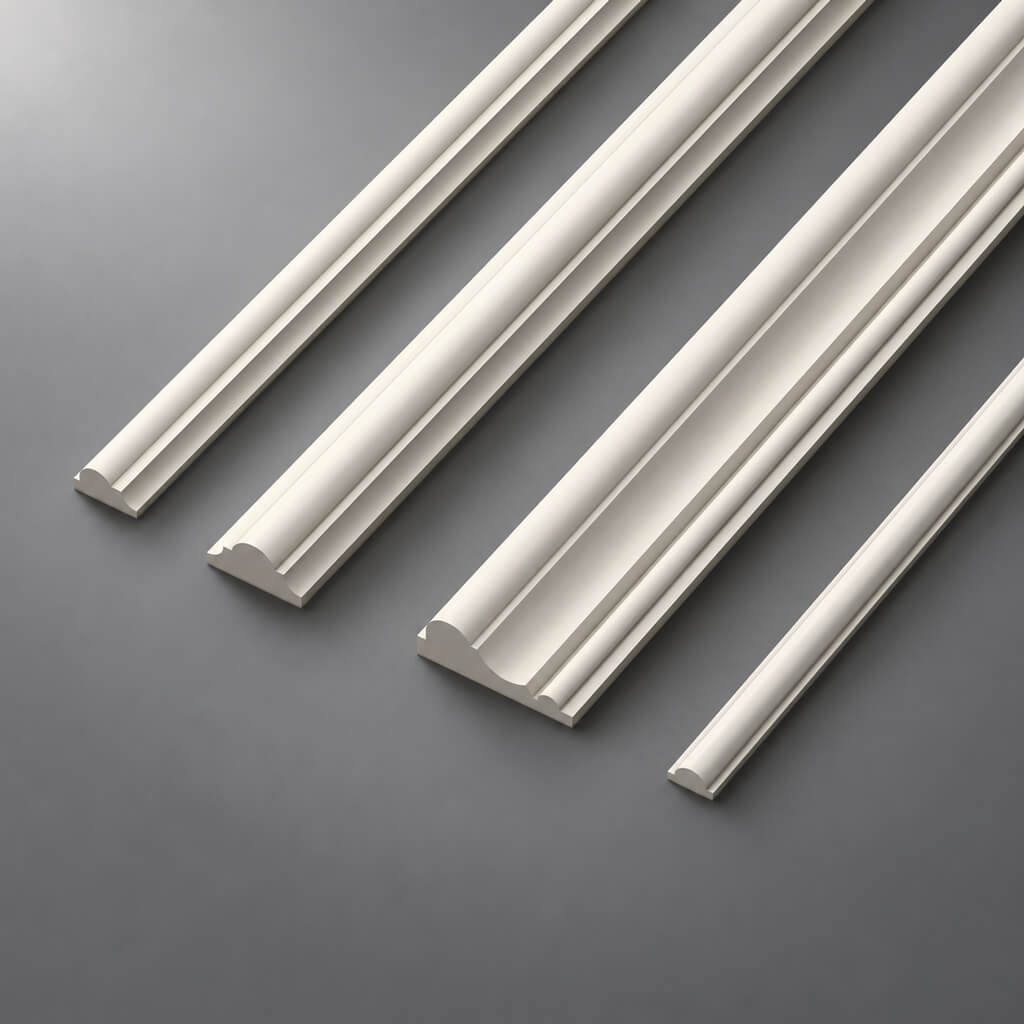
In your request, specify the internal dimensions of the free cell, the position of the chandelier, and the exact product code of the proposed model. If the specialist suggests adding another ceiling cornice, ask what task it solves. Installed moldings generally do not need to be replaced for the sake of a central medallion. It is enough to ensure that their lines are coordinated with the new composition. The general section Moldings contains other types of polyurethane decor, but they should not automatically be included in the specification for this order.
For initial selection, it is convenient to keep two or three models and then check each against the actual constraints. Catalog prices are the cost of the decorative set as of the verification date, November 5, 2026; installation, delivery, finishing, and any paper template are calculated separately. The stated availability of Contact us to confirm shipping to your destination. should not be confused with confirmed stock of the selected product code in Omsk.
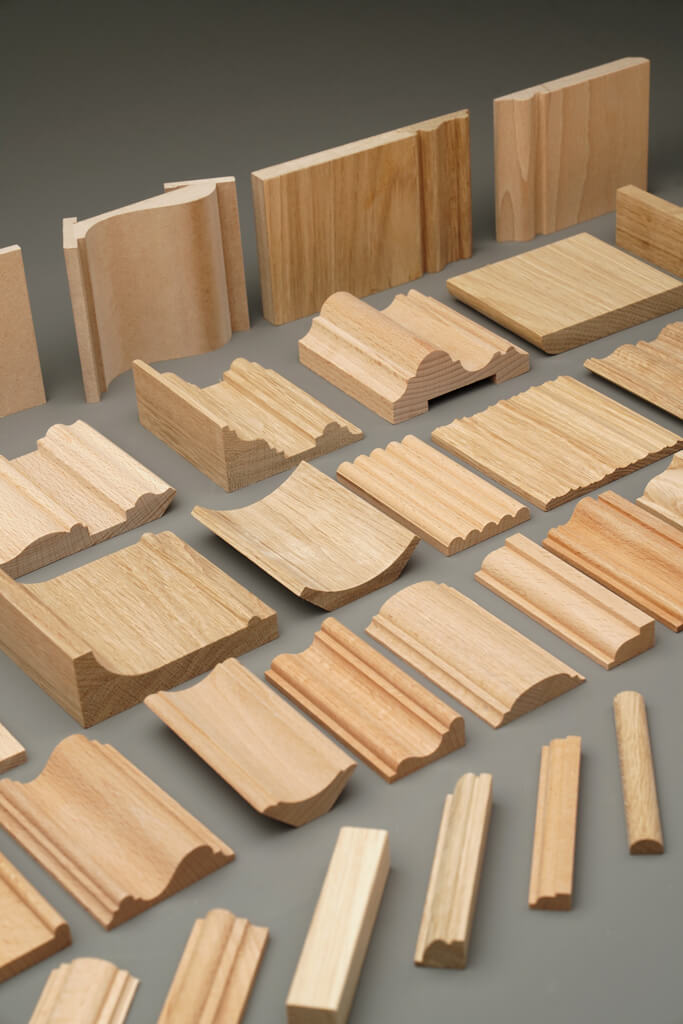



Why a finished coffered grid changes the usual order of selection
In an ordinary living room without ceiling relief, a medallion is often compared with the chandelier, the room height, and the free surface. With a coffered ceiling, another master of the composition appears — the system of already installed frames. It sets the axes, distances, and frequency of line repetition. The new product enters into a dialogue not with an empty white surface, but with a specific architecture.
Imagine two rooms of the same area. In the first, the moldings are narrow, smooth, and form large rectangles; the second is divided by wide multi-step frames, where a noticeable shadow appears even in diffused light. The same medallion in the first room may become the main decoration, while in the second it may become just another competing pattern. This cannot be derived from the floor area. You need to look at the ceiling as a whole and compare the scale of the lines.
The useful order of actions changes: first, the existing grid and suspension center are recorded, then the allowable area for the new ornament is determined, and only after that are products compared. If you start with a large medallion you like and only then measure the frame, there is a high risk of making a purchase that will require trimming already finished moldings. It is better to avoid such rework at the ordering stage.
You should not assume that a coffered ceiling is strictly square. The central cell often has elongated proportions, while the rosette fits into a conventional square. The remaining strips of free ceiling along the two axes will differ; it is on the narrower side that an overloaded pattern is most noticeable. With an off-center chandelier, the asymmetry is amplified even when the rosette itself is symmetrical.
Our factory also produces:


Three layouts for a central coffer: identical cells, an enlarged center, and a combined field
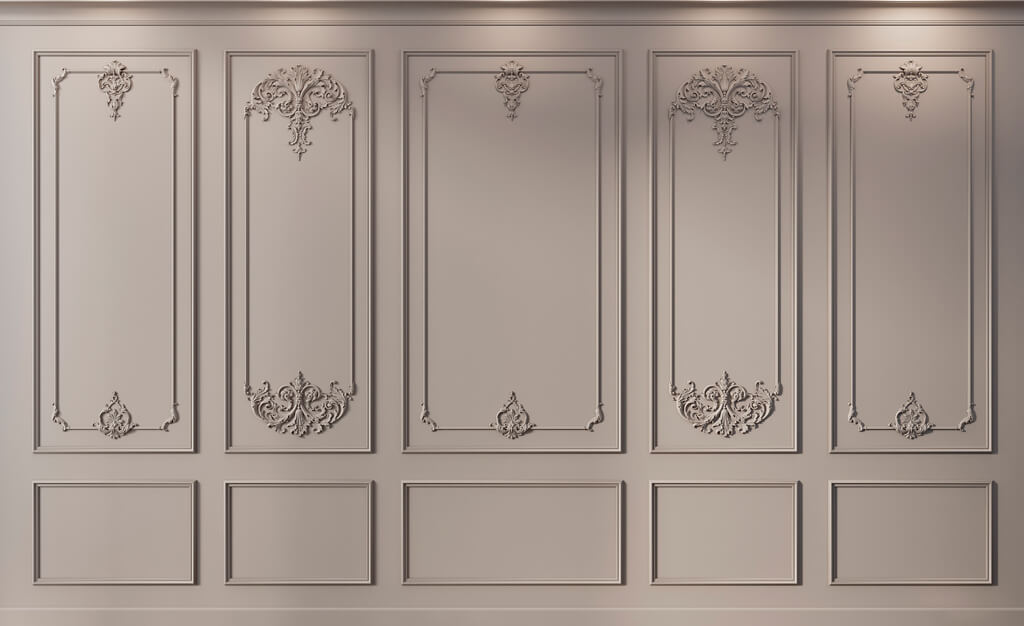
All cells are equal. If identical rectangles run across the entire room, highlighting one with a rosette changes their rhythm. This is acceptable when the main chandelier actually hangs in that cell and the central zone reads as a separate place. But a massive ornament in a standard-sized cell can disrupt the sense of balance, especially when neighboring cells are deliberately left plain. First look from the doorway: is this coffer visible as a center, or is it merely one of a row?
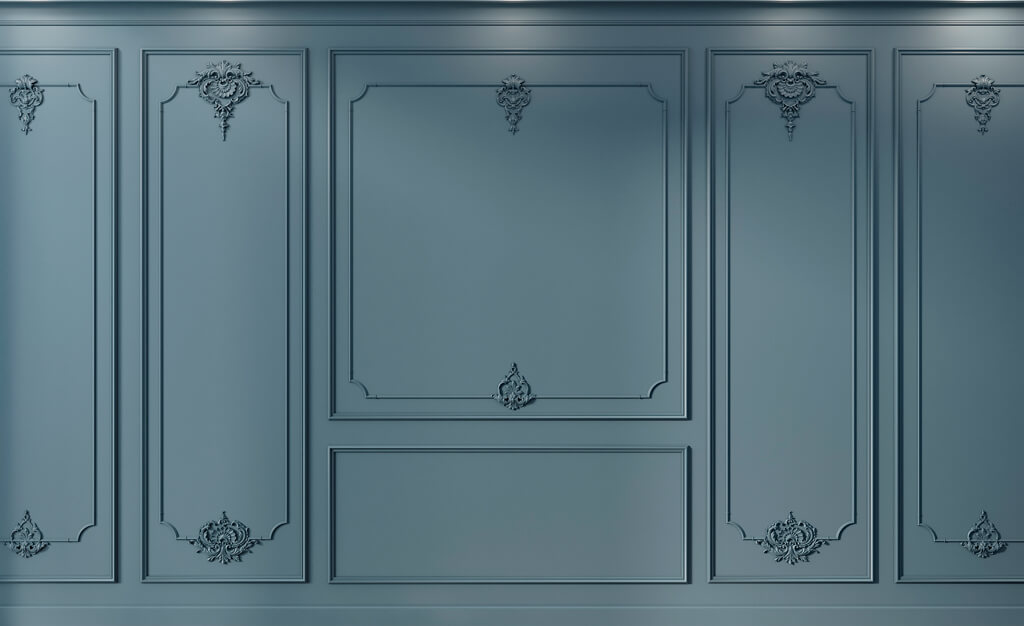
The central cell is enlarged. This is the most straightforward scenario for a large composition. The moldings already form a platform for the chandelier, and the rosette can emphasize its purpose. However, the free size along the inner edge is not always the installation size: a tall profile extends inward and, when viewed from the side, covers part of the surface. In addition to the geometry, assess the visual gap to the relief of the frame.
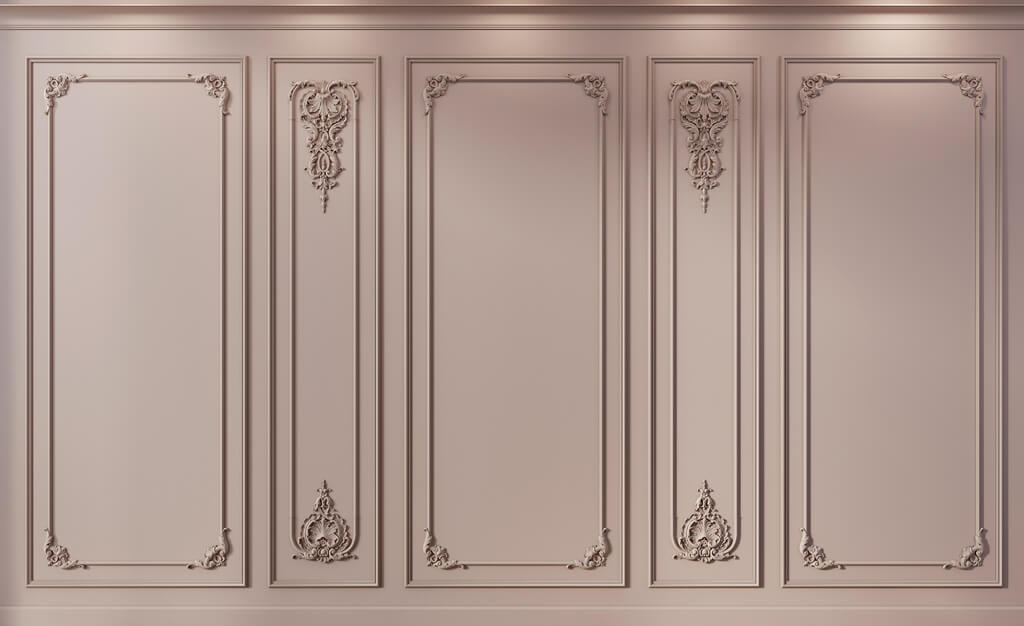
The center is assembled from several combined cells. This is where axis problems most often arise. A trace of the previous layout or an uneven position of the chandelier relative to the overall geometry may remain between the combined fields. Do not try to compensate for this by eyeballing individual modules. You need a single drawing that shows the ceiling axes, the fixture's mounting point, and the edges of each decorative group. If you cannot achieve integrity, an empty field may look better than an incorrectly positioned rosette.
In all three situations, you can forgo central decor entirely. Having coffers does not obligate you to fill every rectangle. Sometimes the chandelier and frame already provide the necessary ceiling division, and a new rosette only complicates cleaning and finishing.
Get Consultation
How to take measurements so you don't make a mistake when ordering
Start with internal free field, measured between the nearest protruding edges of the moldings. Record the width and length in several places: on a finished grid, opposite sides are not always perfectly parallel. If the rectangle measures 1500 mm on one side and 1486 mm on the other, the calculation should use the smaller value. If necessary, show the irregularity on the diagram rather than averaging it out for the sake of a neat table.
Check not only the width of the molding at its base, but also how far its relief projects into the coffer. It happens that on the plan the free field looks sufficient, while the three-dimensional upper step of the profile casts a shadow and almost touches the new decor. For assessing the visual gap, this matters more than a difference of a few millimeters between rosettes of similar size.
Then measure the distances from the center of the chandelier's ceiling cup to all four boundaries. Separately record the size of the cup, the position of the factory mounting, the nearest light fixtures, and the electrical connections. Do not substitute the "center of the room" mark for the actual chandelier axis. If the ceiling is already finished, the electrical installation point should not be moved merely to match the pattern without a separate design plan.
Also include the ceiling substrate and the condition of the finish in the measurement sheet. Different substrates require different permitted fastening methods; a decorative rosette does not bear the weight of the chandelier. A photograph with a laser line through the center and a paper diagram with four distances will give the installer far more than a verbal description of "roughly in the middle."
Measurement sheet: which numbers the seller and installer will need
| Parameter | What to record | What it is useful for |
|---|---|---|
| Internal dimensions of the coffer | Minimum width and length between protrusions | For preliminary geometry |
| Molding depth | Protrusion and shadow character at the boundary | For assessing the visual gap |
| Four distances from the chandelier axis | Left, right, top, bottom | For checking the offset |
| Cup diameter and height | Based on the actual fixture | For aligning the center |
| Base and finish | Ceiling material, paint condition | For coordinating the mounting |
| Coffered ceiling rhythm | Grid pitch and dimensions of adjacent cells | For choosing the ornament scale |
| Sketch of the selected model | Diagram of all modules, not a single square | For installation layout |
It is convenient to keep the schedule next to the ceiling photos. If the room has two chandeliers, the document is drawn up for each point separately, even when identical sockets are planned to be purchased. Different alignment to adjacent moldings can make a mirror-repeated pattern asymmetrical. With one central chandelier, one complete specification is sufficient, but measurements on all four sides are still mandatory.
After measuring, check that the axes are not mixed up in the image. In a long room, the 1500 mm side of the coffer may run across the view from the entrance rather than along the long wall. When purchasing a composite composition, this affects the orientation of its elongated decorative groups. Do not designate side A from the catalog as the "width" just because it is more convenient to read the table that way.
Calculation of five sockets for a central field of 1500 × 1400 mm
Let's take a conventional coffer: clear internal size 1500 × 1400 mm, the chandelier center currently coincides with the geometric center. We take the socket dimensions from the official STAVROS product cards. For a preliminary calculation along each axis, we subtract the product dimension from the corresponding field size, then divide by two. This gives only the distance between the outer overall lines, not a guaranteed clearance between the actual ornament leaves and the moldings.
| Rosette | Dimension, mm | Clearance along 1500 mm | Clearance along 1400 mm | Product price |
|---|---|---|---|---|
| CRPU-070 | 765 × 765 | 367.5 mm | 317.5 mm | 35 680 ₽ |
| CRPU-069 | 910 × 910 | 295 мм | 245 мм | 62 560 ₽ |
| RPU.VRS-001 | 911 × 911 | 294.5 mm | 244.5 mm | 67 360 ₽ |
| CRPU-068 | 1325 × 1325 | 87.5 mm | 37.5 mm | 50 480 ₽ |
| CRPU-071 | 1365 × 1365 | 67.5 mm | 17.5 mm | 72 880 ₽ |
By pure geometry, all five options fit within the field. The visual impression, however, differs sharply. CRPU-070 retains a pronounced band of free ceiling around the decor. Models around 910 mm leave enough space to see the central pattern separately from the frame. With CRPU-068 and especially CRPU-071, the margin on the short side almost disappears. In this example, the large scale requires convincing confirmation against the actual drawing and the overall composition; "formally fits" is too weak a basis for payment.
Prices are as of November 5, 2026 and apply to one factory set. You cannot infer lower weight, strength, or amount of work from the price difference. For example, CRPU-068 has a larger overall size than CRPU-069 but costs less: what matters is the specifics of the parts set and production, not just square centimeters.
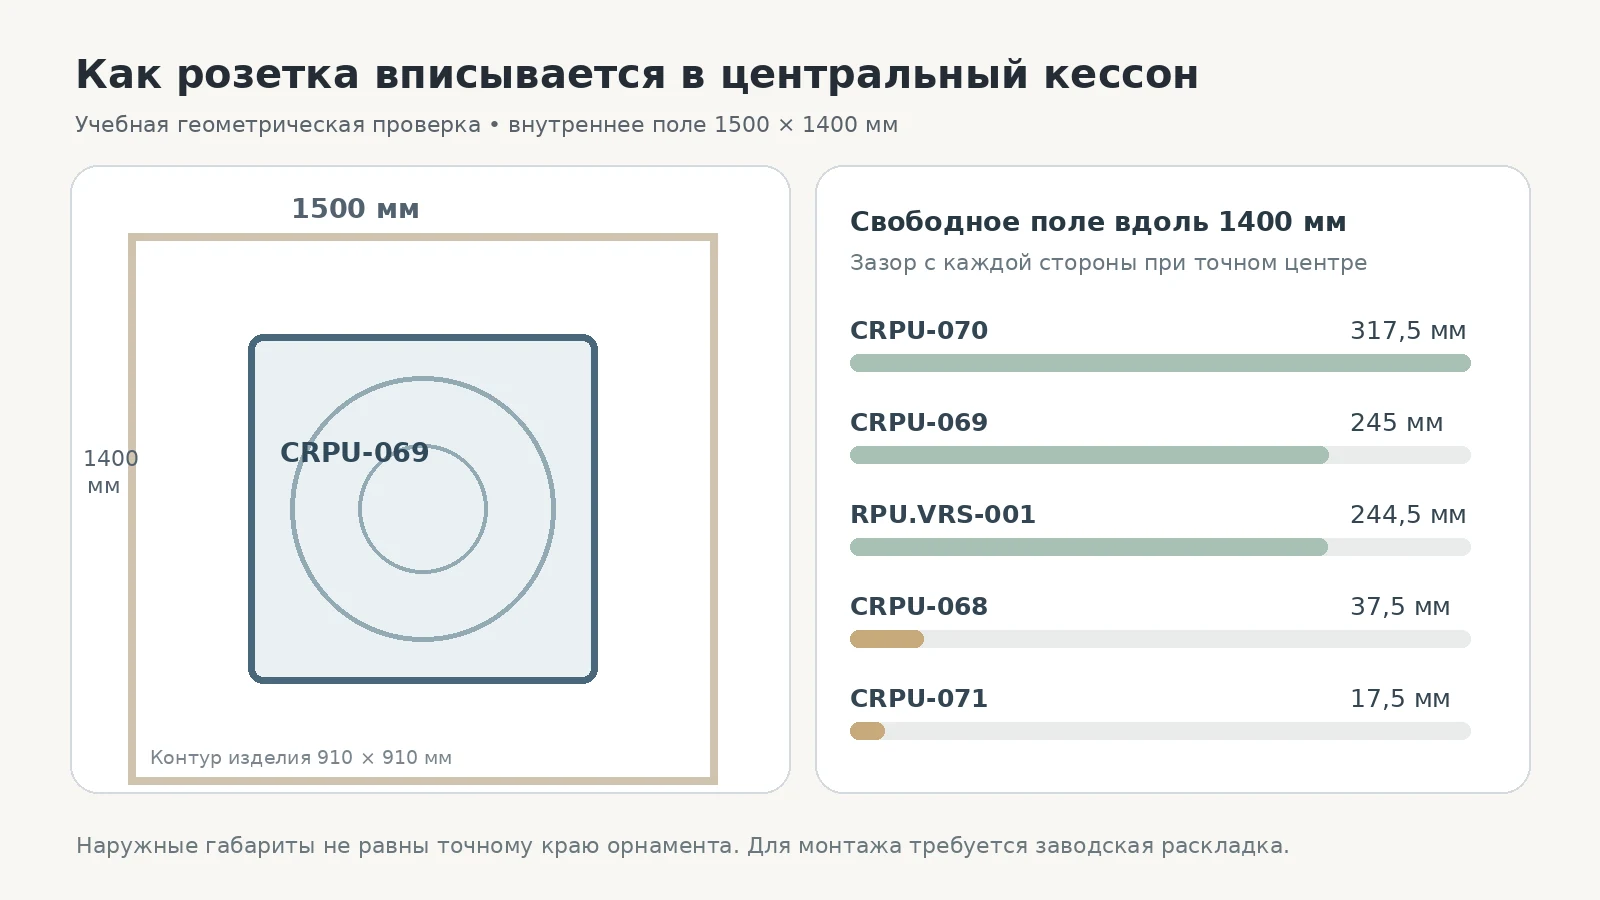
The diagram shows only conventional overall squares. If a specific ornament forms an oval, open gaps between parts, or protruding leaves, its actual visual contour must be checked separately. Do not trim factory elements to preserve an arithmetic clearance: this may disrupt the integrity of symmetry and complicate further reordering.
How to coordinate the rosette pattern with the moldings already installed
A smooth geometric molding and a dense floral ornament do not necessarily contradict each other. Sometimes it is precisely the difference that helps highlight the chandelier without making the entire ceiling equally decorated. A conflict arises when the patterns have comparable visual weight and are placed so close together that the eye cannot separate them into frame and center. This is most noticeable in a low room with a dense grid of coffers, where the ceiling is visible almost in full already from the doorway.
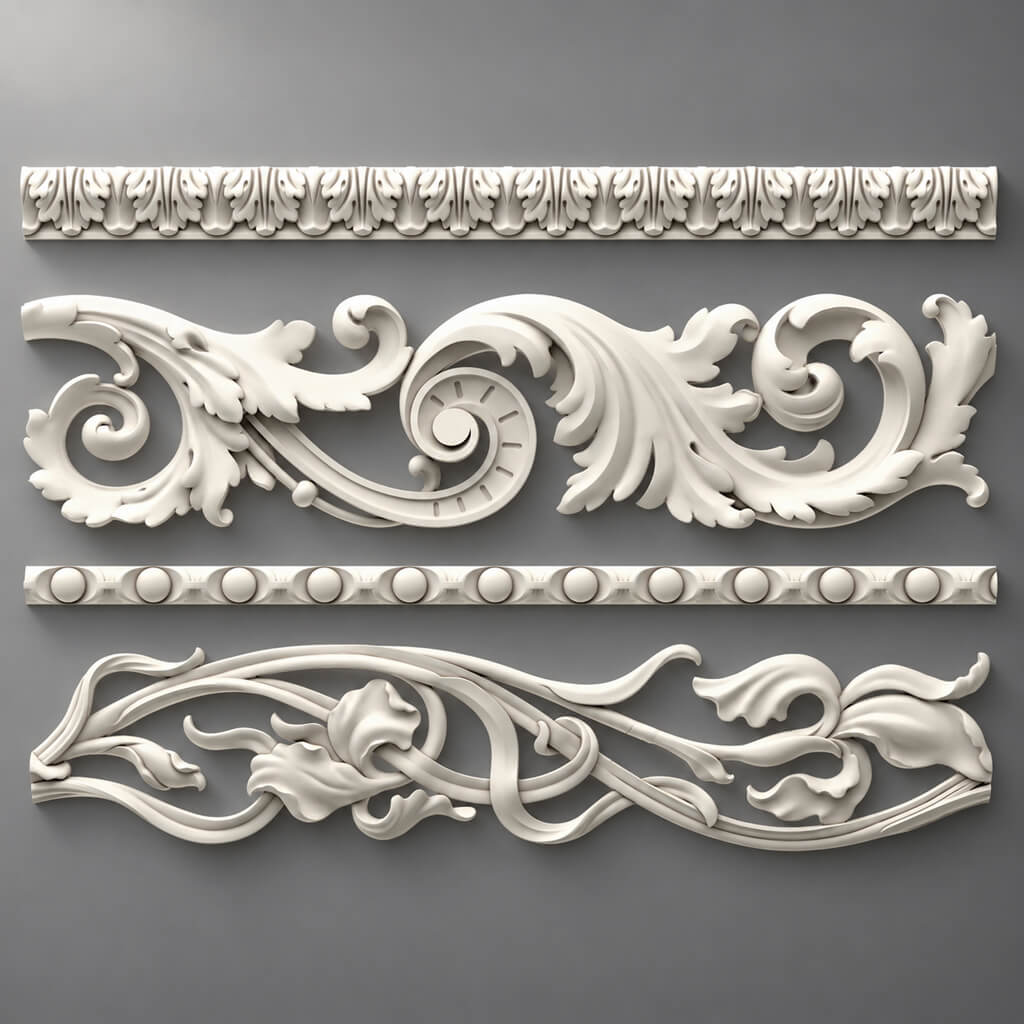
For moldings with their own leaves, beads, and scrolls, you need to identify the leading motif. For example, a repeating oval insert with an elongated leaf creates a certain rhythm along the perimeter. If the new rosette is also built on large scrolls, compare their scale: the leaves do not have to match literally, but two uncoordinated systems of equally large details should not appear side by side. Try a simple technique: place images of the decor scaled to the same size and look not at a beautiful individual photograph but at the gap between the patterns.
With wide stepped profiles, the character of the shadow matters. A molding may have almost no floral ornament yet appear heavy due to its depth. In that case, an additional dense pattern near the chandelier can overload the ceiling. A more open composition that leaves a clearly visible white plane between the details sometimes looks more appropriate. However, openness cannot be determined by a single number in the catalog: you need a detail diagram and an image of the product under angled lighting.
| The character of the finished frame | What to compare in the central rosette | When it is worth opting out |
|---|---|---|
| Smooth straight moldings | The scale of the new ornament and the width of the clear field | When decor erases clear geometry |
| Repeating plant motif around the perimeter | The frequency and size of the leaves, the direction of the curls | When two equally weighted patterns merge |
| Multi-tiered high profile | The depth of the shadows, the clear band between the reliefs | When a large rosette almost touches the frame |
Color can soften the contrast, but it will not change the geometry. Even if the moldings and the new polyurethane decor are painted with the same white paint, complex reliefs that are close to each other continue to cast shadows. Before buying, it is useful to turn off the decorative lighting, leave only the chandelier, and then assess the ceiling in daylight: incompatibility can manifest itself in different ways.
CRPU-070: when it is worth starting with a smaller scale
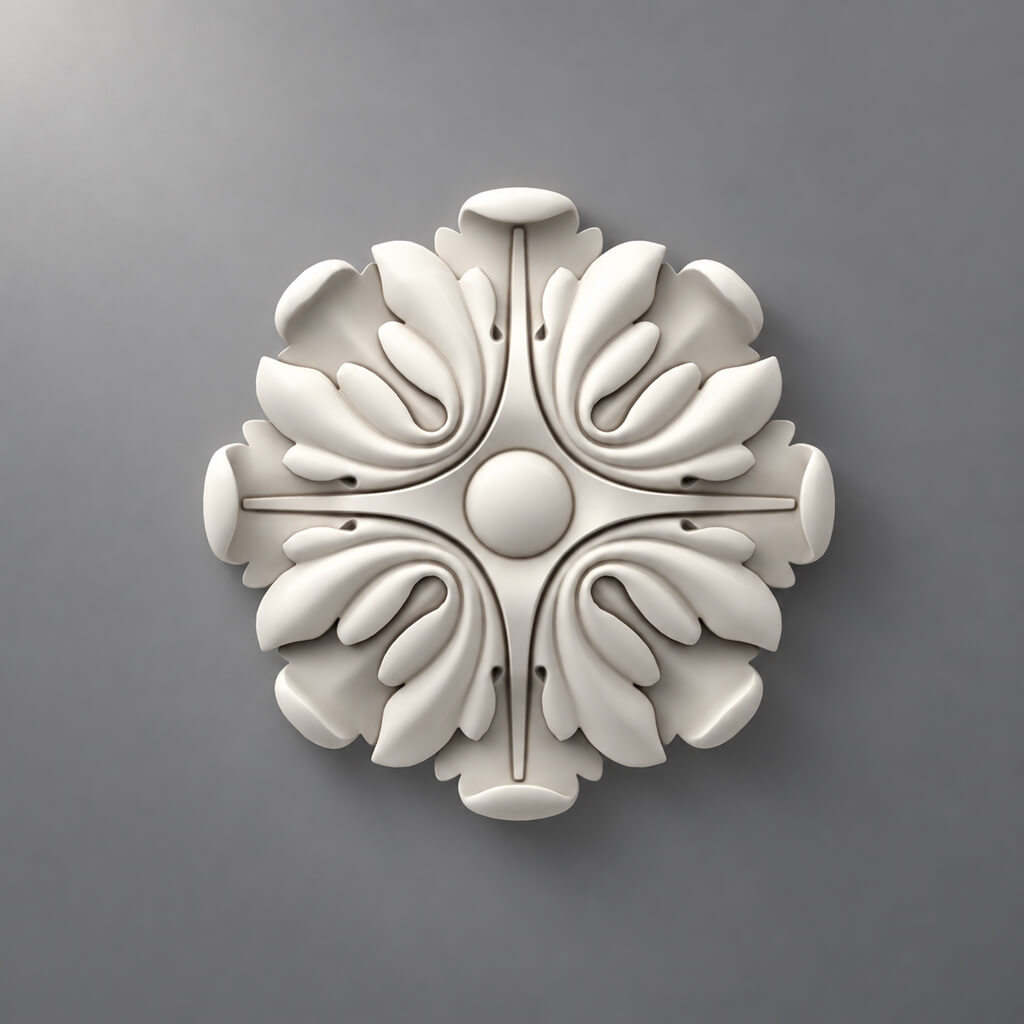
Ceiling rosette CRPU-070 measures 765 × 765 × 18 mm and costs 35,680 ₽ as of the check date. Its composite composition includes 24 elements of three types. Such repetition requires careful marking: even a slight angular offset of one group becomes noticeable when perfectly straight lines of the coffered grid run nearby. The product should not be perceived as a round disc that is simply placed on the ceiling in the center.
In our 1500 × 1400 mm field, this model still has more than 300 mm on the short side on each side. This allows you to preserve an expressive space between the rosette and the molding. But if the neighboring coffers are small and their width only slightly exceeds 765 mm, the central rosette, even with a good clearance of its own, may look unexpectedly large. Comparison with the pitch of the entire grid should precede the final choice.
CRPU-070 is reasonable to consider where the ceiling is predominantly geometric in design and the chandelier needs a light decorative frame. The botanical detailing creates contrast with the strict frame, but it should be verified against a real photo or drawing: the assessment of a "light pattern" remains an artistic judgment. The 18 mm thickness itself shows neither the depth of a specific sheet, nor the overall weight of the product, nor whether it can be attached to the chosen substrate.
To place an order, prepare the article number, one complete set, the type of ceiling substrate, the dimensions of the chandelier cup, and a layout diagram. If the installer plans to mark out 24 elements by hand, ask them to show where the repetition axes will be and how they will be fixed. The availability of a paper template must be confirmed for the specific delivery; it should not be included in the estimate by default as already part of the set.
CRPU-069: complex ornament next to a regular grid
Ceiling rosette CRPU-069 measures 910 × 910 × 15 mm and has a catalogue price of 62,560 ₽. The product is described as a composite composition of 64 elements in 15 types. For a coffered ceiling, this means more than just an increase in size relative to CRPU-070. The installer receives more different parts that must be placed in the correct orientation, and the designer gets a richer central pattern.
In a 1500 × 1400 mm cell, 245 mm remains to the short edges. The gap is large enough to clearly separate the ornament from the frame on the plan, but the final impression depends on the actual shape of the protruding parts. Pay especially close attention to mirrored pairs of elements: in the schedules of such compositions, L and R designations occur. A swapped side changes the direction of the leaf or scroll and disrupts the rhythm, although the formal width of the set does not change as a result.
This model is interesting for a central coffer with simple mouldings: the regular frame creates a calm setting, while the complex ornament around the chandelier becomes an independent accent. In a room where both the mouldings and the corners of each cell are already decorated with carved overlays, CRPU-069 should be evaluated more cautiously. What matters is not the number of parts in itself, but how closely they form repeating bands of light and shadow.
Ask the manufacturer or seller to provide the current complete parts list. Do not copy the composition automatically from a neighbouring article: identical designations of individual NPUs do not confirm that all elements are interchangeable, and differences in dimensions and finish are all the more possible. If some parts will be painted separately before installation, agree on the finishing sequence so that differences at the joints do not appear after assembly.
RPU.VRS-001: eight parts instead of dozens
Large Ceiling rosette RPU.VRS-001 occupies 911 × 911 × 18 mm and costs 67,360 ₽. The composition includes eight elements: four NPU-507 and four NPU-508. In overall dimensions it almost matches CRPU-069, so the free field calculation differs by only half a millimetre on each side. The difference is visible not in the dimension table, but in the organisation of the pattern and the number of individual parts.
An eight-element composition is easier to count on acceptance. This does not mean it can be fixed faster or more cheaply without a technical analysis. Large parts may require different surface preparation, temporary fixing, or more careful fitting of joints, and the number of installation operations is not determined by a single line of "8 pcs." Nor should it be claimed that fewer elements means less weight: the weight of the full set must be taken from the manufacturer's documentation if it matters for the project.
If the ready-made mouldings form a strict grid, it is useful to compare how the wide decorative groups RPU.VRS-001 relate to the width of the coffer. The open gaps between the groups allow the ceiling plane to be seen, but sometimes they turn out to be too large relative to the narrow adjacent cells. Try overlaying the outline of the rosette onto a photo of the ceiling to scale, keeping the position of the chandelier. This will show whether the model supports the geometry or turns the centre into a separate, overly active figure.
In the order, specify exactly one complete factory set RPU.VRS-001, not eight separate NPU items. Reordering each part is permissible only after verifying the actual need and the availability of the item names from the supplier. The four NPU-507 and four NPU-508 elements are part of the selected composition, so they cannot be included in the estimate again without justification.
CRPU-068: large size and risk of tight fit against the frame
CRPU-068 measures 1325 × 1325 × 18 mm and costs 50,480 ₽. According to the manufacturer's description, its ornament forms a soft oval silhouette within a square boundary. For a rectangular coffer this may seem like a good match: the oval contrasts with the straight lines of the moulding, and the centre gains its own direction. But the ovalness of the pattern does not cancel out the external dimensions, which must be checked before ordering.
In our example, only 37.5 mm remains to the short side of the field. Such a gap may be visually almost indistinguishable, especially if the outermost module and the moulding cast shadows towards each other. If the chandelier axis is shifted by 50 mm towards the short boundary, the difference becomes negative: the nominal overall outlines begin to intersect. Even if the actual oval is smaller than the catalogue square, the project should not be approved based on assumption. A scaled layout and a check of every protrusion are needed.
For CRPU-068, the scope of supply should also be clarified. One public description states 72 elements of 12 types, but in the previously verified item-by-item table the sum of quantities did not match this total. For a rosette assembled from numerous fragments, four missing or differently accounted parts can halt installation. Before paying, obtain the current bill of materials for the exact set that will be shipped, and agree on the acceptance procedure.
A large ornament can be considered for a specially enlarged central coffer with a pronounced free field. If the cell is tight, do not try to "free up space" by trimming the decorative leaves yourself. It is better to choose a smaller model or reconsider whether a rosette is needed at all. Reworking a ready-made coffer grid for the sake of a single product is not always reasonable economically or compositionally.
CRPU-071: when the eight-ray pattern meets the boundaries
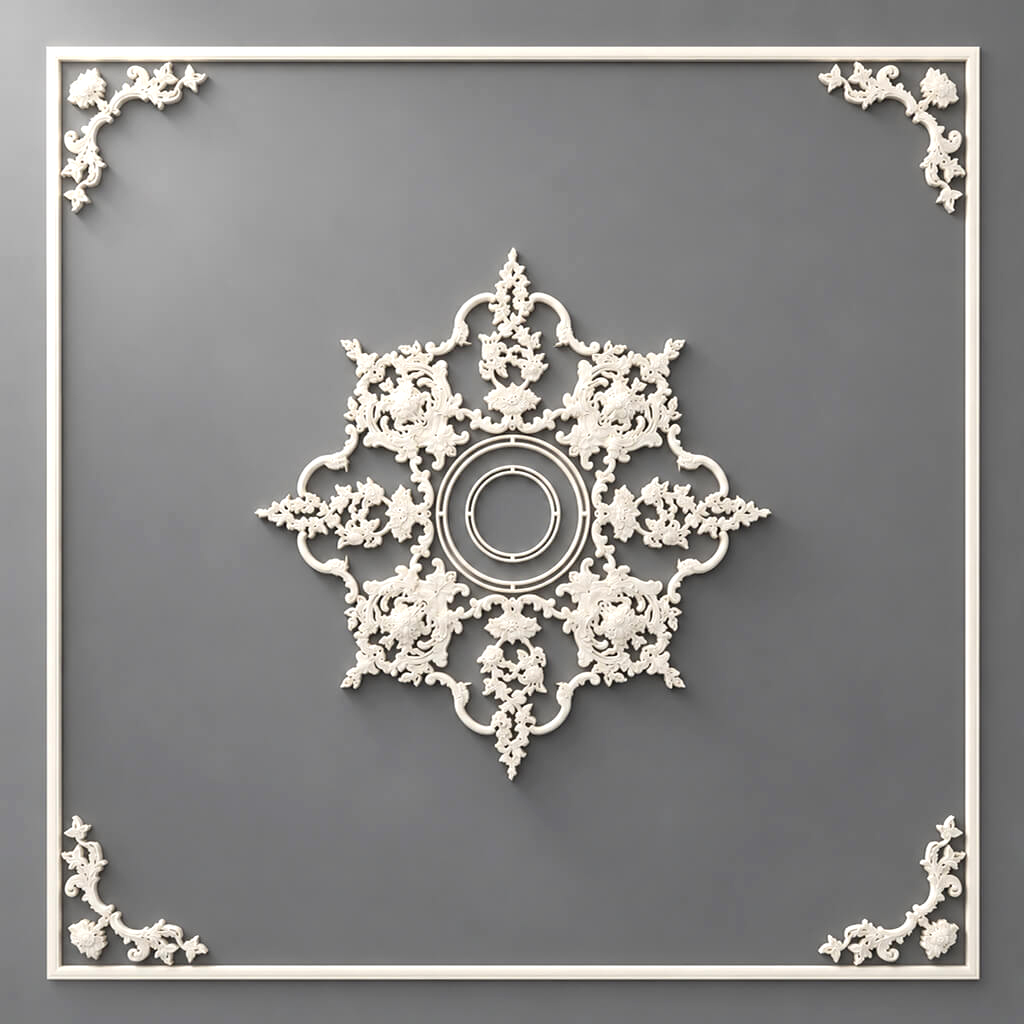
CRPU-071 measures 1365 × 1365 × 19 mm and costs 72,880 ₽. The manufacturer describes a large eight-ray composition with concentric rings at the centre. The rays direct the gaze from the chandelier to the outer details; on a free ceiling this technique can be expressive, but in a ready-made coffer cell it also creates a risk of the rays coming close to the straight lines of the frame.
With a field of 1500 × 1400 mm, 17.5 mm remains between the model's overall size and the short boundary. This is not enough to automatically consider the future composition visually self-contained. The actual pattern may have empty areas, but without the factory diagram it is impossible to know where the outermost scrolls will fall and how they will look next to the moulding. Even a slight shift of the chandelier or a discrepancy between the finished coffer and the design dimensions can reduce the calculated remainder to zero.
For CRPU-071, it is useful to request not only the general pattern but also the dimensional layout along the rays. If the manufacturer offers a paper template separately, check its price and availability. A pattern with eight directions is best marked out along the confirmed axis and diagonals; aligning "by eye" relative to one wall can change the distances to adjacent moldings on the other side.
Do not compare the product with CRPU-068 on price alone. The dimensions differ by 40 mm, but the character of the ornament and its orientation can produce a completely different visual result. For the narrow central coffer in our example, both large models are in a high-risk zone. For a much larger open field, the final conclusion will be different — it should be derived from measurement and the specific layout, not from the generic advice "for large rooms."
If the chandelier is offset by 100 mm: recalculating without self-deception
Equal distance from the socket to all four sides of the coffer is achieved only when the axes coincide. In an already renovated room, the chandelier axis may have been chosen relative to the dining table rather than the decorative frame. This is not necessarily a design error, but the calculation "(field size − product size) / 2" no longer describes the real situation. Therefore, before purchasing, measure the distances from the actual suspension center to each boundary.
Suppose that in our 1500 × 1400 mm field the chandelier is offset by 100 mm toward the right side along the 1500 mm width. For CRPU-070, the initial 367.5 mm will become 267.5 mm on the right and 467.5 mm on the left. For CRPU-069, the corresponding gaps will be 195 and 395 mm. For RPU.VRS-001 — 194.5 and 394.5 mm. For CRPU-068, the right side will be minus 12.5 mm and the left side 187.5 mm. For CRPU-071, the right side will be minus 32.5 mm and the left side 167.5 mm. A negative number indicates an intersection of nominal overall lines, not necessarily a physical overlap of every ornamental fragment.
| Model | Nearest side with a 100 mm offset | Far side |
|---|---|---|
| CRPU-070 | 267.5 mm | 467.5 mm |
| CRPU-069 | 195 мм | 395 мм |
| RPU.VRS-001 | 194.5 mm | 394.5 mm |
| CRPU-068 | −12.5 mm | 187.5 mm |
| CRPU-071 | −32.5 mm | 167.5 mm |
Do not try to correct such an offset by rotating individual factory parts against the diagram. Even if extra free space appears in one area, the pattern on the other side may lose its symmetry. First determine whether the decorative composition should be centered on the chandelier or on the coffer, and then agree on the decision with the installer and the designer. In some cases, the original model has to be abandoned; relocating the light fixture is considered only with a technically permissible and separately agreed change to the electrical wiring.
How to assess the rhythm of the entire grid, not just one beautiful cell
A coffered ceiling reads as a sequence. If adjacent cells are identical, the eye expects their borders, corners, and empty space inside to repeat. A central medallion interferes with this rhythm, so it is useful to take three views: directly from below, from the doorway, and from the most frequently used spot in the room. The first shows the details; the second shows the architecture; the third shows how the ceiling will be perceived every day.
Imagine a central cell of 1500 × 1400 mm and four adjacent cells of 900 × 800 mm. On the CRPU-070 diagram it may seem small, but in perception its dimensions are already close to the width of the neighboring cell. This is not a prohibition, but a reason to see the composition as a whole. If the entire grid consists of large two-meter fields, the same model will look much calmer and may even get lost next to a large chandelier.
The orientation of the pattern is especially important. A classic radial ornament organizes space around a single point. Rectangular moldings organize it along axes. If the angle of a ray coincides with the direction of the cell's diagonal, a strong visual connection appears; if a large floral fragment almost abuts the middle of a side, sometimes a sense of random collision arises. This needs to be checked at scale, not described as a universal law of design.

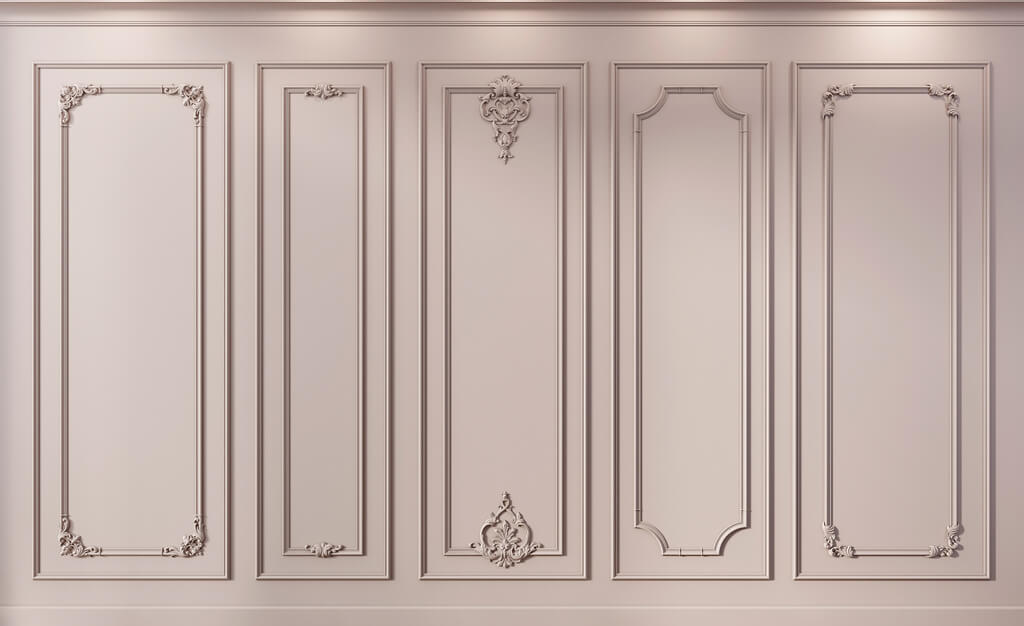
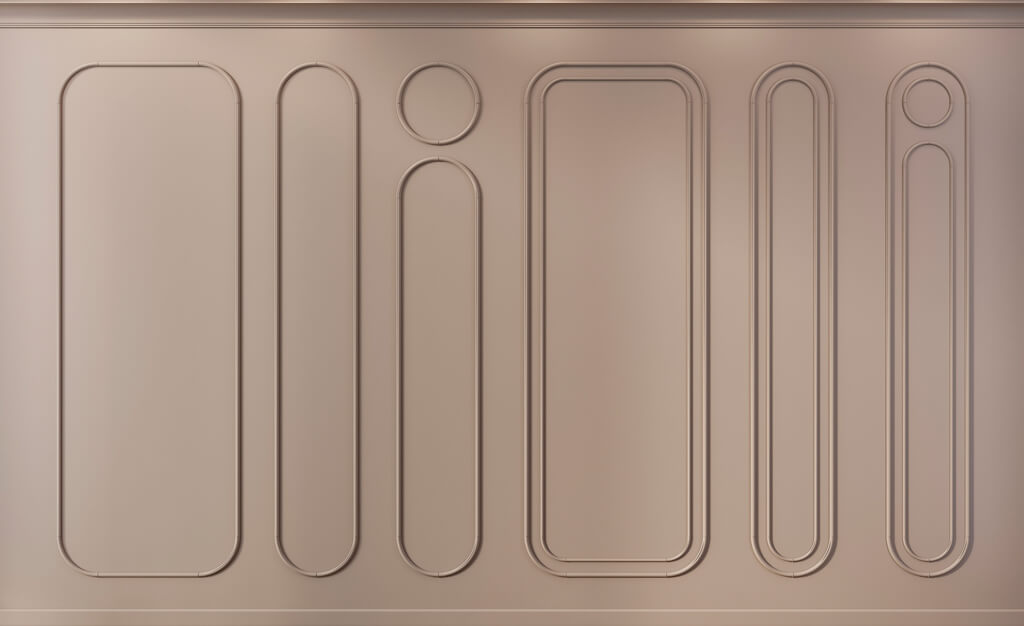
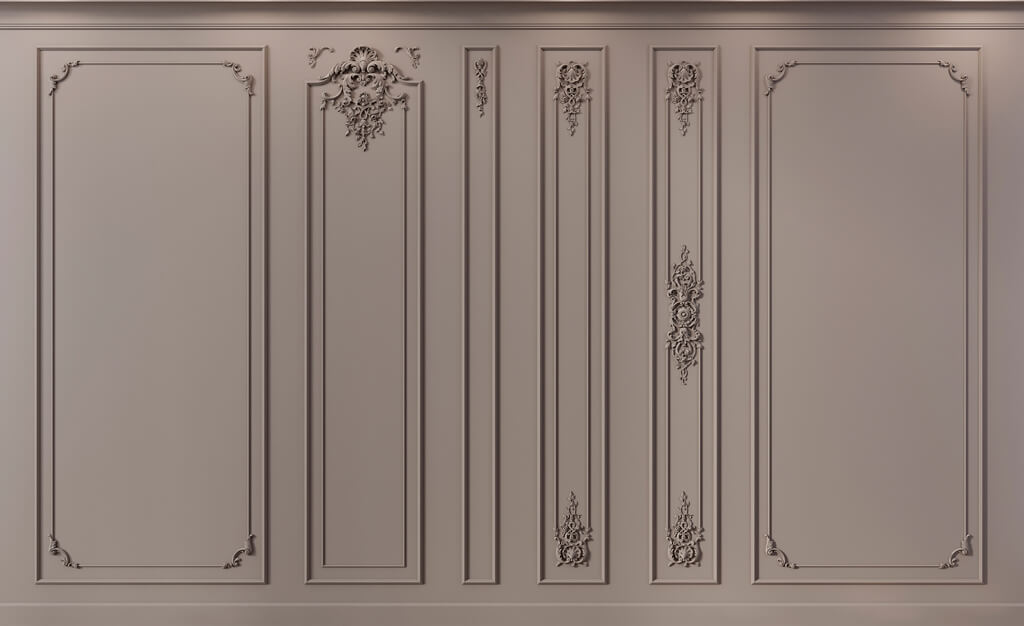
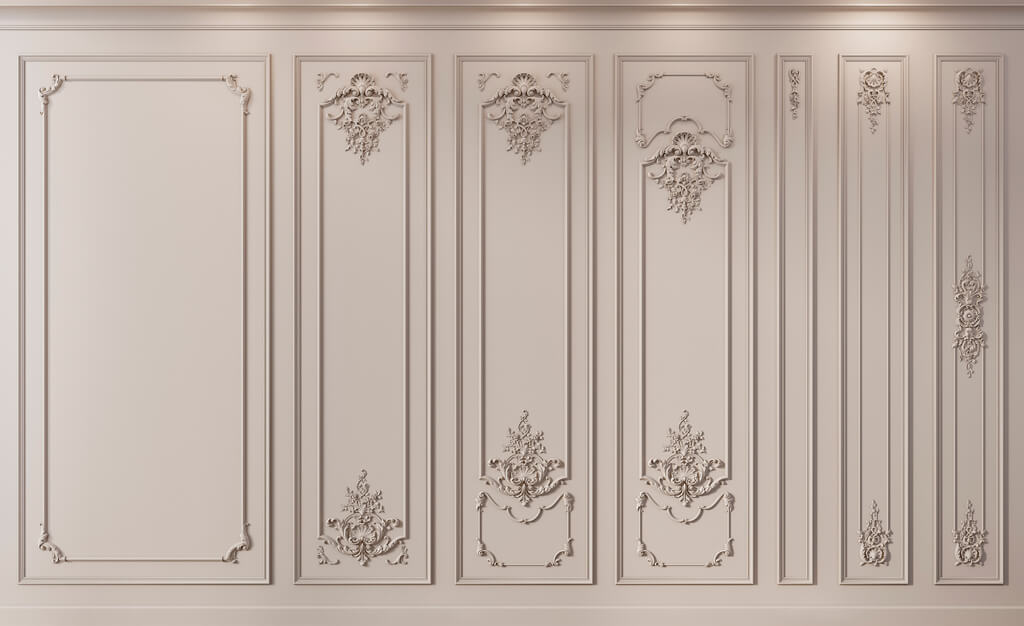
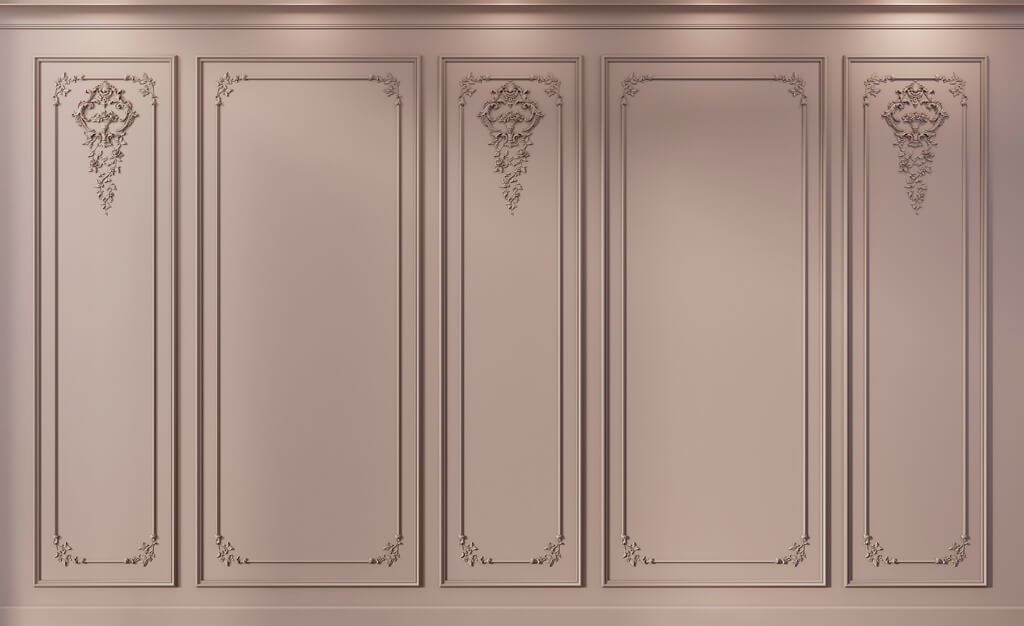
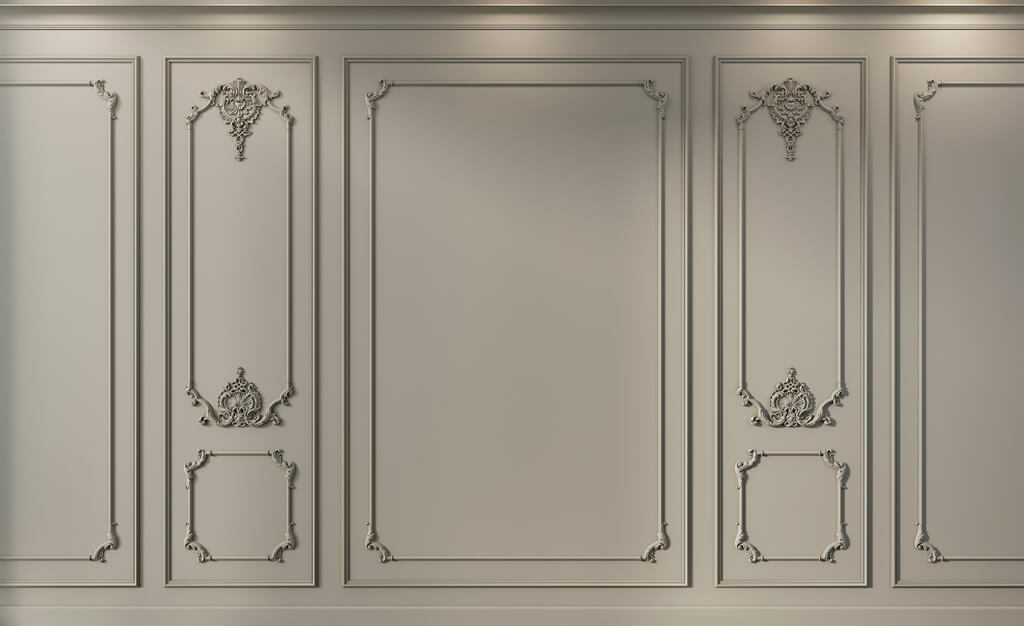
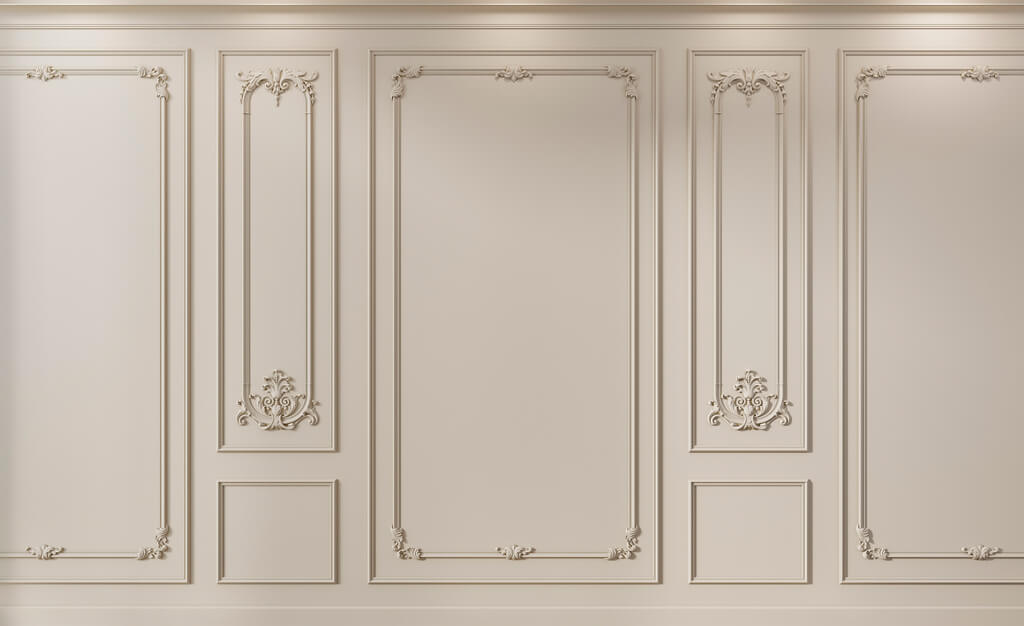
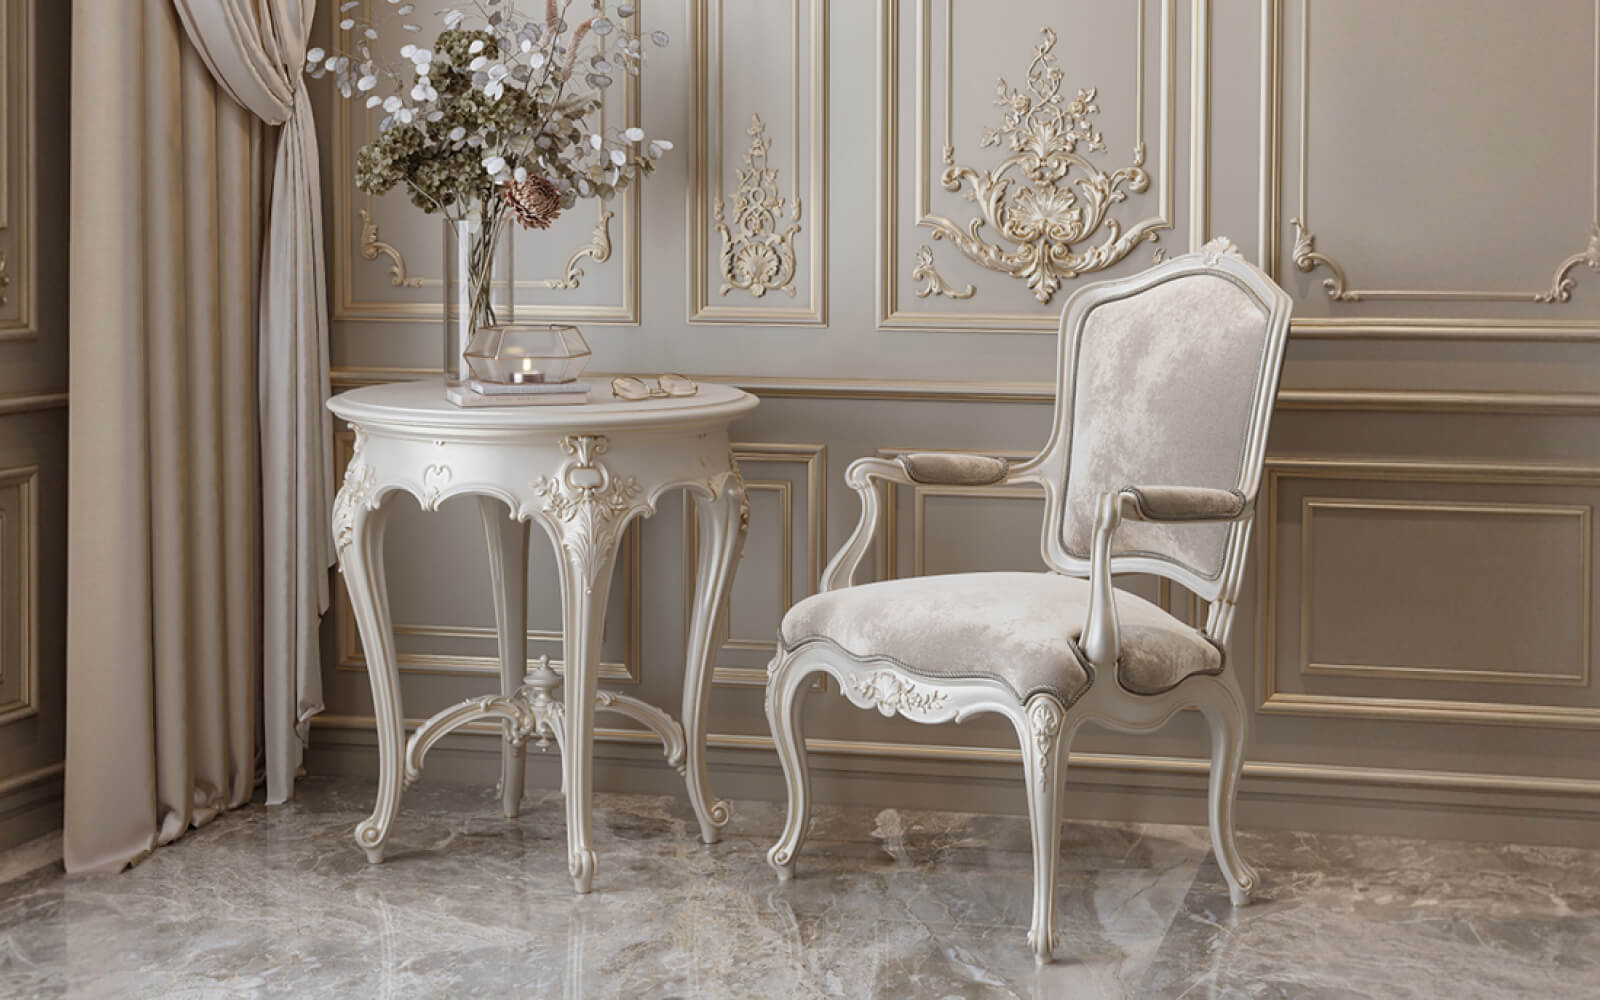
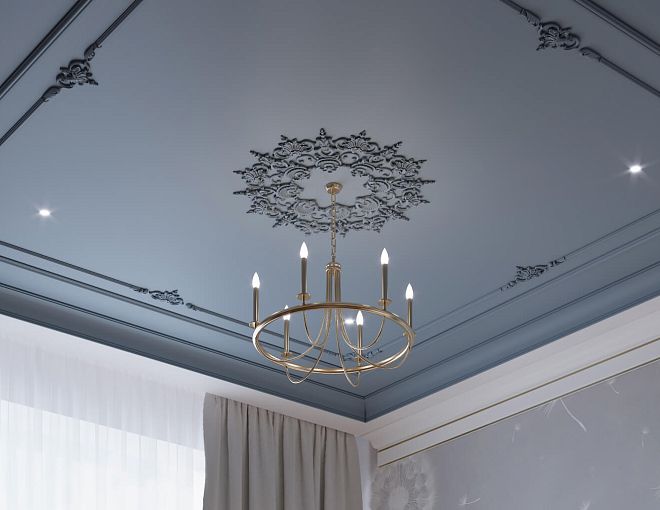
The illustration shows a possible combination of relief and coffered frames, but it is not a photograph of a specific STAVROS article. To make a decision about CRPU, use the product page and the installation layout, and use the interior example only to assess scale and overall composition.
What to do with a finished ceiling if the chosen composition does not pass the check
There is a temptation to change the grid to suit a product you like: trim the molding, reduce the width of one frame, remove part of the floral decor, or relocate the chandelier. Each of these actions can trigger a chain of new work. Trimming breaks the continuity of the profile; changing a cell affects neighboring areas; relocating the electrical outlet affects hidden utilities and finishes. Therefore, the correct first alternative is to look for another medallion, not to renovate for the sake of a single order.
If a large model is too tight, compare CRPU-069 and RPU.VRS-001. Their dimensions are almost identical, but the construction of the pattern differs. Sometimes a more open composition visually frees up the field without changing its geometric width. If these models also overload the center, check CRPU-070 or abandon the stucco framing of the light fixture altogether. A pendant chandelier against a coffered ceiling may already be a sufficient central accent.
If the obstacle is not about size but about the position of the pendant, do not try to shift only the decorative part on its own. A rosette noticeably offset relative to the cup will look like a mistake even with an ideal distance to the moldings. The design solution must show the chandelier mounting point, the clear central zone, and the layout of all elements at the same time. In the case of historic finishes or a non-standard base, an assessment of whether the work can be done without damaging the existing decor is added.
The final order must not contain the conditional wording "we'll trim it if needed." The buyer must know exactly which composition is installed in full and how the joint with the finished grid will look after painting. It is better to resolve any uncertainty before sending money and transporting a fragile set with relief.
Checking the pattern before installation: without repeating ready-made coffers
A complex modular rosette requires an installation drawing or template. It must indicate the axes, the position of the chandelier cup, the outer boundaries, and the location of individual parts. If the product consists of elements repeated in mirror order, they must be laid out in accordance with the factory list, not according to an assumption of symmetry. This applies especially to pairs marked with sides and to narrow intermediate inserts.
Already installed moldings are convenient to use as visual reference points, but not as a substitute for measuring the center. A frame may deviate from a right angle, and its decorative projection can shift the perceived axis. Use independent marking based on the established design center and four distances to the boundaries. After marking, it is useful to take photos from the same points as before choosing the model, to see whether the new pattern disrupts the rhythm of the ceiling.
A preliminary layout on the floor or on a paper diagram allows you to check completeness before finishing work begins. It requires a clean area with a protective backing so as not to damage the relief. Keep the factory packaging and markings until the check is complete. The contents of the set are confirmed by the specific item code, not by similarity of photographs. If a missing or damaged element is found, record it before gluing the remaining parts.
You should not independently assign a universal adhesive for all substrates. Painted drywall, a plastered surface, and another finished ceiling may have different preparation requirements. The fastening method is chosen according to the documentation of the installation material manufacturer, the actual substrate, and the agreed technology. Decorative polyurethane must not bear the weight of the chandelier; electrical connections requiring maintenance remain accessible according to the luminaire design.
How to make the transition between the finished finish and the new rosette neat
In new ceilings, the rosette is often installed before the final painting of the entire surface. For an already finished coffer, the order is more complicated: when treating installation points and joints, you can soil adjacent moldings, change the matte finish, or end up with a noticeable repainted circle around the chandelier. Therefore, agree in advance with the finisher not only on the gluing but also on how the ceiling will look after the traces of work are removed.
Make a test sample of color matching on a separate compatible substrate, not on a single element of an expensive set. With the same shade name, polyurethane, painted plaster molding, and the ceiling surface may reflect light differently. The cause is often the surface texture and degree of gloss. Comparison should be done under daylight and evening lighting, since near a chandelier shadows are often more noticeable than near walls.
If paint remains from an old renovation, check its suitability and whether its properties are still intact; having a can does not guarantee a full match of color and texture after years. Additional painting of the entire central cell sometimes gives a more even result than small local touch-ups. But this is a separate line in the estimate, not a free operation "when installing a socket." If the surface has a decorative texture, the decision to restore should take its pattern into account, not just the color.
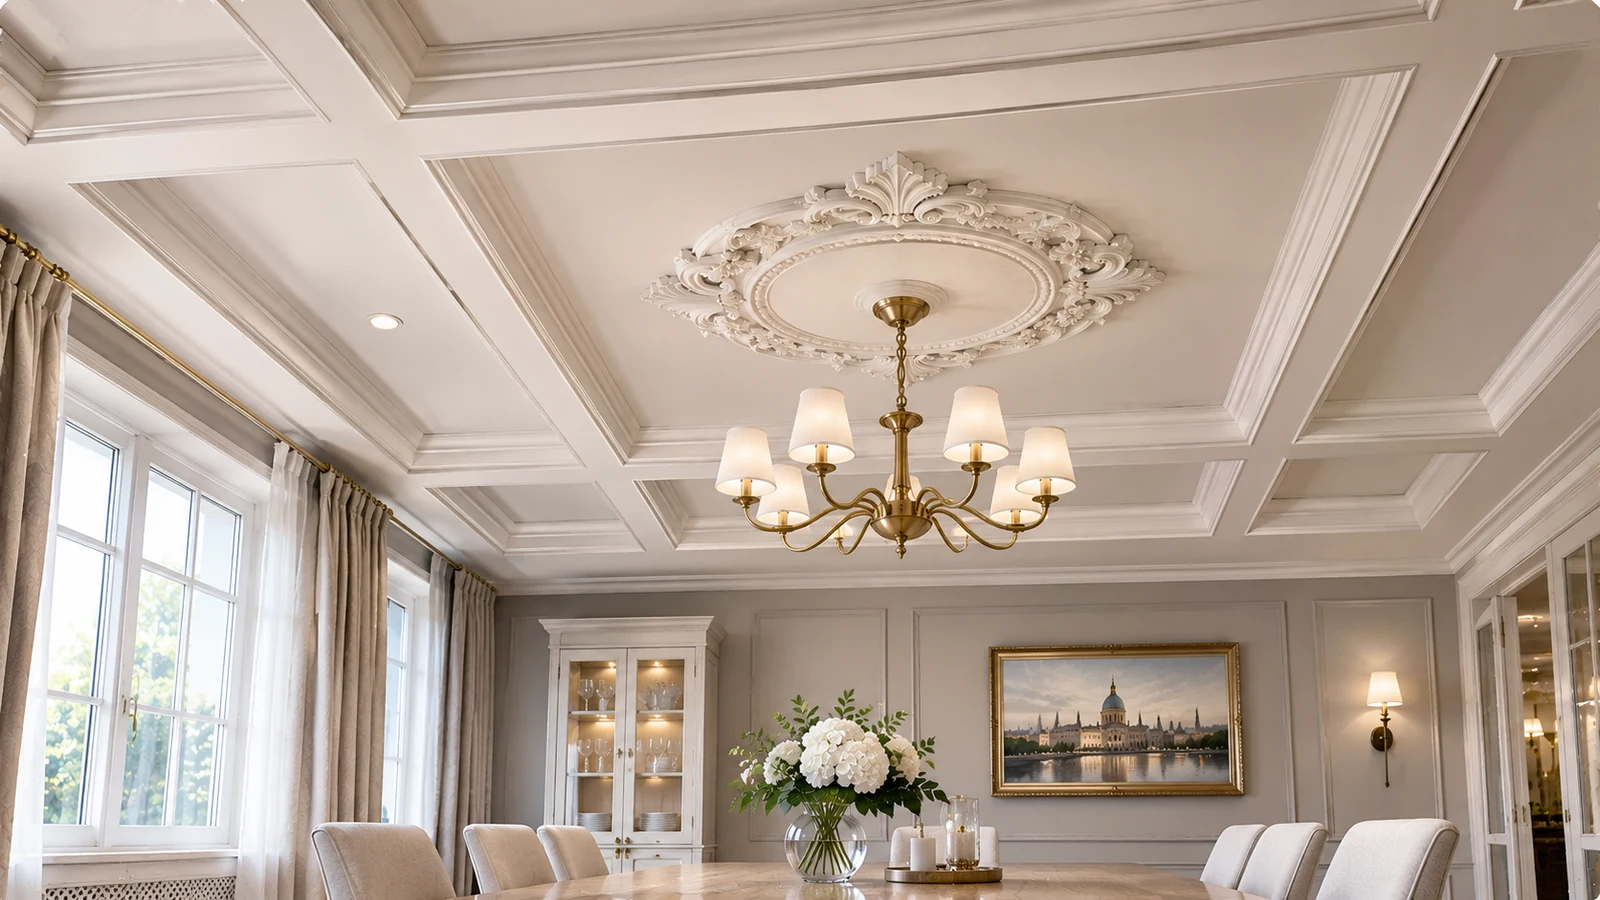
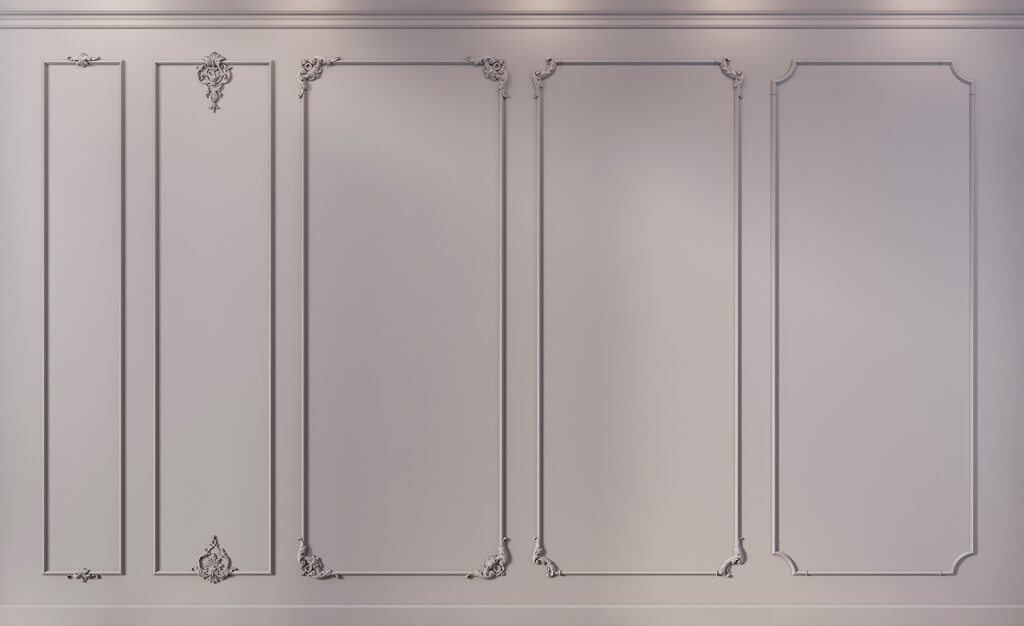
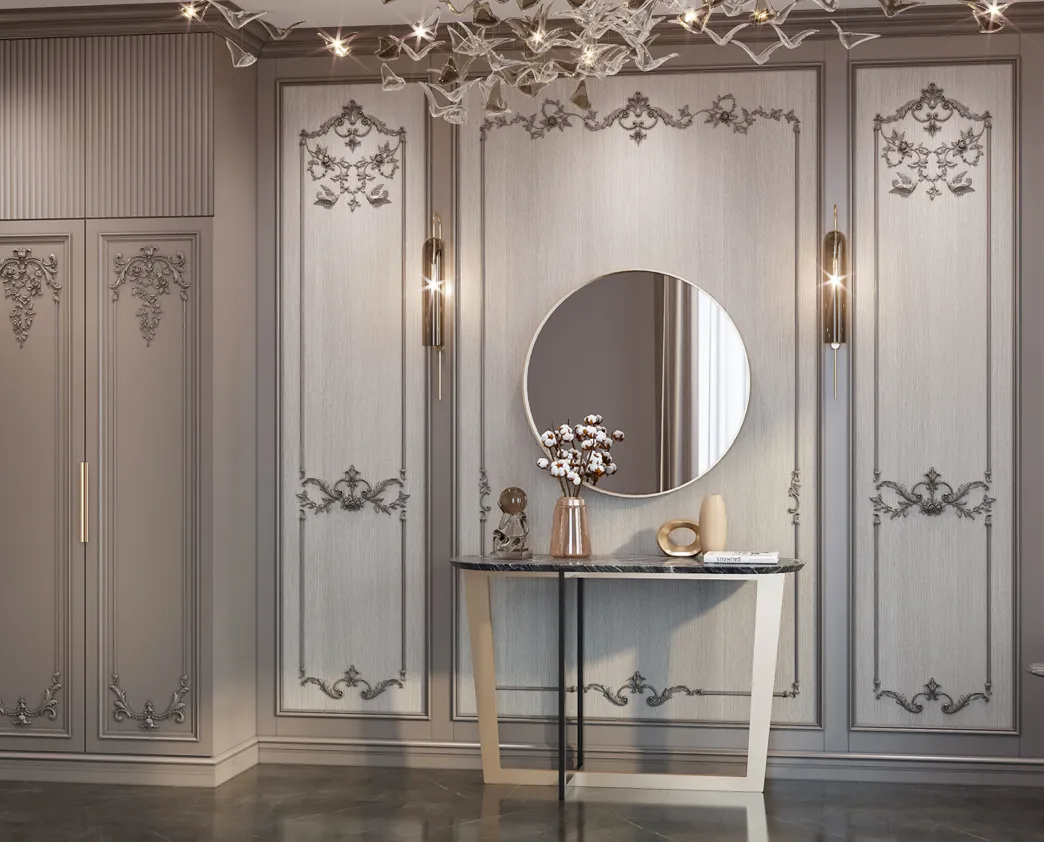
A photorealistic visualization illustrates the combination of frames and a molded center, but does not confirm that a specific CRPU model or the applied painting technology will match. The actual appearance depends on the specific moldings, ceiling color, and light directions. At the purchase stage, an agreed-upon scheme and a clear finishing budget are sufficient, without promises of completely invisible joints.
Which additional materials will actually be needed, and which should not be purchased
If the coffered grid is already in place and in good condition, repurchasing ceiling moldings, corner elements, and cornices is usually not required. The cart should contain not a "full set of ceiling decor" but one selected rosette. This is essential for large composite models: the factory CRPU set already includes certain NPU parts. If the same items are added separately, you may end up with a surplus that cannot be used without altering the ornament.
Additional products are determined after the installation is agreed upon. These may include a paper template, a compatible installation compound, surface preparation materials, joint treatment products, and finishing paint. But all these items are conditional until the specific surface and configuration are checked. For example, the presence of a template in the product page as a separate option does not mean it is automatically included in the rosette price. Similarly, a single general adhesive description cannot confirm its suitability for any finished ceiling.
| Position | Solution for a finished coffered ceiling | What to confirm |
|---|---|---|
| Full set of the selected rosette | One needed | Item code and current composition |
| Mounting template | As needed | Included in the delivery or paid separately |
| Installation materials | According to the agreed technology | Base, composition, conditions of use |
| Protective products for finished moldings | By work organization | Coverage area and method |
| Paint and surface restoration | By finish condition | Color and texture match |
| New coffered molding set | usually not needed | Are there defects in the existing grid |
| Individual NPU from the set | Do not add automatically | Actual need for additional ordering |
The query "Buy molding» is useful if you really need to restore a damaged section of existing decor. But in a typical scenario, the task is narrower: choose one composition for the chandelier. A good specification differs from a long one in that it contains no random items that the seller can offer as related products but the project does not need.
How to calculate the budget: comparing the price of the socket and the cost of the finished result
According to catalog data as of November 5, 2026, the models under consideration cost from 35,680 to 72,880 ₽ per set. The difference between the most affordable option, CRPU-070, and CRPU-071 is 37,200 ₽. But this amount cannot be directly compared with the installation price: each product has its own composition, and the condition of the ceiling may increase the cost of preparation or finishing. To make a purchase decision, two estimates are needed — a product estimate and an installation estimate.
The product estimate takes into account the selected model, the number of sets, options, and transportation. The installation estimate covers surface inspection, marking, preparation, fixing the parts, treating joints, and painting. If coordination of work with an electrician or changing the position of the suspension is required, this is a separate task with its own cost. Do not confuse decorative finishing with mounting a heavy light fixture. A polyurethane socket is not a load-bearing device for a chandelier.
| Purchase option | Set price | Other expenses |
|---|---|---|
| CRPU-070 | 35 680 ₽ | Specified according to the base and installation scheme |
| CRPU-068 | 50 480 ₽ | Additionally check completeness and layout |
| CRPU-069 | 62 560 ₽ | Take into account work with a large number of modules |
| RPU.VRS-001 | 67 360 ₽ | Check the fastening specifics of the eight parts |
| CRPU-071 | 72 880 ₽ | Estimate the markup scope of a large composition |
The lines "installation template", "surface preparation", "painting", "craftsman's work", "delivery to Omsk" and "lifting to the site" are filled in only after receiving real quotes. It makes no sense to list fictitious average Moscow or Omsk rates here: the buyer must be able to verify the final amount against the documents. In a room with new, level and durable finishes, one estimate may be significantly simpler than another that requires correcting a previously installed ceiling.
When comparing CRPU-068 and CRPU-069, it is easy to draw a mistaken conclusion: the first is larger and cheaper, so it gives "more decor for the same money". In our example, the larger model leaves only 37.5 mm along the short side of the caisson. If it does not align with the grid, a low price does not make the purchase worthwhile. It is better to spend money on a product that fits the scale than to pay for finishing work because of a mistakenly chosen large composition.
What to ask the seller before paying for the full set
In the correspondence, record the item code, full size, material, price at the time of ordering and the number of sets. Ask for the current list of included parts and information about template availability. For modular decor, it is important to obtain a drawing showing the arrangement of elements. The product may appear in a beautiful interior photo, but a photo does not replace the factory bill of materials: it is impossible to reliably count symmetrical pairs and small inserts from it.
If the product is to be painted to match the ceiling color, separately agree on the surface condition of the elements upon delivery and compatible finishing materials. One should not claim that any paint or adhesive composition will work simply because the product is made of polyurethane. The choice depends on the specific product, the prepared substrate and the application conditions. Ask the seller to confirm that the kit contents are current for the selected item code, especially for CRPU-068, which has a noted discrepancy in public descriptions.
For the final request, draw up a short specification: "Omsk, central caisson 1500 × 1400 mm, chandelier offset or centered, CRPU-069 selected, one full set, layout diagram required, delivery cost and template information". Such wording makes it clear what exactly the supplier must confirm. A separate NPU table is needed for acceptance, not for independently reconstructing a set from dozens of order lines.
Independently buy stucco in Omsk it is possible remotely through the manufacturer, but the decision to ship should be made after verifying all the listed data. If the supplier reports a changed composition, do not automatically transfer the old layout to the new batch: request the current layout, since it determines the geometry of the result.
Delivery to Omsk, Tara and Isilkul: how to preserve complex relief
On its official payment and delivery page, STAVROS indicates the option to place an order via the website, phone or email, as well as shipping options with transport companies. For Omsk, Tara and Isilkul, the terms may differ: the cost depends on the address, the method of receipt, the dimensions of the cargo pieces and the carrier's current offer. Therefore, timelines and rates must be confirmed for each specific request rather than taken from an advertising example for another region.
Before shipping, confirm the number of packages and the methods for protecting protruding decorative parts. A composite rosette is not necessarily a single monolithic product; small inserts may be supplied together with the larger elements. It is important that the boxes allow the contents to be checked against the packing list without damaging the relief. The recipient should prepare a clean area in advance for careful unpacking if the carrier permits inspection before signing the documents.
Upon receipt, compare the item code, the number of cargo pieces and the list of parts. Inspect the corners, sheet edges, scrolls and thin transitions. Even a small defect on an edge fragment can sometimes become noticeable after painting, because a directional chandelier highlights the chip with a shadow. Record any damage in accordance with the carrier's and seller's rules, and keep the packaging and photographs. Do not begin installation of an incomplete set in the hope that the missing part can be matched by visual similarity.
Check completeness by groups, not by the total number of parts at a glance. First separate the large modules from the thin intermediate inserts, then verify the markings and the number of pieces of each type without removing the labels until the inspection is complete. If two visually similar mirrored elements are found, do not assume they are identical just because they have similar dimensions. In a complex symmetrical composition, one swapped pair changes the pattern on both sides. It is convenient to take a separate photo of the laid-out set with paper labels showing the item codes and pass it to the installer along with the factory list. Such control is especially useful when the delivery arrives before the craftsmen are ready and the boxes will be stored for several days: after moving, loose inserts can easily get mixed up. Store the set under the conditions specified by the seller and manufacturer, do not stack heavy boxes on protruding leaves, and do not remove the protective pads before work begins.
An additional question is carrying the items up to the floor. For complex modular decor, it is important not only to bring the boxes into the apartment but also to preserve their geometry when carrying them through narrow stairwell landings. This is best discussed before shipping, not after the cargo arrives. The official website publishes payment and delivery terms, but the specific terms for Omsk must be requested separately.
Nine mistakes that turn one rosette into a full ceiling redo
1. Measuring along the outer edge of the molding. The buyer writes down 1600 mm, although the profile protruding inward leaves only 1500 mm of clear field. For CRPU-071, this can change the conclusion from "almost fits" to "does not fit at all." The fix is simple: measure the minimum distance between the nearest protrusions.
2. Buying from a photo without a parts diagram. In the image, the modular composition looks like a single circle. On delivery, it turns out to consist of many separate elements and requires precise marking. Request the factory composition and layout before payment.
3. Ignoring the ornament of old moldings. Two floral patterns can compete even if painted in the same color. Compare the scale of the details on a single diagram, not just the style names.
4. Determining the center "by eye". The chandelier is 100 mm closer to one side, but the calculation was made for the central axis. With large CRPUs, a negative gap will appear unexpectedly. Use four actual distances.
5. Choosing by room area. A living room may be 30 m², while the central coffer is only 1400 mm on the short side. Floor area does not reveal the cell geometry. Check the actual installation location.
6. Reordering ready-made moldings. An already installed grid is included in the second estimate along with the socket. Clarify which elements are actually missing and remove duplicate items.
7. Confusing large CRPU with small decorative RPU. Item codes from different product groups may denote products of a completely different scale. Check the main product and its dimensions, not a similar letter combination.
8. Installation without a full-set inventory list. After gluing some of the parts, you discover that a paired element is missing. First accept the entire set, check its integrity, and only then begin work.
9. Attaching a chandelier to decorative polyurethane. The socket is needed to finish the suspension point, not to bear the weight of the light fixture. The chandelier's load-bearing system and electrical connections must match the project regardless of the decorative parts.
The common cause of these mistakes is the desire to close the purchase before the layout task is solved. Checking two or three SKUs on the drawing is cheaper in consequences than redoing a finished grid because of an unfortunate choice.
Frequently asked questions about ceiling sockets for a coffered ceiling
Can a large socket be installed in a coffer if the measurements leave only 20 mm?
Mathematically the product may fit, but such a remainder is too small for a confident compositional conclusion. It does not account for irregularities in the finished frame, chandelier offset, shadows from the adjacent profile, or the actual outline of the outermost decorative element. First obtain the installation layout, then draw the product's surroundings to scale. If the ornament almost touches the molding, it is better to check a smaller option than to rely on "we'll shift it on site." There is no universal standard for decorative clearance in centimeters here: the decision depends on shape, light, and the project.
Why is it sometimes better to leave the central coffer without a socket?
If the ceiling grid already contains dense ornament and the chandelier is fairly prominent, an additional molded center can overload the composition. This is especially often visible in a room with many small cells and rich corner elements. Take a photo of the ceiling from the entry point with the chandelier on, then overlay an image of the proposed ornament to scale. If two equal accents appear visually — the frame and the socket — declining the purchase may be more reasonable than buying the smallest model just to tick a box in the project.
Do I need to buy separate decorative medallions for adjacent cells?
No, such a purchase does not follow from the need to design the chandelier location. Small repeating RPUs can be used for a different decorative concept, but in a finished coffered grid project their number and position must be determined separately. Selecting one large CRPU for the central chandelier does not turn the adjacent cells into an incomplete set. If the task truly expands to repeating inserts, a new scheme with its own budget is needed. It is useful to look at the STAVROS material about five sizes of RPU for repeating coffered decor, without mixing its assortment with large central compositions.
How can I tell that CRPU-069 will suit better than RPU.VRS-001 if the sizes are almost the same?
Compare the pattern and the layout. With dimensions of 910 and 911 mm, the difference in occupied area is insignificant for our example, but the structure is noticeably different: CRPU-069 consists of many small fragments, RPU.VRS-001 of eight large ones. The first may have a more detailed ornamental reading, the second may have larger self-contained groups. However, these assessments must be verified against the actual product images, and the installation cost by the technology, not by the number of parts. The choice must support the moldings of the already installed grid.
Can a medallion be installed after the chandelier is already hanging?
The possibility depends on the design of the light fixture's cup, the accessibility of the mounting unit, and the method of assembling the decor. If the medallion is formed by separate modules around the suspension point, this does not automatically permit working with the fixture connected and installed. Before starting work, a safe procedure for accessing the electrical unit and the chandelier mounting must be agreed. Do not try to pass large parts of the decor through the light fixture or hold them with the chandelier. Decorative parts do not replace load-bearing fastenings, and serviceable electrical connections must not be made inaccessible.
How can I check a coffer if its sides differ slightly in length?
Measure both opposite sides and the diagonals, note the minimum free distance and the position of the suspension axis. If one of the long sides is 10–15 mm shorter than the other, using the average value is dangerous for a model with a small margin. For a preliminary check, take the tighter dimension and assess the corners separately. With a noticeable skew, a simple square template does not guarantee symmetry relative to all four boundaries. In such cases, the installation layout must show the actual cell, not a conventional ideal rectangle.
Do I need to buy a paper template if the installer has a laser level?
A laser helps establish axes and lines, but by itself it does not replace the factory layout plan for each element. For a socket made up of many modules, a template can significantly simplify checking repeated distances and the orientation of mirrored parts. However, whether it is necessary, whether it is available, and its cost must be confirmed separately for each specific item code. If the installer has an accurate factory drawing and an agreed marking method, they may propose a different working procedure. What matters for the buyer is a clear result — all elements positioned according to the plan, not merely "looking straight" from a distance.
Why is the larger CRPU-068 cheaper than the smaller CRPU-069?
The catalog price depends not only on the external dimensions but also on the range of included parts and other terms of the manufacturer's offer. The listed prices cannot be used to calculate the cost per square centimeter as an indicator of quality or labor intensity. In this comparison, CRPU-068 costs 50,480 ₽ and CRPU-069 costs 62,560 ₽, even though the first is larger. For a finished central ceiling medallion, this is not a reason to automatically choose the larger one: it may end up too close to the molding and require abandoning the original design. First assess suitability, then compare costs.
What information is needed to order a single socket with delivery to Omsk Oblast?
Prepare the item code, the quantity of full sets, the delivery address, contact details, and a clarification regarding the installation template. Add a question about the number of packages and the procedure for accepting small decorative parts. If possible, attach the central ceiling medallion plan and ask the seller to confirm the current composition. For Tara, Isilkul, and other localities, the cost and time of transportation must be determined for the specific address. The general delivery terms stated on the product page do not justify promising the same price to all buyers in the region.
Can I order the socket first and decide a month later how to mount it?
For a finished ceiling, this is a risky sequence. When it turns out that the base requires different preparation, the covering will have to be redone, and the chosen ornament may not match the grid already installed. It is better to first fix the internal dimensions of the ceiling medallion, the type of base, the chandelier position, and the agreed technology. If additional materials or a template are needed for installation, include them in the estimate before placing the order. After purchase, all that remains is to accept the full set and carry out the approved layout, rather than redesigning the ceiling over a box that has already been paid for.
What to check after installation before accepting the work
Compare the finished result with the approved plan. First check the position of the central pattern relative to the chandelier and the four boundaries of the ceiling medallion; then check the symmetry of the repeating parts and make sure there are no accidentally inverted paired elements. You should look both from below and from several ordinary points in the room. A minor deviation that is unnoticeable directly under the ceiling may become obvious against the backdrop of a long straight molding line.
Inspect the module joints, the quality of the paintwork and the condition of the finished mesh, which should have been protected during the work. Do not accept scratches on adjacent profiles as an inevitable part of installation. If the surface was repainted, compare the color in daylight and in evening lighting. If there are serviceable electrical connections, make sure that the decorative finish does not obstruct the access provided for by the design. You do not need to disassemble the wiring yourself for such a check.
Keep the documents for the complete set, the parts list and photographs after the work is completed. If a damaged element later needs to be replaced, having the exact article number and diagram will help identify the right item instead of searching for a suitable overlay by its general appearance. For expensive modular decor, this is useful even when the repair has been carried out flawlessly.
Summary: which ceiling rose will suit a finished central coffer
In a nominal cell of 1500 × 1400 mm, CRPU-070, CRPU-069 and RPU.VRS-001 can be the first to be taken for a detailed comparison. Their external dimensions leave noticeable space between the decorative center and the frame. The large CRPU-068 and CRPU-071 should not be ordered without an additional full-scale check: especially along the short side, their overall outlines come almost flush with the moldings. If the chandelier is off-center, the calculation is revised based on the four actual distances.
The final choice is not determined by a single table: a smooth coffered grid, a dense floral profile and a multi-step frame require different visual checks. You should have on hand a measurement sheet, images of the finished ceiling, a drawing of the selected composition, a list of the complete set and an agreed mounting method. For a typical task, one rose set is enough; there is no need to buy the existing moldings and NPU components again.
After the check, you can proceed to order through the STAVROS catalog, confirm the delivery cost to Omsk and the installation materials. If none of the five options gives a convincing result, it is reasonable to leave the central coffer without additional ornament. This is also a fully valid design solution — and it is better than a purchase that forces you to redo the finished ceiling.