Article Contents:
- What a physical sample adds to a photo and drawing
- Build a library around the shop's recurring tasks
- Store samples by function, not in a single box
- Onlays: choose differences in composition
- Rosettes: check the scale of the central accent
- A short molding sample shows the profile, but not the whole frame
- Corbels, capitals and pilasters require a three-dimensional test fit
- Handles and small supports complete the decor library
- Each sample should have its own card
- The label should stay with the part
- Several test fronts are more useful than a fixed display stand
- How the library works using a chest of drawers as an example
- Separate shape samples and finish samples
- Show beech and oak together with surface preparation
- Client approval should narrow the choice
- The approval photo should be linked to the project
- Move the decision from the library into the specification
- A physical sample does not indicate current product availability
- An approved reference sample is not used for new tests
- When to move a sample to the archive
- Furniture, doors and frames require different combinations of samples
- Where to buy decorative elements for a joinery workshop
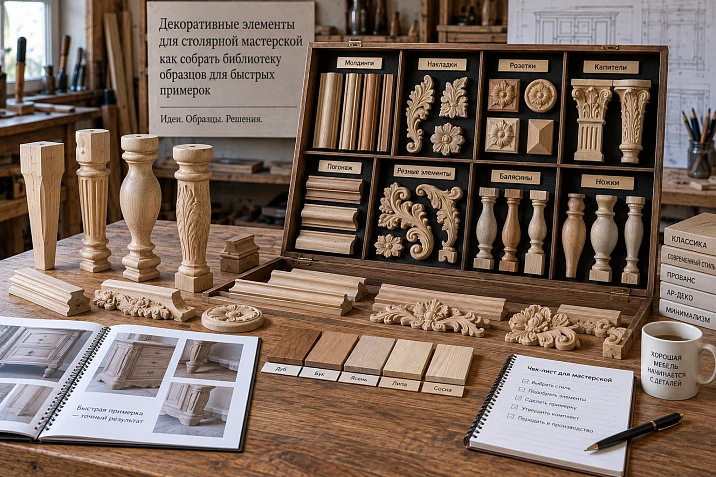
On screen the overlay looks suitable, but on the door it takes up almost the entire free area. Another seems too plain until side light reveals its relief. These differences are hard to discuss using two photos with different scale and lighting. Several real parts next to the front panel let you choose a direction faster.
Decorative elements for a joinery workshop are worth gathering into a small working library. It needs samples that answer recurring questions: which scale is suitable, how far the carving protrudes, how the moulding meets the rosette, and what changes when choosing beech or oak. Buying one of everything in the catalogue is not required for this.
A sample must retain its link to the article number, size specification and material. Then, after fitting, you can move on to a specific order. Without such a link, even a well-organized stand remains just a collection of beautiful parts.
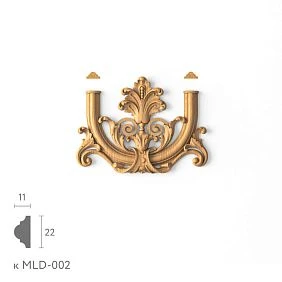
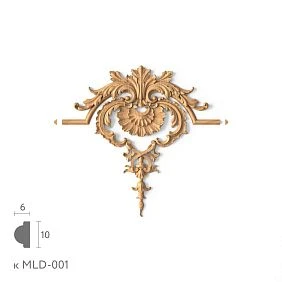
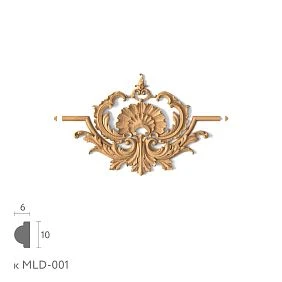
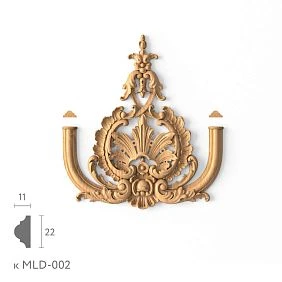
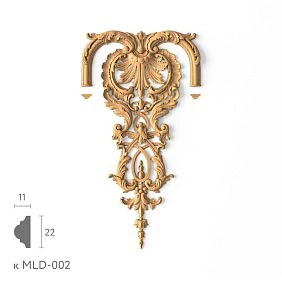
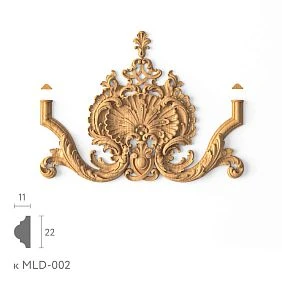
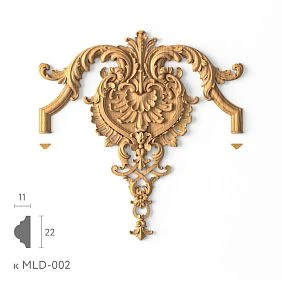
What a physical sample adds to a photograph and a drawing
A photograph helps you choose a pattern in advance, a drawing helps you check dimensions, and a three-dimensional model helps you assemble a composition. A real part lets you apply this choice to the actual base and evaluate it under normal lighting.
On the front panel you can immediately see how much space the relief takes up next to the handle, what the side surface looks like and what shadow appears under the protrusion. For a handle, a grip check is added; for a bracket, the perception of its depth. These are different properties that cannot be reliably conveyed by a single frontal image.
At the same time, a sample does not confirm everything at once. It may show the shape but have a different material or finish. Fitting a decorative bracket does not establish its allowable load. And a leg that looks suitable still requires checking the fastening.
Note exactly which question was resolved at each fitting. This will protect the workshop from a situation where preliminary approval of a drawing is taken as sign-off on the entire part.




Build a library for recurring workshop tasks
Start with your own orders. If your main work is dressers and cabinets, you will more often need overlays, handles, small rosettes, and furniture moldings. For door frames, linear profiles and transition units to capitals are more useful. Rare large decor is more sensibly ordered for a specific project.
Every new sample should have a function: to show a different scale, a different carving depth, a new way of joining, or a surface character. A fifth nearly identical overlay may provide less information than the first sample of a corner joint.
Below is a conditional starter set for a cabinet furniture workshop. This is an example of composition, not a mandatory purchasing standard.
| Group | What it shows | Number of physical parts |
|---|---|---|
| Three different overlays | Vertical, horizontal, and central composition | 3 |
| One mirror pair | Joint work of the left and right elements | 2 |
| Two sockets | The difference in scale or shape of the central accent | 2 |
| Two molding segments | Different cross-sections and projection relative to the plane | 2 |
| Two handles | The difference in shape and grip | 2 |
| One small support | The combination of the leg with the lower part of the body | 1 |
That makes 12 parts. Finish samples and test fronts are counted separately. For a workshop that does not make furniture on legs, the last item can be replaced with a more needed assembly. The composition of the library is determined by the work, not by the desire to fill every cell of the table.
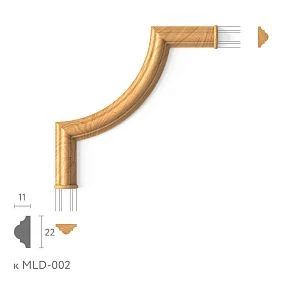
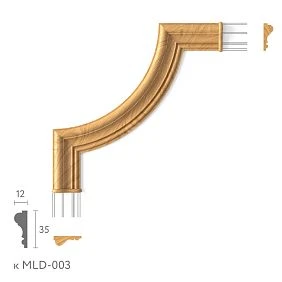
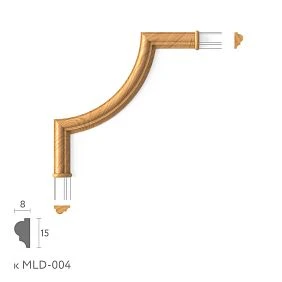
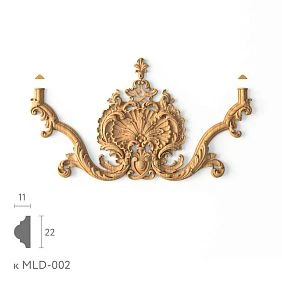
Our factory also produces:
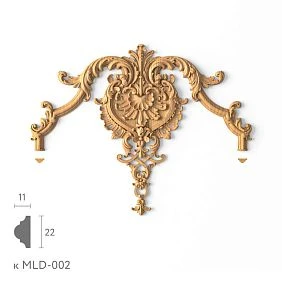
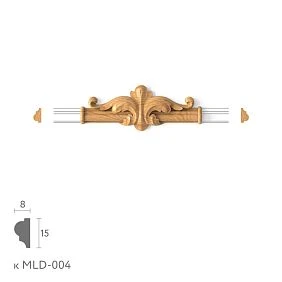
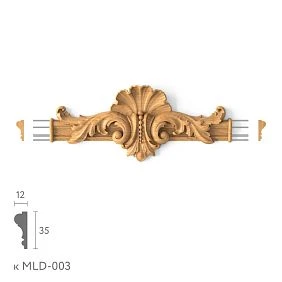
Store samples by function, not in a single box
Divide the collection into flat decor, linear profiles, three-dimensional elements, and furniture components. Within each group, sorting by size or task is useful: central overlay, corner termination, frame, vertical accent.
This way, when an order comes in for a narrow door, the craftsman can immediately pull the right group. Searching through a random mix of rosettes, brackets, and handles turns fitting back into browsing the entire catalog.
A single sample can be used in several types of projects. You don't necessarily need to buy a duplicate just for a separate "for doors" box. It's enough to keep one storage location and note the applications in the card. A duplicate becomes useful when the sample is constantly needed at the same time in the workshop and at client meetings.
Get Consultation
Overlays: choose differences in composition
In the group — this is the decoration of cabinet fronts, chests, tables, and doors. Carved inlays allow creating a unique furniture design, adding individuality and expressiveness. The inlay N.VRS-014L gives furniture an elegant look, making it a true work of art. Using carved decoration on furniture adds luxury to the interior and highlights the owner’s taste. it's useful to have several solutions with different orientations. A vertical piece helps evaluate a narrow field, a horizontal one — the upper part of a wide front, and a central one — a standalone ornament within a frame.
Mirrored decor requires a set of left and right elements. A single sample shows the character of the carving but doesn't reveal the distance between the pair and the direction of the pattern relative to the center. A simulated mirror reflection on screen does not replace checking the actual pieces.
Don't call any demonstration overlay a reference. As long as it only shows the type of composition, it's a sample for selection. It becomes the reference for a specific project after the article number, size, material, and finish are approved.
If the workshop often chooses between two scales of the same pattern, it makes sense to purchase both sizes. When such a question arises rarely, first check the second size against a full-scale drawing, and order the physical copy after preliminary selection.
Rosettes: check the scale of the central accent
for wooden rosettes the size of the field, the shape of the outer contour, and the density of the relief matter. Two elements of the same dimensions can fill the plane differently: one leaves a lot of open background, while the other looks almost solid.
In a library, a comparable pair that answers a specific question is more useful than many similar thumbnails. For example, two scales for the same field, or round and square shapes next to the selected frame.
STAVROS has Socket sample set OR-032. According to the card description, it contains beech, oak, and polyurethane. Such a set helps compare materials; it cannot automatically be considered a selection of only wooden rosettes for any furniture project. Before purchasing, check which specific questions the set's composition will cover.
A short molding sample shows the profile, but not the entire frame
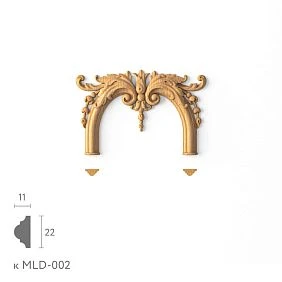
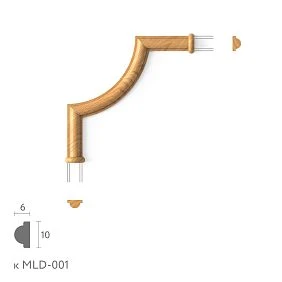
for wooden moldings for furniture a library usually needs a full-size profile. A short segment allows you to assess the width, projection, side edge, and contact surface without storing many long strips in the room.
For example, in the description of the OMLD-005 molding sample set 85 samples of 100 mm long linear products in oak, beech, and MDF are listed. This is a ready-made option for comparing many sections. A small workshop with a narrow assortment may find a few selected profiles sufficient; a large set makes sense if the variety is used in the work.
A short segment does not show the extent of a repeating ornament, all the features of a long strip, or the quality of a specific corner joint. A separate test corner is needed for a frame, and for coordinating the rhythm, a fragment of sufficient length with a full repeat of the pattern is needed.
Leftovers from your own projects are also suitable for the library if the item code, material, and link to the original profile are preserved. The presence of such leftovers does not mean that the supplier sells arbitrary short lengths: the sample and supply format are clarified separately.
A bracket, capital, and pilaster require a three-dimensional trial fit
In the frontal photograph Wooden Brackets may look comparatively flat. The actual part shows how far it protrudes and how it connects to the horizontal and vertical planes.
For the library, it is convenient to prepare a collapsible corner mock-up. On it, the two abutment surfaces and the visual mass under the shelf or cornice are checked. The check is demonstrational in nature; the structural performance of the bracket is assessed separately.
If the workshop makes libraries, portals or classic cabinets, wooden capitals it is useful to show them together with suitable pilasters and columns. A sample of the upper assembly explains the transition from the vertical to the cornice better than a random capital on a shelf.
A composite demonstration assembly is also supplied with a card: all included parts are listed. Otherwise, the client may approve a combination, while the workshop saves the article number of only one element.
Handles and small supports complement the decor library
Wooden furniture handles should be tried on next to the overlay and moulding. This makes it clear whether there is enough free space for fingers and whether the parts compete for the same place on the facade.
To check the grip, a sample mounted on a suitable mock-up is needed. A handle held separately in the palm does not show the distance to the facade and the adjacent relief. Holes on the test panel are drilled for a specific model, keeping the pattern.
Small wooden furniture legs help match the support to the lower rail of the cabinet. However, a single leg serves to assess the shape and joint, and does not confirm the stability of the entire piece of furniture. A long support may require a full-size cabinet mock-up, which does not have to be stored permanently.
Each sample must have its own card
A minimal card links the item on the shelf to the product and explains the limits of its application. It can be kept in a simple table if the entry is easy to find by the marking on the part.
| Field | What to record |
|---|---|
| Workshop sample number | A permanent internal designation, for example “Sample 014” |
| Manufacturer's SKU | Exact entry, including left or right version |
| Category | Overlay, rosette, moulding, handle or composite assembly |
| Dimensional version | Dimensions per the card and their interpretation on the drawing |
| Material and preparation | Species, blank variant, surface quality |
| Finish | Uncoated or a finish designation with a separate record of the composition |
| Source | Link to the specific product card |
| Dates | Sample receipt and last verification of catalog data |
| Purpose | For selecting a form, checking the material, or a coordinated project |
| Condition and location | Functional, requires inspection, archived; cell number |
A single item code does not always uniquely define the size. In the card N-002 overlays in particular, versions 140 × 77 × 12 and 200 × 110 × 17 mm are provided. Therefore, the label "N-002" alone is not sufficient to reconstruct the variant shown to the client.
A link to the category is useful for finding alternatives but does not replace a link to the selected product. If the exact model has not been identified, the sample is marked as unidentified and is not used for the final order.
It is useful to keep catalog and actually measured dimensions separate. Indicate whether the part was measured before or after finishing, and whether the workshop trimmed it. If this is a set, do not transfer the overall dimensions of the set into the card of an individual profile or rosette. Each extracted sample needs its own designation and a link to the corresponding product item. If there is no such link, the set is used to get acquainted with the material, and the exact element for the project is clarified separately.
The marking must remain with the part
The cell number is convenient for storage, but the sample regularly leaves it. Leave the identifier on the part itself or on a tag reliably attached to it, without damaging the face surface or the mounting plane.
The full name, item code, size and material can be placed in the card. On a small sample, a legible internal number is sufficient if it unambiguously leads to the record. A code with a link speeds up the search, but it is also useful to keep a regular text label.
For paired parts, mark each side. For a short moulding, specify separately the length of the demonstration segment and the cross-section of the product profile. These data must not be mixed with the length of the strip to be purchased for the project.
Several test fronts are more useful than a fixed display stand
Prepare the bases that occur in your orders: for example, smooth light, dark and framed. They are needed for temporary layout, so the decor must be removable and returnable to the library.
On one base it is convenient to compare the character of the shadow, on another the contrast of the wood, and on the framed one the free field and the distance to the profile. Universal panels help with preliminary selection, but for the final fitting a field with the dimensions of the specific project is required.
First lay out the parts horizontally. If they need to be shown vertically, provide temporary fastening that holds the sample and damages neither it nor the base. The fastening method is checked in advance; it is not advisable to glue the demonstration specimen with the first adhesive that comes to hand.
For combinations with corner elements, use Decor for Molding together with the actual profile. A separate corner on a flat stand does not show the transition height or the shape of the junction.
How the library works using a chest of drawers as an example
Suppose a field of 360 × 220 mm remains inside the facade frame. You need to choose a central accent and leave room for the handle. First decide whether additional relief is needed here at all: sometimes the composition is already complete with the frame and handle.
To compare the two size options from the example above, the 140 × 77 mm dimension, when centered, leaves 110 mm on each side in width and 71.5 mm in height. The 200 × 110 mm dimension leaves 80 and 55 mm respectively. This is a calculation of free margins, not a rule of proportions.
Attach the actual parts, install the handle on the mockup, and look at the facade as a whole. A smaller overlay may get lost on a wide surface, while a larger one may come closer to the handle than the numbers suggested. The decision is made based on the specific combination.
If the required size is not yet in the library, a printed outline will help you pre-check the placement. For a final assessment of depth, relief, and finish, order a real specimen of the selected version. Approval of a flat outline should not be recorded as approval of a finished overlay.
Separate shape samples and finish samples
Shape and coating serve different purposes. An unpainted part shows the geometry, while a separate swatch shows the direction of color and the character of the surface. For final approval, they are combined in a sample of the specific product.
Imagine six shapes, five finish options, and two wood species. Painting every combination would require 6 × 5 × 2 = 60 full parts. For preliminary selection, you can keep six shape samples and ten swatches of "five finishes on two species," and then produce two samples of the actually selected combinations. That gives 18 physical objects with different purposes.
Such a scheme does not automatically confirm the remaining combinations. It lets you avoid preparing all 60 options before a real need arises. Costs are also compared by the actual cost of parts and labor, not just by the number of samples.
On a relief surface, the finish may appear differently than on a flat swatch: shadows, side faces, and recesses appear. For patina or complex tinting, a test on the actual form is especially useful.
Show beech and oak together with the surface preparation
For a transparent finish, the client needs to see the wood texture, not just the name of the species. Show beech and oak on comparable samples, indicating the finish of each. Do not compare an untreated piece of one species with a tinted piece of another as proof of a difference in the material itself.
In the description quality of wooden products STAVROS treats blanks for enamel and for tinting separately. The selection of lamellas by color and texture differs, and natural tonal differences are possible even in tinted products.
Therefore, a sample does not promise an exact reproduction of every grain across the entire batch. In the approval card, it is useful to separate the approved color, gloss, and type of preparation from the natural wood pattern.
For your own color samples, keep records of sanding, primer, tinting, and protective coating. Used Mounting and finishing materials record precisely: the label “brown oil” does not allow the result to be reproduced.
Client approval should narrow the choice
Start with the project task and a short digital list. For example, from three to five suitable options, choose two or three for physical comparison. This is a convenient working technique, not a mandatory number of options for every meeting.
Show the differences consistently: first the location and scale, then the specific shape, material, and finish. If all parameters are changed at once, it is difficult to understand what exactly the client liked.
After making your selection, record the result in words: “The form is approved; size and color require verification” or “The sample is fully approved for facade No. 2.” A demonstration overlay in a different wood species can help you choose a pattern, but it does not become the approved sample for the future finish.
Do not bring all samples just for the sake of a complete presentation. The library is needed to present suitable differences and to bring the decision to a specific execution.
The approval photograph must be linked to the project
Photograph the approved layout in full and show significant joints separately. In the record, save the project number, facade, sample, item code, size, material, finish, and approval date.
Attach to the photograph a diagram with distances from fixed datums: edges or axes. A photo does not replace marking, and color on a screen does not replace a physical color sample. Both types of information are needed for repeat production.
If a sample is handed over to the client, note which copy was issued and which remains in the workshop. The two approved copies must have linked numbers. Any change in color or position after the meeting is recorded as a new version so that the previous photo is not used as the current instruction.
Transfer the decision from the library into the specification
Approval ends with a record that can be used to purchase and install the part. The specification states the project position, exact item code, size execution, material, preparation, finish, quantity, and a reference to the approved sample.
For example, for four identical facades with two overlays on each, eight parts are needed. The library copy that remains in the workshop is not included in this quantity. If a mirrored pair is specified, the order is formed as four left-hand and four right-hand executions.
For molding, the sample defines the profile, but the quantity is determined by the project cutting plan. For a composite capital and pilaster assembly, all components are included in the order, not just the name of the demonstration assembly.
Referencing a sample complements the drawing. It does not replace dimensions, mounting position, or the necessary assembly checks.
A physical sample does not indicate current stock availability
Before ordering, open the saved product page and compare the available sizes, material, preparation, and configuration. Confirm whether the selected version can be supplied. A sample may sit in the workshop for years, and the ordering terms may change in that time.
If the link no longer opens, do not replace the item with a similar-looking one from a photo. First establish whether the product page has been moved, whether the item code has changed, and whether the required version is available. Until this is clarified, mark the sample as "requires verification".
drawings and product models help verify the current geometry. The verification date is recorded on the workshop card separately from the date the physical part was received.
An approved reference sample is not used for new experiments
Suppose a client approved an oak overlay with a specific tint, and a week later another project required a patina. Applying it to the same specimen is convenient, but then the first job loses its physical reference. A photograph will not restore the original sheen and the perception of color on the wood.
Separate the purposes of the specimens. A working form sample is used for fittings. A test piece is intended for new finishes, fasteners, or mechanical modification. An approved project sample is stored unchanged for as long as it is needed for production, acceptance, and subsequent repeat orders.
In the shared model card, these specimens can be linked, but each must retain its own number. If the reference sample is damaged and needs replacement, the new specimen is compared with the retained data and approved for the relevant project. It should not be silently declared a continuation of the previous sample.
For off-site showings, it makes sense to use a working copy when the loss or damage of the only reference sample would make it difficult to fulfill the order. The decision to make a duplicate here depends on the specific task, not on the need to duplicate the entire library.
When to move a sample to the archive
A damaged edge, lost marking, or a manually altered profile makes the demonstration inaccurate. Such an item must not be quietly returned to the shelf with the active samples.
The archive is useful for old projects: it preserves the history of the shape and finish. The card indicates the reason for removal from the main library. If a part has been modified by the workshop, the changes are recorded and it is no longer presented as an unaltered manufacturer's product.
Store relief parts so that they do not rub against each other and are not kept under heavy objects. Color samples need protection from dust, dirt, and surface damage. Before a meeting, check the condition of the coating: an old damaged sample is not suitable for approving a new color.
Furniture, doors, and frames require different combinations of samples
A furniture fitting links the overlay with the handle, frame, and cabinet dimensions. In a door project, the extended lines of moldings, the panel field, and the transition to the surround may matter more. For a mirror frame, a profile sample together with the actual corner is useful.
These tasks can be served by a single library, forming temporary sets for a meeting. In the cards, note which elements have already been checked together. A successful combination is saved as a set of references to samples, without depriving individual parts of the ability to participate in another project.
Expand the collection when a new question arises in your work that the existing parts do not answer. If the question can be resolved with a drawing, an additional purchase may not be needed. If you need to evaluate a new relief depth or a complex junction, a physical sample has a clear purpose.
Where to buy decorative elements for a joinery workshop
In the STAVROS catalog decorative elements for a joinery workshop you can first select by purpose and geometry. For ornamental parts, use the section wooden carved decoration, and browse ready-made demonstration solutions among product samples.
Before buying wooden furniture decor as a sample, confirm the exact finish and delivery format. A set of profiles, a separate product part, and a material sample serve different purposes. For a ready-made set, check the composition: it may combine solid wood, MDF, and other materials.
For regular work, it is useful to study conditions for manufacturers. Place the order for the main batch according to the approved specification, after checking the current price and the availability of all items.
The first practical result is several signed samples, a suitable base for fitting, and cards with exact references. Each subsequent project should leave a recorded decision in this system that can be found and repeated.