Article Contents:
- The same article number does not yet mean the same pattern
- Start with technical acceptance
- Quality acceptance and set matching answer different questions
- Beech and oak are first separated by specification
- How strict a match your finish needs
- How to lay out a batch for comparison
- Texture groups are not quality grades
- A test stain checks the preliminary layout
- After testing, confirm the complete set
- Legs are assigned to a specific piece of furniture
- Two cabinets in one set are evaluated together
- Handles are grouped into a front set
- The left and right overlays must remain a pair
- Sockets, brackets and turned elements are evaluated as a composition
- Moldings are matched to adjacent frame sections
- Marking must survive cutting and sanding
- A simple list replaces memorization
- The finish code stores the technology, the sample — the visual result
- The reserve is matched to the set it is meant to replace
- A repeat order again goes through visual inspection
- Before assembly, check that the set has been kept intact
- Where to buy wooden parts in small batches

Eight oak legs arrived for two nightstands. The height matches, the fitting is suitable, and the surface is accepted. But if the supports are placed in random order, one nightstand may end up with three legs with a calm grain pattern and one with noticeably more contrasting wood. Under a clear finish, this difference will remain part of the furniture.
It is useful to distribute wooden parts in small batches across products before finishing. First, the item codes, dimensions and material are checked, then preliminary combinations are assembled by texture. A test finish helps determine whether the chosen combination remains after the coating is applied. After that, the sets are assigned to specific nightstands, dressers or fronts and kept until assembly.
The goal of this matching is to achieve a consistent appearance for each piece of furniture. The natural pattern remains different: four legs can look good together even though their grain does not repeat one another.
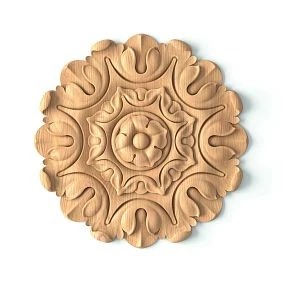
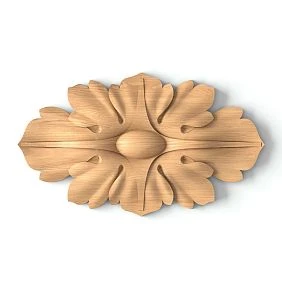
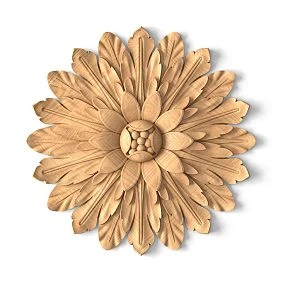
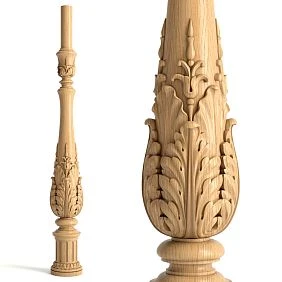
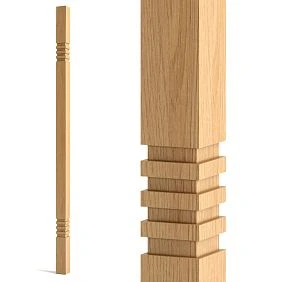

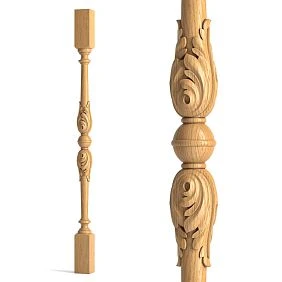
The same item code does not yet mean the same pattern
The item code defines the part model. For an order, the selected size, wood species, finish and other parameters provided by the product card are added to it. Within this technically identical group, the natural material retains the characteristics of individual blanks.
For example, furniture handle HL-011 Various sizes are available, including 180 × 40 × 25 × 128 and 260 × 40 × 25 × 192 mm according to the card designations. There are versions in beech and oak. Therefore, the entry "twelve handles HL-011" alone is insufficient even for technical procurement. The selected configuration is required; the purpose of the dimensions is verified against the drawing.
Once the configuration is confirmed, another task begins: which six handles to install on the first dresser and which on the second. Here, the character of the wood on the visible surfaces is assessed.




Start with technical acceptance
You want to sort the finished furniture parts by color right away. However, visually similar legs may have different dimensions, and similar overlays may have the opposite orientation.
Upon receiving the batch, check sequentially:
- Item codes, selected options, and quantity against the order.
- Wood species and blank finish.
- Dimensions and mounting areas against project requirements.
- Left and right versions, if provided by the model.
- Surface condition and damage incurred during transport.
For dimensional verification, use drawings and product models. Letter designations in the product card must be read together with the diagram: the same letter on different models does not mean the dimensions are equivalent.
Set aside parts with an unresolved deviation until a decision is made. They must not be quietly included in a tone-matched group: a successful wood match does not compensate for an unsuitable installation dimension.
Our factory also produces:
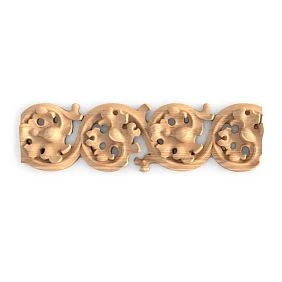
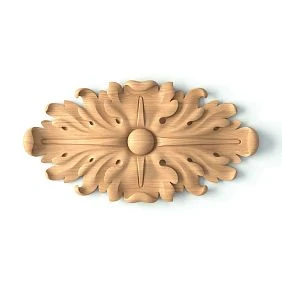

Quality acceptance and kit selection answer different questions
Acceptance determines whether the product matches the order and the agreed requirements. Visual selection helps distribute already accepted parts among furniture items.
On the page about the quality of STAVROS wooden products two blank finishes are distinguished. In the "for enamel" variant, the lamellas are joined without matching by color and texture. In the "for tinting" variant, such matching is performed, however, minor tonal and textural differences are possible. The manufacturer separately notes that even parts from the same "for tinting" order may differ in tone.
This implies a practical limitation: sorting within the workshop does not turn any "for enamel" blank into a suitable base for a transparent finish. If the finish was purchased for a different coating, its suitability for the new result is checked first.
Natural variability also does not override the agreed order requirements. A disputed area is assessed against these requirements and is not automatically declared acceptable merely because the material is natural.
Get Consultation
Beech and oak are first separated by specification
If a series contains both species, create separate groups by material. Do not substitute a beech part for an oak one just because the unfinished surface has a similar shade. After finishing, the resemblance may change, while the specification remains violated.
Within the oak group, pay attention to the expressiveness of the grain and the placement of prominent areas. On a small front, a handle with active texture can become the main wooden accent. Four such handles side by side already form their own rhythm — it is worth seeing it before installation.
Beech also requires selection if the wood remains visible. The calm overall character of the species does not mean that any beech parts will automatically form a matching set. Check the specific batch, especially with light tinting.
Mixing species is acceptable when the project calls for it. In that case, the combination of the two materials is approved rather than trying to pass them off as one by accident.
The species is confirmed by documents and delivery labeling. Visual similarity of two unfinished parts is not sufficient grounds for relabeling the material. If the tag is lost and the origin of the item is unknown, first restore its association with the order; until then, do not include the part in a confirmed set.
How strict does the selection need to be for your finish
Sorting time depends on what will remain visible after coating.
| Finishing and placement of parts | What to focus on |
|---|---|
| Opaque enamel, wood grain concealed | Surface preparation, consistent paint result, no noticeable texture where smoothness is required |
| Stain and clear varnish | Tone and texture compatibility within the visible set |
| Oil that preserves the grain | Appearance after a test application of the selected finish |
| Semi-transparent finish or patina | Wood, texture, and color distribution in the recesses at the same time |
| Parts in different, non-comparable areas | Conformity to the approved solution without excessive matching of identical grain |
With a fully opaque enamel, a detailed layout by natural tone usually adds little. But painting does not relieve you of checking the surface: concealed wood color and concealed texture are different results.
How to lay out a batch for comparison
Prepare a clean surface and clear space for the entire group being compared. If half the handles are under a bright lamp and the other half are in the shadow of a shelving unit, the assessment of shade will be unreliable.
Compare parts under identical lighting, against a calm background, and in the position in which their front face will be visible. First look at the set from a normal distance, then check individual areas up close. This way, a noticeable difference won't get lost among the fine details of the grain.
For adjacent fronts, a shared layout in installation order is useful. For legs, a view from the front of the furniture and from the sides. A round support can be rotated for assessment, but the final position must remain compatible with the mounting.
Do not compare a clean, sanded surface with a dusty one or one covered with a test finish. First bring the samples to a comparable condition.
Texture groups are not quality grades
In a small workshop, simple designations are enough: group A — calm pattern, group B — more pronounced. If the character of the wood is intermediate, this can be noted separately without creating dozens of categories.
Such a designation applies within a specific project. "Group A" in today's batch does not have to match group A six months from now.
Do not call the groups "first grade" and "second grade": this creates a false impression that a less calm texture means a worse part. An accepted overlay with an active pattern may look better precisely in an expressive composition.
After the preliminary sorting, recount the groups. Imagine eight legs: three calm, three noticeably darker, and two intermediate. There are no two obvious sets of four here yet. Try transitional combinations, check them after a test finish, and evaluate them as a whole. The mere fact that there are eight parts does not yet prove that the task is solved.
If a complete match could not be achieved, first check whether parts can be redistributed among items with the same part configuration. The next option is to agree on a different permissible layout or to clarify whether an additional part can be sourced. A coating change is considered separately: opaque enamel can cover the pattern, but that is already a different design decision and cannot be made on the customer's behalf.
A production task must have a clear outcome: the set is confirmed, awaiting a sample, or remains incomplete. The phrase "we'll sort it out during assembly" defers an unresolved issue to a stage where the coating has already been applied and parts can no longer be freely rearranged.
A test colour sample verifies the preliminary layout
Uncoated wood shows the raw material, but not the final coating result. That is why the preliminary selection is kept as a working version that still has to be confirmed.
Choose samples that represent noticeable batch differences: a lighter area, a darker one, a calm and an expressive grain. It is not necessary to test every part. However, a single random offcut will not show the differences that are already visible in the set.
The manufacturer Rubio Monocoat in colour sample production guidelines advises taking wood from the project batch and reproducing the future sanding and coating application. For the workshop, this means the sample must represent the chosen technique, not just the shade name on the can.
On carving and turned profiles, additionally check the actual relief. A flat board helps choose the colour direction, but it does not show how the entire shaped part will be perceived.
After the sample, confirm the entire set
If the differences become more noticeable after coating, return to the layout. Sometimes it is enough to swap two handles between dressers. In other cases, the appearance will need to be re-approved or a replacement sourced.
Do not attempt, without testing, to correct a single mismatched part with an additional layer of tinting. Such an operation changes the process and may affect more than just the color. The correction is first tested and recorded separately.
For a trial treatment, determine the purpose of the sample in advance. A control part kept in the workshop must not simultaneously be listed as part of the customer's finished set. A part intended for installation must, after the trial, undergo the prescribed preparation and match the overall finish.
If a decision is made to continue the work, record the final distribution. After finishing the entire batch, the set is inspected once more before assembly: testing samples does not replace checking the finished parts.
Legs are assigned to a specific piece of furniture
When required buy wooden legs for furniture, the quantity is counted according to the design: four supports, six, or another specified scheme. The set is formed according to the same scheme after acceptance.
Two nightstands with four legs each must have two sets with separate designations. Within a set, the position can be recorded: front left, front right, rear left, rear right. This helps preserve a successful layout after sanding and painting.
У unpainted furniture legs evaluate the visible part after installation. The area that will go inside the frame should not determine the entire sorting if it technically matches the design.
At the same time, moving a differing support to the back does not always solve the problem. With freestanding furniture, the back side may also be visible. The layout is checked against the actual placement of the item in the room.
Two nightstands in the same suite are evaluated together
Dividing into sets of four legs is convenient for production. But if two nightstands will stand on either side of the same bed, they must additionally be compared with each other. Two sets that are each successful on their own may differ noticeably in a paired composition.
In such a project, first determine the acceptable overall character of the eight supports, then distribute them among the cabinets. Check the front pairs together with the fronts and handles. If the items are intended for different rooms and such a difference has been agreed upon, such a strict cross-check may not be necessary.
The same applies to a series of cabinets along one wall. The boundary of the set is determined by the visible composition: adjacent doors of different carcasses sometimes require more careful matching than the front and hidden rear sides of a single item.
Handles are assembled into a front set
If you need buy wooden handles for furniture, first indicate how many identical elements will be visible at the same time. Six handles of one dresser are often perceived as a single row, even when several drawers separate them.
For two dressers, arrange twelve handles into two compositions of six. Evaluate not only each pair but also the entire front. One sharply different handle in the middle of a row may attract more attention than small, evenly distributed differences.
С uncoated wooden handles it is convenient to carry out such a fitting next to a front sample. If the handles are intended for adjacent sections of the same wall, the boundary of the visual set is determined by the overall appearance of the furniture, not by the number of individual carcasses.
The left and right overlays must remain a pair
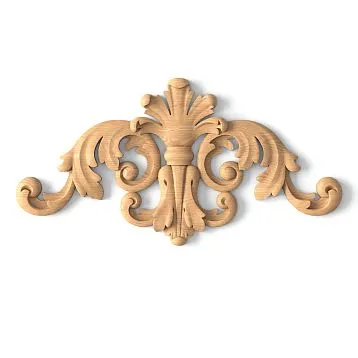
У carved wooden inserts first preserve technical pairing: the corresponding item codes, size, and mirrored orientation. Then match the wood within compatible parts.
For three fronts with one mirrored pair on each, three left and three right overlays are needed. If among the six items there are four left ones, closeness of color will not fix the situation.
Lay out the pairs as they will be installed. Rotating an overlay for a beautiful grain direction is permissible only when the composition itself and the installation allow it. A mirrored part cannot be replaced by a flipped neighboring model without verification.
In the list, keep two entries within one set: left and right. They can be sent for painting together, but each part's designation must be kept separate from the shared packaging.
Sockets, brackets and turned elements are assessed in the composition
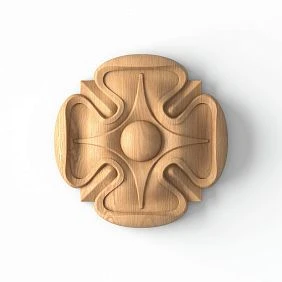
Four Wooden sockets at the corners of the facade must be seen at the same time. With a round shape it is especially easy to forget the direction of the pattern: the geometry looks identical, but the wood is perceived differently after rotation.
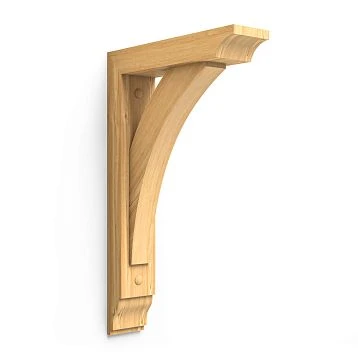
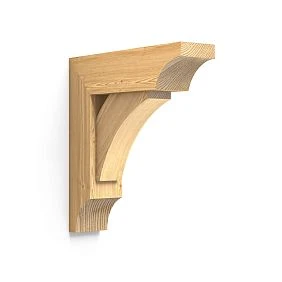
Paired Wooden Brackets compare taking into account which side surfaces are exposed to view. First confirm that the model and installation are correct, then choose an acceptable position by texture.
If the composition includes finished turned elements, first assemble their sequence without final fastening. Adjacent modules may differ in tone, although each one individually looks quite suitable. A photograph of the entire layout with markings helps preserve the accepted sequence, but it is better to assess color from the parts themselves.
Moldings are selected based on adjacent sections of the frame
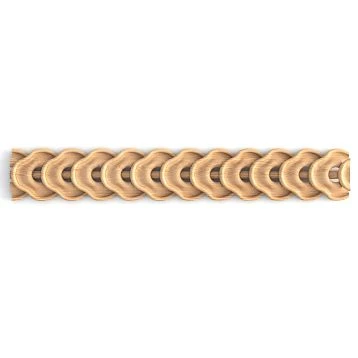
Ordering Wooden moldings for furniture, the workshop receives linear parts, but on the facade sees four interconnected sides. Therefore, preliminary distribution is useful to carry out before final cutting.
Lay out the source strips, mark the sections for each frame and check their adjacency. A pronounced stripe that breaks off sharply at a joint may be more noticeable than the overall difference in shade between two strips.
You cannot count on a frame cut from one long element necessarily getting a continuous pattern at all corners: the direction of the parts changes, and the wood itself is heterogeneous. The decision is assessed based on the layout.
for wooden trim maintain the link between the source strip and the future facade. Allowances, cuts and technological constraints are taken into account separately; visual compatibility does not permit reducing the required length.
Marking must survive cutting and sanding
After cutting, label the position of each section: "facade 02, top", "facade 02, left side". A general designation on a long strip is not enough if it remains on only one of the four pieces.
Choose a marking method that does not contaminate the future finished surface. For a small batch, labeled cells, tags on the packaging, and an accompanying sheet will suffice. If a mark is placed on the part itself, the location and method are checked with subsequent processing in mind.
A single labeled box is not enough when all the parts from it go to a shared sanding table. Before handing off to the next craftsman, it must be clear which part belongs to which product and where it will be installed.
Before an operation that will remove the previous mark, transfer the designation to the accompanying cell or sheet and verify compliance. On the drying rack, you can also assign places to sets. After a part is moved, the record is changed along with it: the shelf number must not become the only way to recall its purpose.
У wooden decorative elements separate cells are especially useful for similar silhouettes: a similar small part is easy to return to someone else's set.
A simple sheet replaces memorization
For a small series, a table is enough. Item codes and dimensions are transferred into it from the approved specification, and an internal number is assigned to each physical part.
Below is a conditional example of recording two sets of legs. Designations Н-01–Н-08 refer to instances within the workshop, not to catalog products.
| Internal numbers | Item code and size | Material | Visual group | Where to install | Finish | Quantity |
|---|---|---|---|---|---|---|
| H-01–H-04 | One configuration from the specification | Oak | A, subtle pattern | Cabinet 01, per layout diagram | OT-02 | 4 |
| H-05–H-08 | Same configuration | Oak | B, pronounced pattern | Cabinet 02, according to the position diagram | OT-02 | 4 |
Add a link to the product card, the receipt number, and the kit condition to the table: "pre-assembled", "confirmed after trial", "checked after finishing". If a part has been moved, update the record immediately.
The finish code stores the technology, the sample stores the visual result
The designation "OT-02" alone tells the painter nothing. It must be backed by a record: the species and surface preparation, the compositions used, the shade, the application sequence, and the specified gloss level. The operating parameters are taken from the technology of the selected coating system.
The phrase "oak tinting" is too vague to reproduce a series. It does not explain which materials were used or what exactly was approved.
Keep a control sample with the code, date, and approval mark. For a combination of beech and oak, results on both species are required. Such a sample shows the approved finish; it does not reproduce the natural pattern of each future part.
When choosing materials for installation and finishing check the compatibility of the entire system. A change in composition or preparation requires a new check, even if the name of the desired color remains the same.
The reserve is matched to the kit it is intended to replace
A single spare leg may match both products by item number, but visually be closer to only one. Therefore the reserve is assigned a material, a visual group, and an intended purpose.
For two noticeably different kits, there is no basis for considering any additional support universal. The decision depends on how important it is to preserve their combination and whether the finish can be reproduced. The reserve quantity itself is determined separately for each project.
An unfinished spare leaves the option to apply the finish later, but the result will have to be re-verified. A ready finished spare part is also checked before replacement: a matching old record does not replace comparison with the furniture.
Store the remnants with the article number, size, species, batch number and coating condition. Keep the visual group designation together with the project it belongs to.
A repeat order again undergoes visual verification
The same configuration in a new delivery allows the part model to be repeated. It does not promise a repeat of the wood grain from the previous order.
When combining an old remnant and a new arrival, first compare the technical parameters, then the material and the future finish. If the set remains bare wood, lay it out again. The arrival date alone does not prohibit mixing, but it does not confirm compatibility either.
For a new series, you can rely on the saved records and the control sample. However, the new wood still needs to be seen after the chosen preparation. Particular attention is paid to the part that will replace a single handle or a single overlay on already finished furniture.
Before assembly, check that the set is intact
After finishing, lay out the parts according to the list and inspect the entire set. Check the internal numbers, position, quantity and overall appearance. If one part has been returned for rework, mark the set as incomplete.
for wooden carved decoration additionally check the pairs and orientation. For frames — the side markings. For handles — the sequence on the front. A single swap between elements of the same size can ruin the layout for which the selection was made.
In a small workshop, the entire procedure can fit on one table and one list: receiving, separation by material, preliminary sets, trial finishing, confirmation, preserving markings, final check. A separate complex accounting system is not required for this.
Where to buy wooden parts in small batches
Select wooden parts in small batches in the STAVROS catalog it is more convenient to use a ready-made specification. For each item, specify the article number, size, beech or oak, blank finish, required quantity, and intended finish. This provides a concrete basis for verifying the order.
If the wood will remain visible, discuss the appearance requirements before purchasing. The possibility of additional tone matching must be clarified separately: the availability of a suitable model does not automatically mean that the supplier will create visual sets for the workshop.
Section product samples will help with an initial introduction to the range. To approve a specific batch, clarify which sample represents its material and preparation, and which shows only the general shape of the product.
For repeat purchases, review conditions for manufacturers, and before placing an order — payment and delivery. The availability of the selected options and delivery terms are checked for a specific order.
In the production list, each accepted part must have its own place: a specific cabinet, facade, or frame. Then a prepared set arrives for assembly, one that has already been checked together and preserved through all finishing operations.