Article Contents:
- Restoration begins with documenting the condition
- Four options: keep, restore, supplement, or replace
- When it is better to keep the original decor
- How to determine that a part is truly missing
- A surviving matching part helps in selecting a replacement
- What dimensions to measure before searching for ready-made decor
- Carved overlays for restoring the facade and apron rail
- Wooden rosette for targeted supplementation
- Bracket: function first, ornament second
- What to do about a missing furniture leg
- How to match a wooden handle to an old cabinet front
- Molding: how to restore an interrupted frame
- When a ready-made equivalent is acceptable and when a copy is needed
- Beech or oak for a new wooden element
- The color of a new part is chosen on a test patch
- The element card links inspection, selection, and installation
- First check one element, then order the rest
- Installation begins with checking the old base
- Answers to questions before purchase
- Can I replace just one piece from a pair?
- The ready-made overlay fits the dimensions. Is that enough?
- What should I send the supplier for matching?
- How does restoration matching differ from furniture updating?
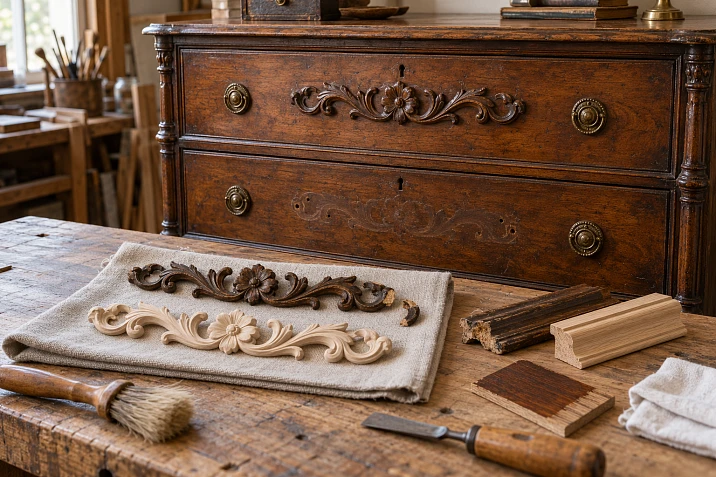
An old sideboard may be missing one rosette, the neighboring overlay may have a chipped leaf tip, and the third piece may differ in color from the entire front. It is too early to buy three new ornaments. The rosette will need to be matched, the leaf may possibly be restored, and an unusual color does not yet prove that the overlay is foreign. Each piece needs its own solution.
Furniture restoration decor is chosen after examining the item. First, they determine what has survived, what changes occurred earlier, and where losses actually exist. Then measurements are taken and a decision is made whether a ready-made wooden element, an exact reproduction, or work with the original is needed. This order helps preserve the character of the furniture and compile a justified shopping list.

Restoration begins with documenting the condition
Before disassembly, photograph the furniture as a whole, each front, and individual damage. Frontal photos are needed to compare the composition, and side photos to assess the protrusion of the decor. Place a ruler next to the piece without resting it on fragile carving. On the overall photo, mark conventional numbers for the elements: these numbers will later link the photos to the measurements.
Inspect the repeating areas. On a wardrobe, these may be two doors; on a chest of drawers, several drawers; on a console, the right and left sides of the stretcher. Note where the ornament repeats, where it is mirrored, and where it differs intentionally.
Record the visible fastening marks, cracks and condition of the base. The overlay sometimes comes off together with the veneer: in that case, simply gluing a new decorative piece back on will not solve the problem. A surviving part does not need to be removed just to photograph its reverse side. If its removal is necessary, the method is determined after assessing the joint.
Keep the detached fragments together with a record of where they come from. Even a small fragment can show the original thickness, grain direction or the pattern of the lost area.
Try to establish the cause of the damage as well. If a door catches on the adjacent overlay, a new part in the same place may be damaged again. If the carcass is skewed, its condition must be addressed first. At the same time, a wear mark, an old chip and ongoing deterioration are different observations: it is useful to note when the damage was discovered and whether it changes during normal use of the furniture.




Four decisions: preserve, restore, supplement or replace
In a single restoration project, these decisions often occur simultaneously. Preservation means that the existing part remains on the furniture. Restoration involves working with the damaged original. Supplementing restores a missing area of the composition. Replacement requires separate justification, especially when historical material has survived.
| What was found | Preliminary decision | What to check before work |
|---|---|---|
| The part is intact, secured, and the finish is stable | Save | Whether there is hidden damage to the base |
| The original has survived but is loose | Restore the joint | Cause of mobility and condition of the fastening |
| A small part of the thread is lost | Consider local restoration | Condition of the wood and availability of a pattern sample |
| One part is missing, its pair has been preserved | Complete the composition | Mirroring, dimensions and acceptability of a ready-made analogue |
| The part is completely lost, its appearance has been confirmed | Reproduce or select a replacement | Accuracy requirements and installation area |
| There is a suspected later alteration | Investigate, then decide | Its origin, meaning, and the consequences of removal |
| The original appearance is unknown | Postpone the addition | Photographs, analogues, and other evidence |
The table provides guidance for inspection, not an automatic repair order. A crack by itself does not mean the element should be discarded. Total loss also does not obligate filling the empty space with the first suitable patch.
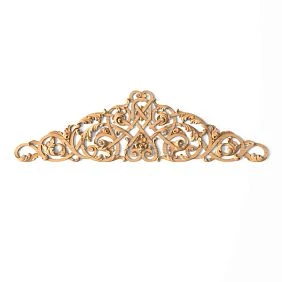
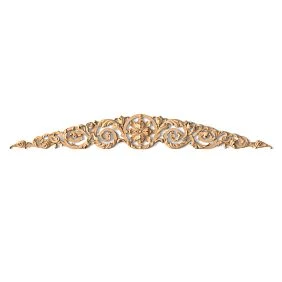
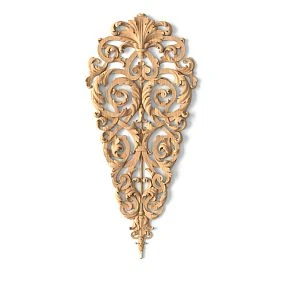
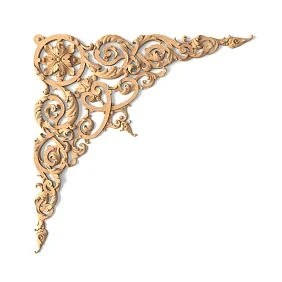
Our factory also produces:
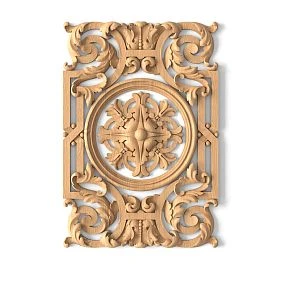
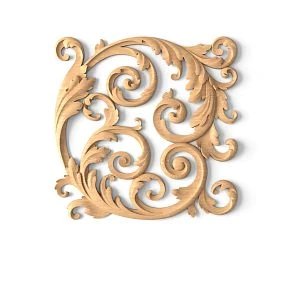
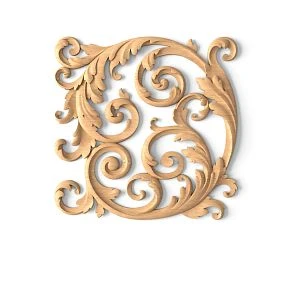
When the original decor is better preserved
Slightly worn edges, uneven tone, and traces of old finishing can be part of the item's history. One should evaluate not only the beauty of an individual detail but also its connection to the rest of the furniture. New ornament with crisp edges sometimes looks out of place next to softly worn carving.
The old finish also deserves attention. In recommendations from the Canadian Conservation Institute on caring for furniture finishes the value of original finishes is emphasized. Therefore, a darkened varnish should not be assumed in advance to be a layer that must necessarily be removed. The condition of the finish and the acceptable cleaning method are assessed separately from the strength of the wooden component.
If an item has historical value, its provenance is unknown, or the surface is flaking, the decision on cleaning and compensating for losses should be entrusted to a professional conservator. Sanding down the old relief so that a new patch looks more convincing is an irreversible change to the original object.
A later replacement may also be of interest. The note "non-original" describes the origin of the element, but it does not yet answer the question of whether it should be removed.
Get Consultation
How to establish that a component is indeed missing
Look for several consistent signs: the outline of an old glue joint, holes, a broken section of molding, a repeating pattern on the adjacent front, an area that differs in color. Old photographs of this specific item are useful. A photo of a similar cabinet may suggest a direction for research, but it does not prove the construction of your particular piece.
A hole could have been left by a previous handle, and a light patch could be from a later ornament. Even symmetry requires verification: not every furniture composition was strictly mirrored from the start.
Separate observation from conclusion. "There are two holes on the left door, and a patch has survived on the right" is a description. "There was a similar patch on the left" is a hypothesis that still needs to be confirmed. In the working record, you can write "suspected loss." This short note keeps the craftsman from making a premature purchase and drilling.
If the evidence is insufficient, leave the question open. Adding a new ornament according to the owner's taste is possible in a remodeling project, but it should be recorded as such.
A surviving paired component helps in selecting a replacement
Start with the overall outline, then move on to the relief. Measure the width, height and maximum protrusion, and note the position relative to the frame, the edge of the front and the central axis. Photograph straight on: perspective distortion easily turns a part that looks suitable into an incorrect template.
For a directional ornament, determine the side. Rotating one applique does not always replace mirroring: the scroll changes position, while the leaf pattern remains different. Label on the diagram how the front is viewed and where the left and right parts are located.
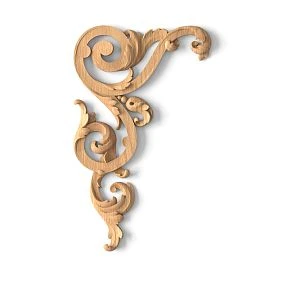
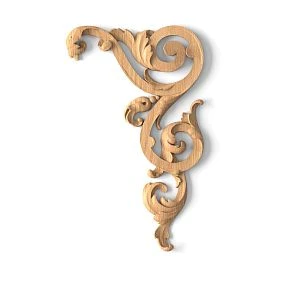
In the catalogue, for example, the following are presented separately N-349L и N-349R. The product cards include a version with the dimension record A × B × C × L = 200 × 200 × 22 × 259 mm. Both the side and the selected size matter for ordering; a single entry of “200 mm applique” is not enough. Each dimension value is checked against the drawing.
This pair demonstrates the selection principle but does not confirm a match with old furniture. Matching overall dimensions does not yet make a serial applique a copy of a lost original.
What dimensions to take before searching for ready-made decor
You need to measure the element itself and its installation location. With old furniture, it is especially important to separate these data: the trace of the previous part may be wider than the surviving fragment, and the available field may be smaller than the overall size of the front.
| Element type | Dimensions of the part itself | What to measure on the furniture |
|---|---|---|
| Overlay | Width, height, maximum thickness, contact surface | Free space, axis positions, distance to the frame and handle |
| Rosette | Diameter or rectangular dimensions, relief protrusion | Installation center and outline of the old mark |
| bracket | Height, projection, width, shape of contact surfaces | Junction points, mounting, position of adjacent parts |
| Leg | Overall and installation height, top section, profile | Seat, connection depth, body position |
| Handle | Dimensions, base, projection, center-to-center distance | Hole centers, facade thickness, trace of the previous base |
| Molding | Cross-section, protrusion, length | The preserved profile, corners, section length and direction of the pattern |
Carry over the letter designations A, B, C and L from the specific drawing together with their explanation. For different product groups, the same letter may refer to different measurement directions.
In the conditional example, the free field measures 220 × 120 mm, and the overlay is 180 × 90 mm. When centered, margins of 20 mm remain at the sides and 15 mm at the top and bottom. This is a placement check, not proof of conformity with the old decor. The trace of the previous element, its projection and ornament are compared separately.
Carved overlays for restoring the facade and the apron rail
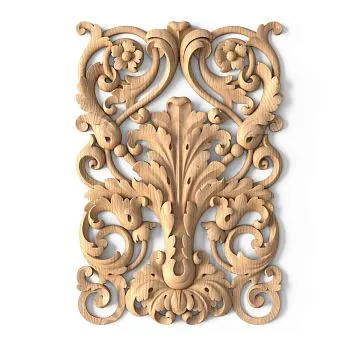
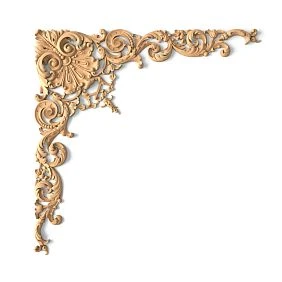
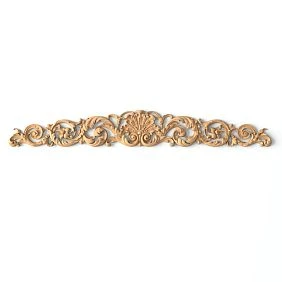
Overlays for furniture restoration convenient to search for flat areas of a door, frieze, apron rail or furniture portal. First select a suitable outline, then compare the pattern and depth. A wide but flat composition is perceived differently from compact carving with a strong projection.
Carved wooden overlays for furniture should also be checked from the reverse side. The decorative overall dimensions are not equal to the gluing area: thin leaves and openwork sections may extend beyond the main contact zone. On a curved facade, a flat piece will also not necessarily sit without gaps.
Do not cover a loose area with a large overlay just because it hides the damage. First restore the base and clarify whether covering the old traces is acceptable. For a preliminary check of the composition, use a full-size paper outline. After printing, verify the control dimension with a ruler: automatic page scaling can distort the template. Mark the top and the installation side on it. The junction and the actual relief are checked on the wooden piece itself.
Wooden rosette for a spot accent
Carved outlets from wood are considered for the center of a composition, the corner of a frame or a repeating decorative node. For a round model, the diameter determines the field it occupies, but the impression also depends on the relief height, the shape of the edge and the proportions of the central part.
If five of the six sockets have survived, first compare them with each other. They may belong to the same set; one may already have been replaced. The reference sample should be a reasonably chosen part, not the one that is easiest to measure.
The size of a new socket cannot be determined solely by the wish to cover a light patch. An increased diameter may disrupt the distances to the mouldings and change the rhythm of the entire facade. If there is a noticeable mismatch, it is better to return to the search or discuss reproducing the original.
Bracket: function first, then ornament
On an old sideboard, a bracket may decorate the upright or help support the shelf. These situations require different solutions. Until the role of the element is established, it cannot be considered merely a decorative insert.
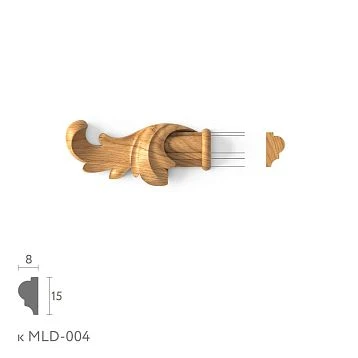
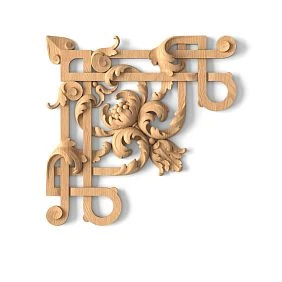
When selecting Wooden Brackets, compare the contact surfaces, the projection and the orientation. An elegant scroll in the photograph says nothing about the condition of the old base or the ability of the new joint to bear load.
If the element is part of the structure, the entire assembly is checked: the bracket, the fasteners, the material of the carcass and the nature of the load. The load-bearing capacity of a particular model cannot be inferred from its massive appearance. For a purely decorative replacement, fitting and checking pairing remain mandatory.
What to do about a lost furniture leg
The surviving supports provide the height, profile and information about the attachment. But first find out whether the front and rear legs are the same: on some pieces they differ in shape and construction. Measure the corresponding support, not any available one.
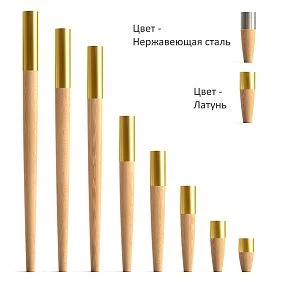
Furniture legs for restoration are chosen by mounting height, top section and connection to the carcass. Decorative similarity does not compensate for an incorrect fit. If a finish to match existing furniture is needed, start the comparison with unpainted furniture legs.
The absence of a ready-made exact copy does not mean that the three surviving supports need to be replaced for the sake of a matching set. Preserving a historical piece may require making a single part based on a sample. A complete replacement of the supports is considered separately, with an assessment of how the structure and appearance of the furniture will change.
How to match a wooden handle to an old cabinet front
A handle has a daily working task. It must allow you to open a drawer or door, not catch on neighboring decor, and connect properly to the front. Start with the position of the old holes and the panel thickness, then check the base and the grip area.
When choosing wooden furniture handles do not confuse the overall length with the center-to-center distance. A conventional handle 160 mm long may have a completely different distance between the mountings. The required parameter is read from the drawing or the specifications of the selected model.
The base of the new handle is also compared with the footprint of the previous one. Matching holes do not guarantee that the old outline will be covered. If custom tinting is planned, handles without coating allow you to first do a test fit and select the finish on a separate sample.
Molding: how to restore an interrupted frame
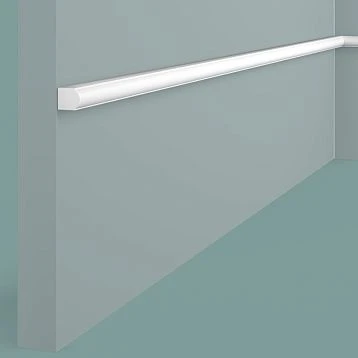
A measured width alone is not enough. Two moldings 20 mm wide may differ in projection, position of the bead, and shape of the recess. At the joint this will be visible even after identical tinting.
Before searching, save the cross-section profile drawing: take an accessible photo of the end, a measurement, or a careful sketch. For an ornamented molding, note the repeat spacing of the pattern and the place where it breaks off. The insert must continue the line and the ornament, not merely fill the length.
In the section wooden trim and moldings check the material of the specific product: the molding range includes different bases. For an insert into an existing wooden frame, the grain direction and the shape of the joint are also important. The length of the blank is determined taking into account the angles and the actual fitting; a universal allowance does not replace measurement here.
When is a ready-made analog acceptable, and when is a copy required
For furniture being returned to everyday use with agreed-upon changes, a compatible ready-made decoration can be a reasonable solution. To preserve the historical appearance, accuracy requirements are often substantially stricter. This choice must be made before comparing catalog flowers and scrolls.
For example, wooden overlays for restoring a painted everyday chest of drawers can be selected with an acceptable change in pattern if that specific alteration is agreed upon with the owner. For a loss on a historical sideboard, similarity of the overall silhouette may prove insufficient. Decoration for old furniture is chosen with the purpose of the work in mind, and the age of the item alone does not determine the acceptable degree of intervention.
For an acceptable replacement, check sequentially the function, dimensions, mounting surface, scale of the relief, symmetry, and character of the ornament. Clarify the material and finish only among the options that have passed this screening. A similar color does not correct an incorrect contour.
If accuracy of reproduction is essential and there is no production model, work will be required based on a surviving sample or other confirmed data. Sometimes it is justified to leave a loss without addition. In the professional principles of the American Institute for Conservation the possibility of non-intervention is provided for, and filling losses requires documentation and preservation of the original material.
Ready-made decorative elements for antique furniture should be evaluated as candidates for a specific task. The mere presence of a part in a catalog does not confirm its historical correspondence to the item.
Beech or oak for a new wooden element
If visible wood is being preserved, begin by determining the material of the existing decoration. The grain of oak and beech differs, and stain does not turn one species into another. When the species is unknown, it is more useful to record "requires identification" than to choose oak simply because the old wood is dark.
Beech is often considered for opaque enamel because its large grain pattern is less pronounced. Oak is chosen when its pattern is needed in an open finish. These are guidelines for comparing samples, not a rule that "beech is always for paint, oak is always for lacquer."
Also check how the blank is made. In the description quality of STAVROS wooden products the options "for enamel" and "for tinting" are separated: in the second case, the slats are matched by color and texture, although natural differences remain. For a transparent restoration insert, such information is more significant than just the name of the wood species.
The color of the new part is selected on a test coat
Old wood and finish could have changed under the influence of light and time. In addition, the screen, room lighting, and white balance in the photo affect how the shade is perceived. Selecting by photo helps narrow down the direction, but does not confirm the final color.
Use Product samples for a preliminary comparison of the material, clarifying the available finish. Carry out the final check of the finish on a new part or a suitable sample with comparable surface preparation. A flat swatch does not fully show how the color will look in the recesses of the carving.
Record the sequence of applied materials and compare the dried sample with the furniture under daylight and working artificial light. Evaluate not only the shade, but also the gloss, transparency, and grain pattern. Adjust the test piece before finishing the remaining elements.
The new decor should be matched to the agreed condition of the item. There is no need to strip the original lacquer from the entire front just because the first test on the overlay came out too light. Patina also does not correct a mismatch in shape or material.
The element card links inspection, selection, and installation
A card is needed even for a small job. It shows why the decision was made, which part was ordered, and what exactly was installed. Below is a conditional example for a lost left overlay; the dimensions here refer to the measurement, not to a specific product.
| Field | Example entry |
|---|---|
| Location | Left cabinet door, upper part |
| Element number | D-03 |
| Condition | Part is missing; the matching one is preserved on the right |
| Basis for conclusion | Photographs, fastening mark, comparison of the right side |
| Solution | To be completed after the option is approved |
| Sample dimensions | Width 180 mm, height 90 mm, protrusion 15 mm |
| Mounting area | Flat; the condition of the base is checked separately |
| Original material | Not yet determined |
| Orientation | Left side when viewing the facade from the front |
| Replacement item code | Fill in after selection |
| Finishing | Based on the approved test color sample |
| Fitting | Not performed |
| Documents | Photos, measurements, link to the product card, decision date |
After the work, add the actual item code and finish, the mounting method, the materials used, and a photo of the result. Separately note the installation date of the new part: the catalog model name should not be taken as an attribution of the antique original. Mark and keep the removed parts if no decision has been made about their future. With such records, the next craftsman will be able to distinguish the old element from the new addition.
First check one element, then order the rest
A sample helps reveal errors that are not visible on screen: relief that is too deep, an awkward joint, the wrong scale. First do a dry fit, check the position on the furniture and the intended mounting method. Then proceed to the test finish.
For a mirrored composition, one part allows you to evaluate the material and finish, but does not confirm the whole pair. You also need the outline of the second side and a check of the distances between the elements. With a complex assembly, it is reasonable to test both parts before ordering repeating sets.
Count based on actual losses. If a composition has eight identical rosettes, six are preserved and suitable for retention, the working need is two, not eight. A trial piece can be included in the final quantity only if it has passed inspection and is suitable for installation.
Installation begins with checking the old base
Adhesive or fasteners are selected after determining the condition of the wood, veneer and finish. There is no universal joint for any old furniture. The strength of a new adhesive will not help if the surface to which the overlay is glued is peeling away from the carcass.
During fitting, check whether the part needs to be pulled by force to a curved base. Clarify access to the joint, the permissible fastener depth and the consequences of possible removal. Old holes are useful as evidence of previous installation, but their presence does not guarantee the reliability of re-fastening.
For a historical item, the restorer chooses a method taking into account the preservation of the material and the possibility of future work on the joint. For household repairs, too, solutions should be avoided in which a small overlay can only be removed together with the veneer. Marking and surface protection are organized so that fitting itself does not leave damage.
After installation, check the opening of doors and drawers, the operation of handles, and the fit of parts. If a support or structural bracket was replaced, the serviceability of the entire restored assembly is assessed separately.
Answers to questions before purchase
Can only one part of a pair be replaced?
Yes, if the contour, orientation, relief and finish have been matched with the preserved side. A mismatch in a ready-made analogue is a reason to continue searching or discuss reproduction, not to automatically remove the entire original.
A ready-made overlay fits the dimensions. Is that enough?
No. A compatible mounting surface, ornament and relief depth are also needed. The part must not obstruct the movement of the front, cover important old traces or require unjustified reworking of the base.
What should be sent to the supplier for selection?
A general view of the furniture, frontal and side photos of the element, dimensions, a diagram of the installation location and an indication of the side. State whether a close analogue is acceptable or an exact reproduction is required. A single photograph without scale leaves too much uncertainty.
How does restoration selection differ from furniture updating?
In restoration selection, the solution is tied to the surviving item and confirmed losses. Decor for furniture updating can create a new composition according to the owner's design. It is important to agree on the goal in advance and not present a new finish as a restored historical appearance.
Where to buy decor for furniture restoration
Once the decisions on the elements have been made, proceed to selection in the STAVROS catalogue. In the section Carved Decor you can compare ready-made wooden overlays, rosettes, brackets and other parts. Choose products by their cards and drawings, keeping the article number, size version, material and surface requirements in the order.
To buy wooden decor for restoration, prepare a list of exactly the missing elements. For each item, specify the quantity, left or right side, permissible dimensions and the fitting result. If the pattern must exactly repeat the original, state this before approving the finished option. Carved elements for furniture restoration are ordered after such approval, keeping the information about the accepted replacement together with photographs of the item.
The purchase completes the preliminary assessment of the furniture: the preserved parts remain in place, the damaged ones receive justified restoration, and the new elements occupy only the agreed positions. Such an order is easier to check upon receipt and then link to a specific job on the item.