Article Contents:
- Why the furniture maker needs to choose legs before calculating the carcass
- The correct sequence: from furniture type to the actual SKU
- Which leg parameters need to be transferred into the furniture project
- Overall furniture height: the leg must be in the formula before the carcass
- Why leg height alone is not enough
- The top mounting plate — a critical production parameter
- The leg setback from the carcass edge cannot be assigned universally
- Project Code and SKU: how not to lose the actual leg between CAD and purchasing
- What to check in the leg card before APPROVED
- Turned, carved, and geometric legs: the differences matter specifically for production
- Turned legs
- Carved legs
- Geometric legs
- Commode
- Cabinet
- Console
- Table
- If the finish is opaque
- If the finish is transparent
- Body first, leg later
- Looking only at height
- Fasteners chosen during assembly
- Four similar legs instead of one SKU
- New SKU without REV
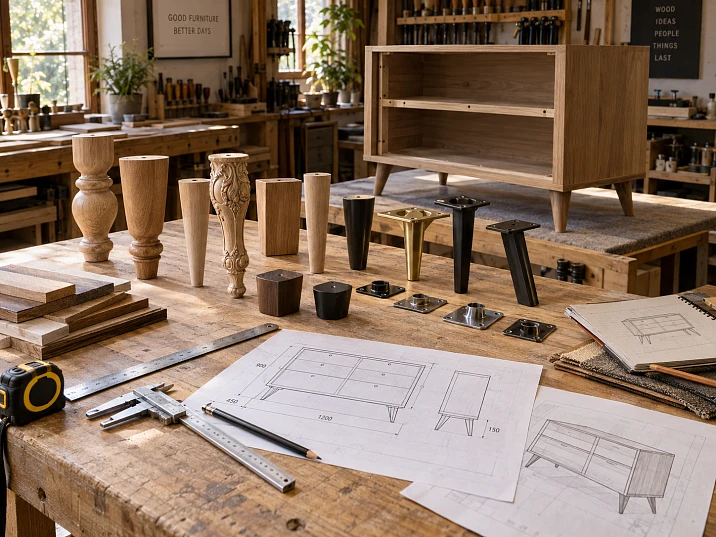
The body has already been calculated, the fronts have been sent for cutting, the height of the chest of drawers has been approved — and only after that does the search for legs begin. It is precisely in this sequence that a furniture maker most often traps himself in unnecessary constraints. A support that looks suitable turns out to be 20–30 mm taller than the calculated one, the top plate does not fit on the bottom panel, the fastener conflicts with the side panel or the rail, and replacing it with an “almost identical” model changes the proportions of the entire piece of furniture.
A furniture leg is part of the product’s geometry. That is why it must be selected before the final calculation of the body.
The working sequence looks like this:
furniture model → actual leg SKU → dimensions A/B/C/D → top mounting plate → mounting method → final furniture height → trial support → APPROVED → BOM → production → batch → purchase.
This is especially useful for a private furniture maker and a small workshop. A single incorrectly chosen element does not get lost in mass production: it immediately turns into rework of a specific cabinet, front, or set.
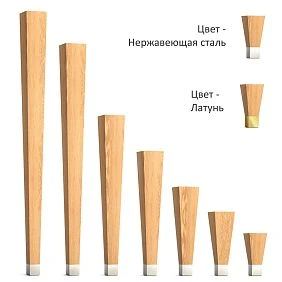
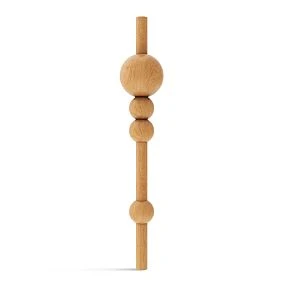
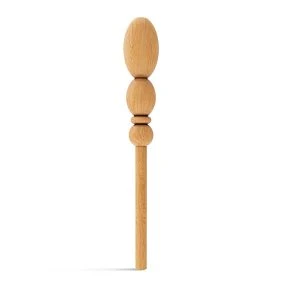
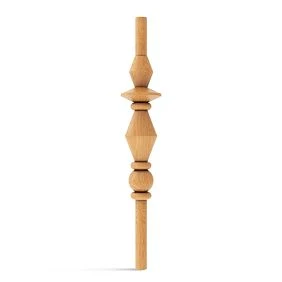
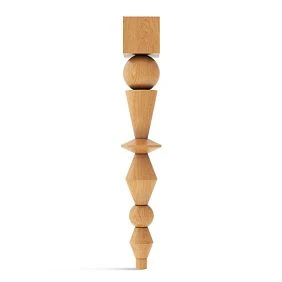
Why a furniture maker needs to choose legs before calculating the cabinet
The leg determines more than just the appearance of the lower part of the furniture.
It affects:
- the final height of the product;
- the clearance above the floor;
- the position of the cabinet;
- plinth height;
- the geometry of the bottom;
- the distance to the front;
- the space for fasteners;
- sometimes — the design of the stretcher or underframe.
Let's imagine a chest of drawers that needs a final height of 900 mm. If the leg is selected in advance, the designer can break this overall dimension down into its actual components:
leg + body + top part = 900 mm.
If the leg appears only after the body has been calculated, you either have to change the overall height or redo the body part.
That is why in furniture manufacturing a leg is more logically perceived not as an accessory, but as an initial structural component.
To begin the selection, it is convenient to open the catalog furniture legs, choose a real model, and only then transfer its dimensions into the project.




The correct sequence: from furniture type to a real SKU
Workflow:
furniture type → specific leg → SKU → dimensions → mounting → body → working drawing → prototype → production.
Bad:
finished body → search for legs of a suitable height.
In the second case, the furniture maker cuts off part of the assortment in advance. Only those models remain that happen to match the geometry already made.
Moreover, it is not enough to choose a “leg of approximately 150 mm.”
You need to know the exact SKU that will go into production. Two supports of the same height may differ in:
- top plate;
- maximum width;
- profile shape;
- attachment point;
- diameter;
- protrusion of the decorative part.
The height matched. The installation did not.
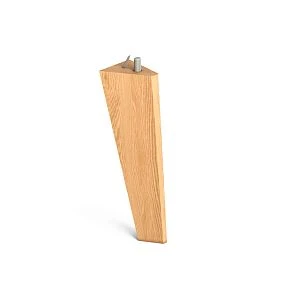
Our factory also produces:
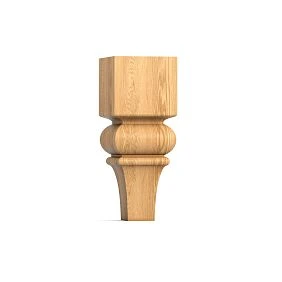
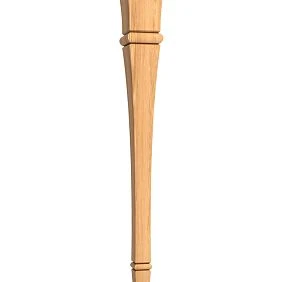
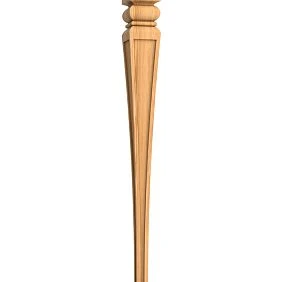
Which leg parameters need to be transferred to the furniture project
Each model may have a different set of critical dimensions, so a universal interpretation of A, B, C, or D cannot be assigned without checking the product page for the specific item.
The parameters that actually affect the design need to be transferred to the project:
- overall height;
- maximum width or diameter;
- size of the upper mounting part;
- lower size;
- protruding sections;
- axis;
- the material;
- type of design;
- mounting method;
- coating or absence of coating.
If the product card uses dimensions A/B/C/D, it is better to keep the same designations in the working documentation as well. This reduces the risk that the designer, purchaser, and assembly craftsman will interpret the same figure differently.
A BOM entry might look like this:
LEG-01 / STAVROS / SKU / A-B-C-D per product card / beech / Qty 4
Get Consultation
Total furniture height: the leg must be included in the formula before the body
The basic formula is simple:
H total = H body + H leg + H top part, if the top part is added to the height separately.
But the practical task is not limited to arithmetic.
Suppose a console has a specified total height of 820 mm. A 700 mm leg is selected. The remaining space for the apron, top structure, and tabletop is 120 mm. Formally, everything adds up.
But if the top plate of the leg is wide and requires a certain connection with the apron, 120 mm may turn out to be structurally inconvenient.
Therefore, not only the height but also the top geometry is checked first.
Mathematically, the leg fits. Structurally, it is not yet a given.
Why leg height alone is not enough
In the catalog, it is easy to compare several models by height and decide that they are interchangeable.
For a working project, this is not enough.
A single leg can be:
- wide at the top;
- narrow, but with a large decorative transition;
- round;
- square;
- with a massive base;
- with a carved protrusion;
- with a geometric shoulder.
For a compact cabinet, the difference in width of the top part may be more important than the difference in height.
Let's imagine a cabinet body with a depth of 350 mm. If the support has a large mounting part, you need to check whether it conflicts:
- with a side panel;
- with a drawer runner;
- with a front panel;
- with a mounting plate;
- with an internal partition.
Therefore, "120 mm leg" is a characteristic for a preliminary filter. Not for the final drawing.
The upper mounting platform is a critical production parameter
The upper part of the leg answers the question: where will the load physically be transferred and where will the fasteners be placed?
Check:
- whether the platform fits on the bottom panel or the rail;
- whether it extends beyond the edge of the housing;
- whether the thickness of the base is sufficient;
- whether there is other hardware nearby;
- whether the tool can be reached;
- whether the fastener is blocked by the front panel or the runner.
A beautiful wide leg cannot simply be placed under a narrow cabinet.
If the top support is wider than the available mounting area, the problem is not solved by the fact that it looks good in the front view.
A bottom plan or a mounting detail is needed.
The leg's offset from the cabinet edge cannot be set universally
In furniture production, one would like to write down once: "we place all legs with a 50 mm offset".
For different models, this is a bad rule.
The position depends on:
- support width;
- bottom structure;
- mounting method;
- presence of a front;
- plinth;
- aprons;
- visual task.
On one cabinet, the leg almost continues the side panel.
On another, it is deliberately recessed inward.
On a console, its axis may follow the geometry of the tabletop and apron.
Therefore, the offset is fixed in the drawing of a specific piece of furniture, not in a universal workshop note.
Project Code and SKU: how not to lose the real leg between CAD and purchasing
In the working drawing, it is convenient to use a short code:
LEG-01
In the BOM:
LEG-01 → STAVROS → specific SKU
Custom:
SKU → quantity
The project needs a Project Code.
The SKU is for purchasing.
This link is especially useful to keep for small-batch production. Six months later, the client may ask for a second dresser, and then the craftsman won't be trying to find "those same turned legs from an old photo."
He opens the BOM and sees the actual item number.
What to check in the leg card before APPROVED
A product card is not a picture for choosing a style. For a furniture maker, it is a source technical document.
Check:
- dimensions;
- the material;
- available finishes;
- coating;
- height options, if any;
- product type;
- application;
- related fastening elements;
- availability or production time;
- current item code.
Do not fill in missing parameters with guesses.
If the mounting method is not obvious, it is better to leave the item in the status SELECTED, rather than moving it to APPROVED.
And only after verification should it be entered into production.
Turned, carved, and geometric legs: the differences matter specifically for production
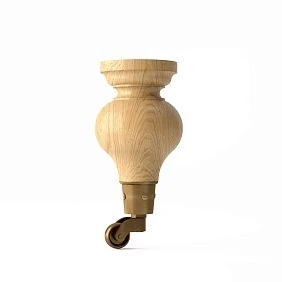
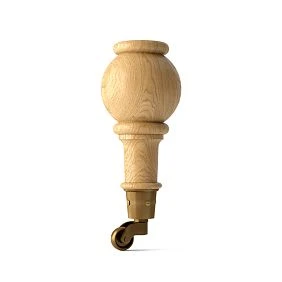
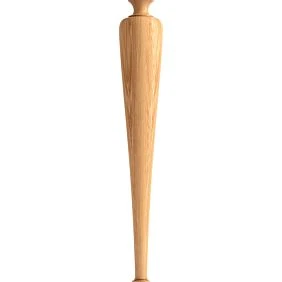
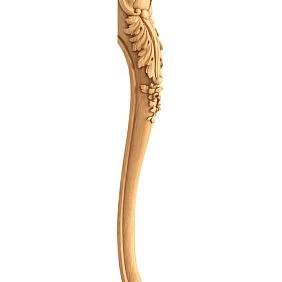
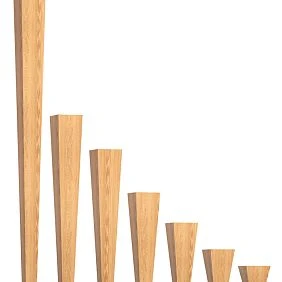
In the STAVROS catalog, legs are divided by type, including turned, carved, and geometric. For a production specialist, this is useful not only as a stylistic classification: different geometries behave differently in a structure.
Turned legs
The basic form is built around an axis.
Check:
- maximum diameter;
- profile transitions;
- top platform;
- height;
- the point where the decorative profile approaches the cabinet body.
For a craftsman, this is a particularly important type: a part that is round in plan easily looks compact on the facade, but its actual maximum diameter can turn out to be significant.
For selection, you can use Turned legs for furniture.
Carved legs
A carved model additionally has an orientation of the pattern.
You need to decide:
- where the front is;
- are all four parts oriented the same way;
- should the front and rear legs differ in direction;
- does the relief conflict with the apron;
- is there free space for decor.
For such tasks, the section is useful carved legs for furniture.
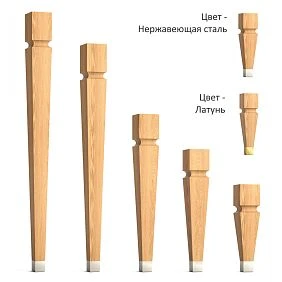
Geometric legs
Here what often matters more is not the ornament, but:
- edges;
- planes;
- proportion;
- junction angle;
- mounting surface.
They work well in modern furniture, but are especially sensitive to how they relate to the width of the cabinet and the lines of the front.
For comparison, you can use geometric furniture legs.
Legs for a chest of drawers, nightstand, console, and table require different checks
The purpose of the leg changes the set of design questions.
Chest of drawers
Check:
- overall height;
- position of the four supports;
- relationship to the width of the side panel;
- bottom;
- bottom drawer runners;
- clearance above the floor.
A tall leg changes the proportions of the body more than it seems from a single product photo.
Cabinet
For compact furniture, the critical ratio is:
leg size / body width.
An overly massive support visually eats up the body.
One that is too thin may look random.
But in production, the first thing checked is not "beautiful or not," but whether the platform and fasteners fit.
Console
Here the supports work together with:
- a narrow body;
- a tabletop;
- an apron;
- large product height.
It is especially important to check the actual fit with the upper part.
Table
For the table, check:
- position relative to the apron;
- distance between the legs;
- tabletop overhang;
- mounting;
- free space for the seated person;
- direction of the decorative pattern, if the leg is carved.
Legs for a sofa and armchair: a low support also requires a design
For upholstered furniture, the leg is often lower, but this does not make it any less structural.
Check:
- the clearance above the floor;
- position relative to the frame;
- size of the mounting part;
- overlap with the upholstery;
- access to fasteners;
- consistency of the set.
If the sofa has four visible supports, even a slight difference in position is noticeable along the long horizontal line of the body.
For an armchair, the connection with the compact geometry of the base is additionally important.
Unpainted legs as a workshop semi-finished product
For small-scale production, this is one of the most practical scenarios.
The craftsman buys the ready-made complex geometry and performs the finishing independently:
- soil;
- enamel;
- stain;
- tinting;
- varnish;
- Oil
This way, a unified finish can be maintained between:
- the body;
- the front;
- legs;
- handles;
- other wooden decor.
The STAVROS catalog singles out from STAVROS open boundless possibilities for designers, furniture makers, and anyone striving to create unique high-quality furniture. into a separate product group.
For the workshop, this means a useful separation of operations:
buy complex geometry ready-made → do the proprietary signature finish in-house.
Beech or oak: the material is chosen together with the finishing technology
There is no need for a universal answer like “oak is better than beech” or vice versa.
The project needs to define what effect is required.
If the finish is opaque
The main factors become:
- surface quality;
- preparation;
- compatibility with the adopted coating system;
- uniformity of the result.
If the finish is transparent
The following have a stronger influence:
- wood grain;
- texture;
- tone;
- grain direction;
- tinting method.
If the workshop plans to paint the legs together with the fronts, the material must be selected before the test spray-out.
Legs with a pre-applied finish: a different production scenario
If the workshop does not want to include the supports in its own painting cycle, a different scheme is used:
finished leg → finish inspection → assembly.
In that case, during APPROVED, not only the dimensions are checked, but also the visual result of the coating.
This option is useful when:
- a ready-made color is selected;
- there is no in-house painting facility;
- the number of operations needs to be reduced;
- the leg arrives as a completed component.
However, the two scenarios must not be mixed within one project without explicit instruction.
Finish: by workshop
and:
Finish: factory
— various production solutions.
The fastening should be chosen together with the leg, not after the body is manufactured
Bad scheme:
leg chosen → body made → at assembly, figured out how to fasten it.
Normal:
leg → fastening method → required base → body drawing.
If used fasteners for furniture legs, it should be treated as a separate BOM item if it is not included in the specific product's kit.
Check:
- fastener type;
- number of points;
- tool access;
- base thickness;
- distance to the edge;
- possibility of dismantling;
- compatibility with the selected leg.
Do not automatically assume that any plate fits any support.
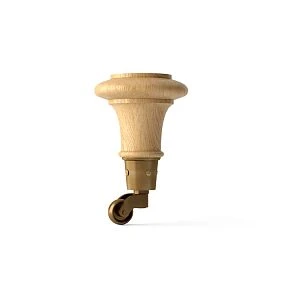
Mounting plate and glide — separate BOM items
If the design includes a plate, it affects:
- the height of the assembly;
- base area;
- mounting points;
- the position of the leg;
- the assembly technology.
Therefore, a separate line is better:
PLATE-01 / SKU / Qty 4
The same applies to glides.
If a glide is not included with the leg, it cannot be considered "a given."
The BOM should contain only actual components.
Why order one test leg before launching a furniture model
For a new SKU, the following scenario is useful:
1 leg → prototype → APPROVED → batch of frames.
A trial part allows you to check things that are hard to assess from a product card:
- the real scale;
- top platform;
- overhang;
- mounting method;
- processing;
- finish;
- visual mass;
- fit with the frame.
This is especially useful if the leg is:
- large;
- carved;
- mounted in a non-standard way;
- used for the first time;
- defines most of the furniture's look.
What exactly to check on the prototype
Place the leg into the actual joint, not just on the table next to the drawing.
Check:
- does the height match the project;
- does the upper part fit;
- is there access to the fasteners;
- is the edge clearance maintained;
- does the support conflict with the facade;
- does the visual scale match;
- is the material suitable for the chosen finish;
- is the position of all four supports consistent.
If everything matches, the SKU can be frozen.
How to add a leg to the BOM
Convenient structure:
| Field | Value |
|---|---|
| Project Code | LEG-01 |
| Manufacturer | STAVROS |
| SKU | specific |
| Type | turned / carved / geometric |
| Material | Beech / Oak |
| A/B/C/D | By card |
| Height | actual |
| Qty per unit | 4 |
| Mounting | for a verified assembly |
| Finish | project / factory |
| Status | APPROVED |
| Revision | REV02 |
| URL | Product |
The BOM must not contain the line:
wooden leg — 4 pcs.
It does not allow the project to be repeated.
Qty per unit and Total Qty must not be mixed up
One cabinet requires four legs.
For a series of 12 cabinets:
Qty per unit = 4
Production Qty = 12
Total Qty = 48
These fields are best kept separate.
Then changing the batch size does not require revising the engineering BOM.
Only the production quantity changes.
If different supports are used on part of the furniture, a different Project Code is created.
Four legs — one approved SKU
Not:
four similar wooden legs.
But:
LEG-01 × 4.
This provides:
- same height;
- the same profile;
- the same top geometry;
- the same finish;
- repeatable assembly.
For turned legs, serial repeatability is especially important: the four parts of a single table should be perceived as one set, not as four similar items.
How to purchase a small batch
After the prototype:
APPROVED SKU → Qty per unit → Production Qty → Total Qty → availability check → order.
For a small workshop, it is reasonable to separate two risks:
production — whether the leg design is suitable;
procurement — whether the required quantity can be obtained by the required date.
They should not be confused.
Availability may change.
The geometry of the approved SKU is part of the project.
Why SKU should be saved after order completion
Repeat orders are a common situation for a furniture maker.
The client may ask for:
- a second nightstand;
- a matching dresser;
- an additional console;
- a few more chairs;
- a new item from the same collection.
If the BOM is saved, repeating is simple:
LEG-01 → SKU
If not, the search for "the same leg" by photo begins.
This is no longer reliable.
Therefore, archive together:
- Project Code;
- SKU;
- the material;
- size;
- finish;
- fasteners;
- URL;
- revision.
What to do if the original SKU is unavailable
Do not replace the leg only in the purchasing table.
The new item is re-checked by:
- height;
- width or diameter;
- top plate;
- mounting;
- material;
- visual mass;
- finish.
After that:
replacement SKU → drawing check → prototype if needed → BOM revision → APPROVED.
The reason is simple.
A new leg can change:
- final height;
- the position of the cabinet;
- indent;
- fasteners;
- proportion;
- free space.
That is, replacement is a modification of the design.
When a ready-made furniture leg doesn't fit
You don't need to make the catalog solve every task.
A ready-made SKU is inconvenient if:
- the height doesn't fit;
- the top plate doesn't fit;
- a special historical profile is needed;
- a non-standard angle is required;
- the support must continue the unique line of the cabinet;
- the fastening contradicts the construction;
- a full copy of the existing part is needed.
In that case, custom manufacturing may be more rational.
But it is better to make the decision before cutting the cabinet.
Typical mistakes of a furniture maker
First the cabinet, then the leg
Cause: the support is perceived as an accessory.
Consequence: you have to select only by the residual height.
How to prevent: choose the SKU before the final calculation of the cabinet.
Check height only
Cause: the height filter seems sufficient.
Consequence: the top platform does not fit.
How to prevent: carry over all critical dimensions.
Fasteners are selected during assembly
Cause: the joint is not detailed.
Consequence: there is no room for the plate or tool.
How to prevent: lock the fastening in the drawing.
Four similar legs instead of one SKU
Cause: purchasing is based on appearance.
Consequence: difference in height and profile.
How to prevent: LEG-01 × 4.
New SKU without REV
Cause: replacement is counted only at purchase cost.
Consequence: BOM and drawing describe different products.
How to prevent: any replacement undergoes design review.
How to buy furniture legs for production
The commercial stage should begin after design approval.
First:
REAL LEG SKU → A/B/C/D → MOUNTING AREA → FASTENER → FURNITURE HEIGHT → PROTOTYPE → APPROVED → BOM.
Then:
Total Qty → availability → order.
In the STAVROS catalog you can select furniture legs for furniture makers, check separately from STAVROS open boundless possibilities for designers, furniture makers, and anyone striving to create unique high-quality furniture., turned, Carved и geometric legs.
The main rule for a furniture maker:
the leg must make it into the project before the final body height goes into production.
Then purchasing doesn't force the design to be redone. On the contrary: the real SKU becomes an integral part of the design, from which the body, fasteners, BOM, and series are already calculated.