

















Article Contents:
- The bar as an architectural statement
- Why the bar area is particularly demanding in terms of decor
- Why the wall behind the bar is everything
- The principle of the architectural frame
- Moldings around a mirror or glass insert
- Wall moldings: scenarios and solutions
- Bar counter against the wall
- Freestanding wine cabinet
- Sideboard or credenza
- Built-in wardrobe or niche
- Open shelves for a bar
- Furniture decor for bar cabinet fronts
- Furniture overlays: transforming facades
- Furniture moldings: frames on facades
- Furniture handles: the final touch
- Cornice on top of the cabinet
- Decorative stucco as the focal point of the bar area
- Where to place stucco decor
- How much decor is enough
- Color and painting: how monochrome makes a bar look expensive
- Which colors to choose for a bar area
- Painting moldings: matching the wall or contrasting
- Lighting in the bar area: how moldings work with backlighting
- Types of backlighting for a bar area
- Style solutions for a home bar
- Classic bar — English study
- Modern neutral bar
- Transitional style — sophisticated transitional
- Installation: step-by-step guide for DIY work
- What you'll need
- Work sequence
- What to buy for a bar area: a complete set
- Mistakes that ruin a bar area
- Specific scenarios: from simple to complex
- Minimal project — a buffet in the living room
- Medium project — a bar counter with a mirror
- Complex project — a built-in cabinet turnkey
- Frequently Asked Questions
- About the Company STAVROS

A home bar looks expensive when the wall, cabinet, lighting, and facades work together: Moldings made of polyurethane set the architectural frame, furniture decor adorns the facades, Decorative stucco creates the main accent, and unified finishing turns the bar area into a full-fledged part of the interior. This is exactly what this article is about — in detail, honestly, and with specific solutions.


Bar as an architectural statement
There are two types of home bars. The first is a cabinet with bottles. Bought, placed against a wall, surrounded by empty space. It serves a function but doesn't create an atmosphere. People pour from it, but they don't notice it.
The second type is a zone. Thought out, styled, integrated into the interior so that it looks like an integral part of it. Guests are drawn to it the moment they arrive, it's what they photograph, it's what they say 'like adults have' about. The difference between these two options is not the cost of the cabinet. It lies in whether there is an architectural context around it.
What creates this context? Three things: moldings that form a frame on the wall and facades; Decorative stucco, which provides a focal point; and furniture decor that connects the cabinet to the rest of the space. All together — this is not an expensive renovation, but a targeted and smart addition to what already exists.
That is why Buy moldings for a home bar — this is not the whim of an aesthete. It is a pragmatic decision by someone who wants their space to look complete.




Why the bar area is especially demanding of decor
A bar is a display zone. There is always something to show here: rare bottles, glasses, accessories, lighting. But it is precisely because of this rich content that the background must be especially well thought out. If the wall is empty, all these items are perceived as a chaotic collection. If the cabinet facades are simple and faceless, they 'eat up' the beauty of the contents.
Stucco here works like a setting for a jewel. It doesn't compete with the bottles and glasses — it creates a stage for them. The molding frame says: 'this is a special place.' The decorative element above the center says: 'there is meaning here.' And the furniture overlays and Moldings for furniture say: 'this cabinet is not a random purchase.'
Our factory also produces:



Why the wall behind the bar decides everything
Before talking about furniture and its decor, you need to deal with the wall. It is the main surface that determines the perception of the bar area. A cabinet can be updated. Handles can be changed. But if behind the cabinet there is an empty painted wall without a single architectural element, no expensive furniture can fix that.
The wall behind the bar is a background that works constantly: both when the cabinet is open and when it is closed, and when there is nothing nearby except the zone itself. It is the first thing the gaze of someone entering the room falls on. And it is what forms the first impression of how well-thought-out the interior is.
Buy molding and placing it correctly on the wall behind the bar is perhaps the most effective investment in designing the bar area in terms of cost-to-result ratio.
Get Consultation
The principle of an architectural frame
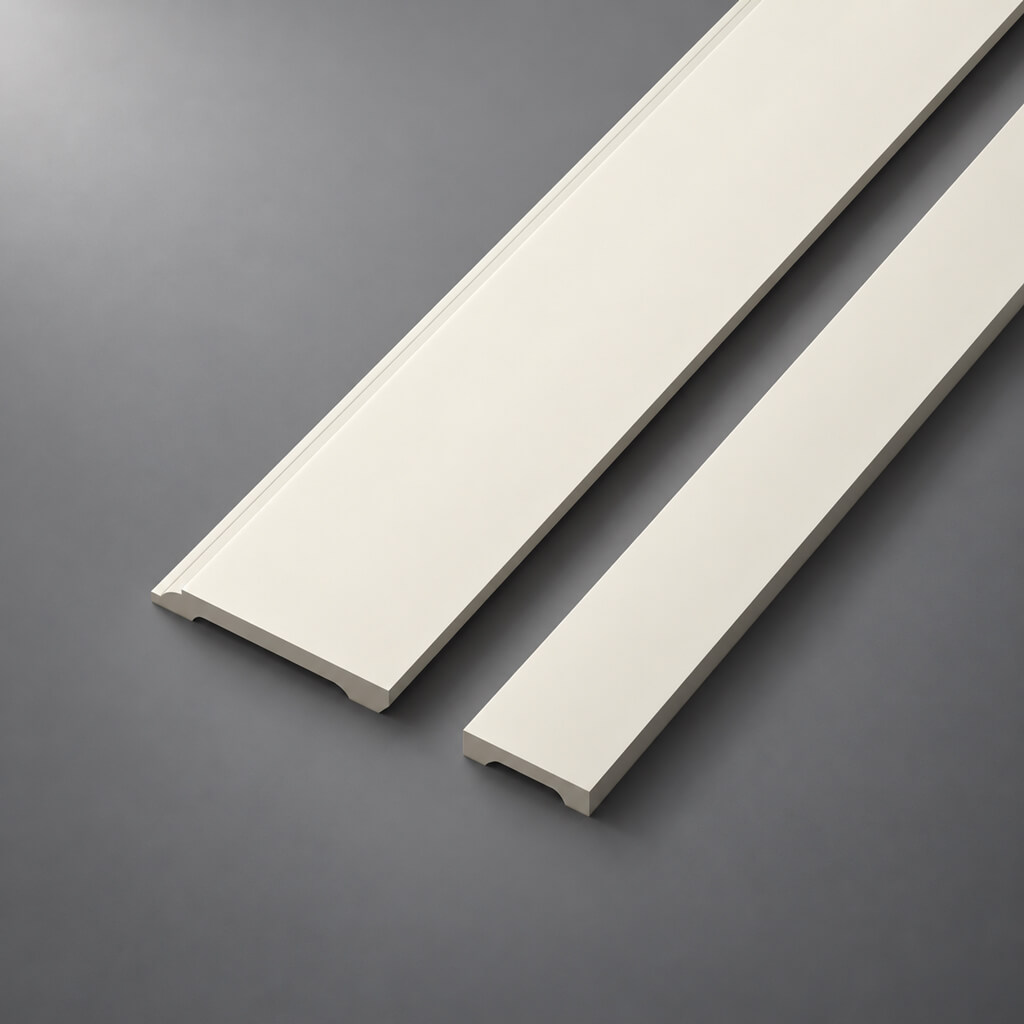
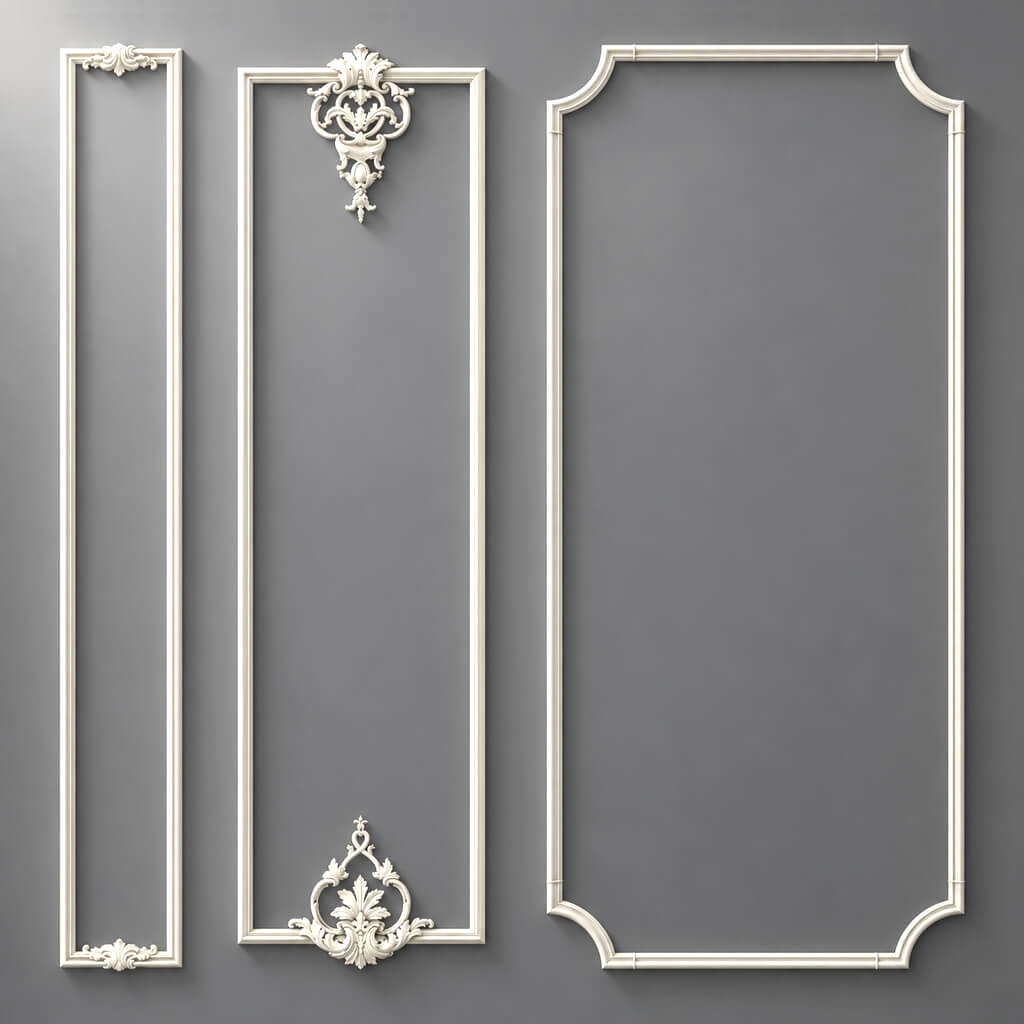
Molding on the wall works like a picture frame. It does not add new content—it structures what is there. When a bar cabinet is placed inside a molding frame on the wall, it ceases to be just a piece of furniture and becomes part of the room's architecture.
The frame can be:
-
exactly along the contour of the cabinet—the molding outlines the cabinet around the perimeter with a 5–10 cm offset, creating a visual "nest";
-
wider than the cabinet—the frame captures an area of 20–40 cm on the sides and top, creating the feeling of a niche;
-
from floor to ceiling—a vertical architectural section spanning the entire height of the wall, inside which the entire bar is placed;
-
a horizontal strip above the cabinet—the molding runs horizontally, marking the upper boundary of the bar area.
All these options are implemented using buy polyurethane moldings from the STAVROS catalog. Polyurethane is a material that cuts precisely, glues reliably, and behaves like part of the wall when painted.
Moldings around a mirror or glass insert
If there is a mirror in the bar area, that's a separate story. A mirror behind the bar makes the space deeper, reflects light, and creates an additional visual effect. But without framing, it looks random. Moldings made of polyurethane around the mirror create a classic frame that turns the mirror into an architectural element.
The optimal scheme: an outer frame around the entire bar area and an inner frame around the mirror. Between them is a painted wall. Two layers of molding create a sense of depth and level that cannot be achieved by any other means without a full renovation.
Wall moldings: scenarios and solutions
Each bar area has its own character, and moldings must work with that character. Let's break down five main formats of bar space and suggest a specific scheme for each.
Bar counter against the wall
This is perhaps the most common format for a home bar in a city apartment. The counter is pressed against the wall, with open shelves or cabinets above it, and high stools nearby. The wall here is almost entirely visible, and it sets the tone.
Solution: a horizontal molding at mid-wall height (approximately 120–130 cm) divides it into two zones — a lower, darker one (under the counter) and an upper, lighter one (above the shelves). Additional vertical moldings on the sides create a frame for the entire area. Polyurethane wall decor in the upper part — one or two decorative elements — completes the composition.
Freestanding wine cabinet
A separate wine cabinet — functional and often expensive — often simply "stands against the wall" without context. A few moldings change the situation radically.
Solution: a frame made of of the polyurethane molding 30–40 mm wide around the cabinet with an offset of 8–12 cm. Above the frame — a decorative element in the center. Paint the wall inside the frame in a shade slightly darker than the main wall. Result: the cabinet looks built into a niche, even if there is no niche.
Sideboard or credenza
A classic sideboard with a bar function — glass doors on top, closed below — provides an excellent base for stucco decor. Here it is important to play up both the furniture itself and the wall behind it.
Solution: moldings along the top contour of the sideboard and on the sides form a frame on the wall. furniture moldings on the facades enrich the surface. decor for furniture in the center of the lower doors — and the sideboard turns into furniture that can be mistaken for an antique.
Built-in wardrobe or niche
A built-in wardrobe is one of the best bases for a home bar. But if its facades are smooth and faceless, the potential is lost. Adding solid wood furniture moldings and decorative overlays turns a standard cabinet into furniture with character.
Solution: furniture moldings around the perimeter of each door, a decorative element in the center, a cornice on top. Outside — a molding around the perimeter of the opening. Painting the entire ensemble in one color — and the built-in wardrobe becomes a full-fledged architectural part of the room.
Open shelves for the bar
Open shelves are a minimalist and modern format. Here, the molding should be delicate: not competing with the contents of the shelves, but providing an architectural background for them.
Solution: a thin molding 20–25 mm outlines the shelf area around the perimeter. Horizontal moldings can duplicate each shelf from below, creating a multi-level architecture effect. The wall inside the frame is in a deep neutral shade. Buy molding for this format means choosing a minimal, almost invisible profile that works as a structure, not a decoration.
Furniture decor for bar cabinet facades
The wall is half the task. The other half is the cabinet itself. And here a whole new big topic opens up: how to make furniture facades look more expensive without changing the furniture itself.
This is especially relevant if the bar cabinet or sideboard was bought several years ago and is morally outdated. Or if it was initially simple — smooth MDF doors without relief, simple handles. Furniture decor solves this issue radically.
Furniture overlays: facade transformation
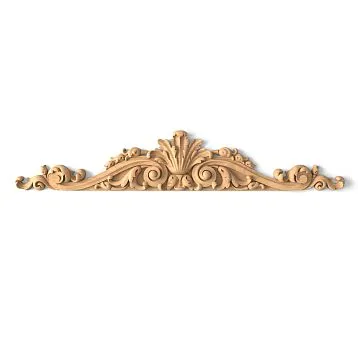
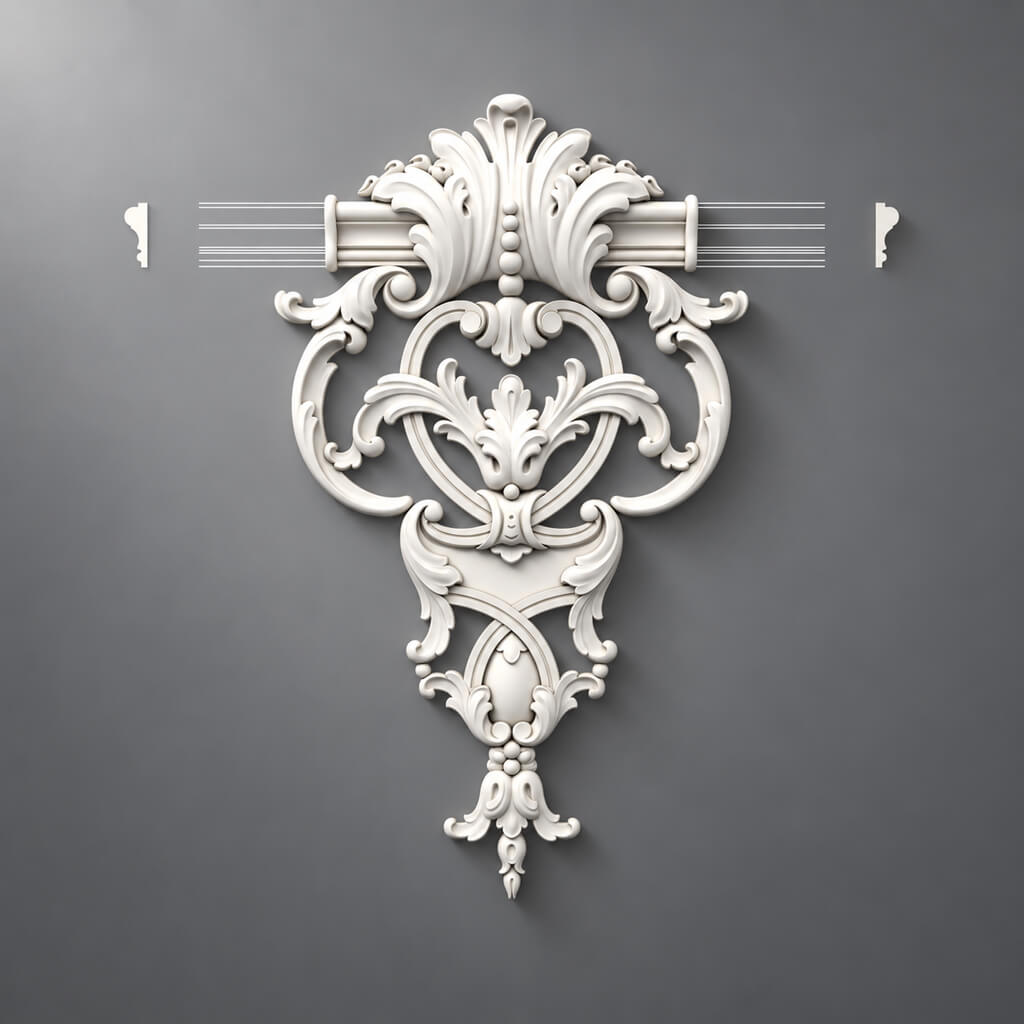
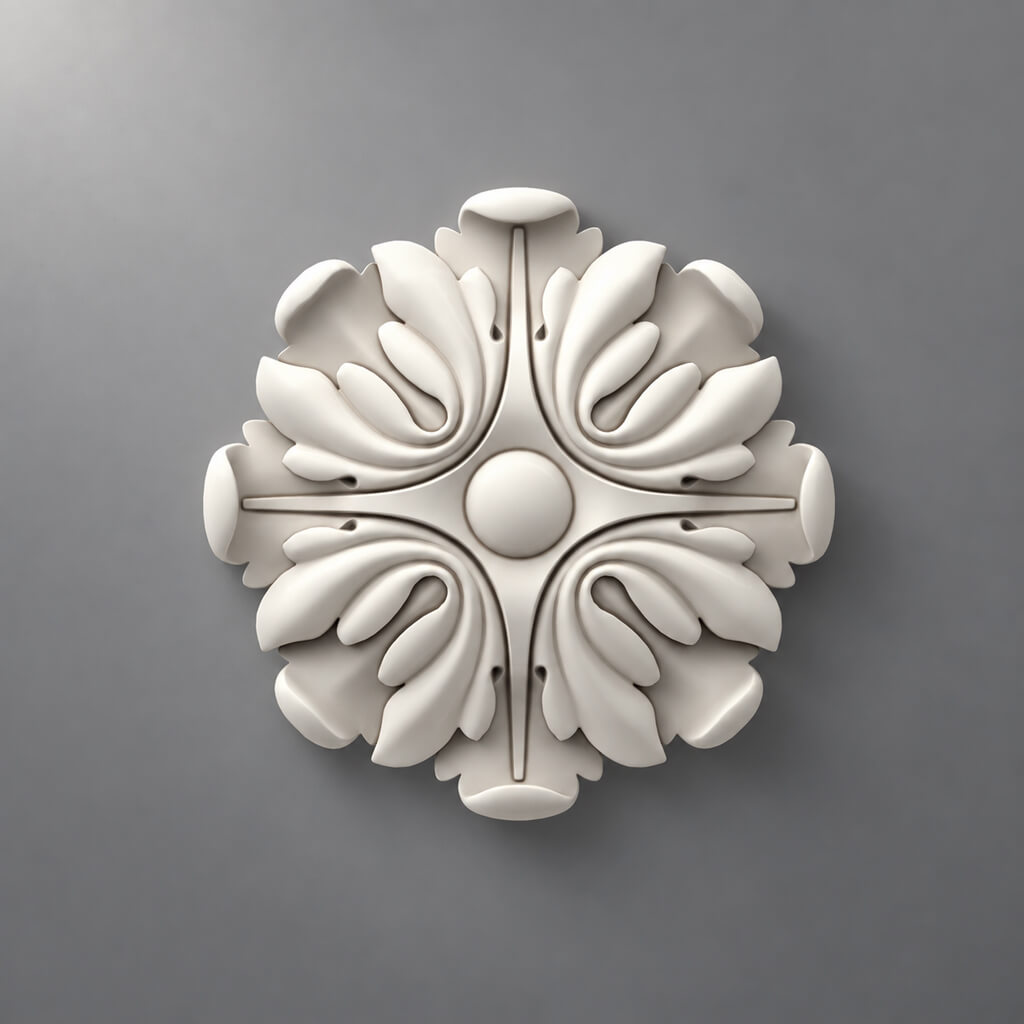
decor for furniture — these are overlay elements made of solid wood that are glued onto the facade and instantly change its visual weight. An overlay in the center of the door creates the feel of a paneled facade. Overlays on the corners create the feel of carved furniture. A combination of central and corner elements creates a full-fledged classic facade without replacing the body.
Why does this work? Because the eye perceives furniture primarily as a set of planes and volumes. When a flat door gains relief — even minimal — it stops looking cheap. This is one of the most honest and practical techniques in interior design.
Important: overlays are selected to match the scale of the door. For a 60×80 cm door, the central overlay should be no more than 15–20 cm in diameter, otherwise it will 'fill' the entire facade and ruin its proportions.
Furniture moldings: frames on facades
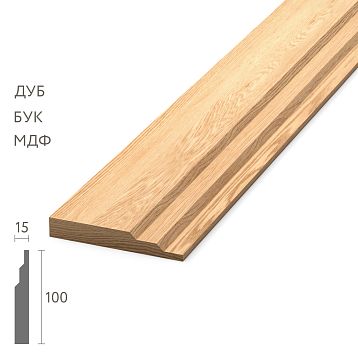
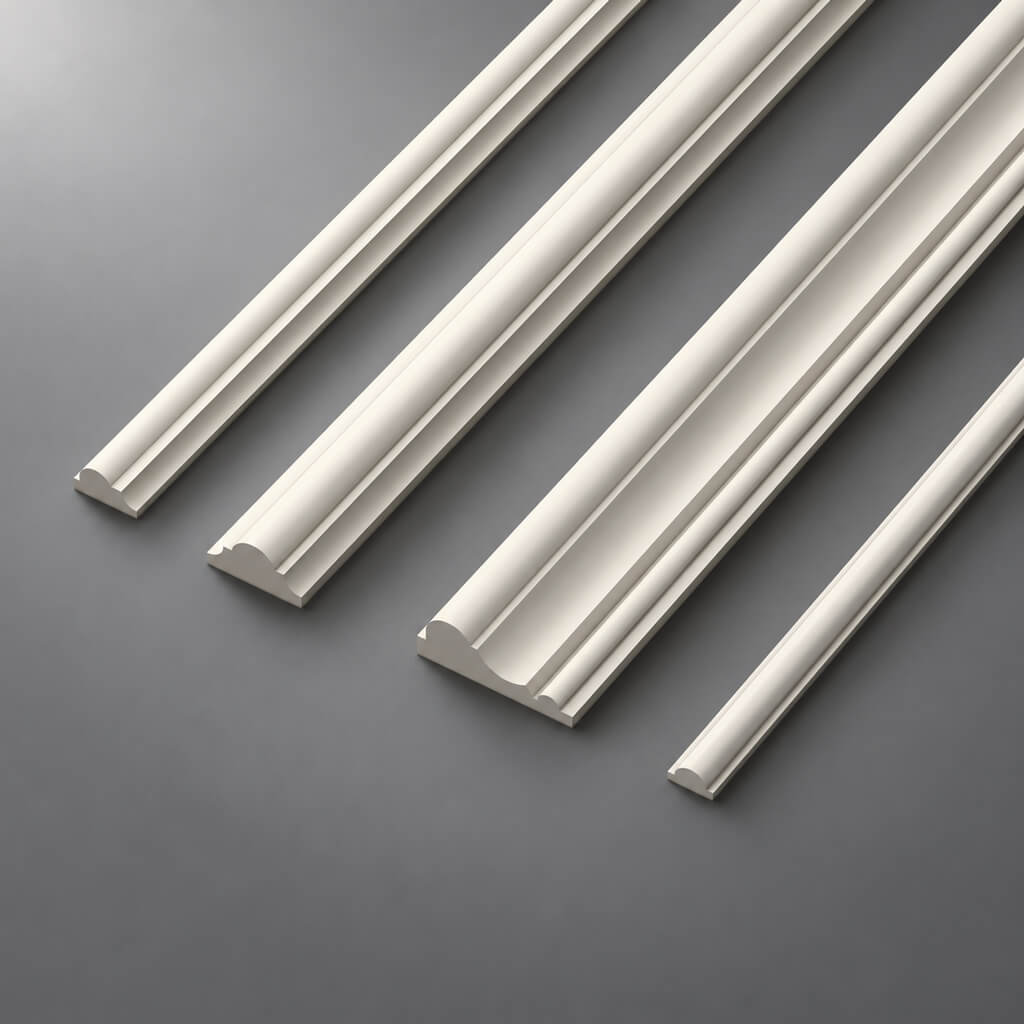
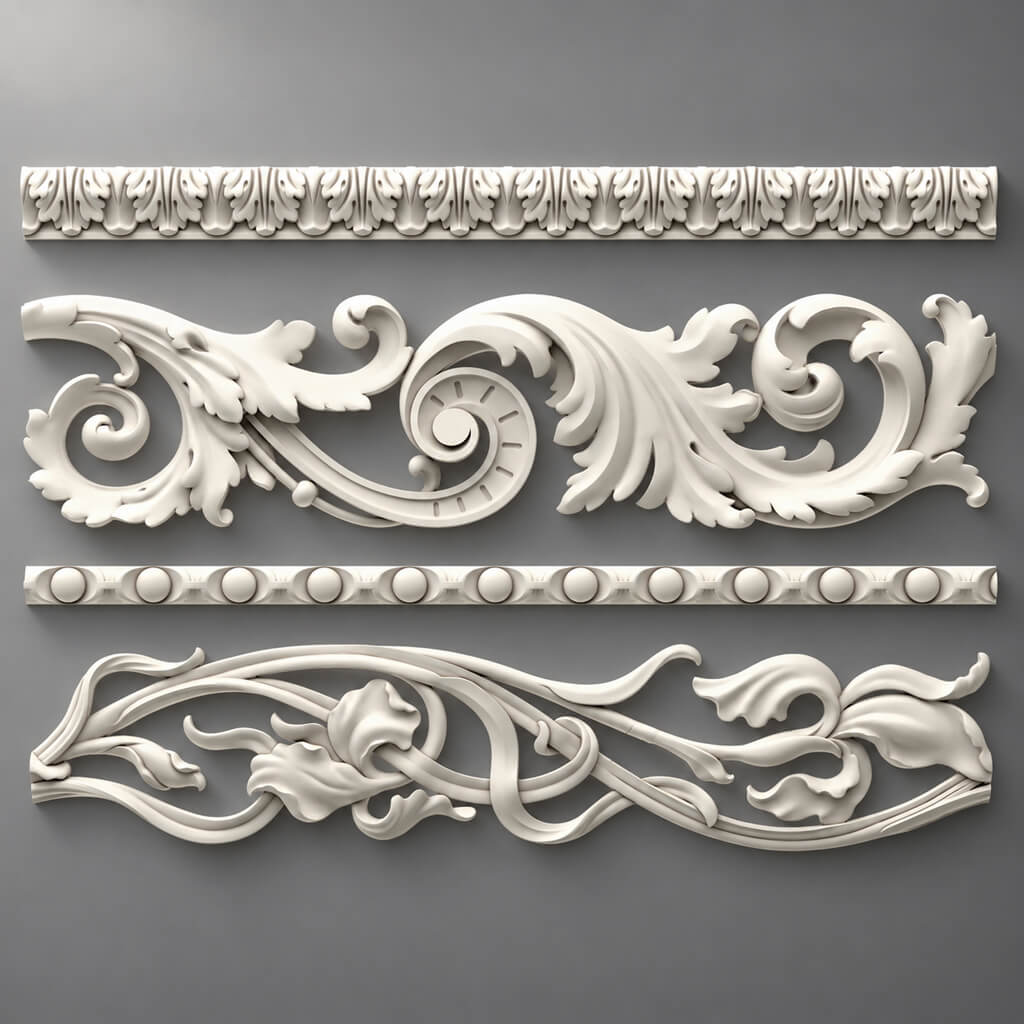
Moldings for furniture made of solid wood — this is the same principle as wall moldings, but on the scale of a door. The molding is glued along the perimeter of the facade with an indent of 3–5 cm and creates a frame effect. This is a classic frame detail found in furniture of all styles — from Baroque to modern Neoclassicism.
Furniture moldings work especially convincingly when they echo the moldings on the wall. If the wall is decorated with a profile with a fillet, the furniture molding should follow the same logic — with a similar cross-section or the same profile width. This creates a unified architectural language for the entire bar area.
Furniture handles: the final touch
Handles are the most underestimated furniture detail. Most people change handles last or don't change them at all. Yet it is handles that provide the first tactile and visual impression of furniture.
Furniture Handles made of solid wood is a detail that instantly elevates the perceived quality of furniture. A shaped wooden handle on a smooth MDF facade creates a contrast of materials that always reads as an expensive designer solution. A dark walnut handle on a white facade is elegant. A natural oak handle on taupe furniture is impeccable.
The main rule when choosing handles: they should be in the same style as other details — moldings, overlays, decorative elements. If the furniture molding is classic with a bevel, the handle should have similar plasticity — shaped, with form transitions. If the molding is smooth and minimalist, the handle should be simple and clear.
Cornice on top of the cabinet
The top part of a bar cabinet is the area most often forgotten to be styled. And it is precisely there that the transition from furniture to wall occurs — the most visible and most uncomfortable if left unresolved. The gap between the top of the cabinet and the ceiling looks unfinished and often collects dust.
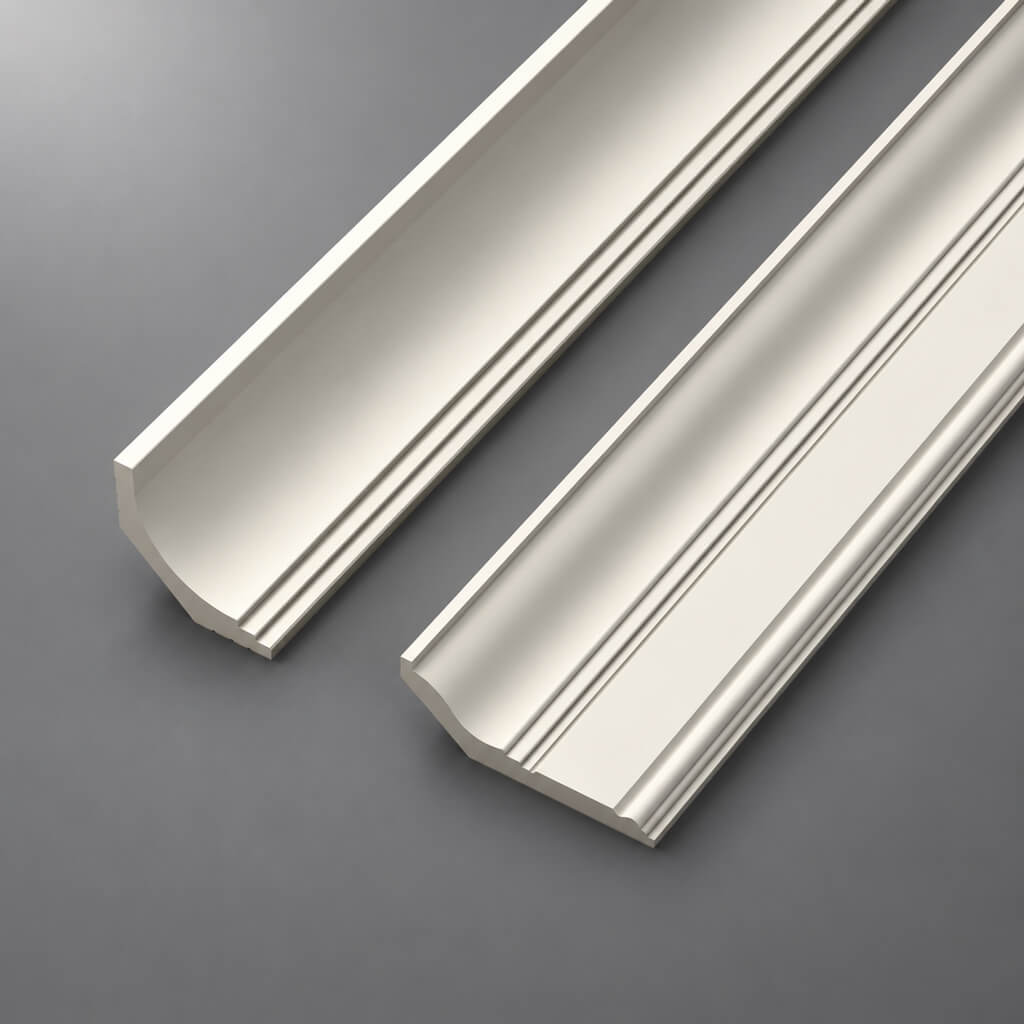
A cornice on top of the cabinet closes this transition and simultaneously adds 'weight' and completeness to the furniture. Moldings for furniture as a top cornice is a classic solution known for centuries. The cornice can be simple — a straight horizontal plank. Or more complex — with a molding, fillet, stepped profile. In any case, it closes the gap, adds vertical height to the furniture, and makes it look built-in.
Decorative stucco as the semantic center of the bar area
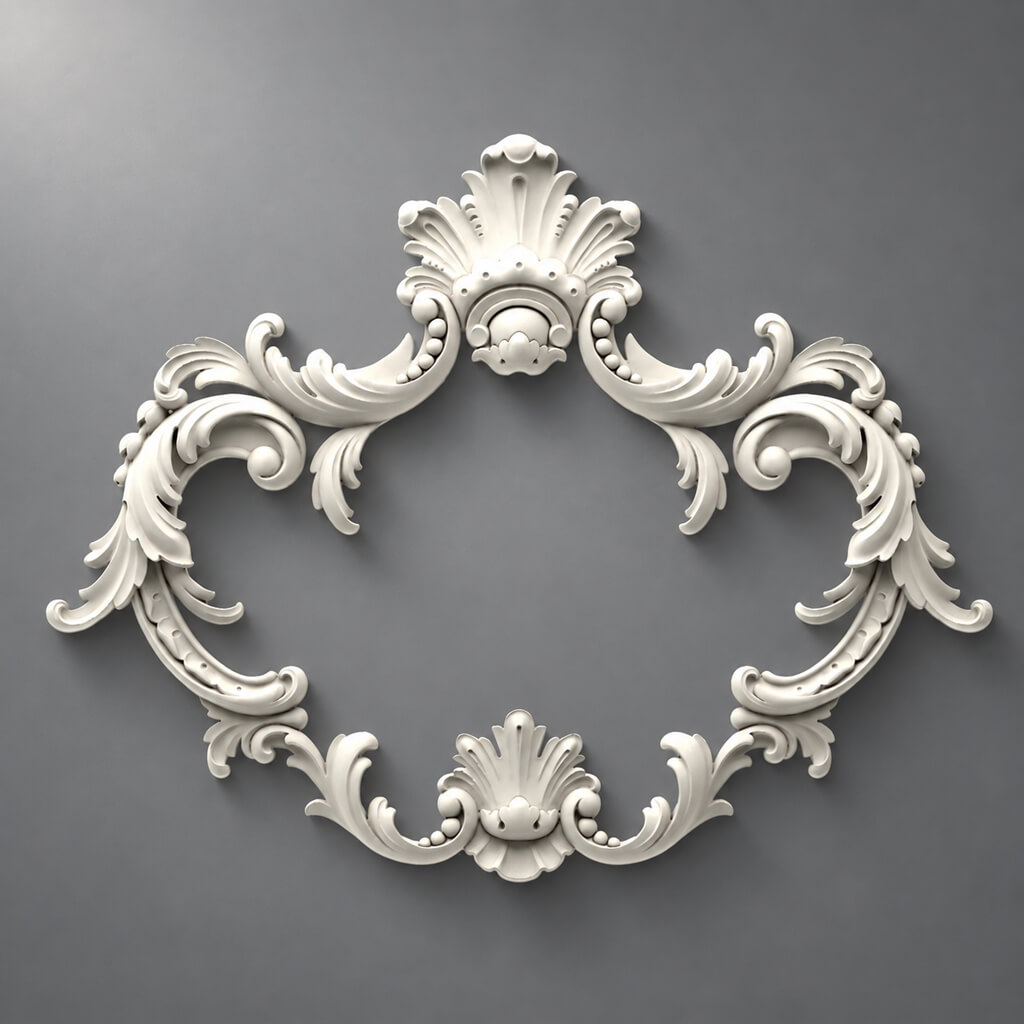
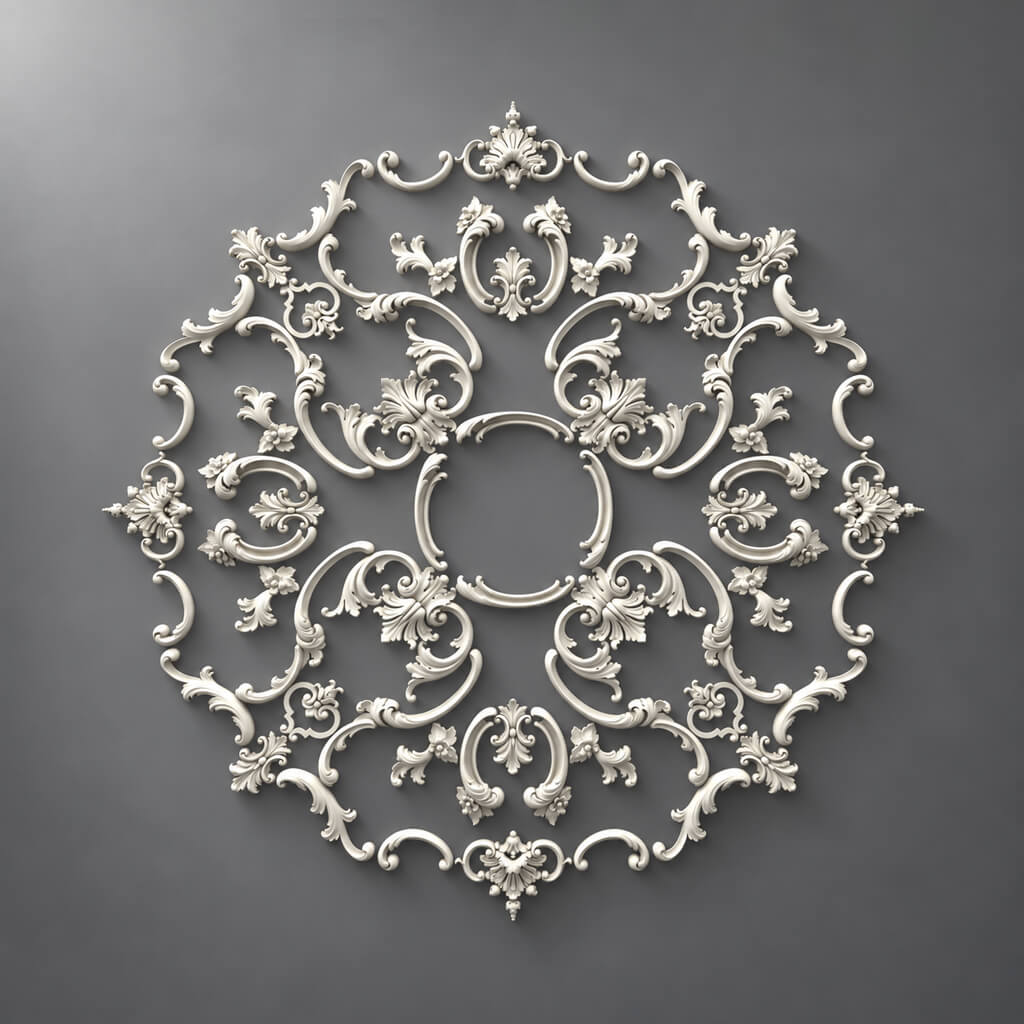
Moldings create structure. Furniture decor enriches facades. But it is Decorative stucco creates what it was all about: a point of attraction, a semantic center, a detail that makes you pause your gaze.
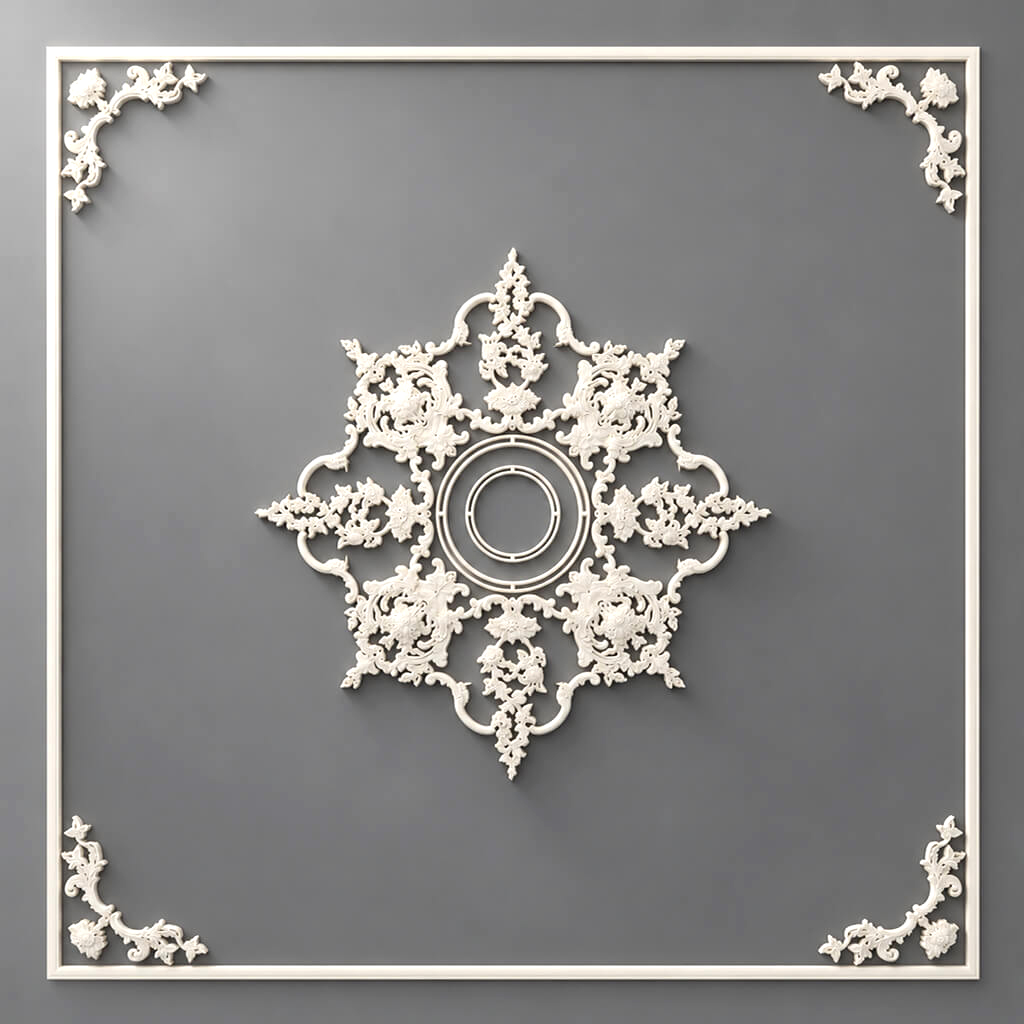
For the bar area, an accent decorative element is not decoration for decoration's sake. It is an architectural gesture that communicates: something is intended here. There is an idea here. A person with taste lives here.
Where to place stucco decor
Above the center of the bar cabinet. A decorative element placed above the center of the furniture — in the upper part of the molding frame or directly on the wall above the cabinet — creates a "crown" for the bar area. This is a classic and foolproof technique. The eye rises to it effortlessly.
On the sides of the mirror. Paired decorative overlays on both sides of the mirror create symmetry, which is perceived as a deliberate and well-thought-out solution. It is especially effective when the mirror behind the bar is illuminated: the decor casts shadows, revealing volume.
In the upper part of the molding frame. A decorative element at the corner points of the frame or in the center of the upper horizontal line is a traditional framing form. This works in classic, transitional, and even modern interiors with the right shape selection.
Next to a sconce or backlight. When Buy Moldings and placed on the sides of a wall light, the light begins to work on the decor: it emphasizes the relief, creates shadow, makes the volume lively and dynamic.
On furniture facades. This is no longer wall decor but furniture decor — but the essence is the same. A decorative overlay in the center of a door or on the corner posts of a sideboard adds volume and status to the furniture.
How much decor is enough
The bar area is a visually saturated space. Bottles, glasses, lighting, glass, metal — all of this already creates richness. Therefore, stucco decor here should be strict in quantity: one main element and a maximum of two auxiliary ones.
The main element is above the center of the bar area. The auxiliary ones are on the sides of the mirror or in the corners of the frame. That's it. No more is needed: each added element will "talk" to the others and create visual noise.
buy decorative moldings for a bar means choosing one or two elements wisely, rather than filling the wall with everything you like from the catalog.
Color and painting: how monochrome makes a bar look expensive
A separate and very important topic is color. It is the color scheme that determines whether the bar area will look like a designer project or like "made by hand."
The key principle is monochrome. The wall, moldings, furniture, and decor, painted in a single shade or in close tones of the same palette, create a sense of architectural unity that cannot be achieved by mixing different colors. Monochrome is not boring—it is spatial. It does not flatten, but deepens.
Which colors to choose for the bar area
For a home bar, the following work especially well:
Dark, rich shades—dark green, deep blue, graphite, dark burgundy. They create intimacy, a private club atmosphere, a feeling of coziness and seclusion. Moldings in the same color add volume, and lighting against a dark background works particularly advantageously.
Neutral warm tones—taupe, warm gray, ivory, light beige. This is a universal format that works in any style and with any furniture. Moldings made of polyurethane in a warm neutral color are almost indistinguishable from the architectural relief of the wall—which is the goal.
Metallic and antique shades — cream with gold detail, dark walnut with bronze. These combinations work well in classic and transitional interiors where furniture has carved details and handles are brass or bronze.
Painting moldings: matching the wall color or contrasting
There is no single correct answer — there are two different concepts.
Matching the wall. The molding and wall are painted in the same or very close shade. The molding is perceived as a relief of the wall itself, not as a glued-on detail. This is the most architectural and sophisticated option.
Lighter than the wall. White or cream molding on a dark wall. A classic solution characteristic of English and French interiors. Contrast provides clarity of lines and solemnity.
Darker than the wall. Dark molding on a light wall — a modern version that works especially well in minimalist and transitional interiors.
Important: whatever you choose, the molding and wall must be in the same system — cool or warm. Mixing warm and cool shades destroys the unity of the color scheme.
Lighting in the bar area: how stucco works with backlighting
Backlighting and stucco are an ideal union. It is light that makes the relief of the molding visible and the decorative element three-dimensional. Without proper lighting, stucco loses half of its expressiveness. And vice versa: diffused light on a flat wall is a wasted opportunity.
Types of lighting for the bar area
Directional spotlights. Installed in the ceiling or on a rail and directed at an angle toward the accent wall. They create side lighting that makes the relief of molding and decorative elements appear as expressive as possible.
Wall sconce. A wall-mounted light fixture built into a molding frame is a classic of bar interior design. Decorative stucco on both sides of the sconce creates a symmetrical and majestic lighting point.
Shelf lighting. An LED strip under each shelf illuminates the contents from below — bottles, glasses — and simultaneously creates horizontal light bands that add depth to the entire area. Against a dark wall with moldings, this looks impeccable.
Lighting behind glass or a mirror. If the bar cabinet has glass doors or a mirrored back wall, the internal lighting reflects, multiplies, and creates a lively, shimmering space.
Important: when the accent wall is painted dark, the lighting should be warm (2700–3000 K). Cold white light on a dark background creates a hospital-like atmosphere, while warm light creates an intimate and atmospheric one.
Style solutions for a home bar
Different styles dictate different approaches to stucco and furniture decor. Let's consider three main directions.
Classic bar — English study
This is a space with character and history. Dark oak facades, Furniture Handles made of bronze or patinated metal, moldings with a classic profile — cove, ogee, chamfer. The wall behind the bar is in deep green or dark blue.
decor for furniture — overlays with floral or geometric ornament. The decorative element above the center of the cabinet is large, stately, but not overloaded. The cornice on top of the furniture is a must.
This is an interior where you want to pour bourbon, sit in an armchair, and open a book. It is precisely this kind of space that builds a reputation.
Modern neutral bar
White or light gray facades, thin molding 20–25 mm in the color of the wall, no decorative overlays on the furniture — only geometry. Handles are minimalist, made of matte black metal or natural wood. The wall is in a neutral warm shade.
The stucco here is minimal: only a frame on the wall behind the bar, no decorative elements. Polyurethane wall decor — exclusively in a structural, not ornamental, function.
This format suits any space, does not age, and does not require revision after three years.
Transitional style — sophisticated transitional
A blend of classic details and modern forms. Facades are smooth, but with furniture moldings around the perimeter. Handles with a delicate relief, in a matte brass shade. Wall with one clear frame of molding and one decorative element in the center.
Color — warm neutral or soft green. Classic Furniture with modern proportions — it sets the tone for this style. The stucco here serves as a bridge between styles: it is architectural enough to give a classic feel, and restrained enough not to turn the space into a historical reconstruction.
Installation: step-by-step guide for DIY work
Installing moldings and decor for the bar area is a task that anyone who can hold a pencil and a saw can handle. Polyurethane products are specially designed for DIY installation: they are lightweight, flexible, cut precisely, and glue without special tools.
What you'll need
-
Spirit level (laser — ideal, bubble — sufficient)
-
Tape measure and pencil
-
Miter box or miter saw for cutting at 45°
-
Mounting adhesive for polyurethane or liquid nails
-
Painter's tape for fixing during drying
-
Acrylic sealant for joint sealing
-
Primer and paint for finishing
Work sequence
Step 1. Marking. Draw the outlines of the future frame on the wall using a level and a pencil. Check the horizontal and vertical at every step — the only mistake that catches the eye even of non-professionals.
Step 2. Cutting. Mouldings for frame corners are cut at 45°. Use a miter box — this ensures a precise joint. First, cut all pieces dry and test fit them on the wall without glue.
Step 3. Gluing. Apply glue along the entire length of the moulding, press it against the wall, and secure with painter's tape. Do not remove the tape until completely dry — usually 30–40 minutes for water-based glue and 20–25 minutes for polyurethane glue.
Step 4. Joints. After removing the tape, fill the joints with acrylic sealant — this is the most important step for final quality. It is the unfilled joints that reveal unprofessional installation. Apply the sealant in a thin strip and smooth it with a wet finger or a special spatula.
Step 5. Priming and painting. After the sealant dries, prime the moulding and the wall, then paint in two coats. The first coat is the base, the second is the finish. Use a roller for even application and a brush for corners.
Step 6. Decorative elements. They are installed last — after painting. They are glued pointwise, without additional fixation.
What to buy for the bar area: complete set
| Task | Solution |
|---|---|
| Frame on the wall behind the bar | Moldings made of polyurethane |
| Decorative accent above the cabinet | Decorative stucco |
| Relief on the wall | Polyurethane wall decor |
| Overlays on furniture facades | decor for furniture |
| Frames on cabinet doors | Moldings for furniture |
| New furniture handles | Furniture Handles |
| All polyurethane decor | Buy molding |
Mistakes that ruin the bar area
Knowing typical mistakes saves time, money, and nerves. Here's what you definitely shouldn't do.
Too many decorative elements. Three, four, five ornaments on one wall — that's not rich, it's chaotic. One main element — maximum two auxiliary ones.
Different styles of moldings on the wall and furniture. If the wall has a classic beveled molding and the furniture has a modern smooth profile, they don't speak the same language and create visual conflict.
Molding without painting. Unpainted molding always looks like 'not ready yet'. Painting is a mandatory final step, even if the molding is white and the wall is white: the shades still differ.
Mismatched handles. If some handles are metal, some are wooden, and some are something else, the furniture looks disjointed. All handles should be from the same catalog and style.
Ignoring the top of the cabinet. A gap between the furniture and the ceiling without a cornice is eternal incompleteness. Several planks of moldings for furniture solve this problem completely.
Specific scenarios: from simple to complex
Minimal project — a sideboard in the living room
Task: update an old sideboard with a bar function without buying new furniture.
What to do:
-
Glue furniture moldings along the perimeter of each door;
-
Add decor for furniture in the center of the lower doors;
-
Replace handles with wooden handles from solid wood;
-
Paint everything in a single shade (dark green or dark blue);
-
Add a molding frame on the wall behind the sideboard.
Result: the sideboard goes from "ordinary" to "designer". Without buying new furniture.
Medium project — bar counter with mirror
Task: design a bar counter with a mirrored wall behind it.
What to do:
-
Frame of of the polyurethane molding around the mirror;
-
Outer frame around the entire bar area;
-
Decorative element above the center of the mirror;
-
Two sconces on the sides with with molded decoration next to;
-
Paint the wall behind the mirror in a dark shade.
Result: the mirror behind the bar transforms from a "simple mirror" into an architectural element. The space appears wider and deeper.
Complex project — built-in wardrobe turnkey
Task: transform the built-in wardrobe into a classic bar buffet with architectural framing.
What to do:
-
Furniture moldings along the perimeter of each door;
-
Decorative overlays in the center of the lower doors;
-
Cornice along the upper contour of the wardrobe;
-
Molding frame around the entire opening on the outside;
-
Decorative element above the center of the frame;
-
Uniform painting of the entire ensemble in dark green with bronze handles;
-
Lighting inside the wardrobe and a directional spotlight from the ceiling onto the wall.
Result: the built-in wardrobe becomes a full-fledged architectural niche — the kind designers draw in expensive projects.
Frequently asked questions
How to design a home bar?
The bar area is designed comprehensively: Moldings made of polyurethane create a frame on the wall, Decorative stucco sets accents, furniture moldings и decor for furniture enrich the facades, and Furniture Handles complete the look. A single paint color ties all elements together.
What to buy for a bar cabinet?
Minimum set: furniture moldings around the perimeter of the doors, decorative overlays on the facades, solid wood handles. Extended: plus a molding frame on the wall behind the cabinet and one decorative stucco element above the center. Buy Moldings for the wall and decor for furniture for facades, these are two different but complementary directions.
Can stucco molding be used near lighting?
Yes, and this is one of the best scenarios: lighting reveals the relief of the stucco, making it voluminous and lively. The only condition is careful installation: lighting mercilessly shows all imperfections. Joints must be sealed with sealant, and the surface must be evenly painted.
How not to overload a home bar with decor?
The rule of one main accent: one decorative element above the center of the area — and that's it. Molding should only be structural, not ornamental. decor for furniture — selectively, in the center of the doors, not on every surface. It's better to add a detail later than to remove excess after installation.
Which molding to choose for a bar area?
It depends on the furniture style: for classic — a profile with a chamfer or cove 35–50 mm, for modern interiors — a smooth neutral profile 20–30 mm, for transitional style — a profile with delicate relief 30–40 mm. The main criterion is that the molding should be in the same stylistic logic as the furniture behind it.
Can molding be installed by oneself?
Yes. Polyurethane is the most accessible material for DIY installation: lightweight, easy to cut, and adheres reliably. For solid wood furniture moldings, no special skills are required — only precise marking and careful corner cutting. Buy molding and installing it yourself is a quite realistic task for one weekend.
How to connect wall stucco with furniture decor?
Through three parameters: profile style (similar relief), width (comparable scale), and color (uniform painting). When wall moldings and furniture moldings are painted in the same shade and have a similar profile, the bar area is perceived as a single architectural system, rather than a set of separate details.
About the company STAVROS
and accessories. Classic Furniture and accessories.
STAVROS works with both private customers and designers and construction companies. The catalog covers the entire range of tasks — from minimalist decor of a modern interior to rich classical design of formal spaces. Contact us to confirm shipping to your destination., a wide selection of profiles and shapes, the ability to choose a set for a specific project.
In the STAVROS catalog you will find everything for designing a home bar: Buy polyurethane moldings, buy decorative moldings, Buy Moldings, Polyurethane wall decor, solid wood furniture moldings, decor for furniture, Furniture Handles и classic furniture. The entire range of stucco and polyurethane products is in the section Buy moldings.