





Article Contents:
- First determine the movement pattern, not the wardrobe facade
- Sliding wardrobe in the hallway: five layout options
- Straight wardrobe along a solid wall
- Built-in system in a niche
- Floor-to-ceiling wardrobe with a top storage section
- Combination of a wardrobe and an open section
- Mirrored facades with a separate decorative wall
- Cutting casings for three doors
- What to do if a sliding facade is nearby
- Situation one: the door is located almost opposite the center of the wardrobe
- Situation two: there is an uneven wall behind the wardrobe
- Situation three: the entrance needs an open hallway and a mirror
- What to hand over to the furniture manufacturer
- Can a sliding wardrobe be placed in a hallway 1450 mm wide?
- How deep should the structure be for outerwear?
- Do sliding doors always save space?
- Should the floor skirting board be removed behind the wardrobe?
- Can the MLD-007.1 architrave be installed flush against the end of the wardrobe?
- Is the PLT-006 profile suitable for all door architraves?
- Which is better for a hallway: MDF for painting or solid wood?
- Can slats be glued directly onto a sliding facade?
- Are moldings needed in a small hallway?
- Why doesn't the profile consumption equal the total footage of the openings?
- What should be checked before submitting a STAVROS order?
- Who is responsible for the joint between the furniture and the door casing?
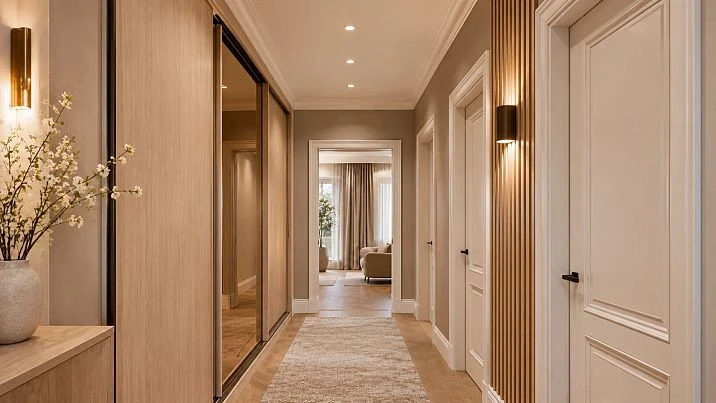
A narrow hallway just over five meters long seems like a suitable place for built-in storage: a long free wall, a standard-height ceiling, and nearby entrances to the bedroom, children's room, and bathroom. But after installing the wardrobe, it turns out that one door's casing touches the side panel, another door's swing leaf blocks the passage, and a tall baseboard prevents the cabinet body from sitting flush against the wall. Sliding fronts alone do not solve these problems. What helps is not choosing a beautiful photo, but a joint design of the furniture, doorways, and finishes.
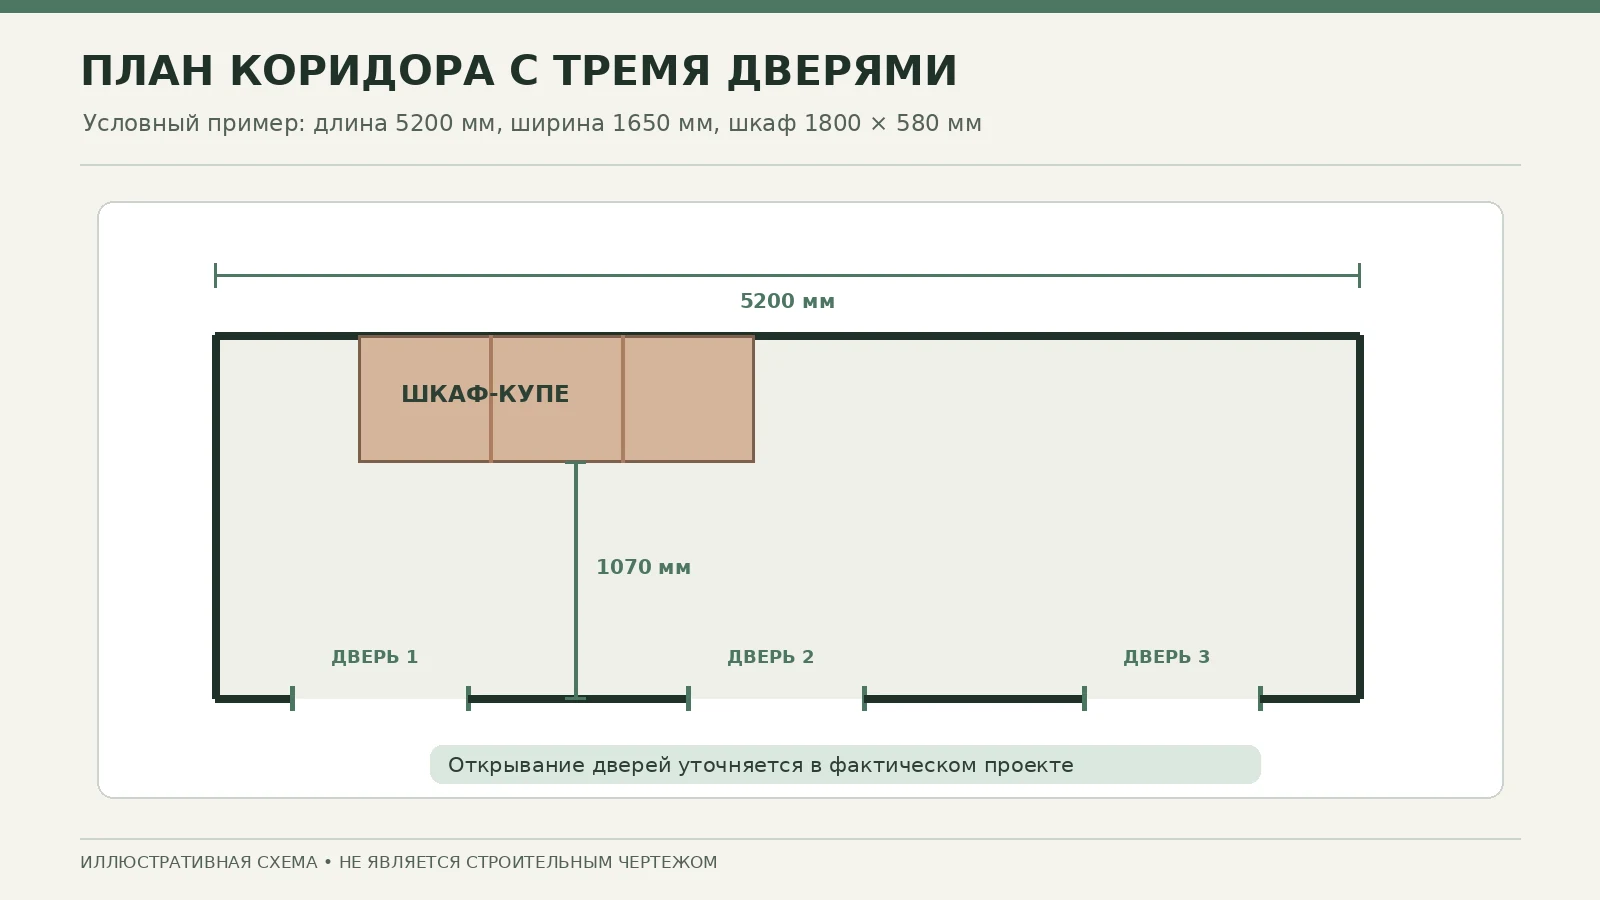
Let's look at a practical example: a hallway 5200 mm long and 1650 mm clear width, three doors on one side, a planned sliding-door wardrobe 1800 mm wide and 580 mm full depth. We'll show how to calculate the remaining passage, where to end the baseboards, why the door casing should be chosen before the front, and how many actual linear products will be needed. For the finishes we'll use proven STAVROS items; for furniture manufacturing you can contact a specialized manufacturer. The goal is a comfortable hallway, not just filling it with a wardrobe.
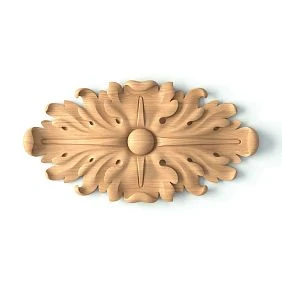
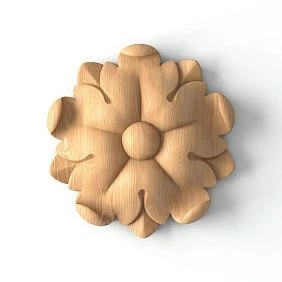
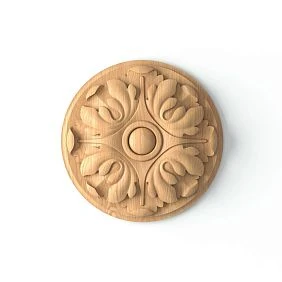
First determine the movement scenario, not the wardrobe front
The most common mistake when designing an entryway is starting with the choice of wardrobe doors: mirrored, glass, painted, or with wooden inserts. In reality, the first decision concerns how people move. Where do two people pass each other in the hallway? In which direction do the room doors open? At what point does a person stop to put on shoes or grab a jacket? How are large items brought in? The answers change the permissible depth of the furniture and the placement of its end panels more than the color of the front.
To assess the hallway, measure the width in three places: near the entrance, in the middle, and at the far opening. Take measurements after the final finishing or with the known thickness of future layers. If the wall deviates noticeably from vertical, you cannot rely on the lower width alone. You also need to measure the height from the finished floor to the ceiling at each end of the furniture. An error of a few centimeters can affect the upper filler strip, the installation of the guide, and the joint with the cornice.
We will need two different figures: the width of the room without furniture and the minimum clear width taking protrusions into account. The second value is more important for everyday use. It is reduced not only by the wardrobe body but also by door handles, protruding casings, decorative slats, a utility box, and sometimes a radiator. You cannot simply add up these protrusions if they are located in different places: you need to find the narrowest cross-section on the plan.
Also check the vertical space. A box above the door, a sensor, a ceiling light, an inspection hatch and a ventilation grille may end up within the area of the wardrobe's top panel. If the unit is made floor-to-ceiling, the installer will need a pre-agreed assembly method: a tall carcass may be impossible to raise vertically in a finished room. The furniture maker must have the actual height, the permissible installation clearances and the exact coordinates of utilities.
The following are design examples, not universal building codes. Requirements for escape routes, accessibility and passages for a specific site should be checked separately against the applicable rules and the actual purpose of the room.

A sliding-door wardrobe in a hallway: five layout options
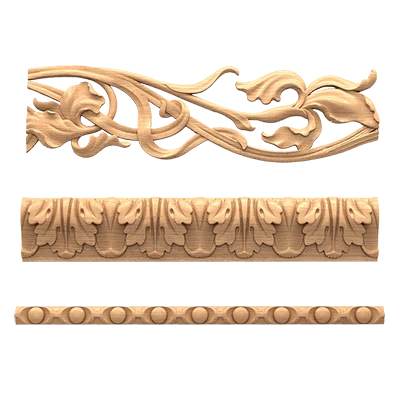
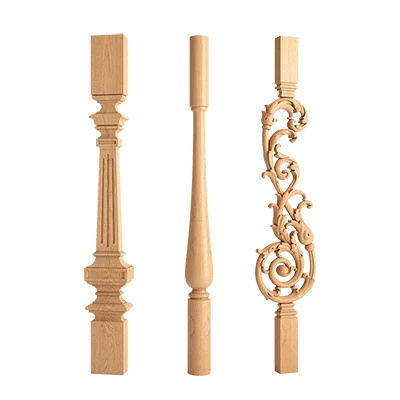
Our factory also produces:

A straight wardrobe along a solid wall
This is the most straightforward scheme: the wardrobe stands on a section of wall without doorways, and the sliding panels move within their own zone. It is suitable if the depth of the furniture leaves a sufficient passage, does not block the electrical panel and does not obstruct the way into the rooms. For seasonal outerwear, the usable depth behind the runners and doors must be checked: the overall depth of the wardrobe is not the same as the depth of a shelf or a hanging section. The specific figure is requested based on the chosen system.
With a straight wardrobe, the starting end is especially important. If a door begins nearby, space must be provided between the architrave and the side panel for installation, cleaning, possible wall deviations and safe door opening. The entire span cannot be filled "to the millimetre" based on the rough dimension. The project should state the finished dimensions and, separately, the installation clearances.
Get Consultation
A built-in system in a niche
If the hallway has an existing niche, storage can be placed in it without an additional protrusion into the passage. But a niche is rarely a perfect rectangle: the left and right walls differ in verticality, the depth at floor level may differ from the depth at ceiling level, and sometimes utilities run inside it. Filler panels and side end panels have to be designed to the smallest dimensions, otherwise the front line will end up skewed.
For a niche, decide in advance where the floor skirting ends. If it continues under the carcass, the furniture is moved away from the base, which can change the front lines. If the skirting is cut, the joint with the side panel is finished before the doors are installed. Electrical connections and engineering units that require access must not be hidden behind non-removable cladding.
A floor-to-ceiling wardrobe with a top cupboard
A tall composition uses the upper space for rarely needed items: suitcases, seasonal boxes, spare blankets. But the facade height and the carcass height are different parameters. With a top cabinet, the upper section can have separate hinged doors, which reintroduces a zone where the panels move. In a narrow hallway, check whether such a door will catch a pendant light or the door casing of the adjacent room.
The transition to the ceiling can be finished with a calm filler strip in the furniture color or with a coordinated decorative profile. Using any cornice just because it looks similar to a catalog sample is wrong: first check the section, the fastening, access to the mechanism, and whether it is advisable above a sliding system.
Combination of a wardrobe and an open section
Near the entrance, it is convenient to leave a niche with hooks, a shelf for small items, and a seat, while giving the long part of the wall to closed storage. Such a composition reduces the feeling of bulky furniture and helps avoid opening the wardrobe every time one jacket is needed. However, the open section collects street dust and requires a wear-resistant finish. The edges of wooden parts in the shoe and damp-clothing zone must be protected by the chosen coating system.
At the transition between the closed wardrobe and the open zone, you can use narrow decorative verticals or the same color of wall panel. But the edge of the overlay must not encroach on the path of the sliding panel or hide the adjustment elements. It is better to design a flush junction than to try to glue decor into the remaining gap after installation.
Mirrored facades with a separate decorative wall
A mirror is useful in a hallway where there is no full free wall for a separate large mirror. It expands visual perception but reflects doors, lights, and people passing by. In a long hallway, a continuous glossy facade sometimes creates excessive fragmentation of reflections. A calmer solution is to alternate mirrored and matte panels, leaving the decorative accent for a small end wall.
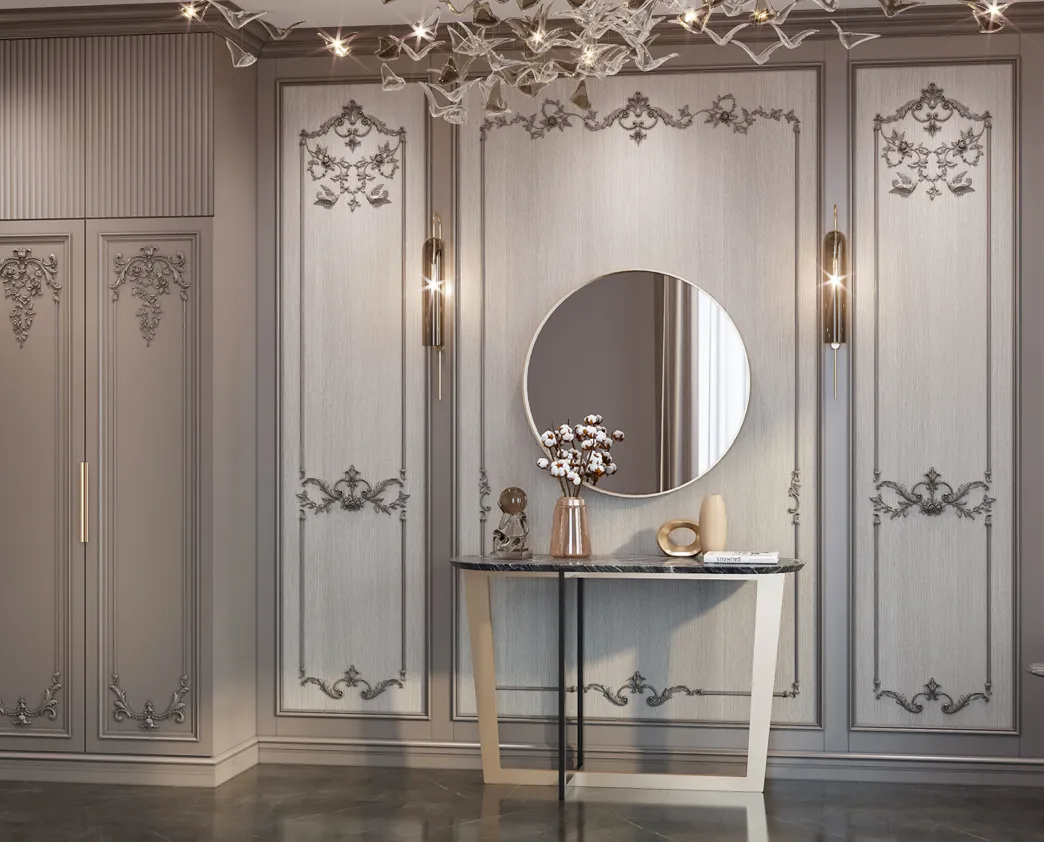
For such a task, you will need wall finishing panels STAVROS. They are chosen not as a replacement for the furniture structure but as independent wall finishing. The relief thickness, edge treatment, and proximity to the door casing are considered in one project. If a sliding door is nearby, the technical gap and the ability to remove the panel for maintenance must be preserved.
Measurement sheet: what to measure before ordering furniture
Start with a scaled plan. Mark the walls and the actual boundaries of door frames, not just the structural openings. For each door, record the leaf width, the frame width including trim, the hinge side, the opening direction, and how far the handle protrudes. Photograph the door open at 90 degrees: this quickly shows which areas of the hallway it occupies. If the leaf opens toward the wardrobe, additionally record the maximum opening angle.
The next block of measurements relates to the floor and ceiling. Record the thickness of the finished flooring, the height of the baseboard, and how far it protrudes into the room. If the baseboard has not yet been chosen, the project should include a field for "profile and actual thickness" instead of an arbitrary value. When choosing STAVROS, you can take a specific product card with the specified cross-section. At ceiling height, mark all recessed light fixtures, wiring outlets, and any possible unevenness at the ceiling junction.
The third block covers wall irregularities. Check the diagonals of the installation area and verticality, not just the overall dimensions. For a built-in wardrobe, it is useful to specify the width at heights of 100, 1200, and 2400 mm, since the sliding system is sensitive to the geometry of the opening. If the wardrobe carcass is not installed between two finished walls, the accuracy of the angles and coordination with decorative elements are still important for the end panels.
Separately note switches, sockets, intercom, lighting outlets, sensors, and distribution boards. If a switch becomes inaccessible after the wardrobe is installed, it is unacceptable to simply assume that the owner will open the sliding door to use it. Electrical relocation is planned before furniture manufacturing, not done haphazardly after installation.
| What to measure | Where to check | Why it affects the design |
|---|---|---|
| Clear corridor width | At the beginning, middle, and end | Determines the minimum passage |
| Straightness and verticality | On the cabinet section | Affects the filler panels and the installation of the runners |
| doorways | Carcass, casings, handles | Prevents the doors from colliding |
| Height from floor to ceiling | At both ends of the cabinet | Affects assembly and the top cabinet |
| Skirting board and finishing layers | At the floor, at the doors, in the niches | Changes the depth and the finished geometry |
| Switches and hatches | On all walls and end faces | Require free access |
| Opening radius | For each door leaf | Shows hazardous intersections |
If you are only preparing a preliminary plan yourself, do not try to replace a professional measurement with it. The plan is convenient to pass on to the manufacturer in order to discuss options and form a list of clarifications; production is carried out according to the finally agreed dimensions.
Passage calculation: example of a corridor 1650 mm wide
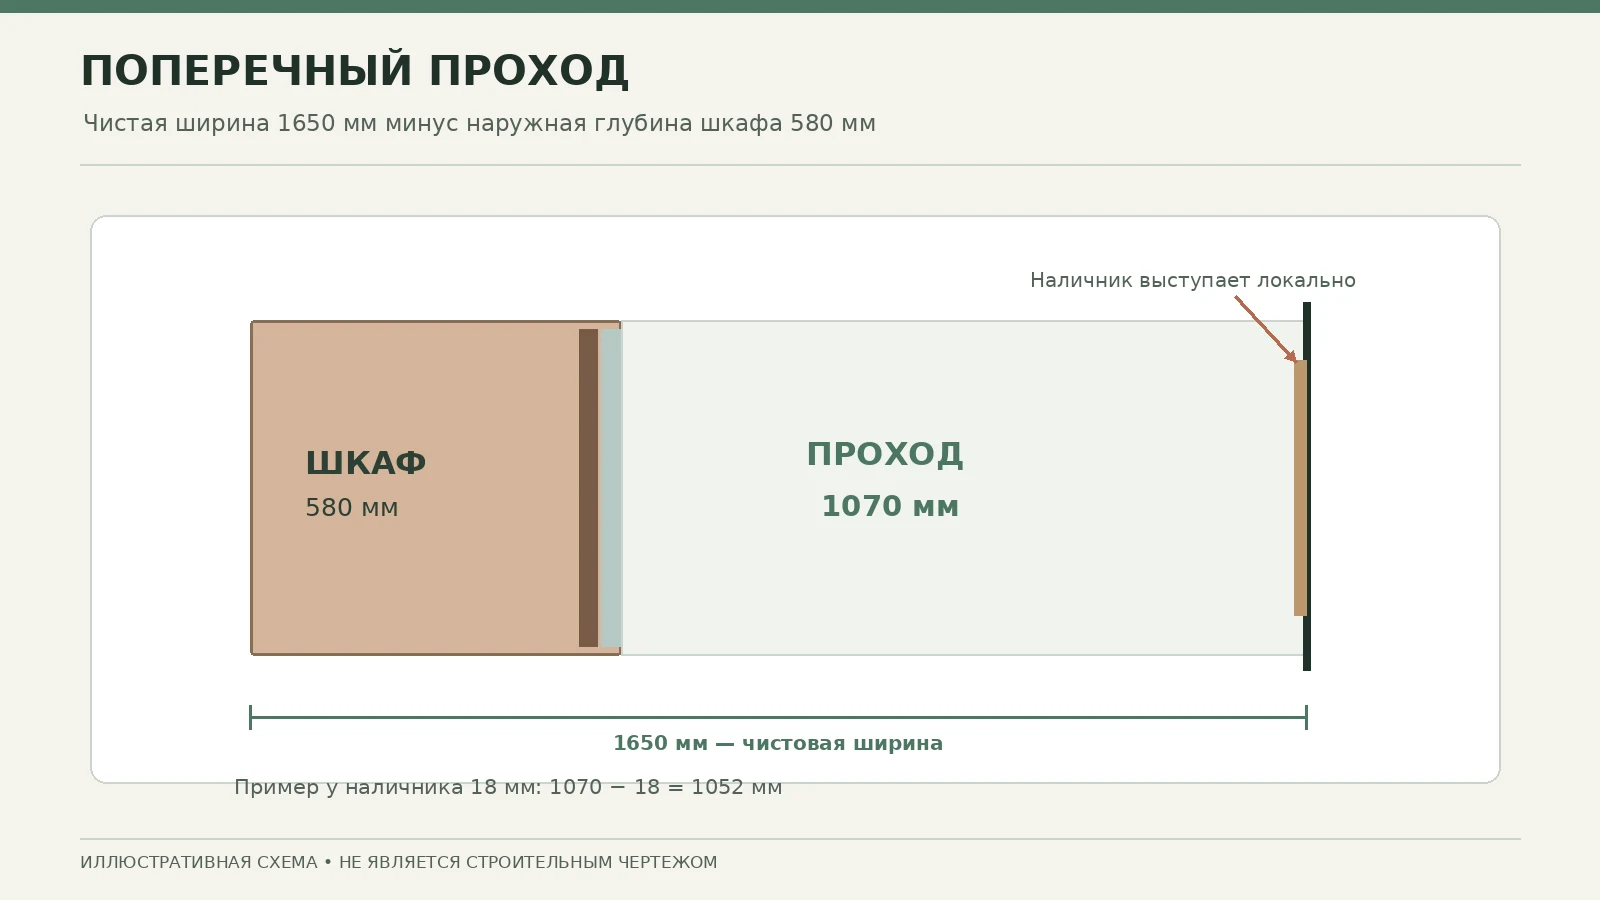
Let us take a clear width between finished walls of 1650 mm. Suppose the installed wardrobe has a full depth of 580 mm, which already includes the facade, runners and all external parts. Then the free zone opposite the smooth wall will be 1650 − 580 = 1070 mm. This is a geometric calculation for a specific section, but not a conclusion about the acceptability of the solution under building codes.
If directly opposite the wardrobe there is an architrave protruding into the corridor by 18 mm, the local clear width is reduced to 1052 mm. With a decorative wall panel protruding by another 23 mm in the same section, the result will already be 1029 mm, if the panel is mounted on top of the original wall plane. However, if the architrave and the panel are located on different longitudinal sections, they cannot be added together as one common protrusion: the narrowest point is taken in each cross-section.
Let's compare three scenarios with the same total wardrobe depth of 580 mm. With a corridor width of 1450 mm, 870 mm remains; with 1650 mm — 1070 mm; with 1850 mm — 1270 mm. A 200 mm difference strongly changes how comfortable it is to move with bags, an open door, or a laundry basket. That is why the choice between a standard-depth and a deeper wardrobe should be made based on the floor plan, not on a photo where the scale of the room is unknown.
| Clear corridor width | Wardrobe depth | Clearance before accounting for protrusions |
|---|---|---|
| 1450 мм | 580 мм | 870 мм |
| 1650 мм | 580 мм | 1070 мм |
| 1850 мм | 580 мм | 1270 мм |
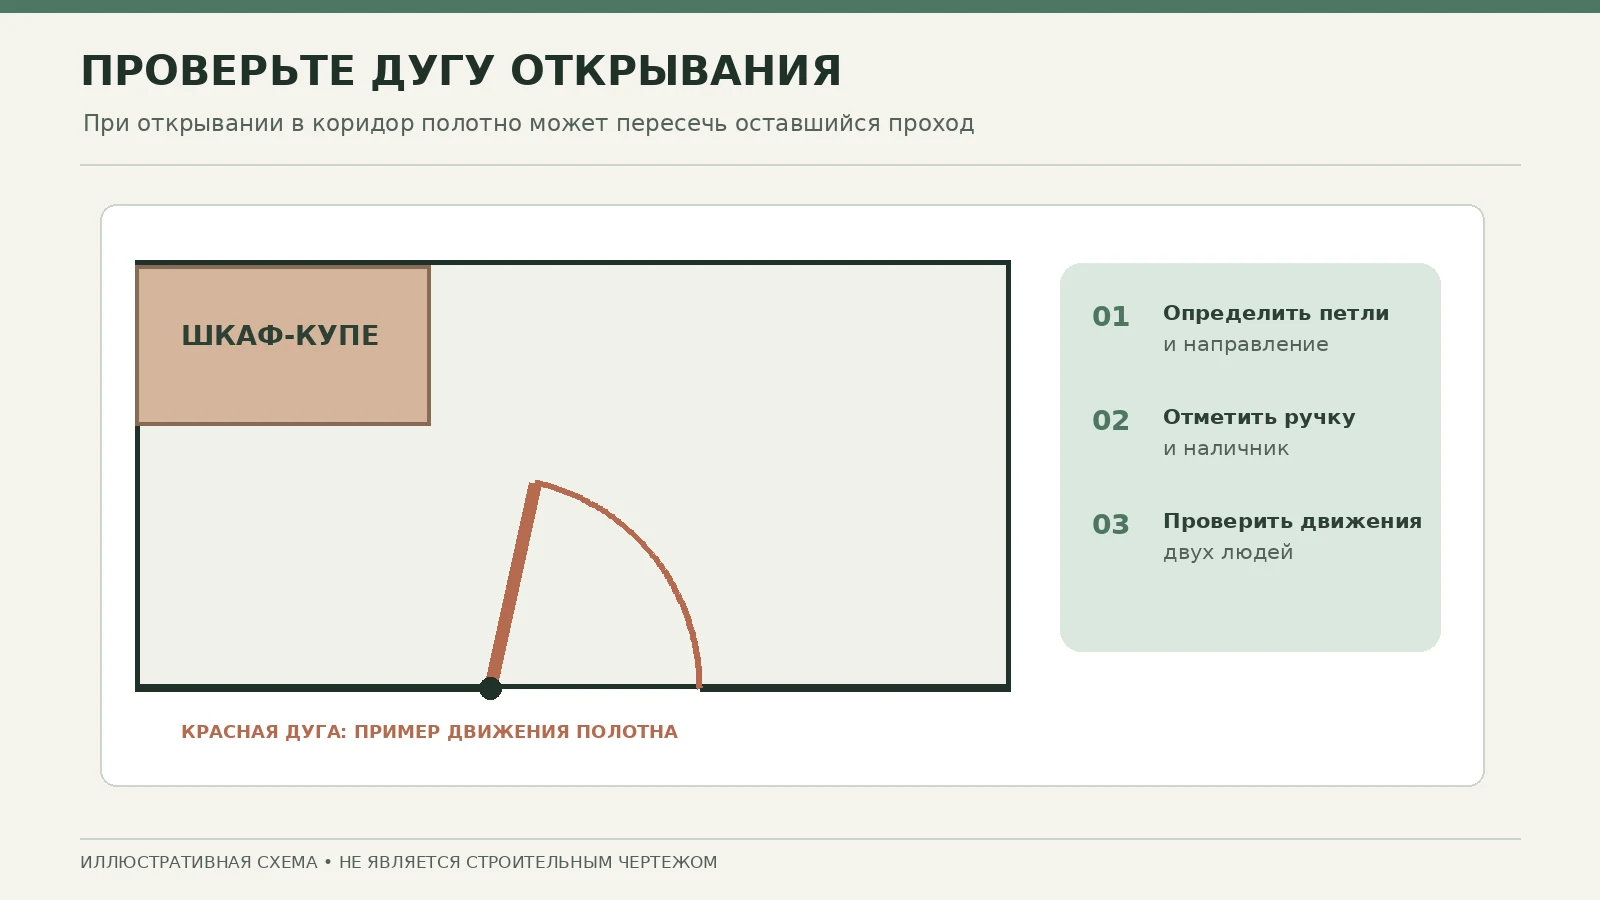
The main check concerns room doors. If an 800 mm wide leaf opens into the corridor directly opposite the wardrobe, it can occupy a significant part of the remaining space as it swings. Simply subtracting 1070 − 800 = 270 mm shows only the approximate possible loss of clearance in one position, but it does not replace an accurate check of the swing arc: the geometry depends on the hinges, the opening side, and the actual protrusion of the leaf. Such a conflict must be eliminated through a planning solution — moving the furniture, changing its depth, or revising the door layout by agreement.
Doors opposite the wardrobe: checking three openings
In our example, three openings are located on the right wall along the following longitudinal sections: the first — from 350 to 1150 mm, the second — from 2150 to 2950 mm, the third — from 3950 to 4750 mm. The proposed wardrobe occupies the left section from 650 to 2450 mm. Thus, the wardrobe is opposite the first opening and partially opposite the second. This does not in itself rule out placing the wardrobe: what becomes decisive is the door opening direction, handle accessibility, and the actual clear width.
For the first door, create two positions: closed and open to a typical everyday angle. Check whether it is possible to pass if one person is holding the handle and another is carrying a bag. If the door opens into the bathroom, the conflict with the wardrobe front is reduced, but the gap between the door casing and the passage area is still important. If the leaf opens into the corridor, mark the entire arc of its movement — in such a case it is often more sensible to shorten the wardrobe.
For the second door, check how its handle interacts with a person standing at the wardrobe. Sliding leaves do not require space to swing outward, but the user still takes up space in front of the wardrobe to get shoes or hang up clothes. This space cannot be considered completely free at peak times. The layout must account for simultaneous actions, especially in the morning when several family members are leaving their rooms.
The third opening in the example is located behind the wardrobe area, but it affects the overall composition. If a bench, console, or mirror is planned in front of it, check the distances from the open door to these items. Decorative panels near the opening should be finished so that the relief does not collide with the door leaf or handle. With existing doors, it is often more advantageous to select furniture to fit the actual opening than to change the door leaf for the sake of a beautiful wardrobe facade.
When a sliding-door wardrobe is genuinely better than a hinged wardrobe
The sliding system frees the space in front of the facade from the swing arc of the wardrobe's hinged doors. This is a significant advantage for a long passage. But a sliding-door wardrobe has its own limitations: the guides take up part of the depth, the panels overlap each other, and it is usually impossible to open the entire facade at once. If wide pull-out drawers, baskets, or special holders are needed, their position must correspond to the actual clear opening when the door is slid aside.
The comparison should begin not with the price of the facade, but with a list of items. For outerwear on hangers, sufficient working depth is required. For shoes, low sections that open without the need to completely clear the long central part are more useful. For boxes with seasonal items, upper shelves are suitable, but their height should be correlated with the users' height and the ability to safely reach heavy items.
A hinged wardrobe may prove more convenient in a shallow niche if its doors open into a safe free area and simultaneous access to several sections is needed. In a particularly narrow place, it is sometimes better to abandon a full-depth wardrobe altogether and organize shallower storage: a shoe cabinet, a utility cupboard, or a hidden niche for small items. A "sliding-door wardrobe" is not a universal recommendation, but one of the planning tools.
If you specifically need sliding-door wardrobes made to individual dimensions, compare options based on the finished plan, the door system, and the actual openings. The furniture project and the decorative specification must be coordinated together: a beautiful facade will not fix an incorrectly taken measurement of the corridor.
How to combine furniture, door casings, and finishes into a single project
A hallway has several lines that a person perceives simultaneously: the horizontal line of the skirting board, the verticals of the door casings, the top of the cabinets, the pattern of the fronts and the texture of the walls. If each line is designed separately, small conflicting joints appear. For example, the skirting board runs into the end face of the furniture, the door casing ends a few millimetres from the cabinet, and the decorative rail looks randomly cut off. These are technical and visual problems of the same origin — the absence of a common wall elevation.
The practical order is the reverse: first the layout and dimensions of the furniture are approved, then the actual door openings are fixed, and after that the profile of the casing, skirting board and decorative panel is chosen. For STAVROS it is especially important that outwardly similar mouldings differ in cross-section, length and material. The project must include the article number and finish; the words “white tall skirting board” are not enough.
If the corridor is calm in colour, the expressiveness can be moved to one small wall with rails or mouldings. If, however, the cabinet has a noticeable pattern on its fronts, the finish around the doors is better kept more restrained. Coordination does not mean the same pattern on all surfaces: sometimes it is enough to repeat the colour or one geometric proportion.
The transition from the skirting board to the cabinet is made as a separate detail. If the skirting board butts against the side panel, the visible end face must not be left untreated. If the skirting line runs behind the furniture, its installation may prevent the carcass from sitting tightly. If the installer trims the skirting board on site, the project must indicate where the finished finish ends and who is responsible for a neat edge. For the general choice of materials, a useful section is of STAVROS millwork products.
Door casing MLD-007.1: how to check the joint with the cabinet
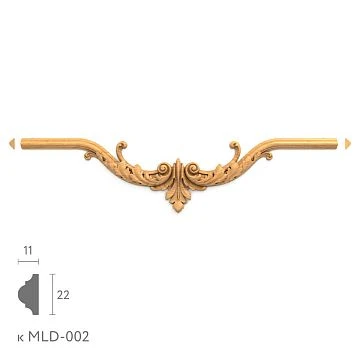
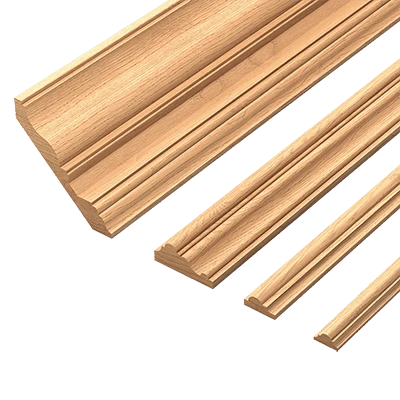
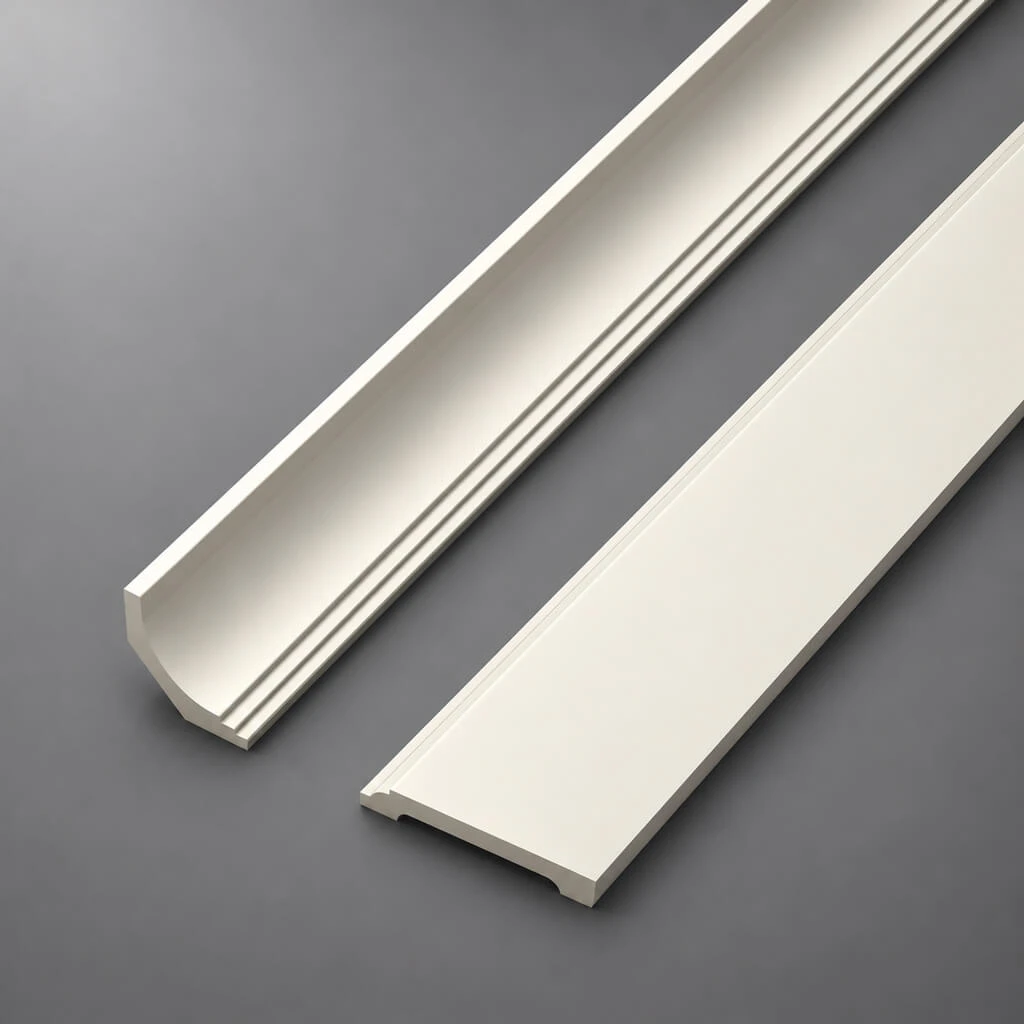
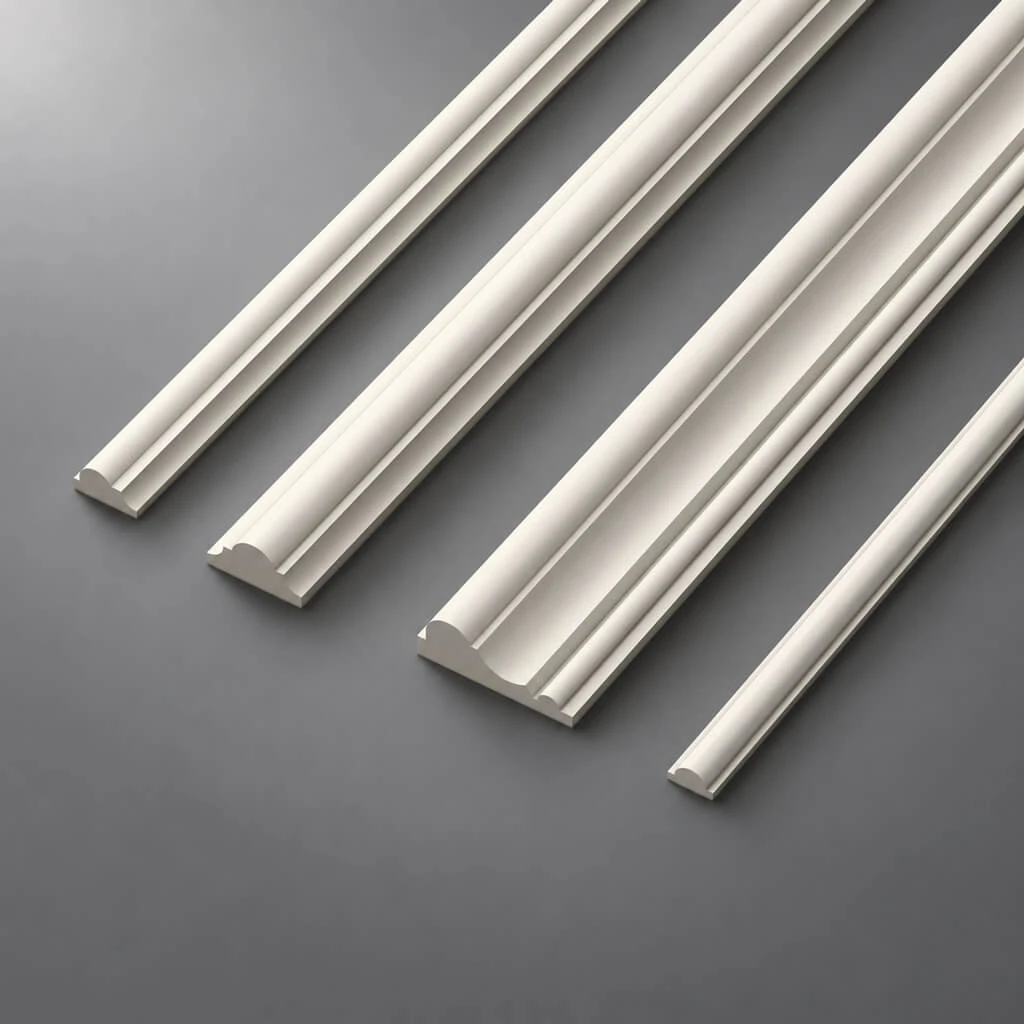
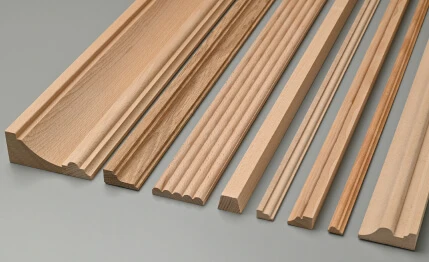
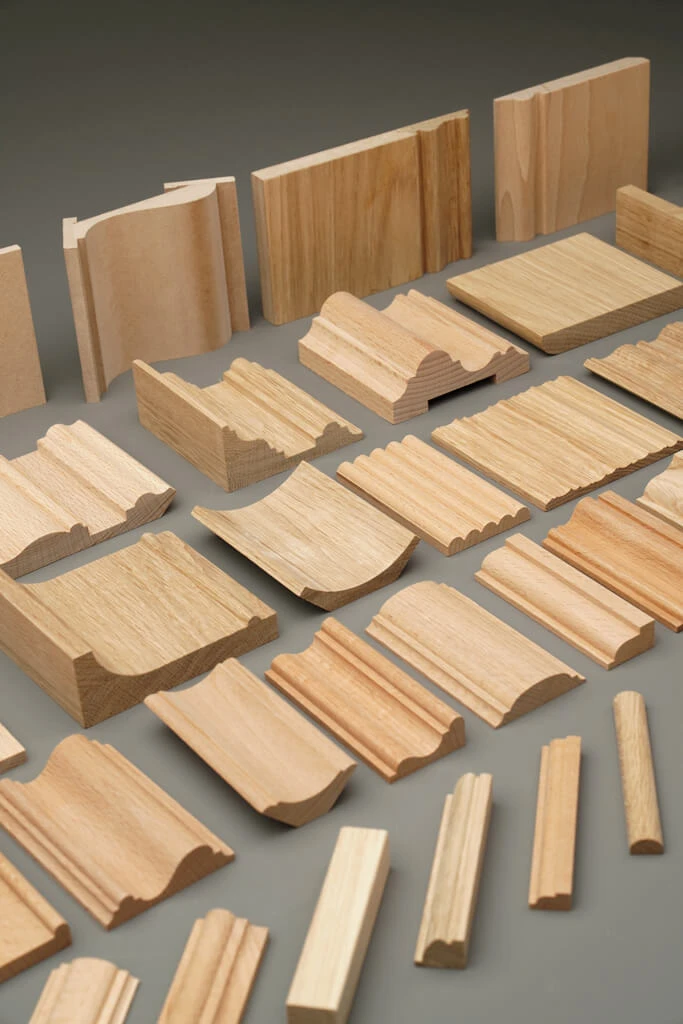
For example, let us take wooden trim MLD-007.1. The open STAVROS product page states a cross-section of 93 × 18 mm. For MDF a length of 2600 mm is available, for beech — 2400 mm; for the oak version you should also check the current table of options. All materials share the same profile name, but one material cannot be substituted for another in the estimate without recalculating lengths and cost. For a room with painted doors, MDF can be a convenient option for a covering finish; if a visible wood texture is required, solid wood is considered.
How to apply the profile to three openings? First decide whether the casing is needed on only one side of each opening or on both sides. In our calculation we are talking only about the corridor side. It is also necessary to find out whether the door is concealed in the plane of the wall, whether there are existing casings, and whether an extension to the frame is required. A scheme with three identical rectangular surrounds is far from suitable for every door system.
The most important dimension when joining with the cabinet is not the 93 mm of visible width in itself, but the actual boundary of the profile relative to the opening and the wall. Mark it on the elevation: the edge of the casing, the edge of the cabinet carcass, the finished gap between them. Where the wall section is too short, a wide casing may prove unsuitable. It is better to choose a different cross-section or change the furniture layout than to cut off half the profile and disrupt its pattern.
The 18 mm thickness is also important. The profile may protrude from the plane of the wall; if the end face of the cabinet is opposite the casing, the local passage must be measured from the most protruding surface. But this is no reason to claim that the whole corridor has become 18 mm narrower: the reduction applies only to the specific section where the cabinet protrusion and the casing coincide. Such precision is useful in a long, narrow room with several doors.
Before purchasing, apply a profile sample or make a temporary template from thick cardboard with the actual cross-section. Check the joint angles, the distance to the switch, and that the bottom point of the casing aligns with the skirting board. If the casings and door frames are to be painted in the same tone, agree on the primer, enamel, and gloss level using a sample. Do not automatically assume that the same paint will produce the same texture on different substrates.
Cutting casings for three doors
For the sake of example, let us assume one door surround uses vertical pieces of 2180 mm each and one top crossbar of 1020 mm. These are the lengths of the finished pieces along the outer edge, including the accepted mitre geometry; in a real project they are refined after measuring the frame. For three openings we get six verticals and three horizontals: 6 × 2180 + 3 × 1020 = 16,140 mm of usable pieces. A simple division by the length of one strip shows only the theoretical lower bound for purchasing and does not account for cutting.
In the MDF version, 2600 mm long, each 2180 mm vertical piece requires a separate strip: after cutting, about 420 mm remains, excluding the saw kerf width. So six verticals require six strips. The three horizontal pieces of 1020 mm can be obtained from two additional strips: one yields two crossbars, the other yields one. In total, eight strips of MLD-007.1, 2600 mm long, are required.
We buy 8 × 2600 = 20,800 mm. The usable length is 16,140 mm, a difference of 4,660 mm before deducting kerfs and possible technological allowances. This difference does not mean that seven strips can be bought: six long verticals physically do not fit into fewer standard blanks. The remaining fragments can be assessed for other work, but should not be included in the calculation for a new door without an exact cutting map.

Do not forget about the mitres for the chosen corner type. For a 45-degree joint, marking is done along the agreed side of the profile; for a butt joint, the geometry is different. If the carpenter uses a specific saw with a known kerf width, it is entered into the cutting map. Before ordering a large set, it is advisable to test one complete corner, especially when the profile has a complex relief or requires matching the grain direction.
Skirting board PLT-006: where to interrupt it and how many strips are needed
The floor skirting board should not become an accidental spacer between the cabinet and the wall. If the carcass is mounted flush, you need to decide in advance whether the skirting board is removed in the furniture installation area and how the two visible ends are finished. In some designs, the furniture plinth covers the floor joint; in others, the bottom rail requires a flat, prepared surface. The final scheme depends on the specific system and the mounting method.
For example, we use skirting board PLT-006 STAVROS. The product card lists MDF options 2600 mm long with a profile height of 100 mm and a thickness of 16 mm, as well as solid wood options 2400 mm long. The following calculation refers specifically to the standard 2600 mm MDF. If you need beech or oak, you must create a new cutting plan with a different source plank length rather than simply replacing the material name in the table.
Suppose a 1800 mm wide wardrobe stands against the left wall of a 5200 mm long corridor and covers the section from the 650 mm mark to the 2450 mm mark. The visible skirting segments on the left are 650 mm at the entrance and 2750 mm behind the wardrobe, totaling 3400 mm. On the right side there are three doorways, each 800 mm wide. For a simplified preliminary calculation, we assume the skirting does not pass through the openings and all other sections are suitable for installation: 5200 − 3 × 800 = 2800 mm. In total, the straight sections of both walls require 6200 mm.
This is not a final installation schedule. In a real room, the length of the right-hand segments changes once door frames and architraves are taken into account; sometimes short returns to the door frame are needed, and sometimes part of a section is covered by furniture. The preliminary diagram shows only straight pieces so that it is clear why the usable linear metres and the number of purchased planks do not match.
Theoretically, 6200 / 2600 = 2.38, so at least three planks will be required. However, the left wall has a long 2750 mm segment that exceeds the length of a single blank; it will have to be joined from two pieces, or the selected profile must be changed. One possible option is 2400 + 350 mm for this section. The remaining usable pieces can be laid out across the two remaining planks; the exact cutting map is made by the installer, taking into account joint positions and saw kerf width.
In the conventional geometry of the right wall, fragments of 350, 1000, 1000 and 450 mm are available; on the left, 650 mm and a composite section of 2400 + 350 mm. Thus, the set of individual segments is: 2400, 350, 650, 350, 1000, 1000 and 450 mm. The total length is 6200 mm. Three 2600 mm planks give 7800 mm of purchase; the 1600 mm difference forms the process waste before cuts are taken into account. The joint does not have to be placed right by the door or at the most visible point of the corridor: it is better moved to a less conspicuous section if the layout allows.

There are various techniques for finishing the ends at the wardrobe: a neat short return, a treated end, a decorative piece in the profile colour. The method depends on the shape of the skirting and the availability of finishing. An exposed MDF core should not be left next to a wet-shoe area: coating and protection of the end sections make practical sense. When using solid wood, check how adjacent elements will behave under seasonal changes in humidity and temperature.
MLD-004 moulding for empty wall sections: when it is appropriate
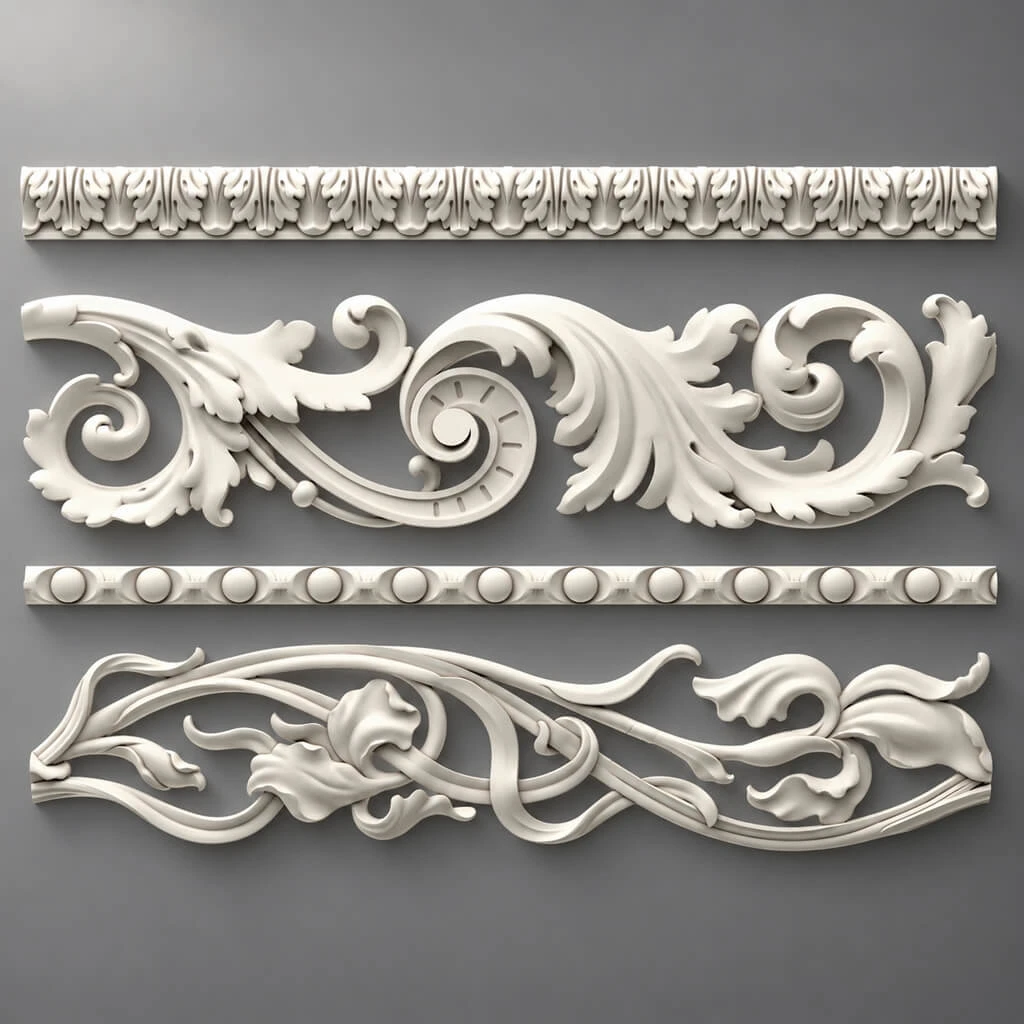
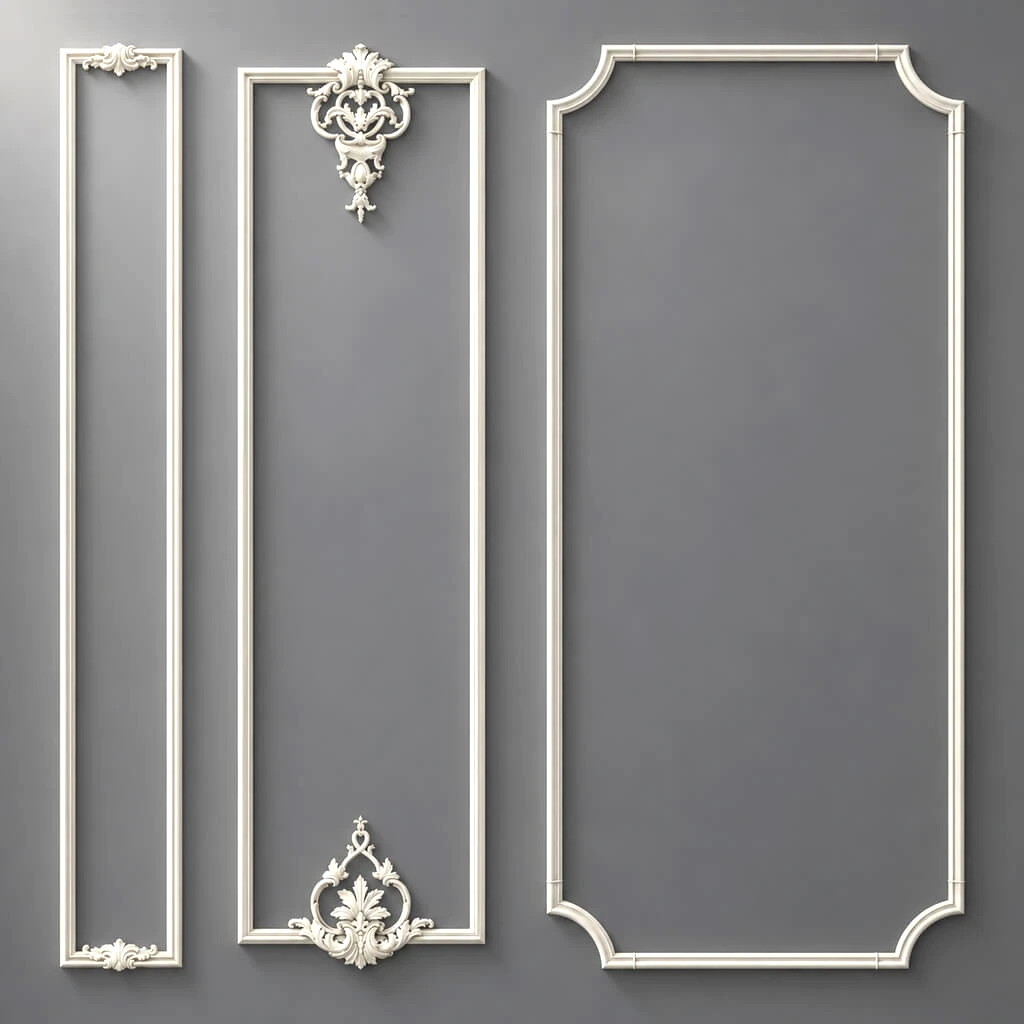
After furniture is installed in a corridor, one or two small empty walls often remain. They are easy to overload if you try to repeat the wardrobe texture, the door pattern and the active slatted relief all at once. In a calm classical composition, a laconic frame made of of molding MLD-004 STAVROS. The product has a cross-section of 15 × 8 mm; the catalog offers options in beech, oak, and MDF, differing in length. For the cutting example, we use MDF with a length of 2600 mm.
Two decorative frames with a nominal outer size of 600 × 1200 mm require four vertical pieces 1200 mm long and four horizontal pieces 600 mm long. The total calculated length is 4 × 1200 + 4 × 600 = 7200 mm. A standard 2600 mm blank accommodates two verticals of 1200 mm or four horizontals of 600 mm; therefore, three original strips are sufficient for both frames, provided that the allowances for the chosen joining method are already included in the outer lengths.
Separately verify that the free wall section can actually accommodate a 600 mm wide frame. A meaningful gap should remain between the frame and the casing; the same distance is needed to the switch and the wall panel. If the wall section is 540 mm wide, a 600 mm frame cannot be "compressed" during gluing without changing the drawing. In a small hallway, one carefully placed composition often works better than two symmetrical ones that have to be squeezed between doors.
There is no need to assign a structural role to the molding: it does not support the cabinet, does not level the wall, and does not replace the casing for a specific door frame type. Its purpose is decorative. Before painting, check material compatibility, and in areas subject to impact, consider the possibility of repairing the finish. An unsuccessful frame height can create constant contact with bags and clothing, so it is convenient to consider the wall treatment on the movement plan, not just in the elevation drawing.
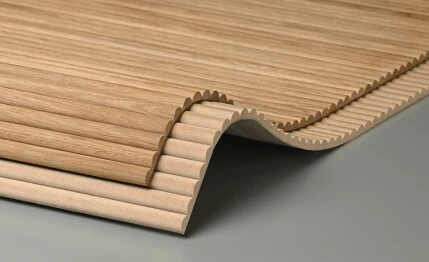
Slatted panels and wooden slats: use on limited areas
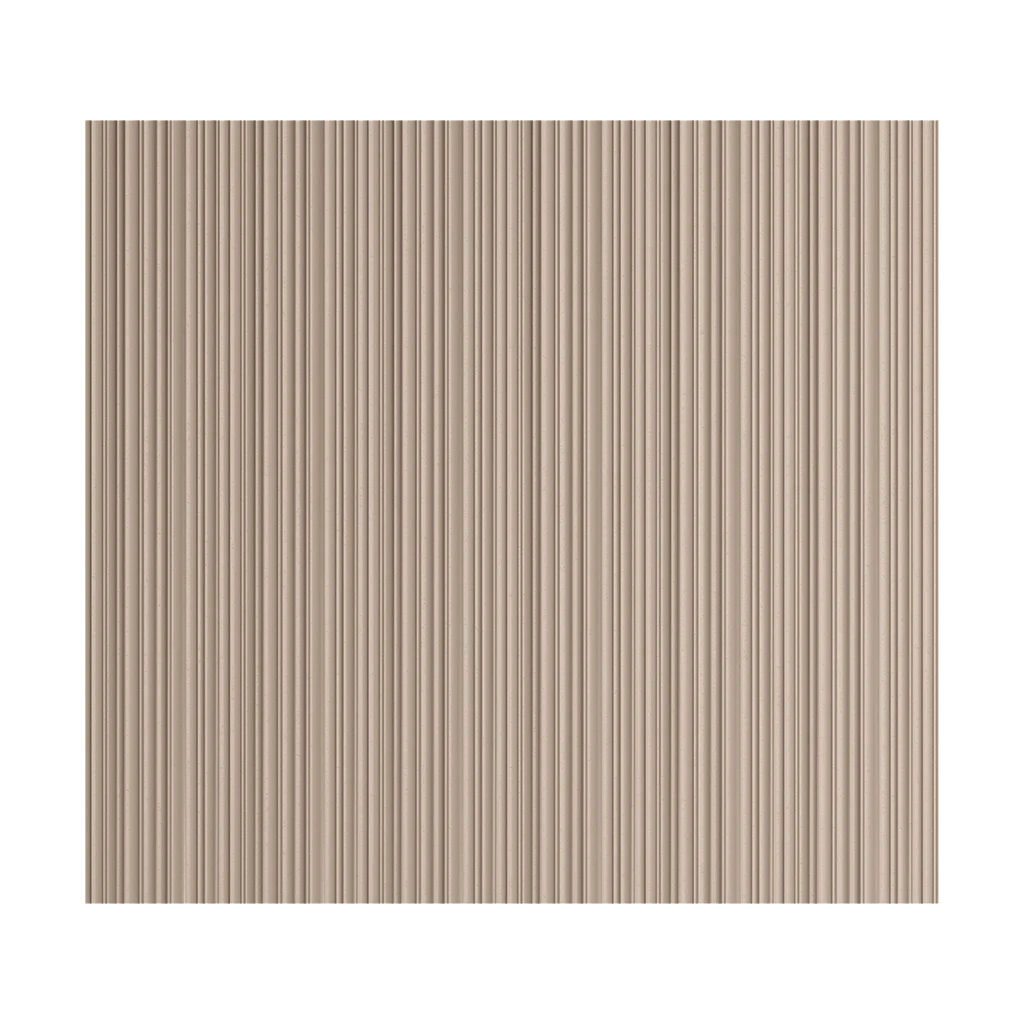
The queries "decorative wall panels" and "slatted wall panels" are associated with hallway design, but they should not be introduced into the project solely for the sake of a keyword. In our example, the decisive task is to preserve the passage and correctly finish the surfaces near three doorways. A relief panel several tens of millimeters thick reduces the local distance to furniture and may interfere with a handle or door leaf. Therefore, check the geometry first, then choose the pattern.
The catalog includes Wooden slat RK-001 with various cross-sections: for example, 15 × 5 mm and 24 × 5 mm with a length of 2400 mm. These are separate variants of the same article, so the number of slats and the layout spacing must be calculated for the specific cross-section. If the wall section is 450 mm wide and you want to place ten slats 24 mm wide on it, then with nine gaps of 15 mm they will occupy 10 × 24 + 9 × 15 = 375 mm. The two side margins will have 75 mm remaining, that is, 37.5 mm each with a symmetrical layout.
But even a mathematically correct layout does not mean it is suitable for a hallway. When positioned next to a door, the actual thickness of the base and cladding matters; for a 24 × 5 mm slat, the profile itself is 5 mm thick, but the final protrusion depends on the adhesive, the base, and the fastening method. The relief cannot be brought right up to the casing without a termination scheme. It is appropriate to choose a flat painted strip or a neat end layout in advance instead of a random last row.
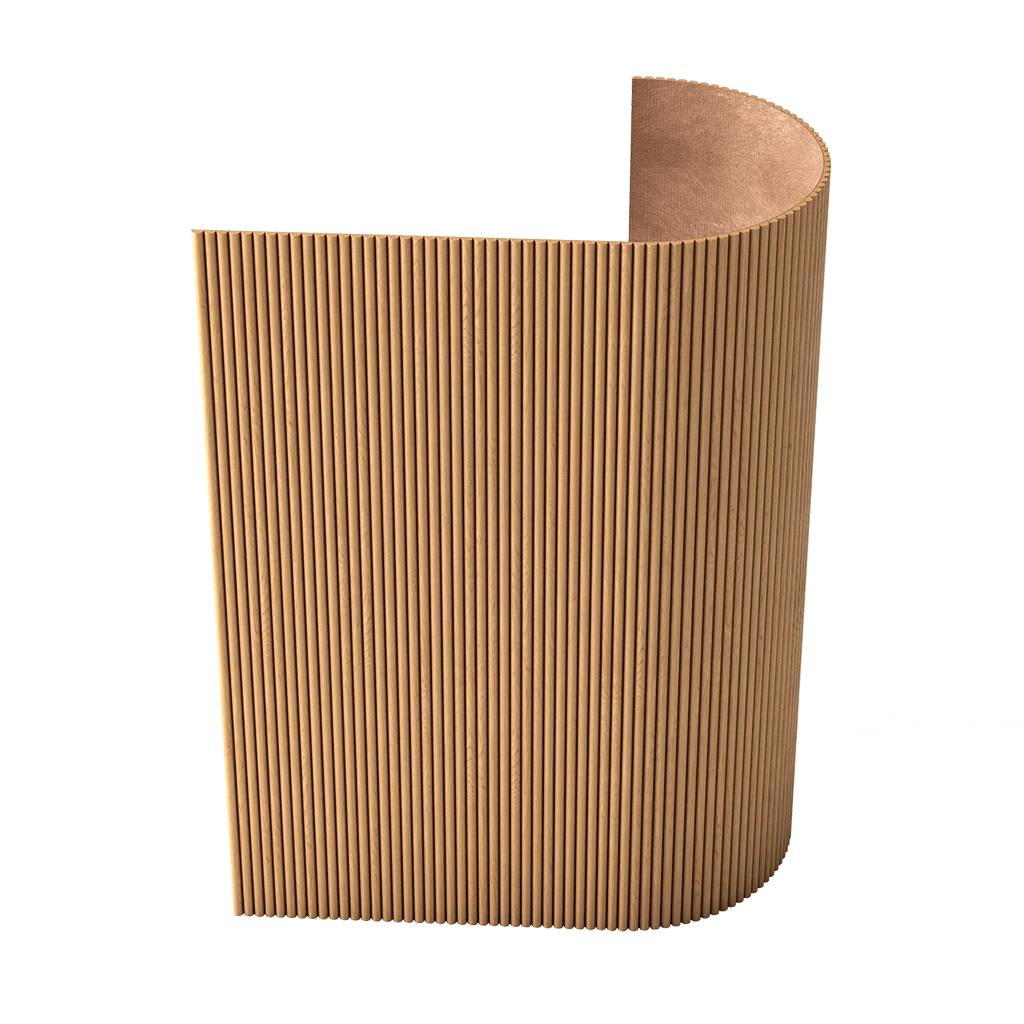
For a larger surface, ready-made wall panels can be considered when the manufacturer offers a suitable module and its installation conditions. But do not transfer the dimensions of one slatted panel to another: the composition, fastening method, and dimensions differ. If a radius design is required, look for a confirmed solution in the relevant catalog section. An example of joints is given in the STAVROS article "Slatted panels at the door and opening", which is useful as additional technical reading.
What to do if a sliding facade is nearby
Do not attach the battens in areas where they will restrict the path of the door leaf, make it difficult to remove the doors, or cover the fasteners of the guides. When a sliding door is opened, the available facade area usually changes; for control purposes, it is useful to obtain from the manufacturer a diagram of the extreme positions and the maintenance conditions of the system. Overlays on the facade itself also require checking the weight of the leaf and the permissible design: a decorative element can change the balance and clearances.
On a finished wall next to the wardrobe, it is usually safer to treat the battens as independent cladding with its own finishing. They can be finished in the same color as the door casings or the wood texture can be left on a small accent area. Evaluate the specific shade in the actual light of the hallway, where the lighting is often artificial and the contrast of materials is more noticeable than in a daytime photograph.
Budget of decorative products for a conventional hallway
Transparency of the calculation is important. The price of a sliding wardrobe depends on the design, filling, sliding system, facades, installation, and the specifics of the room; inventing an average cost for such a project in an article about mouldings is pointless. However, it is possible to calculate the approximate cost of three specific STAVROS groups using the publicly available product pages as of November 19, 2026, if the material and length of each batten are strictly fixed.
| Position and design | Quantity calculation | Price per strip on the date of check | Subtotal |
|---|---|---|---|
| MLD-007.1, MDF 93 × 18 × 2600 mm | 8 pcs. | 2110 ₽ | 16 880 ₽ |
| PLT-006, MDF 100 × 16 × 2600 mm | 3 pcs. | 1660 ₽ | 4980 ₽ |
| MLD-004, MDF 15 × 8 × 2600 mm, Prestige finish | 3 pcs. | 450 ₽ | 1350 ₽ |
| Total decorative items | 14 strips | — | 23 210 ₽ |
The figures refer to the selected items as of the date the public listings were checked, not to a fixed commercial offer. The amount does not include the wardrobe, interior doors, delivery, packaging, painting, glue, fasteners, installation, or any possible additional reserve. If you already have door casings, only the elements that are actually being replaced will remain in the estimate. If the hallway is planned to have one decorative frame rather than three, the quantity of MLD-004 must also be recalculated.
Pay particular attention to the cost of preparing the base. MDF for painting may require primer and enamel, and complex geometry may require cutting and aligning joints. A door may reveal a gap between the frame and the wall that requires an extension, and a wardrobe may reveal an uneven floor that changes the height of the furniture plinth. Such problems should not be compensated for by buying extra decorative profile without adjusting the technical solution.
At the approval stage, it is more convenient to keep two separate schedules. The first is for furniture: carcasses, fronts, runners, interior fittings, installation. The second is for finishing: casings, skirting boards, mouldings, panels, coatings. Then a junction table is drawn up, where an executor is assigned to each node. This makes costs clearer and reduces the risk of rework after the wardrobe is delivered.
Three challenging situations: how to adapt the solution to a real hallway
Situation one: the door is located almost opposite the centre of the wardrobe
Imagine that someone often leaves the bedroom at the same time as another person is choosing clothes at the wardrobe. In this case, even with an acceptable geometric width of the passage, a day-to-day conflict may arise. It is useful to carry out a short check before ordering: mark the wardrobe's dimensions on the floor with masking tape, place a makeshift object where the front will be, and open the door several times in the usual way. Such a check does not replace measuring, but it helps to see habitual movement patterns that are hard to guess from a two-dimensional drawing.
If the door opens into the room, check that it does not hit the furniture in that room. If it opens outwards, show the swing arc on the plan, discuss with a specialist whether a different direction is acceptable, and only then make a decision. You cannot simply remove the door stop and consider the problem solved: the consequences will be noticeable on the wall, the handle, and safety of movement. Sometimes it is better to shorten the wardrobe slightly than to change all the doors in the hallway.
From a decorative point of view, a simple and repairable junction is needed near an active door. In a protruding area, a wide casing may be more frequently caught by bags and shoulders. In that case, choosing a less bulky profile or moving the decorative element to the adjacent wall will prove more rational than expensive finishing with a high risk of damage.
Second situation: there is an uneven wall behind the wardrobe
The second typical case is a long wall with a slope that prevents the cabinet body from being placed in a single straight line. Do not try to correct this geometry with a decorative overlay. The sliding system guides must be installed according to the manufacturer's requirements, while the cabinet body or mounting base must ensure the correct geometry of movement. Fillers and decorative strips perform a finishing rather than a load-bearing function.
If the unevenness is local, the contractor can agree on corrective elements. But you need to understand how many centimeters they will "eat" from the depth. For example, adding a conventional filler to a predetermined external depth does not always increase the wardrobe outward: this depends on the chosen structural scheme. In the project, the body dimensions should be clearly separated from the front decorative line. It is especially dangerous to order sliding panels based on the old rough opening before the walls have been leveled.
The order of work here matters more than the chosen color. First, the causes of wall instability are eliminated and the required preparation is carried out, then precise measurements for the furniture are taken, and after that the decorative joints are agreed upon. STAVROS article about slatted panels and a built-in wardrobe is useful as additional material on aligning the furniture facade plane with the finish.
Third situation: an open hallway and a mirror are needed at the entrance
The busiest area of the hallway is the section near the front door, where a key holder, mirror, place for a bag, shoe shelf and hooks for everyday clothes are usually needed. If you place a huge wardrobe in this spot, items will start accumulating on the nearest horizontal end. Sometimes it is better to place the closed storage system further down the hallway and make a small open niche at the entrance, provided that this does not interfere with the front door and evacuation.
The mirror can be integrated into the wardrobe facade or mounted on a separate wall. The second option requires its own secure mounting and finished edge treatment. If the mirror is adjacent to a slatted panel, measure the total thickness of the layers and the distance to the passage in advance. A protruding wooden relief right at the entrance will be more exposed to contact with outerwear and bags, so it is reasonable not to place it in the most heavily used area.
For broader context, the STAVROS guide will be useful on the design of a modern hallway and doorways. But in a specific project, you cannot automatically transfer profiles recommended in another interior: the material composition, size and operating conditions must match your task.
How to coordinate the manufacture of a wardrobe and the supply of decor
First, draw up a short technical brief for the furniture. In it, specify the hallway plan, the finished width, the height, the position of all doors, the way they open, the coordinates of the switches and the intended storage composition. Add photos of the front and side views. If the family uses a baby stroller, a large pet carrier or regularly moves a bicycle through the hallway, this should also be reflected in the scenarios: dimensions on paper do not show the whole household flow.
The second document should be an elevation drawing of the walls with the decorative products. On it, mark the STAVROS article numbers, specific sections, material, length of the purchased strips, coating colour and the way the ends are finished. It is especially important to show the junction points where the architrave meets the skirting board and the skirting board meets the wardrobe. When the furniture and finishing projects exist in one set, there is less risk that two contractors will interpret the phrase "finish at the wardrobe" differently.
If you plan to Custom-made furniture, the manufacturer should be given not only a reference photo but also the marked engineering constraints. The furniture showroom or workshop must calculate the sliding mechanisms according to their own technical data, determine the position of the sections and specify the actual dimensions to the millimetre after the final measurement. In this case, STAVROS is a source of decorative materials, not the default executor of the furniture structure.
Regardless of where the wardrobe doors are ordered from, agree on the installation sequence in advance. In one project it is more convenient to complete the walls and architraves first and then install the furniture; in another, some of the skirting boards have to be trimmed after the carcass is installed. There is no universal order, but the responsible contractor must have a drawing and must not make critical decisions "on site" without approval. If interior wardrobe lighting is planned, its power supply and maintenance should be planned before the final finishing.
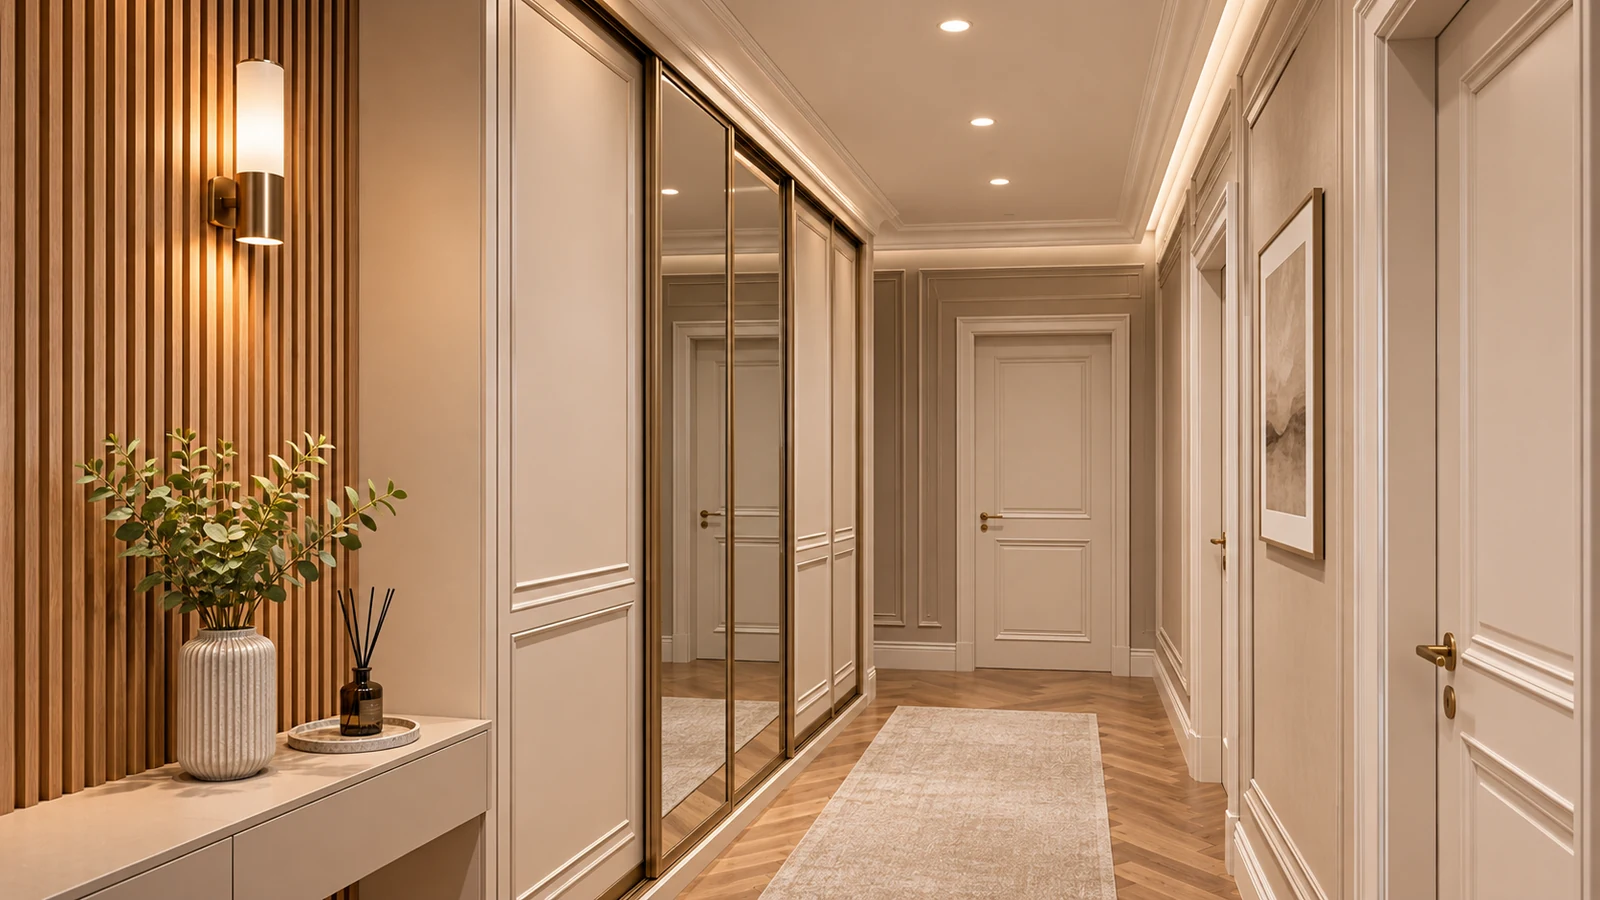
What to pass on to the furniture manufacturer
A useful specification takes one or two pages but prevents a lot of disputes. You need the finished dimensions of the room, the exact position of the wardrobe, useful storage scenarios, the type of fronts, restrictions on handles and protrusions, and a lighting and door layout. Attach a table of the selected profiles separately. If the final finish for the wood or MDF has not yet been approved, flag this as an open question rather than leaving an empty field in a document that will soon go into production.
| Document | Content | Who confirms |
|---|---|---|
| Measurement plan | Corridor width, heights, unevenness | Measurer / designer |
| Door layout | Openings, casings, swing arcs | Client and designer |
| Wardrobe specification | Cabinets, fronts, mechanisms, interior fittings | Furniture manufacturer |
| STAVROS schedule | Item codes, dimensions, materials, cutting plan | Customer and finisher |
| Joint table | Skirting board–cabinet, architrave–panel | Responsible installers |
| Acceptance plan | Checks before final handover | Customer |
Before paying, it is important to obtain a confirmed furniture specification, not just an attractive visualisation. In a sketch, the panel may look seamless, but in the technical drawing it turns out that, due to the specifics of the system, one of the internal drawers does not open fully. Similarly, in a photograph the architrave may almost touch the cabinet, but in reality an installation gap will be required. The more clearly this is recorded, the lower the likelihood that expensive parts will have to be redone.
Installation and use of decorative parts in a high-traffic area
A hallway experiences more frequent contact and soiling than a quiet wall in a bedroom. Splashes from wet shoes land on the skirting board, bags and suitcases pass by the architrave, and slats may be caught by clothing. For products made of MDF and solid wood, choose a finish taking into account the expected contacts, especially on the end faces and near the floor. One should not assume that the word “wooden” automatically means moisture resistance or indifference to mechanical impact.
Mouldings are installed on a prepared base in compliance with recommendations on the compatibility of the adhesive or fastening with the product material and the wall. A level base is especially important for long profiles: if a strip is forced against a wavy surface, it may deform or come away after conditions change. Use suitable fastening schemes specifically; decorative mouldings are not intended to hold loaded furniture carcasses or door mechanisms.
Painting is often more convenient to carry out before the final assembly of a complex unit, leaving final adjustment of the joints until after installation. But it is also not universally acceptable to paint everything in advance: cutting produces fresh end faces that require protection. For wooden elements, storage conditions before installation must be observed, and they must not be left near heat sources or exposed to water. Detailed recommendations are given in the official STAVROS storage and care instructions.
After installation, check not only the decorative surface but also whether routine care is possible. The vacuum brush should pass along the skirting board, wet cleaning should not constantly seep under an unclosed end, and sliding wardrobe doors should have the intended access to the guides for cleaning. If an inaccessible gap has formed under the furniture, it can become a permanent source of dust; it is better to eliminate the structural cause than to mask it with a decorative strip.
How to buy STAVROS mouldings and get the set right
Start with a final list of finishes that specifies the article number, material, cross-section and length for each item. In our example, these are the MLD-007.1 architrave, the PLT-006 skirting board and the MLD-004 moulding in specific MDF variants. Do not mix prices for short and long versions in one calculation. It is also not advisable to buy an oak profile in advance if the project calls for a covering enamel over MDF: such a change can affect both the budget and the finishing technology.
For each element, open the product page and recheck the variants table, possible configuration, price and manufacturing terms at the time of ordering. The cutting plan in the article is a training example: after actual measurement, the lengths of the crossbars, the number of continuous skirting boards and the position of decorative frames may change. In a commercial order, always work with an updated schedule confirmed by the responsible person.
Packaging is especially important for long strips. Upon receipt, check that the packaging and products are intact, that the article number and material match the documents, that the strips are straight, that there are no visible defects and that the set is complete. It is not recommended to send mouldings for painting before acceptance: after processing, it will be much harder to establish their original condition. For payment, dispatch and delivery terms, use the current page "Payment and delivery" of STAVROS, since the rules and rates may change.
If the manufacture of the wardrobe itself is entrusted to another company, separate the calculations and responsibilities. CONCEPT furniture showroom in Stavropol designs and manufactures furniture to individual dimensions; when requesting a wardrobe calculation, you can immediately hand over the agreed schedule of architraves, skirting boards and finishes. This is an example of consistent coordination of two different tasks, not a statement of official cooperation between the companies.
Accepting a finished hallway: a checklist without unnecessary formality
During acceptance, start with the most important things: open every interior door and at the same time check the operation of the sliding wardrobe panels. Then make sure that access to switches and utility elements is preserved and that door handles do not touch the finish. Walk through the corridor with everyday items — a bag, a basket, outerwear — without relying only on tape-measure readings.
After that, inspect the verticals and horizontals. The position of the wardrobe must match the design, the fronts must move without jamming, the casings must form consistent frames, and the skirting must terminate at the designated points. Glue marks, exposed MDF cuts, damaged paintwork, uneven joints and noticeable unplanned gaps should be recorded before final acceptance of the finishing work. Check every detail not only up close but also from the usual point of entry into the corridor.
Another useful test is opening the internal contents. Slide the sliding panels to their extreme positions, open every drawer and basket, and see whether the far shelves are accessible. A pull-out module that bumps into the wardrobe door overlapping it does not become more convenient after adding a beautiful front. If the design includes lighting, check that it turns on and that serviceable components are accessible.
Before signing the acceptance certificate, ask for the final furniture and finishing specifications with item codes, dimensions and coating information to be kept. They will come in handy when repairing a damaged part, replacing a runner or refreshing one section of skirting a few years later. For finishing a large hallway, it is especially important to know exactly which trim profile was installed: the same color does not yet mean the same cross-section.
Frequently asked questions about a sliding wardrobe in the hallway
Can a sliding wardrobe be placed in a hallway 1450 mm wide?
There is no definitive answer without a plan. With a full wardrobe depth of 580 mm, 870 mm geometrically remains to the smooth opposite wall. Then you need to check protrusions, door leaves, local narrowings, moving large items and the applicable passage requirements. If the result is inconvenient, consider a shallower depth, another wall or a different type of storage.
How deep should a structure for outerwear be?
Relying on a single universal number is wrong. Depth depends on the type of hangers, the storage direction, the thickness of the door system and the contents. Ask the manufacturer for the full external depth and, separately, the usable depth of the relevant section. A wardrobe of the same width from two manufacturers may have a different internal volume.
Do sliding doors always save space?
They do not require a swing arc in front of the facade, but they take up part of the cabinet depth and block some access zones when slid open. Sliding systems have their own limits on panel width and weight. The user must also be able to stand in front of the wardrobe without blocking the adjacent door. That is why the door type is chosen based on the specific layout.
Should the floor skirting be removed behind the wardrobe?
This depends on the installation design. If the cabinet or the tracks require a flush fit against a prepared wall and floor, the skirting in the covered area is usually excluded from the layout in advance. If the system provides for a different junction, its drawing is followed. The main thing is not to leave the decision until assembly without an agreed end-joint scheme.
Can the MLD-007.1 architrave be installed flush against the end of the wardrobe?
You should not promise a zero gap in advance. It is necessary to check the profile projection, wall irregularities, installation tolerances and possible door movement. The architrave has its own cross-section, so the junction is designed according to actual dimensions. If the wall section is too narrow, choose another profile or adjust the furniture end.
Is the PLT-006 profile suitable for all door architraves?
No. Even if the products are made of a similar material, their height, thickness, shape, color and edge treatment may differ. It is important to compare cross-sections and decide what the floor junction will be. Sometimes a neat joint without matching the pattern is enough, and sometimes an additional element is needed.
What is better for a hallway: MDF for painting or solid wood?
If a uniform opaque color and a smooth surface are required, MDF can be a practical choice. For natural texture, oak or beech are considered, but the coating and care are selected for the room conditions. No material eliminates the need to protect the ends and carry out quality installation. The price and length of the blanks also differ, which affects cutting.
Can slats be glued directly onto a sliding facade?
Only after approval from the system manufacturer. Additional parts increase the weight and thickness of the panel and may alter movement and access to adjustments. Without such a check, it is better to place the decorative surface on an independent wall and leave the facade in the configuration specified by the manufacturer.
Are moldings needed in a small hallway?
They are optional. In a narrow space, plain casings and skirting are often sufficient. If you want a separate decorative accent, one small frame on a free wall may be more appropriate than a complex grid of moldings between doors. It is more important to preserve the proportions of the wall section and protect the most heavily used areas.
Why is profile consumption not equal to the total linear footage of the openings?
Because parts are cut from standard strips. For three doors, long verticals of 2180 mm cannot be assembled from short offcuts without additional joints, so the example requires eight 2600 mm strips. Cutting is always checked against actual lengths, angles, and kerf width. Only after that is the order formed.
What should be checked before submitting a STAVROS order?
Verify the item code, material, cross-section, length, number of strips, quality of processing, and finish coating conditions. Confirm current prices, packaging, and delivery. The list from the article can be used as a basis, but the final schedule must correspond to the specific measurement and agreed installation details.
Who is responsible for the joint between furniture and casing?
This must be assigned before work begins. In one project, the furniture maker produces the filler and leaves a prepared boundary, while the finisher completes the casing and skirting. In another, the sequence is reversed. If responsibility is not fixed, each contractor may expect the other to make the finished joint. A short table of details saves more time than a verbal agreement.
Bottom line: the two projects must work as one
A sliding wardrobe in a hallway with several doors is a task of precise space planning, not just choosing attractive fronts. In our example, the preliminary calculation yielded a 1070 mm passage with a clear width of 1650 mm and a full wardrobe depth of 580 mm; protruding door casings and the swing arcs of interior doors required an additional check. For the decorative set, we calculated the actual cutting layout for three groups of STAVROS products and showed why the purchased linear footage does not equal the length of the finished parts.
The correct sequence is simple: first measure the room and the door movement, then coordinate the carcass and the sliding system, and after that choose suitable casings, skirting boards and decorative panels. The reverse order forces you to fit the furniture to already installed finishes and more often leads to inconvenient compromises. An accurate technical design, an honest bill of materials and coordinated responsibility among the contractors deliver the result for which made-to-measure furniture is ordered: convenience in daily use and a neat interior without accidental joints.