










Article Contents:
- First, make a list of the two children's needs
- Separation without a permanent partition
- How to write a design brief
- Where Slats Are Especially Appropriate
- Slat Layout on Two Wall Sections
- Molding Frames on Two Wardrobe Doors
- Do you need to buy two identical beds?
- How can a long table be divided so that children don't disturb each other?
- Can shelves be attached to slatted panels?
- Which panels are easier to keep clean?
- Which decor should be chosen if the children are of different ages?
- Is it worth making a wardrobe up to the ceiling?
- Can slats and decorative moldings be combined?
- How can the number of slats be calculated without overspending?
- Can the cost of a children's room be estimated from a photo?
- Where to buy decorative items and where to order furniture?
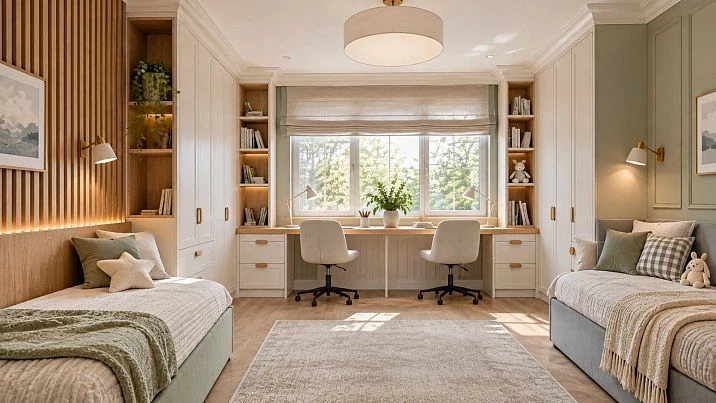
A room of about sixteen square meters seems large enough until it needs to accommodate two beds, two study desks, clothing for two children, textbooks, sports equipment, and space to play. If you simply buy two identical furniture sets, the central walkway will quickly disappear. If you replace full-fledged workspaces with one long table without separation, the children will start getting in each other's way. And if you first cover the walls with decorative panels and then choose the cabinets, there may be sockets, mounting points, and door-opening zones behind the beautiful cladding.
Let's break down the task using a specific room measuring 3400 × 4600 mm with a window on the short wall. We'll show five layout options, ways to organize individual storage, safety checks, and the sequence for coordinating furniture with the finishes. For the decorative part, we'll consider real STAVROS products: wooden slats, slatted panels, moldings, a universal skirting board, and furniture handles from the children's collection. For custom-made cabinet furniture and complete room fit-out, you can contact a specialized furniture salon. At the same time, decorative elements should not dictate ergonomics: first the space and the children's needs, then the material and wall pattern.
First, make a list of the needs of both children
The same age does not mean the same habits. One child studies music and stores an instrument, while the other builds construction sets or draws on large sheets of paper. In some families, one child needs many closed drawers, while the other needs shelves for books and collections. Therefore, the initial data is collected separately for each child, even if the furniture will look symmetrical. Record height, usual activities, duration of lessons at the desk, clothing composition, dimensions of sports equipment, and the number of items that require daily access.
On the plan, distinguish permanent items from temporary contents. The bed, wardrobe, work surface, and large shelving units define the geometry for years. Containers, desktop organizers, chairs, and decorative pillows change noticeably more often. Investing in a complex built-in facade makes sense only when it can be kept even after the room's color scheme changes. Too literal children's themes on non-removable surfaces limit interior updates.
Discuss the daily routine. If both schoolchildren do their homework at the same time, it is important to provide separate lamps, sockets, and places for writing supplies. If one needs to go to bed early, the light from the second workspace should not shine directly on the sleeper's face. If the children differ significantly in age, the requirements for storage height, guards, and access to small items will differ. When creating a furniture project, such details matter more than the chosen shade of the panels.


Separation without a solid partition
It is convenient to think in terms of four functional zones: sleep, study, storage, and shared activity. At the same time, a personal zone does not have to be a separate half of the room. It can be one's own desk with a drawer, a personal wardrobe section, and a shelf by the bed. The walkway, part of the shelving, the play area, and, if necessary, a large creative board remain shared. This helps avoid the feeling of a cramped compartment where everything is arranged in pairs.
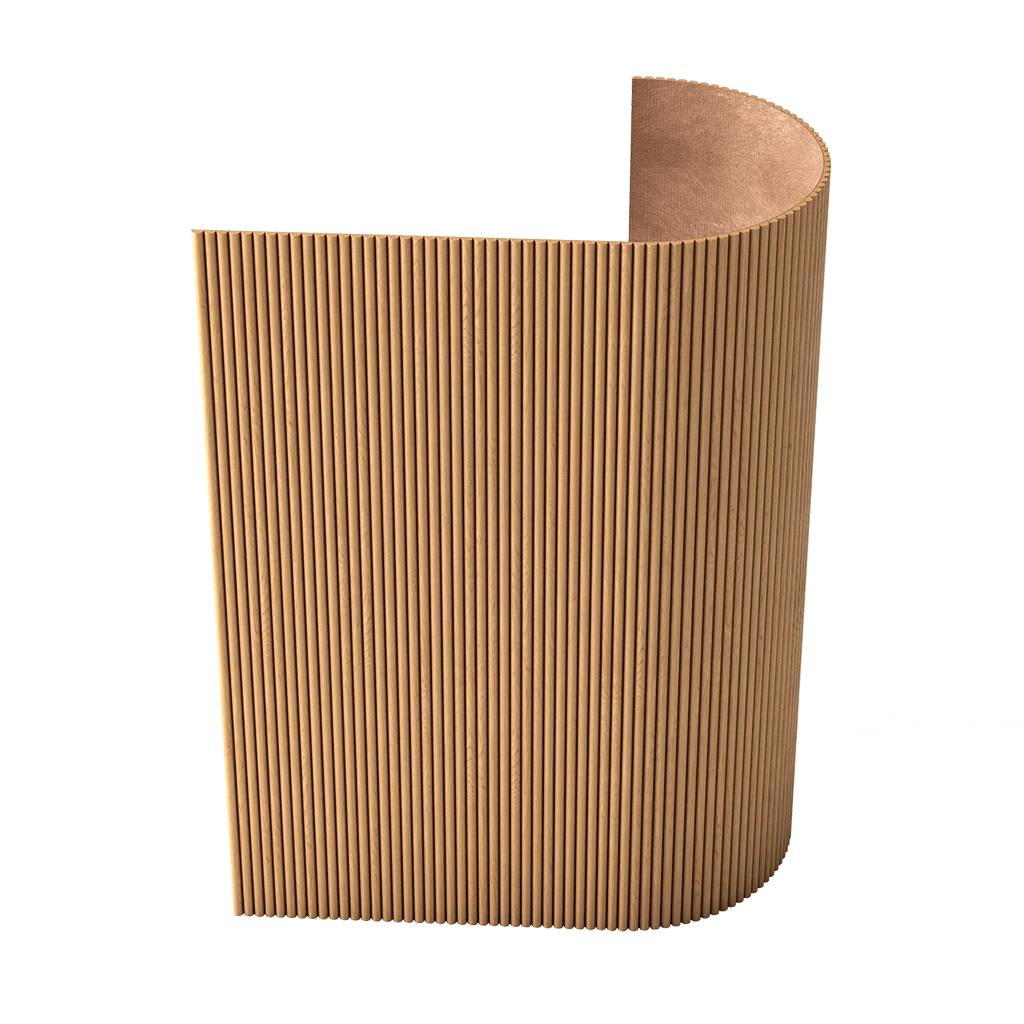
The color or texture of the wall helps mark personal places, but does not replace full-fledged storage. For example, an area with wooden slats RK-001 it can be placed at the head of one bed, while a calm framed composition can be used on the opposite wall. However, bulky decor should not be placed at the level of constant contact with the head, elbows and shoulders. Where the child often leans against the wall, a smooth, durable surface that is easy to care for is more convenient.
Our factory also produces:



Measurements without which custom furniture will not be accurate
Start with three measurements of length and width: near the floor, at countertop level and closer to the ceiling. Record the deviations of the walls from vertical, the height of the room at several points, the width and height of the window opening, the depth of the windowsill and the distance to the floor. Note the window sashes and radiator, the presence of supply pipes, switches, sockets, ventilation elements and the door leaf. All dimensions must refer to the same coordinate system, otherwise the planning sketch will be incompatible with installation.
The door to the room is checked in the open position. Its handle may protrude far beyond the plane of the leaf, and the opening angle is limited by furniture or the wall. A tall wardrobe should not be designed directly in the movement zone of the door handle without measuring the opening arc. Separately check free access to the window, the ability to care for curtains and the heating appliance. If a desk is placed under the window, access to the mechanisms, handles and maintenance of the windowsill area must remain.
For each large item, record not only the external width but also the dimensions during use. An extended drawer, an opened flap, an open wardrobe door, an extended keyboard and a pushed-back chair require space. The passage between sleeping places, when both children get up at the same time, is often more important than the nominal distance between bed frames. Dimensions from an online catalogue without taking human movement into account are not a ready-made project.
Get Consultation
How to prepare a technical brief
Create a table with four columns: object, dimensions, constraints, solution. For the desk, indicate the number of users, the location of sockets, the need for cable routing and drawers; for the wardrobe — the depth for hangers, sections for seasonal items, the mounting method; for the bed — the mattress size, passages, space for a light fixture. Decorative profiles are entered in the same schedule, but as separate rows: their thickness reduces the free dimensions of the furniture.
At the furniture selection stage, you can explore the direction “custom children's furniture” at CONCEPT, to see the logic of comprehensive furnishing. After that, the actual project should be agreed upon, rather than transferring dimensions from an image into your room. Even similar interiors differ in windowsill height, entrance location and the width of wall sections.
Layout No. 1: two beds against opposite walls
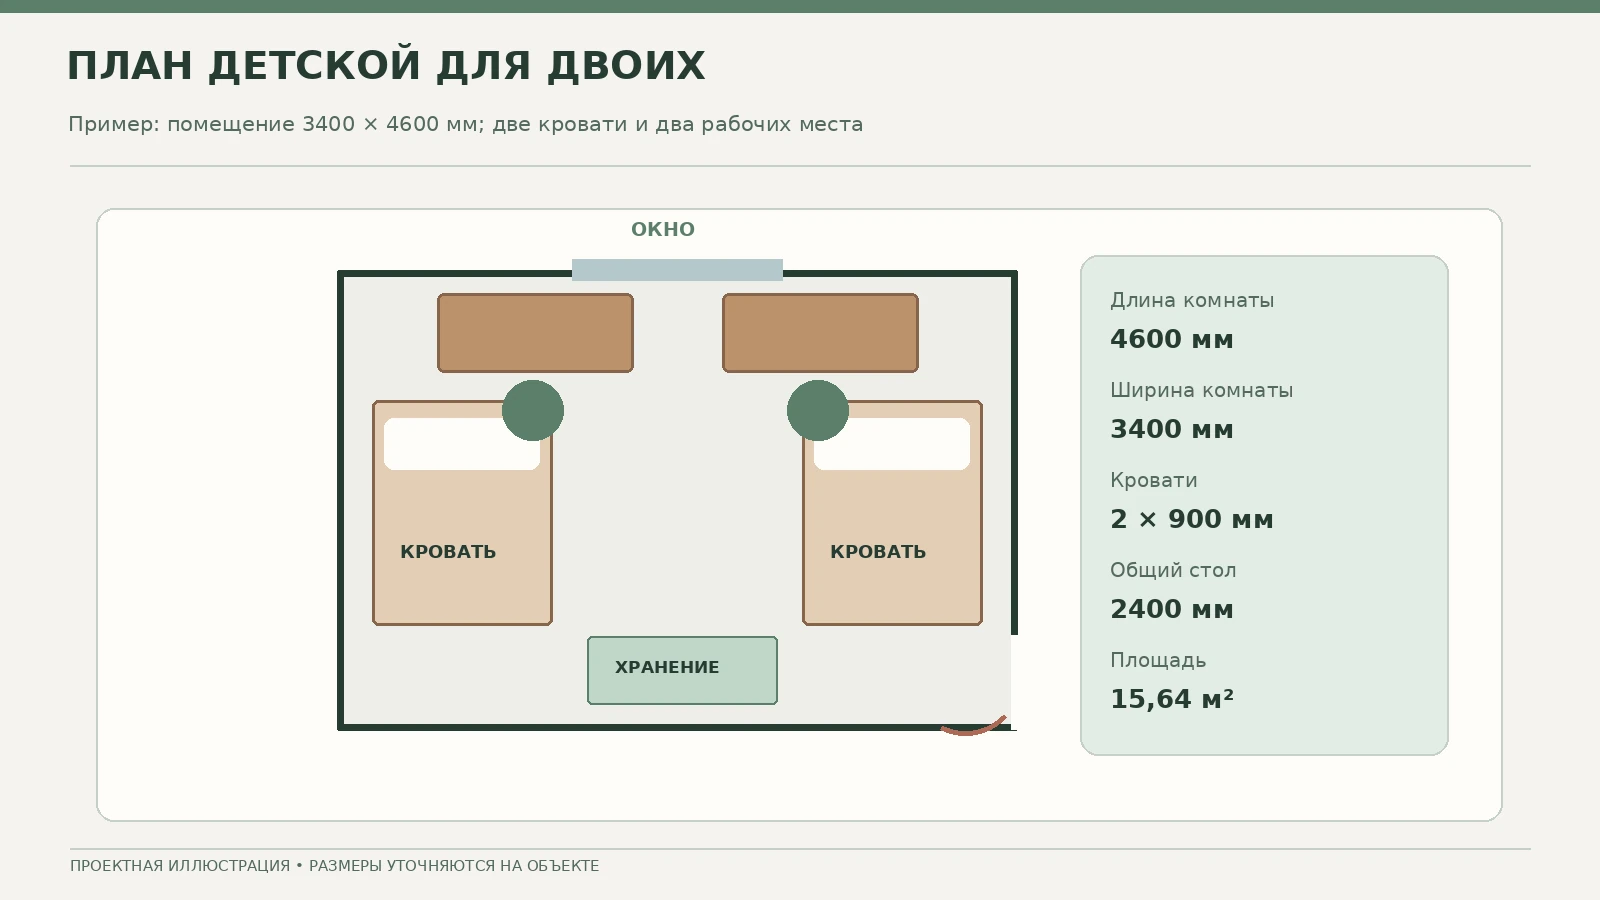
The simplest solution for an elongated room is to place the sleeping areas along the long walls, leaving the central part free. The room width of 3400 mm allows for various combinations. If we conventionally take two beds each 900 mm wide, the nominal distance between them will be 1600 mm before accounting for side nightstands, protruding headboards and other details. This is a calculation of pure geometry, not a promise of the same usable width after all the furniture is installed. Near the door and window, the central passage may vary.
In this layout, it is convenient to assign each child their own wall, shelf and light fixture. But full mirror symmetry is not mandatory: one headboard area can be made calmer, while the other is complemented with a small shelving unit. The finishes should help with orientation rather than overload the interior with contrasting floor-to-ceiling stripes. Any narrow wall sections encountered are best left without bulky details if they become a passage area.
In this option, workspaces are more often combined on the window wall, or one desk is placed by the window and the other on a perpendicular wall. The decision depends on the length of the work surface and the actual light, not just on aesthetics. If one desk is significantly deeper than the other, an asymmetrical protrusion appears in the central zone: it needs to be shown on the plan already at the sketch stage. Tall cabinets are best placed away from the windows so as not to block the light.
The advantage of the scheme is a clear distribution of personal space. The downside is that two long beds take up most of the walls, leaving less room for wardrobes and separate book sections. When the room is narrow, this is important to check before ordering furniture. A few convenient closed modules are preferable to many small open shelves that require constant tidying.
Layout No. 2: two workspaces under a shared window
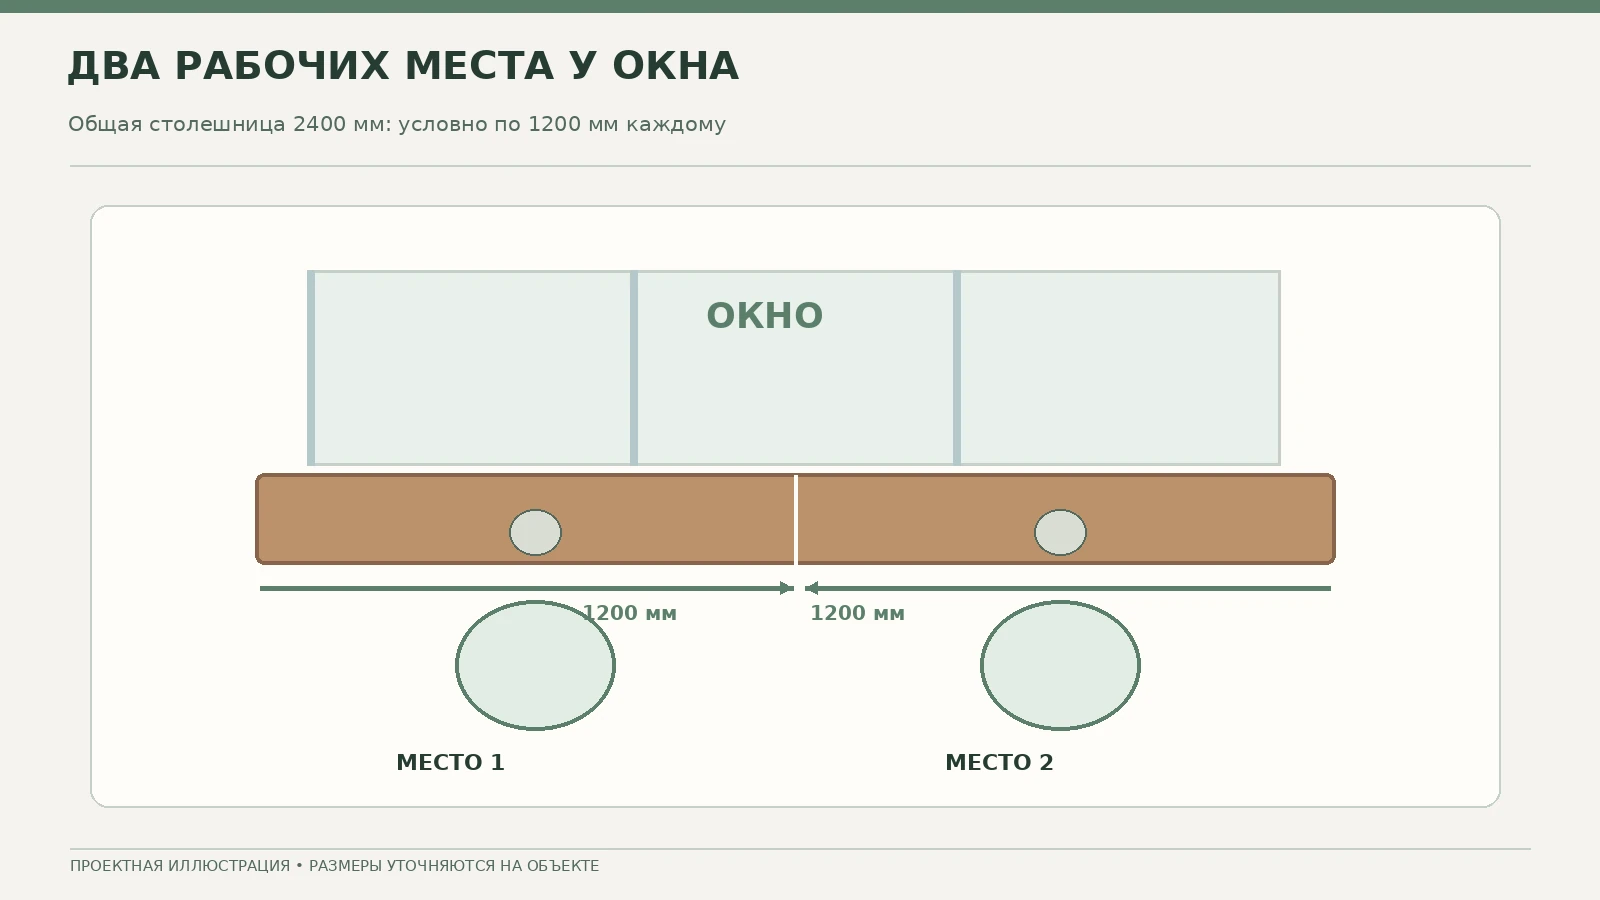
A long work surface by the window makes it possible to use natural light and gather communications in one zone. In a room 3400 mm wide, you cannot automatically assign a countertop of the same length: window reveals, the radiator, curtains and vertical supports limit the usable space. First, a safe and convenient area for two chairs is calculated, then it is divided into two parts with individual storage. If the work surface is conventionally 2400 mm long, each person gets 1200 mm before deducting the central support or shared elements.
A single wide countertop should not rest only on decorative wall battens or cladding. The load-bearing scheme is calculated by the furniture maker: attachment to a reliable base, cabinets, supports or a frame appropriate to the material and span. For schoolwork, the countertop should allow textbooks, notebooks, a monitor if necessary and desk lighting to be placed freely. Particular attention is paid to chair adjustment and comfortable seating for two people of different heights.
If a radiator is located under the window, a solid full-height front can impair its operation. Convection and access to the valves must not be arbitrarily blocked. The project specifies clearances, the method of servicing the heating and the arrangement of electrics. Sockets behind a solid furniture panel with no access are a bad solution. Lamp and charger cords are best routed into provided cable openings without sharp unfinished edges.
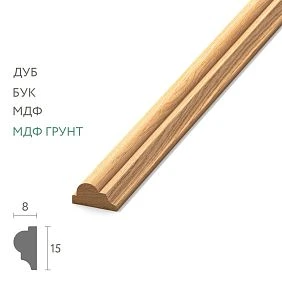
Two not-too-deep tall cabinets can be placed on either side of the window. Their end panels may be visually unified with wooden molding MLD-004 or a narrow band matching the facade color, but only after coordinating the movement of the sashes. Molding is a decorative detail, not a fastener and not a means of compensating for measurement errors.
Layout No. 3: corner work zones
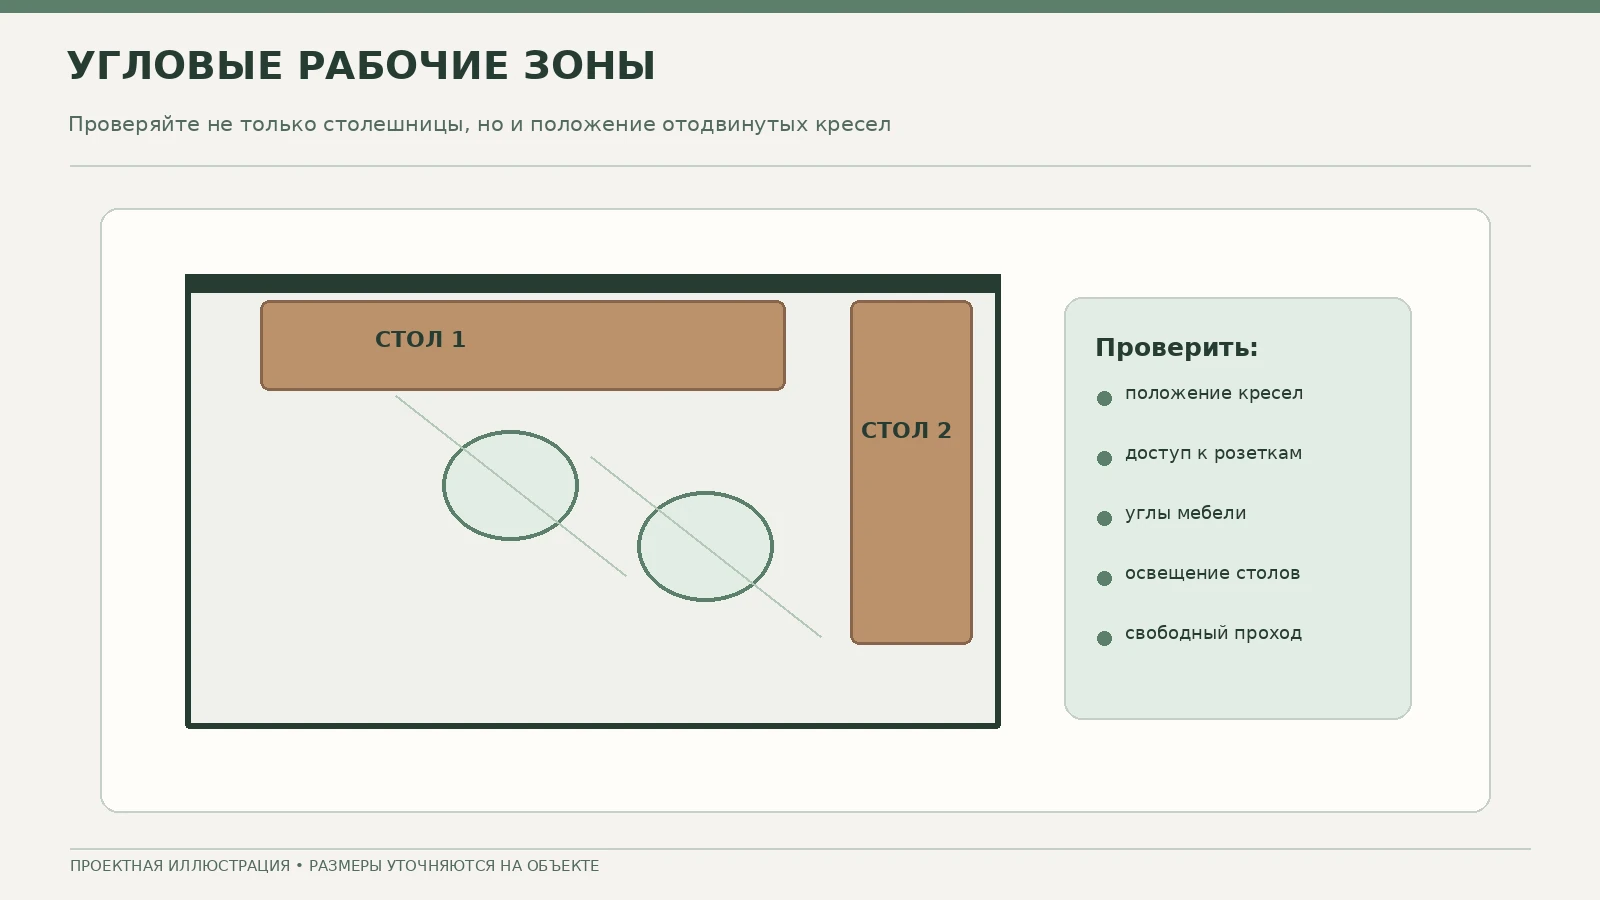
When the window is located closer to the corner, two identical desks under it may interfere with each other. In that case, it is better to create two workplaces at an angle: one gets the main part of the window wall, the other gets the long side wall. This is especially convenient when schoolwork is simultaneously accompanied by video calls, music, or creative activities: children look at each other's screens less and do not share the central shelf.
The corner layout requires checking the interaction zone of the two chairs. When pushed back, they must not collide or block the entrance. The plan should show not only the outlines of the desktops but also the working positions of the chairs. If necessary, one desk is shifted slightly or made less deep. However, saving depth must not deprive the child of the ability to place their hands correctly and arrange essential supplies.
Coordinate independent lighting. General ceiling light does not replace local lighting, especially when one desk faces the window sideways. Wiring is best concealed inside a specially provided furniture channel with service access. The lighting of decorative slats is not intended to become the only work lighting. The choice of fixtures and electrical installation must comply with operating conditions and safety requirements.
The walls between the desks can be visually delineated using color or separate sections slatted wall panels. But a large texture directly above the desk often collects dust and complicates mounting shelves. For an active zone, it is better to leave a simple washable surface and move the decorative accent to a free area next to the cabinet.
Layout No. 4: bunk bed and free floor area
A bunk solution sometimes frees up space for play or two study desks, but it should not be chosen solely to save space. It requires checking the age and behavior of the children, ceiling height, protective elements, the ladder, and the possibility of safe climbing. You should follow the manufacturer's instructions for the specific bed, age and load limits; generic figures from a decorative article do not replace this documentation. The upper tier is especially sensitive to the placement of light fixtures and ceiling elements.
Furniture around the staircase requires special attention. If a stair tread pulls out or has a drawer, show the mechanism fully open on the plan. Protruding wooden trim and sharp decorative ends must not be placed at a child's movement level. Areas frequently touched by hand or foot should remain smooth and securely fastened. Lighting cords and freely hanging elements near the bunk level are not acceptable.
When using a loft bed with a workspace underneath, check the lighting, ventilation, seated height and adult access for cleaning. A niche under the bed that is too dark does not become a quality study just because a desk fits there. Sometimes two ordinary beds along the walls make a more comfortable room than a large multifunctional structure, even though they formally take up more floor space.
Stylistically, bunk furniture itself becomes the dominant volume. Here one calm wall accent is enough: for example, Slat panel PAN-001 on the adjacent free wall. There is no need to repeat vertical slats on the staircase, the guardrail and all the other walls; excessive texture impairs the readability of the room.
Layout No. 5: floor-to-ceiling wardrobe and personal storage modules
A system with a tall wardrobe and two lower personal sections is suitable when there are many things but the room should remain visually calm. It is important not to confuse the maximum height of the carcass with convenient access for the child. The upper mezzanines are best reserved for seasonal sets, bedding and spare items used by adults. Everyday clothes, books and school items are placed where the child can take them without climbing on random furniture.
The stability of the carcass and proper wall fixing are a mandatory part of the project. Tall wardrobes, shelving units and some chests of drawers can tip over when drawers are open or when someone tries to climb onto a shelf; the choice of fixings depends on the wall and the product design. Installation methods should not be transferred from a concrete wall to drywall without checking the substrate. A decorative panel is not a load-bearing surface for an anchor unless this is specifically provided for by the project.
External uniformity of the fronts helps make the room feel cohesive, but the internal contents can differ. For example, one section has more short shelves for clothes, while another has a tall compartment for sports gear. Agreeing on each section before production prevents a situation where half the wardrobe is functional for only one child. When choosing custom furniture manufacturing it is useful to discuss not only materials and color, but also the specific list of items to be stored.
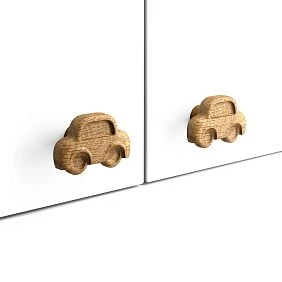
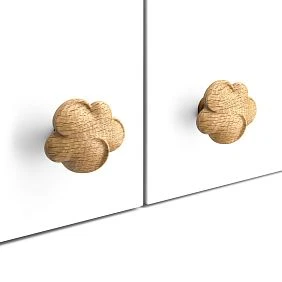
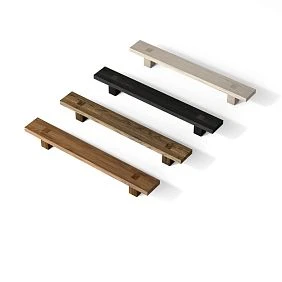
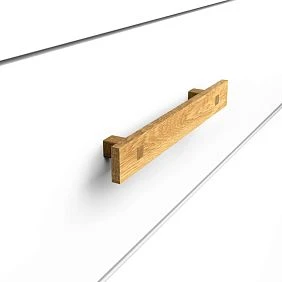
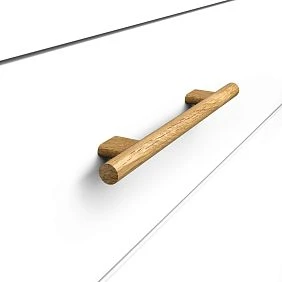
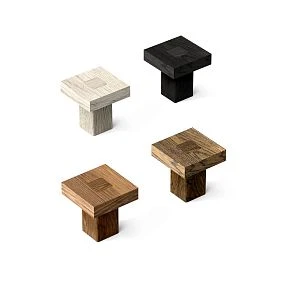
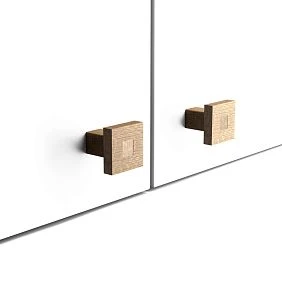
Decorative Cloud HL-050 furniture handles и Car HL-046 can become a small individual distinction on the fronts. At the same time, check the compatibility of the fastening with the door thickness, ease of grip, and the absence of dangerous protrusions. Do not use different fastenings on identical doors without coordinating the furniture holes.
Wooden slats and wall panels: where to use them and where to avoid them
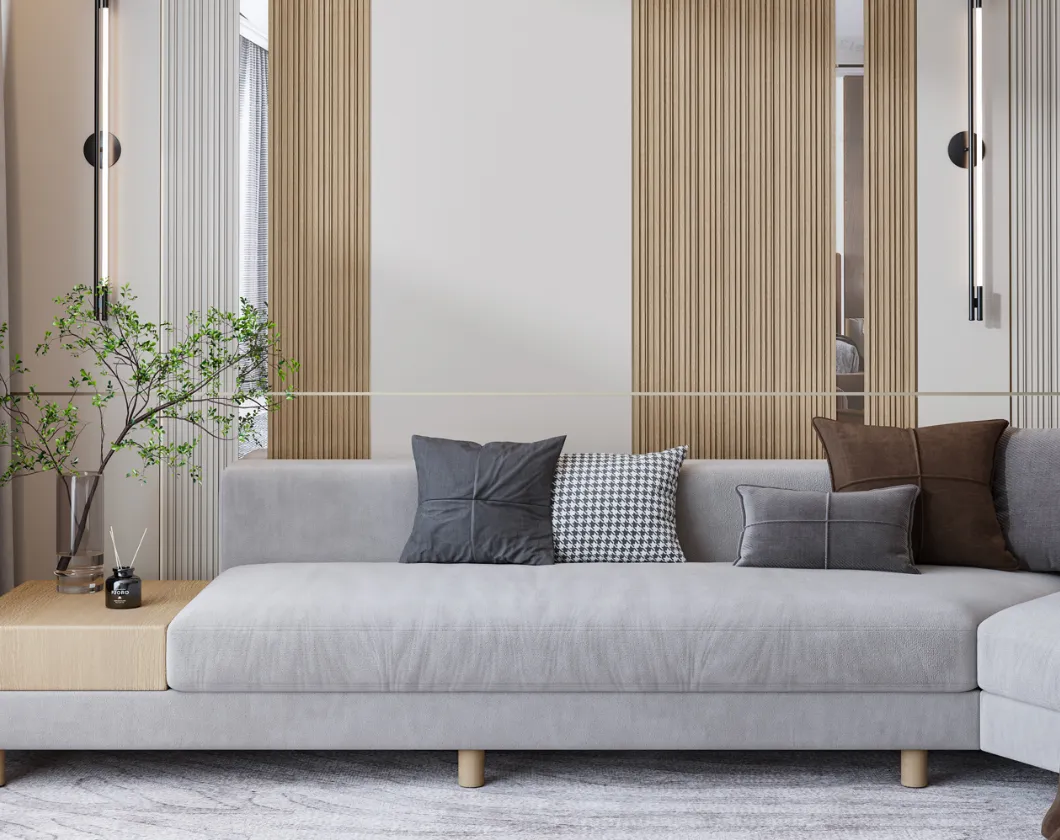
Vertical finishing creates a pronounced rhythm and can visually separate zones without a real partition. But in a children's room, it is important to evaluate not only the pattern, but also maintenance, possible impacts from toys, the strength of the fixing, and ease of cleaning. Slatted finishing is best used as a fragment on a wall that does not serve as constant support for chairs, a bed, or sports equipment. If shelves are planned to be mounted, the locations of the blocking and load-bearing bases are provided for in advance.
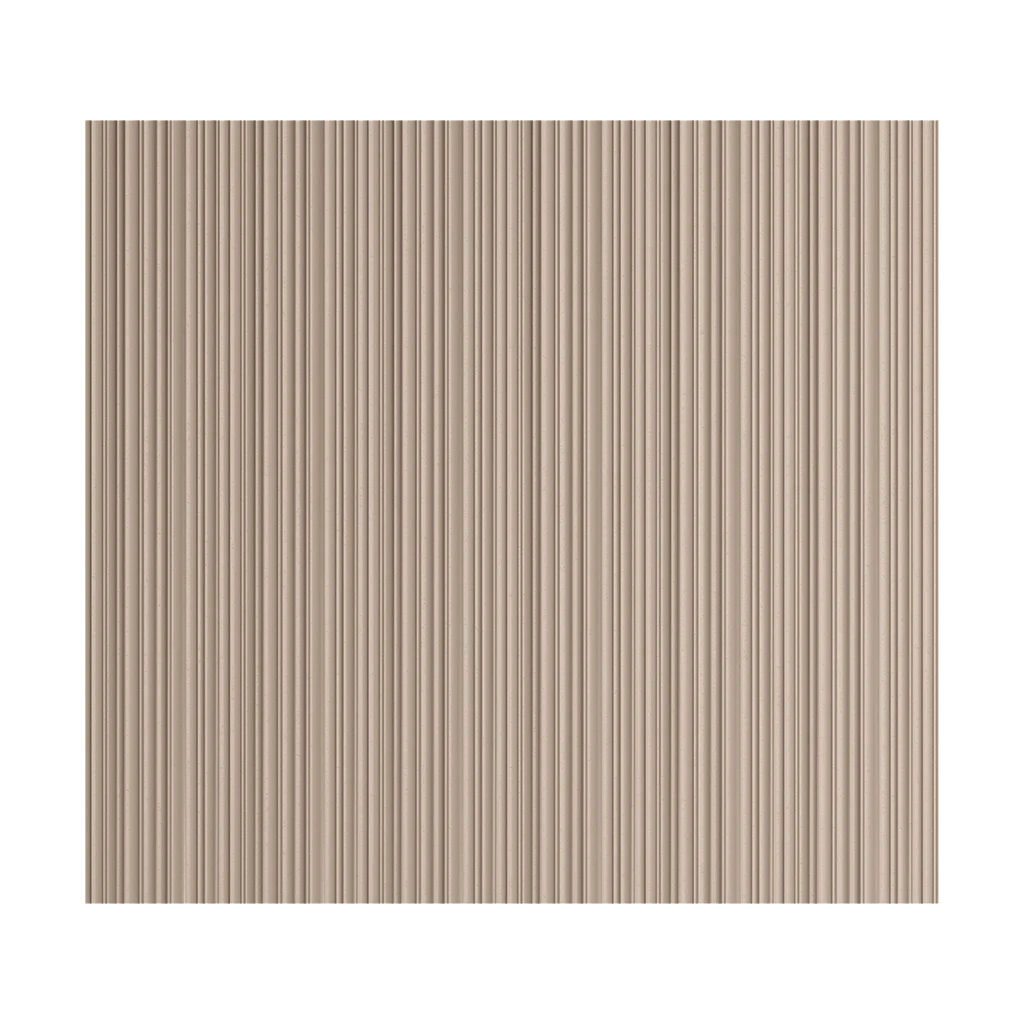
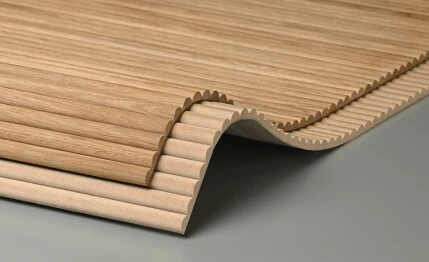
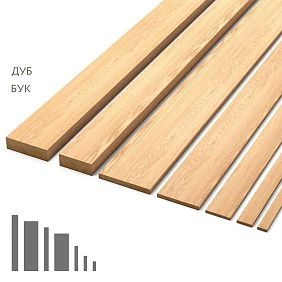
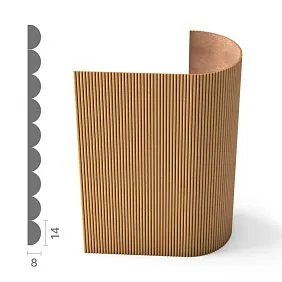
in the STAVROS catalog Wall Panels different types. When choosing, you cannot automatically assume that solid wood, MDF, veneered material, or a decorative coating are the same. A specific version may differ in dimensions, base, and installation conditions. For example, RK-001 is a separate wooden slat, while PAN-001 is a ready-made panel structure; the cutting and fastening schemes for them are fundamentally different.
A slat is convenient when you need to create your own pitch and gap width. But each element will require separate positioning and checking the straightness of the base. A panel speeds up repeating the pattern over a large area, but its format can produce more waste on narrow wall sections. For small rooms, it is more advantageous to draw the layout in millimeters in advance and compare not the price per linear meter, but the final quantity of purchased products. The edge elements cannot be automatically cut before installing the adjacent cabinet: the filler and false panel may change the visible section of the wall.
Where slats are especially appropriate
A good place for slats is a free side wall section between the cabinet and the corner, a reading area without close contact with the body, or a decorative section outside the area of intensive play. When finishing the wall near the bed, leave a smooth surface directly behind the pillow. A protruding texture next to the bed is inconvenient to wipe and can catch on textiles. If children actively play ball in the room, a durable smooth finish is often more rational than slatted.
For the color scheme, combine a maximum of several similar textures: for example, warm oak, a matte light front, and a calm wall color. Contrasting stripes on each wall section visually fragment a small room. Where the cabinet and walls have noticeably different wood textures, it is better to separate the surfaces with a neutral frame than to try to perfectly match the pattern of different batches of materials.
Moldings for furniture fronts and walls: do not confuse their purpose
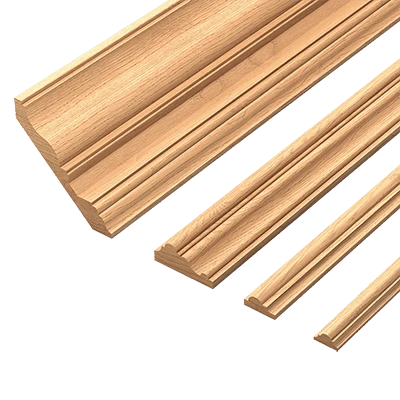
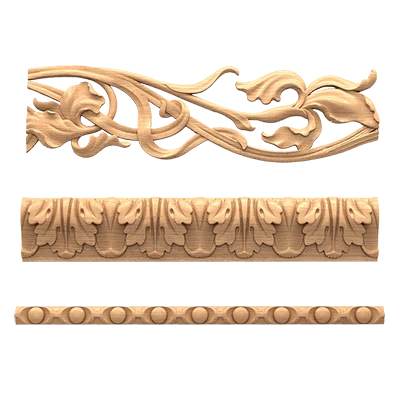
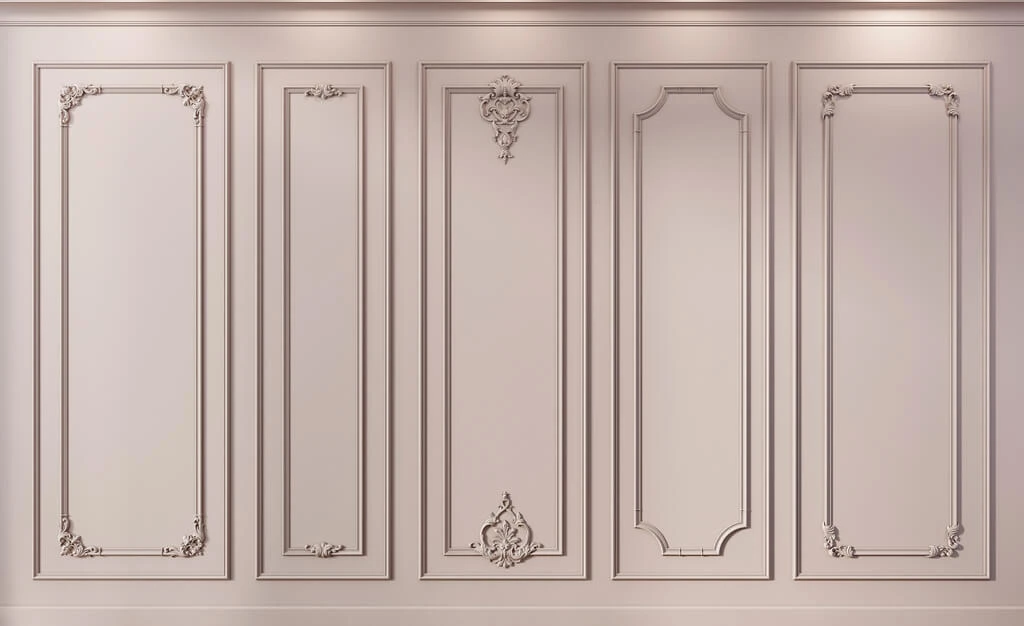
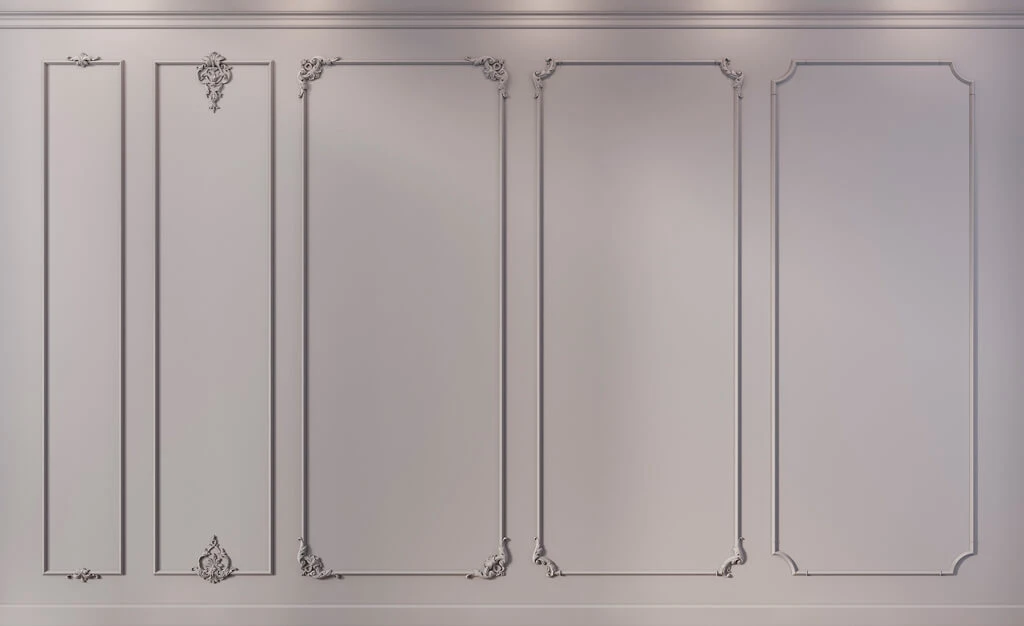
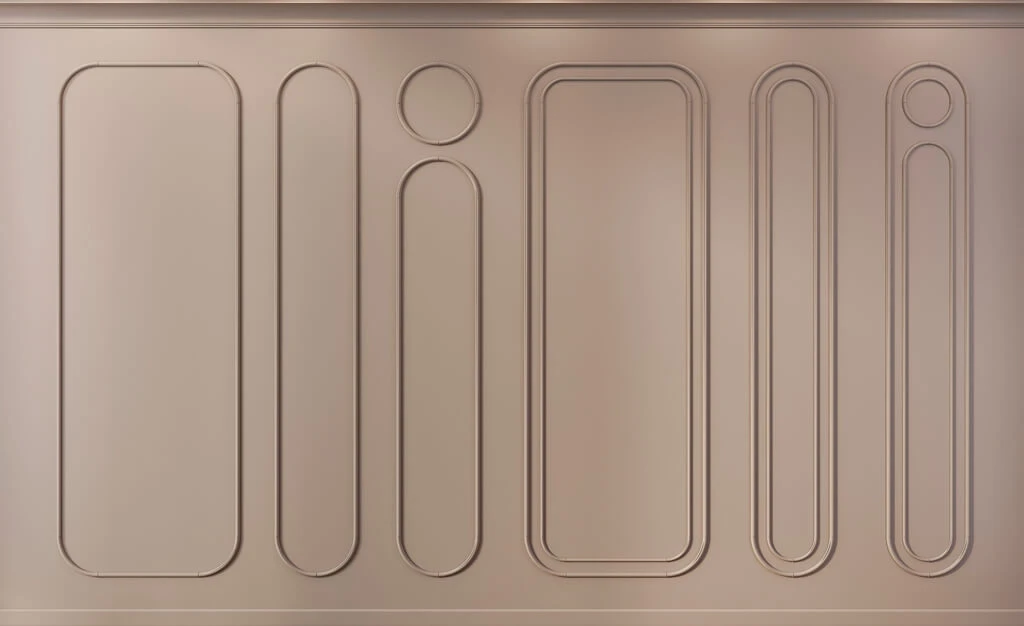
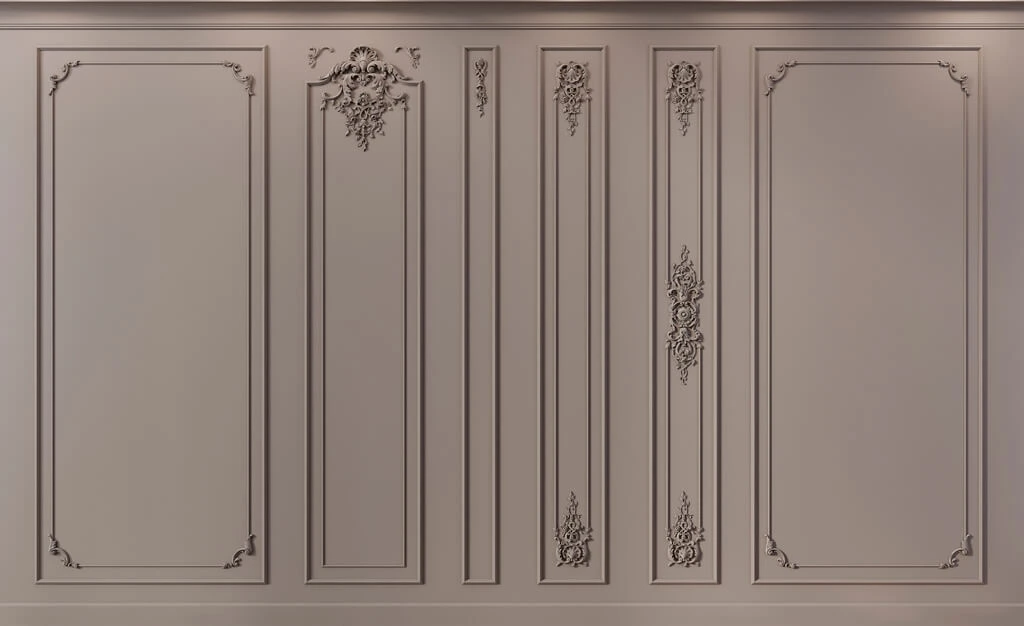
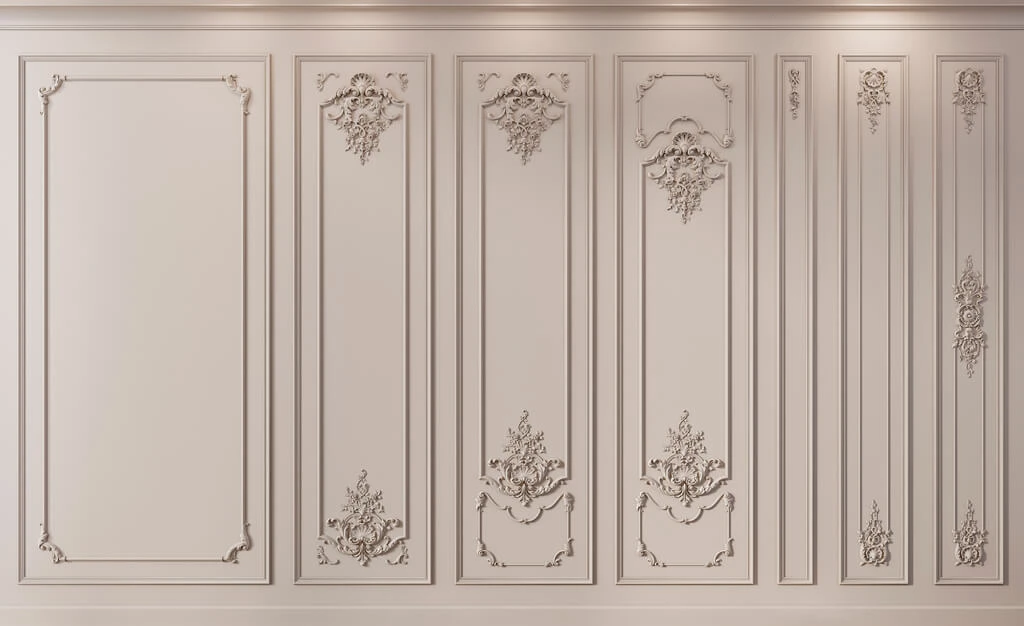
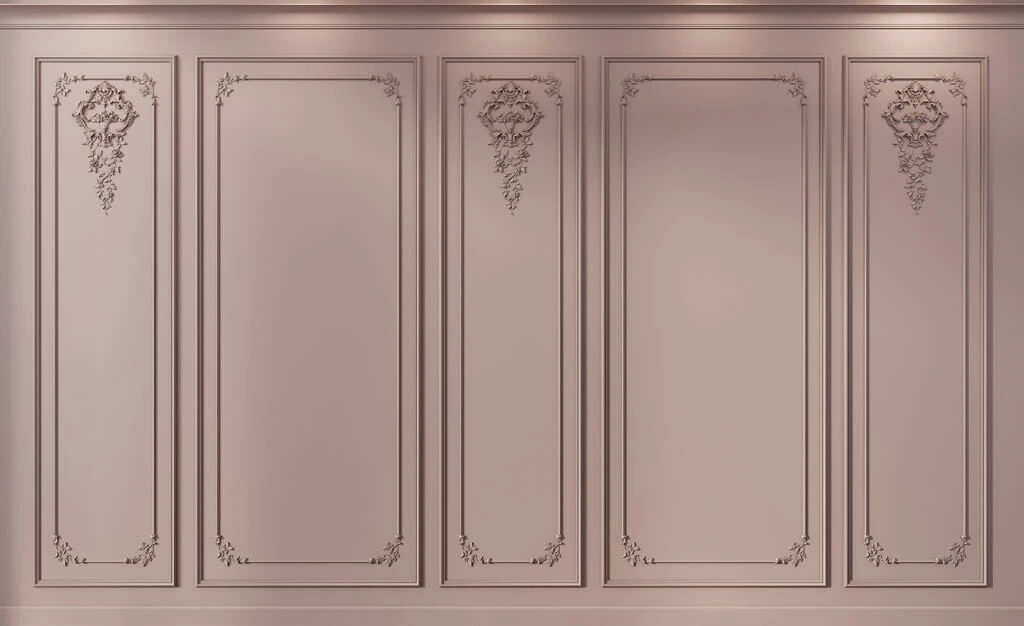
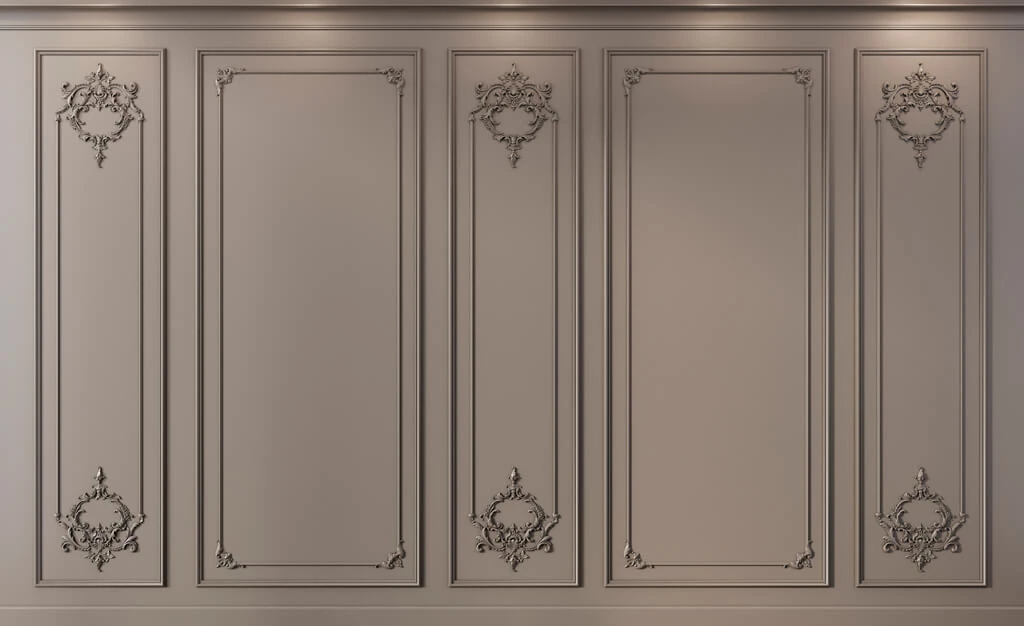
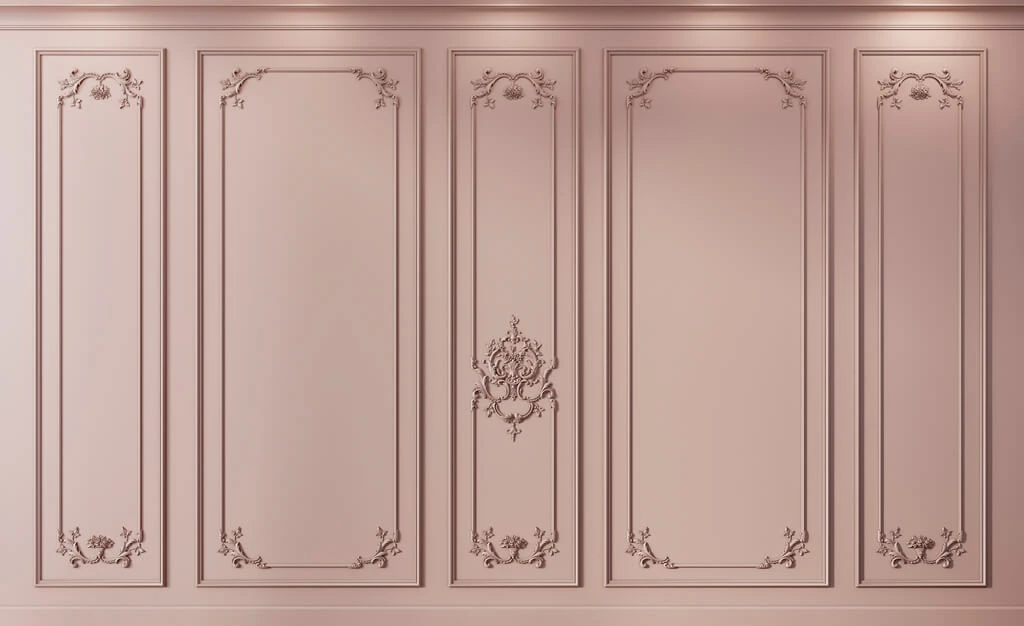
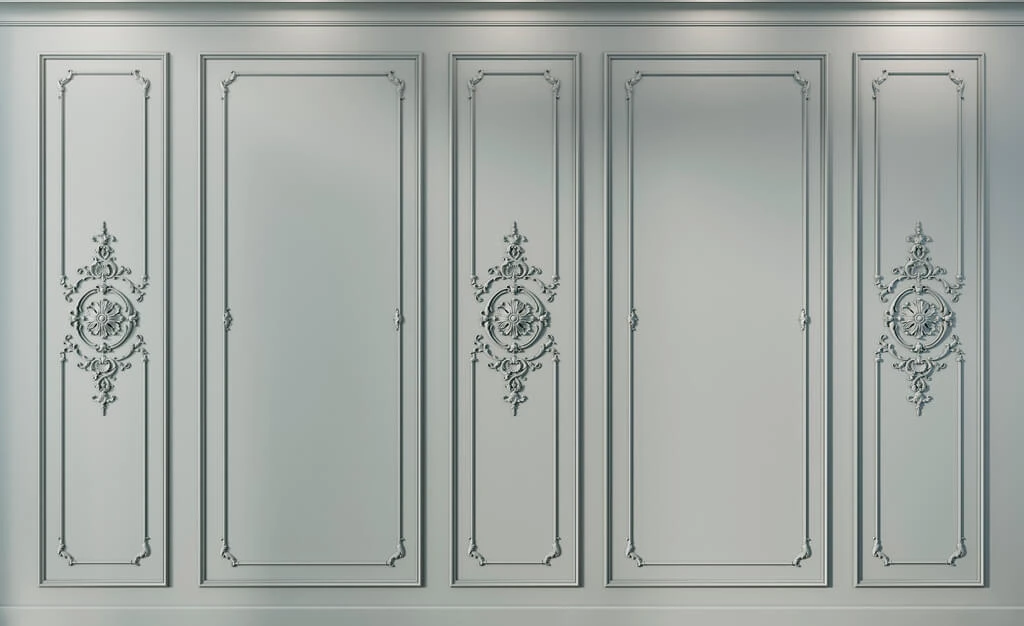
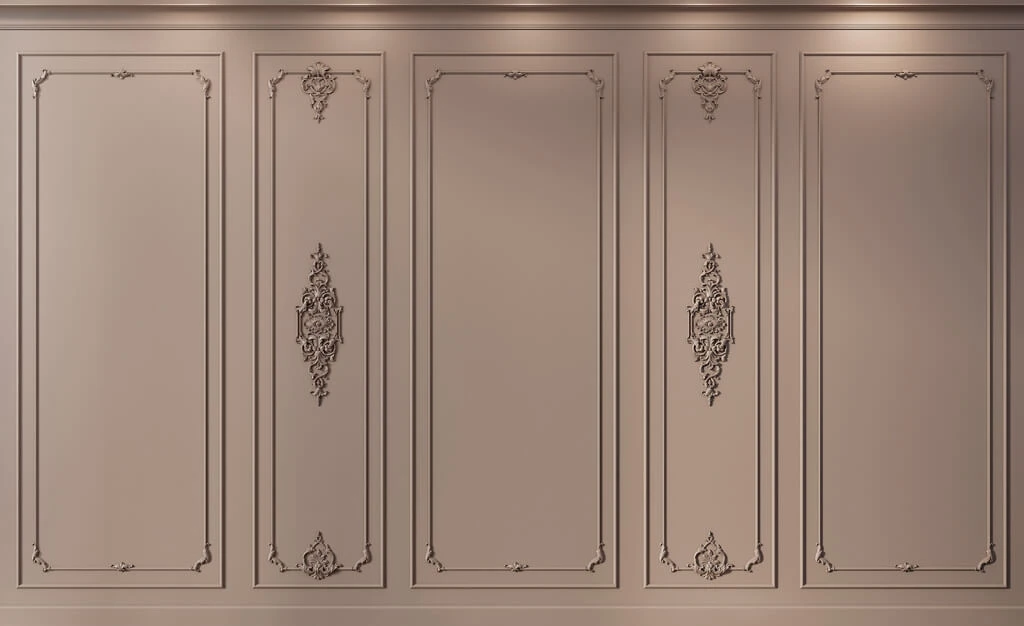
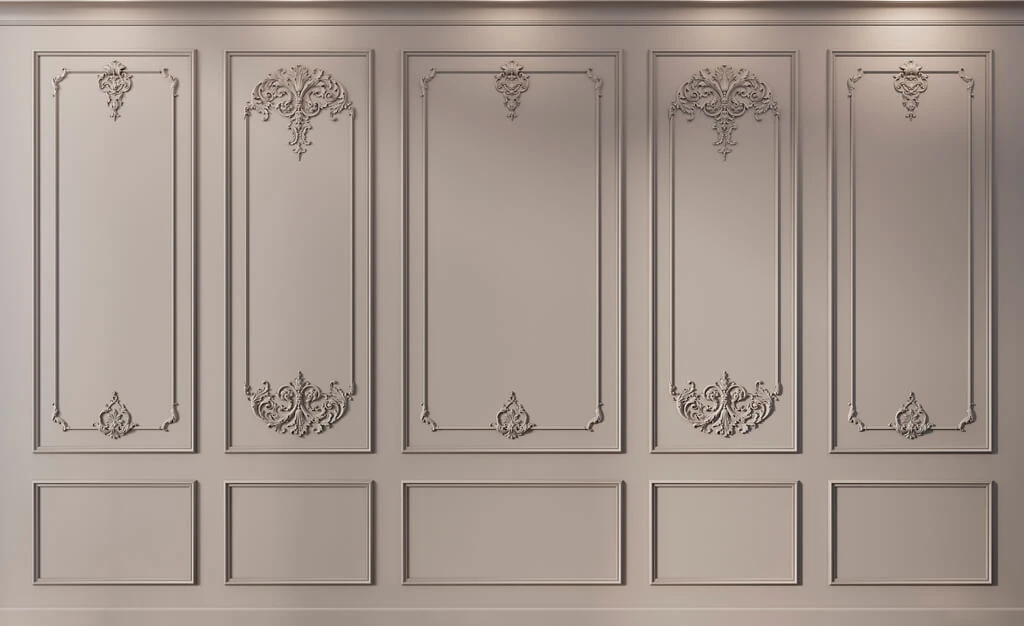
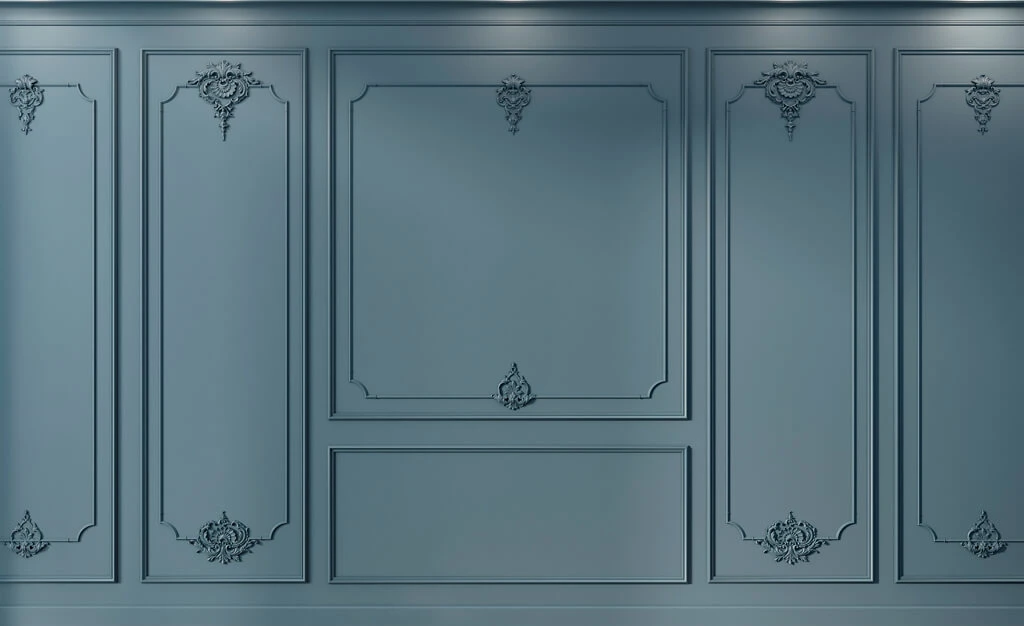
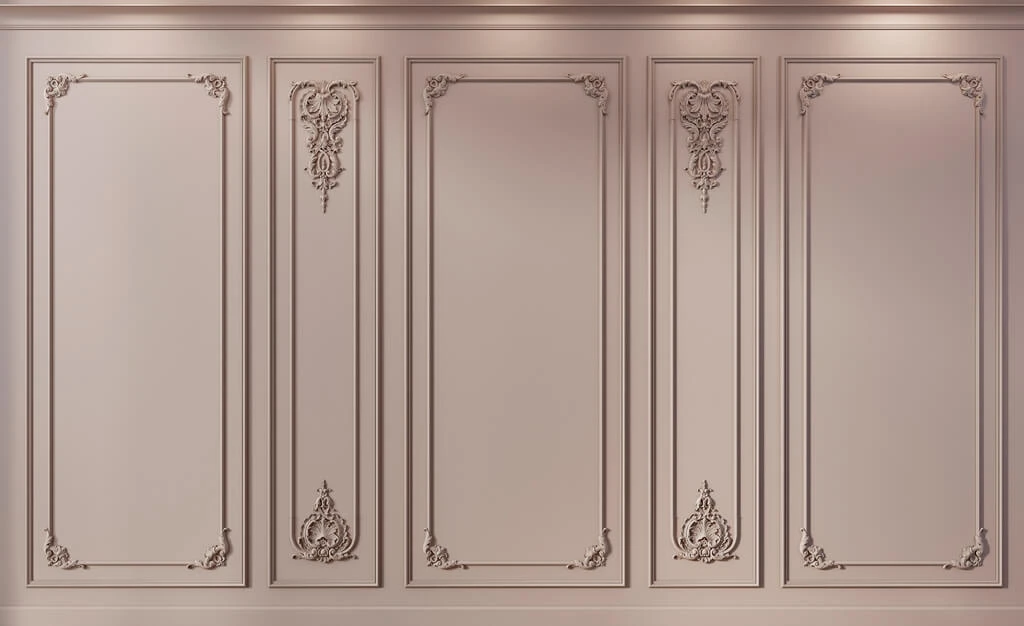
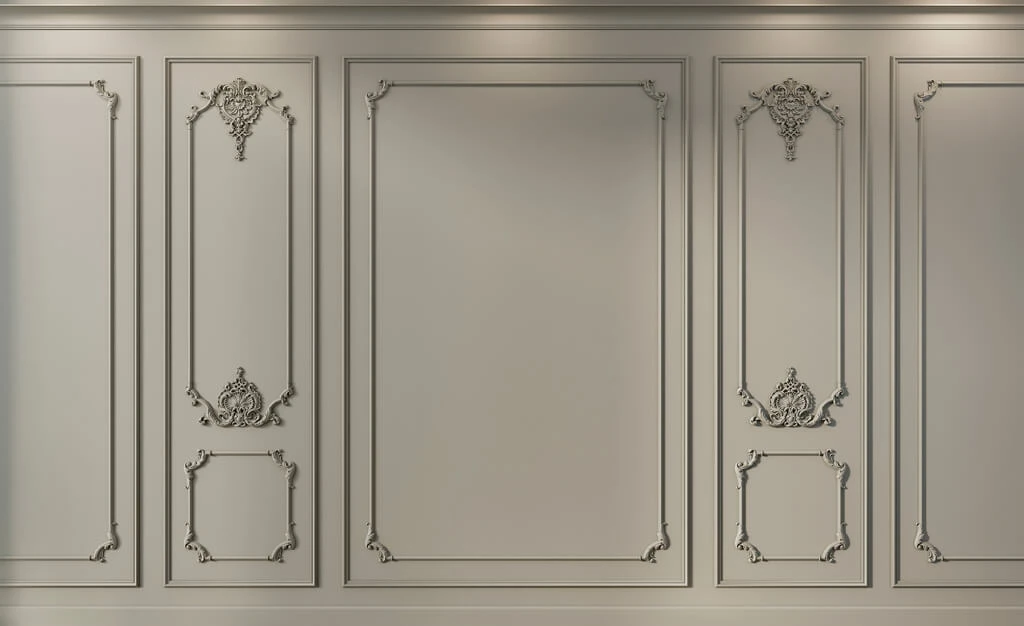
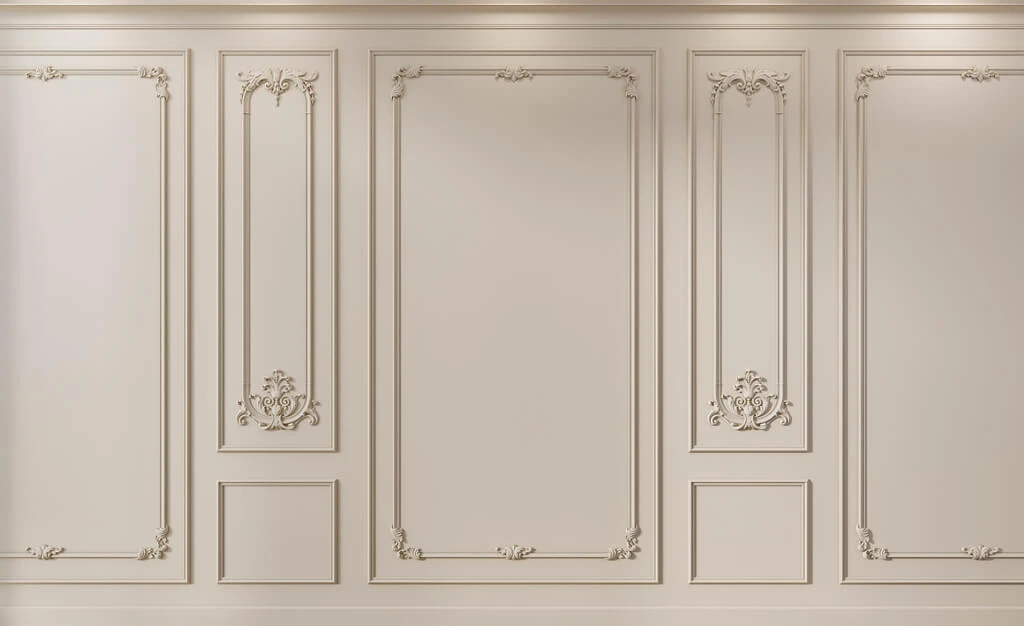
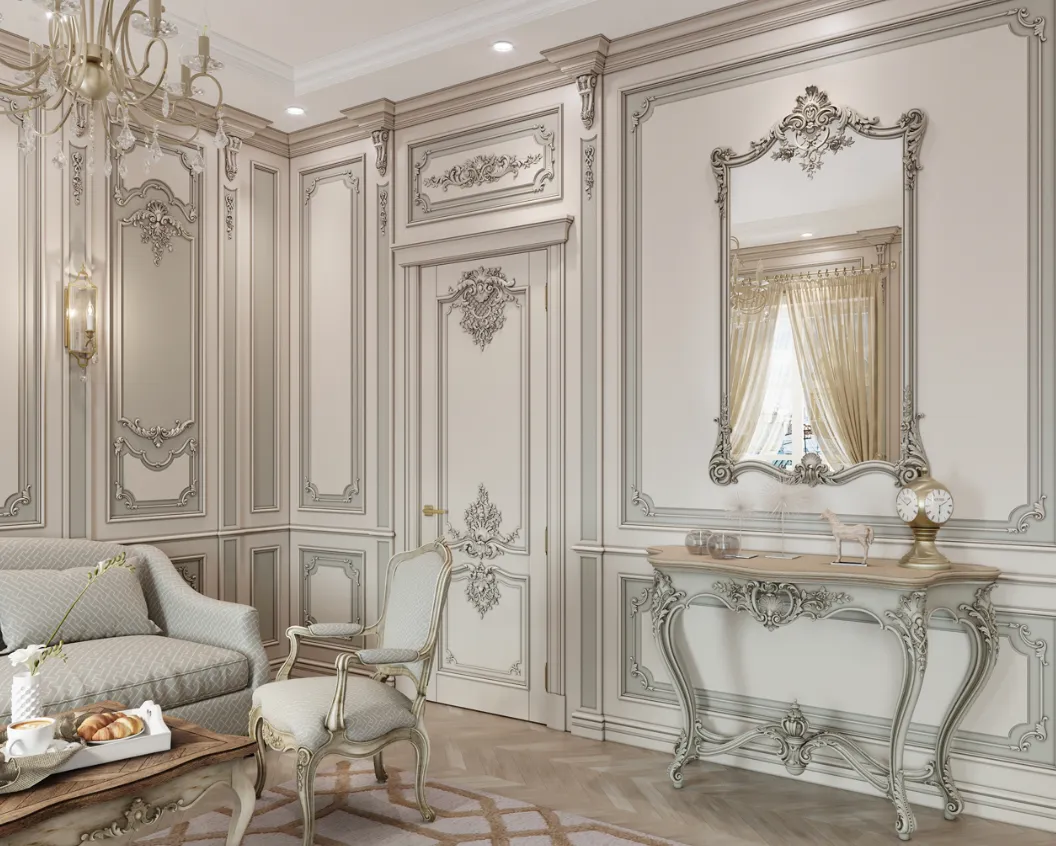
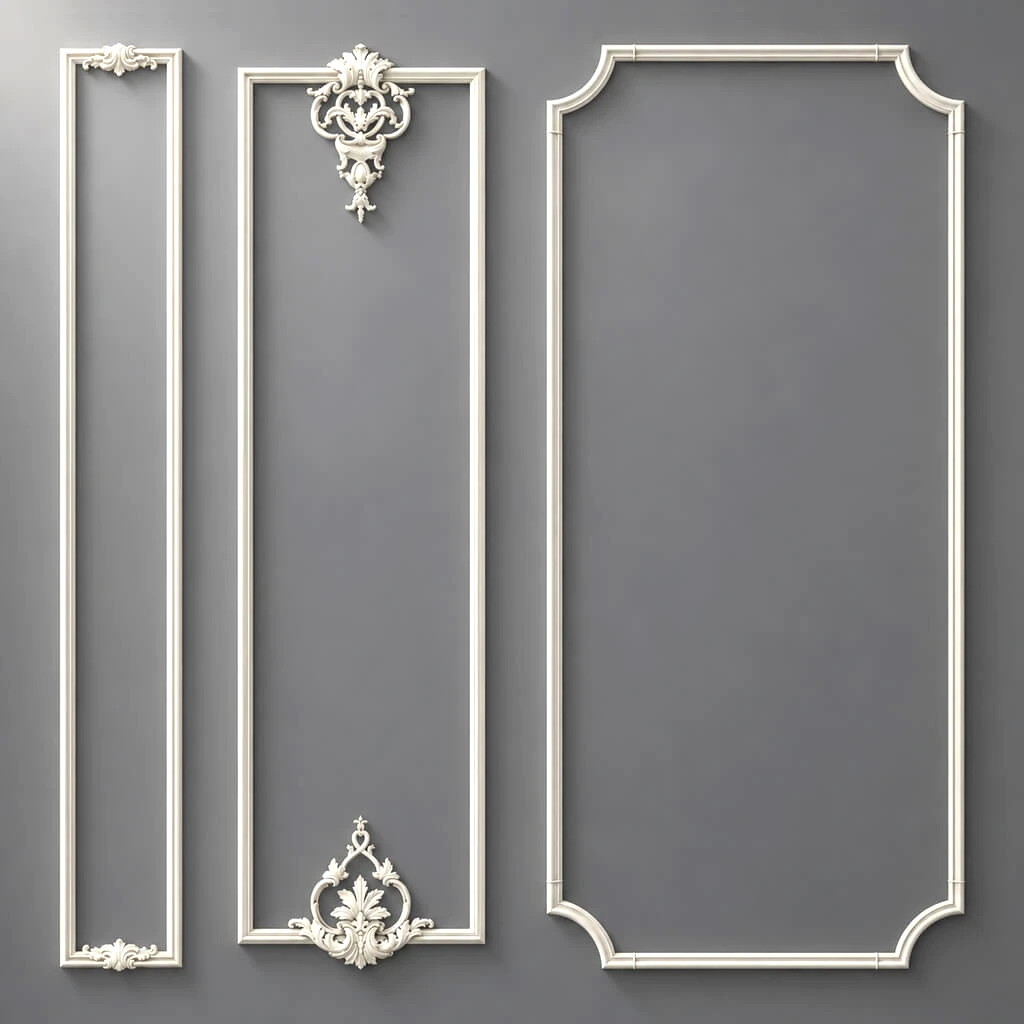
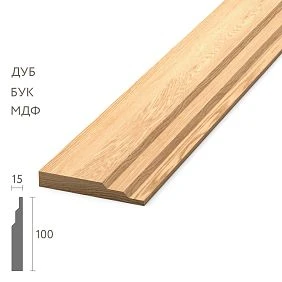
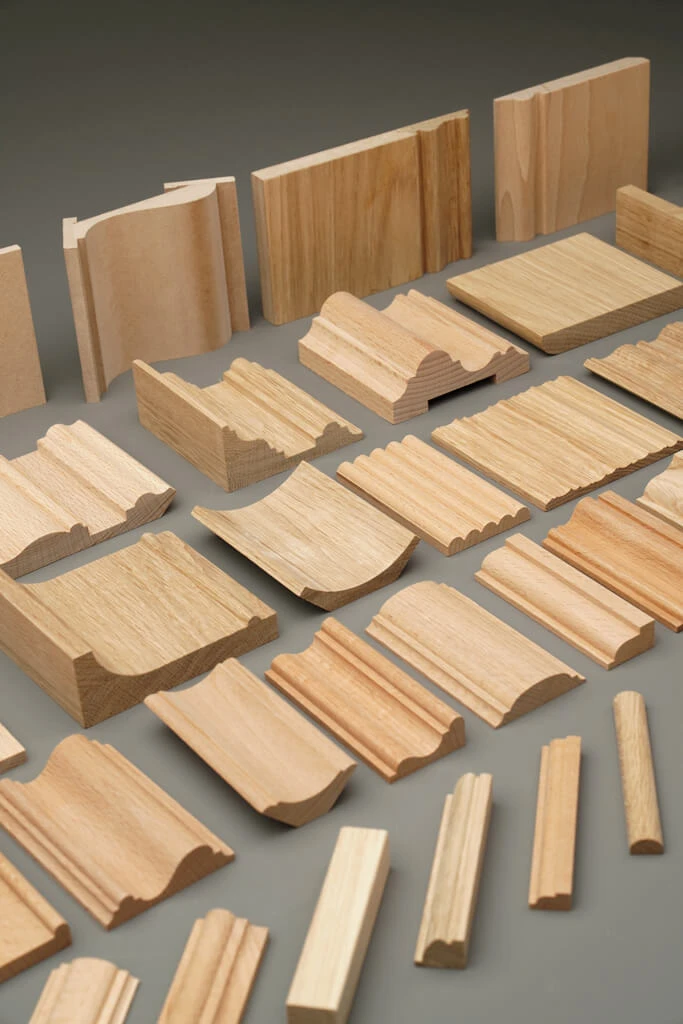
Decorative frames made of moldings can link furniture fronts with the room's finishing. At the same time, there are two different scenarios. The first is a frame directly on the cabinet door, where weight, rigidity of the base, fastening, and clearances when opening are important. The second is a frame on the wall next to the furniture, where base preparation, junctions to the skirting board, and the location of switches are more important. They cannot be combined into one universal drawing, because different surfaces and loads are involved.
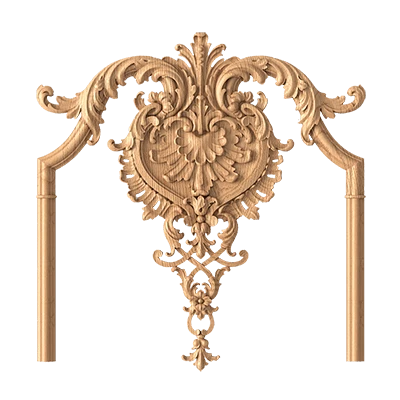
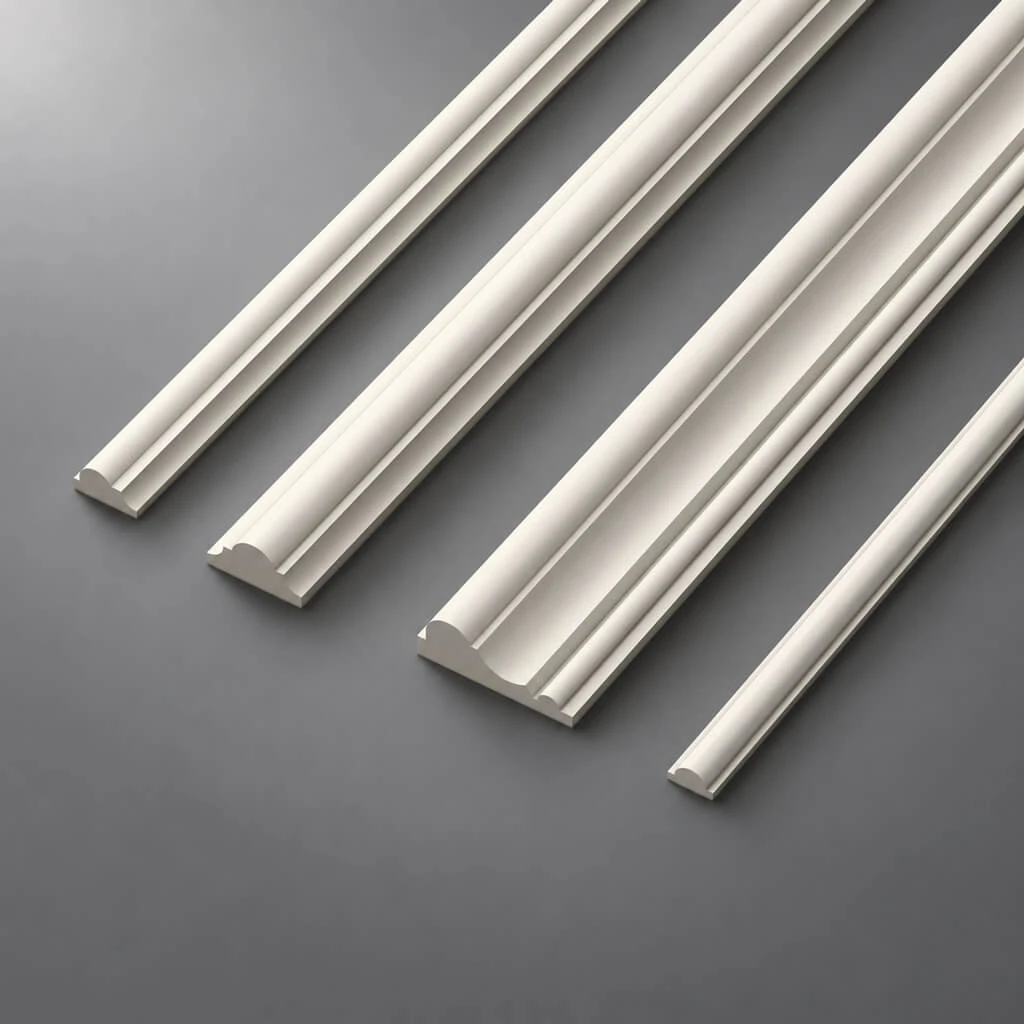
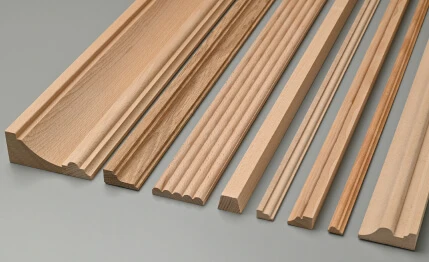
Molding MLD-004 It can be considered for a calm framing, provided that its specific design and finish are suitable for the chosen substrate. The profile size, material type and length must be confirmed in the product page of the required modification before purchase. When cutting the frame, take into account not only the perimeter but also the corner mitres, the kerf thickness, possible defects and the position of the joints.
Fronts that children often open should remain convenient in use. A narrow decorative strip near the handle can create an awkward grip, while a large frame next to the hinges can alter the gaps. Before series production, it is worth making a sample of one door and checking that it opens through the full angle. Make sure that the hanging parts do not become a place where a child pulls the door instead of using the handle.
For a wall-mounted frame composition, first mark it out with masking tape and look at it under normal lighting. If the room is full of objects, simple vertical or horizontal lines may work better than a complex grid of frames. In the decorative finishing of a children's room, the ability to update is important: a calm profile is easier to keep when changing colour, textiles and furniture.
Furniture handles for a children's room: choose by convenience
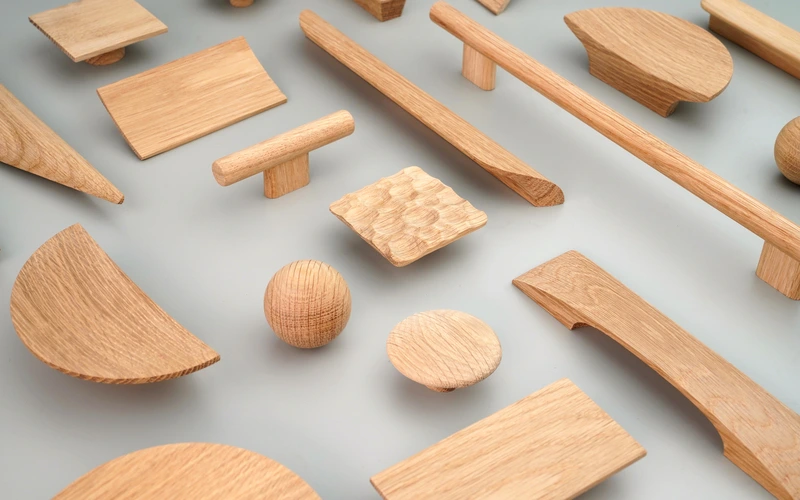
A cloud or car shape attracts attention, but not every decorative item is equally convenient in daily use. On handles, check the size of the protrusion, the radius of the edges, the grip of a small hand and the absence of parts that could easily come loose. The fastening is agreed with the material and thickness of the furniture panel; the suitable screws and mounting holes are determined by the manufacturer. The strength of the door itself also matters: a heavy front with a small handle may be inconvenient for a child.
STAVROS has real items Cloud HL-050 and Car HL-046 in solid wood. They can be used as a difference between personal sections or for several drawers, without turning the whole furniture set into a themed set. In the teenage years, such handles are easier to replace with more restrained ones if the holes are compatible. Therefore, when designing, it is sensible to choose a single fastening principle in advance and keep the hole pattern.
Along with the shape, consider care. Children's furniture must withstand regular wiping, and the cleaners used must comply with the recommendations of the coating manufacturer. There is no need to promise that any solid wood is immune to moisture, scratches or staining. Different wood treatment options have different performance properties, and these should be clarified for the selected supply.
For a small room, two types of hardware are enough: neutral on the main tall fronts and decorative on individual drawers. This way it remains a pleasant accent, and the interior does not turn into a set of small contrasts. Category STAVROS furniture handles is convenient to use for choosing alternatives once the size and weight of the fronts have been determined.
Calculation example: room 3400 × 4600 mm
The room area is 3.4 × 4.6 = 15.64 m². This does not guarantee that any furniture layout on such an area will be convenient. Suppose the door is located closer to one corner of the long wall, and the window is approximately in the center of the short wall. On the two long walls there are beds 900 mm wide each, under the window a shared 2400 mm countertop is provided, and closed storage is grouped in the area near the entrance. To verify dimensions, the plan and actual measurements are used — the proposed layout merely illustrates the calculation method.
If the beds are positioned strictly opposite each other, the theoretical free strip between their overall dimensions is 3400 − 900 − 900 = 1600 mm. After installing nightstands or pull-out drawers, this value may be smaller in local areas. Therefore, the plan must show three states: furniture closed; storage systems pulled out; both children using desk chairs. It is precisely on these diagrams that conflict areas are often discovered that are not noticeable in a beautiful perspective view.
Two workstations on a 2400 mm countertop nominally give 1200 mm per person with equal division. But drawers, supports, monitor stands and local organizers can reduce the usable space. If both children use desktop computers, the scenario will require separate verification. A desk cannot be specified by length alone: height, depth, leg position, space for pulling out the chair and electrical connections must be taken into account.
Layout of slats on two wall sections
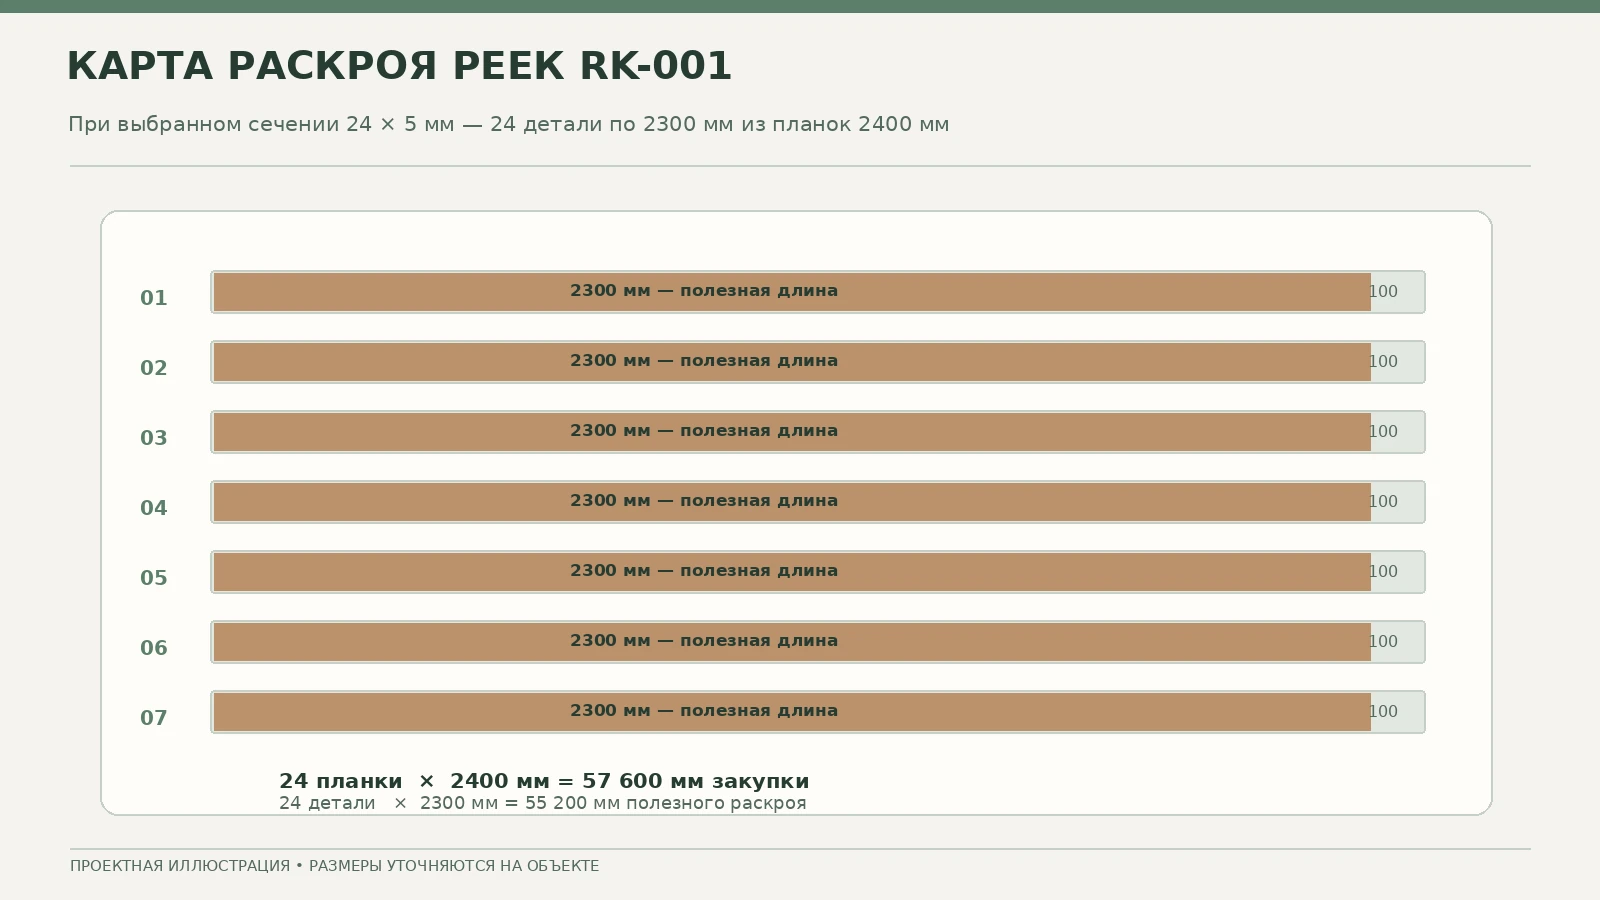
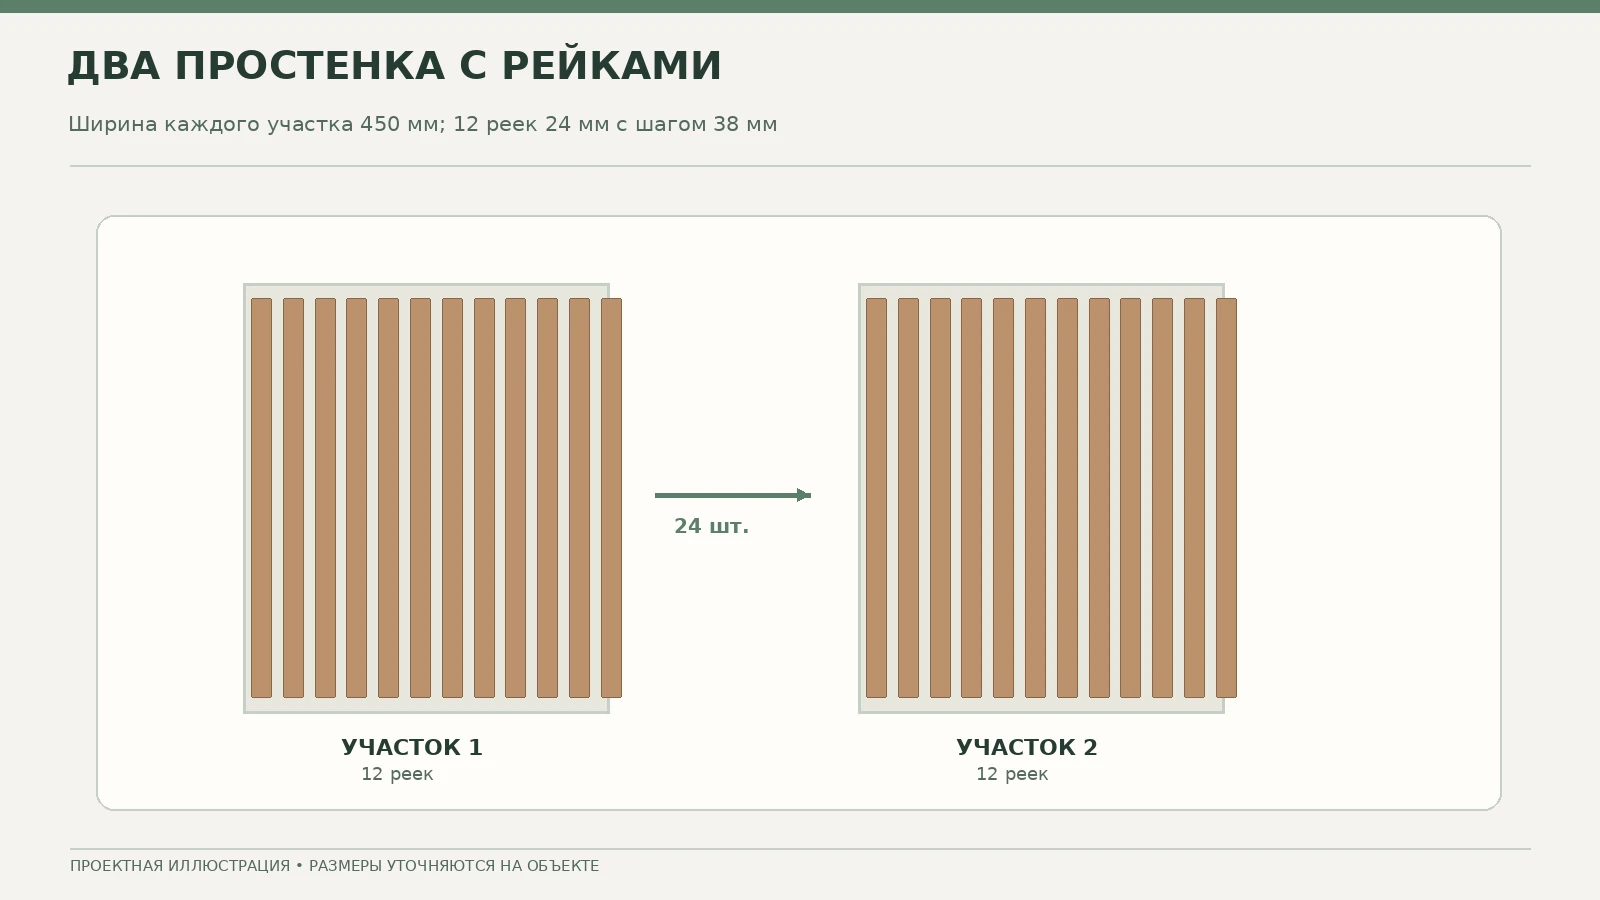
Suppose two identical wall sections 450 mm wide and 2300 mm high are chosen for the decorative areas. For an illustrative calculation, consider a slat of nominal cross-section 24 × 5 mm from the available RK-001 options, 2400 mm long. A vertical piece 2300 mm high fits into one original strip; after trimming, about 100 mm remains before accounting for the saw cut and end treatment. Let us take the center-to-center spacing as 38 mm. Twelve slats will occupy a width across the outer edges of 24 + 11 × 38 = 442 mm. When centered, 4 mm will remain on each side. If the installation solution requires larger edge clearances, the spacing or the number of elements must be changed.
For two wall sections, 24 slats of 2400 mm will be required. The usable length of the pieces will be 24 × 2300 = 55,200 mm, while the purchased length is 24 × 2400 = 57,600 mm. The total nominal remainder is 2400 mm before accounting for saw cuts. This remainder does not mean it can be replaced by one solid slat: it is distributed across 24 short offcuts. For the ready-made PAN-001 panel, the calculation will be different — based on the actual width and height of the specific modification, taking into account the pattern direction.
This layout is intended solely for checking the math. Actual seams, expansion gaps, coating thickness, substrate characteristics and ventilation requirements are determined by the instructions for the selected material and the installation project. Vertical elements with exposed open edges should not be installed directly in an active play area.
Molding frames on two cabinet doors
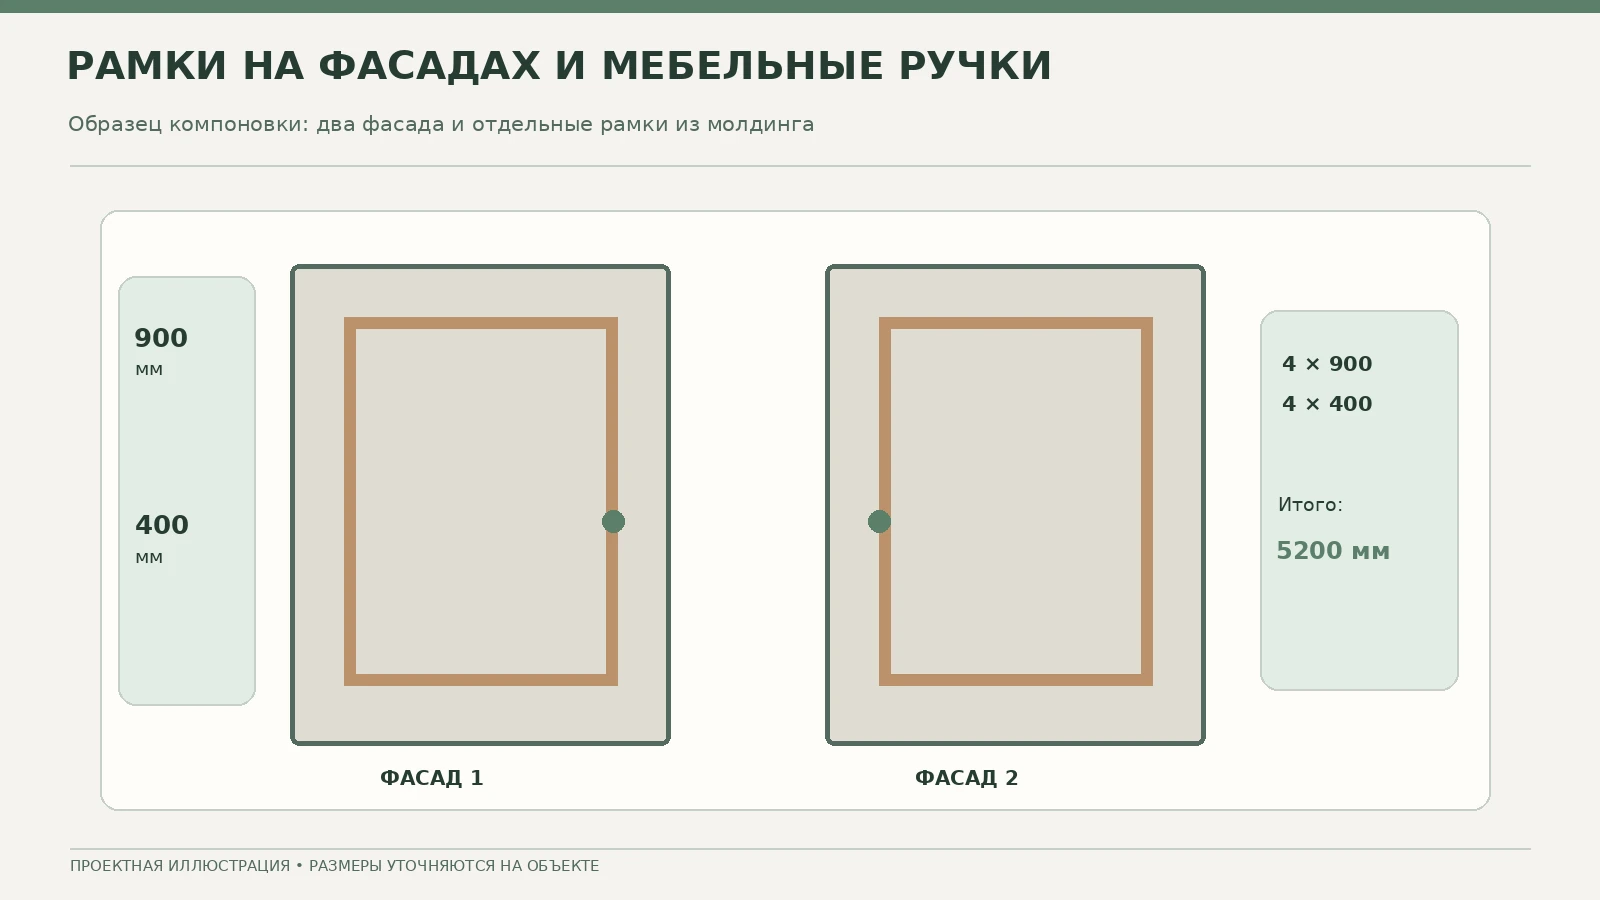
Suppose one rectangular frame with external dimensions of 400 × 900 mm is to be made on each of two identical smooth fronts. Each frame will require two vertical and two horizontal pieces. If the dimensions are measured along the outer edge and 45-degree cuts are made, the lengths of the blanks are specified according to the chosen profile marking scheme. For a preliminary bill of materials, one can count four verticals of 900 mm and four horizontals of 400 mm, totaling 5200 mm of clean length. This is not the full cutting plan for the purchase: cuts and saw kerfs require a margin.
If we take three 2400 mm strips as a conditional example, we can fit one 900 mm vertical and two 400 mm horizontals into the first two strips, and the remaining two 900 mm verticals into the third. The usable length is indeed 5200 mm, while 7200 mm is purchased in total; the difference of 2000 mm will be distributed across the three strips. But for the actual MLD-004, a specific version and length confirmed by the seller must be selected; the scheme stated here is a cutting demonstration, not an order specification without verifying the article number.
Materials for slats, frames and hardware are calculated separately. The price of each item depends on the material, grade, finish and dimensions. You cannot multiply the base price of one modification by another without verification. For a commercial calculation, prepare a table with item codes and links to the selected options, then request the current price and delivery terms.
Material specification and estimated budget
The schedule must include the item, location of use, size of the source product, net size of the part, number of pieces, allowance and finishing method. Below is an example without assumptions about the cost of manufacturing cabinet furniture. For slats RK-001, the quantity depends on the selected scheme — in the calculation shown, 24 pieces. For molding MLD-004, it is important to confirm the length of the specific selected modification; in the conditional calculation — three strips of 2400 mm. For handles Cloud HL-050 and Car HL-046, the quantity is determined by the number of selected drawers, for example two handles of each type. For PLT-006, you need to measure the actual exposed floor areas not covered by cabinets.
| Element | Where it is used | How to count | What to check before ordering |
|---|---|---|---|
| Slat RK-001 | Two decorative wall sections | 24 parts 2300 mm high | Cross-section, length, actual batch, mounting method |
| Slatted panel PAN-001 | Alternative to individual slats | By area and panel format | Material, grain direction, height and width |
| Molding MLD-004 | Frames on cabinet fronts | 5200 mm of clean parts plus cutting | Strip length, front thickness, installation method |
| Cloud HL-050 | Personal drawers | By number of drawers | Holes, fasteners, material and finish |
| Car HL-046 | Personal drawers | By number of drawers | Protrusion size, compatibility and care |
| PLT-006 | Open floor perimeter | By measurement after furniture placement | Height, length, joints with cabinet bodies |
To get a fair cost estimate, the price of the products themselves is supplemented by the cost of cutting, painting or other finishing, fasteners, base preparation, installation work and delivery. In a living room, the catalogue material price does not equal the final turnkey total. You cannot set the price of a complex built-in wardrobe or a specific children's room on your own: it is determined by a project with actual dimensions and a specification.
When comparing slats and panels, take waste into account. On two narrow wall sections, individual slats let you control the spacing but require more installation operations. A ready-made panel can give a more predictable pattern, but its cutting may increase the share of unused parts. At the selection stage, ask for a layout of specific formats rather than comparing only the price per piece.
As of the date the public STAVROS cards were checked, 19 November 2026, the page data listed base prices of 1600 ₽ for Cloud HL-050 and 1880 ₽ for Car HL-046. If, for a hypothetical project, you choose two handles of each type at exactly these prices, the arithmetic is as follows: 2 × 1600 + 2 × 1880 = 6960 ₽. This is only an example of the cost of four handles, not the final estimate for the children's room. Before purchasing, you must confirm the selected options, current prices, fasteners and delivery terms; other versions and finishes may be priced differently.
A separate topic is floor skirting and furniture junctions
When a storage system is installed up to the ceiling, the lines of the skirting, side fillers and wall panels must meet neatly. If a tall floor skirting is first mounted around the entire perimeter and then a wardrobe is pushed towards the wall, an unwanted gap may appear between the cabinet body and the wall. Sometimes the skirting is terminated at the side panel; sometimes trimming or a false panel is used. The decision is made based on the actual project of the furniture bodies and the profile.
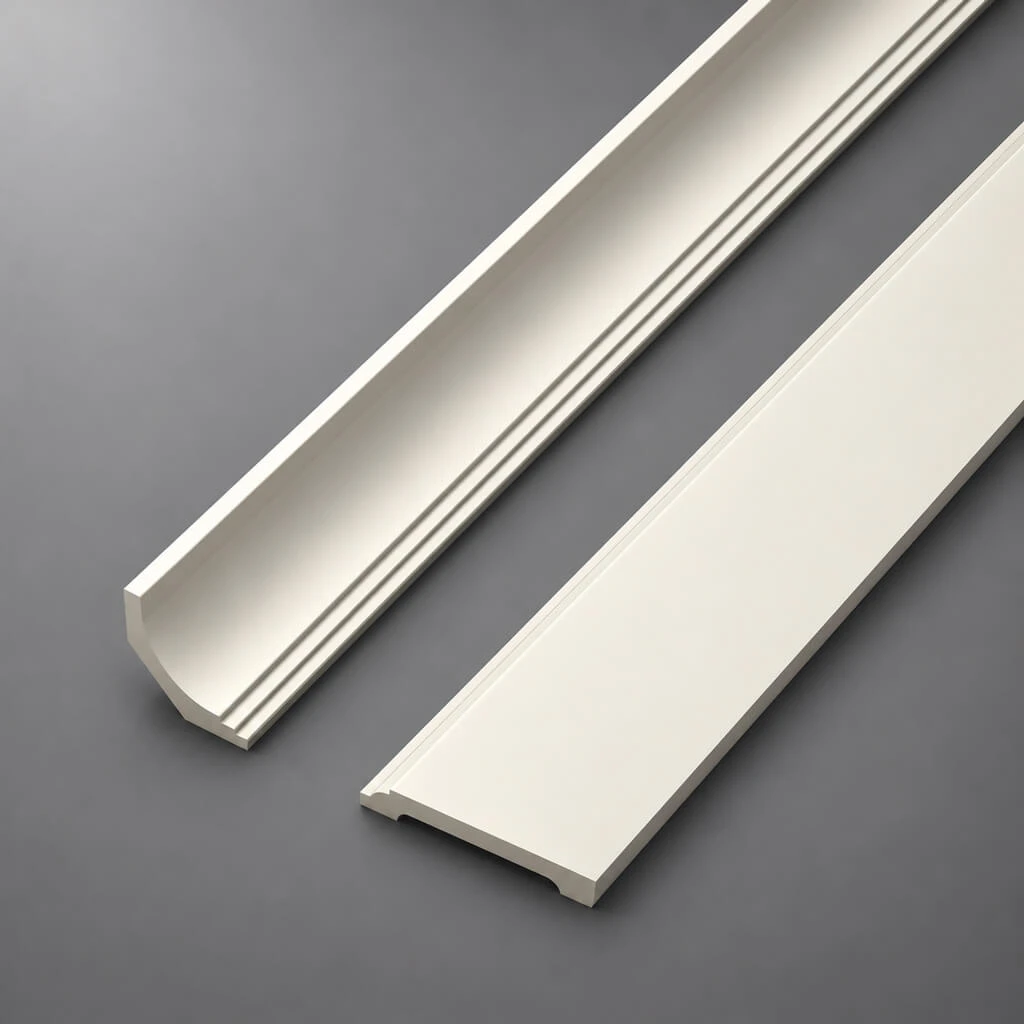
Universal skirting PLT-006 belongs to decorative profiles whose characteristics vary depending on the version. For a children's room, the absence of sharp exposed ends, ease of wet cleaning and coating durability are especially important. The skirting dimensions should be coordinated with door casings and the lower wardrobe fronts, otherwise you will get several conflicting vertical steps.
The corner joint is best planned on the drawing. A profile cut by accident may end up with a noticeable end or a gap that collects dust. When working with painted wood and MDF, follow the manufacturer's recommendations on preparation, edge protection and permitted compounds. Changes in humidity can affect wood products, so the operating conditions should be observed and the necessary expansion gaps left.
A completed skirting line creates a sense of a cohesive interior even without complex decorative details. But practicality is more important than visual continuity: where access to utilities is needed, the cladding must be removable or have a designated access hatch.
Choosing materials and finishes for a children's room
For children's furniture and finishes, solid wood, MDF, painted boards and combined solutions are usually considered. No single material can be declared absolutely safe or durable without data on the specific product, coating and method of use. Check the manufacturer's documents, installation recommendations, the composition of the finishing layer and care options. Pay especially close attention to items located near heat sources, damp areas and places of intensive contact.
Solid wood appeals with its lively texture and the possibility of restoring individual surfaces, but it is sensitive to storage conditions, humidity fluctuations and certain cleaning agents. MDF provides stable geometry for a number of parts, but its characteristics depend on the core, coating and edge treatment. Paint can refresh an interior, but it requires compatibility with the substrate and adherence to application technology. The words "natural" and "eco-friendly" do not replace specific confirmation of a product's safety.
Check the edges of worktops, fronts, shelves and wall decor by touch. A sharp corner at a child's face or shoulder height can be more dangerous than a visually questionable color. When designing low cabinets, it is worth providing convenient opening and preventing accidental finger pinching with suitable mechanisms. The size and weight of items are also important for fastenings, especially when children use them without adult assistance.
The finish must match its intended purpose. A play surface and a wall panel that is hardly ever touched experience different loads. Therefore, before ordering a finish, request care recommendations for the chosen product, not for the material in general. On a small sample, you can check how the color combination looks under the room's daytime and evening lighting.
Safety: mandatory checks before installation
Tall furniture must be fixed to a suitable load-bearing base in accordance with the manufacturer's instructions. Do not rely on the weight of the cabinet, the contents of the shelves or a tight fit to the ceiling. If the wall is made of lightweight partition materials, the fastening must be calculated separately. The presence of decorative wall panels does not confirm the load-bearing capacity of the base. Fastening points are marked out before installing the finish, and the locations of embedded supports are noted in the design.
Check the drawer mechanisms, pull-out stops and the operation of the door hinges. A child may open several drawers in a row and lean on them, so the system must match the intended usage scenario. Discuss pinch protection, soft-close mechanisms and opening force separately. If roller systems are used, it is important not to leave accessible places where fingers or cords could get caught.
Areas near beds should not contain protruding hardware that one could bump into at night. Near the headboard, avoid heavy items on a weak base and fastenings with an unverified load. Wall lights and electrical wiring require careful placement: accessible cords, extension leads under rugs and unprotected connections are unacceptable. Additional requirements for guards, small parts and furniture may apply depending on the children's age.
Make sure the window opens freely and does not require climbing on furniture. If the windowsill and desk are combined, do not turn a wide worktop into a convenient step for reaching the window. Window restrictors and protection should be decided taking into account the window design and the children's age. Regular ventilation and access for cleaning the space near the heating are also important.
Lighting for two workstations and the room as a whole
Each desk needs local lighting with convenient controls. If the lamps are mounted under a shared shelf, check whether they create glare or harsh shadows. When positioning the screen, it is advisable to assess reflections from the window and light fixtures. An outwardly symmetrical design may prove inconvenient if one child always sits in the shadow of a wardrobe side panel while the other gets direct light in their eyes.
General lighting must ensure safe movement around the room, and individual lights with controls accessible from a lying position are useful near the beds. Decorative slat lighting can add atmosphere but does not replace lighting for reading and studying. Light sources, power supplies and cables must be installed in compliance with electrical safety requirements and with access for maintenance. Do not place heat-generating elements directly against wood surfaces without a confirmed mounting method.
The lighting plan is part of the furniture project approval before the carcasses are manufactured. Cable holes, socket and switch positions should be marked on the drawing rather than drilled on site as circumstances dictate. This is especially important for built-in structures that are difficult to dismantle without damage. Decorative moldings and panels can visually conceal utilities but must not make repair or inspection impossible.
How to prepare a project for a furniture showroom
For a children's room for two, a single plan with colored rectangles is not enough. Ask for a top view with doors open and drawers extended, elevations of all walls, a specification of each carcass section, a hardware list, work surface heights, and the locations of sockets, light fixtures, curtains and the radiator. Clarify which elements are manufactured by the furniture factory and which are supplied by a separate decor manufacturer.
It is appropriate to start by discussing the project at CONCEPT furniture showroom: it is a separate contractor for the furniture part, while STAVROS materials are selected from its own catalog. This connection is useful to the customer but does not imply official cooperation between the companies. Before paying, it is important to understand who is responsible for measurements, installation, finished dimensions, substrate preparation and correcting any discrepancies.
For custom furniture, final measurements are taken after the finishing work that changes the geometry of the room. Where possible, a joint dimension verification of all contractors is organized on site. The decorative profile has thickness, the front has a movement path, and the countertop has support requirements. A couple of millimeters, invisible on a sketch, sometimes prevents a door from opening where it meets a molding.
Before manufacturing, approve at least one facade sample together with the selected hardware and wood color. If the project includes a slatted wall, a full-scale layout on one section or a full-size fragment is useful. This makes it easier to spot too small a spacing, unwanted shadows, and the need to adjust the offsets. Keep the final set of drawings and the list of item codes in a single document so you do not rely on verbal agreements.
How to order and receive STAVROS decorative materials
First determine the product type, material, and size. Then select the required modification in the catalog, confirm the current price, manufacturing or delivery availability, finish, quantity, and packaging. Decorative slats, panel products, skirting boards, and handles may require different shipping conditions. Do not assume that all items are interchangeable just because their names are similar. When selecting a set, it is important to make sure that the parts of one order match in color and finishing method.
It is convenient to build a cart or specification using links to the actual products made from solid wood and MDF and individual product cards. If you need to choose a material between oak and beech, it is better to order samples or confirm the shade using the manufacturer's available materials. Photos on a screen may not convey color accurately; natural wood has an individual pattern. For long slats, consider the packaging method and the risk of damage to the ends.
Check the payment and shipping rules in the official section "Payment and delivery" of STAVROS. Do not promise a specific delivery time to any city or stock availability without confirmation for the order. Upon receipt, inspect the packaging, quantity, compliance of item codes, dimensions, and visible damage. Before installation, store materials according to the manufacturer's instructions and do not leave them in a damp room without the necessary conditions.
Provide the installation crew with layout diagrams and the specification in advance. They must indicate not only the item code but also the installation location, pattern start, grain direction, joints, finished dimensions, and finish type. If a discrepancy in color or dimensions arises, it is better to detect it before gluing and drilling. After the work is completed, keep the leftover finish and batch data for local repairs.
How to adapt the interior in three and five years
When choosing furniture, it is useful to picture in advance not only the first day after renovation but also the next stage of the children growing up. At a younger age, play space and access to containers come to the fore; during school years, two independent work desks and storage for study materials; later, equipment, documents, and personal belongings. Cabinet furniture can be designed with the possibility of changing the contents: movable shelves, separate cabinets, replaceable handles, and neutral facades. At the same time, rearranging shelves is permitted only within the limits allowed by the design, without weakening load-bearing connections.
For teenagers, the possibility of privacy is especially important. In a single room it is not always possible to provide this through physical separation, but it helps to arrange desks so that screens do not face each other, and to have separate lighting controls. A tall decorative partition in the middle of the room can worsen natural light and access to the window, so privacy should not be solved solely with a slatted wall. Low mobile storage systems sometimes work better if they remain stable and do not block the passage.
It is advisable to choose wooden decor as a durable background rather than a temporary plaything. One accent wall with a vertical rhythm can later be used behind the sofa or desk when the bed is moved. Small molding frames go well with the new wall color if their profile is not too massive. Cloud- or car-shaped handles can be replaced later if the holes and fasteners were coordinated in advance. This helps update the interior without dismantling the entire built-in system.
Before ordering, ask the furniture maker which parts can be replaced separately: the countertop, facade, handle, side panel or inner drawer. If everything is joined into a complex non-removable unit, even a small update will become expensive. The ability to buy compatible consumables for local finish repairs is also important. Do not promise an identical shade of natural wood years later: batches may differ, so it is better to keep the remaining coating and information about the chosen finish.
Mistakes that most often ruin a project
The first mistake is assigning two identical places without taking into account height and activities. Formal symmetry does not compensate for uncomfortable seating or a lack of shelves for one child. The second is placing the wardrobe in the only spot with good lighting and sending the desks into a dark corner. The third is calculating the bed dimensions only by the mattress, forgetting about protruding headboards, drawers and the need to change bedding.
The fourth is installing the slatted wall before measuring the case furniture. After installation, unexpected thicknesses and complex junctions appear. The fifth is ordering decor only by total square footage without cutting individual parts. Short offcuts cannot be joined into one full-length slat: the number of original items and the length of each segment matter. The sixth is choosing hardware by appearance without checking holes and ease of opening.
The seventh is forgetting about window and heating maintenance. The eighth is covering utilities with non-removable panels. The ninth is attaching a tall wardrobe to decorative cladding rather than to a load-bearing base. The tenth is using bright themed motifs on all built-in surfaces, which makes the room difficult to update after a few years. Properly distributed accents allow you to change textiles and accessories without replacing the main furniture.
Another common problem is the lack of someone responsible for junctions between trades. The wardrobe manufacturer may assume the finisher will trim the skirting; the finisher may assume it is the furniture maker's task. As a result, the corner remains unfinished. In the work schedule it is worth signing not only the material and size, but also the person performing each operation, especially at junctions where wood meets furniture facades.
Acceptance checklist before installation
Before the installers arrive, check the room: final dimensions, readiness of walls and floor, absence of hidden obstacles, location of electrics and the possibility of bringing in large parts. Compare the delivered carcasses and profiles with the agreed schedule. Make sure the packages and parts are not damaged and that the drillings on the facades match the chosen handles. It is important to check the color sample not only in daylight but also with the main lighting on.
During installation, check that tall cabinets are securely fixed to the base, that sliding mechanisms work properly, that there are no misalignments, and that the window and door open freely. See what happens if you open two adjacent drawers or pull out both chairs at the same time. Joints between slatted panels must not create protruding sharp elements. The skirting board must be neatly finished at the furniture ends, and the decorative moulding must not obstruct the opening of the front.
After installation, check that the doors move smoothly, the handles are secure, and there is access to sockets and utilities. All sharp edges, protruding fasteners and unsecured tall items must be corrected before the room is used. Ask the contractor for care instructions, warranty terms and a list of the finishes used. A good children's room is a space that is comfortable to live in every day, not just to photograph after renovation.
Frequently asked questions about a children's room for two
Do I need to buy two identical beds?
Not necessarily. Matching external dimensions help create symmetry, but one child may need a different base option or storage. What matters most is that the dimensions are compatible with walkways, the users' ages and the layout. Mattress sizes and safe-use requirements should be confirmed for the specific models.
How can a long desk be divided so that the children don't disturb each other?
Assign each child their own section of the worktop, a lamp, sockets, a pedestal or containers. If necessary, add a low organisational shelf, but do not block the view or access to light. If the children study at the same time and interfere with each other significantly, two separate desks may be more convenient than one shared one.
Can shelves be mounted on slatted panels?
A decorative panel must not be treated as load-bearing without calculation. Shelf fixings must transfer the load to a suitable base or to the designated embedded supports. The fixing scheme is determined by the wall material, the weight of the shelves and the items on them. Slats and mouldings primarily serve a finishing function.
Which panels are easier to keep clean?
As a rule, a smooth surface is easier to wipe than a deep relief. But the actual durability depends on the coating, the technology and the permitted cleaning agents. For a heavily used area, choose a material with clear care instructions and the option of local repair.
What decor should you choose if the children are of different ages?
Calm base materials and changeable personal accents are preferable. The colour of handles, textiles, posters and light accessories are easier to update than built-in wardrobes and fixed wall panels. Sleeping and work zones are designed around individual needs rather than a single "average" age.
Should a wardrobe be made floor-to-ceiling?
Yes, if this is confirmed by the design and by safe fastening. The upper sections are convenient for infrequent storage, but they should not encourage a child to climb onto the shelves. The opening height and access to everyday items are agreed separately. The necessary installation clearances and access to utility components are preserved.
Can slats and decorative mouldings be combined?
Yes, if they serve different purposes and do not turn a small room into a cluttered space. For example, use slats on one wall section and a minimalist frame on the wardrobe front. It is best to check the colour, spacing and scale on a full-size sample.
How do you calculate the number of slats without overspending?
First choose the specific cross-section and length of the product, then set the clear width and height of the area, the spacing and the edge offsets. Calculate the number of verticals based on the actual width, taking gaps into account, and then lay out the parts according to the lengths of the original strips. The total linear metreage is not enough; the cutting map is what matters.
Can the cost of a children's room be estimated from a photo?
Only very approximately, and such a result will not replace a commercial proposal. The price depends on the composition of the wardrobes, mechanisms, facade material, built-in electrics, finishing and the scope of installation. An accurate calculation requires a project with dimensions and a specification. STAVROS materials and the furniture part are calculated separately.
Where should decorative items be purchased and where should furniture be ordered?
Wooden slats, mouldings, panels, skirting boards and handles are selected from the appropriate STAVROS product cards, while comprehensive furniture for a children's room can be discussed with a maker of bespoke projects. Before placing an order, both contractors are given the same set of drawings and responsibility for the joints is checked. This is more important than trying to order everything from individual images without an overall project.
Bottom line: design habits first, then decor
A successful children's room for two children starts with movement routes, personal workspaces, storage and safe access to belongings. Wooden slats and wall panels help to visually divide the zones, mouldings unite the furniture and walls, and small decorative handles add individuality. But none of these elements should make opening doors, cleaning or using the furniture more difficult.
To choose a finish, go to the Stavros catalog, compare specific products and request a quote for a set according to your own schedule. Designing and manufacturing built-in furniture for two workspaces, beds and wardrobes will require a separate precise measurement. If these works are agreed before production begins, the interior will not only be cohesive but also genuinely convenient for two different people.