





















Article Contents:
- When Wall Molding Makes Sense in a Rental Property
- Start with the unit, not the trend
- Decide whether the work is for the owner or a tenant
- Identify the maintenance tradeoff
- Create one recognizable focal point
- Preserve a calm color palette
- Understand the role of lighting
- When to choose a simple rather than elaborate profile
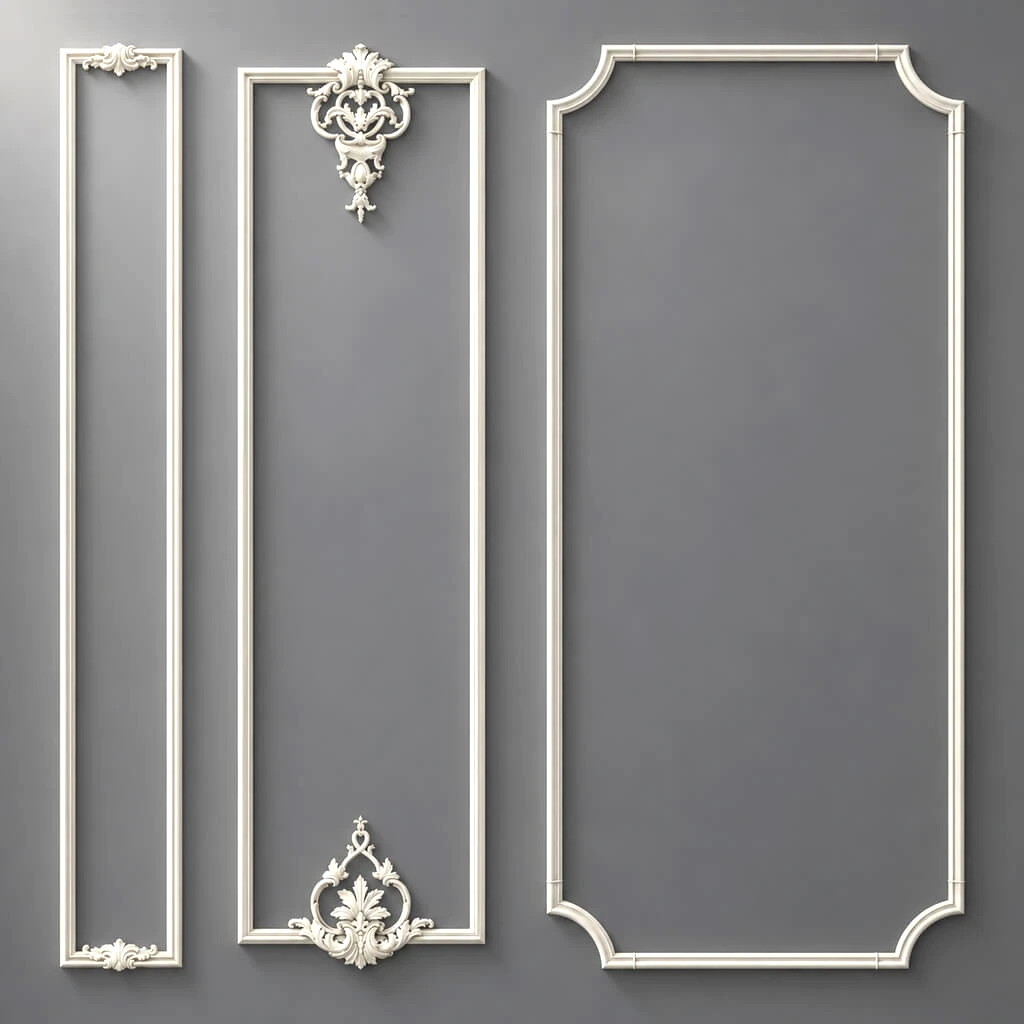
- MLDPU-001: the smallest recurring detail
- MLDPU-004: a compact shaped frame
- MLDPU-002: a medium-width panel outline
- MLDPU-003: use the wider shape selectively
- What about decorative onlays and ready-made sets?
- Living room: one frame behind the sofa
- Bedroom: an architectural backdrop, not an obstacle
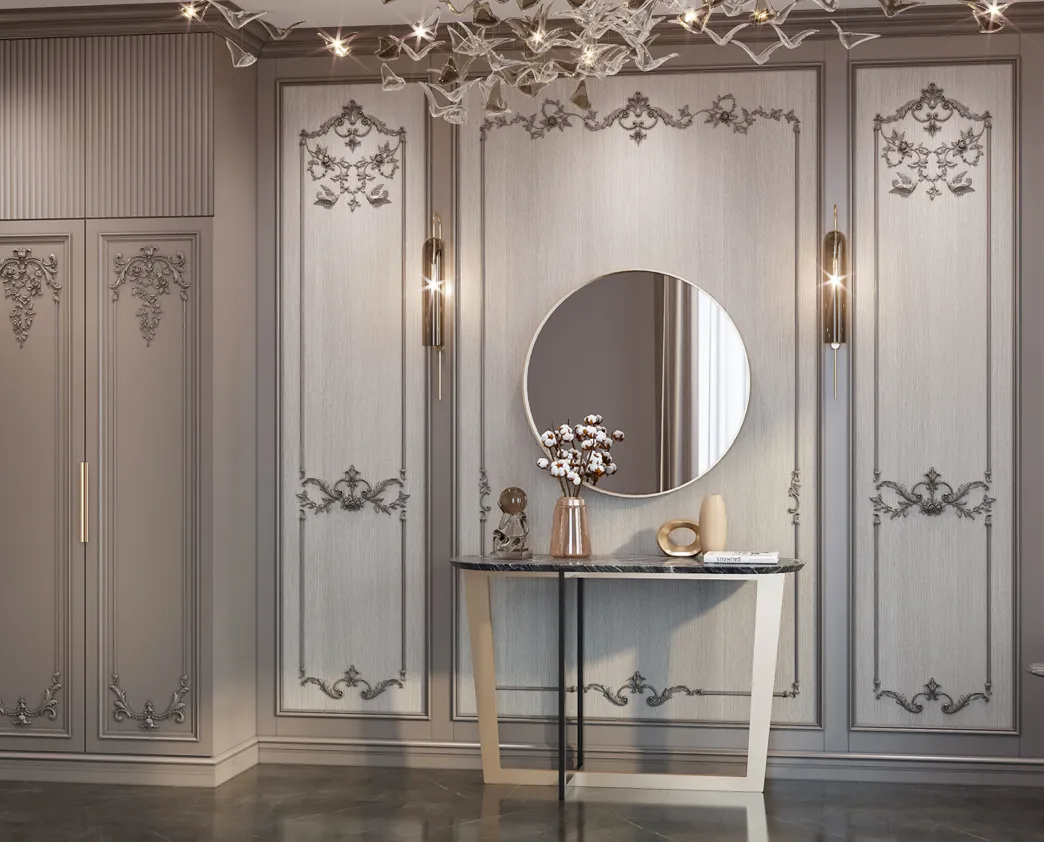
- Entryway: make the first impression manageable
- Dining corner: align the frames with actual furniture
- Studio apartments: create zones without visual partitions
- Home office nook or flexible room
- Soft contemporary: wall-color molding
- Light neoclassical: two well-spaced panels
- Warm minimalist: quiet vertical rhythm
- Traditional: one deliberate highlight
- Make a measured elevation, not just a perimeter total
- Cutting example A: one sofa-wall rectangle
- Cutting example B: three narrow bedroom panels
- Cutting example C: two tall panels and the hidden waste
- Stock count, waste and practical allowances
- 1. Inspect the wall and the coating
- 2. Confirm the finish system
- 3. Tape the entire layout
- 4. Dry-fit all pieces before adhesive
- 5. Bond the molding to a sound substrate
- 6. Treat joints and paint with consistency
- 7. Inspect with the tenant's use in mind
- Use the paint system as the cleaning reference
- Repair a damaged section rather than hiding it
- Record supplies for the next turnover
- Is wall molding a good investment for a rental apartment?
- Should I use molding in every room?
- Are polyurethane molding and MDF molding interchangeable?
- Can a tenant install molding without asking the landlord?
- Can I install molding over existing paint?
- What width is appropriate for a small apartment?
- How much molding should I order for three frames?
- Can molding go behind a television or headboard?
- Which paint color works for a rental unit?
- What is the difference between wainscoting and picture-frame molding?
- Does decorative trim make a wall easier to clean?
- Can I use the same profile in several rental units?
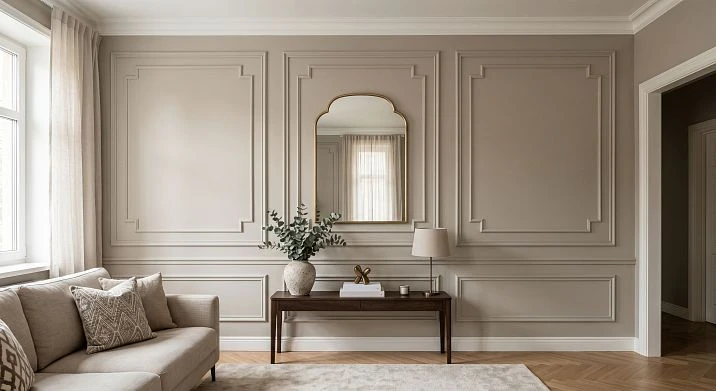
A rental apartment can look thoughtfully designed without a full renovation or a decorative treatment on every wall. A narrow band of trim, a balanced set of wall frames, or one paneled accent can give a living room a more finished appearance while keeping the layout flexible for the next resident. The practical question is not whether molding looks attractive in a photograph. It is whether the wall treatment fits the floor plan, survives normal use, can be cleaned and repaired, and makes financial sense for the owner.
This guide explains how to plan rental property wall molding for American apartments, condos, and small single-family rental homes. It focuses on durable, straightforward arrangements made with polyurethane profiles. You will find actual STAVROS product dimensions, three cutting-plan examples, finishing and installation considerations, an ordering checklist, and decisions that should be made before the first strip is cut. Start with a modest focal wall and treat the design as part of the property's maintenance plan—not as a guarantee of higher rent.
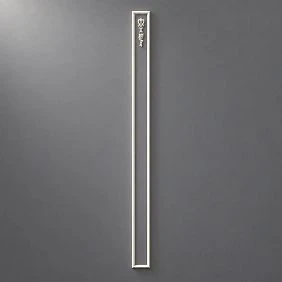
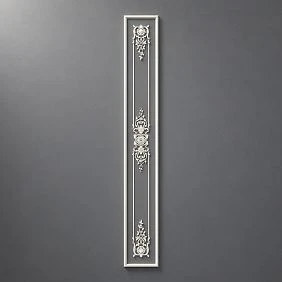
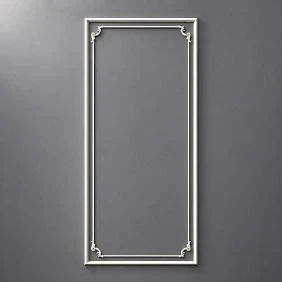
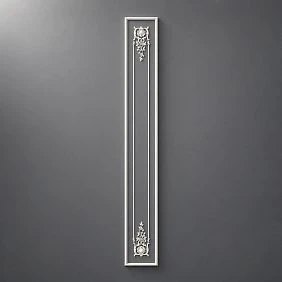
When Wall Molding Makes Sense in a Rental Property


Start with the unit, not the trend
The most useful improvement is the one that addresses a real visual weakness. A long blank wall behind a sofa may feel unfinished in listing photographs. An entryway may have no clear transition from the door to the living area. A bedroom may need a visual center because the room has neither a distinctive headboard nor architectural detailing. These are sensible places to evaluate polyurethane wall molding.
Before choosing a pattern, walk the empty unit and take photographs from the entry, from opposite room corners, and from the positions used in the listing. Note what is already working. A wall with attractive windows, a fireplace, or significant built-in storage may not need more visual detail. A wall treatment should support the best feature rather than compete with it.
Where the room is compact or the ceilings are low, a restrained arrangement generally gives furniture more room to breathe. Where the apartment has a long uninterrupted wall, repeated frames can create a clear rhythm. Neither choice needs to be permanent throughout the entire unit: a single carefully chosen surface can be enough to establish a consistent style.
Наша фабрика также производит:


Смотреть весь Каталог продукции
Decide whether the work is for the owner or a tenant
Glued architectural trim is usually a lasting modification. A property owner planning work between tenancies can decide on the design, substrate preparation, paint and future repairs as one scope. A tenant considering a similar project should first check the lease and obtain written permission where required. Adhesive applied to painted drywall is not automatically removable without damage, even if the molding itself is relatively light.
An owner also needs to consider accessibility, building-management rules, fire-safety requirements and clearance around doors and electrical devices. In a multi-unit property, coordinate any work affecting common areas, rated assemblies or shared systems with the appropriate responsible party. Decorative molding is not a substitute for required safety features or code-compliant construction.
For a unit scheduled for a quick turnover, compare the finish work with the available vacancy window. Measuring, cutting and gluing are only part of the project; surface preparation, adhesive cure, joint work and final paint may require additional time. A small project completed cleanly is usually a better choice than a more ambitious design rushed through the last day before photography.
Получить консультацию
Identify the maintenance tradeoff
A flat painted wall is easy to patch. A molded wall adds corners, seams and shadow lines, all of which can collect dust or show poor touch-ups. This does not make trim unsuitable for rentals; it means the owner should select profiles and paint that can be maintained with ordinary tools. Sharp ornamental details and complicated double frames may be appropriate in a personally occupied home but demand more attention in a frequently occupied short-term unit.
Keep a record of the selected profile, paint brand and color, finish sheen, installation date and any remaining stock pieces. That record is more valuable during a turnover than the name of an interior-design trend. If a section is damaged, a maintenance worker can order the same profile and match its finish instead of removing an entire wall treatment.
Designing for Listing Photos and Everyday Living
Create one recognizable focal point
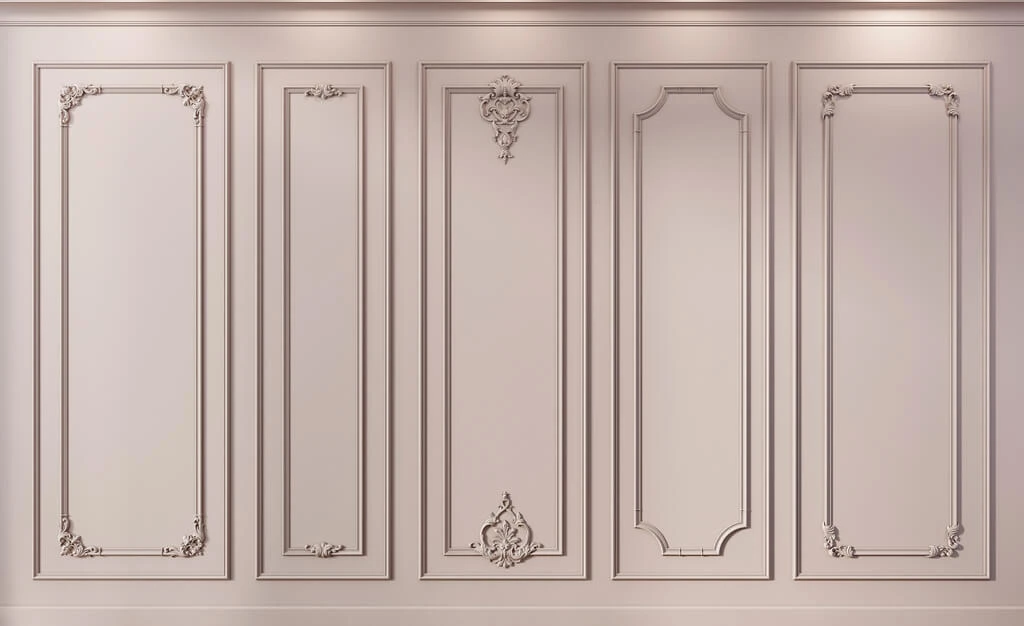
For a typical one-bedroom apartment, the largest uninterrupted wall in the living area is often the starting point. A broad horizontal rectangle behind the sofa can be a quieter focal point than five narrow boxes. In a studio, the wall behind the sleeping zone may be more useful because it helps distinguish the bed from the dining and living areas. Use decorative wall molding as a framing device, not as a replacement for good furniture placement or proper lighting.
Choose the focal wall by considering what the camera sees first and what occupants see most often. A symmetrical arrangement may look impressive when viewed straight on, but a cabinet or large television can cover part of the frame after move-in. Plan against realistic furniture sizes, not only the empty room. If the rental is staged, record the centerline of the main furnishings so the final design still reads clearly in photographs.
Use painter's tape to mock up the outside boundaries of the frames. Walk through the room, sit in a chair at ordinary eye level, and take a photograph in daylight and after dark. A line that appears delicate on a construction drawing may feel heavy when repeated across a wall. Tape is inexpensive compared with removing glued trim after the composition is finished.
Preserve a calm color palette
Off-white, warm gray, muted green, oatmeal and other quiet wall colors can provide a flexible backdrop for different tenants' furniture. Painting the molding the same color as the wall often makes the relief read through light and shadow. This reduces the number of paint colors to maintain and avoids creating strong visual stripes in a small room.
Contrast can be useful when it has a purpose. A dark accent wall with same-color molding may photograph with subtle depth; white molding against dark paint makes every edge much more prominent. In a rental, ask whether that prominence will still work with a tenant's own sofa, curtains, artwork and area rug. An accent that requires a coordinated furniture package may be less versatile in an unfurnished unit.
Do not assume a particular finish or color increases the rent. Review similar competing listings, ask a local leasing professional what photographs communicate clearly, and use your own past maintenance records where available. The value of the project depends on its cost, execution and audience.
Understand the role of lighting
Molding relief produces shadows, and side lighting can emphasize every joint. That can be attractive with accurately cut corners and even paint. It can also expose an uneven wall or thick lines of caulk. Inspect the proposed design both with window light and with the actual room lights turned on. If the wall receives intense grazing light, consider a simpler profile, flatter paint finish and more careful substrate preparation.
The same principle applies to outlets and switches: their positions should be part of the taped layout, not unpleasant surprises during installation. Do not relocate or conceal electrical devices under decorative trim. Leave covers removable and accessible, and refer electrical changes to a qualified professional.
Polyurethane, MDF, Wood and Plaster: What You Are Buying
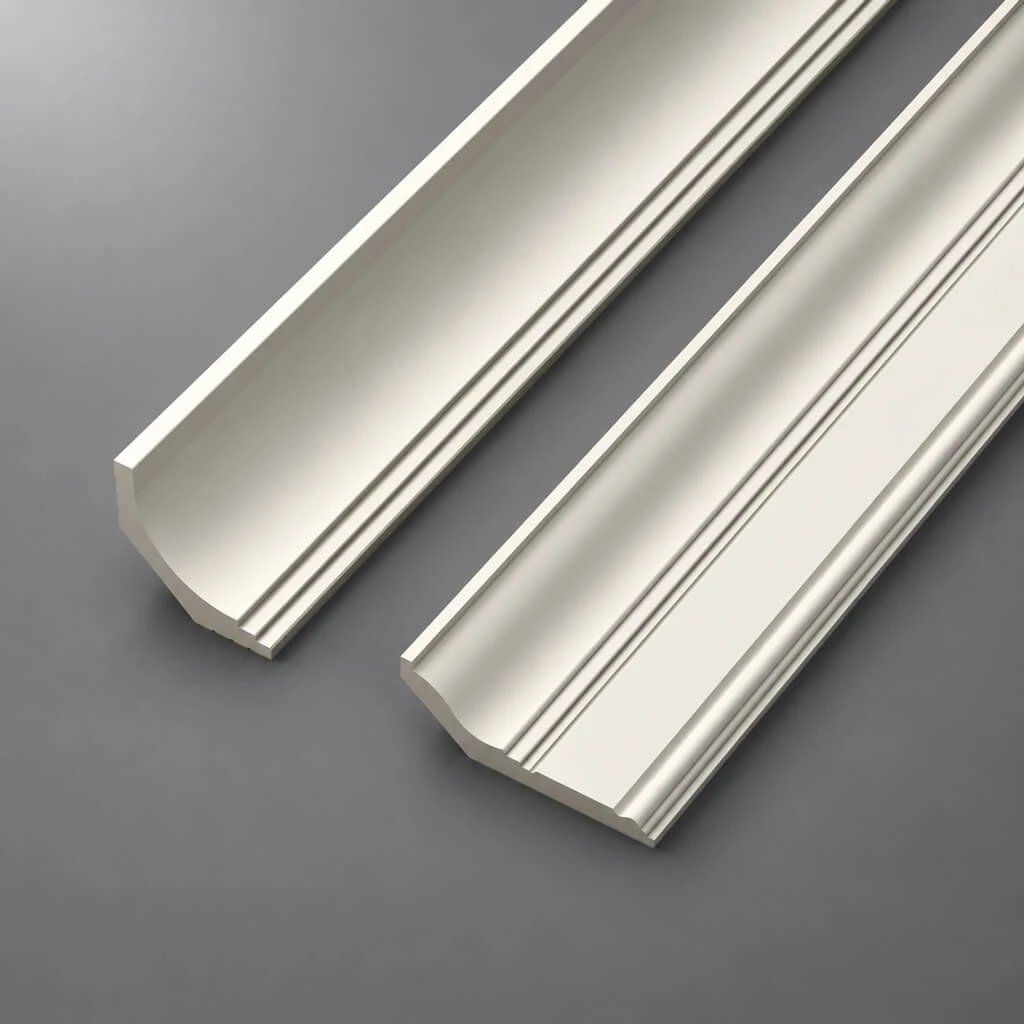
The words molding, trim and panel molding describe functions and shapes, not one material. A useful starting point when selecting polyurethane molding for interiors is to distinguish the intended application from the composition of the specific SKU. On a category page you may see polyurethane, primed MDF, polystyrene and other profiles side by side. Compare the actual product specification for each item. A stock photo or a shared style name does not establish the material, mounting method or finish.
| Material | Typical use in a rental update | Main selection consideration |
|---|---|---|
| Polyurethane | Applied decorative profiles and accent frames | Confirm profile shape, adhesion system, paint compatibility and placement |
| Primed MDF | Flat painted trim and some assembled decorative products | Protect exposed edges and avoid assuming it tolerates moisture like polyurethane |
| Solid wood | Stained or painted natural-wood detail | Allow for movement, substrate and finishing requirements |
| Plaster | Historically styled and specialist relief work | Consider weight, repair skills, support and installation complexity |
| Polystyrene or PVC | Selected trim products with distinct specifications | Follow the particular manufacturer's limits; do not use polyurethane instructions automatically |
A polyurethane profile can be convenient to handle and can reproduce shaped details consistently, but its performance still depends on the complete installation: wall coating, adhesive, joint treatment and paint. A dry interior wall is different from a bathroom, exterior porch or unconditioned storage area. Likewise, the material of a decorative frame is not evidence that the wall behind it is sound.
For a broader comparison, start with STAVROS's polyurethane decorative wall accents and check the material field for each product you shortlist. If the design includes other materials, plan their preparation and finishing separately. This matters when a rental owner wants consistent painted surfaces but also needs predictable repair procedures after a tenant moves out.
When to choose a simple rather than elaborate profile
A restrained profile has fewer visual demands and may be easier to touch up. Thin trim is especially useful in narrow entryways, behind compact beds and on walls that already contain several doors. Wider, shaped profiles can frame a larger feature area but may be exposed to more contact near furniture and circulation paths.
Think about projection as well as width. A 1-inch face is not the same as a profile protruding 1 inch from the wall. In tight passages, deep relief near a door edge, coat rack or moving furniture can be vulnerable to impact. Always check the face width and thickness together; avoid picking a profile based on width alone.
Real STAVROS Polyurethane Molding Profiles
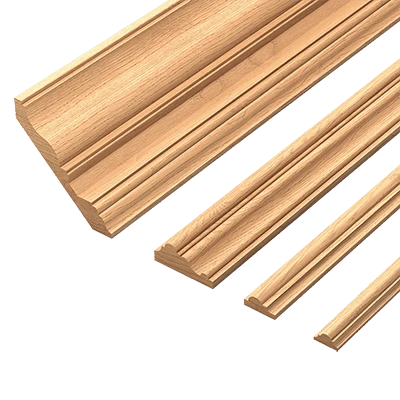
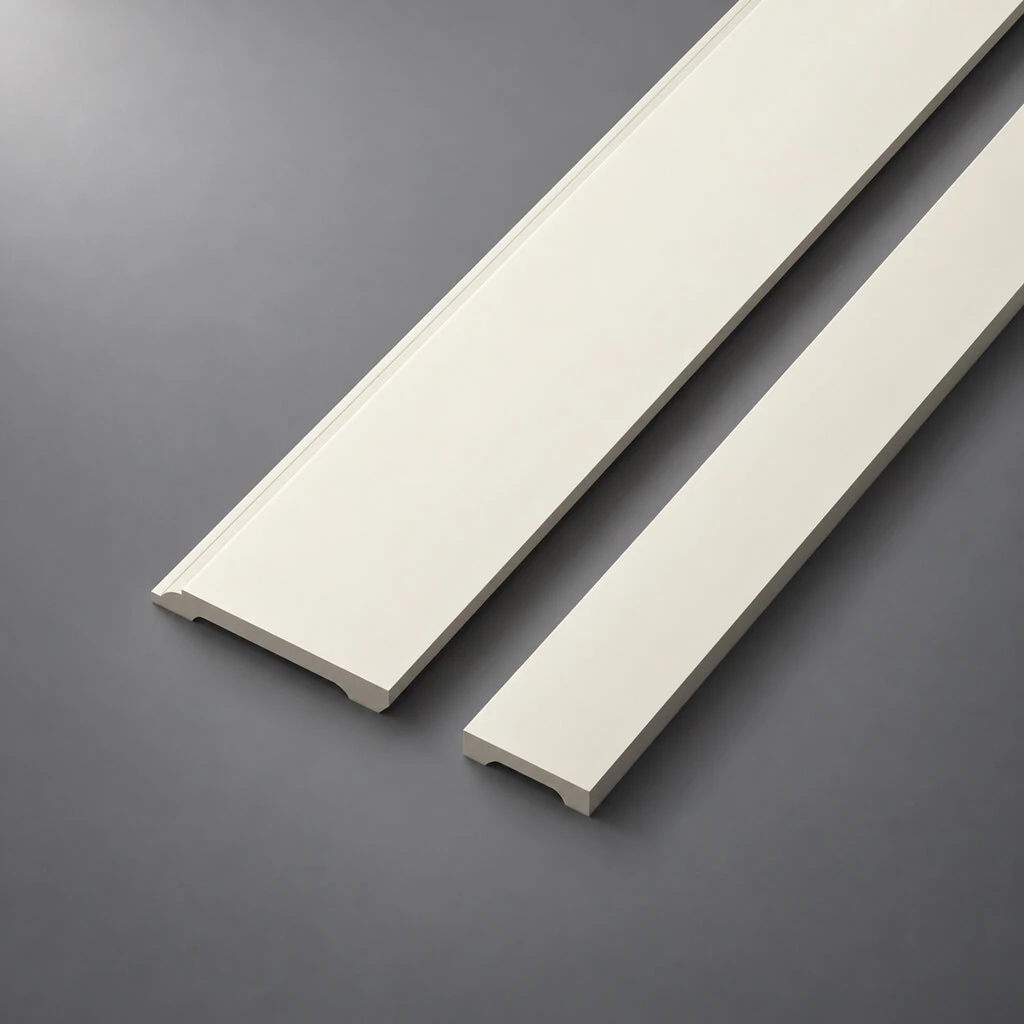
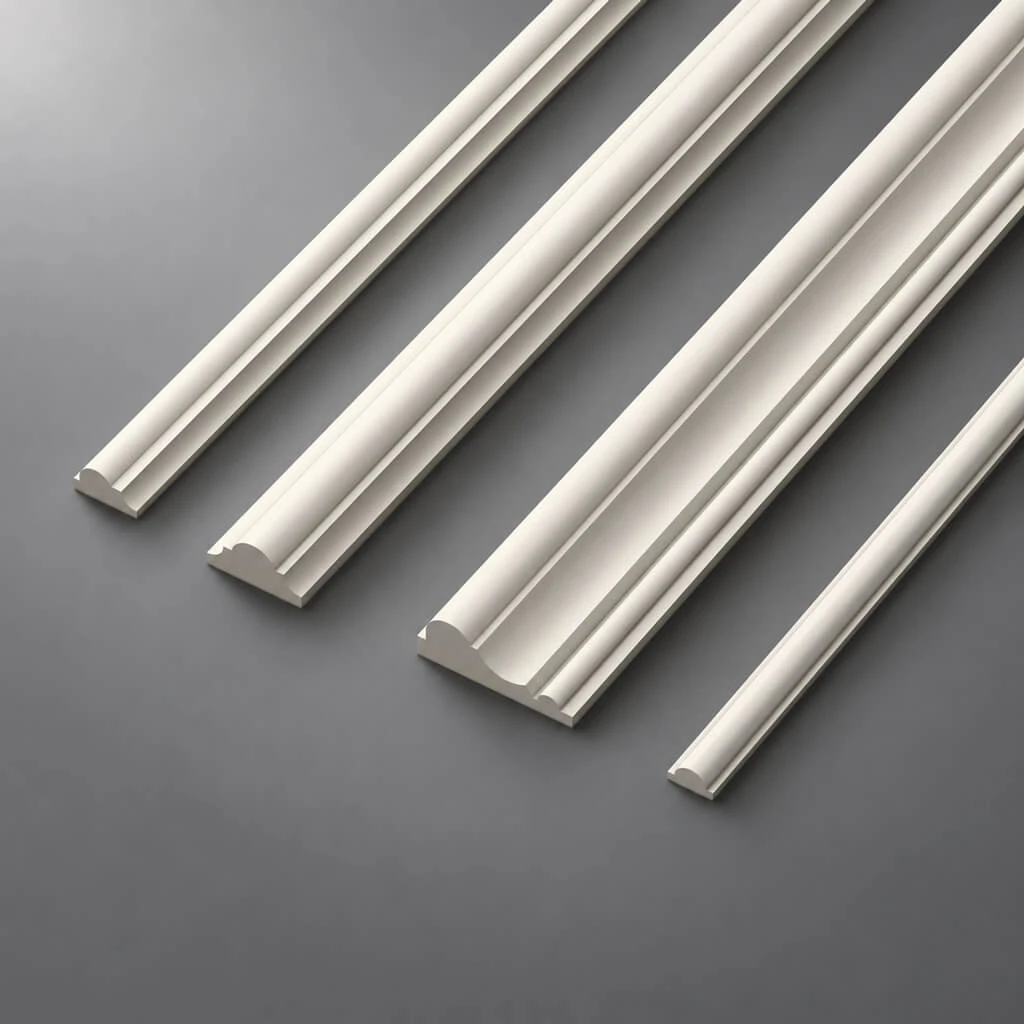
The following items are listed on the US-facing STAVROS catalog as polyurethane moldings. Each is supplied in 2,600 mm stock lengths, approximately 102.36 inches or 8.53 feet. Dimensions below describe the profile face width and projection, not the dimensions of a finished frame. Check the current product page before placing an order in case specifications change.
| Product | Metric dimensions (face × projection × length) | Approximate inches | Design role |
|---|---|---|---|
| MLDPU-001 | 10 × 6 × 2600 mm | 0.39 × 0.24 × 102.36 in | Fine bead, compact frames |
| MLDPU-004 | 15 × 8 × 2600 mm | 0.59 × 0.31 × 102.36 in | Small shaped outline |
| MLDPU-002 | 22 × 11 × 2600 mm | 0.87 × 0.43 × 102.36 in | More noticeable panel border |
| MLDPU-003 | 35 × 12 × 2600 mm | 1.38 × 0.47 × 102.36 in | Wider statement frame |
MLDPU-001: the smallest recurring detail
The MLDPU-001 polyurethane bead is a useful starting point when the rental needs visual structure without a dominant border. At just 10 mm wide, it can outline a compact feature wall, provide a simple single-frame treatment or add rhythm to a narrow section beside a door. Its size also makes it sensitive to cutting and alignment errors: small deviations may be noticeable when multiple frames are placed in a straight line.
For a small apartment, consider this profile when the wall is already visually active. A thin bead behind a sofa can establish a border while leaving nearby artwork free to remain the focal point. Avoid placing the molding immediately behind the top edge of a moving sofa or bed frame, where repeated contact can mar the finish.
MLDPU-004: a compact shaped frame
The MLDPU-004 shaped polyurethane molding measures 15 × 8 mm in section. It offers more definition than the smallest bead without taking on the scale of a broad traditional molding. The modest face width can work well on painted drywall in a studio, entry hall or bedroom accent.
Use one profile consistently within a room. Mixing several similar-but-not-identical small moldings can make repair and repainting harder without materially improving the appearance. If you need continuity between the living room and entry, a shared profile and paint finish can accomplish that with a short, easily maintained product list.
MLDPU-002: a medium-width panel outline
With a 22 × 11 mm section, MLDPU-002 decorative panel molding has a more pronounced edge. It may suit a larger wall behind the sofa or a pair of bedroom frames with enough surrounding blank space. Compare the profile with existing baseboards and door casings. A relatively ornate wall molding beside minimalist casing may look disconnected unless the finish and proportions tie them together.
Medium-width molding is not automatically the best choice for every rental. A simple 8-foot-ceiling apartment with a short wall may benefit from the smaller options, while a high-ceiling, open-plan rental may have room for this more expressive profile.
MLDPU-003: use the wider shape selectively
The MLDPU-003 polyurethane molding has a 35 × 12 mm section. It can give one major wall a stronger architectural edge, especially where the wall is broad enough for generous inside and outside margins. In a small bedroom, the same width may feel overly prominent. Test at full scale instead of relying on a catalog photograph.
A wider decorative border can be reasonable for a furnished premium rental with a deliberately coordinated scheme. In an ordinary unfurnished unit, compare its appearance and upkeep with a quieter profile before committing to several rooms. The goal is a consistent, repairable design, not the maximum amount of visible molding.
What about decorative onlays and ready-made sets?
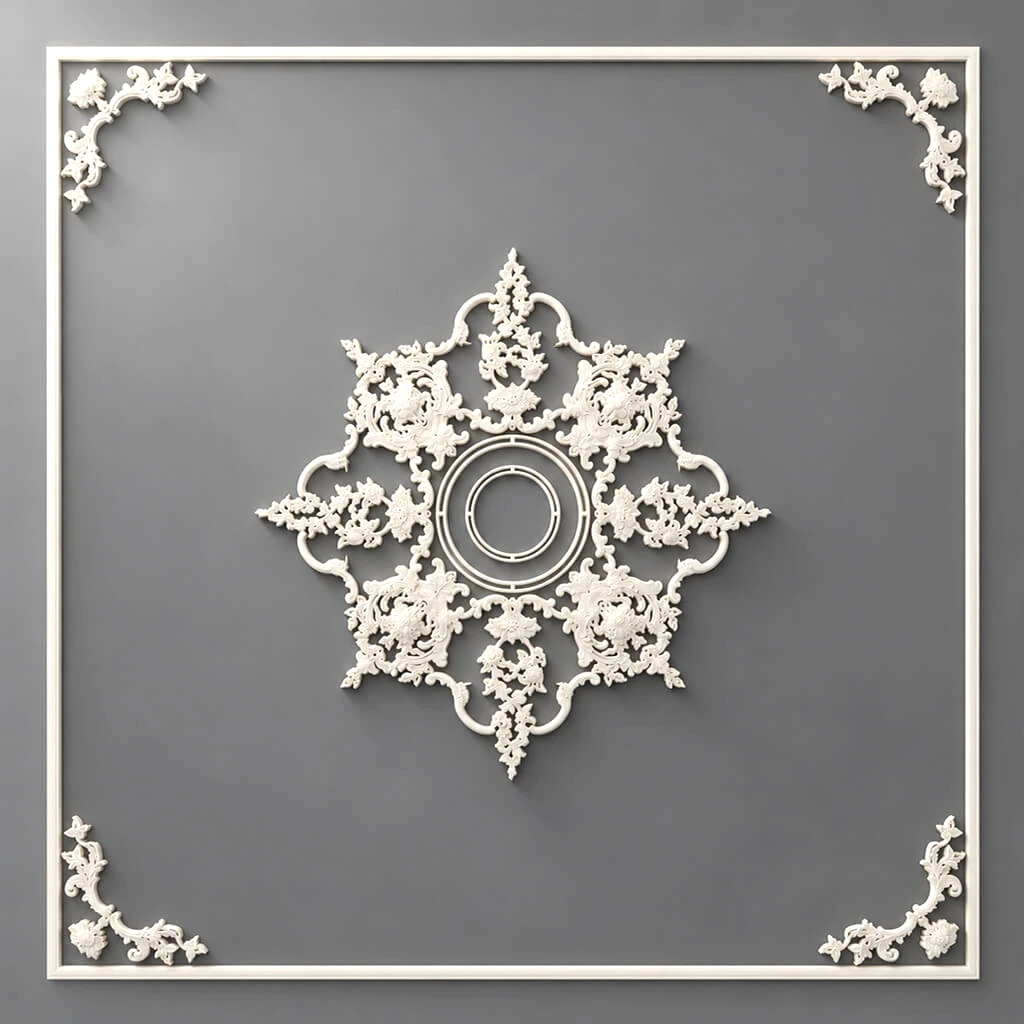
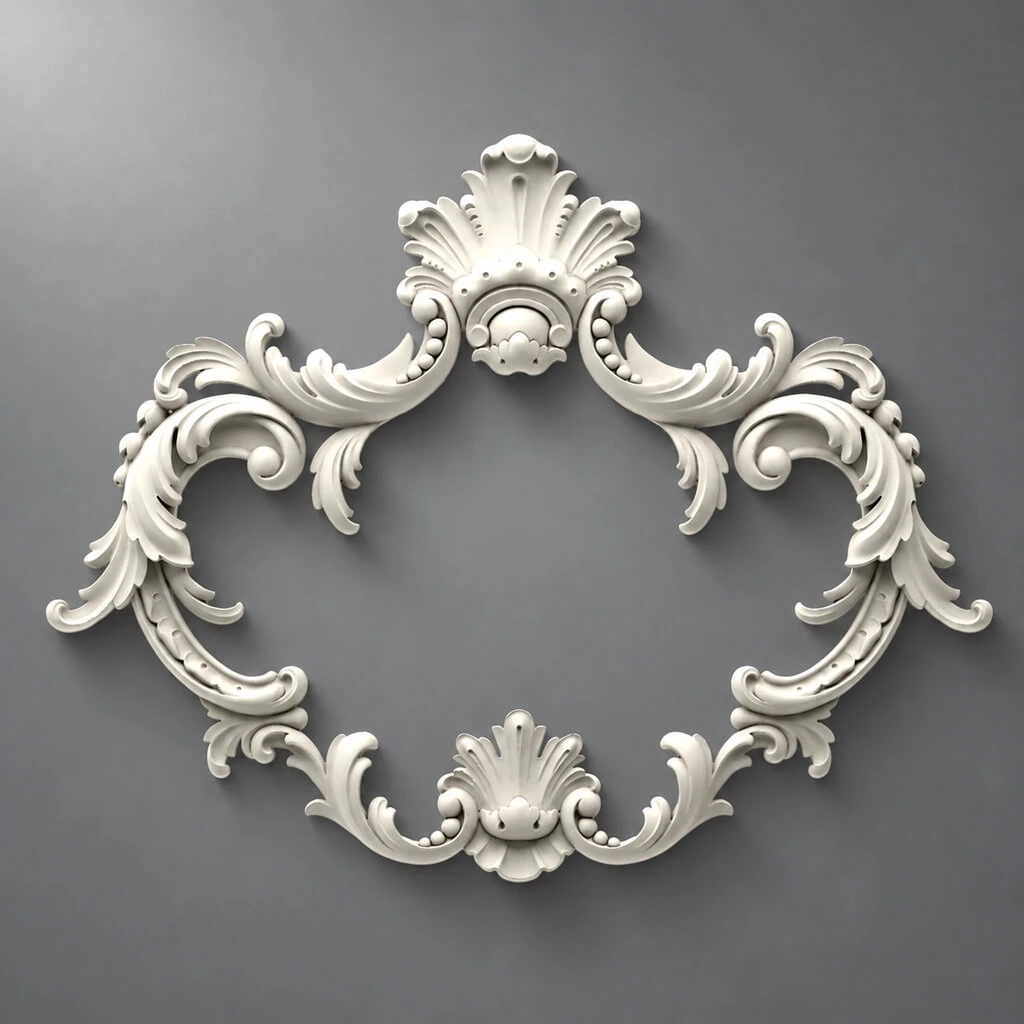
A localized ornament can suit a large feature wall but may be harder to incorporate into a changing rental furniture layout. Browse decorative polyurethane appliques only when the design has a clear focal position that will remain visible. Avoid applying a central ornament exactly where a tenant may place a television, oversized mirror or artwork.
Ready-made compositions may combine different materials, including primed MDF and polyurethane. Treat the complete bill of materials as essential information, rather than assuming every part of a decorative set is polyurethane. For this article's simple rental-focused layouts, straight individually specified molding profiles are usually easier to measure and maintain.
Where to Put Molding in an American Rental Apartment
Living room: one frame behind the sofa
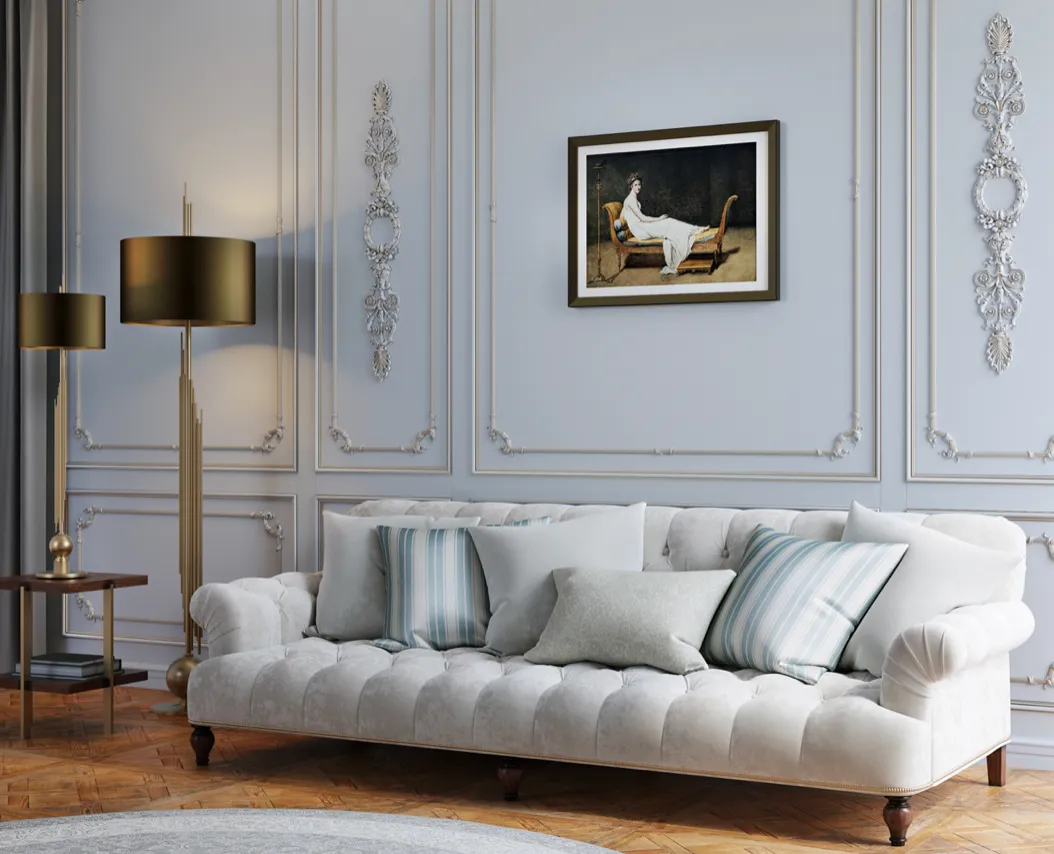
The sofa wall is often the most visible surface in an apartment listing. Begin by centering the design on the usable seating area rather than the full architectural width if a door or window interrupts the wall. A broad single frame can visually anchor a couch and leave enough room for side tables or floor lamps. A pair of narrower frames may work when two chairs create a symmetrical seating group.
Keep the lower edge above areas likely to be struck by the sofa back or furniture during move-in. Allow adequate margins around furniture rather than letting trim sit immediately against upholstered edges. Check sofa height against typical models—not only the one used for photographs. If the property is unfurnished, furniture flexibility should govern the design.
A paint color shared by the molding and wall is a practical starting point. It keeps the overall composition calm even when the tenant brings contrasting furniture. See STAVROS's interior wall decor examples for a broader discussion of how outlines and ornamental accents change the perception of a room.
Bedroom: an architectural backdrop, not an obstacle
A bed-centered arrangement can make an otherwise plain bedroom feel intentional. Position the main frame relative to the bed rather than blindly centering it between room corners. If the room can accommodate either a queen or a king bed, account for that flexibility before selecting the frame width. A frame designed around a very narrow headboard may look odd when a larger bed is installed.
Consider how pillows, adjustable headboards, wall-mounted lights and bedside tables interact with the molding. Decorative lines should not cross the mounting footprint of sconces or interfere with accessible outlets. If a tenant may attach a padded headboard to the wall, a large raised frame behind it could create additional repair work. One or two vertical panels positioned outside the likely headboard area may be more adaptable.
In a child's bedroom or a rental marketed to families, reduce protruding ornament near play areas and low corners. Durable paint and a modest profile may be more important than complex patterning. Avoid building a finish that can only be repaired by an expert after ordinary tenant activity.
Entryway: make the first impression manageable
An entry often contains the highest concentration of practical obstacles: light switches, a thermostat, a closet door, a coat rack and a narrow path for moving furniture. Rather than filling the wall with rectangles, consider one vertical frame beside a mirror or a short horizontal line that gives the space an intentional transition into the living area. The frame should not compete with functional storage.
The entry is also subject to luggage, grocery bags and furniture corners. Keep trim away from common impact points. Check door swing, closet-door hardware and any required access panels. Where the available wall is interrupted by several devices, a painted accent may be less costly to maintain than molding. A landlord-oriented design is allowed to leave a wall plain when that is the better operational decision.
Dining corner: align the frames with actual furniture
In a small apartment, a dining area may be a table placed along an open wall rather than a dedicated room. A simple pair of panels can distinguish it from the adjacent seating area, but only if the composition is legible around the table and chairs. Lay out the frame around the likely table width and make sure chair backs do not scrape against raised trim.
Choose a wipeable paint system appropriate for the wall location, especially if the dining corner receives splashes. The paint is the exposed surface that will be cleaned most often; the polyurethane underneath does not make the entire assembly stain-resistant. Avoid raised ornament close to chair height when occupants will repeatedly brush against the wall.
Studio apartments: create zones without visual partitions
A studio needs a plan that works from several viewpoints. The bed, living area and dining zone are typically visible at once. One paneled feature area can define the sleeping zone while the remaining walls stay neutral. Alternatively, a sequence of widely spaced vertical frames behind the main sofa can establish order without introducing a physical divider.
Do not use multiple unrelated molding patterns as substitutes for room planning. Too many decorative boundaries can make a small studio feel fragmented. A consistent wall color, one profile and a carefully selected focal area are easier to maintain and more adaptable to different tenant furniture arrangements. Treat wider collections of wall molding ideas as inspiration to edit down, not a checklist to reproduce in a small studio.
Home office nook or flexible room
Remote-work flexibility may matter to prospective tenants, but not everyone uses a secondary room as an office. Avoid a highly specialized desk-centered frame if the space may become a guest bedroom, nursery or storage room. A small neutral wall treatment can feel finished without committing the room to one function.
A desk needs space for cabling, a monitor arm and possibly wall-mounted storage. Do not obscure outlets, cable routes or removable access covers. When the room has a short wall, one symmetrical frame aligned to the wall itself may serve multiple furniture layouts better than a design arranged around one specific desk size.
Style Choices That Do Not Lock the Unit into One Look
Soft contemporary: wall-color molding
A contemporary apartment can use simple rectangles with wide blank margins and a restrained molding profile. Paint the trim and drywall in a single low-gloss or otherwise suitable interior wall finish. The result reads as a quiet architectural layer, not a themed room. Furniture can then supply the color and personality without conflicting with the permanent wall treatment.
For this approach, the smallest STAVROS profiles often deserve consideration. Their face width allows the wall to remain visually flat from a distance while still showing a little relief in side light. Test the exact profile before ordering: even a small section can look strongly patterned when repeated many times.
Light neoclassical: two well-spaced panels
Light neoclassical interiors often use paired rectangles, consistent margins and a measured relationship to baseboards. This can work in a larger one-bedroom or two-bedroom rental where the walls are long enough to carry the composition. Restraint matters. A classic outline with no added ornament may be easier to repaint than a heavily decorated surface with several central appliques.
Choose a single finish and limit the treatment to one or two focal rooms. The design may become a recognizable feature of the listing without defining the tenant's entire decorating style. If existing doors and baseboards are simple, consider whether a smaller molding will harmonize better than a traditional, wide sculpted profile.
Warm minimalist: quiet vertical rhythm
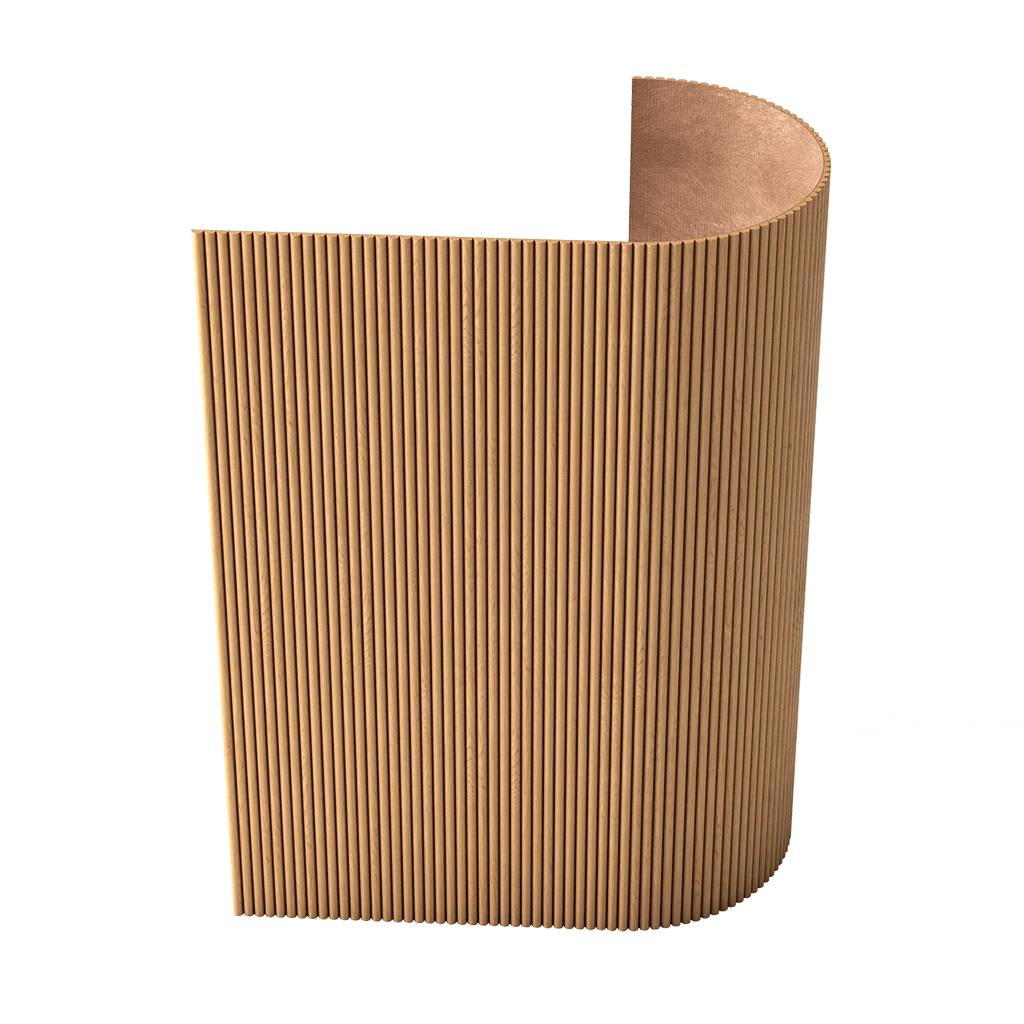
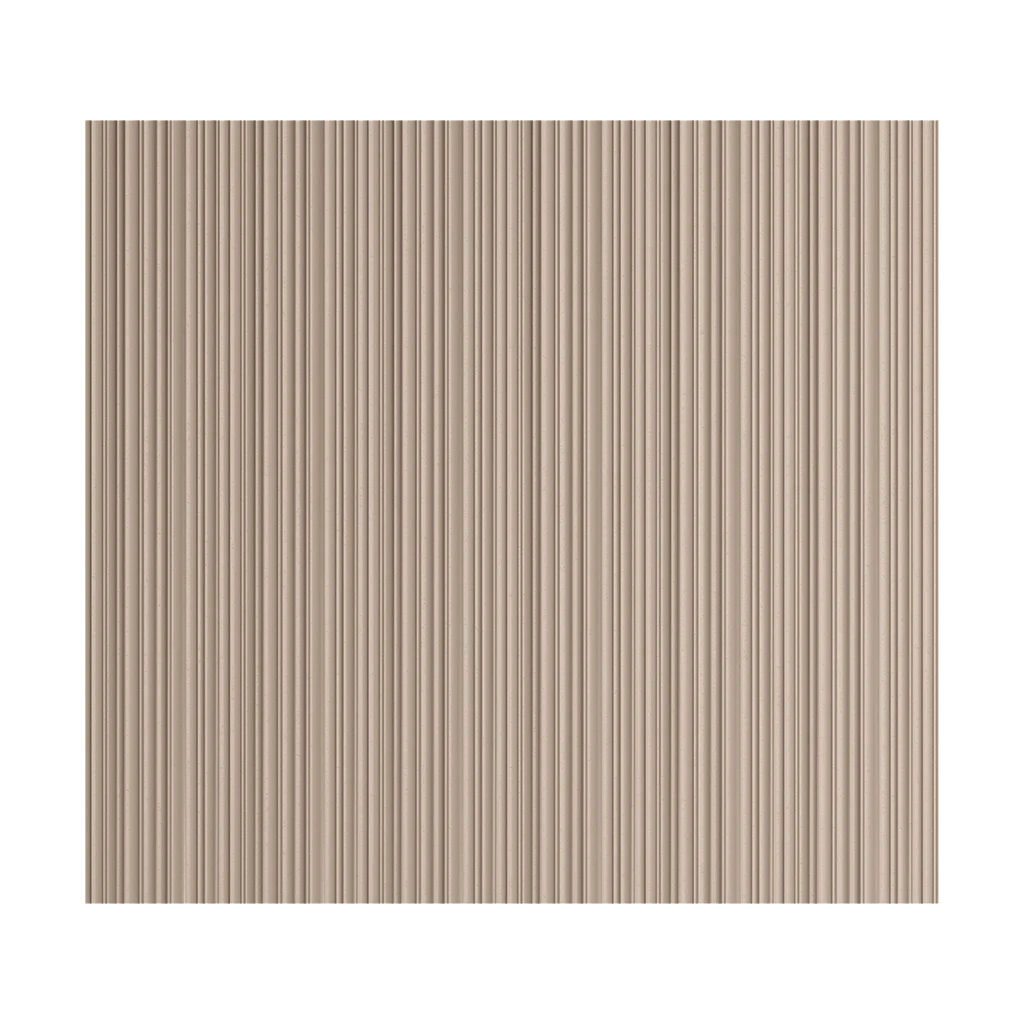
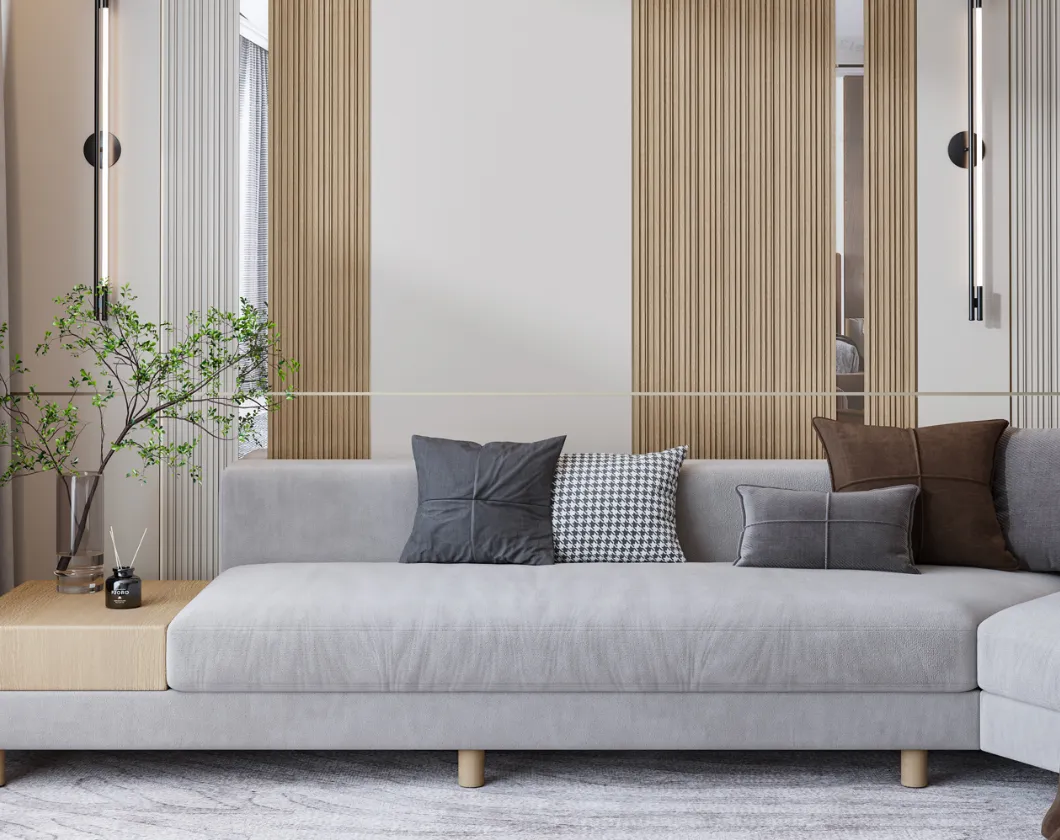
Warm minimalist interiors typically rely on clean lines, wood furniture, soft lighting and muted colors. Thin vertical moldings can emphasize height without creating closed rectangular boxes. For an owner seeking this look, carefully spaced lines along one wall are often more flexible than ornate frames. Leave enough space between the strips that moving shadows do not produce a crowded appearance.
This is a design description, not a promise that every property will benefit. In a room with patterned flooring, multiple windows or elaborate kitchen cabinetry, additional vertical lines may make the apartment feel busy. Always test the proposed elevation against the entire room.
Traditional: one deliberate highlight
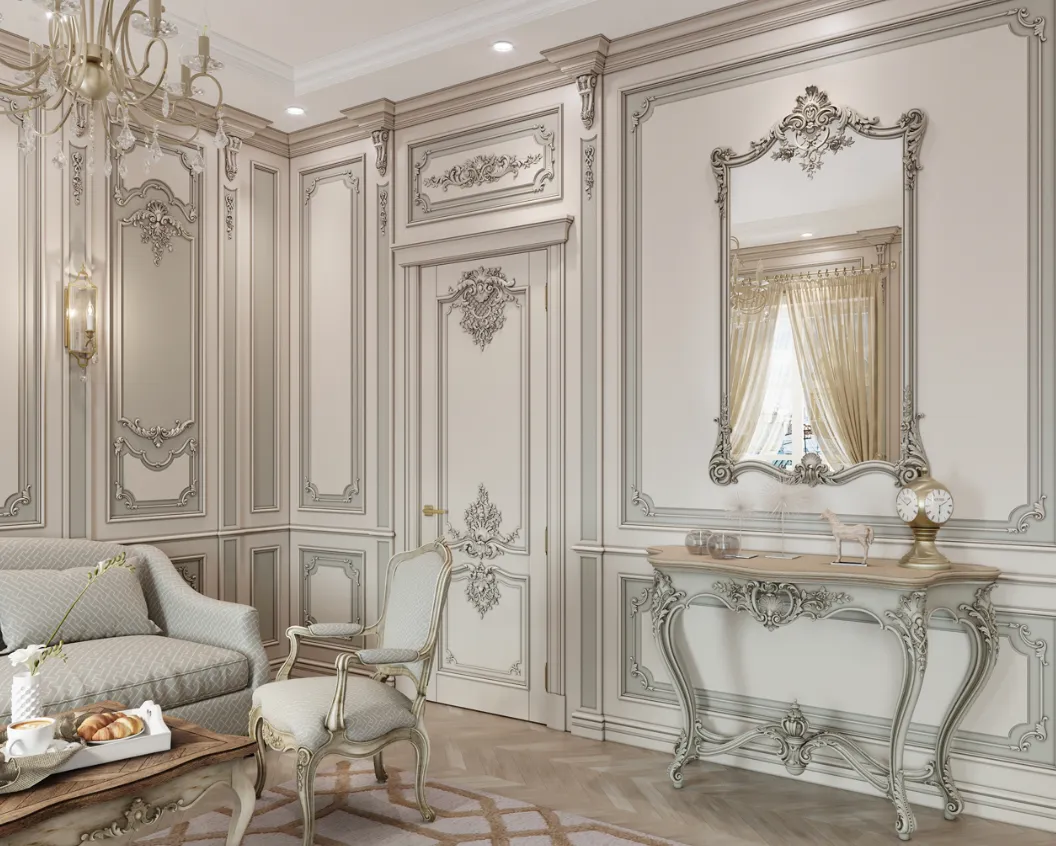
A traditional apartment may have existing crown molding, substantial baseboards or paneled doors. A larger frame can relate to these elements without requiring a fully paneled room. Compare the profile shape and depth with the existing trim; their proportions matter more than matching every curved detail. One painted frame behind the living room seating can be more effective than repeating ornamental motifs along all walls.
Preserve original historic details where appropriate. Applied polyurethane ornament should not be used to conceal significant deterioration or imitate a protected feature without careful review. If the property is subject to preservation restrictions or building-management requirements, resolve those constraints before ordering materials.
Measure the Wall Before Ordering the Trim
Make a measured elevation, not just a perimeter total
Record the full wall width and height in inches. Add doors, windows, vents, outlets, switches, built-in cabinetry and furniture that will remain in the rental. Then draw the proposed outside edges of each decorative frame. Mark the distance to the ceiling, baseboard, furniture and adjacent frames. This is where a renter-friendly layout begins: clear documentation prevents a decorative strip from being installed over a service area or in the path of moving furniture.
Be consistent about measurement references. A rectangular frame can be measured at its outside edge, its centerline or the inside opening. These dimensions differ by the face width of the selected molding. Specify which reference you are using before calculating a cut list. At mitered corners, the cutting dimensions are typically taken to the long points; confirm this with the actual profile and how it is oriented in the saw.
For simple rectangular frames, the basic perimeter is 2 × (width + height). The formula tells you the total length of installed molding, but it does not necessarily tell you how many full sticks to order. With STAVROS profiles supplied at about 102.36 inches, a 78-inch vertical cut can make a large remainder unusable for another long side. Always prepare the individual cut list and consider saw kerf and damaged ends.
Cutting example A: one sofa-wall rectangle
Suppose a feature wall uses one frame measuring 60 inches wide × 48 inches high, measured to the long points. It needs two 60-inch pieces and two 48-inch pieces. The perimeter is 2 × (60 + 48) = 216 inches, or 18 linear feet. Dividing by a 102.36-inch stock length gives 2.11, so a simple rounding method suggests three sticks.
This time the actual cutting plan also requires three sticks. Cut one 60-inch piece from each of the first two sticks. Cut both 48-inch pieces from the third; together they occupy 96 inches, leaving enough room for ordinary saw kerf on a 102.36-inch stick. Keep the shorter remnants labeled for small repairs rather than treating them as adequate material for another large frame. If the profile has a repeating ornament, check pattern matching and may need extra stock.
This example is useful for understanding wall trim molding quantities. A contractor should still confirm the final cut orientation and stock condition before ordering. Decorative corners, if separately selected, can change the straight-piece lengths and must be included in a revised drawing.
Cutting example B: three narrow bedroom panels
Consider three vertical frames, each 24 × 62 inches. One frame needs two 62-inch pieces and two 24-inch pieces. For all three frames, the cut list is six pieces at 62 inches and six at 24 inches. Installed perimeter totals 516 inches, or 43 linear feet.
A practical cutting plan uses six sticks. From each 102.36-inch stick, cut one 62-inch piece and one 24-inch piece. That requires 86 inches of material plus saw kerf, leaving roughly 16 inches per stick before accounting for the kerf and end trimming. Every required section is accounted for. Simply dividing the total by stock length gives 5.04, which also rounds to six here—but the cut-by-cut plan provides the real justification.
Before applying this pattern, tape the rectangles to the actual bedroom wall and check whether the middle frame will be covered by the headboard. Narrow vertical frames look balanced in a diagram, but a tenant's furniture can interrupt the composition. Choose the layout only after testing a realistic bed position.
Cutting example C: two tall panels and the hidden waste
Now plan two tall frames, each 28 × 78 inches. The total cut list is four 78-inch pieces plus four 28-inch pieces. Installed molding measures 424 inches, or about 35.33 linear feet. A length-only calculation suggests five sticks because 424 ÷ 102.36 is about 4.14.
The real minimum for these cuts is six sticks, ignoring unusual splicing. Each 78-inch vertical must come from a separate stick. Its remainder is only about 24.36 inches before saw kerf—not enough for a 28-inch horizontal. The four horizontal pieces therefore require additional stock; three 28-inch pieces can fit on one 102.36-inch stick and the fourth needs another. Four sticks for the verticals plus two for the horizontals equals six.
This is exactly why a panel molding for walls estimate should include a cutting diagram rather than a single linear-foot total. Joinery, profile direction, pattern alignment and a contingency for mistakes may increase the quantity further. If an installer proposes splicing visible vertical sections, agree in advance on joint position and finish expectations.
Stock count, waste and practical allowances
A percentage allowance can help with early budgeting, but it is not a substitute for the cutting plan. Ten or fifteen percent added to the perimeter may still be insufficient when the project contains long pieces that leave unusable offcuts. Conversely, a thoughtfully organized series of short cuts may be efficient without a large additional allowance. Base the final order on the exact cut list and then add a reasonable project-specific contingency.
Label the cut sheet by room, profile and segment length. Keep left- and right-oriented pieces clear when patterns or profiles are asymmetric. If several rooms share one molding, consolidate the cut list to reuse appropriate offcuts. Avoid mixing metric and inch measurements on the same field sheet; if product specifications arrive in millimeters, convert them once and retain the original dimension for verification.
Installation for a Rental Turnover: Practical Sequence
1. Inspect the wall and the coating
Check whether the drywall is dry, stable and properly attached. Look for peeling paint, loose joint compound, water stains, cracks and uneven patches. Decorative trim should never be used to hide an active leak, mold problem or structurally unsound wall. Repair the underlying condition before treating the surface. A glossy coating, textured finish or heavily patched wall may need different preparation from clean, sound painted drywall.
If you are disturbing old paint, follow the applicable lead-safe and other local requirements for the property. Do not sand an unknown legacy coating as though it were ordinary fresh paint. When the scope involves electrical devices, rated assemblies or work beyond decorative surface finishing, use qualified trades and obtain any required approvals.
2. Confirm the finish system
Before installing a larger pattern, review how to install wall molding with special attention to substrate preparation, corners, and joints. Verify that the adhesive is recommended for the exact polyurethane product and the receiving wall surface. Check the product's finish and any primer requirements. A catalog description saying that an item is paintable does not establish that every solvent-based finish or every construction adhesive is compatible. Follow the adhesive and coating manufacturers' directions, including ventilation, substrate temperature and cure periods.
For an apartment with a short vacant period, plan the sequence backward from final inspection. Adhesive cure, joint treatment and paint drying must be complete before the space is staged and photographed. Using a compatible system matters more than forcing all steps into an arbitrary one-day schedule.
3. Tape the entire layout
Mark the wall's finished-floor reference line, relevant furniture centerlines and the outside dimensions of each proposed frame. Check dimensions with a long level or laser level. Do not assume the ceiling or baseboard is perfectly level; use a deliberate reference rather than blindly matching an uneven line. Stand back, review the tape against the furniture plan, and confirm door clearance.
For picture frame molding on walls, repeated spacing can matter more visually than the exact size of each panel. If a vent or door makes perfect symmetry impossible, adjust the entire composition instead of squeezing one narrow frame into the remaining gap.
4. Dry-fit all pieces before adhesive
Measure the first cuts twice. Use an appropriate saw and a stable work surface, following the product's cutting guidance. A miter box or miter saw can help establish accurate corners, but the wall layout and profile orientation still need to be correct. A 45-degree setting does not fix a frame measured to the wrong reference points. Check each rectangle on the floor or against the taped wall before committing adhesive.
For a first-time installer learning how to cut wall molding, practice with an offcut. Confirm which side of the blade represents the waste and account for the kerf. Recut poorly fitting corners rather than hiding large gaps under filler.
5. Bond the molding to a sound substrate
Follow the adhesive's bead size, open time, holding method and cure instructions. Use temporary support only where it is safe for the wall finish and appropriate to the product. Check alignment again while the adhesive is still workable. A long run that drifts by even a fraction of an inch can become conspicuous under side lighting or next to a door casing.
Do not place a molding across a movable joint, an access panel, an electrical cover or the edge of a door that requires clearance. A decorative element should remain decorative; it must not compromise serviceability or required operation.
6. Treat joints and paint with consistency
After the specified cure, finish small joints and transitions using compatible materials. Different products may be required for a miter joint and a perimeter gap. Follow the manufacturer's instructions for filling, sanding and priming rather than assuming one caulk can solve every defect. Large or misaligned joints often call for recutting, not additional sealant.
Paint the installed work as a coherent surface, with careful masking where different colors meet. For a rental, a consistent sheen and repeatable finish are especially helpful because the wall may need future touch-ups. Save the exact paint color information and note whether the finish was applied to a factory-primed surface or one prepared on site.
7. Inspect with the tenant's use in mind
Look for sharp edges, loose pieces, unprotected joints, inaccessible covers or molding placed where furniture will predictably strike it. Open every door and closet. Check light switches and vents. Walk the unit in both natural and artificial light. Photograph the finished design and record which stock profile was used.
Before occupancy, remove temporary supports, clean off construction dust and confirm that paint and adhesive have cured as directed. A polished listing photo is useful, but the actual final inspection should prioritize safe operation and maintainability.
Cleaning, Repairs and Turnover Maintenance
Use the paint system as the cleaning reference
Tenants clean the finished surface, not bare polyurethane. Recommend a soft cloth and cleaning method suitable for the selected interior paint. Aggressive chemicals, abrasive pads or excessive moisture may damage the coating even when the molding material itself is relatively tolerant of indoor humidity. Test cleaners in an inconspicuous area if the finish is uncertain.
Dust can collect on horizontal ledges and intricate profiles. A small, smooth bead usually requires less detailed cleaning than a deep ornamental molding. This is another reason to evaluate upkeep before selecting an accent for a high-turnover rental.
Repair a damaged section rather than hiding it
When trim is chipped or detached, first determine whether the issue is localized or caused by a failing substrate. A loose section must not simply be painted over. Follow the product and adhesive instructions to remove failed material, prepare the base and reinstall or replace the component. Keep the replacement profile identical wherever possible; differences in projection become visible under side lighting.
For small coating damage, document the existing finish, clean and prepare the affected area and apply a compatible touch-up. On a large uninterrupted wall, spot repairs may flash under certain lighting conditions. Painting the entire feature surface after a turnover may create a more consistent appearance, but it should be based on the actual condition and the finish manufacturer's guidance.
Record supplies for the next turnover
A short maintenance record should list the profile code, dimensions, paint manufacturer and color, finish sheen, adhesive or joint product, date installed and any offcuts in storage. Include photographs of the completed layout and the cut sheet. If a future worker needs to replace a damaged corner, that information avoids guessing from a photograph and ordering a superficially similar but incompatible molding.
This information also supports a realistic cost comparison: materials, installer time, the number of repairs after each tenancy and any full-wall repainting can all be tracked. Without those observations, statements that decorative molding raises the property's return on investment remain speculation.
A Purchase Checklist for a Small Rental Project
Before ordering, confirm the approved layout, stock lengths, individual cuts and the actual material of each product. Review STAVROS decorative molding options and compare the face width and projection with the wall. Keep the selection narrow enough that a maintenance worker can identify each profile later. Avoid ordering decorative corner blocks without checking the exact matching profile and dimensions.
For a first project, a practical order might contain the selected straight molding in a quantity established by the cutting plan, suitable adhesive and joint materials from sources approved for the assembly, and a compatible paint system. Basic tools may include a measuring tape, level, painter's tape, safe cutting setup and cleaning supplies. The precise list depends on the surface and installation method; do not assume every kit includes fasteners or that an unlisted material is necessary.
Compare products on the STAVROS polyurethane molding catalog and inspect current details before purchase. This article does not claim that a given profile is in stock locally in the United States, available on a particular delivery schedule, or covered by any specific warranty. Verify ordering terms directly with the seller.
Frequently Asked Questions
Is wall molding a good investment for a rental apartment?
It can be a sensible appearance upgrade when a room has a specific visual problem, the surface is sound and the finish can be maintained. The return depends on installation cost, tenant demand, competing listings and later repairs. There is no reliable basis for promising that molding alone will increase rent or reduce vacancy. Compare the complete project budget with other improvements the unit needs.
Should I use molding in every room?
Usually there is no design requirement to do so. One accent wall can give a rental a recognizable visual identity while leaving the rest of the unit neutral and straightforward to maintain. Focus on the most visible or underdefined wall and stop when the spaces feel balanced.
Are polyurethane molding and MDF molding interchangeable?
No. They can serve similar decorative functions but differ in composition, edge treatment, finishing and behavior under different conditions. Choose based on the exact product's specifications and the room, not on a shared catalog category. A preassembled decorative composition may contain more than one material.
Can a tenant install molding without asking the landlord?
Do not assume so. Glued molding changes the finished wall and may damage paint or drywall when removed. Tenants should check the lease and obtain the necessary permission before making permanent modifications. Property rules and local obligations can differ, so the agreement for the specific unit governs what is acceptable.
Can I install molding over existing paint?
Only when the coating is sound and the selected adhesive is appropriate for it. Loose paint, dusty surfaces, contamination or incompatible finishes can undermine adhesion. Follow the installation instructions and prepare the substrate as required. Do not use molding as a shortcut around correcting moisture or wall damage.
What width is appropriate for a small apartment?
There is no universal best width. Compare the overall wall area, ceiling height, furniture, door casings and desired visual effect. The 10 mm MLDPU-001 or 15 mm MLDPU-004 may work for delicate outlines; the 22 mm or 35 mm profiles are more visible. Tape a sample at the intended height and inspect it from normal viewing distances.
How much molding should I order for three frames?
Calculate the individual cut list from each frame's outside dimensions and compare every required piece with the actual stock length. As the examples above show, identical linear-foot totals can require different quantities of full sticks. Include saw kerf, possible end trimming, pattern alignment and a project-specific allowance. Do not rely solely on an automatic percentage of waste.
Can molding go behind a television or headboard?
Yes, if the layout respects the furniture and equipment. Leave access to mounts, outlets and cables. Do not install decorative pieces where they block a moving mount, ventilation, servicing or required clearances. Consider whether future tenants may use larger furniture or different equipment before choosing a fixed frame position.
Which paint color works for a rental unit?
A single wall-and-trim color can be flexible and easier to maintain, but the right choice depends on the floor, lighting and remaining finishes. Test color and sheen in the actual room. Record the paint details for touch-ups. A neutral palette can help varied furnishings coexist with the architectural trim, but it is not a guarantee of broader market appeal.
What is the difference between wainscoting and picture-frame molding?
Picture-frame molding means applied trim creating the outline of rectangles or other panels. Wainscoting is a broader lower-wall treatment that can include real panels, a chair rail and applied frames. A renter-oriented feature wall can use individual frames without becoming a full wainscoting installation. The distinction helps when comparing scope and maintenance.
Does decorative trim make a wall easier to clean?
Not necessarily. The surface finish and profile shape determine how easily dust and scuffs can be removed. Deep ornament adds edges; thin profiles may be easier to wipe down. Select a compatible coating system and give occupants cleaning guidance appropriate to that finish.
Can I use the same profile in several rental units?
A standardized profile can simplify purchasing, spare-parts storage and future repairs across similar units. Still, measure each wall separately. Outlets, trim, ceiling heights and furniture plans can differ even within the same building. A shared design language is useful only if its dimensions are adapted to each space.
Final Recommendation: One Wall, One Profile, One Maintainable Finish
Treat rental property molding as a small design system. Choose the wall that benefits most, verify the selected polyurethane profile, prepare a real cut list, and coordinate the finish with the rest of the apartment. Keep the design clear enough to photograph and simple enough to repair during an ordinary turnover. STAVROS wall molding and interior trim profiles offer several scales, but the best selection is the one that fits this particular wall and its long-term use.
The finished result should look intentional without asking the next tenant to decorate around it. Measured proportions, sound installation, accessible services and a documented paint specification are more dependable than elaborate ornament or unsupported claims about rental returns. Choose carefully, install thoroughly, and preserve the details needed for the next maintenance cycle.