

Article Contents:
- What makes an architectural backdrop work on camera?
- Design for the frame, not only the room
- Relief and side light create useful dimension
- Living room: integrate the feature with seating
- Home office: prioritize the person on screen
- Bedroom: work around furniture and soft textiles
- Salon, showroom, or professional studio
- Establish the visible field with a test shot
- Keep the face clear of distracting intersections
- Allow for furniture, doors, and wall fixtures
- Draw the composition at actual scale
- Layout 1: one generous picture-frame panel
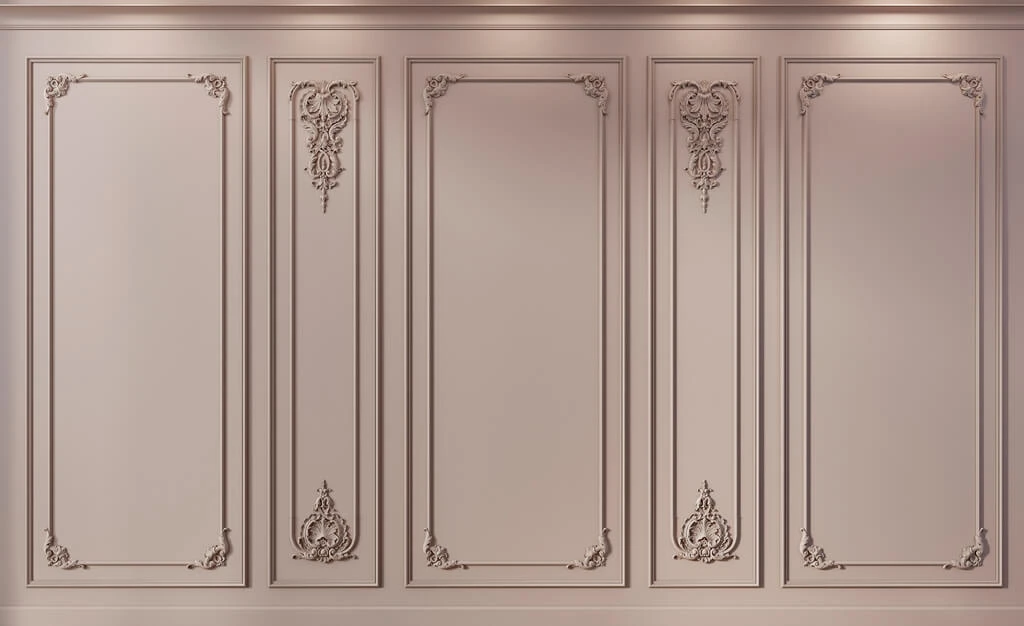
- Layout 2: two vertical panels with a central gap
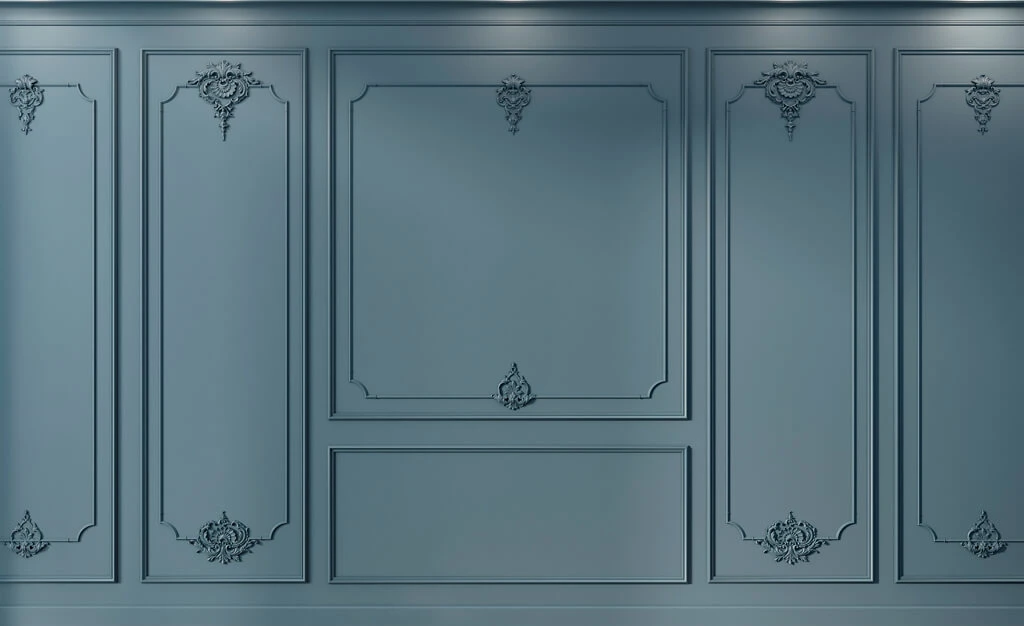
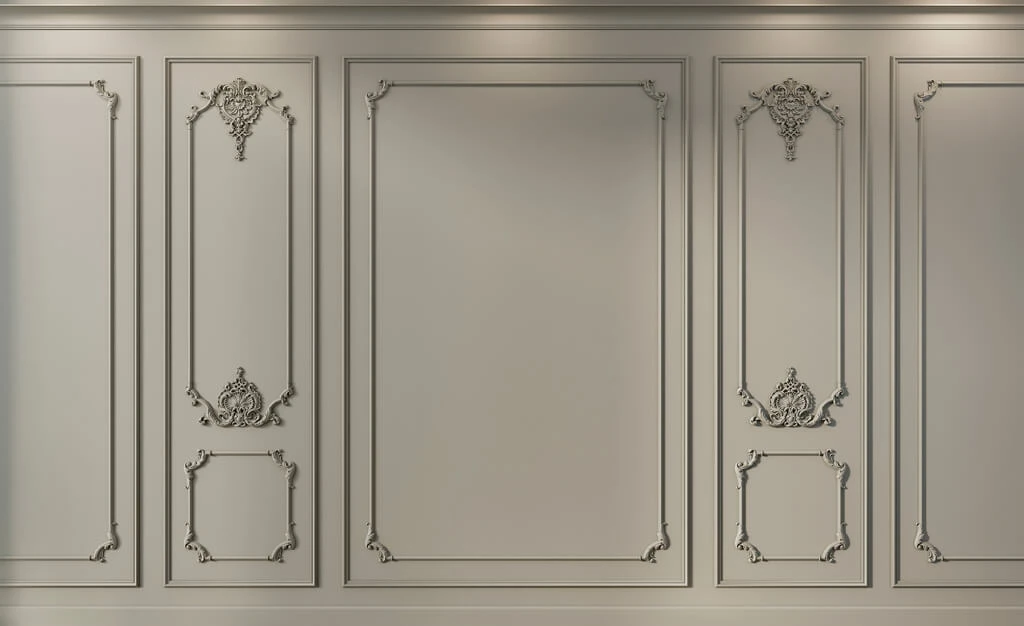
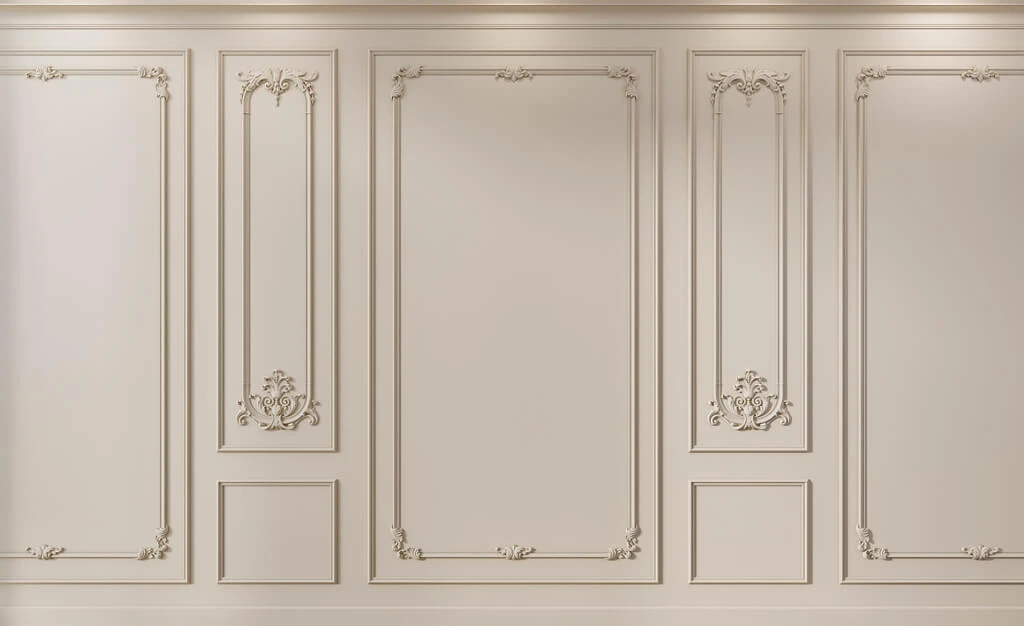
- Layout 3: three panels with a wider central section
- Layout 4: open vertical molding lines
- Layout 5: one molding border with a decorative onlay
- Layout 6: color-blocked panel within the molding
- Layout 7: a quiet corner treatment for flexible filming
- Why polyurethane belongs in the comparison
- Four verified STAVROS polyurethane profiles
- Decorative onlays and matching accents
- Ready-designed sets: read every component
- Choose contrast with the subject in mind
- Understand daylight direction before installing
- Use soft key lighting before decorative lighting
- Avoid glare and busy backgrounds
- Convert the layout into individual pieces
- Example A: one 48 by 60 inch frame
- Example B: three panels with a wide center
- Example C: an open-line video-call backdrop
- Take waste, shipping lengths, and repairs seriously
- Inspect the receiving wall before attaching trim
- Cut and attach the profiles carefully
- Fill, prime, and paint without losing detail
- Keep the backdrop ready for regular use
- What is the simplest molding layout for a video-call background?
- Does polyurethane trim replace a professional photography backdrop?
- Can I use picture-frame molding in a rental apartment?
- What profile works better for a small wall?
- Should the molding be white or match the wall?
- How many stock lengths should I order?
- Can a molding frame support a mirror or light fixture?
- Can decorative molding be used in a bathroom photo corner?
- Are ready-made decorative sets all polyurethane?
- What should I check before publishing my first video?
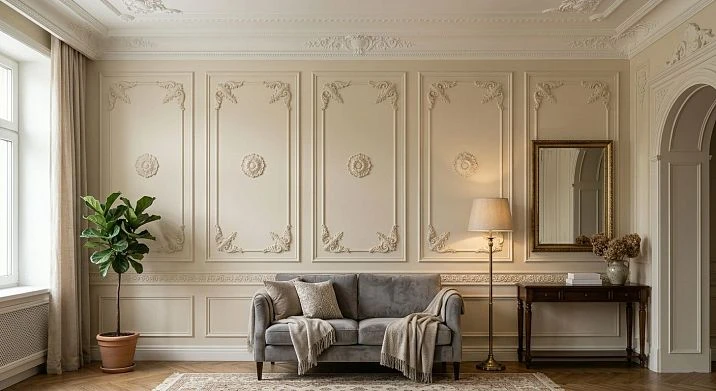
A wall that looks pleasing across the room does not automatically look good in a photograph. A phone camera crops away the furniture, compresses spatial relationships, and records the shadows cast by every raised edge. That is why a successful home photo backdrop starts with a camera position, not with a shopping cart. Decorative wall molding can introduce clear proportions, a calm focal point, and a recognizable style without building a temporary stage. The goal is a wall that works every day as part of the room and also makes sense in photos, short videos, interviews, and video calls.
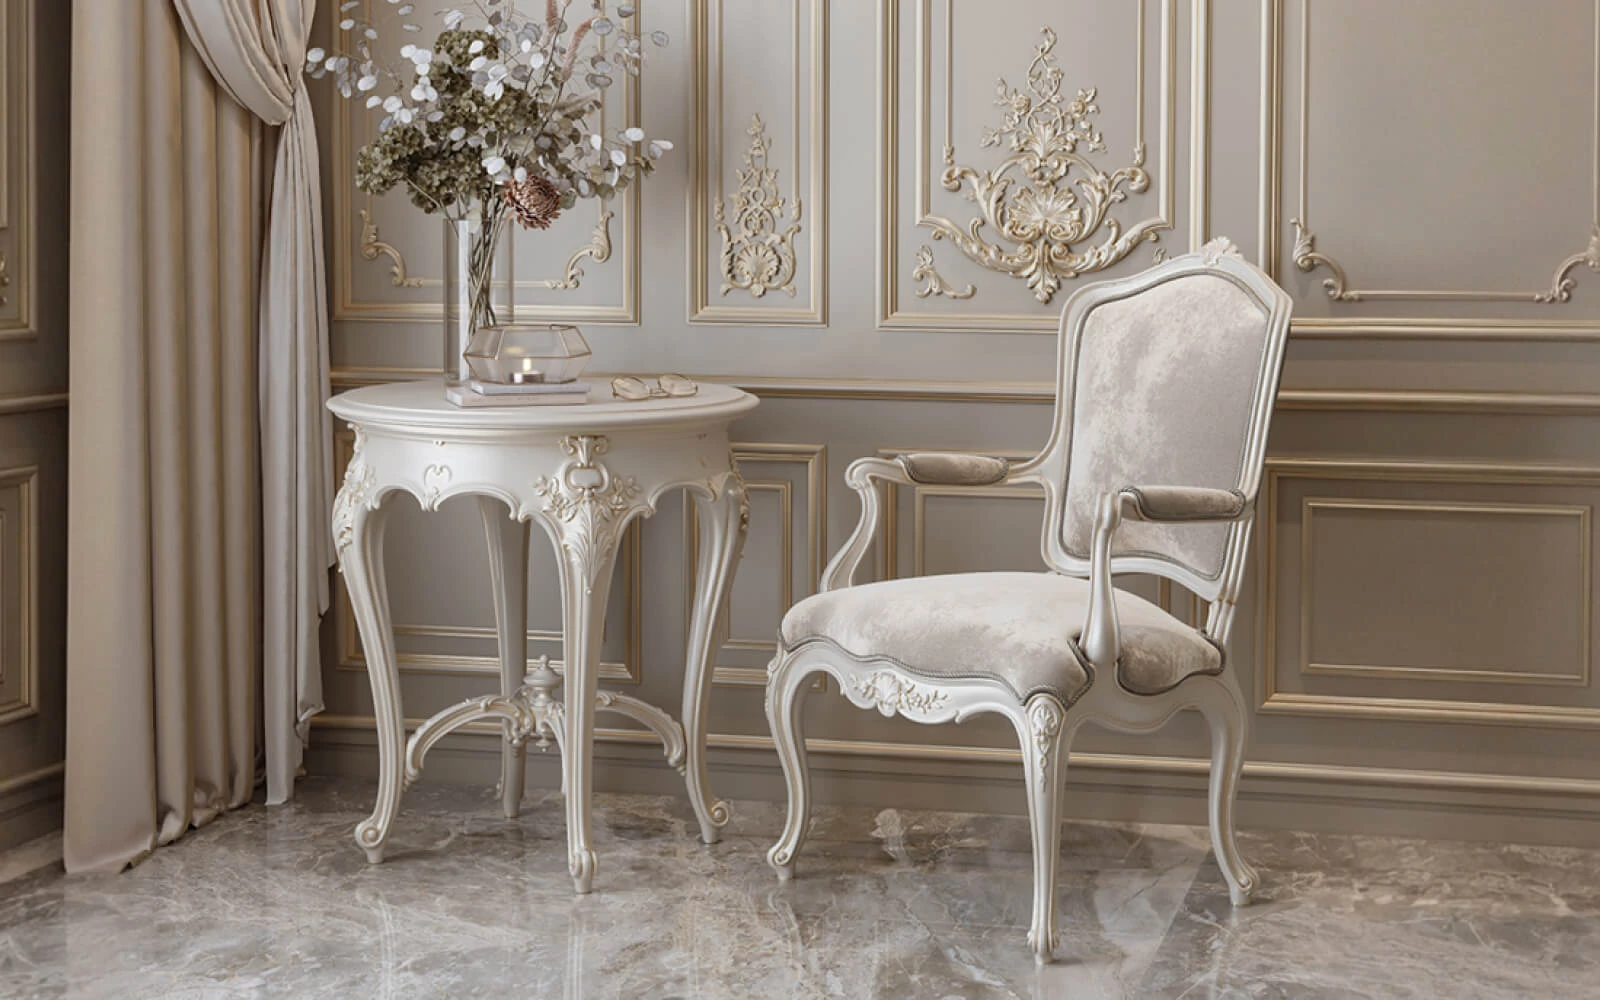
For most projects, begin with one defined area behind the person or subject, choose a molding profile that remains visible at the intended camera distance, and draw the arrangement at full scale before buying material. A simple large rectangle or a pair of vertical panels is easier to frame and light than a cluster of small ornaments. STAVROS offers polyurethane wall moldings and decorative accents that can be combined into these layouts. The specific profile, mounting surface, and finish determine the installation method; the decor itself is not a substitute for photography lighting or safe wall preparation.
What makes an architectural backdrop work on camera?

Design for the frame, not only the room
A backdrop is the part of the wall that actually appears in a picture. A wide living room may contain a beautiful twelve-foot accent wall, yet a head-and-shoulders video call might show only three feet of it. Before drawing panel borders, put the camera in its normal place and take a test frame at eye level. Mark the approximate left and right limits visible behind the chair or standing position. Then step away and compare that cropped area with the whole wall. The final design needs to look composed in both views, but the visible crop has priority for regular video work.
At arm's-length smartphone distances, background detail often appears larger than expected. A strongly projected ornament can become a visual competitor to a face; a tiny profile may disappear once the video is compressed. Use a simple mockup with painter's tape to evaluate scale. A tape outline cannot reproduce the shadow of a raised profile, but it reveals whether a border cuts through the person's shoulders or creates an awkward stripe directly behind the head. Photograph the mockup from several positions instead of judging it only while standing against the wall.
Наша фабрика также производит:
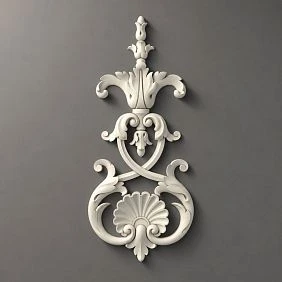
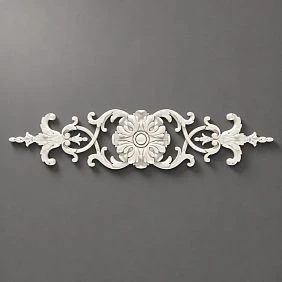
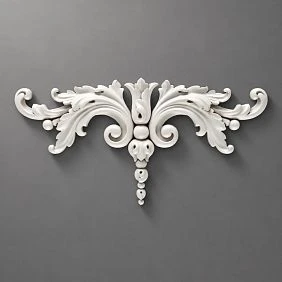

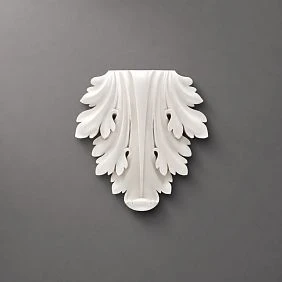
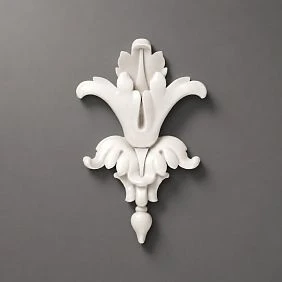
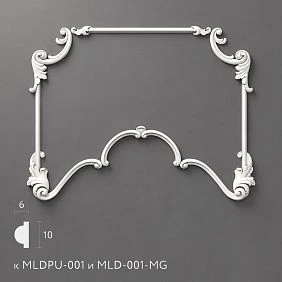
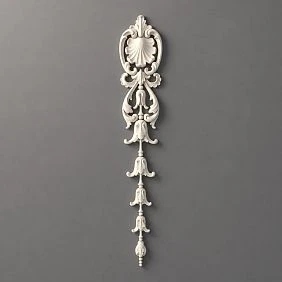
Смотреть весь Каталог продукции
Relief and side light create useful dimension
An architectural backdrop benefits from restrained light and shadow. A raised molding face catches light, while its adjoining edge creates a narrow shadow that reads as depth. That is the reason decorative wall molding can give a plain painted surface a more deliberate structure. The effect depends on both the actual projection of the selected profile and the direction of the light source. A shallow line may photograph clearly when light arrives from the side, while a deep profile can appear unexpectedly flat under broad frontal illumination.
Work with the lighting you already have before adding new fixtures. Take one photograph in daylight, one with typical room lights, and one with the light used during a call. Compare the molding's shadow and the subject's skin tone. If the wall is the brightest element, reduce the background illumination or change the camera exposure instead of adding more ornament. A wall with gentle relief and a readable face is more useful than a dramatic decorative shadow that distracts from the conversation.
Получить консультацию
Choose the right location for a home photo or video backdrop
Living room: integrate the feature with seating
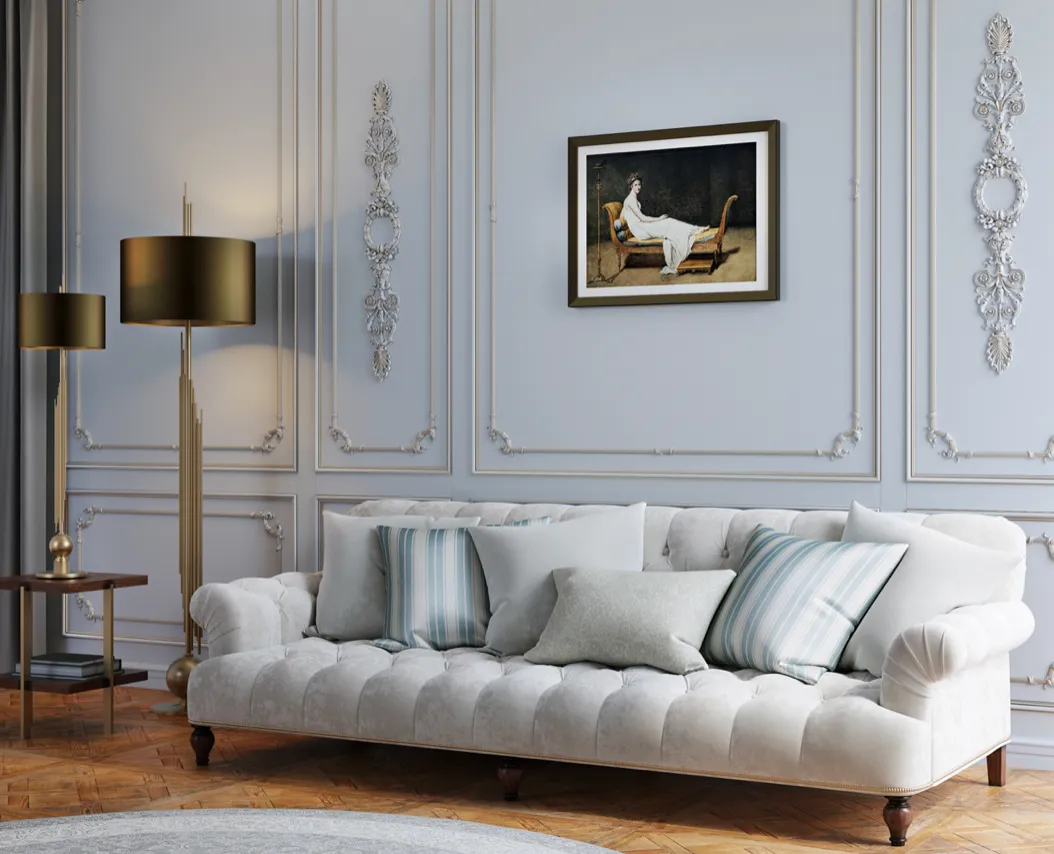
The wall behind a sofa is a natural place for an architectural composition because it already has a visual center. The challenge is that portrait photography, seated calls, and the everyday room view often use different camera angles. If the backdrop must work while someone sits on the sofa, keep the strongest molding lines away from the typical head positions. One generous central frame may work better than three equal frames whose joints accidentally align with shoulders. Test the layout from the opposite side of the room and from the phone position used for recording.
Keep a realistic relationship between the decorative treatment and the sofa. The frame can be somewhat wider than the seating group to create breathing room, but a border that disappears behind lamps or tall side tables adds little value. If you already have a substantial artwork or mirror, choose whether it or the molding will be the main element. A gallery-wall approach can combine both, but deliberate spacing prevents a busy background.
Home office: prioritize the person on screen
A home office backdrop is seen at close range, often in a narrow horizontal crop. Start by placing the office chair where it will actually stand; then test a video call with the camera at its normal height. A pair of symmetrical panels can look polished when centered behind the chair, provided the vertical molding does not appear to rise directly from the person's head. Shift the composition slightly or widen the central field if necessary. The visual result should appear orderly even when the subject leans forward or turns to another monitor.
Avoid placing highly reflective objects at eye level. Glossy accents may create hard, changing highlights as the user moves. Matte or low-sheen paint generally produces more predictable photographic results, although the best choice depends on the room's light. For detailed decisions about a desk-side architectural treatment, the existing STAVROS guide to a molded workspace accent wall offers a related starting point. Here the primary requirement remains how the design survives the camera crop.
Bedroom: work around furniture and soft textiles
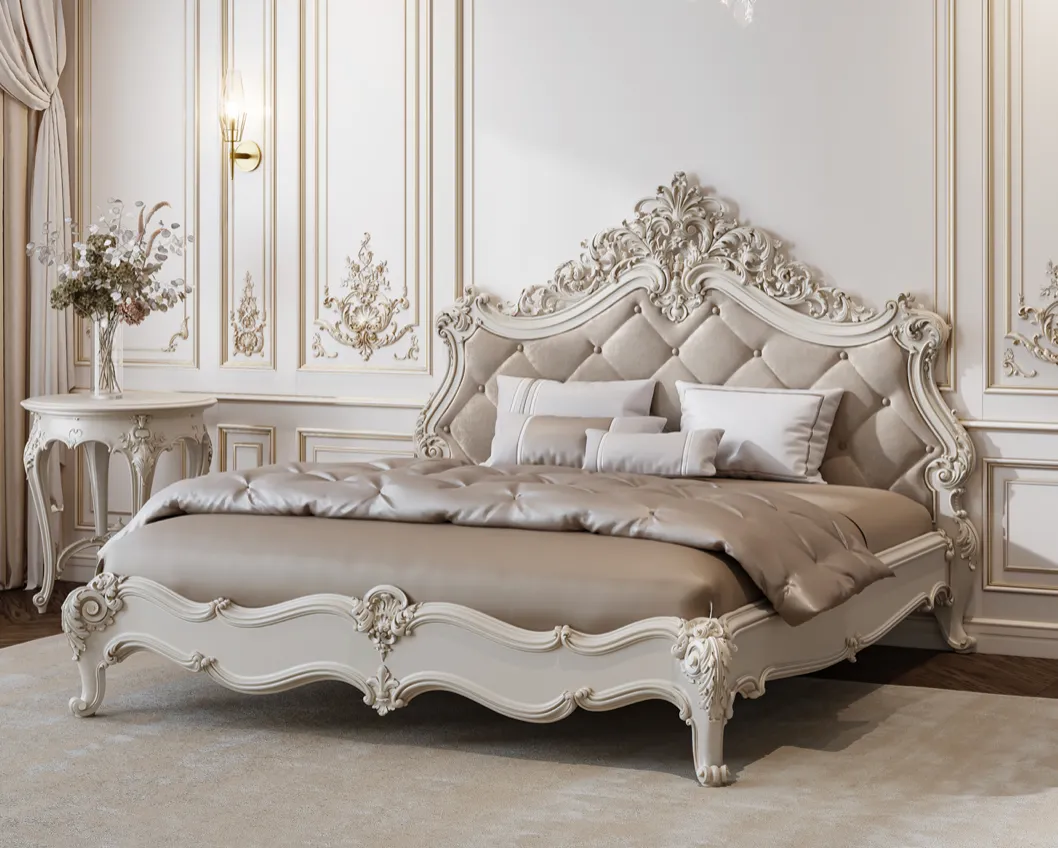
A bedroom may serve as a personal portrait location, a casual content-creation background, or simply a calm room with a decorative wall. The bed, headboard, and bedside lamps already establish a strong central axis. Applied molding can reinforce that geometry rather than fighting it. For example, use one wide upper frame above the upholstered headboard, or two quieter vertical frames flanking it. Do not design a dense ornamental pattern immediately behind reading lights, since overlapping shadows make it difficult to see the profile.
If the bedroom is used for standing portraits, confirm that the entire subject can be photographed without the bed filling the bottom of the composition. The best location for wall trim may therefore be an adjacent uncluttered wall rather than the primary headboard wall. See STAVROS's separate bedroom wall molding guide for bedroom-specific profile proportions; adapt its visual ideas to the actual camera position.
Salon, showroom, or professional studio
A small business might use an architectural wall for client portraits, product launches, consultations, or branded social content. The same practical rules apply, with extra attention to maintenance. Frequently touched corners and narrow passageways are vulnerable regardless of the material. Keep fragile or projecting ornament away from busy circulation routes and check how equipment cases, clothing racks, and lighting stands move through the space. Position a logo or branded prop only after the main molding composition is established, so the design does not have to be rebuilt whenever branding changes.
A neutral background can be more versatile than one that references a single event or season. Photograph the empty space first and then add a chair, plant, or product display to see which edges remain visible. If the room serves clients, consider cleaning access, glare from mirrors, and whether the decor is installed on a durable, sound wall finish. A decorative molding selection does not by itself establish compliance with commercial building requirements; those depend on the actual project and location.
Plan dimensions around the camera and the subject
Establish the visible field with a test shot
Start with the camera lens position, not the proposed molding. Use the framing that will be used most often and mark the area in the picture that falls behind the subject. For a seated video call, take the screenshot with the person in the chair, or place an object at roughly shoulder height as a visual reference. Leave more visible wall at one side if screen graphics, captions, or presentation slides will be added later. This is often more useful than forcing perfect symmetry in the architectural composition.
The visible field changes with lens focal length and how far the subject sits from the camera. Avoid relying on a generic statement that every backdrop should be a specific width. Instead, make a paper diagram showing the visible area at the working position and the full wall boundaries. The ideal trim arrangement should function in both rectangles. For a shared home office, run this test with both users if they sit at different heights or use separate desks.
Keep the face clear of distracting intersections
A molding line directly behind a face may read as an accidental halo, an extension of the shoulder, or a line through the neck. Move the camera slightly to one side, raise the primary horizontal rail, or enlarge the central panel to produce a cleaner image. The exact correction depends on the subject's typical seated or standing position. Test with a real photo: a pencil drawing rarely captures how a 0.43-inch raised edge casts a shadow behind someone's outline.
For standing portraits, think about the entire figure. A small frame around the upper torso can look oddly cropped when the person steps back. A full-height vertical panel may provide a more reliable background. For product photographs, leave a plain central field large enough for the object and keep ornament toward the perimeter. The product should remain legible instead of being broken up by a decorative border in the middle of the shot.
Allow for furniture, doors, and wall fixtures
A wall may measure ten feet from corner to corner but offer only six feet of unobstructed space after subtracting a door swing, shelving, and a floor lamp. That usable width governs the design. Leave room for the actual projection of the molding beside a cabinet door or sliding panel; a raised decorative strip can interfere with moving furniture or hardware when placed too close. Similarly, do not run trim across a thermostat, ventilation opening, electrical plate, access panel, or a control that must remain usable.
The bottom edge matters as well. If a frame starts behind a sofa, its visible portion may appear cut off in wide photographs. Position the lower horizontal run either clearly above the furniture or intentionally below the visible area; an almost-hidden border usually looks like a planning mistake. When uncertain, remove the lower edge and use an open vertical arrangement, keeping the other walls in the room consistent.
Draw the composition at actual scale
Measure in inches and draw the molding centerline or chosen reference edge consistently. If the outer width of a frame is 48 inches, specify whether this dimension refers to the outside edges of the profiles or their centerlines. Confusion here changes the miter-to-miter cutting length. In a design with several frames, the error repeats with every panel. Pick one measurement convention, label the sketch, and use it from ordering through installation.
Painter's tape makes a useful full-scale trial. Set the line heights with a level, then photograph the taped arrangement in natural and artificial light. Compare the mockup with the room's baseboard, window casing, and doorway height. A frame can look balanced in isolation yet too tall beside a low ceiling or disproportionately narrow next to a large cabinet. Correct those relationships before choosing a finish or purchasing stock lengths.
Seven wall molding layouts for photo and video backdrops
Layout 1: one generous picture-frame panel
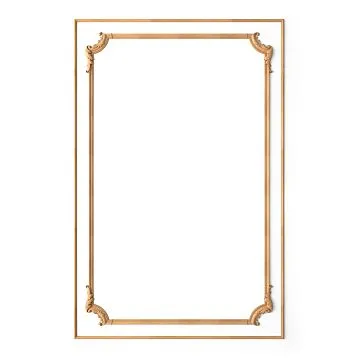
A single large rectangle is the most adaptable starting point. It creates a defined architectural field without filling the image with competing lines. Put the panel behind the main subject, leave a comfortable margin around the shoulders and head in the intended crop, and adjust the size to fit the wall rather than relying on a universal ratio. This arrangement can look contemporary with a slim profile or traditional with a more substantial one. Painting the profile and background the same color keeps the detail restrained.
Use the center of the frame as negative space. Do not automatically add artwork, a plaque, or an ornament at the center. The person or photographed object may already supply the focal point. If a wall sconce is essential, test the camera composition with it illuminated and turned off. The brightest object in the shot often attracts attention first, regardless of how carefully the molding has been aligned.
Layout 2: two vertical panels with a central gap
Two tall rectangles create a formal, balanced impression and can accommodate a chair, desk, or console between them. For seated calls, their inner edges should not meet visually at the person's shoulders; give the center enough clear wall to keep the face distinct. This is a practical way to use picture frame molding on walls without turning the entire wall into a dense grid. The trim spacing can echo the width of nearby shelves or existing door casing.
In a narrow room, a pair of very small frames may look like two picture frames accidentally hung behind a chair. Make a full-scale mockup and judge the design through the actual lens. If the frames are too narrow, either enlarge the clear center field or replace the two-panel design with a single rectangle. Symmetry should support the subject rather than become a rule followed at any cost.
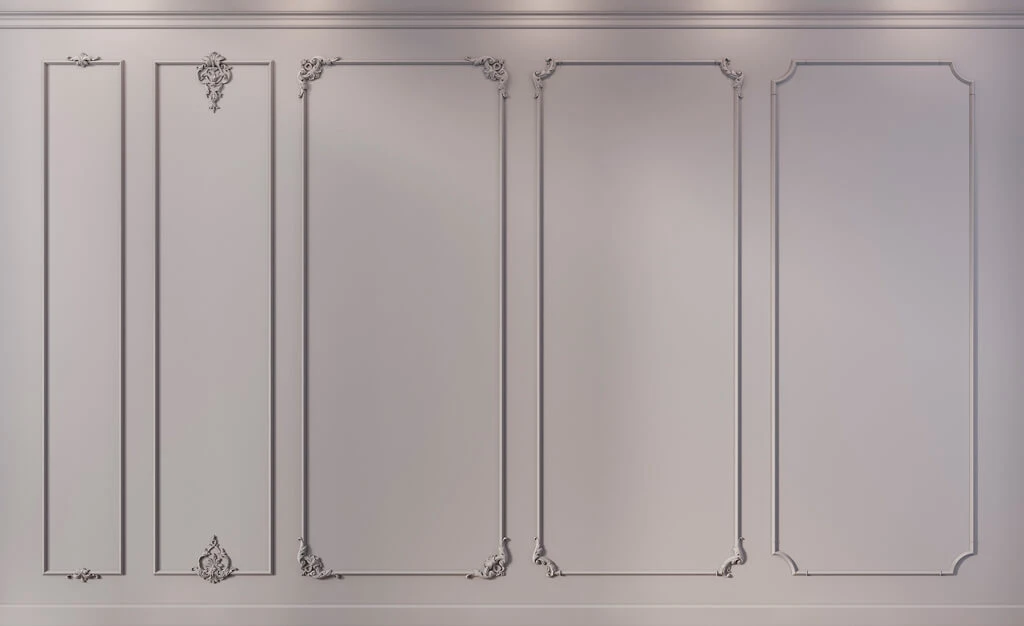
Layout 3: three panels with a wider central section
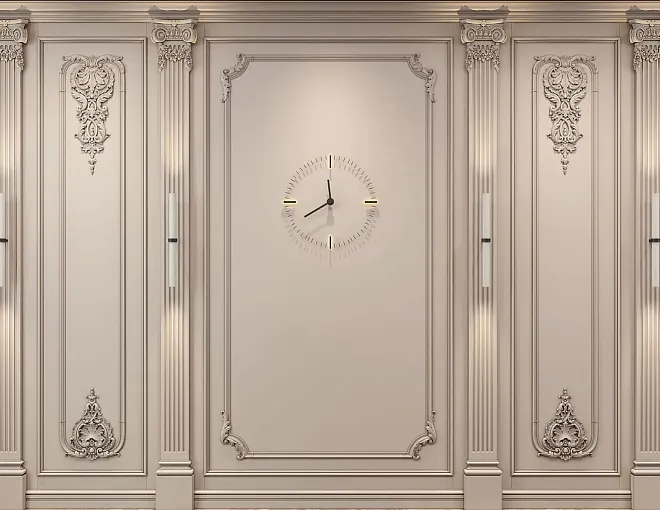
A central frame flanked by two narrower panels is a familiar architectural arrangement that gives the wall a clear hierarchy. The broad middle field can serve as the portrait backdrop, while the side panels establish rhythm when the camera moves to a wider view. Align all three top edges and decide whether the bottom edges need to match as well. In rooms with a sofa or desk, it is often better to preserve consistent vertical lines than to match every panel to a different piece of furniture.
This design takes more individual cuts than a single frame and therefore needs a more careful cut list. It is also more demanding in small rooms: side panels that are only a few inches wide will feel ornamental rather than architectural. A wider molding makes this effect stronger, so profile selection must follow the usable wall width. Try the simpler molding-and-onlay composition principles before adding corner accents or extra details.
Layout 4: open vertical molding lines
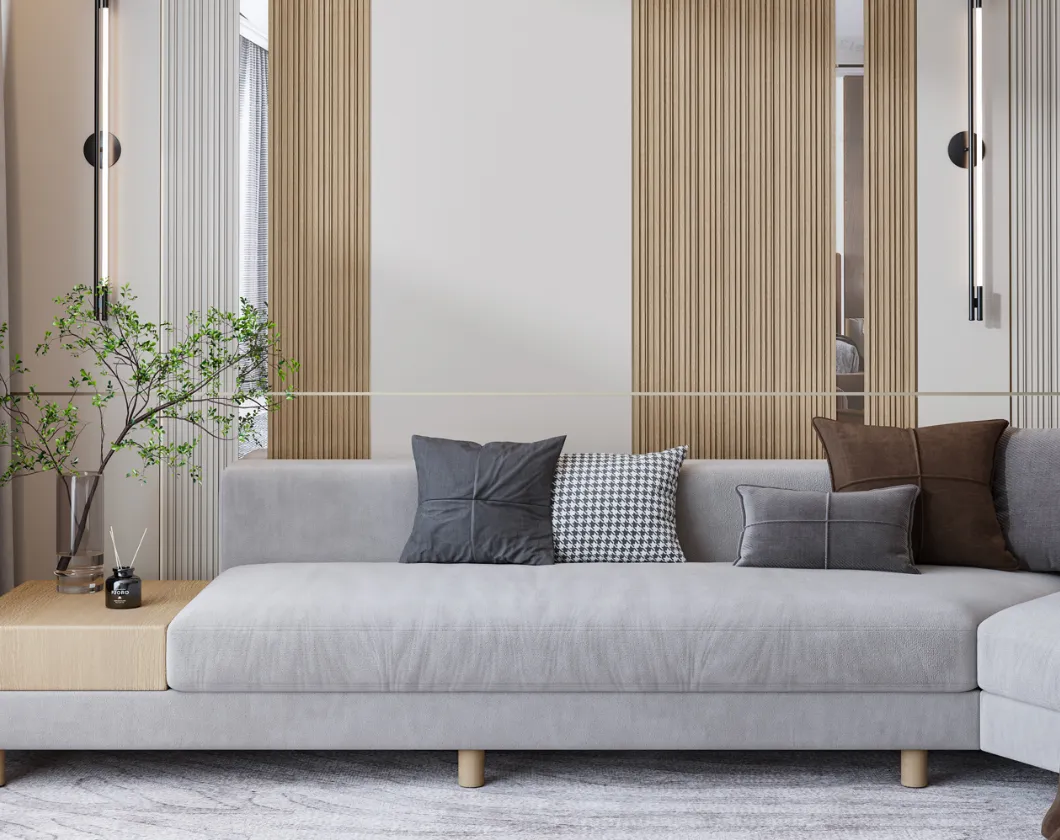
Not every camera backdrop needs closed rectangular panels. A set of evenly spaced vertical lines can introduce height and order while leaving most of the wall visually quiet. This approach is useful behind a desk or on a small wall where closing every rectangle would create too many corners. Keep the line rhythm coordinated with the camera crop, not simply distributed evenly across the entire room. One line that appears exactly behind the user's head can ruin the effect of an otherwise elegant composition.
Open vertical lines make the treatment less explicitly classical than a full grid. The starting and ending points, however, must look intentional: terminate at a planned horizontal boundary or at a clear visual relationship with the baseboard and ceiling. Do not allow the molding to run into a window trim, door casing, or an electrical device. If these elements cannot be avoided, revise the spacing rather than cutting around them in a patchwork pattern.
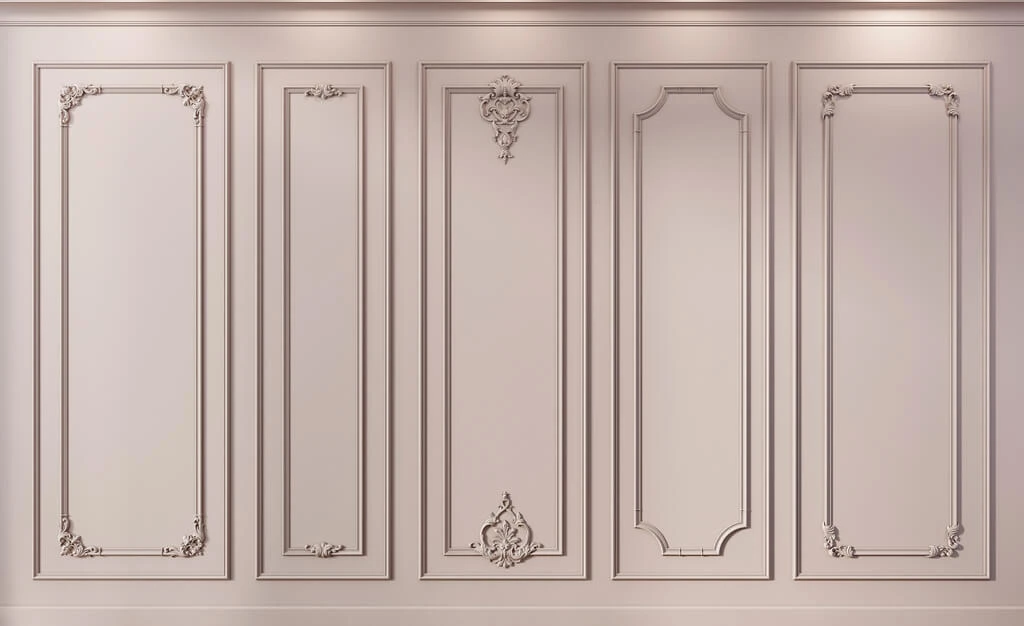
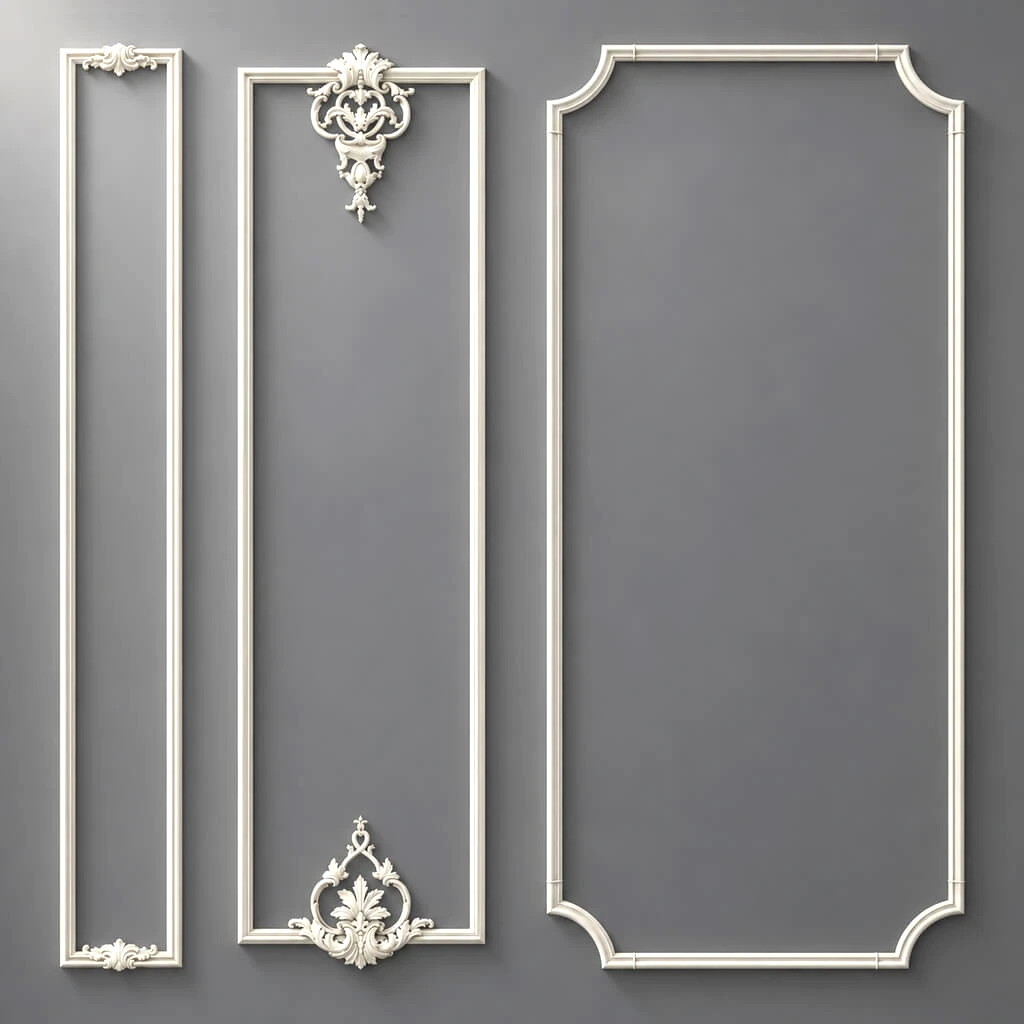
Layout 5: one molding border with a decorative onlay
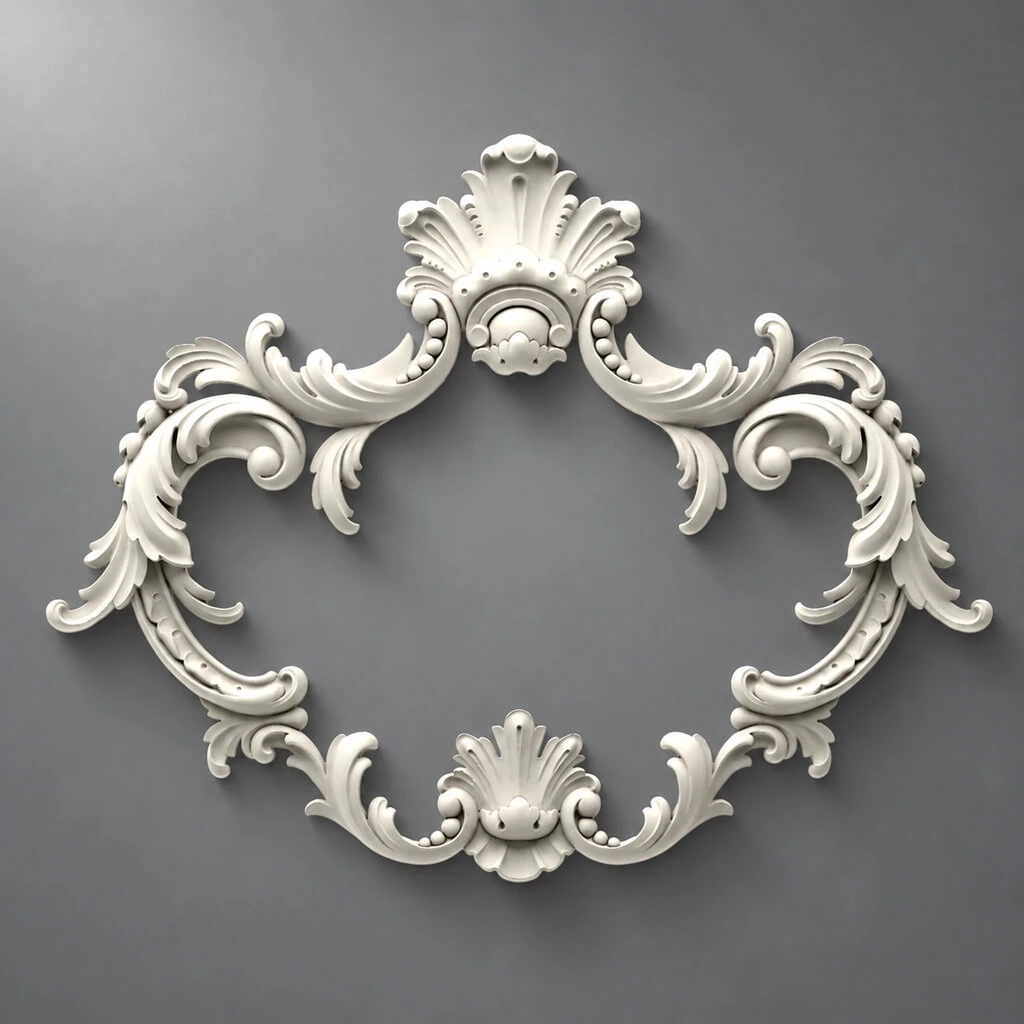
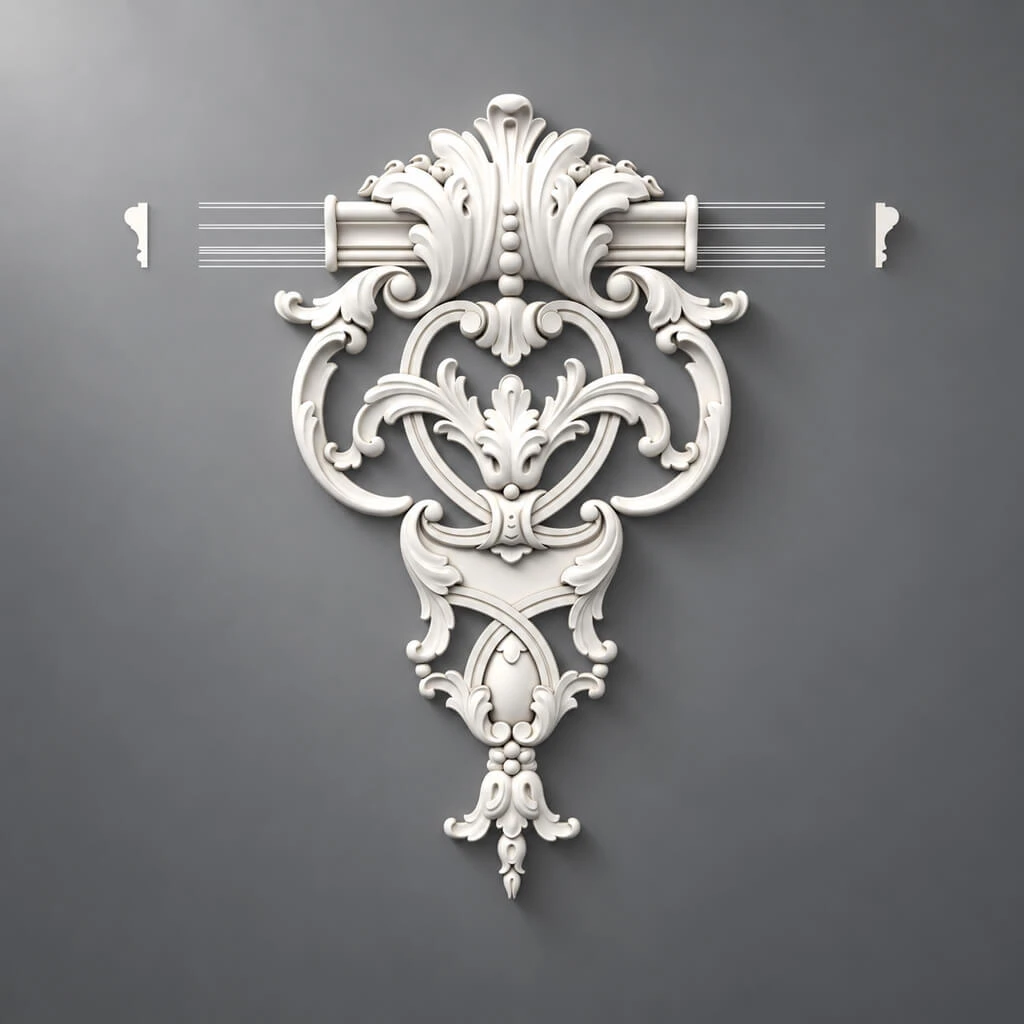
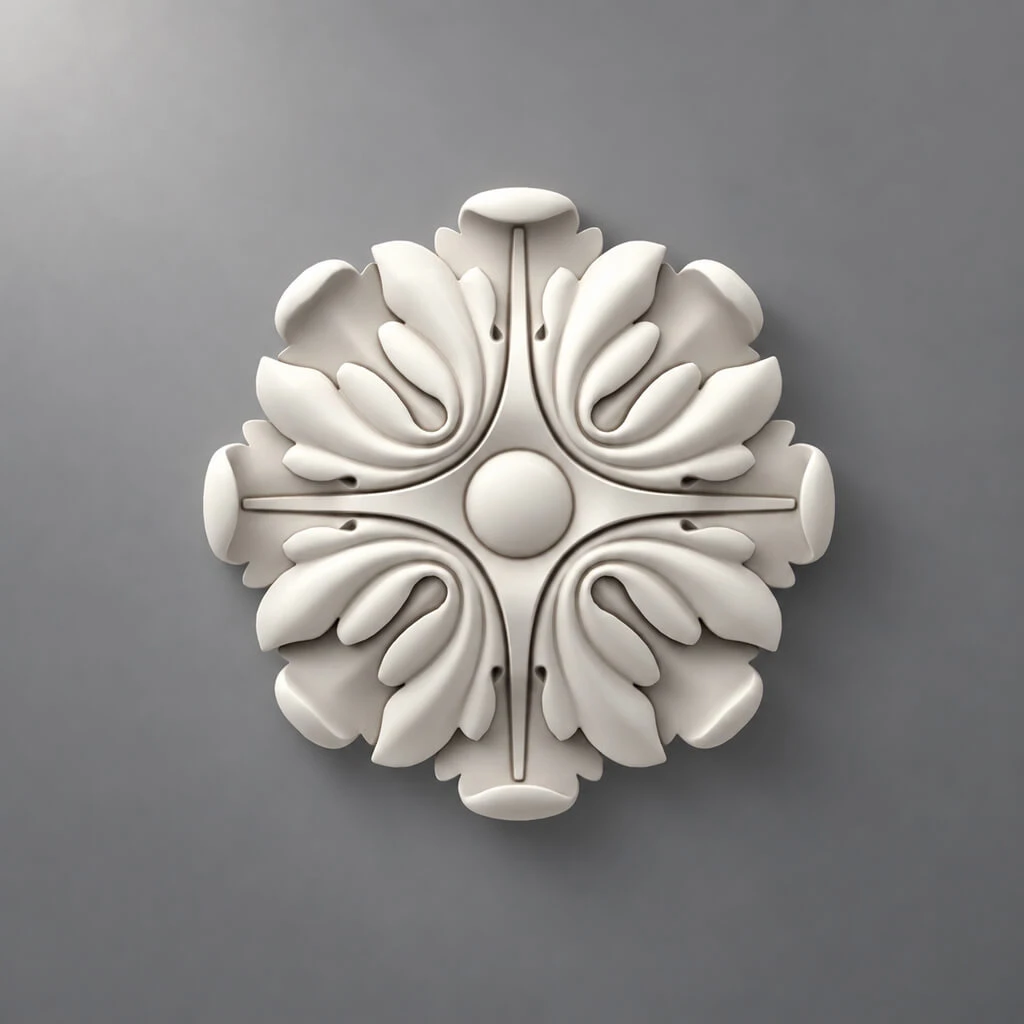
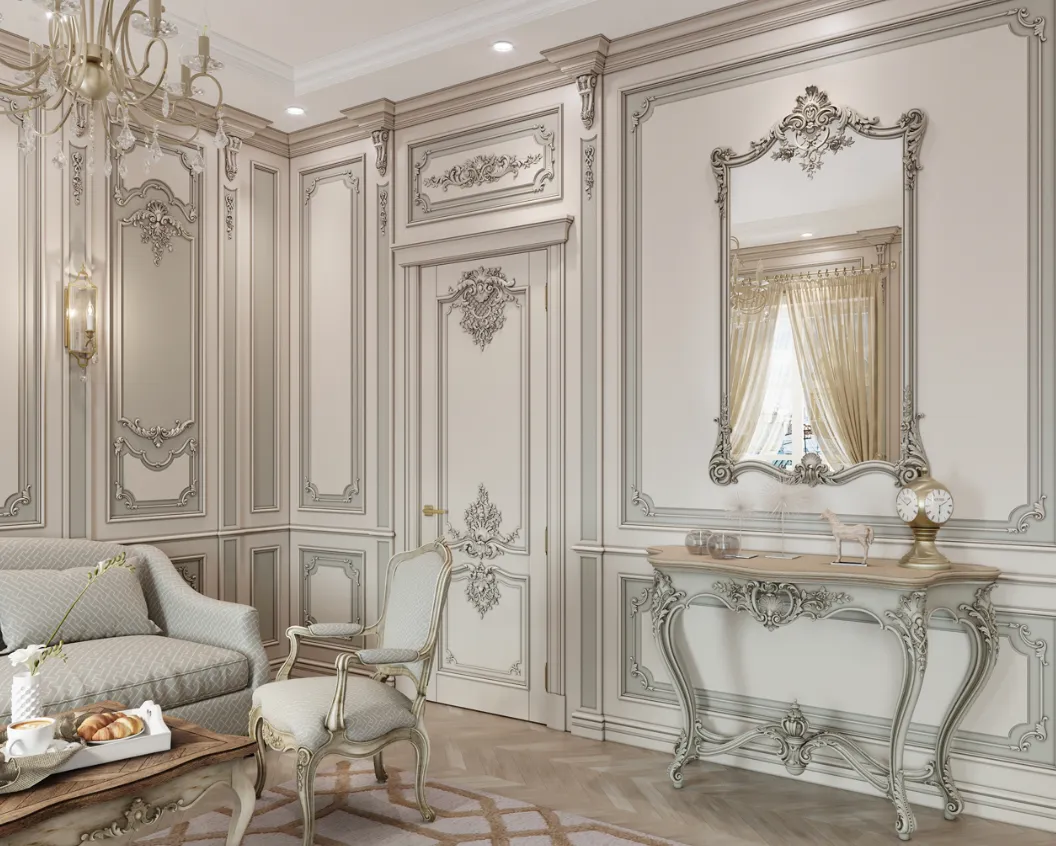
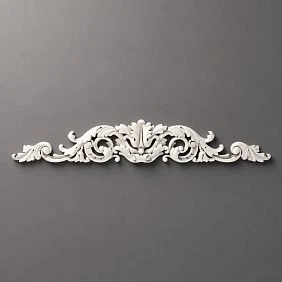
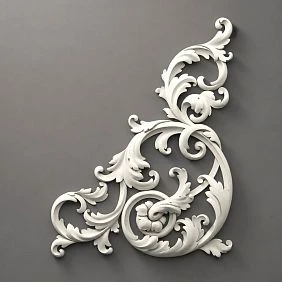
A carefully chosen decorative onlay can create a recognizable stylistic detail. The ornament works best when it has a specific role: reinforcing a central axis, balancing a sideboard, or supplying a subtle detail near the upper part of a large frame. STAVROS offers polyurethane decorative onlays that can be reviewed by size and material. A verified example is NPU-160, listed as polyurethane at 450 x 75 x 15 mm, approximately 17.72 x 2.95 x 0.59 inches.
A 17.72-inch ornament can be visually substantial in a tight webcam crop. Cut out a paper template matching its real outline, tape it in place, and test the camera image before committing. The onlay is not a structural bracket or a mounting point for lights. If the purpose is a minimal, clean video backdrop, a single molding frame without an onlay may produce a better result. Ornament is a design decision, not an obligatory finishing step.
Layout 6: color-blocked panel within the molding
Paint can provide differentiation without another physical trim layer. One option is a molding rectangle painted to match the wall around it, with its inner field in a slightly darker or lighter related shade. Another is a consistent monochrome wall where the entire frame is visible through light and shadow rather than color contrast. Test the paint samples under the recording lights, since a color that looks soft in daylight may shift under warm bulbs or an LED panel.
Color-blocked designs are particularly useful when photos and videos need a recognizable backdrop but the room is also used for daily living. Avoid very glossy color inside the panel unless reflections are intentional. A saturated inner rectangle may change how the camera meters exposure and white balance, so make a test recording with a person in the frame. Use a paint appropriate for the substrate and the selected molding, and check that primers, joint treatments, and topcoats are compatible.
Layout 7: a quiet corner treatment for flexible filming
A corner offers two wall planes and therefore several camera perspectives, but it can also introduce a distracting vertical seam. A restrained molding treatment on one plane with a calmer adjacent plane is often easier to use than mirrored detail on both sides. Position the camera so that the corner contributes depth without cutting through the main subject. Test standing and seated compositions separately, because the corner may shift visually when the camera height changes.
Use wall decor only where it can be seen and maintained. An ornate corner that sits behind a curtain or against a frequently opened door has little practical benefit. If the camera moves often, this option can provide a range of looks without needing a different removable backdrop for each session. The molding arrangement should still belong to the room once the lights and tripod are put away.
Select the right molding material and profile
Why polyurethane belongs in the comparison
For painted architectural wall frames, polyurethane can be a practical material because it is supplied in shaped profiles that can be measured, cut, installed, and finished as part of the wall composition. It should not be treated as interchangeable with every product labeled "molding." The correct selection depends on the actual item: material, width, projection, length, supplied finish, and the manufacturer's installation guidance. A decorative wall frame is not structural and cannot be used to suspend lighting equipment, mirrors, or a heavy picture frame.
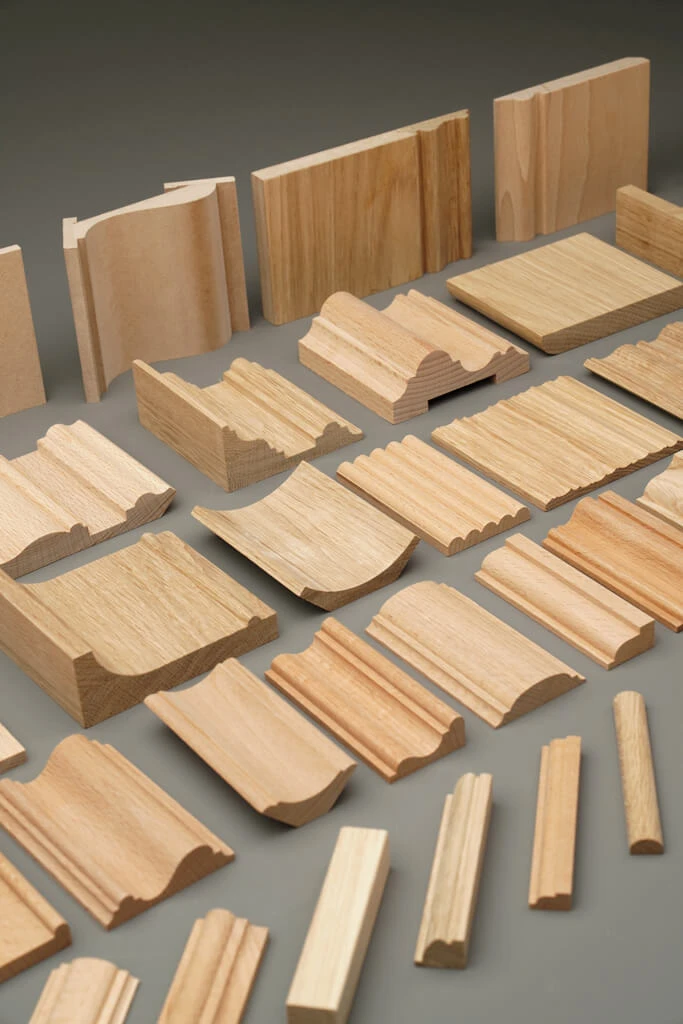
Compare polyurethane with primed MDF, solid wood, plaster, PVC, and polystyrene based on the job. MDF can produce straight painted lines but needs an appropriate environment and finishing system. Wood allows a genuine stained grain where that is the design goal. Plaster may suit historic interiors but often calls for different handling and installation. Polystyrene and PVC have their own specifications; do not infer their stiffness, paint compatibility, or fire performance from the polyurethane category. In a photography backdrop, smoothness and the way the finished edge catches light may matter more than broad marketing claims about one material being best.
Four verified STAVROS polyurethane profiles
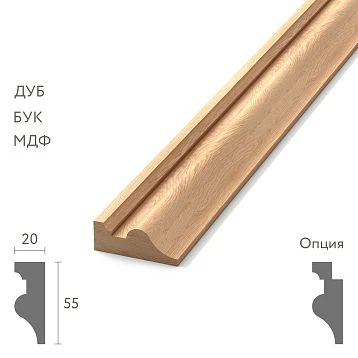
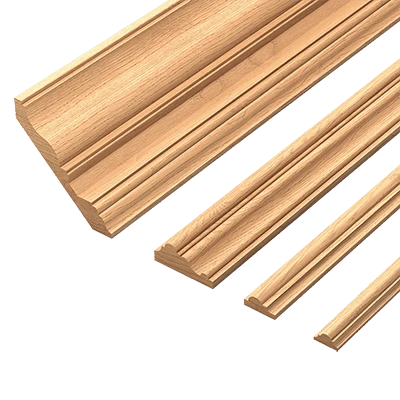
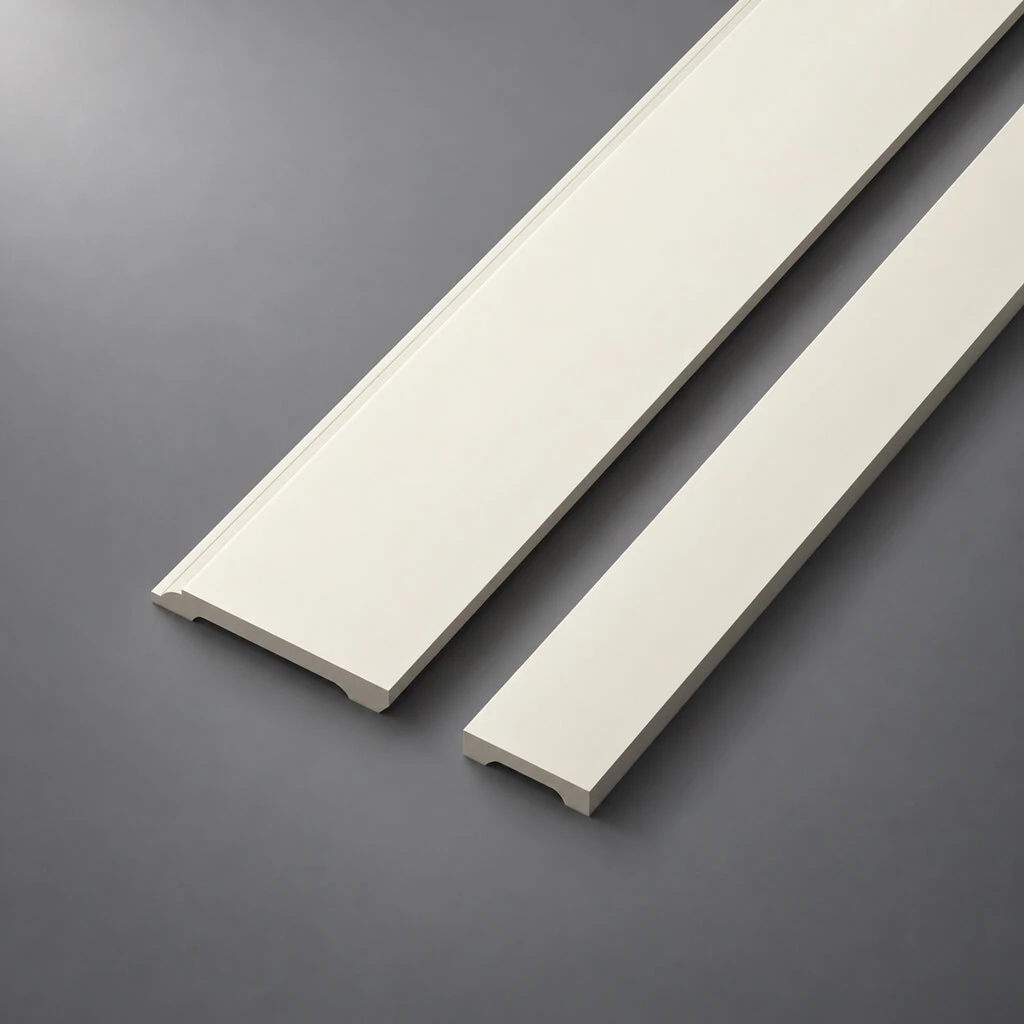
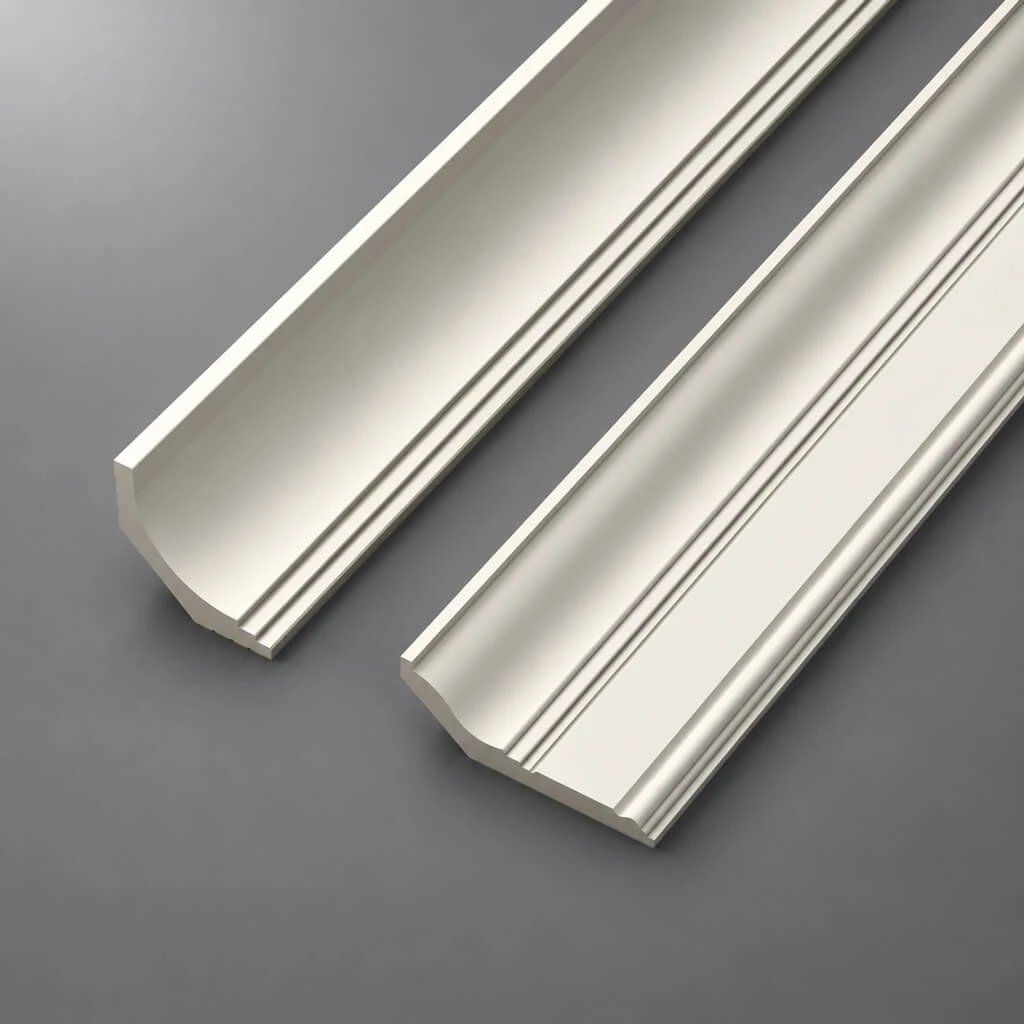
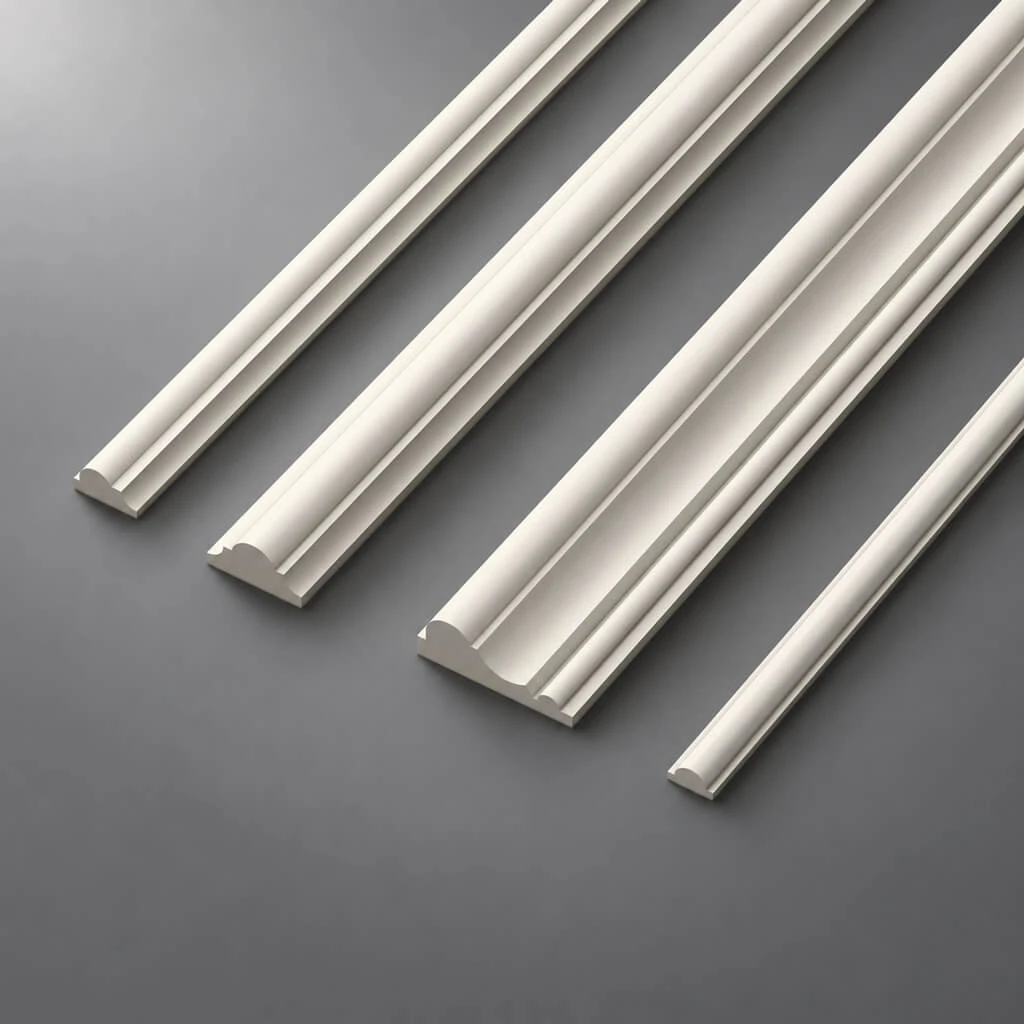
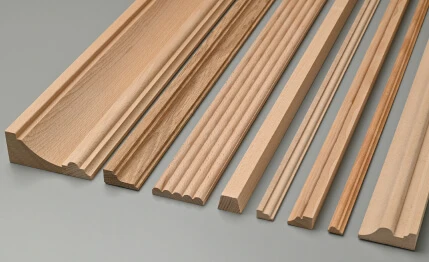
The following products have distinct face widths and projections. Those dimensions affect whether a molding is barely visible in a close crop or creates a substantial shadow in a wide room view. All four items are listed in individual 2,600 mm (102.36 in) lengths. Compare their profiles in the STAVROS polyurethane molding catalog and inspect the drawings, rather than choosing on the basis of a name alone.
| STAVROS product | Face x projection | Stock length | Sensible backdrop role |
|---|---|---|---|
| MLDPU-001 | 10 x 6 mm / 0.39 x 0.24 in | 102.36 in | Fine, quiet lines or secondary contours |
| MLDPU-004 | 15 x 8 mm / 0.59 x 0.31 in | 102.36 in | Small and medium picture-frame borders |
| MLDPU-002 | 22 x 11 mm / 0.87 x 0.43 in | 102.36 in | Clearly defined primary frames |
| MLDPU-003 | 35 x 12 mm / 1.38 x 0.47 in | 102.36 in | Larger walls or a stronger traditional line |
The measurements describe the listed products, not every molding sold by STAVROS. They are particularly valuable for camera backgrounds because a 35 mm face reads differently from a 10 mm face even when painted the same color. To judge the difference, hold samples at the intended wall and photograph them with the usual lens and lights. For a narrow video-call crop, the smaller two profiles may deliver sufficient definition; a wide living-room feature may justify the more pronounced profiles. Those are design judgments rather than absolute rules.
Decorative onlays and matching accents
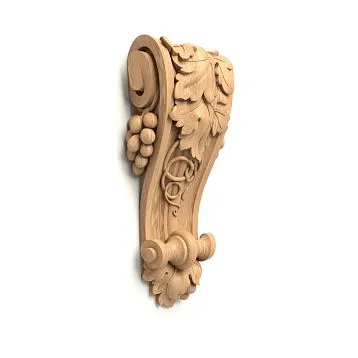
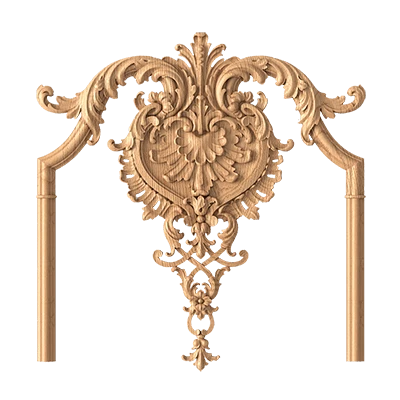
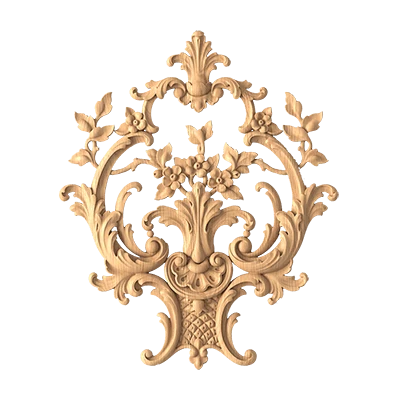
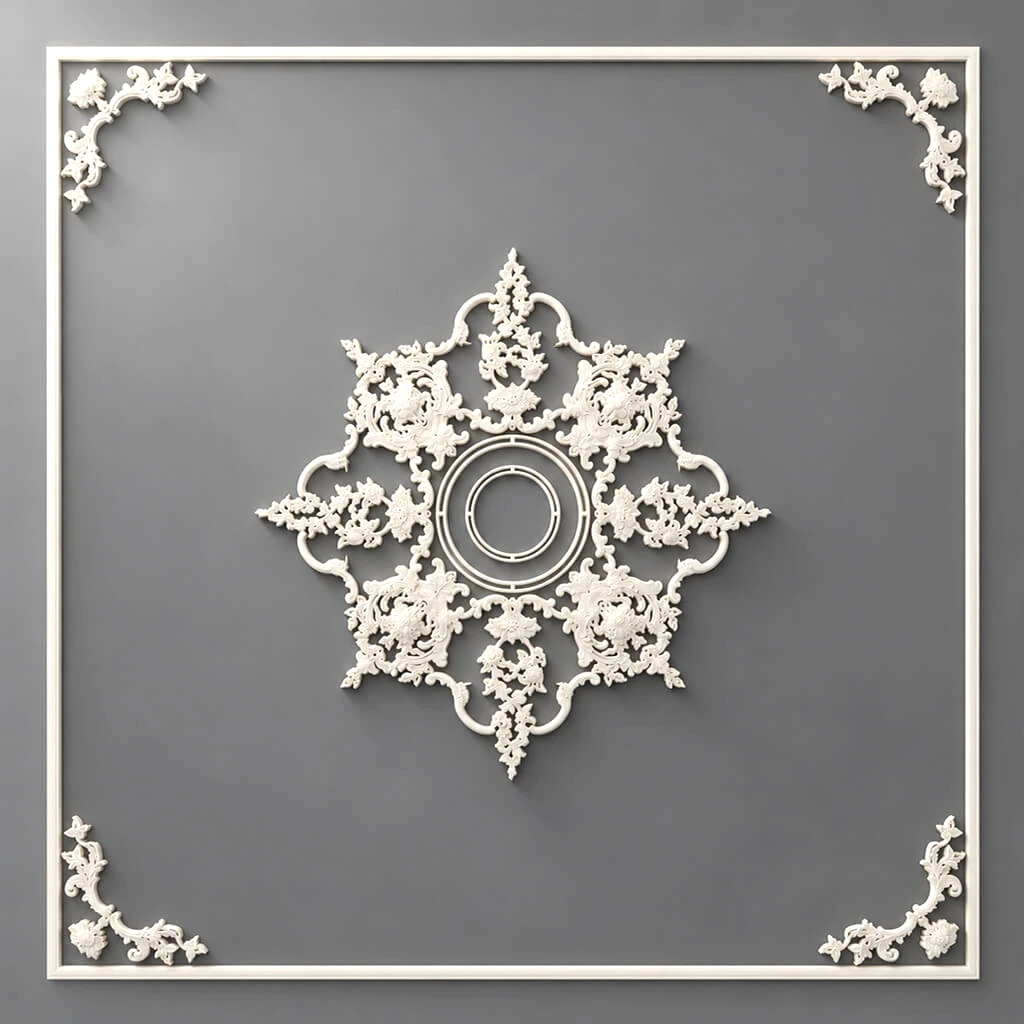
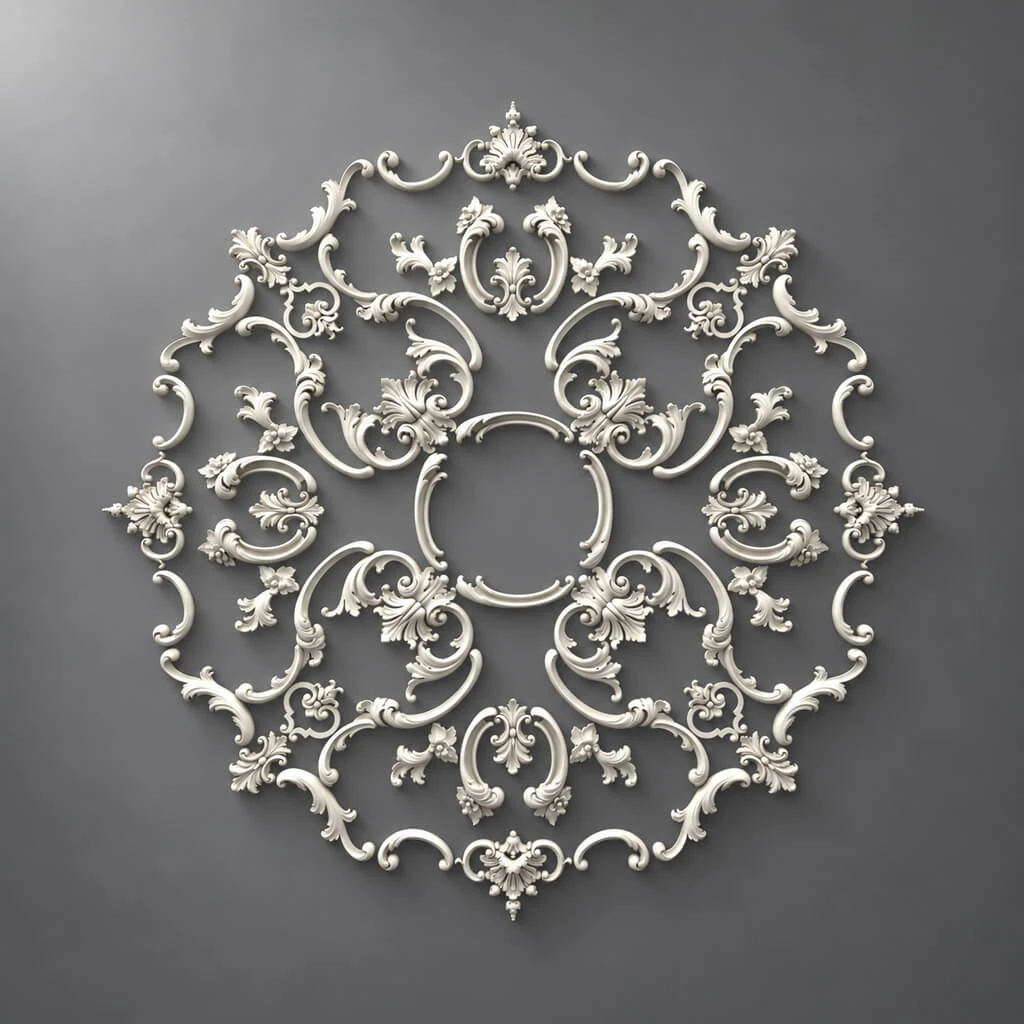
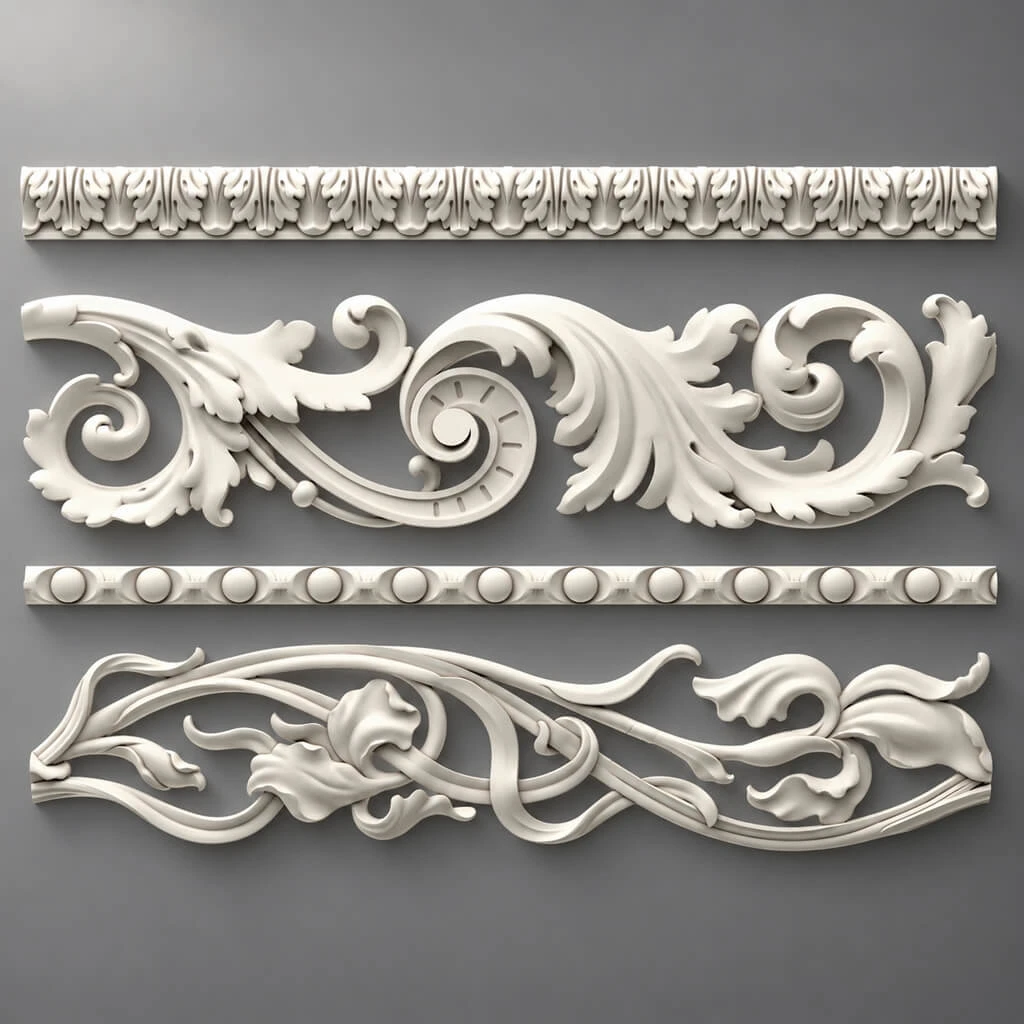
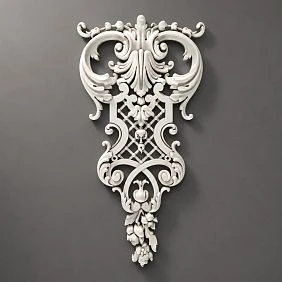
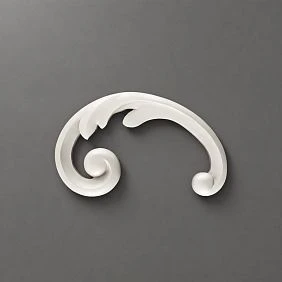
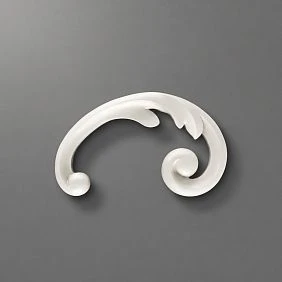
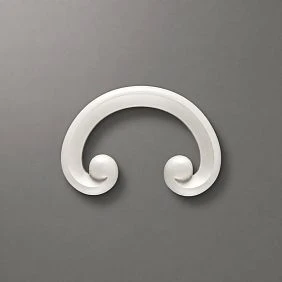
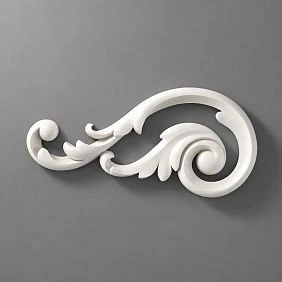
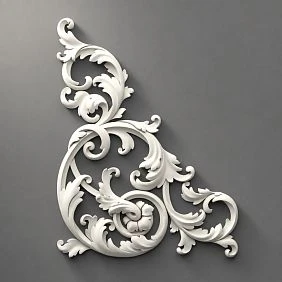
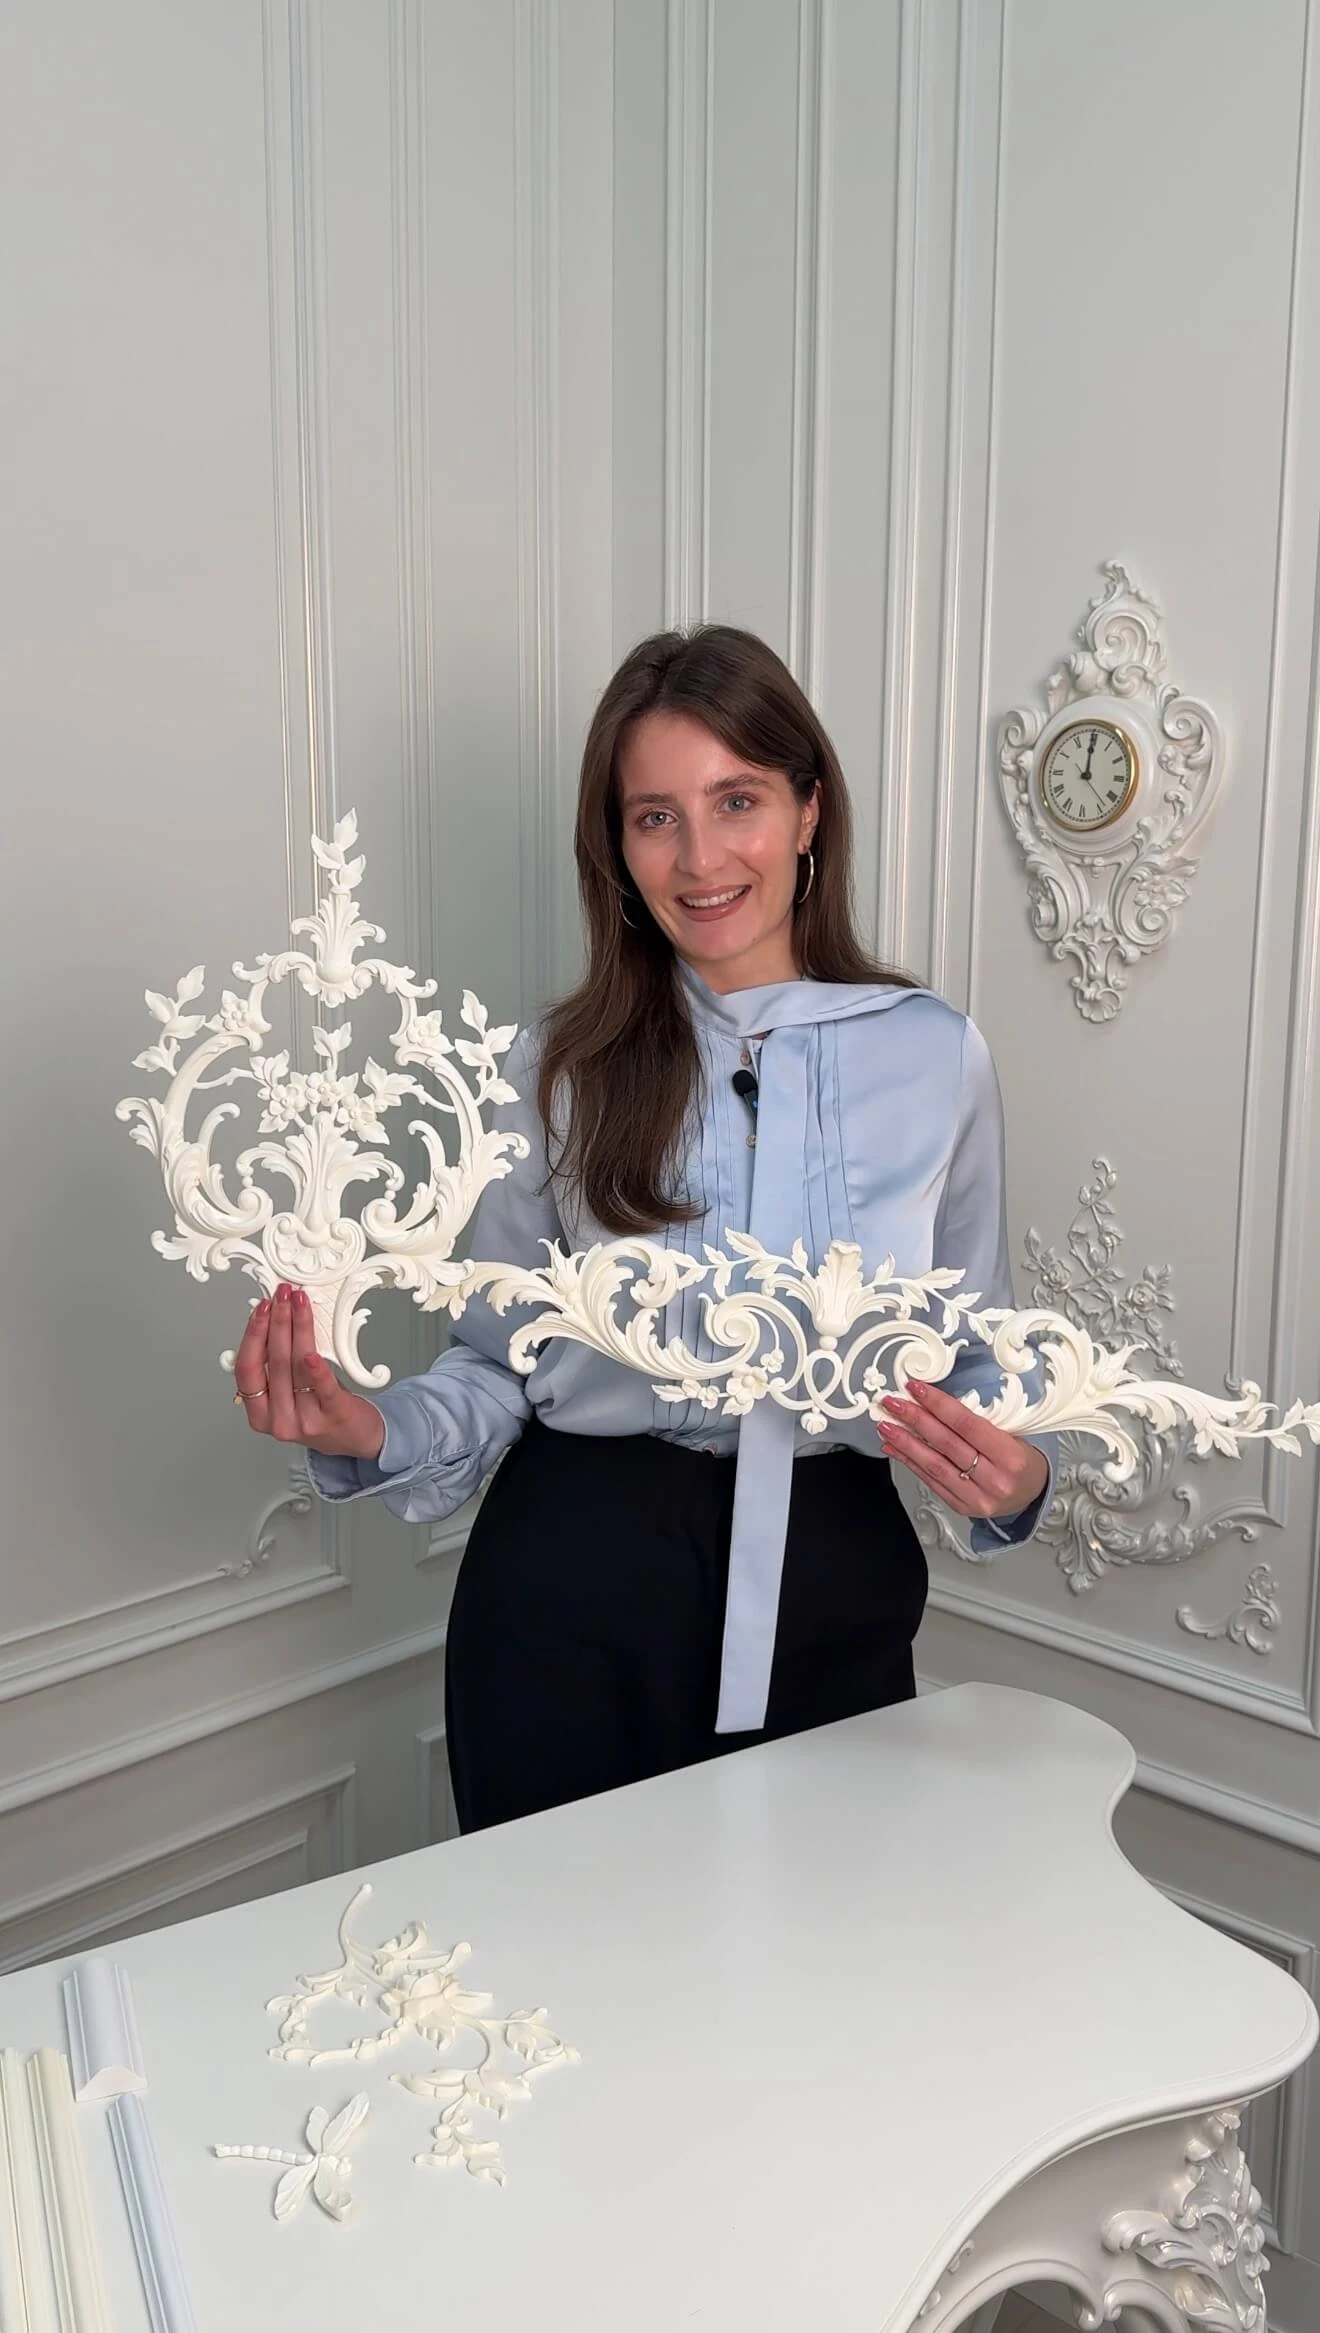
Ornament can be useful when a background needs a formal or editorial character. An applique with a shallow silhouette can sit above a framed field; a central ornament can create a focal point above a console or chair. Check the actual height and projection, because a decorative piece that appears modest in a catalog photo may dominate a webcam crop. The STAVROS molding-decor category offers coordinated corners and accents, but match the geometry and specified materials of the selected products before combining them.
A paired ornament requires more than two similar-looking pieces. Confirm whether the design uses matching left and right versions, and verify the mounting orientation. Do not place an ornament exactly behind the center of a seated subject's head. Move it above the crop, to a clearly visible side position, or omit it. If adding the accent makes the backdrop require constant camera repositioning, the practical cost may exceed its decorative benefit.
Ready-designed sets: read every component
A predesigned wall system can simplify proportions, especially when the design combines linear trim and ornamental details. However, it should not be described as an all-polyurethane set without checking the bill of materials. For example, the CPU-1-1 molded decoration set includes a polyurethane decorative element with a primed MDF molding. The visual language may be coordinated while the parts have different substrates, preparation requirements, and joining methods.
For a small home backdrop, a complete set may also be larger or more ornamental than necessary. Measure the actual camera view and compare the set's dimensions with the available wall. If only a narrow stripe appears behind a chair, a custom arrangement using one suitable molding may be simpler. When choosing the Neoclassic Light collection, check the specific kit's composition, including any MDF elements, instead of treating the collection name as a specification.
Color, lighting, and camera settings
Choose contrast with the subject in mind
A clean background should help separate the person from the wall. If both the person's clothing and the wall are very dark, a darker molding may disappear; if the wall and trim are both intensely bright, fine detail can wash out under strong frontal illumination. The answer is not automatically a contrasting white border. Test a sequence of actual paint swatches: wall color, molding color, and the subject's likely clothing colors. A small neutral contrast may look more intentional and less busy than a hard black-and-white outline.
A tonal scheme, where molding and wall share a color, relies on relief rather than a graphic border. This can be particularly effective for repeated video calls because it remains consistent when someone changes clothing. A higher-contrast scheme creates a stronger editorial look for full-room images. Both can work when the light is controlled. Photograph the swatches with automatic exposure and with fixed exposure if your camera supports it; inspect how much the perceived color changes.
Understand daylight direction before installing
Windows change the shape of shadows across the day. Side daylight can emphasize molding profiles, while strong light behind the subject may leave the face underexposed. Before installation, record short clips at the hours when the room is normally used. If direct sun crosses the wall, consider blinds, shades, or camera repositioning instead of trying to solve the problem with brighter ornament. An architectural detail cannot correct uncontrolled exposure.
A window adjacent to the backdrop creates an attractive natural gradient when the subject is properly lit. The direction and intensity may change dramatically in different seasons, however. If reliable repeatability matters, a controllable key light is usually preferable to relying entirely on daylight. Keep light stands and cables out of circulation routes, and use equipment according to its instructions. Applied trim is a visual background, not a fastening surface for electrical fixtures.
Use soft key lighting before decorative lighting
The simplest lighting priority is to make the subject readable first. A large, diffused light positioned at an appropriate angle generally softens facial shadows and prevents the wall from dominating the shot. Then adjust a secondary light only if the molding profile needs more definition. A small point source aimed across a textured wall creates sharp decorative shadows, but those may not suit a portrait. Try both with the same camera exposure so the comparison remains meaningful.
If a wall sconce is part of the permanent interior, avoid placing it where it creates a bright exposed bulb in the frame. A symmetrical pair can look balanced across a large wall yet create an uneven video-call crop. For permanent new wiring, fixture mounting, or changes near electrical boxes, use appropriate qualified professionals and follow local requirements. Molding does not establish required clearances or support fixtures by itself.
Avoid glare and busy backgrounds
Glossy paint can reflect key lights, windows, and phone screens as bright spots. In a moving shot those reflections may shift, drawing attention away from the subject. Test a sample in matte, eggshell, or other suitable sheen before committing to the entire wall. Product-specific paint compatibility still matters: use a finishing system approved for the chosen molding and the existing wall coating. A sample board placed beside the real background is an inexpensive way to compare glare and perceived texture.
The visual elements around the trim are equally important. A plant, lamp, artwork, or bookshelf can make a backdrop feel lived in, but each adds an edge and a color. Use only what strengthens the subject and intended mood. Remove small items that intersect the molding border or obscure the corners. For video, take a screenshot at the size the viewer is likely to see, not just a high-resolution full-screen preview; fine details may disappear after conferencing software compresses the image.
Calculate molding quantities from a real cut list
Convert the layout into individual pieces
For a closed rectangular frame, measure two horizontal and two vertical runs using the same reference convention. The theoretical length is twice the width plus twice the height. Add all frames to find total linear inches, then divide by 12 for linear feet. That number is helpful for comparison, but it does not tell you how many stock lengths to order. Each piece must fit within a 102.36-inch STAVROS profile, with allowances for the saw kerf, miters, and any required trimming at the ends.
Make a cut list with one line per piece and label its position in the design. Two long verticals cannot be created from a stock stick that is shorter than their combined length even if the total footage suggests there is enough material. Reserve the longest pieces first; fit the shorter crosspieces into the remaining lengths where possible. Use the dimensions at the selected reference edge consistently and follow the profile's actual cut geometry. It is safer to check a physical sample before ordering a complex set of mitered frames.
Example A: one 48 by 60 inch frame
Assume the listed dimensions are finished cut lengths at the agreed reference edge. Two pieces are 60 inches and two are 48 inches. The total is 216 linear inches, or 18 linear feet. At 102.36 inches per stock length, the theoretical count is 216 / 102.36 = 2.11, rounded up to three sticks. The cut plan works: one 60-inch piece from each of two sticks, and both 48-inch pieces from a third stick, totaling 96 inches before saw kerf. There is enough nominal room for ordinary cuts, though the exact waste depends on the saw and miter details.
The purchasing note should say three 2,600 mm moldings for this illustrated cut plan, with any additional spare decided separately after assessing risk, damage, and future repairs. A generic recommendation to add ten or fifteen percent to total footage does not replace a cut list. If the trim is delivered with damaged ends or the layout includes corner blocks that change the cut geometry, revise the quantity before ordering.
Example B: three panels with a wide center
Consider one central frame with two 66-inch verticals and two 48-inch horizontals, plus two side frames each containing two 66-inch verticals and two 20-inch horizontals. The central frame uses 228 inches. Each side frame uses 172 inches, for a combined total of 572 inches, or 47 feet 8 inches. Dividing by 102.36 suggests a lower bound of six stock lengths. However, six separate 66-inch uprights already require six different sticks, because two 66-inch pieces cannot fit in one 102.36-inch length.
Four 20-inch horizontal pieces can be cut from the offcuts of four of those upright sticks: each combined 66 + 20 is 86 inches before kerf. But the two 48-inch center horizontals need another stick because neither fits in the roughly 36-inch remainder of an upright stick. A feasible plan therefore uses seven lengths: six for the 66-inch uprights, with four short crosspieces nested into their offcuts, plus one for both 48-inch horizontals. This illustrates why an accurate cut plan can require more stock than the linear-foot calculation alone.
Example C: an open-line video-call backdrop
Suppose a design uses four 78-inch vertical pieces without horizontal connectors. Total length is 312 inches, or 26 linear feet. Four separate sticks are necessary because two 78-inch pieces cannot share a 102.36-inch stick. Simply dividing 312 by 102.36 would yield four after rounding, but the more important fact is that each long finished line needs its own uninterrupted stock length. If the design also includes two 30-inch upper accents, those may be cut from some of the 24.36-inch offcuts only if the dimensions change; as specified they would need additional material.
This example shows why it is dangerous to assume that all short future additions will fit into leftover pieces. Record the actual offcut lengths and their orientation before promising to reuse them. For a complicated project, make a small cutting diagram on paper or in a spreadsheet. Include saw kerf and miter allowances, then round the order based on feasible pieces, not a blanket percentage.
Take waste, shipping lengths, and repairs seriously
The real project may need an additional stick for an unexpected chip, incorrect miter, or damaged end. Whether that spare is economical depends on ordering constraints, actual availability, replacement lead time, and the cost of a second shipment. Those are decisions to confirm, not assumptions that the product is warehoused in the United States. Some decorative systems combine separate ornaments, corner pieces, and straight profiles; list each item and its unit of sale distinctly. A decorative applique is counted by pieces, while molding is typically counted by stock lengths.
When gathering a quotation, attach the cut schedule, complete product codes, and the wall drawing. That makes it easier to identify inconsistencies before installation. If the molding is intended to connect to an ornament or another profile, confirm fit from actual dimensions or drawings instead of treating near-identical names as compatible. Keep the finished sample and leftover pieces after the project for future touch-ups.
Installation, painting, and maintenance
Inspect the receiving wall before attaching trim
Molding needs a sound substrate, not merely a wall that looks smooth in photographs. Examine the paint for peeling, chalking, and loose layers; check for moisture damage or soft drywall. Resolve defects before laying out the design. A straight molding can expose an uneven wall more clearly than a flat paint finish, so use a level and straightedge to locate waves or bulges. Where the substrate is unsuitable for direct adhesive attachment, consult the product instructions and a qualified installer rather than increasing the amount of adhesive and hoping the problem disappears.
Mark the working layout with a level and confirm the position of outlets, electrical wiring routes, switches, and other utilities. Do not cover ventilation openings or required access points. Dry-fit each part, especially where two miters meet. The trial fit is the best opportunity to spot a pattern that looks balanced in a drawing but poorly centered once furniture is back in place.
Cut and attach the profiles carefully
Cutting methods must suit the selected profile and the equipment being used. Support the molding during a miter cut, work to the chosen reference edge, and test the angle on scrap before cutting final lengths. A nominal 45-degree corner assumes a square layout; existing walls and hand-built features may not be perfectly square. An accurate dry fit matters more than forcing every corner to a textbook angle. Label the pieces and work methodically around the wall instead of cutting every nominally identical length in advance.
Follow the adhesive manufacturer's substrate, bead, working-time, and cure instructions, together with the STAVROS product guidance. Keep the trim in position until the specified fixing method has developed adequate hold. Decorative adhesive-mounted molding should not be used as a shelf, hook, or support for equipment. In a rented property, assume removal may require patching and repainting, and obtain any necessary permission before installation. The finished feature is intended as permanent interior trim, not a damage-free sticker.
Fill, prime, and paint without losing detail
After the mounting system has cured, treat joints and small visible gaps using compatible materials. Different products and substrates can move differently, so choose joint materials appropriate for the actual assembly. Sand only as needed; aggressive sanding can flatten a small bead or blur ornament. Inspect the wall with a light placed where the camera's key light will stand. That reveals ridges, inconsistent caulk lines, and small joint defects that are easy to miss under uniform ceiling light.
Test primer and paint on a sample or hidden area and follow the applicable cure times. Several thin coats generally preserve sharp profiles better than a heavy application that pools in recesses. Avoid painting directly over a wet or unstable joint. Photograph the finished wall at the real shooting distance before putting furniture back. If the trim is the same color as the wall, check for differences in sheen: even identical color formulas can look different on different substrates.
Keep the backdrop ready for regular use
Dust settles on horizontal ledges and inside ornaments; a soft brush or suitable cloth keeps the lines legible without grinding dirt into the finish. Avoid harsh solvents or abrasives unless the actual coating manufacturer allows them. Save a small amount of labeled touch-up paint and photograph the finished layout with dimensions. Small repairs then become easier to match. Periodically inspect edges in places subject to furniture impact, and address separation or damaged finish according to the materials involved rather than assuming the molding itself is the cause.
A practical STAVROS buying checklist
Start with the design, not a claim about stock or delivery. Choose the exact molding SKU, confirm the dimension in millimeters and inches, and list each required stock length. For an ornamental scheme, add the corresponding applique or corner element and check its material independently. The broad STAVROS wall decor selection is useful for comparing decorative directions, but a product's specific page is the authority for its dimensions and composition.
Before placing an order, prepare a one-page specification containing the wall drawing, the camera-frame screenshot, the cut list, product codes, number of pieces, intended finish, and installation substrate. Include any existing baseboard or crown molding that the new detail must meet. Ask the seller to confirm actual availability, shipping feasibility to your destination, lead time, and any required additional finishing components. Do not infer US warehouse inventory, domestic delivery terms, warranties, or installation services from the presence of USD or inch units on the English site.
If the photo wall is part of a larger interior, make sure the decorative language remains coherent with neighboring rooms. The guide to painted molding and wall frames can help with a broader renovation. A restrained backdrop that fits the room and camera usually has more lasting value than an ornate feature designed for one photograph.
Frequently asked questions
What is the simplest molding layout for a video-call background?
One large rectangle or two well-spaced vertical panels is a reliable starting point. Tape the shape on the wall, sit in the actual chair, and photograph it through the normal webcam. Keep lines away from the face and shoulders. Choose the profile only after the composition has been tested.
Does polyurethane trim replace a professional photography backdrop?
No. It is permanent architectural decoration that can make a wall visually organized. It does not control lighting, eliminate shadows, or guarantee the correct exposure. Portable fabric or paper backgrounds may be more practical when the color or setting must change frequently.
Can I use picture-frame molding in a rental apartment?
Only after checking lease restrictions and obtaining permission where needed. Adhesive-mounted molding and its finishing system can damage paint or drywall during removal. Do not market it as a removable no-damage alternative to temporary photo backdrops.
What profile works better for a small wall?
A relatively narrow profile can produce a cleaner appearance when the camera shows only a few feet of background. Compare the verified 10 mm and 15 mm STAVROS options with a sample. The best choice depends on the camera crop, lighting direction, wall size, and desired level of detail.
Should the molding be white or match the wall?
Either approach can work. Same-color molding creates a subtle shadow-based effect; contrasting trim makes the architecture more graphic. Test samples under the actual lights, particularly if the camera uses automatic exposure or white balance.
How many stock lengths should I order?
Make a cut list and assign pieces to the actual 102.36-inch stock lengths. Total linear footage is only a starting number. Long verticals and mitered corners can increase the required stick count even when the summed footage suggests a smaller order.
Can a molding frame support a mirror or light fixture?
No. Treat it as decoration. Mirrors, shelving, fixtures, and lighting hardware need independent attachment suited to their loads, substrates, and applicable requirements. Leave service and electrical access unobstructed.
Can decorative molding be used in a bathroom photo corner?
The answer depends on the specific profile, mounting system, finish, ventilation, and actual exposure to moisture. A generic material label does not establish suitability for direct water contact. Confirm the full assembly before planning a damp-room installation.
Are ready-made decorative sets all polyurethane?
Not necessarily. Some STAVROS sets combine polyurethane ornaments with primed MDF linear moldings. Read the kit composition rather than assuming every included part shares the same properties or requires the same preparation.
What should I check before publishing my first video?
Make a test recording with the usual chair position, clothing, light, microphone, and camera settings. Watch it at normal playback size. Look for molding lines that intersect the face, bright reflections, visible joints, and objects that distract. Adjust framing or lighting before adding more decor to the wall.