

















Article Contents:
- Bending as a problem and as an opportunity
- Why polyurethane is the ideal material for flexible moldings
- Where exactly flexible molding is needed: a complete application map
- Radius Walls
- Arches and Arch Openings
- Columns and half-columns
- Rounded niches
- Bay windows
- Complex and non-standard angles
- Non-standard decorative frames
- When flexible molding is not needed: areas for using standard profiles
- Rule of competent design
- Technical specifications of flexible moldings: what the numbers mean
- Minimum bending radius
- Profile width and depth
- Relief and its compatibility with flexibility
- How to combine flexible and straight molding in one composition
- Principle of "one profile"
- Joint execution technique
- Decorative elements at joint points
- Installation of flexible molding: step-by-step guide
- Step 1: Measuring the radius and planning
- Step 2: Calculating Quantity
- Step 3: Surface preparation
- Step 4: Marking
- Step 5: Bending the profile
- Step 6: Applying the adhesive
- Step 7: Sealing joints and painting
- Common mistakes when working with flexible moldings
- Style solutions with flexible moldings
- Classic Interior
- Modern interior with curved elements
- Transitional style
- Specific projects: from simple to complex
- Project 1: Arched doorway in an apartment
- Project 2: Decorative column in the living room
- Project 3: Radius niche for TV
- Project 4: Bay window with multiple facets
- What to buy: summary table
- Frequently Asked Questions
- About the Company STAVROS

Flexible polyurethane molding is needed where the interior has a curve: it follows the radius of a wall, column, arch, or niche, while straight Moldings made of polyurethane continue the composition on flat areas — and the entire finish looks cohesive, neat, without forced joints and unsightly gaps. This article is about where, why, and how to use flexible profile.


Curve as a problem and as an opportunity
When a radius appears in the interior, it is always a challenge. An arch over a doorway. A column in the center of the living room. A rounded niche. A semicircular partition. A bay window with multiple facets. A radius wall behind the bed or sofa. All these elements are potentially the most expressive points of the space. But they raise the main question: how to install molding where the surface curves?
The answer seems obvious only at first glance. Many try to get by with regular straight profile — they cut it into short pieces, install it with small gaps, hoping that after painting 'everything will blend in.' It doesn't blend. Every joint remains visible. Every gap is either an unevenness under the paint or a crevice where dust eventually accumulates.
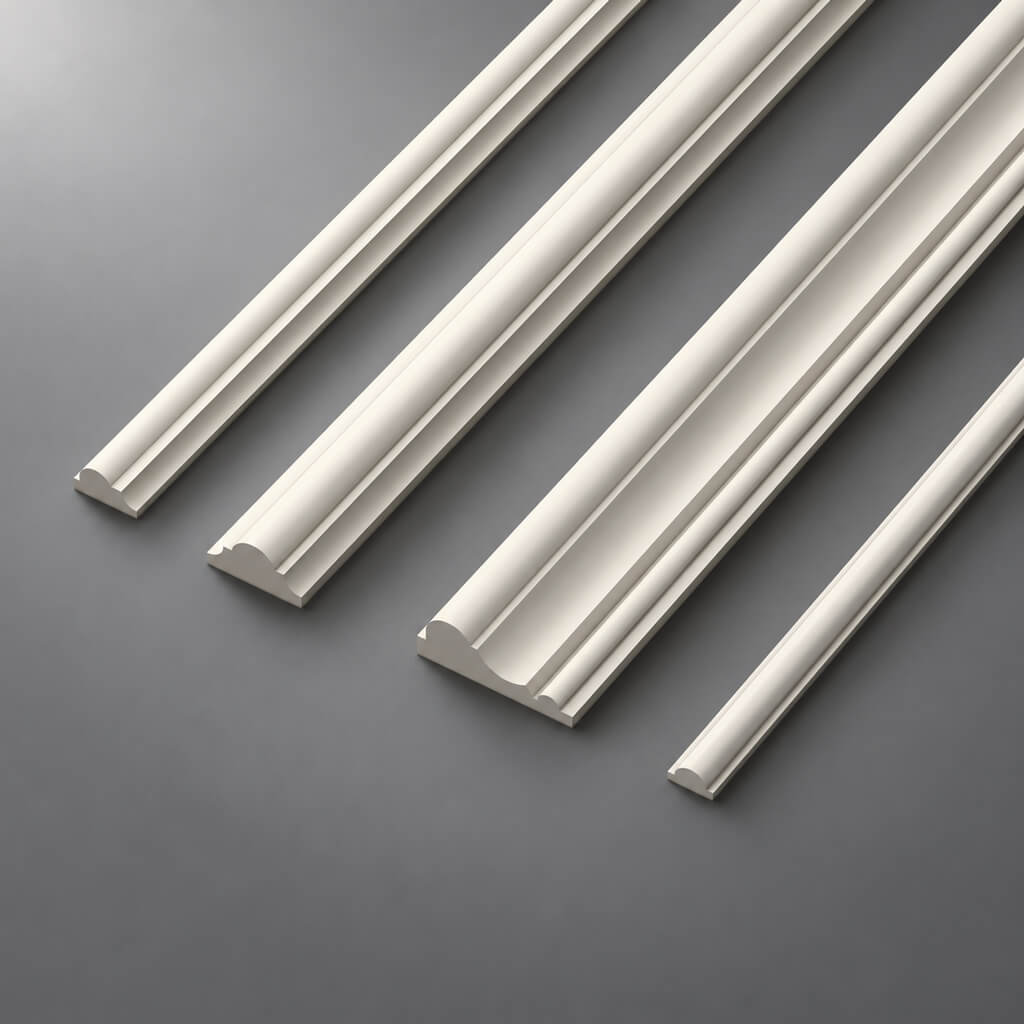
Flexible polyurethane moldings solve this problem fundamentally differently. They follow the curve of the surface without gaps, without stress, without breaks. The profile bends to the required radius, is fixed with glue, and after painting looks like an architectural relief that was built into the construction.
This is not just convenience. It is a qualitatively different result.




Why polyurethane is the ideal material for flexible moldings
Polyurethane is a material with a unique combination of properties: it is simultaneously rigid enough to hold the profile relief, and flexible enough to follow smooth curves. Unlike gypsum and wooden counterparts, polyurethane profile does not break when bent — it deforms elastically and returns to its original shape when the load is removed.
What does this mean in practice? The ability to bend the profile to the required radius just before installation, fix it with glue and masking tape — and get a neat continuous line on any curved surface. At the same time, the profile relief is preserved without deformation: the chamfer remains a chamfer, the fillet remains a fillet.
Additional advantages of polyurethane:
-
light weight — does not create a load on the adhesive joint;
-
resistance to humidity and temperature fluctuations;
-
excellent adhesion with water-based and acrylic paints;
-
possibility of painting in any color without preliminary priming with special compounds;
-
durability — does not crack, delaminate, or deform over time.
buy polyurethane moldings — means choosing a material that lasts for decades and is still accessible for DIY installation without special skills.
Our factory also produces:



Where exactly flexible molding is needed: a complete map of applications
Before moving on to installation techniques and profile selection, let's analyze in detail all the situations where flexible molding is indispensable. This is important: understanding the specific application zones allows you to plan the project correctly and avoid mistakes at the purchasing stage.
Get Consultation
Radius walls
A radius wall—a wall with rounded corners or a concave surface in the interior—is one of the most common tasks. In living spaces, such walls are found in bedrooms (rounded headboard niche), living rooms (semicircular partitions separating zones), hallways (rounded corner instead of a sharp one), and open-plan layouts.
On a radius wall, a straight molding physically cannot lie flat. The profile will either be held only at certain points, or it will have to be cut into short straight segments with sharp corner joints—which inevitably results in a "broken" line instead of a smooth curve.
Polystyrene does not have the flexibility of polyurethane. For curved sections—columns, arches, bay windows—it is better to use on a radius wall provide a continuous smooth line that precisely follows the curvature of the surface. This continuity is the main visual quality that distinguishes a professional result from an amateur one.
Arches and arched openings
An arch is a classic architectural element that itself makes the interior more expressive. But without molding, an arched opening looks unfinished: the transition from a straight wall to the arc appears random, without architectural logic.
Molding along the perimeter of an arch is not just decoration. It is an architectural statement: the opening is framed, it is part of the interior, not just a hole in the wall. The profile runs along the entire arc and transitions into straight sections on the sides—and here it is important that the flexible part and the straight parts are from the same profile. Buy polyurethane moldings for arched openings—means taking a flexible profile for the arc and a straight one of the same size for the side sections.
Arches come in different types: semicircular (a perfect half-circle), segmental (an arc smaller than a half-circle), and pointed (two arcs meeting at a point). For each of these, flexible molding is the only way to create a continuous line without unsightly joints.
Columns and half-columns
A column — round or polygonal — is one of the most demanding surfaces for molding. On a round column with a diameter of, say, 30 cm, a straight profile will create a distinctly uneven surface: it will touch the column only at a few points, leaving gaps in between.
Flexible molding wraps around the entire circumference of the column, fitting tightly to the surface. Horizontal rings of flexible profile — at the top and bottom of the column, or in the middle — create a classic division of the shaft: base, shaft, capital. Even without a full sculpted capital, several horizontal molding rings completely change the perception of the column.
A half-column — a semi-cylinder protruding from the wall — is decorated similarly. The flexible profile wraps around the semicircle and transitions into straight sections on both sides.
Rounded niches
A niche in the wall is a favorite interior element: it is used for TVs, bookshelves, decorative collections, bathroom installations. When a niche has rounded corners or a rounded top, decorating it with molding along the perimeter requires a flexible profile precisely on these rounded sections.
Often a niche combines straight vertical sides and a rounded top — as in an arched version. Here the scheme is the same: straight polyurethane wall moldings on the side sections and a flexible profile on the curve. The joint between them is a key point: more details in the installation section.
Bay windows
A bay window — a protruding part of the facade that creates additional interior space — is one of the most architecturally rich elements of an apartment or house. As a rule, it is polygonal: several planes meet at angles other than the standard 90°.
For a bay window, both types of moldings are needed. On each flat face — a straight molding. At the corner joints of the faces — either specially cut joints, or a flexible profile if the angle is smooth. Buy flexible polyurethane molding for a bay window means ensuring smooth transitions between edges without visible joints.
Complex and non-standard angles
Not only radiused, but also any angles other than standard 90° require a special approach. In rooms with non-standard layouts — beveled corners, angles of 45°, 60°, 120° — straight molding is cut at a non-standard angle, and if the angle is inaccurate, the joint will be visible.
Flexible molding in such situations allows you to go around the corner along a smooth curve, instead of forming a sharp joint. This is especially valuable in rooms with custom layouts, where non-standard angles are part of the architectural concept.
Non-standard decorative frames
Sometimes molding is used not along architectural lines, but to create decorative frames — on accent walls, around panels, around mirrors. Most of these frames are rectangular, and straight profile is sufficient here. But if the frame has an oval or elliptical shape — flexible polyurethane molding is indispensable.
An oval frame made of flexible molding — for example, above a bed or on an accent wall in the living room — creates a classic medallion effect, which in expensive interiors is achieved by stucco work, and here is reproduced accurately and neatly with simple installation.
When flexible molding is not needed: areas of application for regular profile
Understanding where a flexible profile is needed is only half the knowledge. It is equally important to understand where it is redundant.
On straight walls, flexible molding offers no advantage over straight molding. Moreover, a straight profile maintains geometry better on horizontal and vertical sections: it does not sag, does not deform under its own weight, and is easier to mark accurately.
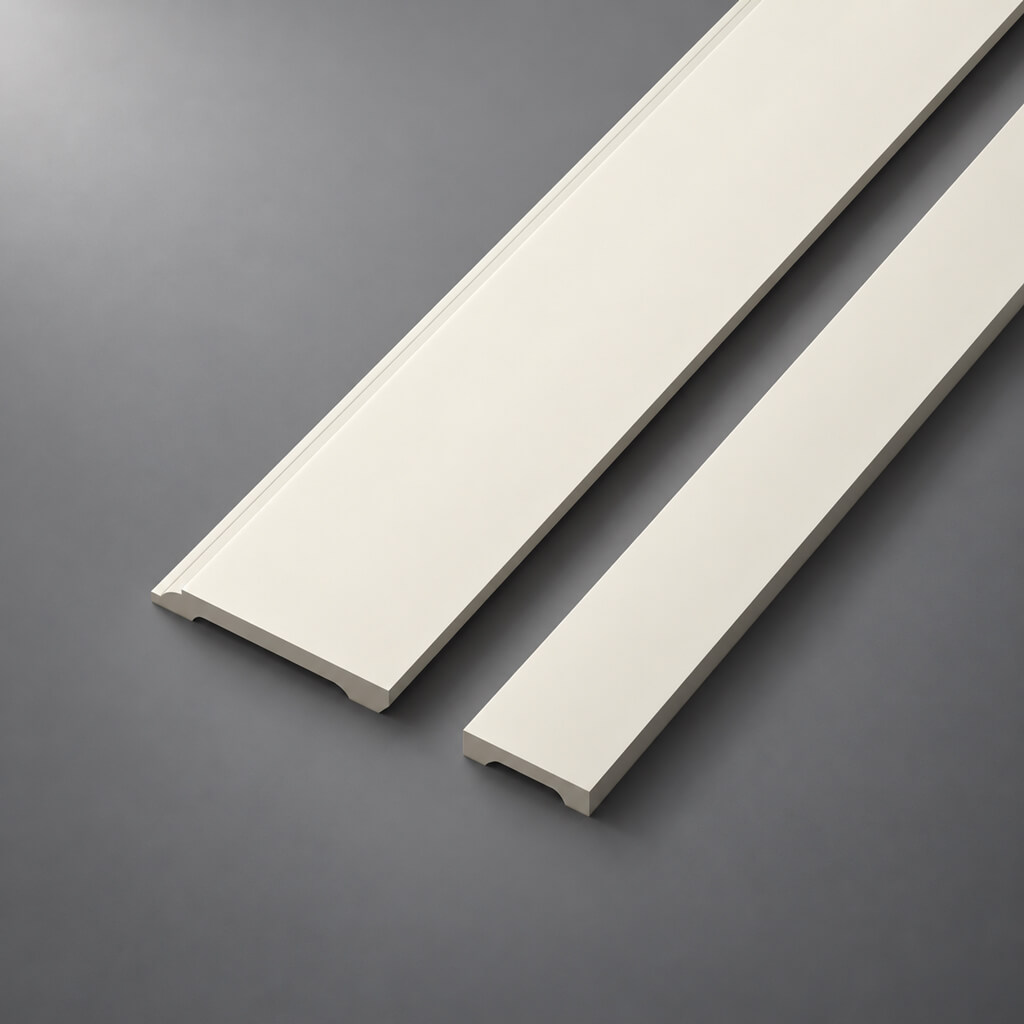
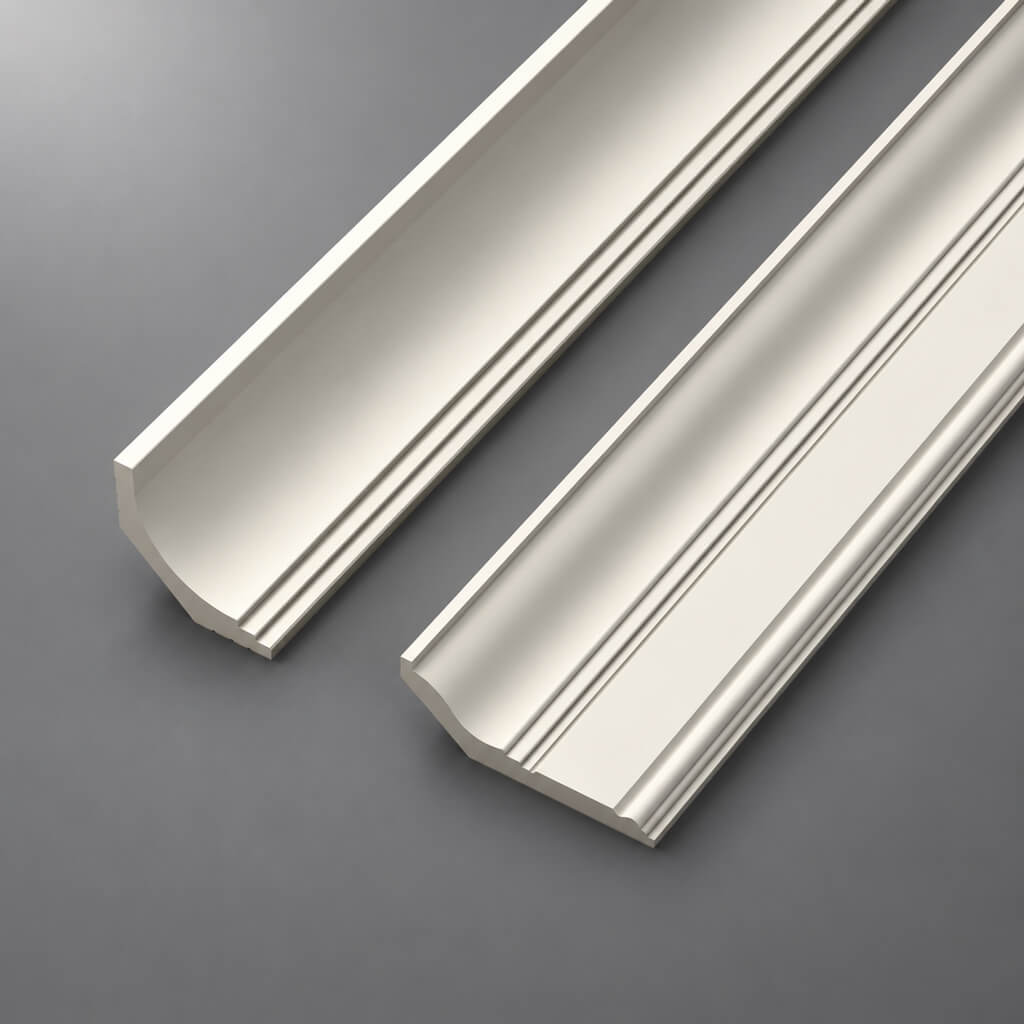
Straight, even surfaces — long walls, right angles, horizontal cornice lines — are the domain of standard of polyurethane moldings. They are trimmed more precisely, easier to install on long sections, and are generally cheaper per linear meter.
The rule of good design
In most real projects, both types are needed. A good approach is to divide the room perimeter or decorative scheme into sections:
-
straight sections — standard molding;
-
curves, arches, rounded transitions — flexible profile.
Key point: both profiles must be of the same size and style. If a profile 30 mm wide with a specific relief is used on straight sections, the flexible molding on curves must have the same cross-section. Only then the entire contour is perceived as a single product.
That is why, when planning a project, the profile is chosen first, and then it is determined which sections will be straight and which will be flexible.
Technical characteristics of flexible moldings: what the numbers mean
When choosing a flexible profile, it is important to navigate several technical parameters that determine the possibility of application in specific conditions.
Minimum bending radius
Each flexible molding has a minimum bending radius — the minimum curvature radius at which the profile retains its shape without deformation of the relief. This parameter depends on the width and depth of the profile: the more massive the molding, the larger the minimum radius.
For thin profiles (width up to 25 mm), the minimum radius is typically 30–50 cm. For wider ones (40–60 mm), it is 80–120 cm. This is important to consider when working with small diameter columns or niches with a small radius of curvature.
Practical tip: before purchasing, measure the radius of your surface and compare it with the minimum bending radius of the selected profile. If the surface radius is smaller, choose a thinner profile.
Width and depth of the profile
The width of a flexible molding is the horizontal size of the profile visible to the eye. The depth is its protrusion from the wall. For curved surfaces, a simple rule applies: the smaller the bending radius, the more delicate the profile should be.
On a column with a diameter of 25 cm, a deep relief molding 60 mm wide will look heavy and disproportionate. A thin profile of 15–20 mm with a delicate fillet will look organic and precise.
On a large arch 2 meters wide and 2.5 meters high, a profile of 40–50 mm will look proportionate — it will set an architectural frame that "holds" the opening.
Relief and its compatibility with flexibility
There is one subtlety here that is often overlooked. When bending a profile, the textured side ends up on the "outer" radius — it stretches. A deep relief with sharp details may slightly deform under strong bending. Therefore, for small radii, it is better to choose profiles with a soft, rounded relief — fillets, toroids, soft chamfers. Profiles with sharp geometric relief are good for medium and large radii.
When choosing flexible polyurethane molding for a specific task, it is worth checking with the seller the permissible radius for the selected relief — this will save time and money.
How to combine flexible and straight molding in one composition
Here is a practical task that arises in almost every project with curved surfaces: how to make the joint between a flexible and a straight section of molding invisible?
It is possible — if you prepare correctly.
The "One Profile" Principle
The first and main rule: the flexible and straight molding must be of the same profile — that is, have the same cross-section, the same width, the same depth of relief. Only then will the profiles at the joint look like one continuous element.
This seems obvious, but in practice it is often violated: a person chooses a beautiful flexible profile for an arch, and then takes a "similar" straight one for the side sections — and at the joint, a difference in relief or width is visible, which no painting can hide.
Joint Execution Technique
The joint between the flexible and straight section is made as a regular corner connection — at 90° or at the required angle. The ends of both profiles are cut evenly, applied to each other, and glued. The gap is sealed with acrylic sealant, smoothed with a spatula, and after drying, sanded with fine sandpaper.
After priming and painting, the joint becomes invisible — provided that the profiles are identical in cross-section.
Decorative elements at joint points
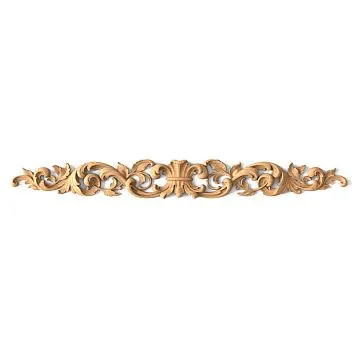
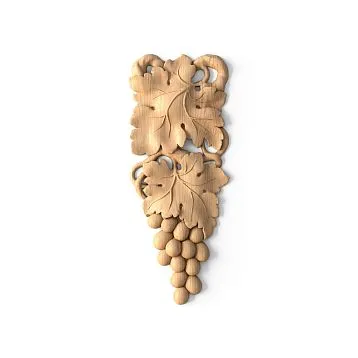
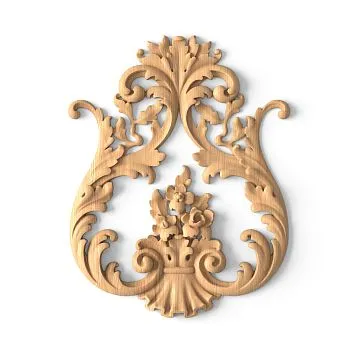
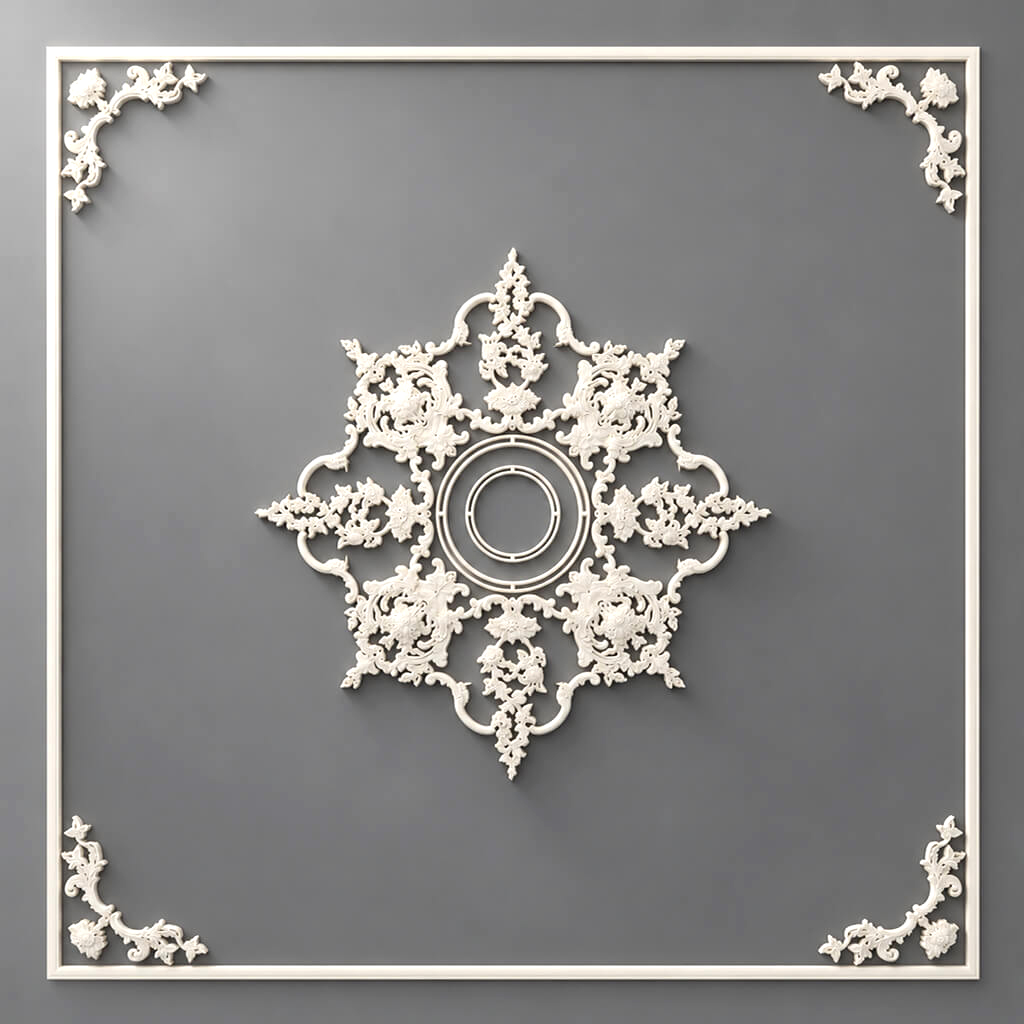
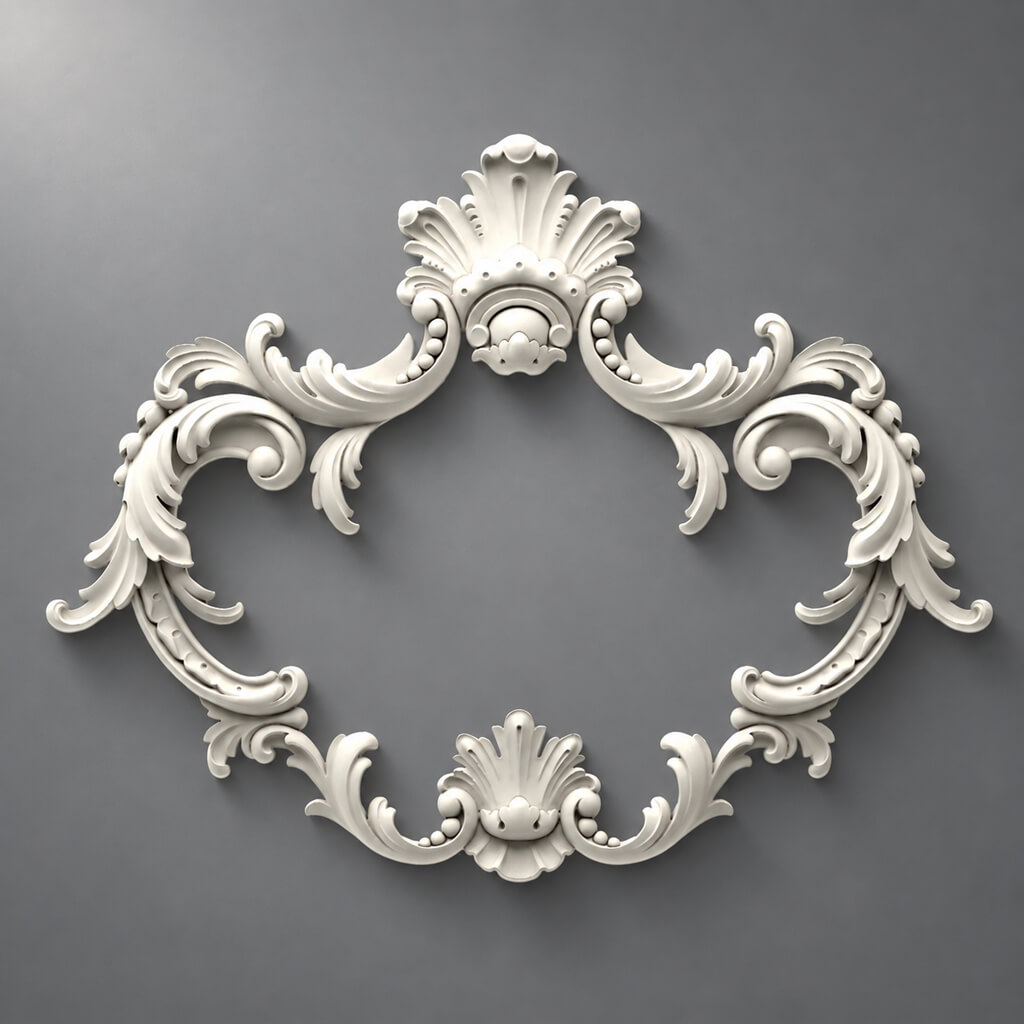
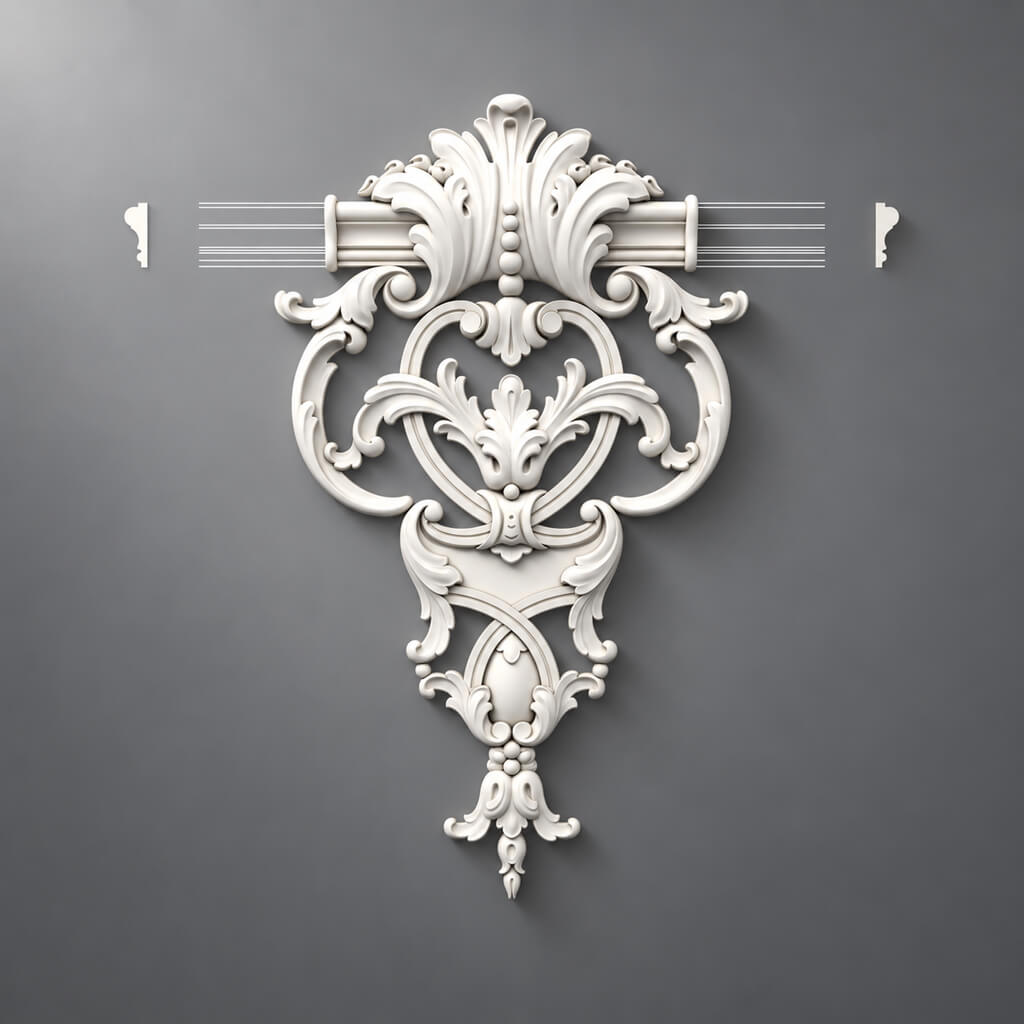
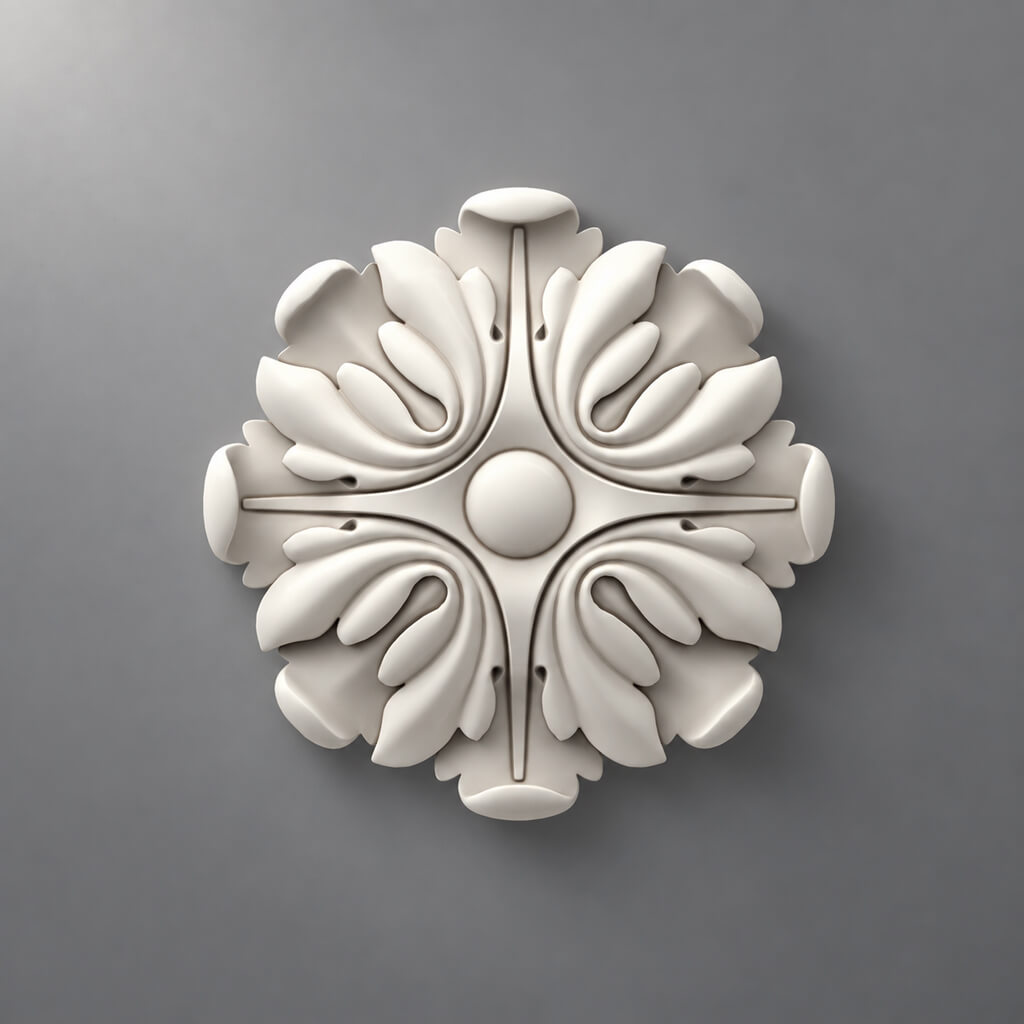
There is an elegant way to cover the joint and simultaneously make it part of the design — to place Decor for Molding at the transition point. A decorative overlay at the intersection of a straight and flexible section, at a corner point, or at the start of a curve hides any joint and simultaneously adds an accent.
This is a professional technique used in classic interiors: corner elements and decorative "locks" at intersections are part of the architectural vocabulary of classicism, not a forced measure.
Decorative stucco at joint points — this is a detail that turns a technical moment into a design solution.
Installation of flexible molding: step-by-step guide
Installing a flexible profile is no more difficult than installing a straight one, but requires a few additional steps. Let's break down the process sequentially.
Step 1: Measuring the radius and planning
Before purchasing the material, you need to accurately measure the radius of curvature of the surface. For this, a template is used — a piece of wire or a thin ruler bent along the surface, which is then compared with the radius markings on paper.
For arches: measure the width of the opening and the height of the arch rise. The radius is calculated using these two parameters: R = (W²/8H) + H/2, where W is the width of the arch, H is the height of the rise.
Make sure the minimum bending radius of the selected profile is less than the radius of your surface.
Step 2: Calculating Quantity
Flexible molding is usually sold in the same formats as straight molding — in linear meters or standard lengths. To calculate the required amount, measure the length of all curved sections and add 15% for trimming and possible errors. For complex surfaces (columns, niches with multiple curves), it is better to increase the allowance to 20%.
Step 3: Surface Preparation
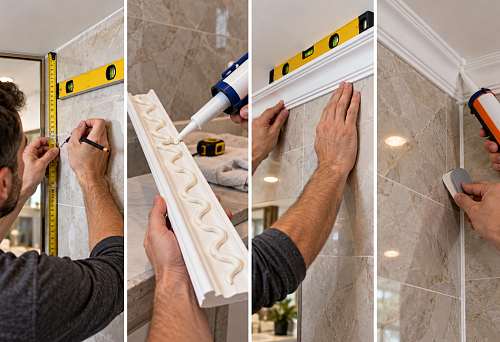
The surface must be smooth, clean, and dry. Dust, grease, peeling paint — all these are enemies of good adhesive adhesion. If the surface is loose or porous, prime it with acrylic primer.
On curved surfaces, pay special attention to protrusions and depressions: if the curved wall or column has irregularities, the molding will follow them. Local irregularities should be leveled with putty in advance.
Step 4: Marking
A line is drawn on the wall along which the molding will be glued. For an arch — use a template or radius markings. For a column — a horizontal mark using a level.
Marking is the most critical step. Molding glued "by eye" looks unprofessional. Spend an extra 20 minutes on precise marking — and the result will be flawless.
Step 5: Bending the profile
Before applying the glue, bend the flexible molding to the required radius and make sure it fits tightly against the surface along its entire length. For large radii (arches, wide curves), the profile bends easily by hand. For small radii (columns, small niches), preheating the profile surface slightly with a hairdryer may help — polyurethane becomes slightly more pliable.
Do not overheat: the surface temperature should not exceed 60–70°C. The goal is not to melt, but to soften slightly.
Step 6: Application
Apply glue evenly along the entire length of the molding. For polyurethane profiles, special polyurethane mounting adhesives or liquid nails are suitable. Press the profile against the surface and immediately secure it with painter's tape every 15–20 cm to maintain the shape along the entire curve.
On columns, you can additionally use thin rope or construction tape for wrapping — this ensures even pressure around the entire circumference until the glue dries.
Fixation time is 30–40 minutes. Do not remove the tape earlier.
Step 7: Sealing joints and painting
After the glue dries, seal all joints with acrylic sealant. Pay special attention to the joints between the flexible and straight sections. After the sealant dries, sand the surface with fine sandpaper, prime, and paint in two coats.
On curved sections, it is convenient to use a brush — it handles relief and curves better than a roller.
Common mistakes when working with flexible moldings
Knowing typical mistakes makes them easy to avoid. Here is what most often goes wrong.
Incorrectly measured radius. The purchased profile does not bend to the required radius — you either have to return it or find another solution. Solution: always measure the radius before purchasing and compare it with the profile's technical specifications.
Profile of the wrong cross-section. A flexible molding is purchased, a straight one is purchased — but at the junction point they do not match in width or relief. Solution: buy both profiles at the same time and compare samples before making the final choice.
Glue without proper fixation. On a curved surface, the molding springs back and pulls away from the wall before the glue dries. Solution: secure with painter's tape immediately after pressing, use a sufficient amount of glue.
Unsealed joints between flexible and straight sections. After painting, the joint becomes noticeable due to a gap or height difference. Solution: sealant + sanding before priming, without exceptions.
Profile too massive for a small radius. On a small column or narrow niche, a wide, deep molding looks disproportionate and overwhelming. Solution: select the width and depth of the profile in proportion to the size of the surface.
No allowance for trimming. On curved surfaces, especially with non-standard radii, consumption is higher than it seems. Solution: always take a 15–20% margin over the calculated length.
Styling solutions with flexible moldings
Flexible polyurethane profile is not just a technical tool. It is an aesthetic solution that works in a variety of stylistic contexts.
Classic interior
Arched openings, columns, decorative niches — all these are organic elements of the classical style. A flexible molding with a classic profile (ogee, cyma, chamfer) on an arch creates that very architectural image associated with formal interiors. Additionally — Decor for Molding at key points: a keystone at the top of the arch, corner rosettes at the base of the arc.
Buy Moldings and placing it in accent points is a way to make a classic composition complete, even if the rest of the interior is relatively restrained.
Modern interior with curvilinear elements
In modern interiors, radius walls and columns are often used as an architectural technique — for zoning space or as a design detail. Here, the flexible molding should be minimalist: a thin profile of 15–20 mm without excessive relief, in the color of the wall.
Such molding on a curved niche or column is almost indistinguishable — it is perceived as an architectural relief of the surface itself, which is the goal.
Transitional style
An arch with a medium-width profile (30–40 mm) and delicate relief, columns with horizontal rings of flexible molding, niches with a molding frame — all this works in a transitional style, combining classic architectural details with modern layout and furniture.
Buy molding for such a project means choosing several profiles of different scales: flexible and straight of the same cross-section, and one or two point decorative elements.
Specific projects: from simple to complex
Project 1: Arched opening in an apartment
Situation: arch width 120 cm, rise height 60 cm. On the sides — straight sections of 200 cm to the floor.
Solution:
-
Straight molding 35 mm wide — on vertical sections on the sides;
-
Flexible molding of the same 35 mm section — along the arch curve;
-
Decor for Molding — at the junction point of the flexible and straight sections (corner elements);
-
Unified painting.
Result: the arch is designed as an architectural element — a continuous molding line without breaks.
Project 2: Decorative column in the living room
Situation: round load-bearing column with a diameter of 35 cm, height 280 cm.
Solution:
-
Three horizontal rings of flexible molding 25 mm: at the base (height 30 cm from the floor), in the middle (height 140 cm), and at the capital (height 250 cm);
-
Decorative stucco in the form of a belt or simple capital at the upper ring;
-
Painting the column and moldings in a single color — warm white.
Result: the functional load-bearing column becomes a decorative interior element.
Project 3: Radius niche for TV
Situation: niche with straight sides and rounded top corners, width 160 cm, height 100 cm.
Solution:
-
Straight Moldings made of polyurethane — on the vertical side panels and the horizontal bottom part;
-
Flexible molding of the same profile — on the rounded top corners;
-
The wall inside the niche is dark, in an accent shade;
-
Lighting along the bottom perimeter.
Result: the niche with the TV looks like an embedded architectural element, not a cut-out piece of the wall.
Project 4: Bay window with multiple facets
Situation: bay window with three facets, angles between facets — 135°.
Solution:
-
Straight moldings on each flat facet — horizontal and vertical frames;
-
Corner joints — precise cutting at 67.5° with sealant filling;
-
Decor for Molding at corner points of joints;
-
Uniform painting of the entire bay window.
Result: the bay window is designed as an independent architectural zone — with frames, accents, and clear lines.
What to buy: summary table
| Task | What to buy |
|---|---|
| Arch or semicircular opening | flexible polyurethane molding |
| Straight sections next to arches | Buy polyurethane moldings |
| Columns and half-columns | flexible molding + Decorative stucco |
| Rounded niches | flexible + straight molding of one profile |
| Accents at joint points | Decor for Molding |
| Stucco for accents | Buy Moldings |
| All polyurethane decor | Buy moldings |
Frequently asked questions
When do you need flexible polyurethane molding?
Everywhere the surface has a curve: radius walls, arches, columns, half-columns, rounded niches, bay windows with smooth transitions, oval decorative frames. Where the surface is flat — straight Polyurethane molding more convenient and economical.
Can flexible molding be replaced with regular molding on an arch?
Technically — yes, if you cut the straight profile into short segments. But the result will look like a "broken" line, not a smooth arc: each joint will be visible even under paint. For any arch with a visible arc, a flexible profile is the only correct solution.
What to buy together with flexible molding?
Straight Moldings made of polyurethane of the same profile — for flat sections. Decor for Molding — for joint points. Installation adhesive, acrylic sealant, primer, and paint. Material reserve 15–20% of the calculated footage.
How to avoid mistakes when choosing a flexible molding?
Four checkpoints: (1) measure the surface radius; (2) ensure the minimum bending radius of the profile is smaller than yours; (3) check that the flexible profile matches the cross-section of the straight molding for flat sections; (4) do not choose a too massive profile for small surfaces.
How to attach a flexible molding to a column?
Apply glue along the entire length of the profile, wrap it around the column, secure with painter's tape or thin rope around the entire perimeter. Allow a fixing time of 30–40 minutes. After drying, seal the joint with sealant, prime, and paint.
What bending radius can a flexible molding withstand?
Depends on the width and depth of the profile. Thin profiles (15–25 mm) — from 30 cm. Medium (30–40 mm) — from 60–80 cm. Wide (50–60 mm) — from 100–120 cm. Check the minimum radius for the specific profile before purchasing.
Is special wall preparation needed before installing flexible molding?
The same as for straight molding: cleaning from dust and grease, if necessary — priming porous surfaces. On curved surfaces, it is especially important to eliminate protruding irregularities: the molding will follow them.
About the company STAVROS
A discussion of flexible moldings would be incomplete without mentioning a company that makes professional solutions accessible to everyone. STAVROS is a Russian supplier of decorative products made of polyurethane and solid wood for interiors and facades: moldings, cornices, baseboards, decorative stucco, overlays, decor for moldings and furniture.
STAVROS offers both straight and flexible polyurethane profiles for any task: from designing arches and columns to creating decorative frames on walls. A wide range of profiles of different cross-sections allows you to select a flexible and straight molding of the same size, which ensures neat joints and a unified visual result.
In the STAVROS catalog you will find: buy flexible polyurethane moldings, polyurethane wall moldings, Decor for Molding, decorative molding, Buy Moldings and the entire range of polyurethane products in the section Buy molding.