


















Article Contents:
- Why a carved overlay should not be chosen separately from the door leaf
- Create a door leaf map before choosing the decor
- Central axis: what counts as true symmetry
- Four compositions: central, paired, corner, and frame
- One central element
- Two mirrored overlays
- Four corner elements
- Frame with an overlay or rosette
- When the formula shows that the layout does not fit
- Can overlays be installed on the door leaf on only one side?
- What should I do if the door already has a handle and lock installed?
- Can two leaves be made into a single composition if they are of different widths?
- How can I check whether an overlay is too large for the top panel?
- Can carved overlays from different collections be used on the same door leaf?
- Should I get an extra pair for test painting?
- Can a decorative overlay replace a damaged panel?
- What matters more when choosing a pair — equal spacing or the same visual weight?
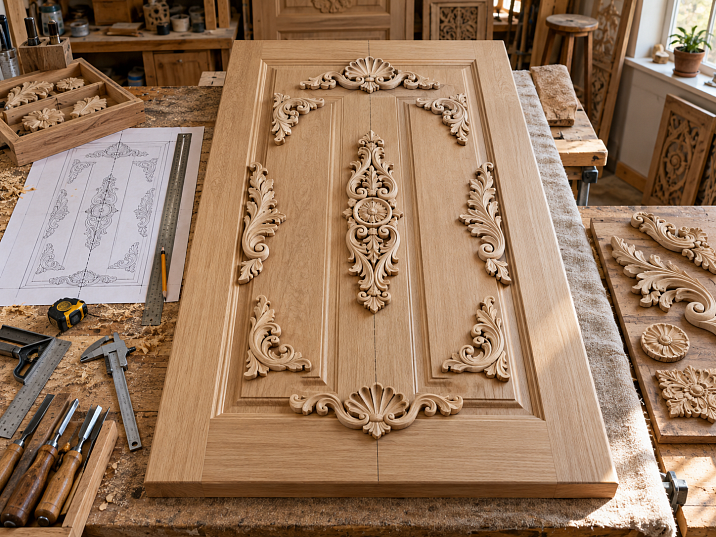
Two carved overlays can be placed on a door with millimeter precision — and still produce a composition that looks skewed. Usually the problem is not the measuring tool. One overlay was positioned relative to the edge of the leaf, the second relative to the panel, and the panel itself is bounded by a molding that has its own axis. Add a door handle, and the simple task of "placing them symmetrically" turns into working with several centers and different free zones.
Carved elements for doors should be chosen after marking out the working field, not before. First, the boundaries, the central axis, and the placement of the hardware are determined. Then the type of composition is chosen: central, paired, corner, or linked to the molding frame. Only after that are the actual dimensions and orientation of the finished products compared. This order is needed both for a single interior door and for a joinery workshop that produces several identical leaves.
You will have to check not only the position of the overlays on a closed door. The decor must preserve comfortable grip on the handle, not catch the adjacent leaf, frame, or wall when opening, suit the construction of the door leaf, and withstand the chosen finishing method. Without these checks, even a successful paper layout may turn out to be unsuitable for installation.


Why a carved overlay should not be chosen separately from the door leaf
A door has several boundaries, and not all of them coincide. The outer size of the leaf defines the first rectangle. Inside it there may be stiles, rails, panels, glass inserts, relief areas, and molding frames. The handle is usually offset to one side. The rebate, hinges, and locking hardware create zones where protruding parts are undesirable or unacceptable.
If you choose a large overlay only from a photograph, it may physically fit between the edges of the leaf but overlap the molding or cover the useful area of the panel. And vice versa: a small element that seems too modest in the catalog may look proportionate inside the narrow upper field of the door.
Therefore, for each project three things are determined: where exactly the decor should be located, what role it plays, and how much space can be allotted to it. A central overlay gathers the composition around the axis. A mirrored pair develops the pattern to the left and right. Corner elements connect the decorative frame with its inner field. A rosette can mark the center, but it does not have to accompany every pair of overlays.
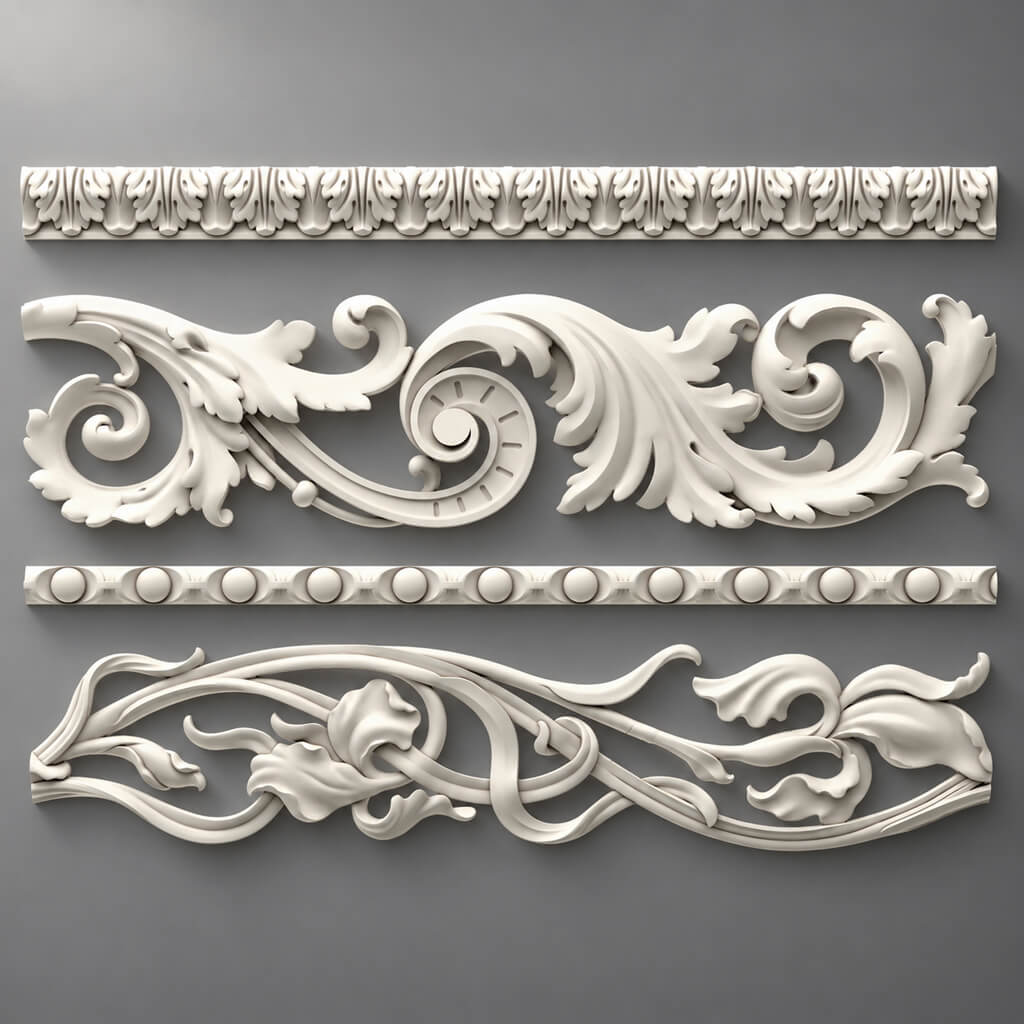
STAVROS has different types of wooden decor collected in carved applique catalog. For selection, what matters more is not the number of ornaments found, but the ability to relate a specific item code to the geometry of the door leaf.




Map the door leaf before choosing the decor
For the calculation, a sufficiently accurate drawing or measurement of the finished door is enough. A separate sheet with markings is often more useful than a detailed visualization: it immediately shows where the overlay may interfere with the hardware or extend beyond the permissible surface.
It is convenient to take the upper left corner of the face side of the leaf as the origin of coordinates, if you look at the closed door from the side for which the decor is being designed. The horizontal coordinate increases to the right, the vertical coordinate increases downward. This choice is arbitrary, but it must be kept consistent in all drawings and schedules: for the opposite side of the door, the orientation will already be different.
The map shows:
- The full width and height of the leaf, as well as the opening side.
- The outlines of panels, glass, moldings, and other elements already provided for.
- The central axis of the leaf and the axes of individual decorative fields.
- The position of the handle, lock, keyhole, decorative strip, and mounting holes.
- The hinge and rebate sides, the working clearances relative to the frame and the adjacent leaf.
- Areas where reliable installation is possible without damaging the door structure.
Next, the working field of the decor is marked on the diagram. This is not the entire surface of the door, but the area within which the overlay can be placed together with the necessary free margins. If a 580 × 260 mm rectangle remains inside the frame, then it is with this that the selected decorative elements are compared. The outer width of the door, 800 mm, is already secondary in such a calculation.
Consider a door with a width of 800 mm. The geometric axis of the leaf runs at a distance of 400 mm from the left edge. But the upper panel may have a width of 520 mm and be positioned with a slight technological offset. Then, for the design inside the panel, its own center is first found; for a composition combining several zones of the leaf, the overall axis of the door is taken into account. These two options must not be mixed without a deliberate design decision.
Our factory also produces:



Central axis: what should be considered true symmetry
The geometric axis of a rectangular leaf is found by dividing its width in half. For a door with a width of 820 mm, this is the line at 410 mm. This axis is convenient to use as a starting point: equal distances to two paired overlays can be measured from it.
However, a door is often divided into several panels, and each one gets its own center. If the decor must be positioned strictly within one panel, symmetry is checked relative to its internal free field, not automatically relative to the entire leaf. For example, with a working field width of 560 mm, its midpoint is at 280 mm from the left boundary of this field. You also need to know where the boundary itself is located relative to the edge of the door.
Visual asymmetry also occurs. A large handle on the right, a contrasting lock plate, or a noticeably narrower stile change the perception of the composition. This is not a reason to chaotically shift the carving “by eye.” First, a geometrically correct scheme is built, then it is checked at full scale and, if necessary, adjusted as a single project: with measurable coordinates and a recorded reason for the offset.
Particularly careful handling is required with asymmetric panels and historical door leaves. An attempt to artificially align only the overlays may emphasize the original difference in geometry. In such a case, it is better to make the decor a self-contained composition within each limited field or to abandon unnecessary elements.
Get Consultation
Four compositions: central, paired, corner, and frame
One central element
Central decor is appropriate when the working field is relatively narrow, already has a complex shape, or should be perceived as a separate panel. An overlay or wooden rosette is installed along the axis of the selected area. First, the center coordinate is set, and then the distance to the upper and lower boundaries is measured. A level horizontal position does not guarantee the correct height: the overlay may end up too close to the upper rail.
Two mirrored overlays
A paired layout is suitable for an elongated upper zone, a frieze, or a wide panel. The main condition is the availability of free space for both parts, the gap between them, and the side fields. Pairing does not mean “two pieces of the same article” if the design has a left and right orientation.
Four corner elements
The corner layout frames the panel, supports the molding frame, or finishes its inner corners. Here, not only the width and height of the overlay are checked, but also its actual contour. The protruding diagonal part can overlap the adjacent profile even when the main dimensions appear suitable.
Frame with overlay or rosette
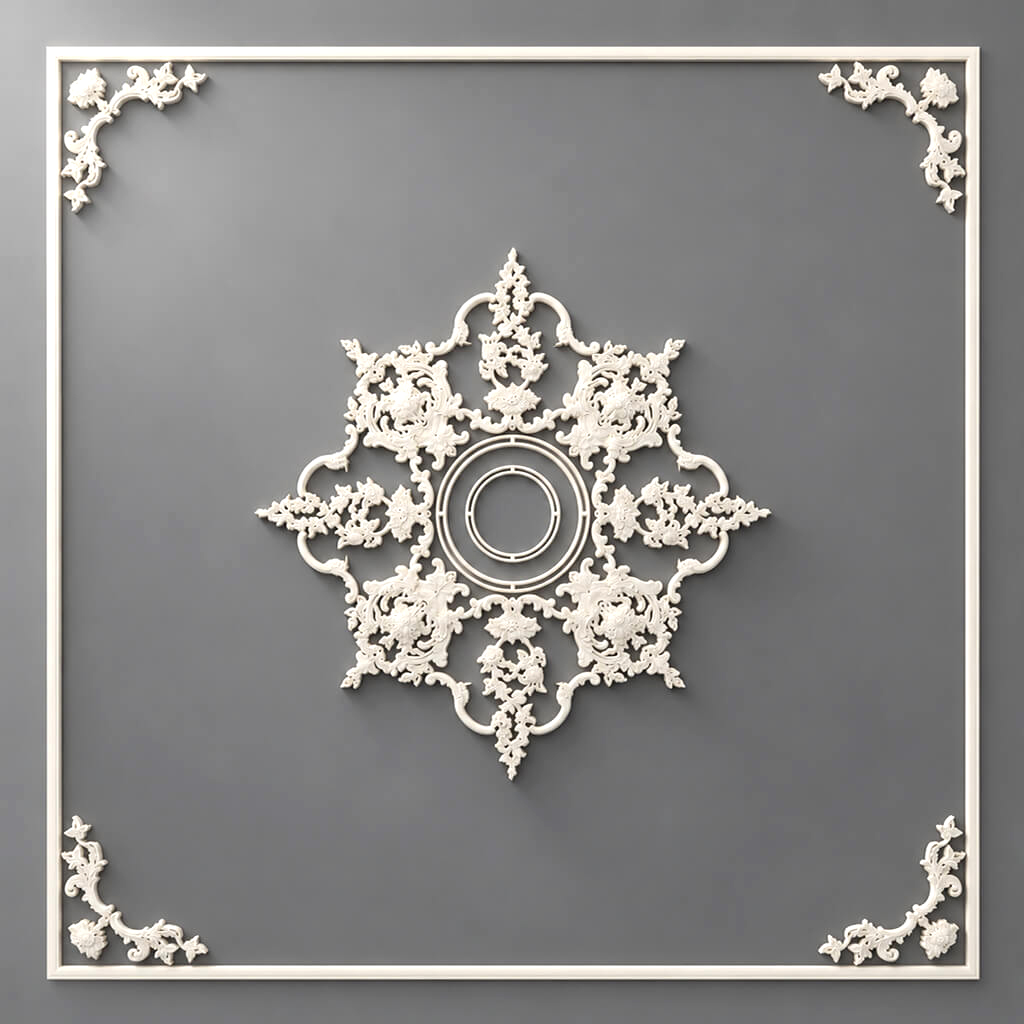
First, the dimensions and profile of the molding are approved, then the remaining field is measured. The central rosette and corner elements can work together, but their combined depth, scale, and pattern must be coordinated. If the decorative frame already has a pronounced relief, additional overlays are best evaluated with restraint: often one group is enough, rather than several at once.
| Scheme | What to measure first | Where the error occurs |
|---|---|---|
| Central element | Width and height of the free field, axis | The center of the canvas is taken as the center of the panel |
| Mirror pair | Size of each part, gap, side fields | Two identically oriented parts are ordered |
| Four corners | Corner contours, frame dimensions, diagonal protrusions | The decor crosses the molding |
| Frame and accent | Inner frame field, thickness, and relief | No space remains around the decor |
A single door does not have to combine all schemes. It is better to choose a leading technique, and use additional elements only where they have a specific compositional function.
How to calculate a symmetrical pair of carved overlays
Suppose a working field 580 mm wide is allocated inside the upper panel. It is planned to install two overlays, each occupying 96 mm horizontally. It has been decided to leave 120 mm between the inner edges of the elements. It is required to determine the free side margins so that the pair is placed symmetrically.
We use the formula:
Side margin = (working field width − 2 × overlay width − gap between overlays) / 2.
We get:
(580 − 2 × 96 − 120) / 2 = 134 mm.
Therefore, from the left edge of the working field to the first applique, 134 mm must be left; then comes the 96 mm of the applique itself, a 120 mm gap, another 96 mm for the second applique, and a right margin of 134 mm. Sum check: 134 + 96 + 120 + 96 + 134 = 580 mm.
If coordinates are counted from the left edge of the working field, the first applique occupies a conditional section from 134 to 230 mm, and the second from 350 to 446 mm. Their centers are at 182 and 398 mm. The midpoint between the centers is 290 mm — exactly half the width of the field.
This calculation solves only the geometric problem. The 96 mm must be the actual horizontal projection of the selected piece in the approved orientation. If the ornament has protruding leaves, diagonal ends, or an irregular contour, the maximum dimensions must be checked against the drawing and a paper template. For a pair with different outer contours, subtracting the dimensions alone is not enough.
There is also a vertical component. Suppose the height of the working field is 230 mm, and the selected applique occupies 102 mm vertically. If both are installed strictly at the middle height, (230 − 102) / 2 = 64 mm remains at the top and bottom. But if there is a molding frieze, they are sometimes deliberately shifted toward the upper edge; such a shift must be the same for both elements and must not violate the installation zones.
When the formula shows that the layout does not fit
Suppose the working field has been reduced to 360 mm, while the width of the appliques remains 153 mm each. With a 90 mm gap, we get: (360 − 306 − 90) / 2 = −18 mm. A negative side margin means that the selected combination physically does not fit with the specified gap.
Here you should not “slightly squeeze” the ornament or hide its ends behind the frame. You need to reduce the gap, choose more compact appliques, change the type of composition, or abandon the pair in favor of a central element. The criterion is simple: the positive remainder after calculation must still be sufficient for visual and installation clearance.
Why the left and right appliques are different order positions
A plant ornament often has a direction: the stem curves to the right, the leaves open to a certain side, and the upper part of the composition is larger than the lower part. If two pieces with the same pattern and the same orientation are installed on a door, the geometric centers can be positioned perfectly, but the pattern will not become mirrored. One element will “look” toward the center, and the other away from it.
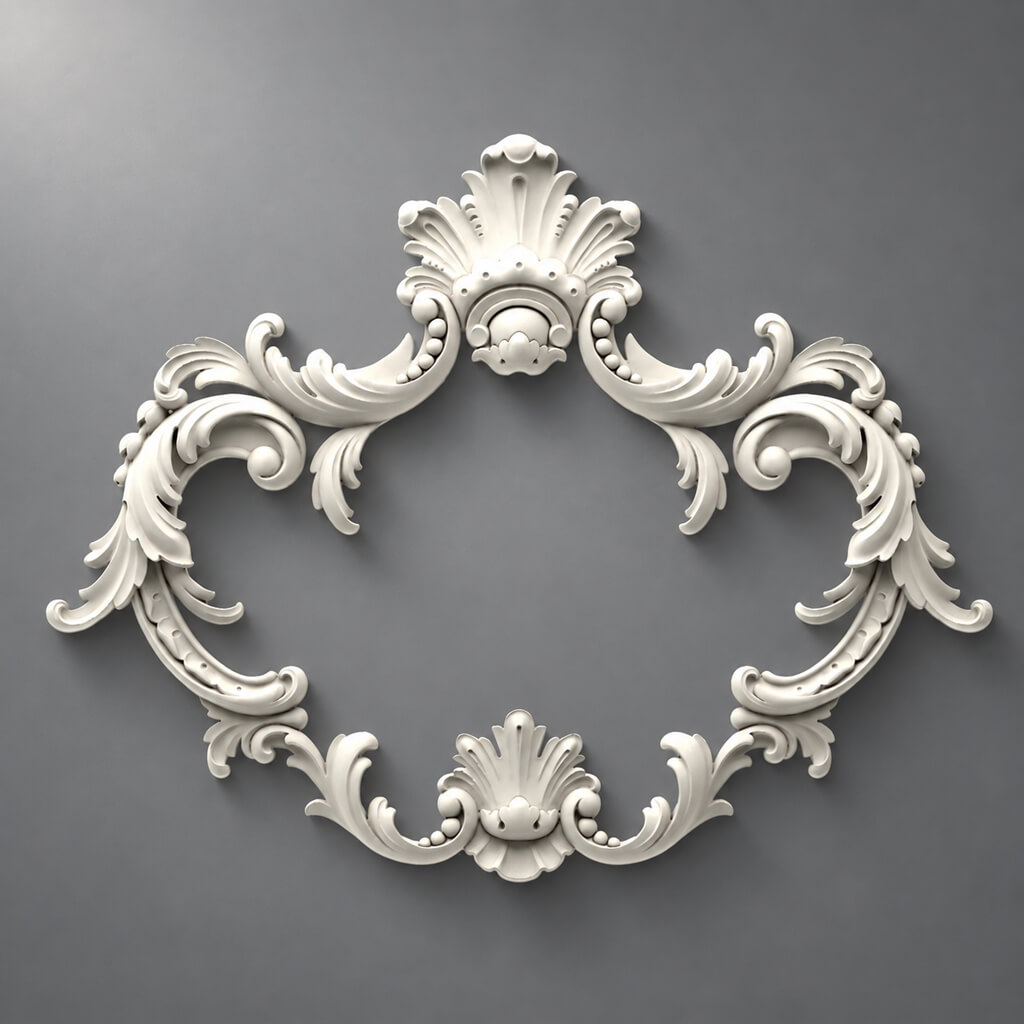
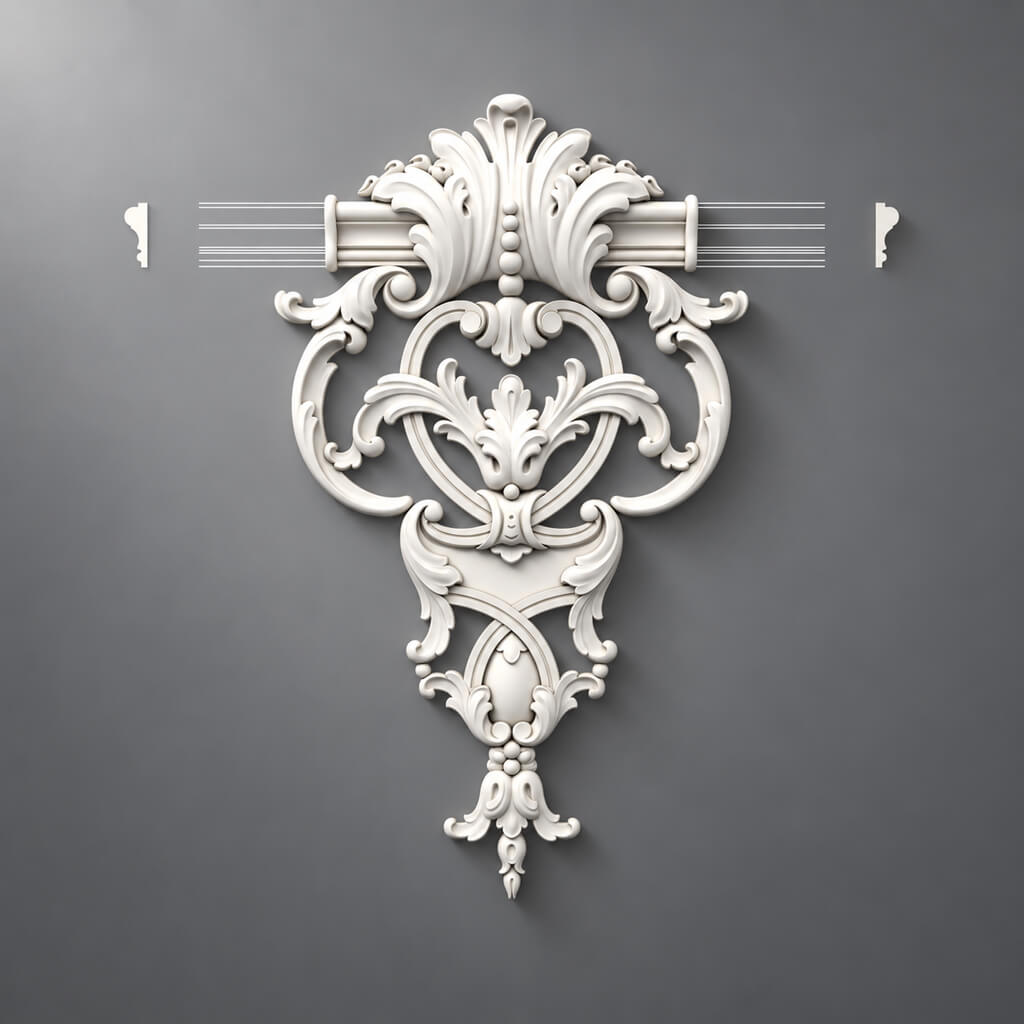
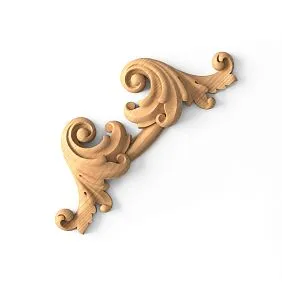
The STAVROS catalog includes ready-made items with the indices L and R. For example, N-258-1L и N-258-1R they refer to paired decorative elements for moldings. Similar designations are used for N-349L и N-349R.
When ordering a pair, you cannot simply write “N-258-1 — two pieces.” You should separately record the left and right positions, the quantity of each, the size version, the material, and the side of the door leaf for which they are intended. The letters in the item code do not replace checking against the image: exactly which element is located on the left when viewing the approved face side of the door must be shown on the drawing.
For a double-leaf door, such precision is especially important. The term “left leaf” may refer to the opening side, to the view from the corridor, or to the view from the room. In the schedule, it is better to use an unambiguous scheme: “leaf 01, face side A, position on the left according to the drawing, N-258-1L.” Then the assembler will not interpret the orientation independently.
Example No. 1: paired elements N-258-1 on the upper panel
The decorative elements N-258-1L and N-258-1R are available in the catalog in two size versions. For the smaller one, the parameters are A × B × C × E × F = 96 × 102 × 20 × 22 × 11 mm; for the larger one, 153 × 163 × 31 × 35 × 12 mm. The materials listed in the product cards include beech and oak. The values E and F are separate profile dimensions according to the drawing; they must not be ignored, much less arbitrarily replaced with the overall size of the overlay.
Suppose the manufacturer is making a paneled door with a working upper area of 580 × 230 mm and wants to use the small mirrored pair. If, after checking the drawing and orientation, the horizontal projection of each part is 96 mm, the above calculation can be applied: with a gap of 120 mm between the elements, 134 mm remains at each edge. If the vertical projection is 102 mm, a pair centered by height will leave 64 mm at the top and bottom.
For the larger N-258-1 with a horizontal dimension of 153 mm and the same 120 mm gap, we get: (580 − 306 − 120) / 2 = 77 mm on each side. In width, the solution is still possible. In height, if the vertical dimension is 163 mm, 33.5 mm remains. Here it is already necessary to take into account the proximity of the molding, the way the ornament ends, and the required visible clearance. On the same leaf, the large pair will produce a significantly denser composition.
| Conventional layout parameter | Smaller version | Larger version |
|---|---|---|
| Working field width | 580 мм | 580 мм |
| Horizontal projection of the part after drawing verification | 96 мм | 153 мм |
| Gap between parts | 120 мм | 120 мм |
| Free margin on the left and right | 134 мм | 77 мм |
| Working field height | 230 мм | 230 мм |
| Vertical projection of the part after drawing verification | 102 мм | 163 мм |
| Top and bottom margin when centering | 64 мм | 33.5 mm |
This is an example of a design calculation, not a ready-made recommendation for installation on any panel. In the catalog data, letters A and B have the direction specified by the drawing. Before transferring the numbers to the layout, the craftsman must check that the parts are not rotated and that the horizontal and vertical projections actually correspond to the accepted values.
Conventionally, the small pair is better suited for a calm upper accent. The large one — when the panel is spacious enough and should carry a more pronounced carved pattern. Which one to choose can only be shown by fitting it on the door with its actual molding and hardware.
Example No. 2: corner elements N-349 and the hidden risk of the diagonal
Another challenge arises with corner carved decor. In the N-349L card versions are provided in 200 × 200 × 22 × 259 mm, 250 × 250 × 27 × 324 mm, 300 × 300 × 32 × 389 mm, and 350 × 350 × 38 × 453 mm according to the designations A × B × C × L. The corresponding right overlay N-349R is available in the same size options.
The first two dimensions of the smaller model are 200 mm each. It is tempting to assume that a 200 × 200 mm square is sufficient for each corner of the frame. But the card also contains the dimension L = 259 mm. It refers to the drawing of a specific part and shows that a single "200 by 200" estimate is not enough for the entire geometry. From the catalog table alone, without a drawing, it is impossible to determine which section of the ornament adjoins the molding, where the maximum diagonal end is located, and how its lines relate to the corner of the frame.
For a door with a rectangular molding frame, you first need to choose which corners are decorated: top, bottom, or all four. Then, on the drawing, determine the allowable zone for each corner and overlay the full-scale outline of the element onto it. If one corner requires a mirror image of another, the corresponding left and right positions are separated in the specification.
Suppose a free area 500 mm wide remains inside the frame, and two upper corner elements each occupy 200 mm of horizontal projection. Then 100 mm will remain between them: 500 − 200 − 200 = 100 mm. But this is not yet the answer about the suitability of the composition. It is necessary to check the shape of their inner ends: whether they can visually converge toward the center, whether they create excessive density, and what distance actually remains between the protruding parts of the carving.
With an inner field width of 360 mm, the same pair no longer fits in horizontal projection: 360 − 400 = −40 mm. In that case, choose a different size or a different design method, rather than trying to trim the finished carving without understanding its construction. Arbitrary trimming can destroy the completion of the ornament, expose the glue seams of the blank, or disrupt symmetry.
The design must be oriented deliberately
Mirrored overlays are not necessarily installed so that the leaves meet in the center. Two justified techniques are possible. When directed toward each other, the central axis receives emphasis: from both edges the ornament seems to gather in one zone. When directed away from the center, the design opens toward the outer parts of the panel and supports its width.
If a socket is located in the center, the first option may create too dense a cluster: the leaves of the two overlays and the round element will compete for the same spot. The second method may leave more air in the center. But the opposite result is also possible if the chosen pair has its largest parts closer to the outer ends.
The decision depends on the specific design. You should not swap L and R just because the symmetrical outline is visually preserved. For some products, such a reversal changes the relationship with the molding frame or leads to improper adjoining. You need to confirm the appearance of the ornament on the panel, not the letter designation without a visual diagram.
The practical check is simple: print the silhouettes of both parts at 1:1 scale, cut them out, and place them in the two permissible variants. Ask someone to evaluate them not separately, but as a whole on a closed door. If one scheme gives the impression of a randomly repeated pattern, while the other creates a clear central axis, the choice usually becomes obvious.
Dimensions A, B, C and additional designations in the product cards
STAVROS decorative overlays often use three main dimension designations: A — width, B — height, C — thickness. However, a specific product may have additional parameters. The already discussed N-258-1 contains E and F, while N-349 has L. These are not dimension series with the same meaning; they must be read together with the drawing for the corresponding item.
In a production project, it is convenient to divide dimensions into three types:
- Overall rectangle — the extreme points of the part in the position in which it will be installed.
- Mounting contour — the surface that actually contacts the door or molding.
- Relief height — the maximum protrusion of the element above the plane of its base.
The first two indicators do not always coincide. On a carved overlay, the leaves may extend beyond the central platform; the mounting surface is then substantially smaller than the outer width. Thickness C also does not necessarily mean the thickness of the entire product: on a relief part, it may correspond to the maximum protrusion according to the drawing.
For a door, this difference has two immediate consequences. First, the most protruding part of the ornament must not extend into the handle or rebate area. Second, the fastening must fall on a suitable surface, not on fragile narrow ends of the carving.
Before ordering, it makes sense to download the available drawing or product catalog and, if the designations are not obvious, agree with the supplier on the orientation of dimensions. The figures from the product card should turn into specific installation marks: where the element ends, where its base lies, and how much it protrudes.
Why carving thickness cannot be ignored
The relief of an overlay is volume, not a pattern applied with paint. On a door leaf, volume is noticeable under side lighting and when looking along the surface. An overlay 20 mm thick and an overlay 38 mm thick may belong to the same artistic group, but they create shadows of different intensity and interact differently with the adjacent molding.
Deep decor should be chosen especially carefully for a narrow panel. When a convex frame, a protruding door handle, and a voluminous floral ornament are located nearby, the surface can become overloaded. When the door is turned, individual details become more noticeable from the side than in a frontal visualization.
Measure the maximum protrusion of the selected overlay and compare it with the relief of the frame. Then check the nearest functional zones. If the distance to the handle is small, even elements that do not touch in a static position can interfere with the hand during movement.
A simple technique is useful for evaluation: attach a mock-up of the required thickness made of cardboard or another safe temporary material to the door. A flat paper sticker shows the composition in width and height, but does not reveal the problems created by protruding relief.
Panel and molding frame: first determine the inner field
The molding can run along the edges of the panel or be applied over a separate section of the door leaf. In both cases, it takes up part of the area that could otherwise be used for carving. The calculation starts from the actual inner boundary of the frame after it is installed, not from the outer rectangle that the frame occupies together with its profile.
Suppose the outer width of the decorative section is 640 mm. The projection of the frame trim takes up 30 mm on each side. This leaves 580 mm between the inner edges. This is the field used to select paired overlays if the decor is to be positioned entirely within the frame.
The situation is more complicated with corner pieces that are intended to connect directly to the molding. Here, the contour of the part may extend onto the profile, but such an intersection must be provided for in the drawing and verified by a physical test fit. An accidental overlap of two reliefs creates a step or a gap that becomes noticeable after painting.
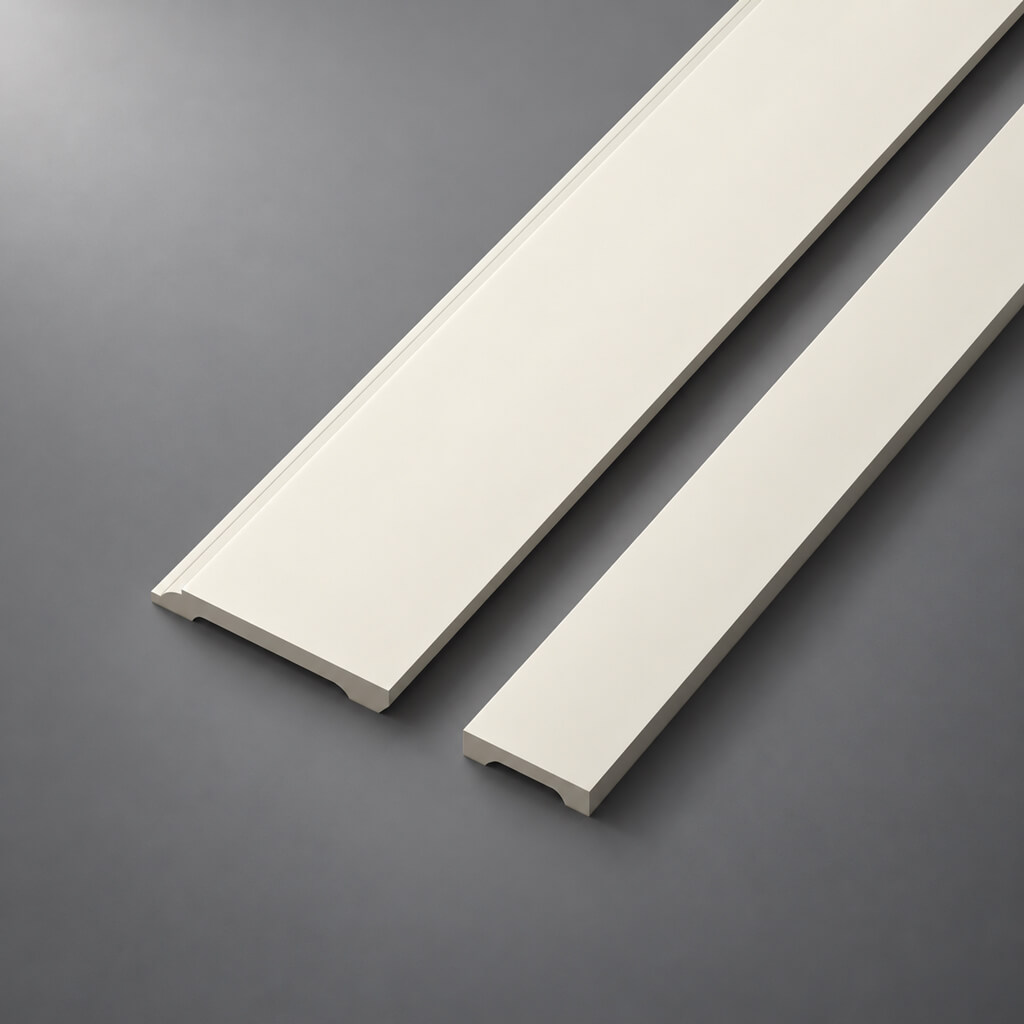
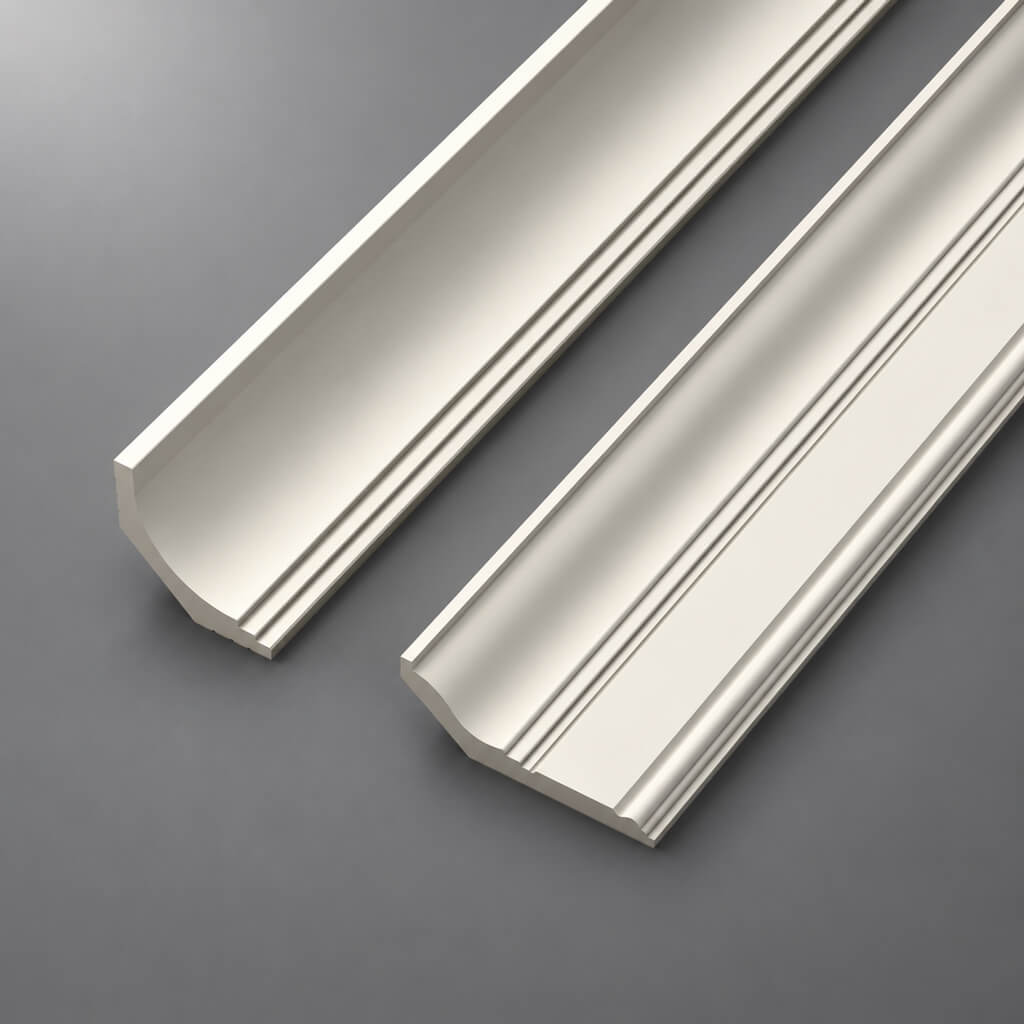
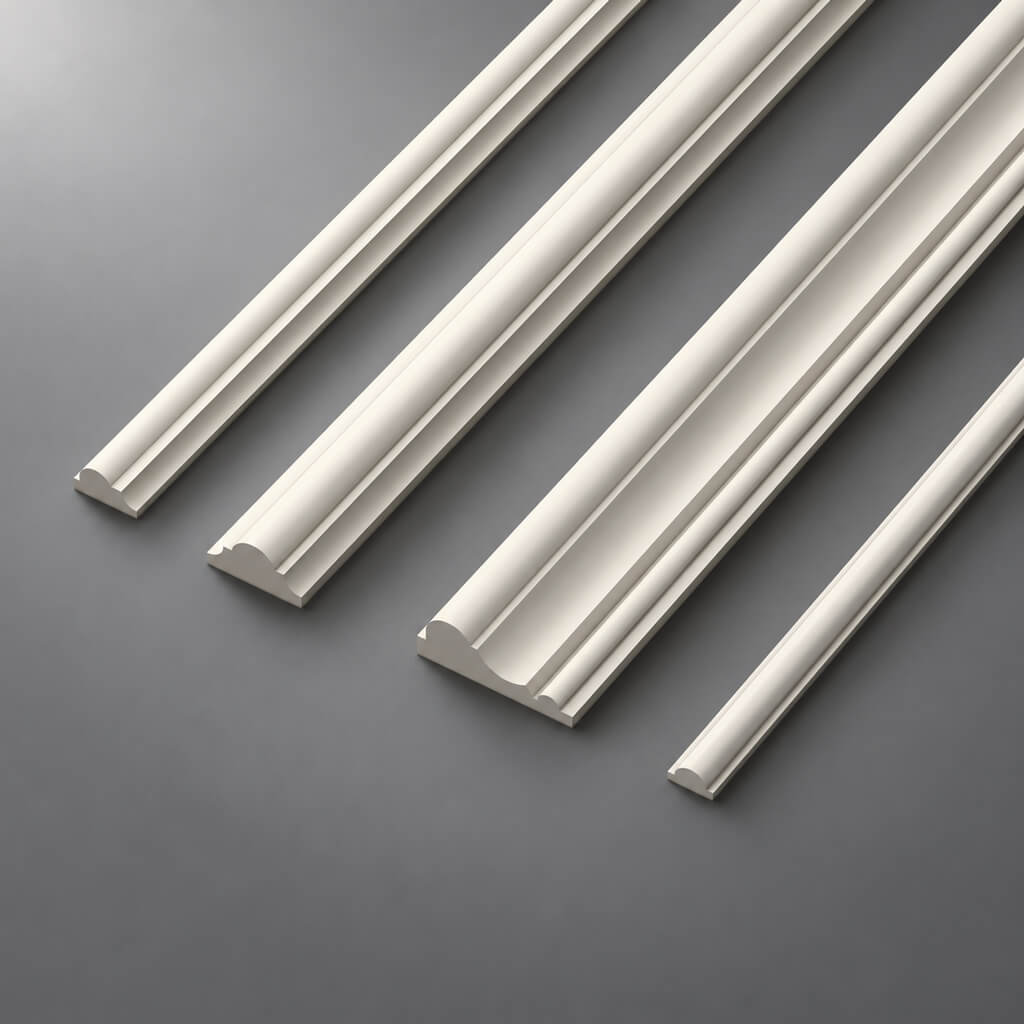
Choosing wooden moldings for door decor, check the width, depth, and cross-sectional shape. If you need to connect the frame with overlays, also look at wooden decor for moldings. These categories serve different purposes: the profile itself forms a line, while the additional piece frames its turn, beginning, end, or compositional accent.
Do not count on paint to hide an incorrect joint. Covering enamel can unify the color, but after it is applied, protrusions and uneven joints often become even more noticeable due to light reflections.
Door handle and lock: how to preserve a real grip zone
The handle must be taken into account even when choosing the carving pattern. Its position is determined not by the decorative escutcheon on the lock, but by the entire area in which the human hand moves. When pressing the lever, the fingers trace an arc; when turning the key, the hand moves lower; and when closing the door, the leaf is often held by the edge near the handle. If the overlay is positioned too close, it may catch on clothing or interfere with using the door.
On the drawing, mark the center of the handle, the dimensions of its base, the keyhole or cylinder, the fastening points, and the overall dimensions of the lever in different positions. Then draw a functional zone around them without decor. The size of such a zone cannot be assigned by a single universal number: it depends on the type of handle, the opening method, the protrusion of the hardware, and the actual movement of the hand.
The check is performed on a finished or sample door leaf. Attach the paper overlay templates, temporarily install the intended handle, and open and close the door several times. Check the lock operation, how adults grip the handle, and, if the door will be used by children, how convenient it is for them. A carving sheet that is a few centimeters from the handle base in the drawing may end up right under the fingers.
For the upper panel this risk is usually lower, but with tall pull handles or vertical decorative strips the functional zone rises higher. On doors with several panels, it is sometimes wiser to leave the middle part free altogether, concentrating the carved decor in the upper and lower sections.
You should not drill new mounting holes near the lock body, concealed rods, and other built-in hardware for the sake of overlay symmetry. If the chosen composition falls on a structural assembly, change the composition rather than disrupt the door's operation.
Rebate, hinges, and opening: checking in motion
A decorative overlay must suit not only the closed leaf. When opening, different parts of the door move relative to the frame, wall, casing, floor, and adjacent leaf. The greater the relief thickness and the closer it is to the edge, the more carefully the movement path must be checked.
For a single-leaf door, special attention is paid to the hinge side, the area near the rebate, and the handle zone. From the outside, the overlay may seem distant from the frame, but when opening, the protruding part will come closer to the casing or wall. If the door opens toward a nearby cabinet, the decorative element must also be checked relative to the furniture.
For double-leaf doors, a central assembly is added: the meeting edges may have an astragal, a bolt, or other parts, and one leaf may remain closed most of the time. Overlays directed toward the central joint must not create protrusions that hinder the movement of the active leaf.
On a sample door, it is sufficient to check in all intended opening positions, including the full working angle. If necessary, use a cardboard mock-up that replicates both the contour and the thickness of the overlay. Only after such a check should the final coordinates be approved. The absence of collision in the closed position does not guarantee safe opening.
A separate category is fire doors, smoke-control doors, special protective doors, and products with a certified construction. One cannot assume that they may be arbitrarily glued with solid wood, drilled through the leaf, or have the leaf weight changed. For such doors, design solutions agreed with the manufacturer and preservation of the specified characteristics are required.
One leaf or two: different ways of building the composition
For a single-leaf door, the initial calculation is relatively simple: the central axis belongs to one leaf. But even here it is necessary to determine whether the overlay relates to the entire door or to a separate panel. With a double-leaf door, a choice appears that cannot be made at the end of the work.
The first option is two independent compositions. Each leaf receives its own central axis, decorative fields identical in function, and its own layout. This solution is especially suitable for doors where one leaf is substantially narrower than the other, or for leaves with an independent panel pattern. The carving of each leaf reads separately.
The second option is a unified composition across the entire width of the opening. The ornament of both leaves is directed toward the common central line or unfolds from it. In this case, symmetrical elements may be located on different leaves. With such a layout, the actual width of both leaves, the central gap, the rebate strip, and the position of the handles are taken into account. The central axis of the entire door unit does not always coincide with the middle of one of the leaves.
Let us imagine two equal leaves of 600 mm each, separated by a visible gap of 4 mm. The total width from the outer edge of the left leaf to the outer edge of the right leaf is 1204 mm, and the central line is located in the middle of the gap — at 602 mm from the left outer edge. With a unified composition, the pairs recede from this line to the left and right by an agreed distance, taking into account the actual installation zones on both leaves.
If the leaves have widths of 700 and 500 mm, the overall middle of the door unit will not coincide with the boundary where they meet. For a composition symmetrical across both leaves, this is a fundamental limitation: sometimes it is technically and visually more correct to divide the design into two independent fields than to forcibly center a common overlay relative to unequal leaves.
Calculation of decor for a double-leaf door with a common axis
Suppose two equal leaves each have a width of 650 mm, and a visible gap of 4 mm is provided between them. The craftsman wants to place one mirrored overlay on each leaf so that their centers are located at an equal distance from the common joint line.
The overall middle is located at 652 mm from the outer left edge of the door unit: (650 + 4 + 650) / 2 = 652 mm. Let the centers of the overlays be located 210 mm to the left and right of this axis. Then their coordinates in the common system are 442 mm and 862 mm.
For the left leaf, the center of the overlay will be at a distance of 442 mm from its left edge. For the right leaf, which begins at 654 mm from the left outer edge of the unit, the center will be at a distance of 862 − 654 = 208 mm from its own left edge. These values are not mirror-identical local coordinates from the same edge: mirror symmetry is correctly checked relative to the common central line.
If each overlay has a horizontal projection of 96 mm, the left one will occupy from 394 to 490 mm in the common system, and the right one from 814 to 910 mm. Between the nearest edges of the overlays, 324 mm will remain, which also includes the gap between the leaves. Check: 814 − 490 = 324 mm. Such a gap can be compared with the desired density of the upper composition, without forgetting about the hardware and the frame.
| Parameter | Value in the example |
|---|---|
| Left leaf | 650 мм |
| Central gap | 4 мм |
| Right leaf | 650 мм |
| Total block width | 1304 мм |
| Total axis from the left edge | 652 мм |
| Center of the left overlay | 442 мм |
| Center of the right overlay | 862 мм |
| Distance between overlay centers | 420 мм |
This is an illustration of the coordinate method, not a recommendation for mandatory placement at a distance of 210 mm. For each actual door, the available zones are determined first, and only then is the distance between centers assigned.
The upper and lower panels do not have to mirror each other
On a classic door, the upper panel is often taller or wider than the lower one. In that case, the same carved element repeated in both parts may look disproportionate: at the top it leaves too much empty space, while at the bottom it fills almost the entire surface. Therefore, geometric symmetry within each field must be distinguished from the overall hierarchy of decorative accents.
For example, paired carved elements can be placed at the top, while only a molded frame is left at the bottom. The reverse scheme is less common, but it can also be justified if the lower part of the door leaf is visually heavier and can support a larger ornament. With two large panels, different overlay sizes within the same artistic group are possible, but their actual compatibility must be checked against the design, not by a scaling factor.
For tall doors, one more nuance matters: the composition is viewed from the usual distance of human height, so the small decor at the top may be perceived more weakly than a larger element below. In a drawing, equal line thickness seems sufficient, but natural lighting reveals the difference in relief and shadows.
Not every door needs a decorative repeat at the bottom. If the lower panel is already protected by a wide rail, has a pronounced profile, and is actively used when opening, additional carved elements can reduce practicality without a noticeable gain in composition.
When a wooden rosette is appropriate instead of a pair of overlays
Sometimes the working field is large enough for two carved details, but the door itself does not need a pronounced horizontal composition. In this case, a central wooden rosette can give a calmer result. It marks the point around which the frame is perceived, without setting such an explicit direction for the ornament.
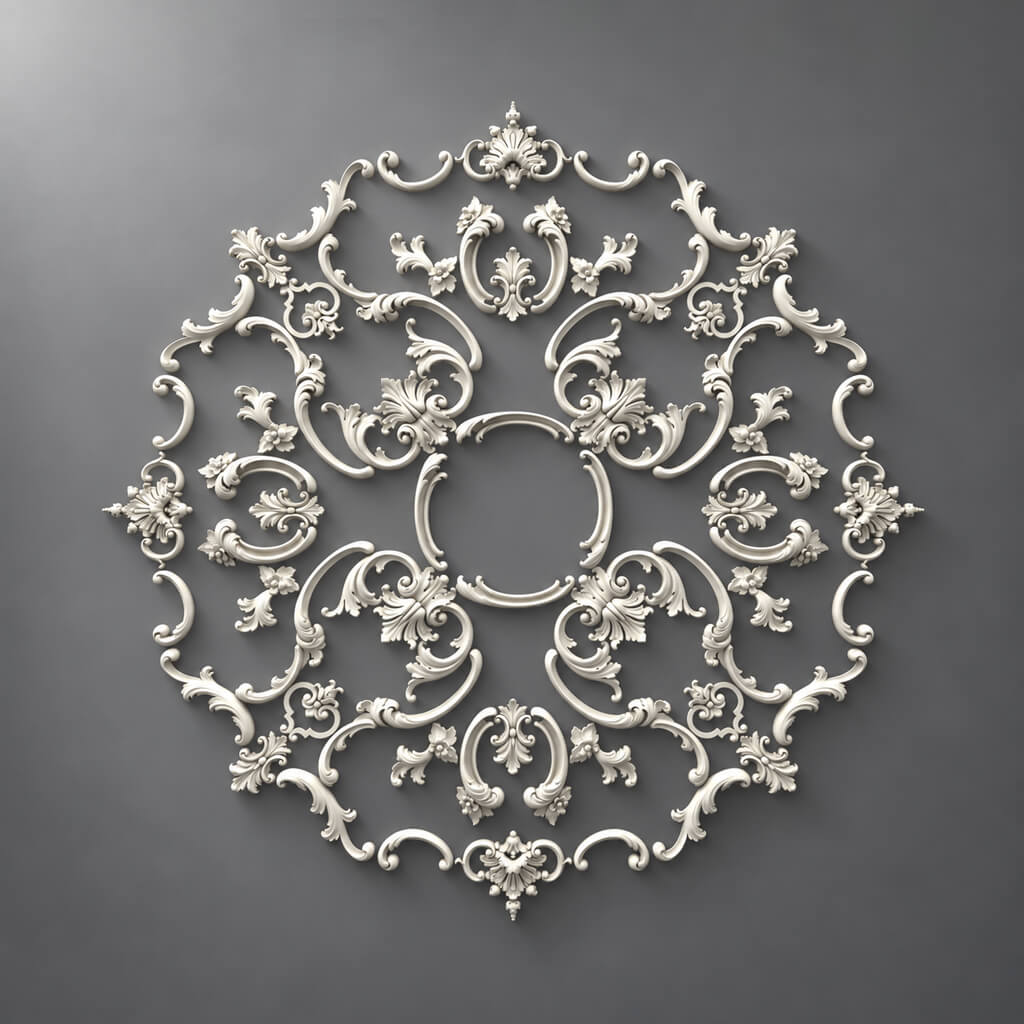
В catalog of STAVROS wooden rosettes you can select items of different shapes and relief. For a door, the first thing to determine is not “which one is more beautiful,” but the diameter or overall dimensions, thickness, and relationship to the panel field. If the rosette is located in the middle between two overlays, its size is additionally subtracted from the free space between them.
Let’s imagine that 140 mm remains between the inner ends of the pair. If the central rosette has an actual horizontal projection of 100 mm, only 20 mm will remain on each side to the overlays. For a rich carved pattern, such density may be excessive. The solution is to reduce the rosette, move the pair apart if there is space, or abandon the third element altogether.
With a narrow upper panel, one carefully selected overlay or rosette often looks more convincing than a mirrored pair that is too small. This is the case when reducing the amount of decor improves both the construction and the appearance at the same time.
Beech or oak: the material is chosen together with the finish
Ready-made carved wooden overlays can be produced from different species. For a door project, it is not enough to know that the part is made “from solid wood”: it must be matched with the material of the leaf and with whether the wood texture will be visible after finishing.
Beech is often considered for items that are planned to be painted with opaque enamel. Its relatively even texture is convenient for surface preparation, but this does not eliminate the need for proper sanding, priming, edge treatment, and checking compatibility with the paint system. Painted overlays and the leaf should be perceived as a single surface, not as two parts with different gloss.
Oak is logical where a transparent or tinted finish is planned and the wood grain should remain visible. But even here, a new overlay does not have to match the door leaf in shade just because both parts are oak. The wood batch, grain direction, degree of sanding, and applied coating can noticeably change the result.
If the door leaf is made of another material and is fully painted, the buyer can choose the overlay species based on the available finish, relief requirements, processing, and finishing technology. With a transparent coating, the mismatch in texture will be much more noticeable — material selection and test tinting come to the fore.
For a door series, it is advisable to first approve the color on a real sample of the selected product, not just on a smooth board. Stain or patina behave differently on deep areas of carving than on a flat surface. What needs to be approved is not a can of paint, but the finished painted surface of the overlay next to the door leaf.
How to attach carved decor to doors without unnecessary r
Before installation, clarify the construction of the door leaf, the suitability of the surface for attachment, the condition of the base, and the compatibility of the selected adhesive with the wood and coating. Additional holes must not damage the lock, hinges, glass fastening, internal reinforcing elements, or cavities of the door leaf.
The back surface of a carved part is not always a solid rectangle. Narrow protrusions and leaves are intended to create a pattern, not necessarily to transmit installation forces. Reliability is determined by the actual contact area and the structural design, not by the visible width of the overlay.
Published on the STAVROS website tips for finishing and installing wooden decor. They can be used when agreeing on the technology, but the specific fastening procedure must take into account the selected part and the door construction. For massive or non-standard elements, it is reasonable to agree on installation with the door leaf manufacturer in advance.
Dry full-scale layout: a sequence without guesswork
A drawing allows you to rule out unsuitable options by dimensions, but it is advisable to finally approve carved elements for doors on a real door leaf. Especially when it comes to a complex floral ornament, deep relief, or several doors in the same room.
- Check the base geometry. Transfer the axis of the selected field and the outer contours of the frame onto the canvas. If the door is still in production, use an exact mockup of the face surface.
- Mark the boundaries of the hardware. Install the handle and lock plate, or make exact templates of their dimensions, including the hand movement area.
- Place the carved elements without permanent fastening. Apply the parts themselves or full-size paper templates, marking the left and right orientation.
- Check the coordinates. Measure the margins on both sides, the distances to the molding, the centers of the overlays and their position in height. Do not rely only on the reflection in the eyes or on a single photograph.
- Look at the door as a whole. Evaluate the closed leaf from a normal distance at which it will be seen in the room. A corner pattern that is clear up close may turn into too dense a group from a distance.
- Check the opening. Reproduce the working stroke of the handle and the movement of the leaf; make sure that the overlays and their protruding parts do not interfere with using the door.
- Approve the finish on a sample. The color, degree of gloss and darkening of the recesses of the carving should match the frames and the leaf itself.
- Lock in the final coordinates. Only after that should the permanent fastening be chosen and the remaining leaves put into work.
If the manufacturer has found that one of the overlays looks heavier than the other, although the dimensions and coordinates are the same, check not only the position of the center but also the pattern itself. In an asymmetrical floral ornament, the center of the outer rectangle sometimes does not coincide with the visual center of the carved mass. Any possible adjustment is best done on a pair at the same time, preserving the approved geometry and documenting the change.
How to transfer the layout to a series of doors
For several identical doors, manually marking out each leaf from scratch creates unnecessary risk. Even with careful work, a slight shift in height or a change in the side margin on different leaves will be noticeable if the doors are located along the same corridor.
After the first door is approved, the workshop creates a control template. It must indicate the base top edge, the face side, the vertical axis, the boundaries of the panels, the positions of the left and right overlays, the coordinates of the moldings, and the restricted handle zone. The template is tied to a specific door design and marked with the project version.
If doors of different widths are specified for the project, one template with equal distances from the outer edges cannot be automatically applied. It is more correct to preserve the principle of the composition and recalculate it for each size variant. For example, on two leaves 800 and 900 mm wide, the same pair of overlays may have a different side margin while the distance between the elements remains unchanged. Such a solution should be documented as two layout versions, not as a deviation during installation.
After the trial installation, compare several finished doors by placing them side by side or viewing them under the same lighting. Measurements verify the coordinates; observation confirms that the pattern and finish really do repeat. For series production, this is especially important when one batch of overlays arrives later than another.
Quantity calculation: eight doors with mirrored pairs
Suppose the workshop makes eight single-leaf wooden doors. For each leaf, one pair of N-258-1 is approved: one left and one right overlay of the same size and material.
The base requirement will be:
- Left position: 8 doors × 1 = 8 pieces.
- Right position: 8 doors × 1 = 8 pieces.
- Total: 16 decorative elements, but not sixteen parts of one article number.
The trial set is accounted for separately. If two parts for the approved sample remain on the first production door and meet the final requirements, they are included in the specified 16 pieces. If the sample was used for coating testing, was modified, or is unsuitable for installation, a different set will be needed for the series. This must be decided before ordering so as not to confuse the purchase of samples with the main requirement.
The technological reserve is also calculated separately for left and right parts. If the workshop, based on its own tests, has provided one additional mirrored pair, the order will consist of nine left and nine right overlays — 18 pieces in total. Such a reserve is given as a calculation example, not as a universal norm. Its size depends on the complexity of installation, the likelihood of damage, and the possibility of ordering a replacement during the project.
When using two pairs on each leaf, the requirement will increase to 16 left and 16 right parts for eight doors, if both pairs are made in the same size and article number. If the upper and lower overlays differ, each position is counted separately: different versions cannot be added together just because they belong to the same artistic group.
What to record in the production specification
The approved decorative scheme must be reproducible without the presence of the project author. For this, a document is needed that links a specific leaf to actual products, dimensions, coordinates, and finish.
| Specification field | Example of filling in or rule |
|---|---|
| Leaf code | D-01, front side A |
| Composition type | Mirrored pair in the upper field |
| Left part | N-258-1L, 1 pc. |
| Right part | N-258-1R, 1 pc. |
| Dimensional version | Exact A/B/C/E/F combination per the card |
| Material and sanding | Selected option approved for both parts |
| Coordinates | Distance from the base edge and the top field line |
| Pattern direction | According to the approved template |
| Molding frame | Profile SKU and internal field dimensions |
| Hardware | Handle model and grip zone boundaries |
| Finish | Approved finish sample code |
| Status | Sample approved / ready for installation |
A drawing with unambiguous orientation of the left and right parts, as well as clean URLs of the selected product cards, must be attached to the specification. If the order will be repeated several months later, the saved SKU number will help find the required item; but for a fully identical result, the previous size and material specification will also be required.
If the handle, frame height, or panel width changes, the old layout must be reviewed. Even if the carved elements themselves remain the same, their coordinates and installation zones may no longer match the new design.
Errors that are detected too late
Ordering two left overlays instead of a mirrored pair. This occurs when the quantity is recorded in a single line without orientation. It is prevented by separate L and R specifications and by checking the pattern during acceptance.
Placement along the outer door width instead of the inner frame field. The drawing symmetry is preserved, but the actual offsets to the molding turn out to be different. Before selecting the parts, it is necessary to obtain the boundaries of the free field after installing the profile.
Selection by A and B without checking the relief. The overlay fits in the front sketch, but its thickness interferes with gripping the handle or creates too strong a shadow next to the frame. A mockup of the actual thickness and a check in motion are needed.
Identical decor on unequal panels. The upper part remains almost empty, while the lower part looks overloaded. Different size versions of the same artistic group are possible, or repetition may be abandoned.
Installation before trial finishing. After painting, it turns out that the parts absorb the tint differently or that individual seams have become noticeable. First, a sample with the same materials and surface preparation is approved.
Rigid fastening through the movable door assembly. The decor connects parts that are structurally required to move relative to each other. The fastening must be selected based on the construction of the door leaf, not only on the geometry of the overlay.
These mistakes share a common cause: the designer, the purchaser, and the craftsman work from different source data. When dimensions, orientation, finish, and placement are fixed in a single drawing, the risk of conflicting decisions is noticeably lower.
When it is better not to install carved decor on a door
Not every door leaf will benefit from additional carving. For a door with narrow stiles, a small panel, a large handle, or an already rich molding composition, there may simply be no free field left. If the calculation requires almost zero margins, it is better to choose a different type of decoration rather than trying to fit an overlay at any cost.
On doors in active use, protrusions in the area of contact with hands, clothing, and passing furniture are especially significant. Fragile ends of a carved ornament in such a place can be damaged during normal use. For technical doors with special requirements, modifying the structure may be unacceptable without approval.
If the original door has an expressive wood grain, a complex panel, or a historically established composition, a modern ready-made overlay may appear out of place. Sometimes it is enough to replace or accentuate the molding frame. For a historically significant leaf, when precise restoration of lost original carving is required, it is more appropriate to consider custom production of a copy rather than passing off a similar mass-produced element as the original.
Where to buy carved overlays and decorative elements for doors
Select Carved wooden decoration it is more convenient to use an already compiled door map. It shows whether central overlays, mirrored pairs, rosettes, or elements for joining with the molding are needed. As a result, the search becomes specific: a product is selected that fits the actual dimensions and artistic design, rather than simply looking good in a photo.
In the STAVROS catalog you can view Decorative wooden inlays, individual Outlets и Trimming Items. For a preliminary understanding of how different groups of products combine on doors, the following are also useful: examples of carved door decoration. Such examples help evaluate the composition, but they do not replace measuring a specific door leaf.
If you need to buy decorative door overlays or order paired carved elements, before placing an order prepare the item codes indicating left and right orientation, size specification, material, sanding quality, and quantity. For furniture and joinery manufacturers, the website publishes terms of cooperation with manufacturers, while information about delivery and order placement is provided separately.
The availability of a finished product in the catalog does not yet guarantee its suitability for a specific door. A sensible procedure is as follows: first determine the working area and layout, then compare two or three suitable options, check the drawings, obtain a trial pair if necessary, and only after a successful test fitting order the parts for the entire series.
Frequently asked questions about placing carved decor on a door
Can overlays be installed on the door leaf on only one side?
Yes, if the design and fastening allow it. However, when choosing protruding decor, it is necessary to check how it affects opening and operation from both sides. For two-sided finishing, the front sides must be marked separately: identical part numbers do not mean identical mirrored orientation when viewed from opposite sides.
What should I do if a handle and lock are already installed on the door?
Start the layout with them: measure the base, the trajectory of the hand movement, and the areas that must not be drilled or covered. If the remaining field is insufficient for the selected pair, change the size or move the composition to the upper panel. Moving working hardware for the sake of decor is permissible only after a separate structural check.
Is it possible to make two sashes with a single composition if they are of different widths?
It is possible, but full mirroring along the outer edges is not always achievable without violating proportions. Determine the common axis, the permissible working fields, and the position of the central joint. If the overlays do not fit symmetrically, it is preferable to design each sash separately or to use an asymmetric, pre-approved project.
How can you check whether an overlay is too large for the upper panel?
Compare its actual contour with the inner field of the frame, including the margins and the protruding relief. A paper template will show the proportions in front view, while a thickness mock-up will show the effect of the side shadow and the proximity to neighboring elements. Suitability cannot be assessed by the overall door width alone.
Is it possible to use carved overlays from different collections on a single leaf?
Technically this is possible, but the combination requires checking the pattern, depth, direction, and scale. If one element has a dense floral relief and the other a strict geometric contour, combining them with the same enamel will not necessarily create a unified composition. Approve the set on a full door mock-up.
Should an additional pair be taken for a test finish?
This depends on the further use of the sample. If the test pair after finishing matches the project and will be installed on one of the doors, it may be included in the main requirement. If different coatings were tested or the sample is damaged, it is counted separately. Left and right spare elements are always accounted for under different article numbers.
Can a decorative overlay replace a damaged panel?
No, it cannot automatically be considered a structural patch. First, the base defect is eliminated and the intended operation of the door leaf is restored. The carved part is intended for a corresponding decorative function and is installed on a suitable surface, rather than masking an unknown cause of damage.
What matters more when choosing a pair — equal spacing or the same visual weight?
First, correct geometric coordinates are needed. Then, on a full-size mockup, the perception of mirrored ornaments is checked. If a difference is identified due to the shape of the leaves and the relief, the composition is adjusted with fixed dimensions. Arbitrary installation "a little to the left" without a new layout will make it difficult to repeat the project on other doors.
Carved elements selected according to this sequence become part of the door drawing even before manufacturing and finishing. The craftsman knows in advance where each element is located, what orientation to order, how to check the free field, and how to transfer the approved design to the next leaf. This is the practical difference between random decoration of the leaf and a calculated decorative composition.