



Article Contents:
- Where to buy a wooden cornice in Yakutsk for a specific project
- Why the decorative contour ends at the panoramic window
- Room dimensions: how the perimeter differs from the working route
- How to measure the ceiling line so the calculation doesn't mislead
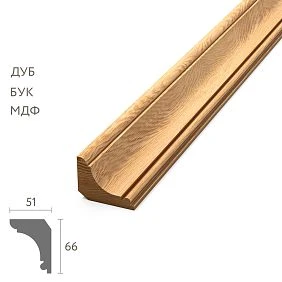
- KZ-010 cornice 66 × 51 mm: when a moderate cross-section is enough
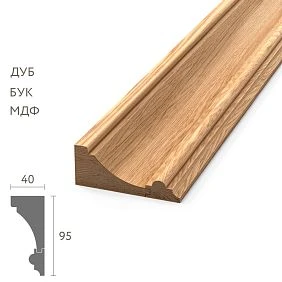
- KZ-007 cornice 95 × 40 mm: how the second option differs
- Oak or beech: the material determines more than just the color
- Seven ready-made pieces: why the length of the three walls is distributed this way
- Cutting plan for six factory strips of 2400 mm
- Why five strips are not enough even without accounting for the saw kerf
- Where to place straight joints so they don't stand out
- Two inside corners: a trial fit before cutting long pieces
- How to finish the profile next to panoramic glazing
- Four estimates: how much six KZ-010 and KZ-007 cost
- Spare strip: when you need one and when it's better to skip it
- How to arrange delivery of a long cornice to Yakutsk
- Acceptance: what to check before cutting begins
- Wood, cold delivery and a warm living room
- Base and fastening: a wooden profile does not replace the load-bearing structure
- Stretch ceiling and window niche: two independent assemblies
- Installation sequence without losing the seven parts
- Cornice finishing: the entire line becomes visible, not just one strip
- Mistakes that turn a correct estimate into an incorrect one
- If dimensions changed after measuring: how to adjust the order
- What to send the seller to place an order
- Customer questions about wooden cornices for three walls
- Can the ceiling on the panoramic window side be left completely empty?
- Why not use one long cornice without straight joints?
- Can KZ-010 be replaced with KZ-007 after the calculation?
- Do I need to buy a seventh plank for long-distance delivery?
- What should I do if the side walls differ by a few centimeters?
- Can the cornice be mounted directly onto the stretch ceiling fabric?
- How can I estimate the shipping cost to Yakutsk before purchasing?
- Where can I see photos of real models before ordering?
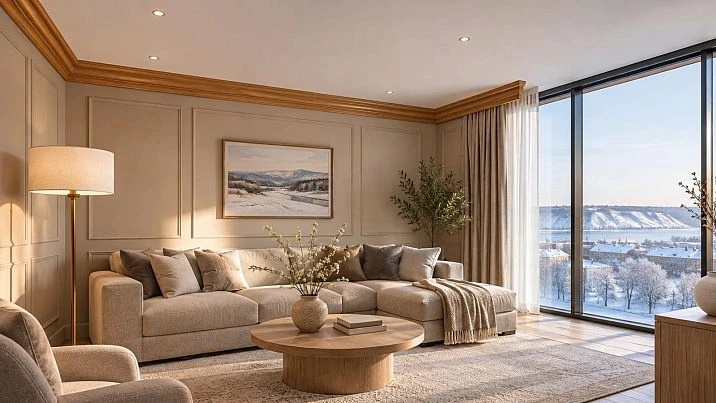
In this case, there is no need to order a ceiling cornice for the entire living room. One of the four walls is occupied by panoramic glazing, and the project calls for ending the wooden profile before the window area. For a room measuring 5200 × 3450 mm, this noticeably changes the purchase: instead of the full perimeter of 17.3 m, 12.1 m needs to be covered. But simply dividing 12.1 by the standard product length is not enough. Four long sections of 2300 mm cannot be obtained from three planks of 2400 mm, even when the total footage would seem to allow limiting it to five planks.
For the specified layout, you will need six factory-made cornices of 2400 mm each, which will yield seven pieces: four at 2300 mm, two at 1150 mm and one at 600 mm. This is a preliminary layout for measuring and agreeing on corner joints, not an instruction to saw the wood immediately. Choosing between KZ-010 and KZ-007 will change the appearance and cost, but not the number of whole strips, provided the cutting geometry is maintained.
Where to buy a wooden cornice in Yakutsk for a specific project
When a buyer needs a cornice for three walls, it is more useful to tell the seller the dimensions of the room and the position of the window than to give only the total linear footage. The word "cornice" refers to different things: a rod or track for curtains, a moulded ceiling run, a decorative wooden element. This task requires specifically a wooden ceiling cornice — a profile that finishes the upper junction of the wall to the ceiling. Curtains cannot be attached to it: it does not perform the function of a curtain system.
In the STAVROS catalog you can buy a wooden cornice in Yakutsk, by selecting a product and agreeing on delivery to an address in the Republic of Sakha. This does not mean that the company has a local warehouse or that long-length cargo is available for pickup at any location. Before paying, you need to confirm the availability of the specific version, the dimensions of the protective packaging, the method of handover to the carrier and the cost of the route.
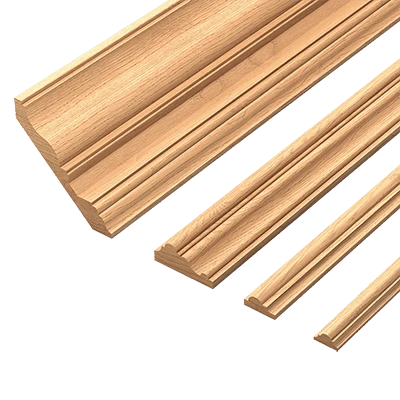
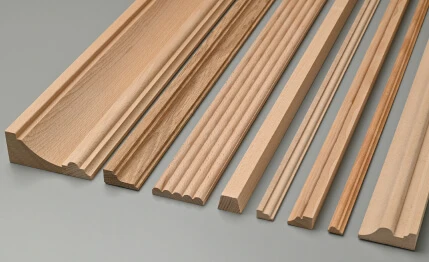
In our example, two solid wood models are considered: KZ-010 with a cross-section of 66 × 51 mm and KZ-007 with a cross-section of 95 × 40 mm. Both are produced in the factory length of 2400 mm required for the calculation. They should be compared by how much space the profile takes up at the ceiling, how it looks next to the window and what the cost of six identical items is. Trying to form a single continuous contour from several different models is not possible without a separate structural solution.
A purchase begins not with the shopping cart, but with a clear brief: which wall will be left without a cornice, how close the decorative line will come to the window frame, where the two internal corners are and what substrate the fixing is planned for. Then the price and delivery will be calculated for a real set, not for a conditional "fourteen metres of trim".
Why the decorative contour ends at the panoramic window
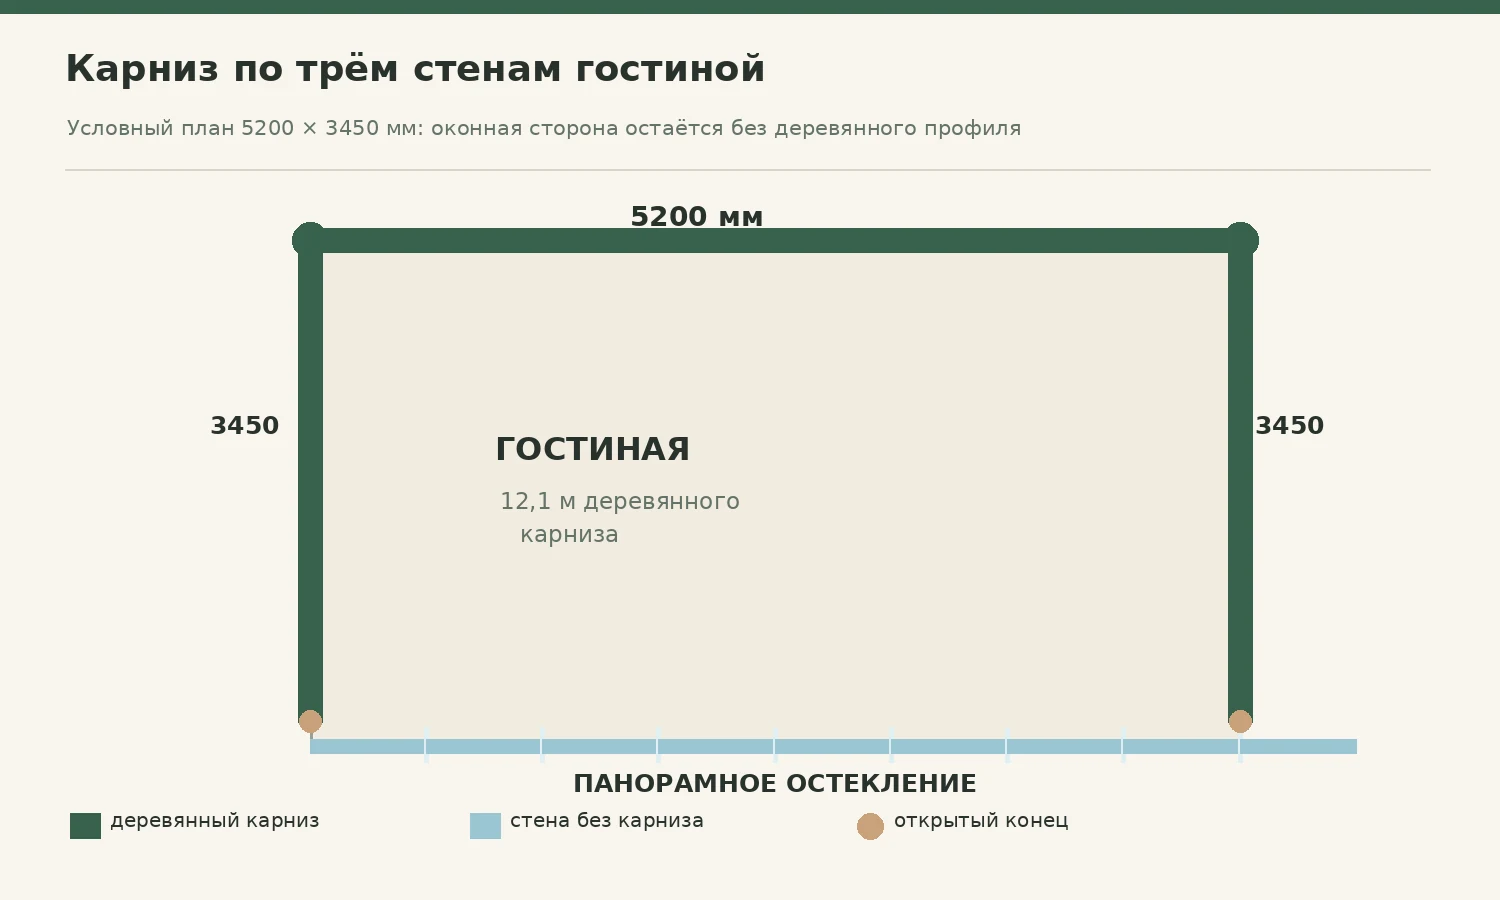
Let's imagine a living room where the long outer wall is almost entirely occupied by glass. When viewed from the room, the window creates a large light opening. If the wooden cornice were continued directly along this side, it could cross the curtain area, land on an unsuitable base, or visually weigh down the top of the glazing. The design solution is to run the profile along the opposite long wall and the two short side walls, ending it before the window zone begins.
This arrangement forms an open, U-shaped route. It has two turns at the inner corners and two open ends near the window wall. They require different solutions. A corner must join two segments of the same profile and preserve the pattern. A free end, by contrast, must look finished and must not leave a rough butt end at eye level.
An important detail: the "window wall" is not always entirely made of glass. In a real apartment there may be piers, duct enclosures, curtains in a concealed niche, ceiling tracks, or a built-in convector. If there is a wide solid section between the glazing and the side wall, the solution can be adjusted. But adding an extra metre of cornice on this side on your own will spoil the estimate comparison. The length of the profile must follow the approved composition, not the desire to use up every offcut.
On the plan, be sure to mark not only the edge of the glass but also the window opening direction, the curtain passage, access to the concealed mechanism, and protruding parts of the finish. Even with a fixed glazing unit, there may be components in the upper zone that must not be obstructed. The placement of the wooden cornice and the window system must be coordinated before ordering, otherwise the short section will have to be removed after the walls are finished.
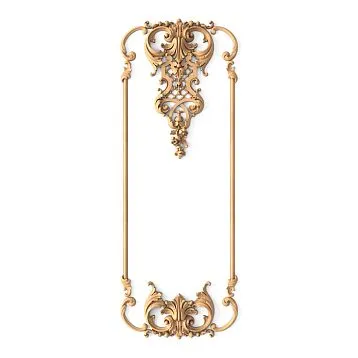
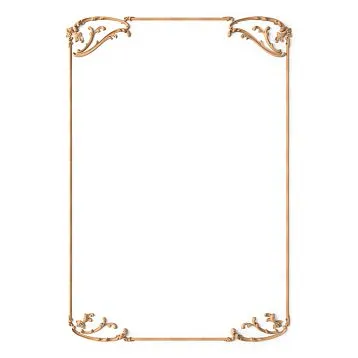
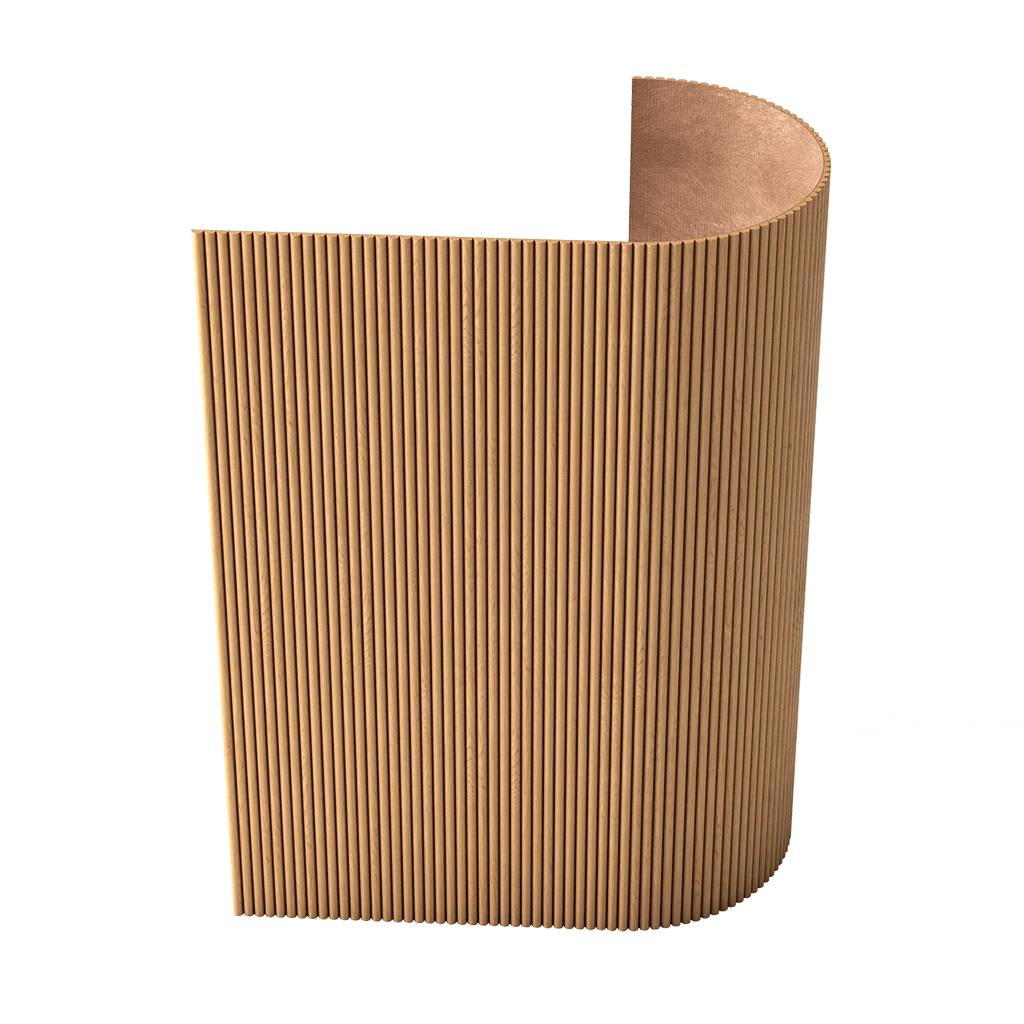
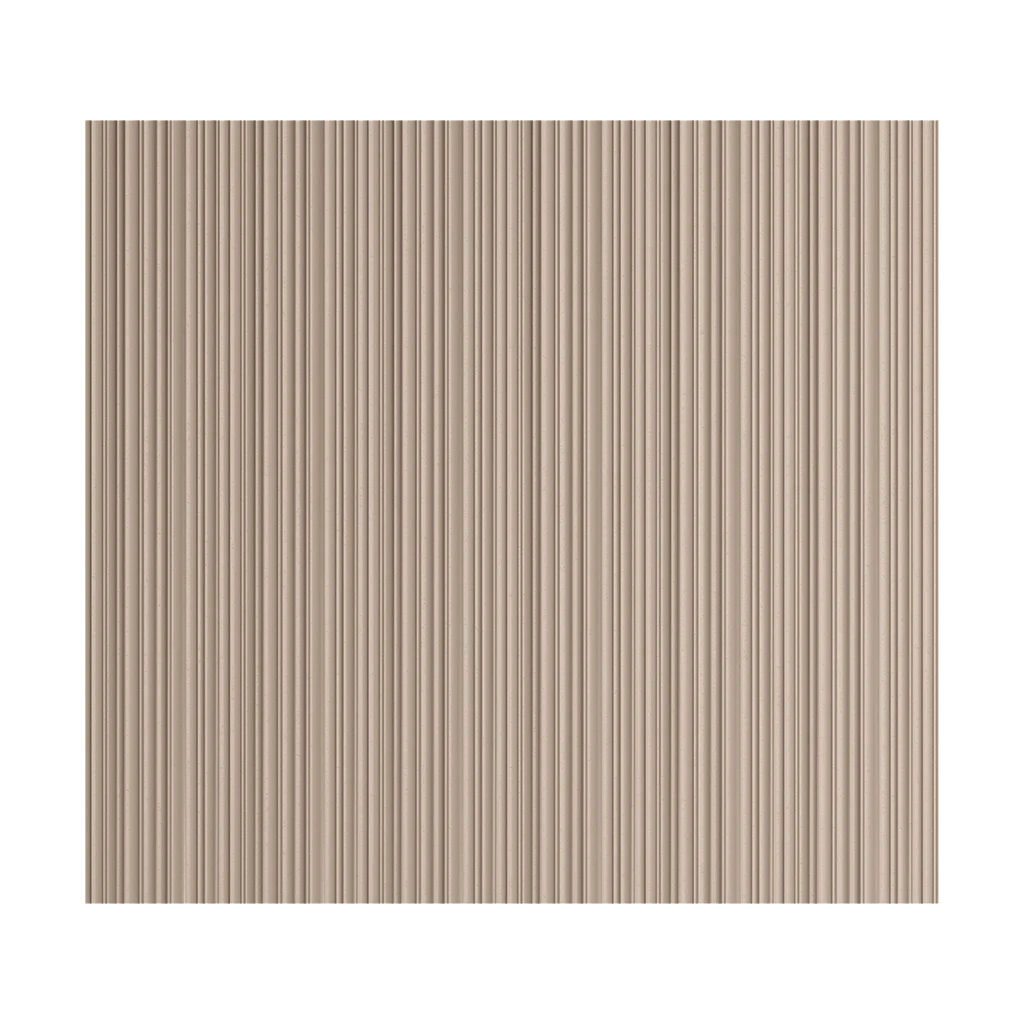
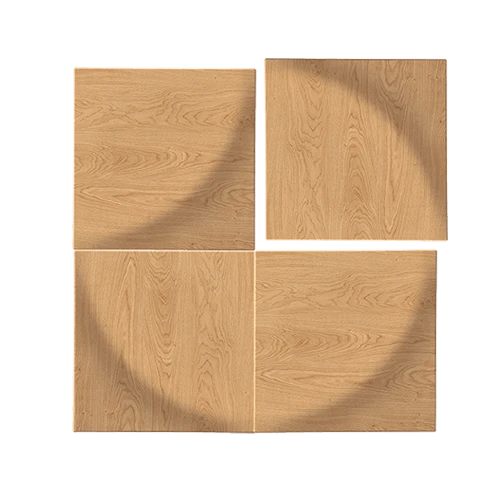
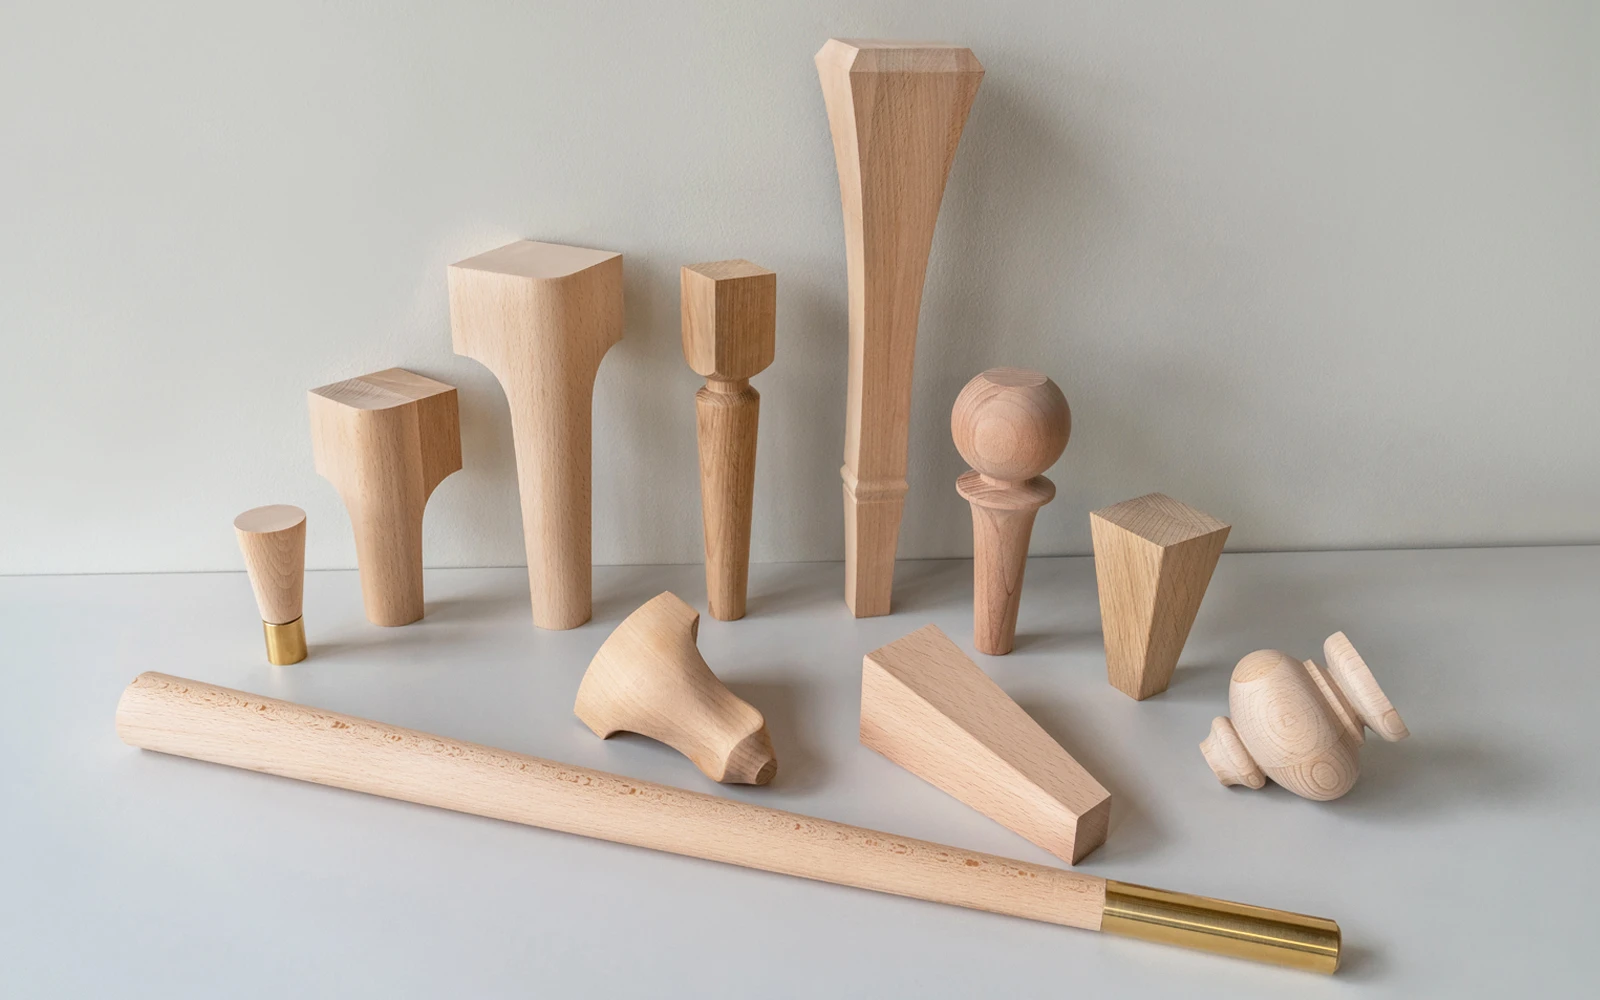
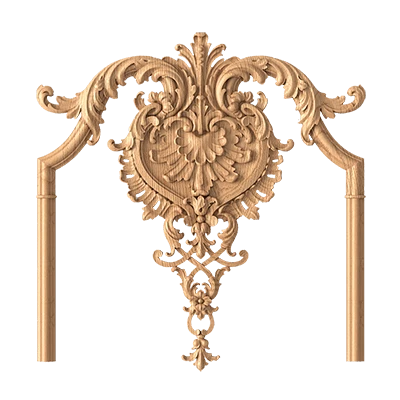
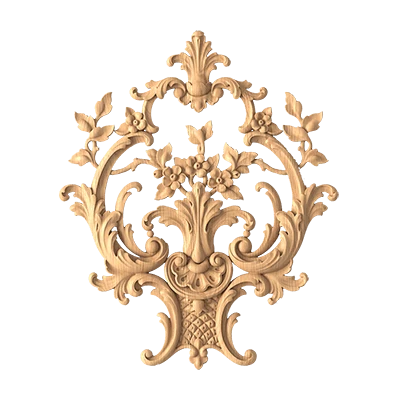
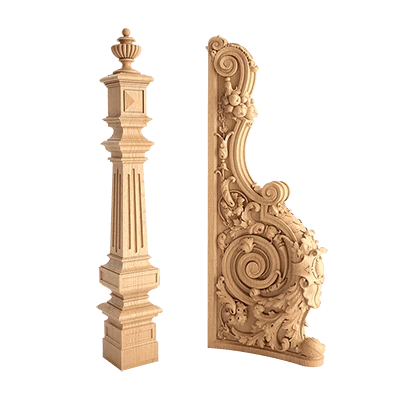
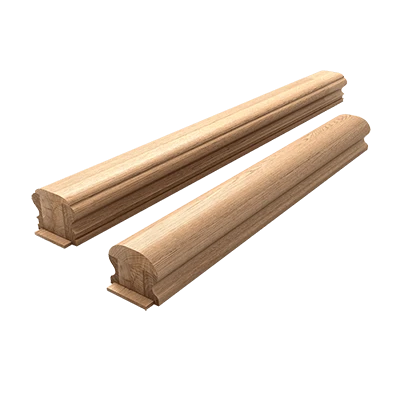
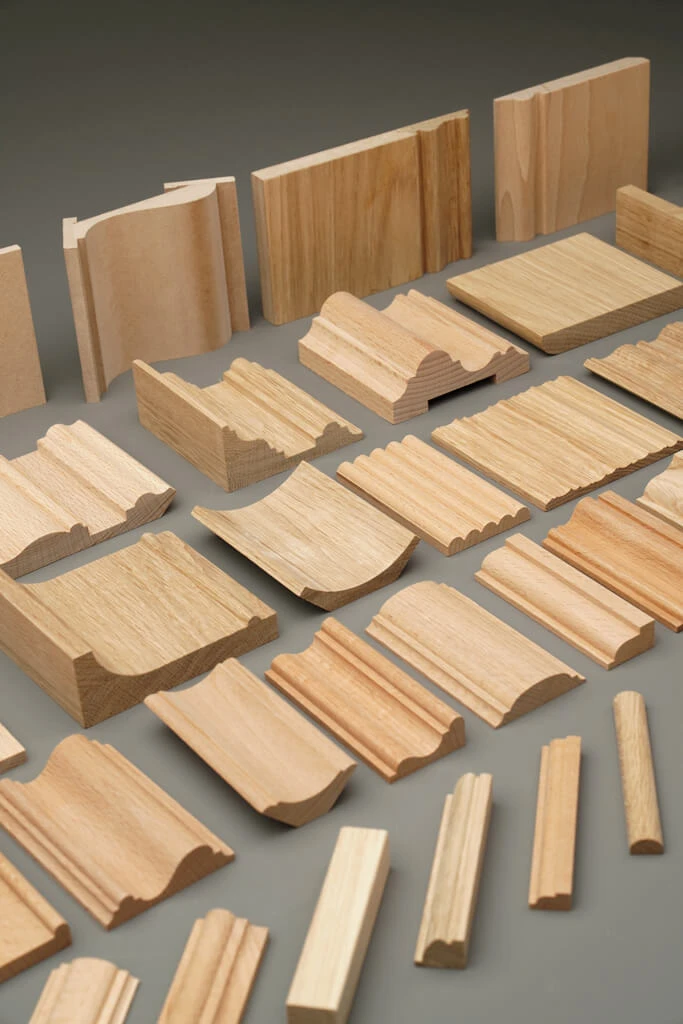
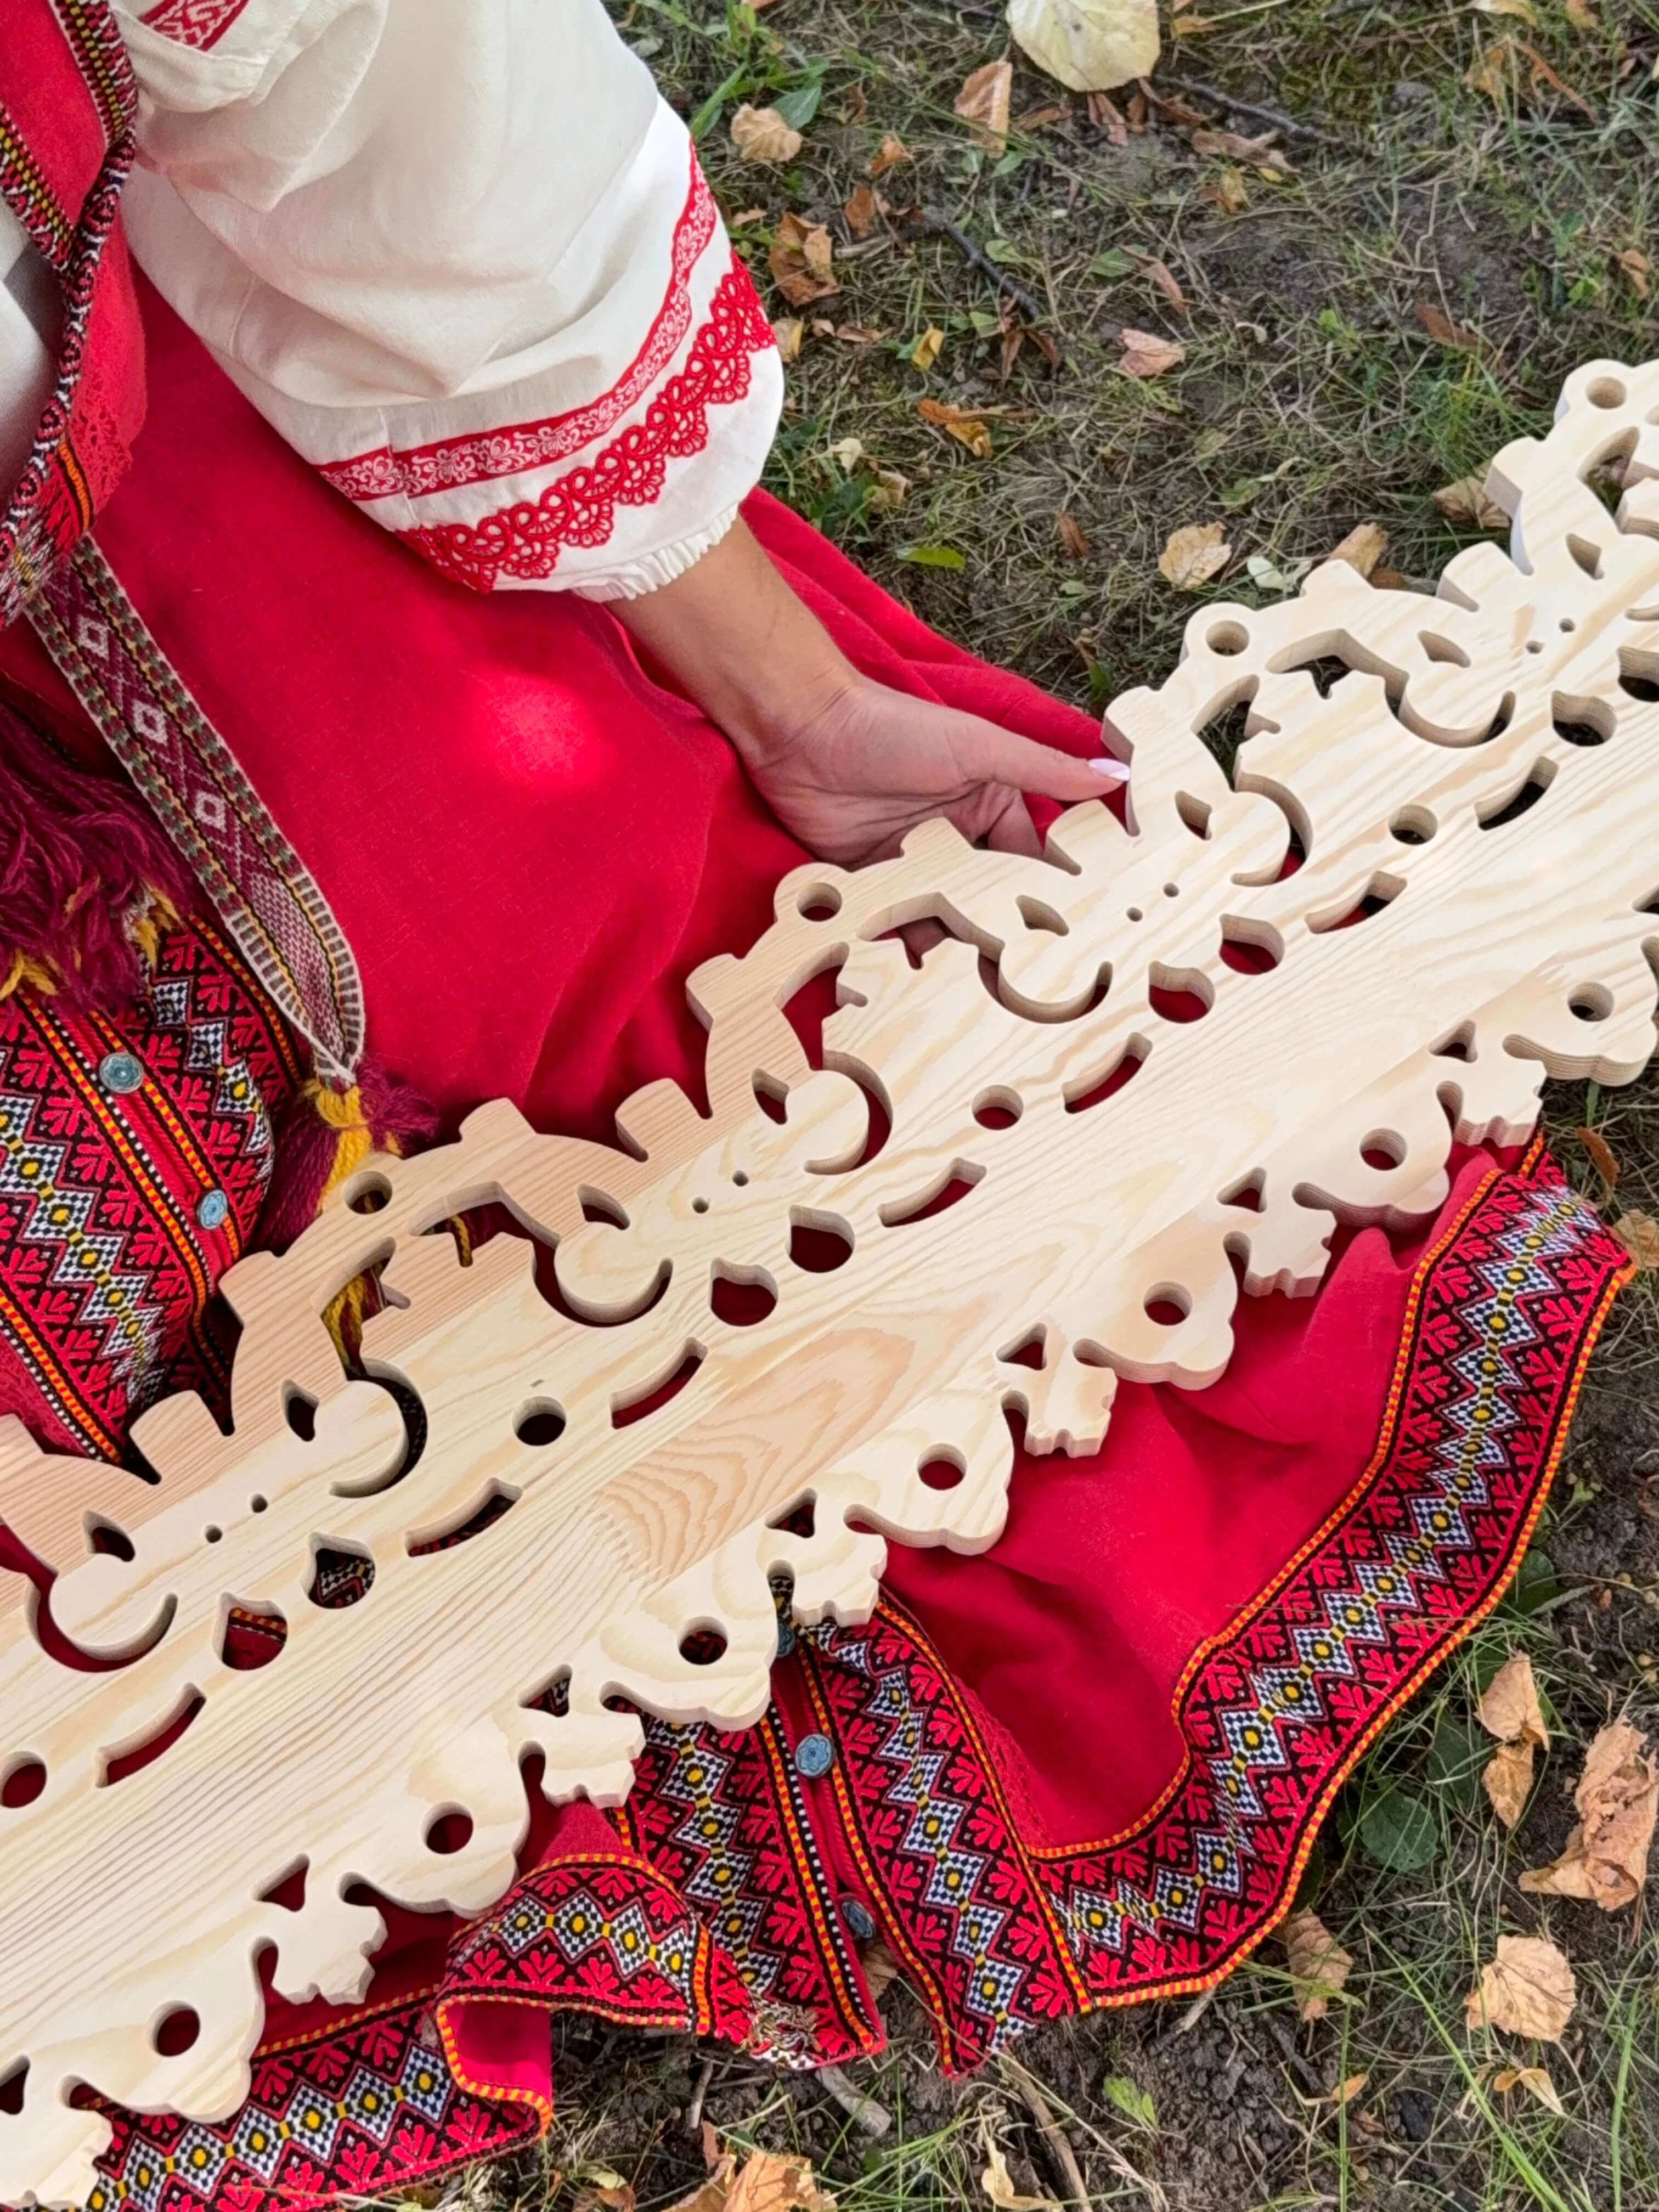
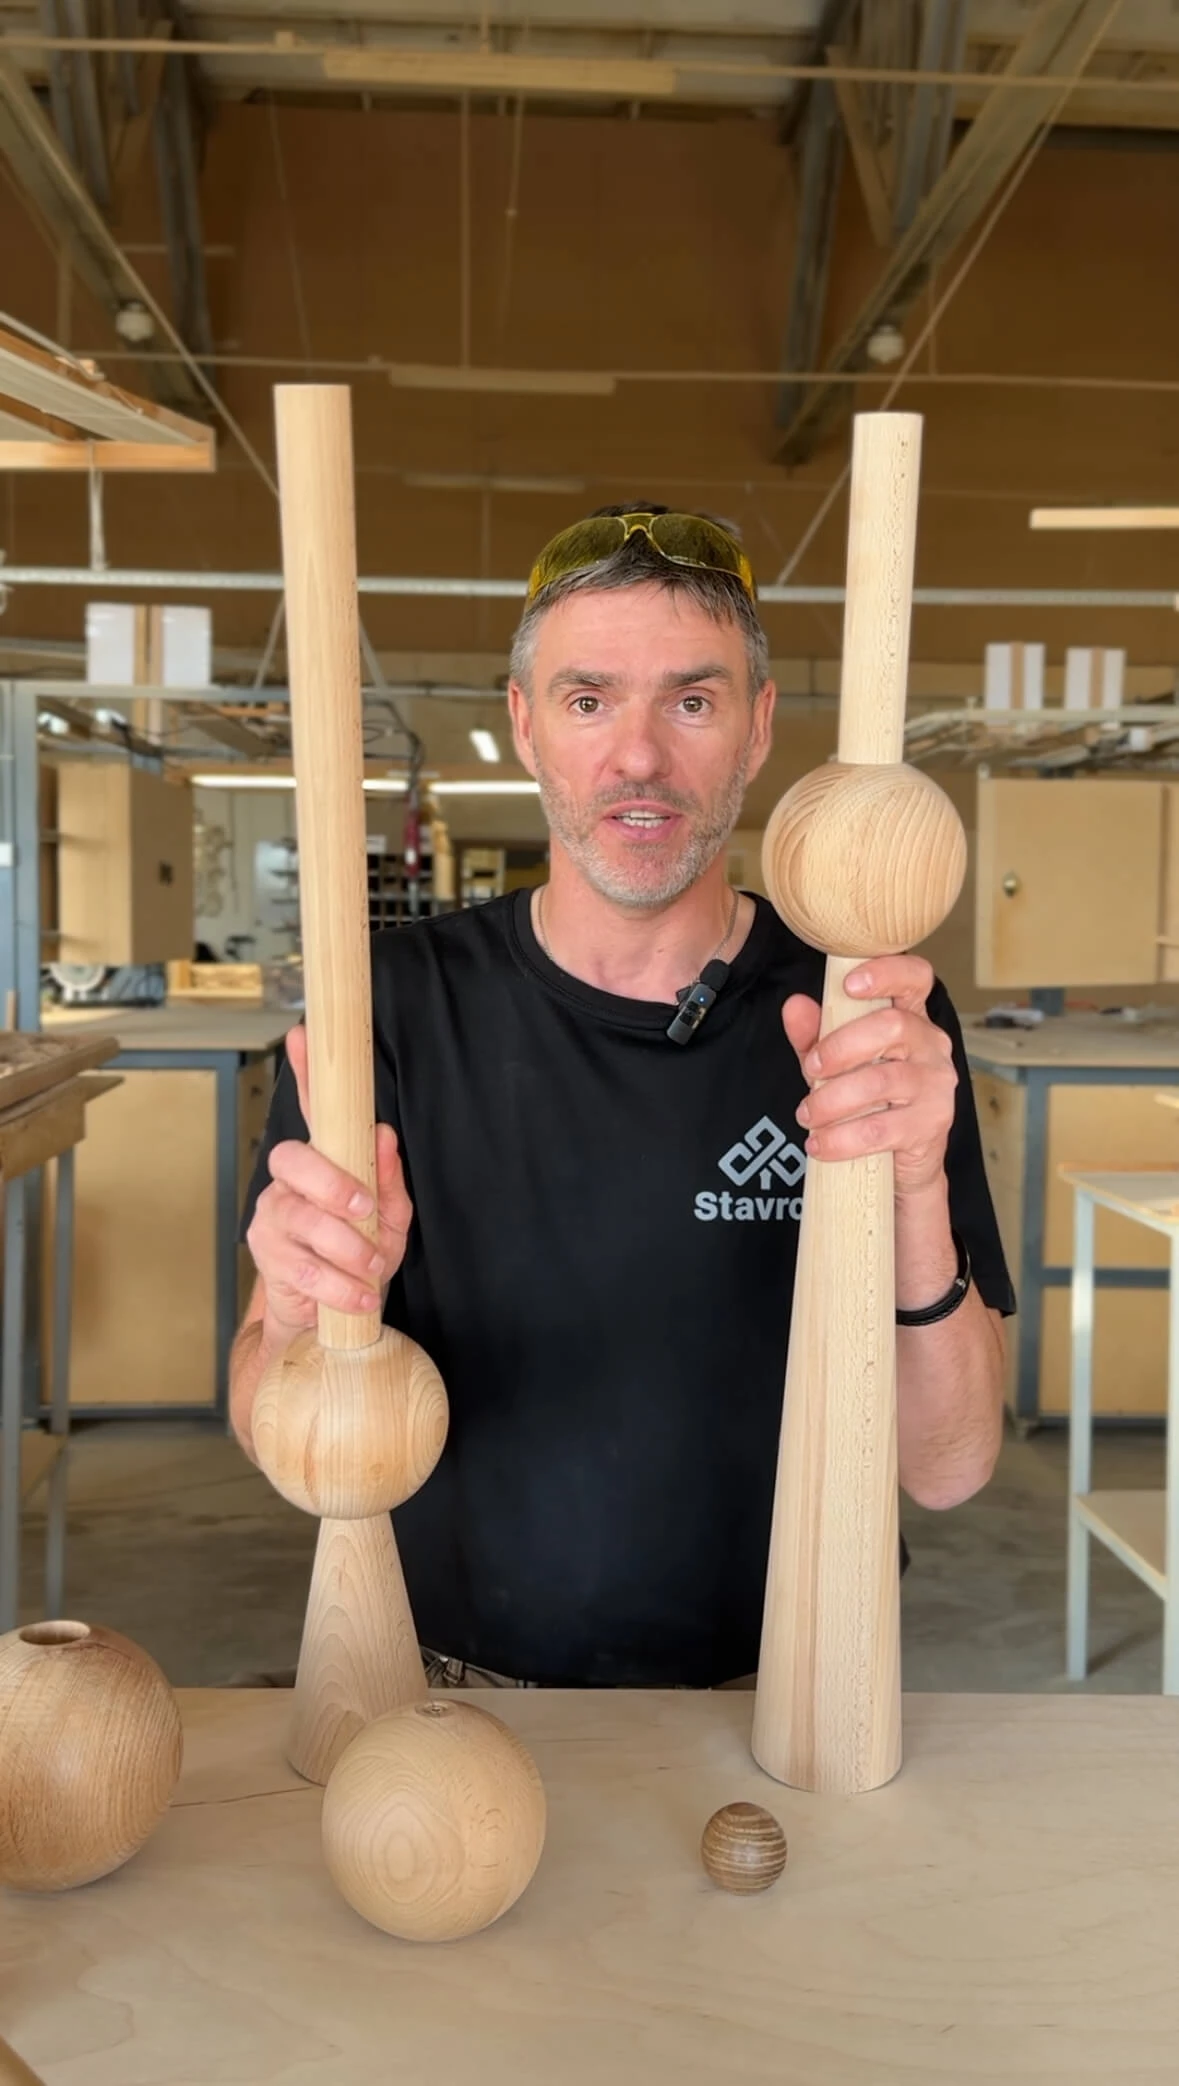
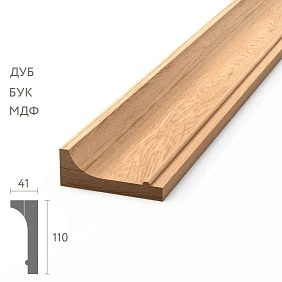
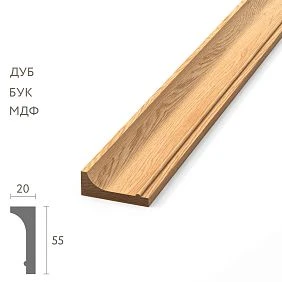
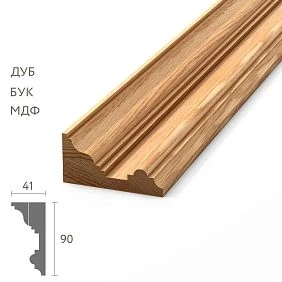
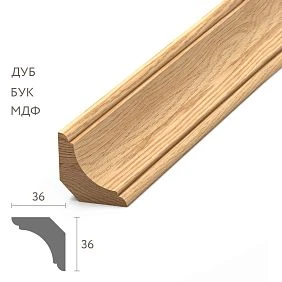
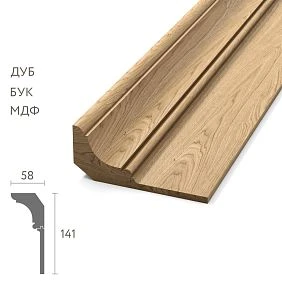
Our factory also produces:
Room dimensions: how the perimeter differs from the working route
The original training project has a rectangular shape: length 5200 mm, width 3450 mm. If you add up the four walls, you get the full perimeter 2 × (5200 + 3450) = 17,300 mm, or 17.3 m. This number is suitable for a skirting board that must go around the entire room, but it does not correspond to the chosen ceiling trim scheme.
For a wooden curtain rod, we take three walls: 5200 + 3450 + 3450 = 12 100 mm, that is, 12.1 m. The difference is 5200 mm — the entire length of the window side. This difference cannot be counted as "savings in rubles" without cutting: whole products of a certain length are sold, and the leftover parts do not always fit another spot.
| Living room area | Length per plan | Wooden profile |
|---|---|---|
| Far wall opposite the glazing | 5200 мм | Provided |
| Left side wall | 3450 мм | Provided |
| Right side wall | 3450 мм | Provided |
| Panoramic glazing side | 5200 мм | Not provided |
| Working route | 12 100 mm | Three walls |
These dimensions refer to a hypothetical room and are not yet the lengths of finished cut parts. On a real site, measuring along a finished wall may differ from the construction plan. Plaster, cladding, pilasters, slight corner deviations and a sloping ceiling change the actual route. The wider the cornice, the more noticeable the error caused by an incorrectly chosen measuring line.
It is useful to take three measurements separately: the distance from the inner corner to the opposite one, the lengths of the side sections along the installation line, and the gap between the window structure and the intended end of the profile. Also note the ceiling height and what the walls are made of. In an apartment with panoramic glazing, a decorative project can be more complex than a simple rectangle on paper.
Get Consultation
How to measure the ceiling line so the calculation doesn't mislead you
Take a tape measure or laser distance meter, a pencil and a simple room plan. First check that the walls considered parallel really have equal distances at different points. Then measure each section at the height of the future cornice: the dimensions at the floor and at the ceiling may differ slightly. Do not subtract "about a centimeter for the cut" from the value without checking the cross-section. For a corner joint, it matters which face of the profile the reference length is assigned to.
For a complex cross-section, the same part will have a different length along the near and far edges when cut at an angle. If the craftsman recorded 2300 mm along the short side, and another reads the dimension along the long side, they will get different blanks. Therefore, the measuring line must be labeled on the diagram. The most reliable approach is to agree it with a template of the actual profile, installed as it will stand against the wall and ceiling.
Check the actual geometry in the two inner corners. A slight deviation from 90 degrees may be unnoticeable on the plan, but after cutting a gap appears. If necessary, use a protractor or angle template to check; large decorative parts are best fitted using short test blanks. Don't start with an expensive two-meter element and hope the gap will hide under paint.
If the ceiling is stretch or suspended, separate the plane that carries the cornice load from the decorative film or sheet covering. Do not measure the route from the edge of temporary finishing that may change. When designing before renovation, record the position of the embedded supports if they are actually provided by the chosen fastening system.
Measuring is finished when you have not just three numbers, but a plan with the locations of two corners, two ends, four long parts and the remaining joints. With such a drawing, you can check the order and talk to a craftsman in another city without showing him the room by video call at every disputed point.
Cornice KZ-010 66 × 51 mm: when a moderate cross-section is enough
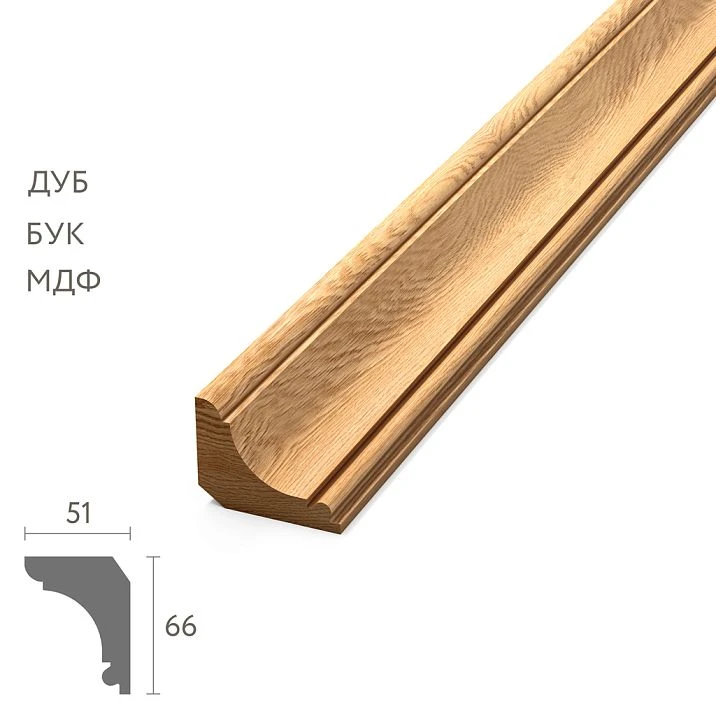
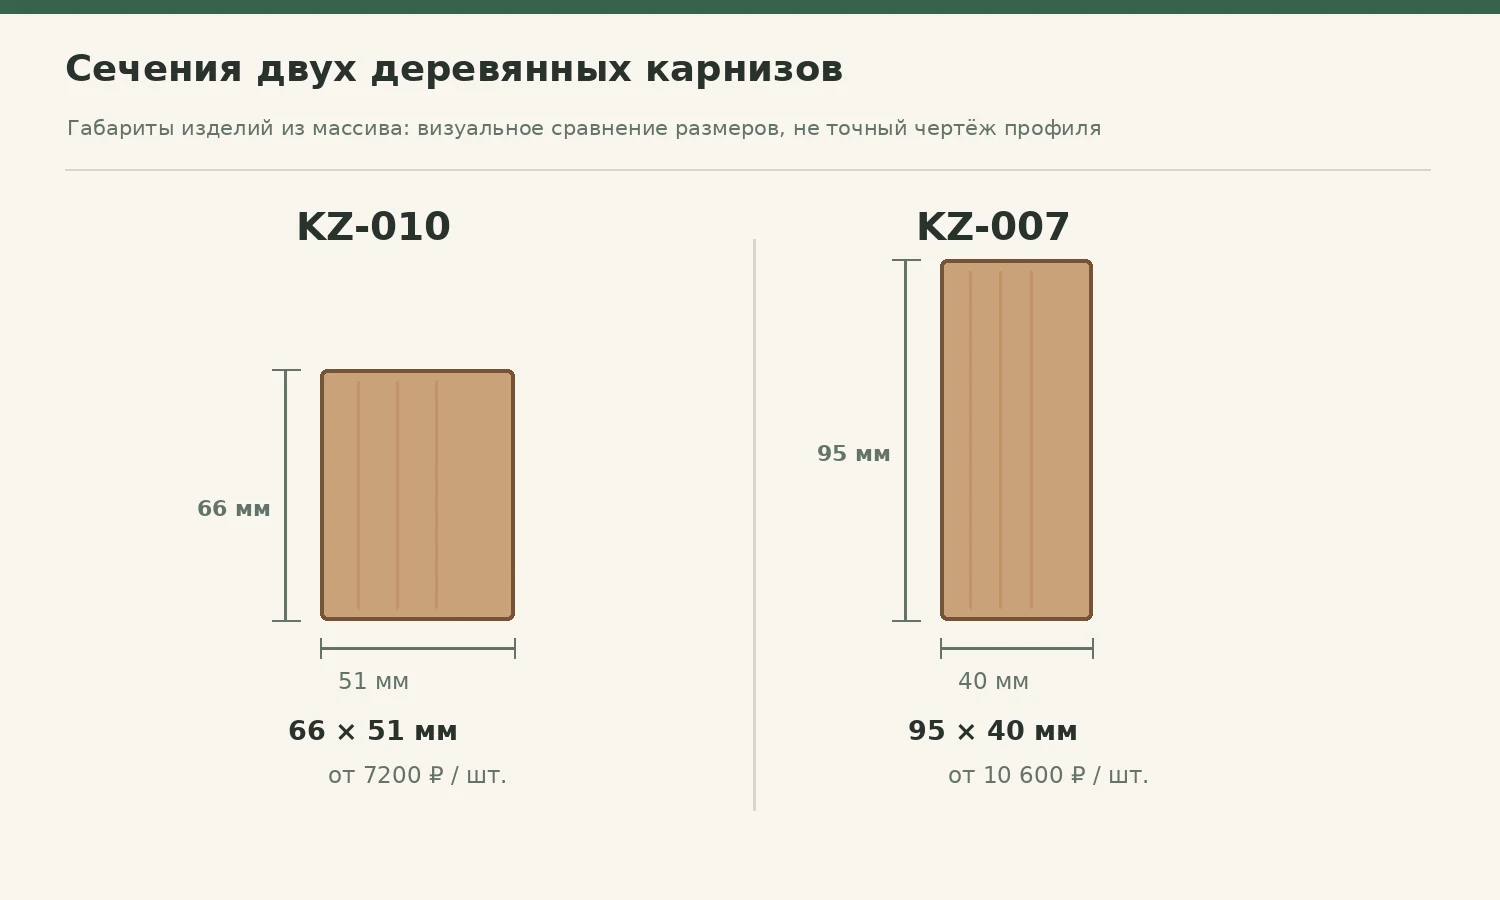
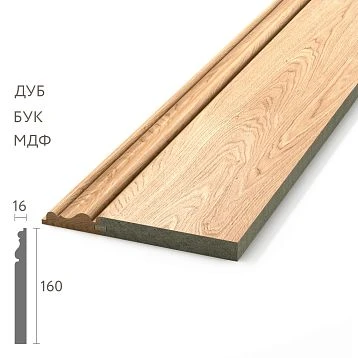
KZ-010 — a decorative ceiling cornice STAVROS, available in oak and beech versions, 2400 mm long with a 66 × 51 mm cross-section. According to the official product page as of November 13, 2026, the price of one such strip is 7200 ₽ in beech и 11,120 ₽ in oak. These wooden versions are exactly what is needed for the calculation, not MDF in a different length. The catalog also lists a KZ-010 variant in MDF with a length of 2600 mm, but it is not included in our project's estimates.
If you want buy wooden cornice KZ-010 for a living room with a panoramic window, start with scale. A profile about six and a half centimeters high can create a noticeable upper boundary of the wall without filling too much space under the ceiling. At the same time, the shape of the actual decorative cross-section matters more than a single number: protruding parts, transitions, and shadows change the visual impression. The pattern of the product cannot be reconstructed from a single rectangular pair of dimensions.
On a long wall of 5.2 m, this profile works as a continuous horizontal line, even if assembled from several parts. If the walls are finished with narrow wooden frames or flat paint, a moderate cross-section is usually easier to combine with other details. But this is a design assessment, not a technical standard. It can only be verified on a sample or a full-size fragment: hold the profile up to the ceiling and look at it from eye level from the sofa area and from the entrance.
For a buyer planning an opaque finish, it is important to coordinate the primer and enamel system with the wood species. Beech is often chosen for painting due to its relatively calm texture, but even its surface requires proper preparation. Oak is appropriate when the wood grain is preserved under a clear or semi-transparent finish. The price difference should be evaluated together with the future finish, not just by the cost of the unfinished strip.
Cornice KZ-007 95 × 40 mm: how the second option differs
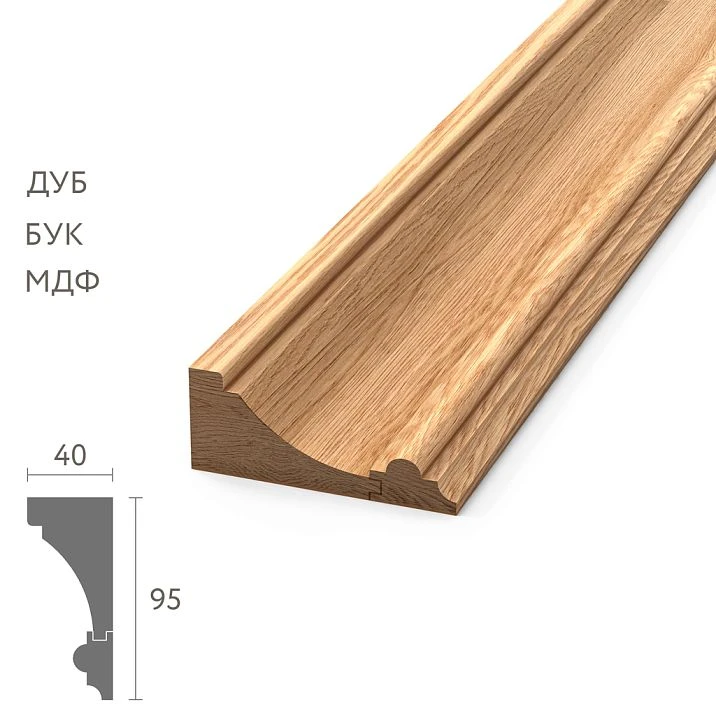
In the solid wood version KZ-007 has a cross-section 95 × 40 mm and a length 2400 мм. According to the STAVROS product page as of November 13, 2026, one beech plank costs 10 600 ₽, and the oak one — 15 440 ₽. This same model is also available in an MDF version, 100 × 40 × 2600 mm. It cannot be mixed with the wooden 95 × 40 × 2400 mm version: the material, size, and purchase length differ, even though the model name stays the same.
For those who want buy wooden cornice KZ-007, the increased visible height must be taken into account. The difference between 95 and 66 mm is 29 mm. In a single photograph this is minor; on a continuous ceiling line several meters long, it is more noticeable. The top of the wall gets a more pronounced finish, and at the window opening the end of the profile becomes a more significant element of the composition.
One should not conclude that KZ-007 is necessarily "better for high ceilings" or "suitable only for a large living room." The look depends on door height, the position of the curtain niche, the ceiling pattern, lighting, paint finish, and the length of the straight walls. In side light, the relief can cast a striking shadow, while in an interior with strong finish contrast it can become too heavy a horizontal band. Before ordering a sample, it is important to visualize the entire three-wall route, not just one corner.
The corners and joints of two different profiles will not align automatically. KZ-010 and KZ-007 are not designed to be interchangeable within a single line. Do not try to order three cheaper KZ-010 and three more expensive KZ-007, expecting that "after touch-up the transition will become invisible." If you need a pronounced cornice above one wall and a different one above the other two, that is already a new project with separate terminations and, possibly, connector elements.
Oak or beech: the material determines more than just color
The finish of a ceiling cornice is visible under angled light. Oak usually has a more pronounced wood grain; if a clear coating is chosen, the long line along three walls will gain a natural texture with variations in tone. Beech reads as calmer and is often convenient for painting. However, no material by itself guarantees a perfect color match: natural wood varies from batch to batch, and the finished coating depends on preparation, composition, and lighting.
For a bright living room with panoramic glazing, it is useful to check the sample not only in the evening under warm light, but also during the day with a large amount of light coming from the window. The same oak can look dark next to a white ceiling and considerably softer next to wooden doors. Beech under enamel can almost blend into the wall if the paint is matched tone-on-tone. Both scenarios are possible; the task is to determine the desired level of expressiveness before comparing prices.
To Buy wooden trim to avoid unpleasant surprises, fix the material for the entire run. If one segment is made of beech and another of oak, differences in texture and finish absorption can show even under a common paint coat. If the product will be tinted, test the chosen composition on an offcut from the same batch. A catalog photo cannot reliably predict the future color of the finished surface.
There is also the budget question. With six strips, the oak surcharge is not the difference between two one-off prices but six times that difference. For KZ-010 this is 23,520 ₽, for KZ-007 — 29,040 ₽. If a fully opaque paint is planned anyway, it is worth deciding separately which properties the oak is being bought for. If the customer wants to keep the texture, saving money through a random mix of species is unwise.
Seven ready-made parts: why the length of three walls is distributed this way
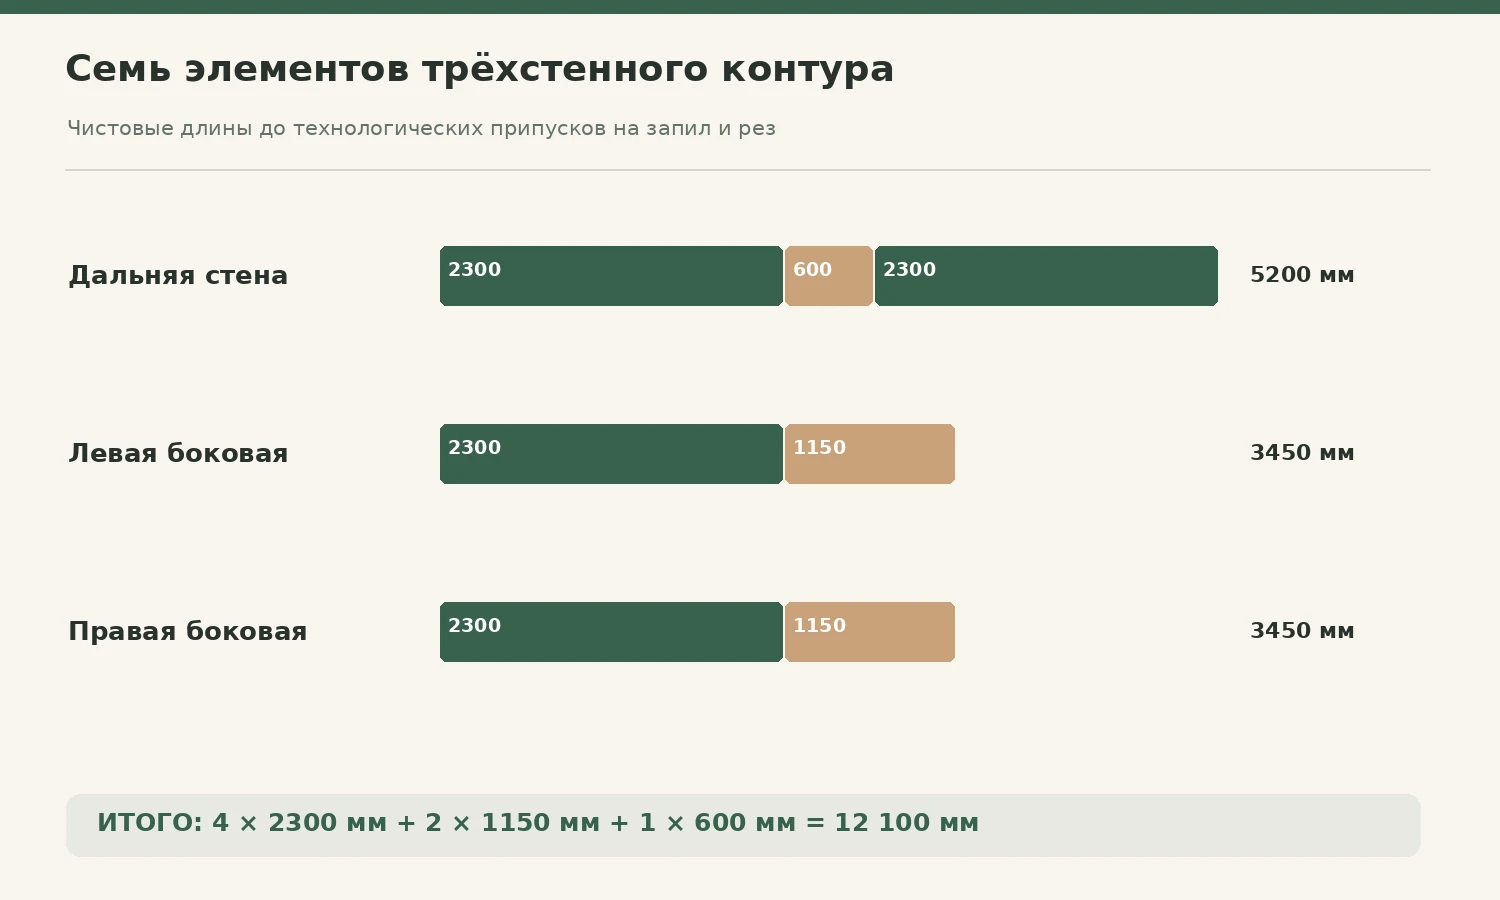
For the far wall 5200 mm long, we allow three segments: 2300 + 600 + 2300 mm. The central short part allows two straight joints to be placed symmetrically relative to the middle of the wall. This is not the only layout option, but it is convenient for discussing the appearance: instead of a random joint near one corner, you get two lines equally distant from the center. Depending on the profile pattern, the craftsman may propose another solution, but then the blanks need to be recalculated.
For each side wall 3450 mm long, two segments are provided: 2300 + 1150 mm. The short parts can be placed closer to the window or closer to the inner corner, depending on the visibility of the joints and the position of the furniture. It is important to keep the same approach on both sides if they are both in view from the center of the room. If curtains cover part of the side wall, an asymmetrical layout is also acceptable, but only after measuring the actually hidden area.
| Wall | Ready-made straight segments | Number of parts | Total length |
|---|---|---|---|
| Far | 2300 + 600 + 2300 mm | 3 | 5200 мм |
| Left side | 2300 + 1150 mm | 2 | 3450 мм |
| Right side | 2300 + 1150 mm | 2 | 3450 мм |
| Total | 2300 mm — 4 pcs.; 1150 mm — 2 pcs.; 600 mm — 1 pc. | 7 | 12 100 mm |
The four long 2300 mm segments are not accidental. They allow most of each wall to be covered with continuous sections, keeping the number of butt joints to a minimum. At the same time, the 1150 mm side segments can conveniently be obtained from a single factory strip. The short 600 mm central segment remains a separate cutting task. It cannot automatically be considered a "free offcut": after the other parts of the required length have been made, there may not be enough left.
This specification applies to straight sections and does not yet include the actual geometry of corner cuts. The length of the finished part must be determined along the agreed working edge of the profile. To avoid confusion, on the installation drawing each part can be labeled not only with the number of millimeters but also with its installation location: "far left", "far center", "right near the window".
Cutting plan for six factory strips of 2400 mm
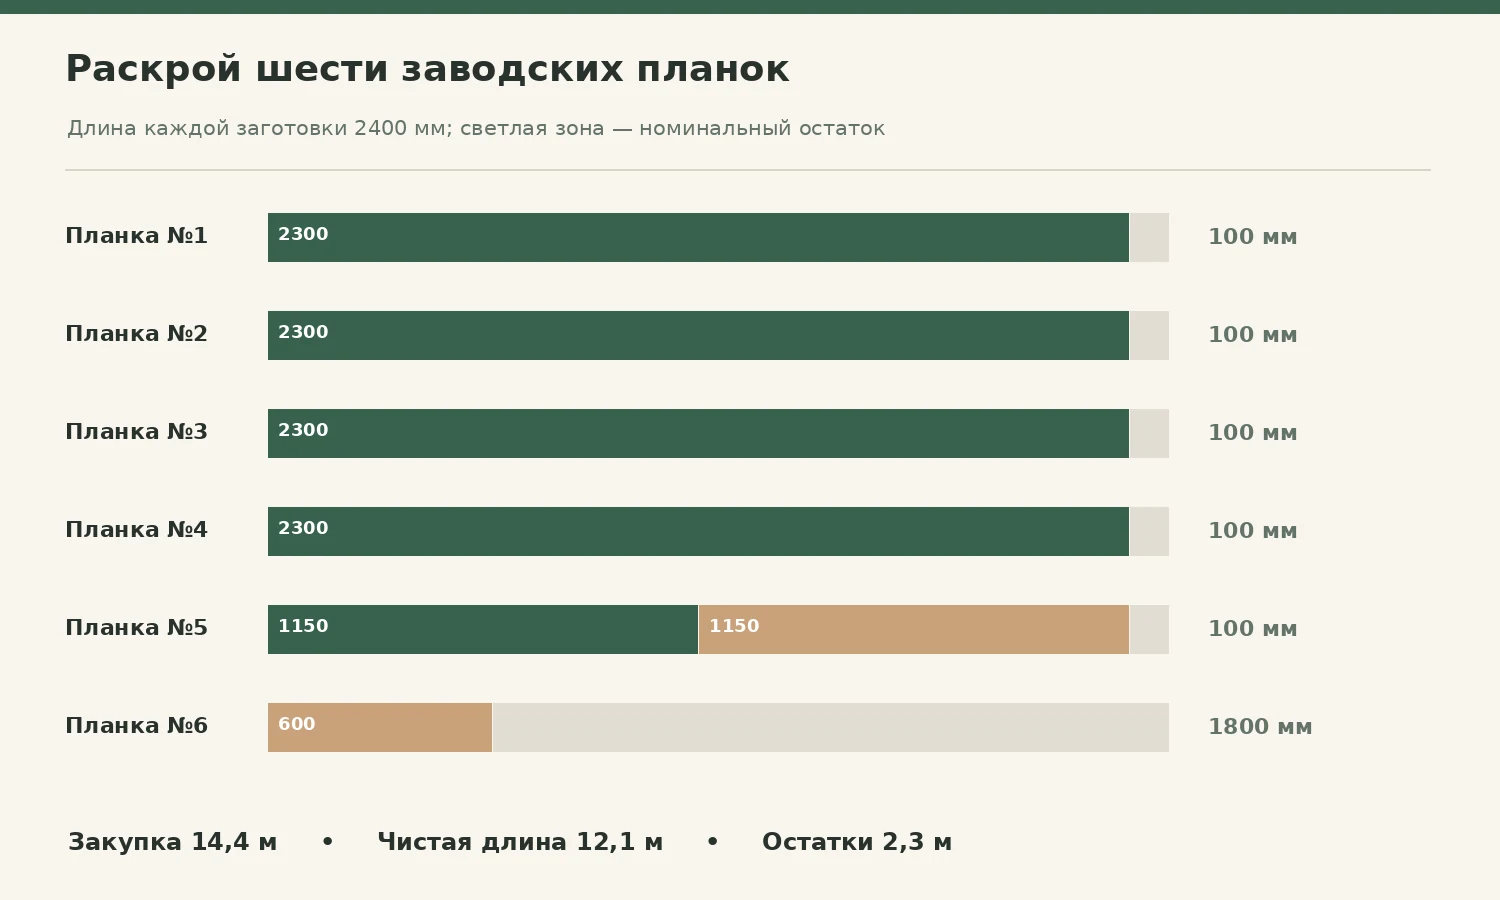
The factory length of the wooden KZ-010 and KZ-007 in the configurations considered is 2400 mm. For the seven finished parts, it is convenient to distribute six strips so as not to rely on questionable short offcuts. The first four strips are used for four 2300 mm parts. The fifth yields two 1150 mm parts. One 600 mm part is cut from the sixth.
| Source strip | Where the material goes | Nominal remainder |
|---|---|---|
| No. 1 — 2400 mm | Part 2300 mm | 100 мм |
| No. 2 — 2400 mm | Part 2300 mm | 100 мм |
| No. 3 — 2400 mm | Part 2300 mm | 100 мм |
| No. 4 — 2400 mm | Part 2300 mm | 100 мм |
| No. 5 — 2400 mm | Two pieces of 1150 mm each | 100 мм |
| No. 6 — 2400 mm | Piece 600 mm | 1800 мм |
| Total 14,400 mm | Finished pieces 12,100 mm | 2300 мм |
The leftovers in the table are deliberately called nominal. A real saw makes a kerf; the ends may need cleaning up; internal corners involve mitre cuts with different lengths on different faces. Even when the arithmetic leaves enough material, you need to make sure that all pieces will come out at the required finished size. This is especially true for the four 2300 mm segments, where only 100 mm remains on the original strip.
The sixth strip with a 1800 mm leftover does not mean the buyer is overpaying for a completely useless piece. It can be a sensible reserve for a trial corner cut, checking the lacquer shade, replacing a short fragment, or making a new end piece. But you cannot promise in advance that it will yield a full-fledged eighth piece in any direction. The actual possible uses depend on the profile position and the required length.
Before sending the specification, ask the craftsman to check whether the allowance is sufficient for 2300 mm when the finished product must have an angled cut. If, along the selected reference side, the required blank length exceeds 2400 mm, the calculation for six products will no longer be valid without changing the layout. Here it is better to change the design lengths or joint points than to hope for an unnoticeable gap.
Why five planks are not enough even without accounting for the saw cut
There is a simple way to detect an error in the estimate even before complex cutting. Five planks 2400 mm long give only 12,000 mm of material. And the finished line along three walls is 12 100 mm. There is already a 100 mm shortfall, and we have not yet accounted for a single saw cut. Consequently, this project does not fit on five initial planks under any arrangement of the seven parts.
A geometry check confirms the same conclusion and explains why six is a reasonable starting point. Each of the four 2300 mm parts almost entirely occupies its own plank. After obtaining them, four planks will nominally have 100 mm left each. These pieces cannot be combined into a full-fledged 600 or 1150 mm part, since the joints would change the approved scheme.
Two more 1150 mm segments and one 600 mm segment are also needed. Their total length is 2900 mm. They will not fit on one remaining plank even theoretically, but they do fit on two according to the described map. As a result, six planks are the minimum for the specified lengths and layout, if the actual saw cuts allow all seven parts to be obtained. This clarification is no less important than the number itself.
Estimates built on the formula “12.1 / 2.4 and round up” will accidentally give the correct six pieces in this example. But this approach does not check whether four long segments will fit, does not address corners, and says nothing about the visibility of butt joints. In another room, dividing may produce an incorrect result. Therefore, the cutting map must be saved as an attachment to the order, even when the quantity has already been calculated.
Where to place butt joints so they do not stand out
For the long wall, we chose a symmetrical three-part composition. The transition from the first piece of 2300 mm to the central 600 mm and then to the last 2300 mm creates two equally positioned joint points. With a uniform decorative relief, they are easier to control during installation. However, if the cornice has a pronounced repeating pattern, symmetry along the length may not be enough: the pattern and grain direction will need to be matched.
On the side walls there is one butt joint on each side. The decision on its location is made not by the abstract rule “always by the window,” but by the actual appearance of the room. If the end is hidden by a heavy curtain, it is sometimes advantageous to place the short piece closer to the glazing. If a tall cabinet stands by the window, another position may be more convenient. The joint must not be placed in an area where the cornice has no reliable base, solely to keep it out of sight.
Before the final cut, hold two whole planks against the intended joint location, mark the line of the future joint on masking tape, and look from the main viewing points: from the entrance, from the sofa, from the window. This is exactly how it becomes clear whether strict symmetry is needed. With a clear lacquer finish, changes in the wood pattern may be noticeable; with opaque paint, the profile line and the quality of the joint matter more.
A small offset joint, executed neatly, often looks better than a geometrically ideal but poorly joined pair. The main thing is that the connection is stable, does not interfere with fastening, and does not create sharp, protruding edges. The final joining methods should be specified by the installer, taking into account the profile and the base.
Two internal corners: test-fitting before cutting long pieces
In our plan, the two side walls meet the far wall at an angle that is specified as 90 degrees. On site, this must be measured. In the corner, two cornice pieces with a relief face profile meet. If they are simply cut square, an exposed complex cut or an unacceptable gap may remain. If they are cut at half the nominal angle without test-fitting, a small deviation in the walls will show along the entire height of the cornice.
The safest sequence is to first establish the orientation of the profile on the wall and ceiling, then make trial corner templates from short offcuts and check them in place. After that, fix the measurement line for the long section, and only then cut the expensive plank. In the calculation for six pieces, the sixth plank leaves a relatively long remainder; part of this reserve can be used for trials, but it does not guarantee compensation for any error.
The method of supporting the joint is also important. If one profile abuts another without sufficient base, the connection may become more noticeable over time due to wood or finish movement. Adhesive, fasteners, and support are selected according to the actual construction. A decorative cornice should not be treated as a load-bearing beam or used as a holder for a curtain track: that is a different load and a different installation method.
You also must not hide access to the electrical connection, curtain drives or window service elements behind a decorative corner. Even a beautiful finish should not turn the repair of a simple part into dismantling the entire cornice. Before closing the corner assembly, check whether any technical elements are located there that will need to be opened later.
How to finish the profile next to panoramic glazing
The two ends at the window wall are the most noticeable assembly in this project. If an open, untreated cross-cut is left, a person will see the end grain of the wood, the pattern of the layers and possible saw marks. With a dark stain, such an end is often perceived even more contrastingly. Therefore, the end must be designed as carefully as the internal corner.
There are several fundamental solutions: a neat straight termination with a treated end, a short return of the profile to the wall, or a transition into an adjacent element specified by the project. The choice depends on the shape of the specific cornice and the free space near the window. It is not possible to confidently promise a ready-made standard end cap for KZ-010 or KZ-007 unless its availability is confirmed by the product card and catalogue. If necessary, the craftsman prepares a trial assembly and agrees it with the customer.
The wooden profile must not rest on the glass, the sash, moving hardware or a guide that requires access. Curtains may move in the upper zone, and the protruding end of the cornice must not catch the fabric. Leave a technical gap not according to an arbitrary universal standard, but according to the actual dimensions of the selected window and curtain systems.
If there is a ceiling niche near the window, look at its actual width. A decorative cornice can sometimes end before the niche so as not to create a heavy projection. But simply cutting an already installed strip in place is a risky solution: you can damage the coating, the base or the window seal. It is better to plan the end of the line on the drawing, show it in section and include it in the installer's task.
Four estimates: how much do six KZ-010 and KZ-007 cost
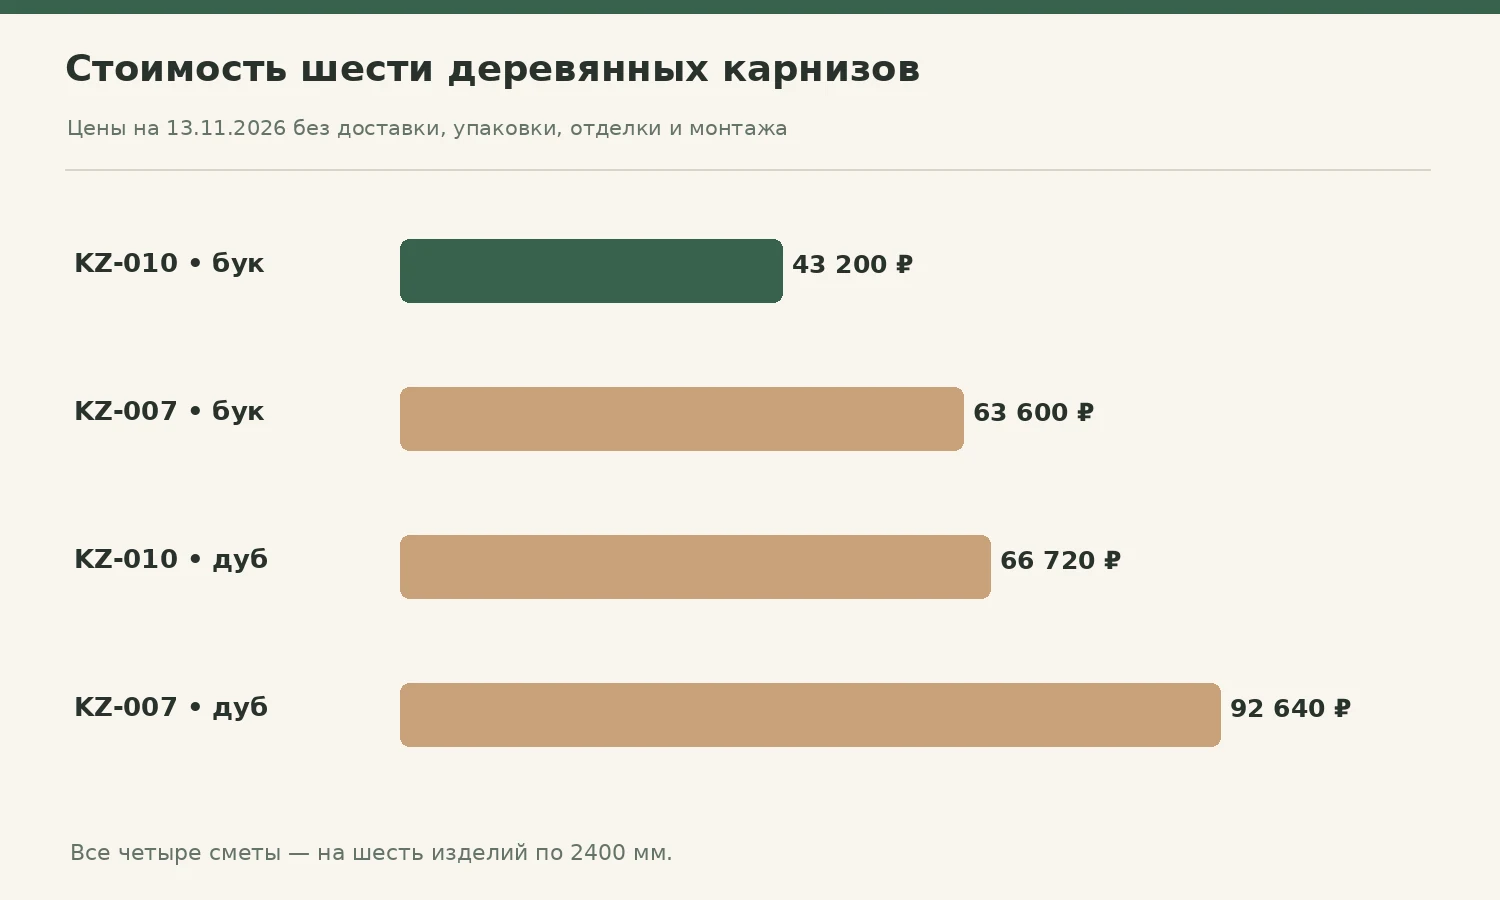
The basis of the calculation is the prices of the official STAVROS product cards on November 13, 2026. For comparison, we take only wooden versions with a length of 2400 mm: beech and oak. The price refers to one factory strip, not to a linear metre. All four estimates are calculated for six items, so they do not include a possible reserve seventh strip.
| Solid wood cornice | Price of one 2400 mm strip | Six planks | With a spare seventh |
|---|---|---|---|
| KZ-010, 66 × 51 mm, beech | 7200 ₽ | 43 200 ₽ | 50 400 ₽ |
| KZ-010, 66 × 51 mm, oak | 11 120 ₽ | 66 720 ₽ | 77 840 ₽ |
| KZ-007, 95 × 40 mm, beech | 10 600 ₽ | 63 600 ₽ | 74 200 ₽ |
| KZ-007, 95 × 40 mm, oak | 15 440 ₽ | 92 640 ₽ | 108 080 ₽ |
The spread between the cheapest and the most expensive six-plank set is 49 440 ₽. This is the difference in the cost of the selected wooden profile itself. It does not include delivery to Yakutsk, the protective frame, craftsman services, fasteners, sawing, sanding, lacquer or painting. You cannot add an arbitrary percentage for "northern logistics" to it: the real cost of transportation depends on the packaging, the address and the terms of the specific transport company.
With KZ-007 in beech, the set costs 20,400 ₽ more than the beech KZ-010. For the oak version, the difference between the models is 25,920 ₽. If the interior calls for a larger profile, this surcharge may be justified. But if the task is only to neatly finish the wall, and the ceiling is low and the window takes up almost the entire side, it is worth seeing both profiles to scale before choosing the more expensive one.
When solving buy wooden cornice focus on the cost of the entire set. The price of a single item seems like a small part of a renovation until it is multiplied by six and then supplemented with finishing and delivery. At the same time, you should not buy a mix of cheap and expensive profiles for one line without a separate design plan — the visible difference in cross-sections is not offset by the savings.
Spare plank: when it is needed and when it is better to skip it
The seventh plank increases the order total by the cost of the selected finish: 7,200 ₽ for beech KZ-010, 11,120 ₽ for oak KZ-010, 10,600 ₽ for beech KZ-007, and 15,440 ₽ for oak KZ-007. Buying a spare is justified if the site has a high risk of trimming after additional measurement, there are complex angles, careful matching of the wood grain is required, or delivery of a single replacement later would prove difficult.
But a spare cannot be assigned automatically. If the installer has already checked all dimensions, approved the reference edge, made test cuts, and confirmed the map of six planks, the seventh may remain unused. A long-length blank also needs to be stored somewhere under suitable conditions after delivery. Sometimes it is more efficient to keep an offcut of up to 1,800 mm provided for by the cutting plan than to buy an additional whole plank.
A reserve does not replace proper packaging. Even seven planks can be damaged by poor securing in the vehicle, and conversely: six carefully packed items can arrive without loss. Before discussing a spare, find out the terms of rigid packaging, the number of cargo places, and the procedure for filing a claim in case of damage. For the northern direction, these matters affect the final purchase no less than the type of wood.
If part of the order is needed as a spare, ask whether all items can be supplied in one species and from a matched batch. An additional plank purchased several months later may differ noticeably in tone. Under opaque enamel this difference is usually less significant, but under clear oil or lacquer it can sometimes become visible along a long section of wall.
How to arrange delivery of a long-length cornice to Yakutsk
The main peculiarity of an order from another region is that what is being transported is not a nominal number of linear meters but six solid items 2,400 mm long. After packing, the cargo place usually becomes longer than the plank itself. If the buyer relies only on the size in the product card, they may choose a pickup method that in fact does not accept such packaging. Therefore, before paying, ask the seller to state the final length, width, height, and weight of the places, as well as the type of protection for the ends and the textured surface.
STAVROS reports Contact us to confirm shipping to your destination. via transport companies. The possibility of shipping a specific long-length set to Yakutsk, the transit time, and the availability of a pickup point should be confirmed for the chosen address. Not all transport methods are suitable for cargo of uniform length. If delivery ends at a terminal, find out how to then take the packed planks to the apartment. They may not fit into a compact car even at a slight weight.
For a person who wants wooden cornices with delivery to Yakutsk, it is useful, even before paying, to agree on a single order: one article number, one species, six items of the same length, the delivery address, the recipient, and a mobile phone number. If the batch includes a spare seventh plank, it must be explicitly stated. Otherwise, the parties involved in delivery may be working from different versions of the estimate.
Ask separately what the packaging will be: rigid protection is especially important for a profile with a textured face and protruding edges. KZ-007's official page has information about the cost of the protective frame, but the packaging terms for a specific order must be confirmed separately. Do not add up frames mechanically without knowing the number of cargo places. Packaging for several long items may differ from the packaging of a single plank.
It makes sense to find out when the seller can hand the set over to the carrier. This is a separate timeframe, not equal to the transport time. Even if the website lists some variants as in stock, the availability of six units of the same species at the time of ordering must be confirmed. A record of stock at another warehouse does not mean the entire set will be issued immediately in Yakutsk.
Acceptance: what to check before cutting begins
It is better to inspect the delivered items before final unpacking and especially before processing. Check the delivery note against the specification: six units of the same article number, the correct species, nominal length 2400 mm. If the planks were distributed across several places, check the number of places and the integrity of each. Photograph any visible packaging damage before removing it, and if product defects are found, follow the carrier's and seller's rules.
After careful unpacking, assess the flatness of each element, the absence of chips on the textured side, damage to the corners, and traces of moisture. Compare the shades of the planks with each other. If a clear finish is planned, place the items next to each other under the same lighting. This does not mean that natural wood must have absolutely identical grain, but obvious contrasting differences are better noticed before installation.
Mark the packaging and the temporary cutting plan so that the craftsman does not mix up the parts of the future set. Four long 2300 mm sections are easier to obtain from blanks without damage at the ends. If one end has a defect and will have to be trimmed, report this before cutting the remaining planks: the total allowance will already change.
Do not begin installation immediately after moving the cargo from a cold warehouse into a warm apartment. The first measurement and trial fitting are useful for assessing condition, but final trimming, sanding, and coating are done after the material has been prepared for the room conditions. The specific acclimation schedule and permissible moisture content should be checked in the manufacturer's documentation and the finishing system used.
Wood, cold delivery, and a warm living room
In Yakutsk, winter logistics and operating conditions in a heated room differ sharply. It does not follow from this that one can name a universal number of hours for any oak or beech plank to "get used" to the room. The rate at which temperature and humidity equalize depends on the profile thickness, packaging, initial condition of the material, and storage conditions. Hasty opening of cold cargo near a heater can create unfavorable conditions for the surface.
Set up a place for horizontal storage on level supports, protected from local overheating and contact with a damp floor. Do not lean all the long planks against a hot radiator for a day just because that frees up a passage. Provide the conditions specified by the manufacturer and let the material equalize its condition before final cutting. Pay special attention to the items that will be coated with clear lacquer: defects on the face surface are more noticeable than on the hidden side.
If the cornice is planned to be installed in a new building after wet works, assess the readiness of the room. Fresh plaster, screed and painted walls can change the humidity regime. A costly solid wood piece should not be fixed to a base that has not yet dried or is still noticeably changing. Check the recommendations for adhesive, primer and fixing technology, and if in doubt, request the installer's conclusion.
Drying, preparation and coating belong to different stages. Wood cannot be "stabilized" with a thick layer of varnish if it has already acquired undesirable shape changes. Likewise, a neatly painted end does not correct an incorrectly made cut in the corner. The sequence must remain simple: accept the material, prepare it for the room, check the geometry, saw, try on, fix and complete the finishing according to the chosen technology.
Base and fixing: a wooden profile does not replace a load-bearing system
The cornice has its own mass, and the fixing method is determined not only by its length. Under the decorative profile there may be concrete, brick, plaster, drywall cladding or a prepared wooden structure. Each option has limitations. On a brick or concrete wall, the condition of the top layer must be determined and a fixing to the load-bearing part selected. On drywall — the presence of reinforcement or another provided support. You cannot choose an adhesive just because it was suitable for a lightweight plastic moulding.
Before starting work, check the contact plane. If the cornice touches the wall only at two small protrusions, and a wide gap remains between them, an attempt to tighten it with fasteners may lead to deformation of the part or cracks in the finish. Base irregularities are corrected within the accepted technology, not with an excessive amount of mounting compound. Such errors are especially noticeable on a long wall of 5200 mm, where side light from a panoramic window reveals a wavy top line.
The fasteners must hold the chosen profile taking into account its mass and the base. A universal screw spacing or dowel size cannot be introduced here without an engineering solution. Pass the data on the model, wood species and cross-section to the craftsman; ask them to determine the required support system and comply with the manufacturer's recommendations. The fixing points must remain compatible with the future finishing coating and not damage the relief.
For a ceiling with technical services, a separate question is where cables, embedded parts, curtain tracks and possible light fixtures run. Do not drill where the structure is unknown. If decorative lighting is provided, do not turn an ordinary wooden cornice into a lighting box without assessing fire safety, ventilation and access to the equipment.
Stretch ceiling and window niche: two independent assemblies
The stretch fabric is not a base to which a massive cornice can be attached. The decorative profile rests on the provided wall structure or a special support designed by the planner. If the ceiling has not yet been installed, agree the sequence of works with the ceiling system installers in advance. After installation, some assemblies become inaccessible, and an attempt to supplement them with a wooden part without preparation may result in damage to the fabric.
In the window area, check the movement of curtains, if provided. A ceiling track may have its own offsets, maintenance points, an electric drive and access to the fasteners. The decorative end near the window must remain clear of these elements. In our project, the absence of a cornice along the glass wall helps not to mix the two structures, but by itself does not resolve the question of the exact length of the side sections.
At the junction with a stretch ceiling, there may be gaps, profiles and special inserts. It cannot be promised that KZ-010 or KZ-007 will cover any such junction due to its height. Compare the actual cross-section profile with the section of the ceiling system. If required, make a short mock-up of the junction and approve it before purchasing the entire batch.
Even after technical approval, check the visual perception. The wider KZ-007 near a stretch ceiling may cast an intense shadow and change the apparent height of the room. The compact KZ-010 will look different. There is no answer that is the same for all rooms: a sample and a look from a usual distance are needed.
Installation sequence without losing seven parts
To preserve the cutting map, assign each future part a number and a destination wall. On the printed plan, mark the direction of the front side. Before the first cut, check that the craftsman has an approved drawing of the window end and a diagram of both internal corners. If there is doubt about the 2300 mm length along a specific working edge, make a test cut on an offcut, not on one of the four main strips.
It is convenient to organise the work in stages. First, the base is checked and final dimensions are taken. Then trial corners and the end are prepared, after which the drawing is adjusted. Only after this are the original products cut according to the map. Fixing begins with the reference points and the longest sections, constantly checking the horizontal and pattern alignment. The appearance of the two straight joints on the far wall is best assessed before final fixing of the short central part.
If during the process it turns out that the 5200 mm wall has a noticeable bow, do not rush to shorten the central section by eye. First find out where the difference came from: an incorrect measurement, the thickness of the corner joint, an uneven wall or a changed installation line. Re-measure the section along the accepted reference edge. Otherwise the next part will also turn out wrong, and overall consumption will increase.
After fitting, carry out the fixing permitted for the specific base. Make sure the visible joints remain clean and even. A thick layer of filler should not be relied on as a substitute for an accurate cut. Wood and the surrounding finish may react differently to changes in conditions; therefore, for joints and coating, use compatible materials according to the manufacturer's instructions.
Cornice finishing: the whole line becomes visible, not just one strip
There are two main strategies in choosing a finish. The first is to leave the wood texture under a clear or semi-transparent coating. The second is to use opaque paint and turn the cornice into an architectural line of the same colour as the ceiling or wall. Both strategies require careful treatment of the ends, trial application of materials and approval of the shade. This is especially important near a panoramic window, where daylight reveals differences between adjacent sections.
For oak with a pronounced pattern, coatings that preserve the natural texture can be considered if this suits the interior. But each product has its own wood structure; it cannot be promised that six strips will be absolutely identical in tone. With an opaque finish on beech, the evenness of preparation and the compatibility of the primer with the topcoat are often more important. Comparing them as "expensive and cheap wood" is too crude: what the customer wants to achieve visually also differs.
Pay special attention to the end faces. They are visible in two places near the window wall and also form joining surfaces at butt joints. You cannot leave open end faces without the specified treatment and expect the decorative line to look finished. If the cornice is tinted, a test on the end face is especially useful: it may take the finish differently than the smooth front surface.
When painting to match the ceiling color, first look at the actual boundary of the finish. Sometimes a narrower profile almost dissolves into the overall line, whereas the wide KZ-007 creates a noticeable shadow even in white. This may be the desired result, but it should not come as a surprise after installation. Do not choose a cross-section based only on the name of the paint shade.
The finish coating should be selected taking into account the conditions of the heated room and the recommendations of the coating manufacturer. Do not rely on unverified universal promises such as "never yellows" or "resists any humidity." For a ceiling cornice, a coordinated system of materials, proper surface preparation, and adherence to the application instructions are important.
Mistakes that turn a correct estimate into an incorrect one
They buy 17.3 m instead of 12.1 m. This happens when the room perimeter is automatically taken as the route of the ceiling trim. If the window wall is left free by design, buying profile for it brings no benefit. Before calculating, mark the route on the plan.
They count only the total length. Dividing the net footage by 2400 mm does not verify the set of specific cut lengths. In this example, five planks will not be enough even by total length; in other projects, a shortfall arises from lengths that are incompatible when cut. Use the seven-piece table.
They mix up the wooden and MDF versions. The KZ-007 product page lists an MDF version measuring 100 × 40 × 2600 mm and a solid wood version measuring 95 × 40 × 2400 mm. Substituting one version for the other will change the profile, the length, and the cost. In the specification, write the species, cross-section, and factory length in full.
They confuse the long and short sides of the cut. With a relief profile, this results in a workpiece that formally "matches the linear footage" but does not fit into the intended place. Label the working edge on the drawing and check a test corner.
They forget about the termination at the window. An open, unfinished end spoils the impression more than a single neat straight joint. The termination detail must be agreed upon before purchase; the size of the adjacent curtain and window system matters.
They mistake a decorative element for a mounting for other equipment. A wooden cornice must not support a curtain system, stretch ceiling, or technical light box without a separate calculation and a suitable structure.
They order based on a photograph. An image does not give an accurate idea of the cross-sectional size, relief, species, finish, or how the profile will look in side light. Verify the properties using the product card, drawing, and, if necessary, a physical sample.
They do not take transportation into account. If you state "six pieces" without information about the 2400 mm length and rigid frame, you may end up with an unsuitable delivery method. The seller needs the full order composition, and the buyer needs the parameters of the packed cargo.
If the dimensions changed after measuring: how to adjust the order
Suppose the side wall turned out to be 3490 mm instead of 3450 mm. The 40 mm increase itself will not necessarily increase the number of strips, but it will change the parts and the joint locations. You can keep the long section at 2300 mm and make the short one 1190 mm. Two such short segments still theoretically fit into one 2400 mm strip: 1190 + 1190 = 2380 mm. But only 20 mm will remain for the cut and end trimming, so without a thorough technological check such a cutting plan can no longer be confidently approved. A different layout or an additional item may be needed.
If the far wall has become 5250 mm, the previous layout of 2300 + 600 + 2300 no longer covers it. You can discuss a central part of 650 mm, which can still realistically be placed on the sixth strip in terms of length. But its position, joints and corner allowances require re-checking. You cannot simply replace one number in the specification text without looking at the two adjacent parts.
A change in height or ceiling structure is especially important. If a suspended box appears, the attachment point may shift so that the old dimensions become meaningless. Recalculate the line based on the actual installation position and re-check both internal corners. Only then confirm the order total. The previous unit prices can be used as a guide, but availability and cost must be re-verified against the catalogue.
What to send the seller to place the order
Once the dimensions and model are agreed, consolidate the information into a single specification. It is enough to state the project name, delivery city, item code, material, cross-section and factory length, quantity of six pieces, the selected finish and a request to confirm the packaging terms. Add a separate diagram with seven parts and two ends at the window. The seller should not have to guess why the buyer needs so many identical cornices.
For the option with a more understated cross-section, you can buy oak cornice KZ-010, choosing oak 66 × 51 × 2400 mm; for opaque painting, it is worth separately evaluating beech cornice KZ-010 66×51 mmIf a taller decorative band is needed, you can buy oak cornice KZ-007 in the 95 × 40 × 2400 mm version. These options should not be mixed within a single straight run.
Request the final total taking into account the current price of the products, the packaging method and delivery. If fasteners, primer or finishing materials are included in the order, they should be listed separately so it is clear what portion of the estimate is the wooden profile itself. Clarify who confirms the condition of the goods upon receipt and what to do if a cargo unit is damaged.
In the proposal to the installer, state that the cutting plan is preliminary. The contractor is obliged to verify all actual dimensions and angles. This protects the order from a common mistake: the client is confident that "six cornices are enough according to the table," even though after changes to the room or the mitre cuts the required blanks no longer fit.
Customer questions about wooden cornices for three walls
Can the ceiling on the panoramic window side be left completely bare?
Yes, if this is an agreed architectural solution. It is important to finish the two ends of the cornice, check the proximity to the curtain system and achieve a neat junction with the wall. The absence of a wooden profile along the window is not a technical defect in itself.
Why not use one long cornice without straight joints?
The length of the selected wooden versions is 2400 mm, while the far wall is 5200 mm. It cannot be covered with a single plank. A different layout of the joints can be designed, but they cannot be completely eliminated at these factory lengths. The question is the location and quality of the connections.
Can KZ-010 be replaced with KZ-007 after the calculation?
In terms of the number of source strips — yes, if seven parts are preserved and the required allowances are confirmed for the new section. For installation and appearance, there is no automatic replacement: the sections differ, and the angles, ends, and ceiling position must be rechecked. The cost also changes.
Do I need to buy a seventh strip for delivery over a long distance?
Not necessarily. First confirm the cutting plan, packaging quality, and delivery method. A seventh strip is useful when there is a real risk of trimming or damage, but it increases the estimate and does not solve installation errors. For the project under consideration, six items are provided.
What should I do if the side walls differ by several centimeters?
Do not try to hide the difference with identical ready-made parts. Re-measure both walls along the installation line, adjust the layout, and recalculate the new consumption. In some changes, the previous six strips are sufficient; in others, a new cutting plan will be required.
Can the cornice be mounted directly onto the stretch ceiling fabric?
No, the fabric is not designed for such a load. A suitable base and coordination with the ceiling structure are required. The mounting method is determined by a specialist based on the actual assembly, not just the name of the decorative item.
How can I estimate the shipping cost to Yakutsk before purchasing?
Request a calculation for the specific address, number of items, and dimensions of the packed cargo units. Compare the available delivery methods, included protection, inspection conditions, and the total order fulfillment time. Without this information, a universal delivery amount cannot be provided.
Where can I see photos of the actual models before ordering?
In the official STAVROS product pages: KZ-010 and KZ-007. Compare the photos with the selected material and dimensions in the specifications table. Interior images show possible applications but do not replace checking the geometry and color of a physical sample.
Also read about related solutions
If the interior includes a complex ceiling, the STAVROS material is useful about wooden cornices, niches, and junctions. It covers cases with additional technical zones and does not replace a specific calculation for the three walls of a living room.
The article explains the differences between finish types “Wooden ceiling skirting, cornice, and molding”. If you are unsure whether a decorative profile is really needed rather than a different trim, start with it. You can also read separately about the types of wooden cornices for curtains and ceilings, so as not to mix two purposes when searching for a product.
Final specification for a living room with panoramic glazing
For a nominal room of 5200 × 3450 mm, an open-ended ceiling route 12.1 m long has been designed. For the four initial segments of 2300 mm, two of 1150 mm and one of 600 mm, a preliminary requirement is six wooden cornices 2400 mm longThis leaves 2.3 m of nominal offcuts before deducting process waste. Two internal corners and two window ends must be site-checked before cutting.
According to prices confirmed as of 13 November 2026, the cost of the products themselves ranges from 43 200 ₽ for six beech KZ-010 to 92 640 ₽ for six oak KZ-007. Intermediate options are oak KZ-010 at 66,720 ₽ and beech KZ-007 at 63,600 ₽. This is not the final repair cost: delivery, packaging, mounting and finishing are calculated separately.
If a compact cornice is needed, it is worth comparing the KZ-010 sample in the actual room; if a larger top line is required, consider KZ-007. For a buyer who plans buy wooden ceiling cornices, the most useful next step is to send the seller a verified specification and obtain confirmation of the required wood species, quantity, packaging and delivery. Once these details are agreed, six strips become a clear order rather than an approximate assumption about the linear metreage.