
















Article Contents:
- First, separate: what you make yourself and what you buy ready-made
- Legs must be chosen before calculating the final height of the furniture
- First the leg, then its mounting point
- Leg fastening is a separate purchased item
- FUR-017 shows how the fastening changes the furniture's geometry
- Handles must be chosen before drilling the fronts
- A knob and a pull require different marking
- Proun HL-053-1: first the physical size, then the hole
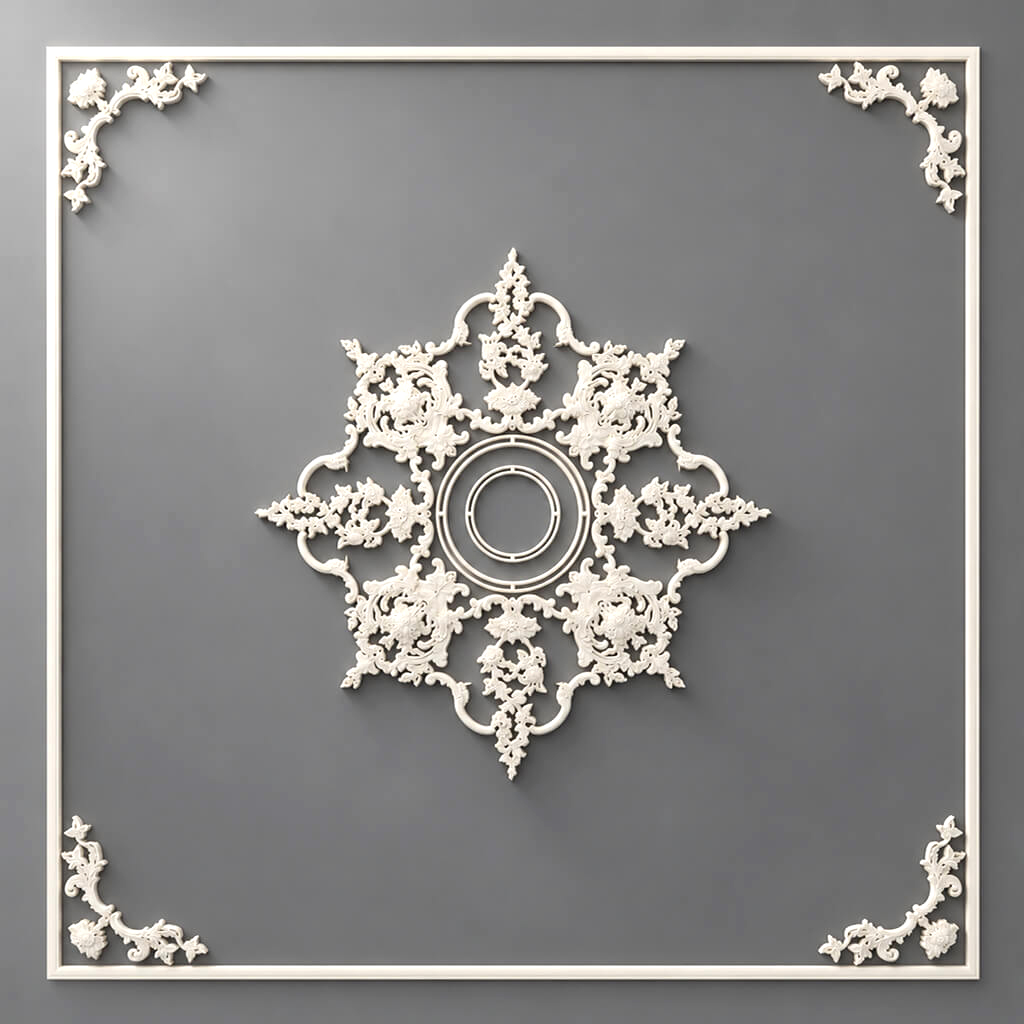
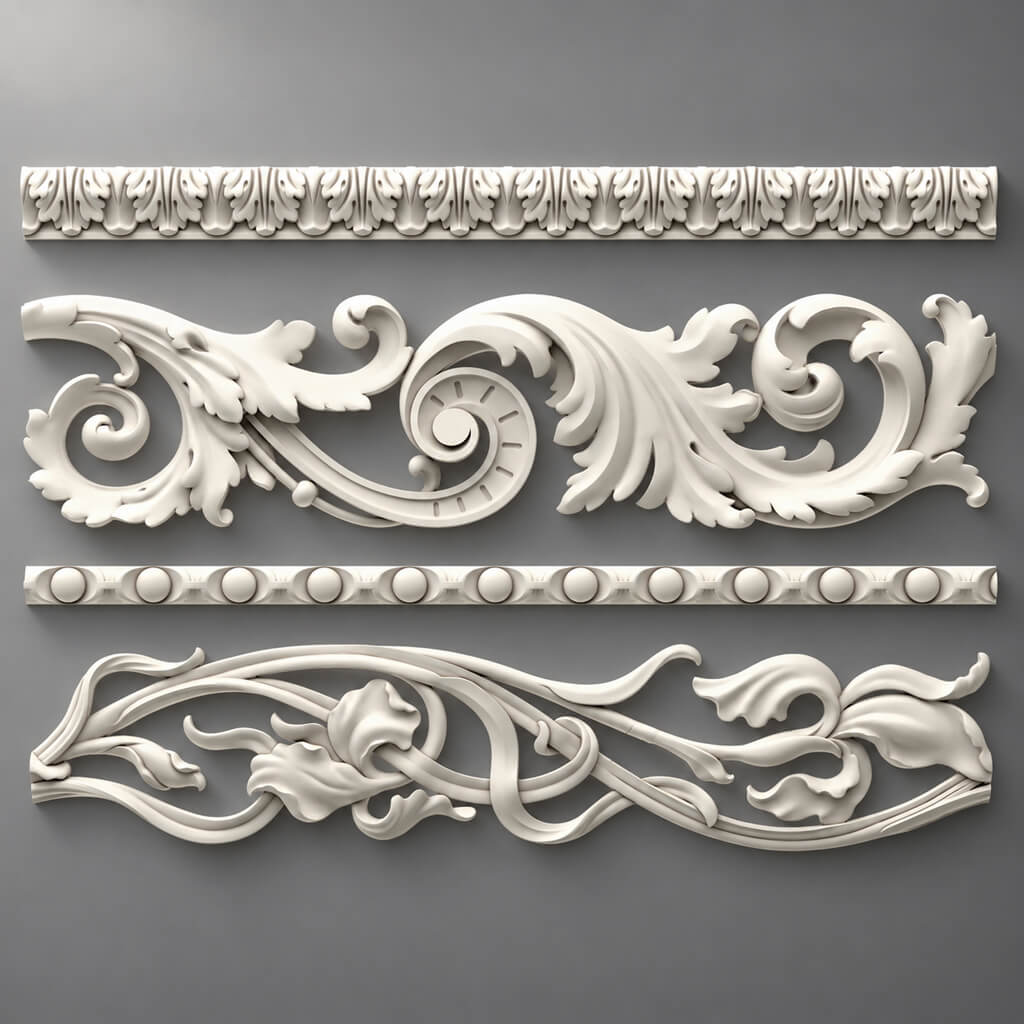
- Decorative overlays are also selected before the final marking of the facade
- N-502: the actual size of the decor must appear on the drawing
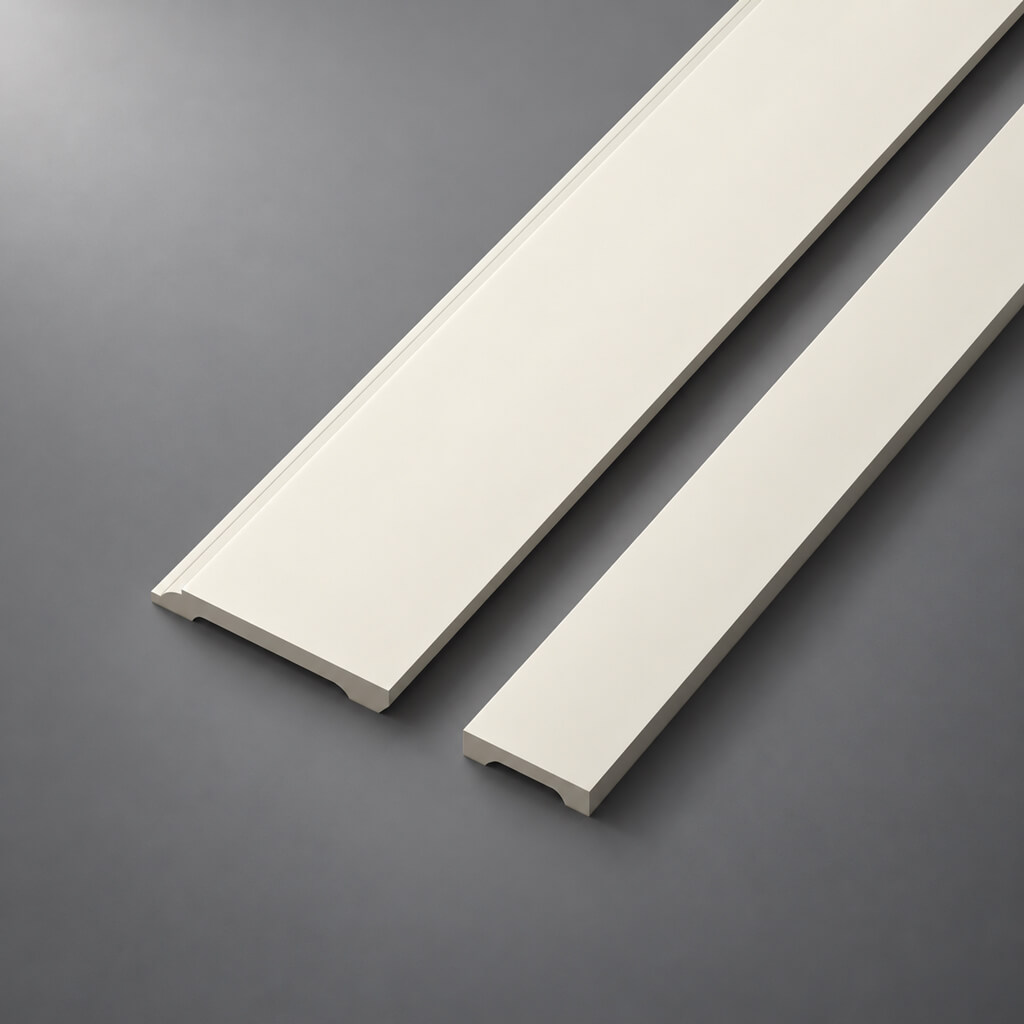
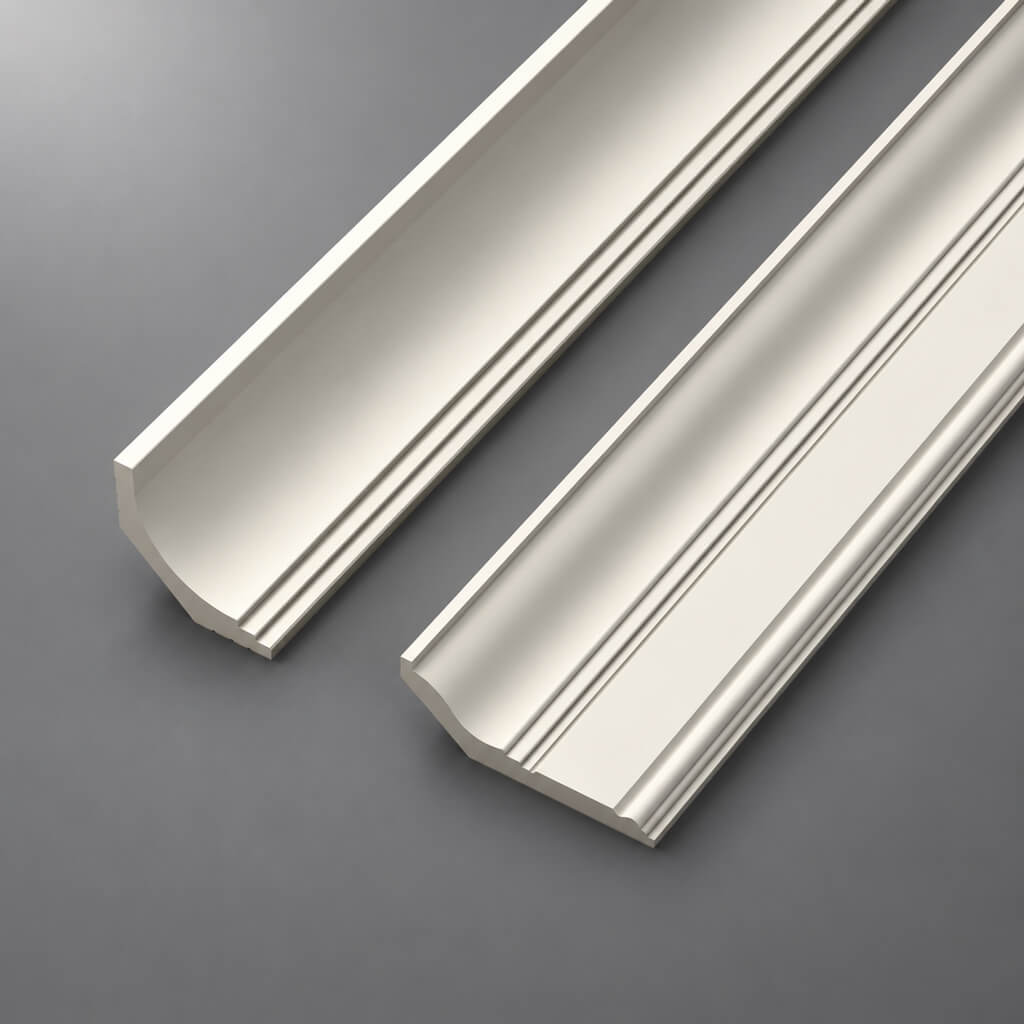
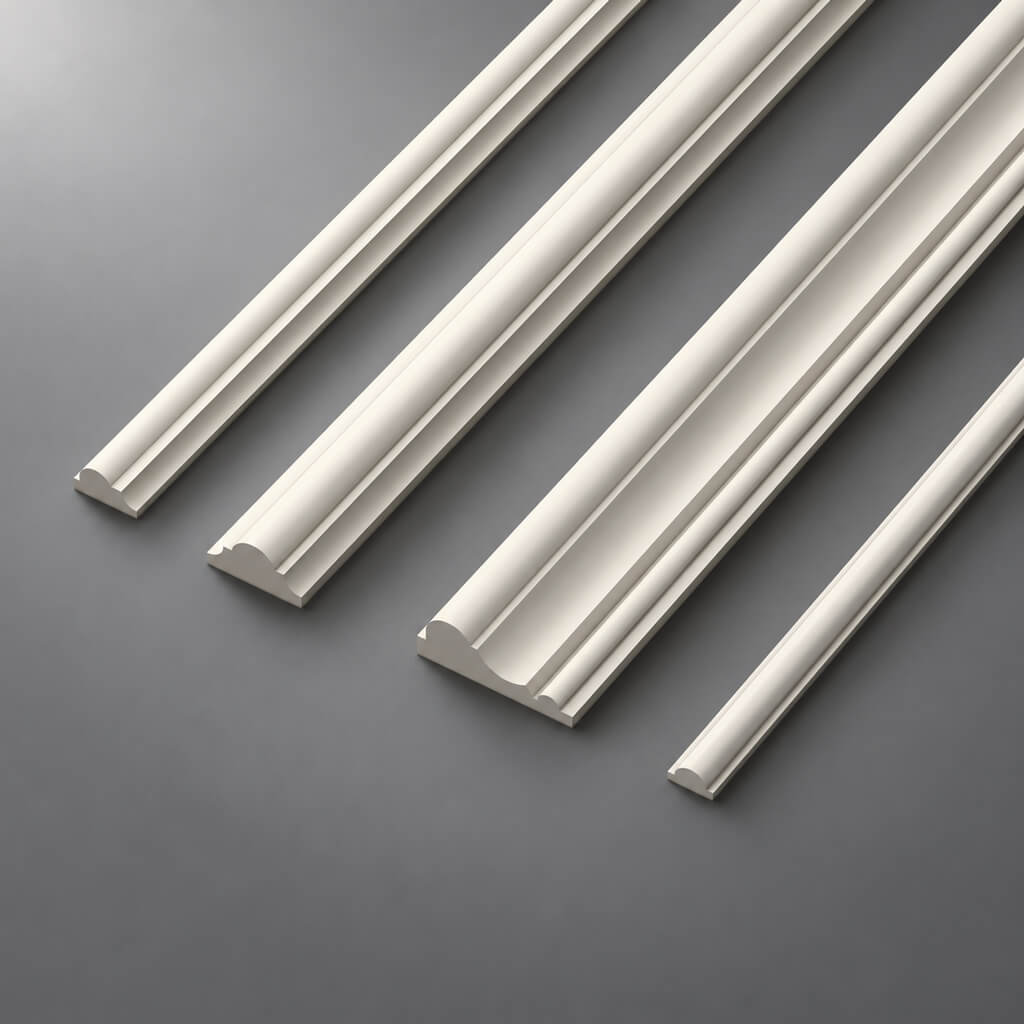
- Molding cannot be bought "approximately suitable"
- MLD-002: 22 × 11 mm already change the usable area of the facade
- The decorative frame must appear on the drawing before cutting
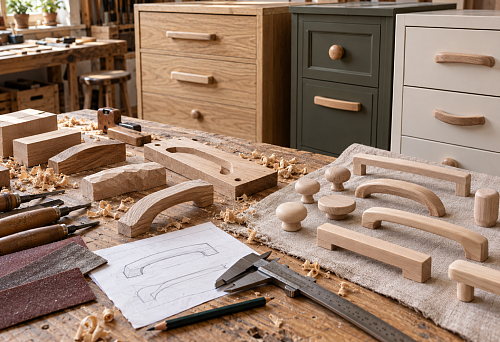
- Wooden construction kit: when a complex shape doesn't need to be made from scratch
- An unpainted part is convenient specifically for DIY furniture
- Oak or beech must be decided before ordering wooden parts
- One sample is better than a large order based on a picture
- A minimal specification is needed even for a single piece of furniture
- Seven things you should choose before cutting
- 1. Legs
- 2. Leg mounting
- 3. Handles
- 4. Hole pattern
- 5. Molding
- 6. Overlays and other decor
- 7. Finishing system
- Mistake 1. Cutting the cabinet first
- Mistake 2. Buying legs without a mounting system
- Mistake 3. Drilling the facades before choosing handles
- Mistake 4. Choosing an overlay based only on a photo
- Mistake 5. Drawing molding as a conventional thin line
- Mistake 6. Not buying a sample part
- Mistake 7. Mixing oak and beech by accident
- Mistake 8. Do not write down SKUs
- What components are needed to make furniture with your own hands?
- What should you buy before cutting the furniture cabinet?
- When should you choose furniture legs?
- Should you buy handles before drilling the front?
- How to choose fasteners for wooden legs?
- When should molding be included in the drawing?
- How to choose a decorative overlay for a facade?
- Can I buy unfinished wooden parts?
- What is better — oak or beech?
- Where to buy wooden furniture components?
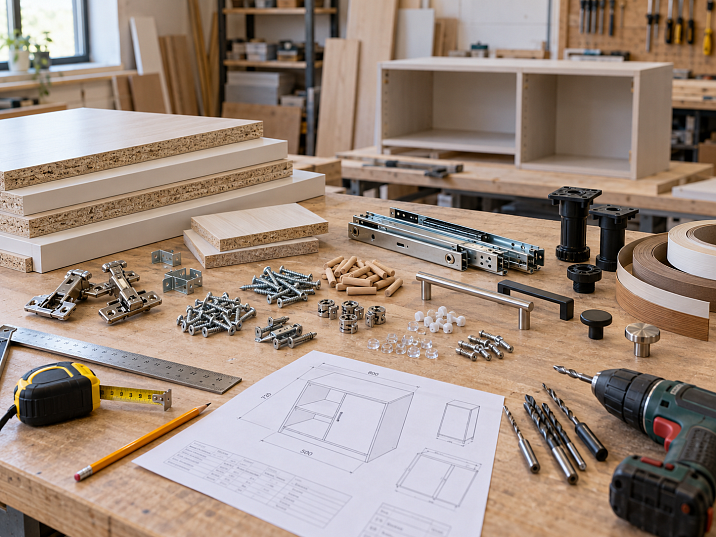
Page description: Which components to choose before making furniture with your own hands: wooden legs and handles, fasteners, moldings and carved decor. Sizes, layout and purchasing STAVROS components.
The most frustrating mistake when making furniture with your own hands looks very ordinary: the carcass has already been cut, the facades are ready, the holes are drilled — and only after that does the search for legs, handles and decor begin. At that moment it turns out that the chosen leg is taller than planned in the project, the mounting plate sets it at an angle, the handle requires a different hole layout, and the carved overlay does not fit between the frame and the handle.
The problem is not that the components are bad. They were simply chosen too late.
The correct order is the reverse: first you need to determine the purchased parts, get their actual dimensions and installation method, put all of this into the drawing, and only after that cut the carcass, drill the facades and order the finish.
For a simple chest of drawers this may seem like unnecessary caution. But it is enough to redo four facades once because of unsuitable handles or change the height of a finished carcass because of the legs for the point of this order to become obvious.



First, separate: what you make yourself and what you buy ready-made
Before drawing, it is useful to make a very simple list.
What will be made in the workshop:
- side panels;
- bottom;
- top panel;
- facades;
- shelves;
- back panel;
- internal partitions.
What will be purchased ready-made:
- Furniture legs;
- leg fastening;
- support feet;
- handles;
- carved overlays;
- Moldings;
- other wooden decorative elements.
This makes it clear which dimensions come into the project from outside.
If you cut the side panel yourself, you fully determine its size.
If you buy the leg, its height is already determined by the manufacturer.
If the handle is purchased, the distance between the mountings and its actual dimensions cannot be invented on the drawing.
If the molding has a profile of 22 × 11 mm, this geometry already affects the future frame.
Therefore, it is better to choose purchased components before cutting.




Legs must be selected before calculating the final height of the furniture
The height of the leg directly changes the entire furniture piece.
Let's imagine a chest of drawers with a body height of 700 mm.
If you install legs 100 mm high, the overall size becomes approximately 800 mm, excluding other small elements.
If you install legs 180 mm high, we get about 880 mm.
The difference is 80 mm.
On paper, this is a little. In a real room, this is already different furniture.
Changes:
- height of the chest of drawers' top surface;
- position of the top drawer;
- the clearance from the floor;
- visual lightness of the body;
- Ease of use.
Therefore, you cannot first make the cabinet "however it turns out" and then match any beautiful legs to it.
It is more correct to first open the catalog of wooden furniture legs, choose a real model, and only after that determine the height of the cabinet.
Our factory also produces:



First the leg, then its attachment point
Height is not the only parameter.
A leg has an upper part by which it connects to the furniture. It needs a proper place.
If the bottom panel of the cabinet is thin or the attachment falls too close to the edge, there is simply nowhere to properly install a beautiful leg.
Before cutting the bottom or lower frame, you need to check:
- the width of the upper part of the leg;
- the depth;
- mounting location;
- whether a mounting plate is needed;
- is there a threaded stud;
- at what angle the leg will stand;
- whether there is enough material at the installation point.
This is especially important for angled supports.
When angled, the lower part of the leg extends outward. This means the actual size of the base becomes larger than the distance between the mounting points.
If this is not shown on the drawing, after assembly the legs may protrude more than expected.
Get Consultation
Leg fastening is a separate purchased item
The leg and the fastening are not a single product.
Even if the photo makes it seem that the support can simply be screwed on from below, the actual assembly may include:
- the mounting plate;
- a metal stud;
- a threaded insert;
- self-tapping screws;
- a base glide.
Therefore, the list of components should include two separate lines:
Leg
и
mount for the leg.
For suitable parts, you can use the section hardware for furniture legs and handles.
This makes it easier to check that one part actually fits another.
FUR-017 shows how the mount changes the geometry of the furniture
mounting plate FUR-017 measures 112 × 70 × 26 mm.
It has an M8 metal threaded insert installed, and the tilt angle is 10°.
This small part clearly shows why the mount needs to be chosen in advance.
Let's imagine that in the drawing the leg is positioned strictly vertically under the cabinet. Then the craftsman buys FUR-017 and installs the support at an angle.
The lower point shifts outward.
Furniture starts to take up more space.
The appearance also changes: a vertical leg and an angled leg give completely different proportions.
Therefore, the mounting method is part of the product's geometry.
It cannot be left until the last day of assembly.
Handles must be chosen before drilling the fronts
With handles, the mistake is even more obvious.
If you drill the holes first and then buy the handle, the choice narrows sharply.
Each model has its own dimensions and mounting method.
A simple knob usually requires one point.
For a pull handle — two.
Profile, overlay, and inset models each have their own installation logic.
Before drilling, you need to know:
- the specific model;
- its dimensions;
- place on the facade;
- the distance between mounting points, if there are two;
- facade thickness;
- handle protrusion;
- adjacent doors and drawers.
Therefore Wooden furniture handles are selected before the final hole map.
Not after.
A knob and a pull require different marking
This is especially important for someone making furniture for the first time.
A knob handle is more forgiving.
If it is mounted at a single point, it is enough to correctly determine the center of the hole.
A pull handle has two points. Their positions are interconnected.
If the distance between the holes does not match the actual handle, correcting the cabinet front can be difficult.
Therefore, changing the handle type after drilling is risky.
You can draw a dresser with knobs, then in the store you like long pull handles — and it turns out the old holes no longer fit.
Such a change is best made at the project stage.
Proun HL-053-1: physical size first, then the hole
Furniture handle Proun HL-053-1 measures 28 × 28 × 29 mm and is available in beech and oak.
For a project, this example is useful not for its appearance, but for the sequence of actions.
First, there is a real handle with a specific size.
Then its position on the cabinet front is determined.
Only after this does the hole appear.
If done the other way around, the furniture starts dictating the choice of handle, rather than the handle fitting properly into the furniture.
For a single project, it is convenient to buy one handle in advance and place it against the facade or template.
It will immediately become clear how it looks at real scale and whether it is comfortable to grab.
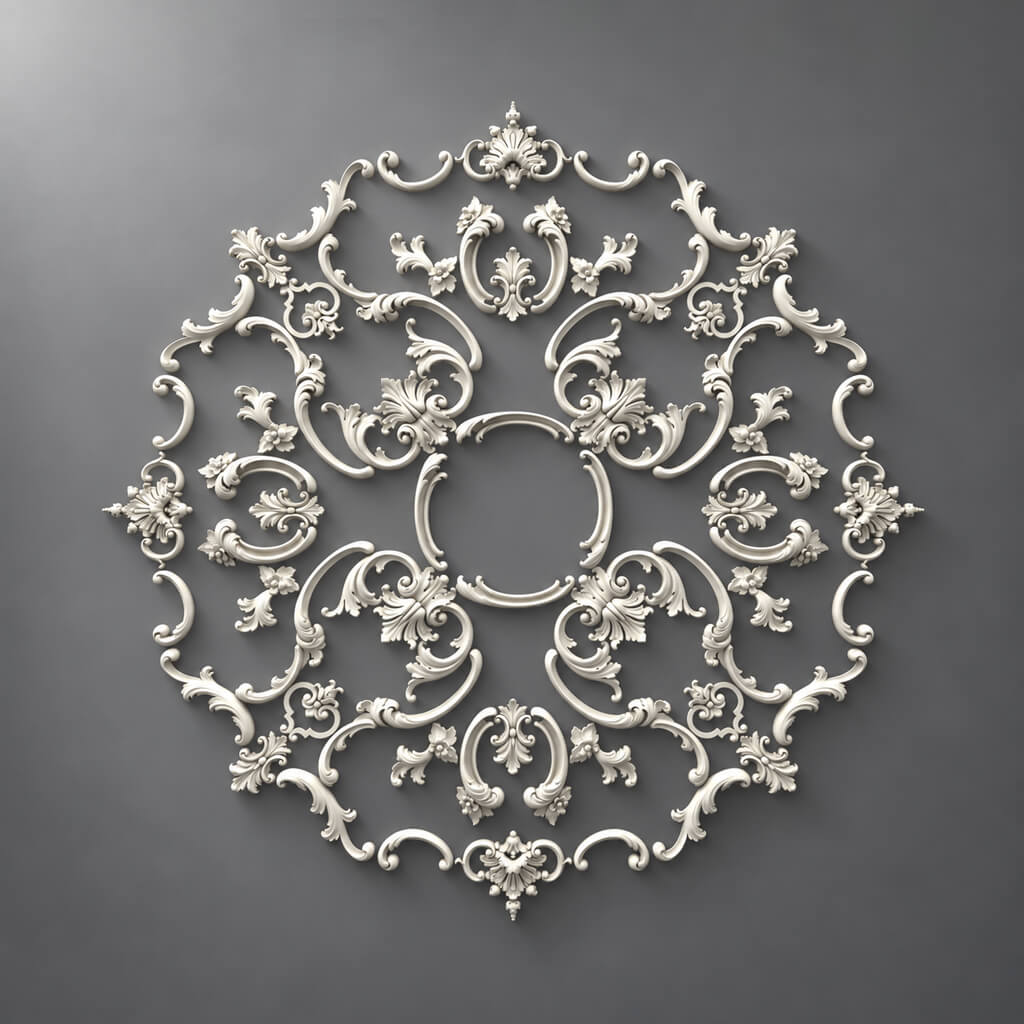
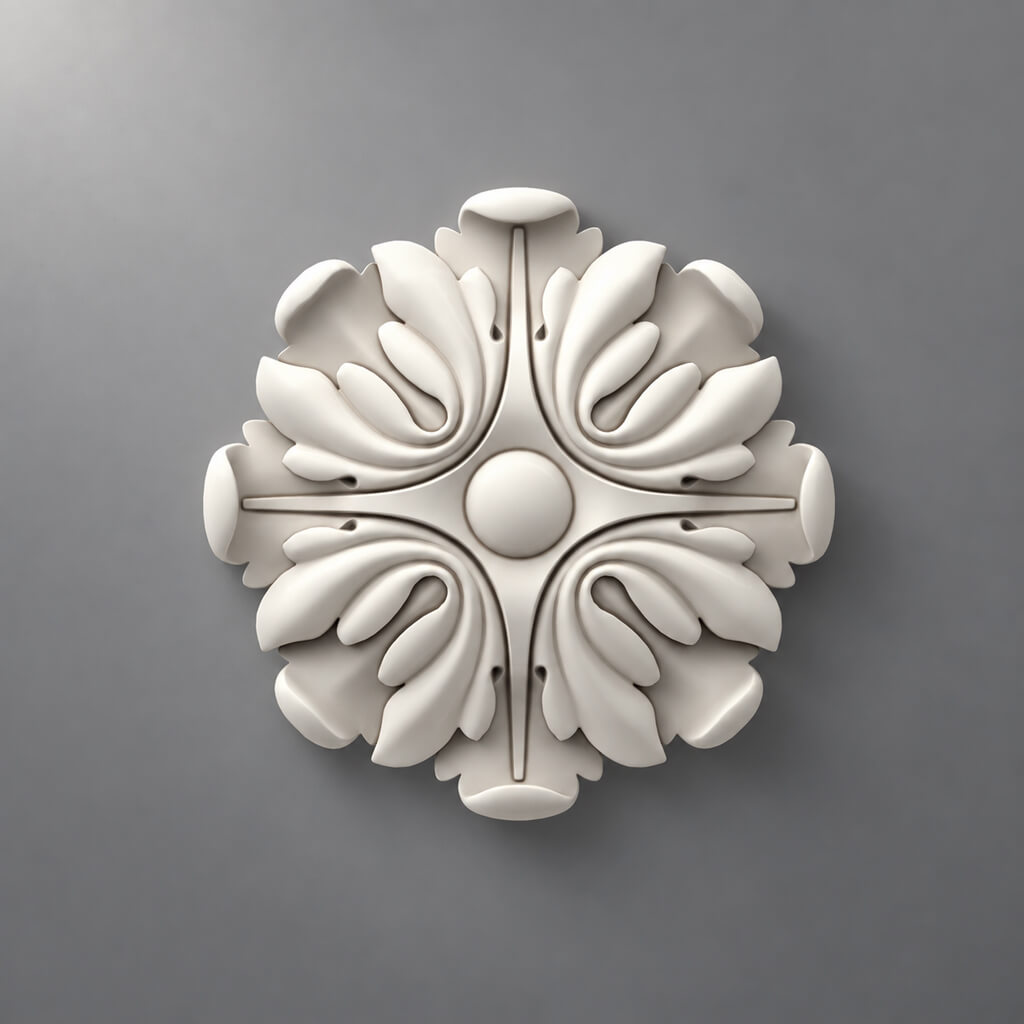
Decorative overlays are also chosen before the final marking of the facade
A carved overlay does not require holes like a handle, but it takes up space.
If you choose it after the facade is made, it may turn out that there is not enough free space.
The surface may already have:
- frame;
- handle;
- molding;
- panel;
- other decorative elements.
Therefore, first measure the free space, and then choose decorative overlay.
Conventionally, a facade can be 500 mm wide.
But this does not mean that the entire 500 mm is available for the overlay.
If a frame runs along the edges, less remains inside.
If a handle must be placed on the side, part of the space is lost again.
If molding is required, the inner field is reduced even further.
N-502: the actual size of the decor must appear on the drawing
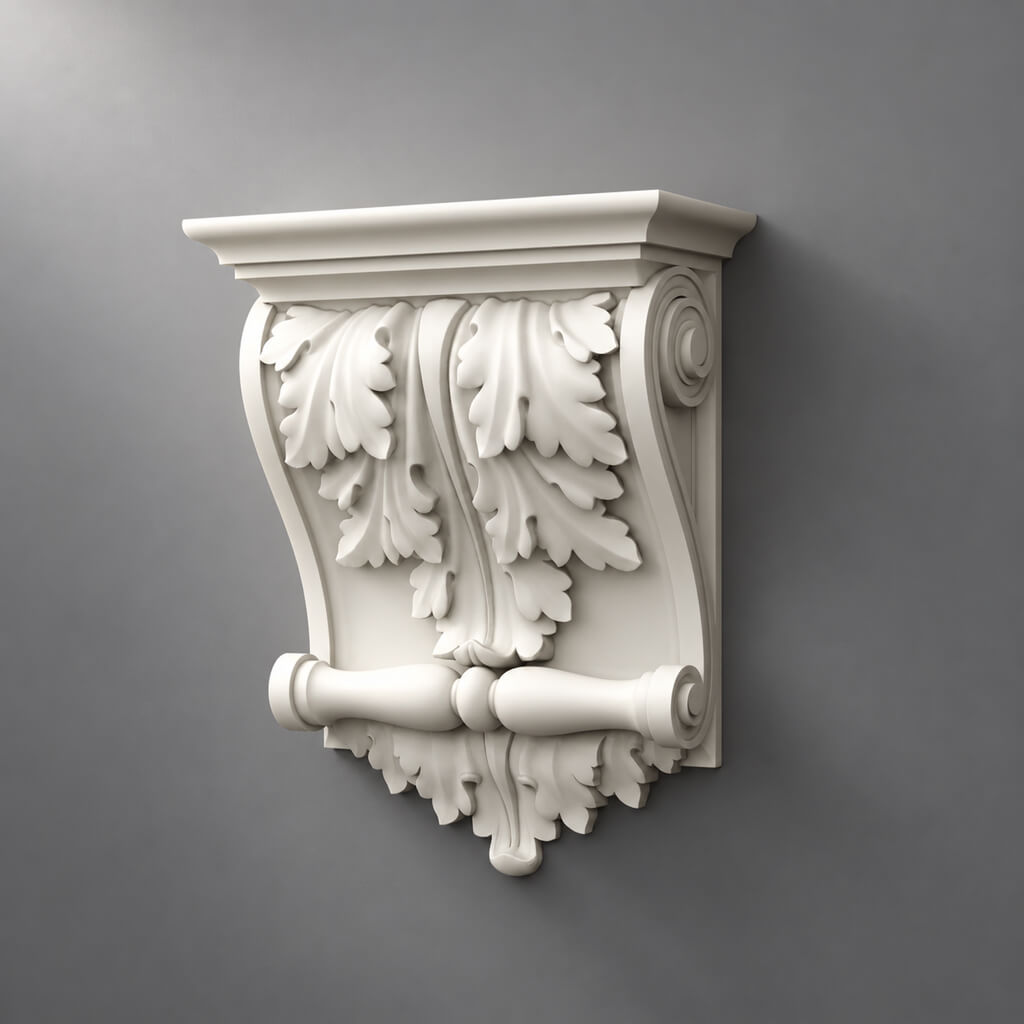
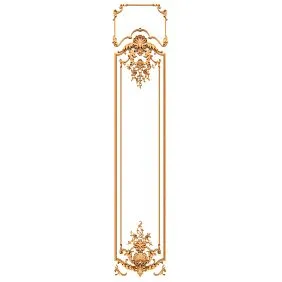
Wooden Decor N-502 measures 35 × 300 × 9 mm and is made from beech and oak.
For an elongated 300 mm overlay, this is already a significant size.
If the facade is 500 mm high, it will occupy most of its central area.
If the facade is 800 mm high, the proportion will be completely different.
Therefore, the correct order is:
- take real 35 × 300 mm;
- make a full-size outline;
- attach it to the facade;
- mark the handle;
- mark the frame or molding;
- check the free margins;
- only then approve the composition.
A full-size paper template is more useful here than any photograph.
You cannot buy molding that is "roughly suitable"
Molding seems like a simple long strip.
But it has three important parameters:
- width;
- depth;
- profile shape.
Each of them changes the facade.
If the molding is used for a frame, its width determines how much space remains inside.
If it protrudes significantly, the depth of the surface changes.
If the profile is large, a small door may look overloaded.
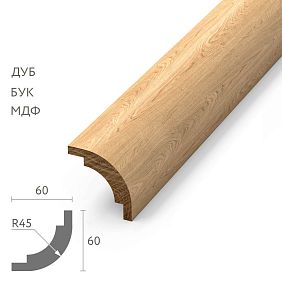
Therefore Wooden moldings it must be included in the drawing as a real profile, not as a conventional line.
MLD-002: 22 × 11 mm already changes the usable facade area
У of molding MLD-002 profile 22 × 11 mm.
If you make a frame from it on all four sides of the facade, the inner area will decrease.
Let's take a facade 400 mm wide as an example.
If the frame takes up 22 mm on the left and right, the inner width area decreases to approximately:
400 − 22 − 22 = 356 mm.
This is still without taking into account the gaps between the molding and other parts.
On a 250 mm wide front, the same profile already occupies a much more noticeable share of the surface.
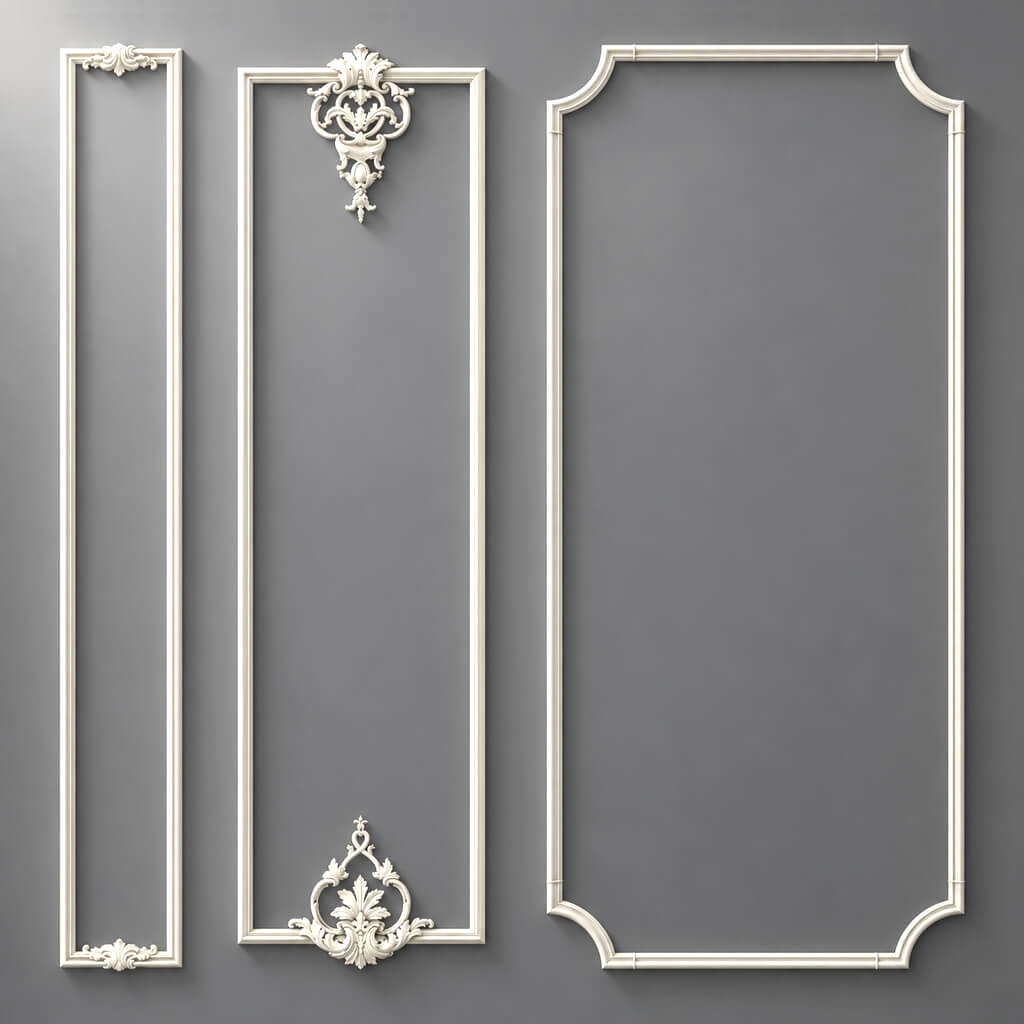
Therefore, the size of the molding should be chosen relative to the front itself, not separately.
The decorative frame should appear on the drawing before cutting
If the frame exists only in your head, there will be more mistakes.
The drawing must show:
- outer size of the front;
- the molding itself;
- inner free field;
- the position of the handle;
- central overlay;
- distance between all elements.
Then conflicts are immediately visible.
For example, a handle may end up too close to the molding.
Or an overlay does not fit inside the frame.
Or after adding decor, the facade turns out to be overloaded.
Fixing this on a screen or on paper is easy.
After painting the facade — it is expensive.
Wooden construction kit: when a complex shape does not need to be made from scratch
When making furniture with your own hands, there is often a desire to do absolutely everything yourself.
This is not always reasonable.
Some wooden parts require turning, complex profiling, or precise repetition of several identical elements.
In the section STAVROS wooden construction set you can find already formed parts.
The craftsman receives the finished geometry and uses it in their construction.
This is especially convenient if:
- no lathe;
- only one piece of furniture is needed;
- a complex part is required in four copies;
- you want to do the assembly and finishing yourself, but not the production of the form itself.
This way the furniture still remains your own.
Part of the labor-intensive processing is simply replaced with a ready-made component.
An unpainted part is especially convenient for DIY furniture
A finished wooden part does not necessarily have to have a finished color.
For a DIY project, the opposite is often more convenient — buying an unfinished form.
For example, from STAVROS open boundless possibilities for designers, furniture makers, and anyone striving to create unique high-quality furniture. can be included in the overall furniture finish.
If the chest of drawers is painted with white enamel, the legs can be prepared in the same color.
If the furniture is to remain wood-finished, you can use oil, lacquer, or stain.
That is, you buy the finished geometry, and the craftsman creates the appearance himself.
For one-off furniture, this is a good compromise between “doing everything from scratch” and “buying a fully finished piece.”
Oak or beech needs to be decided before ordering wooden parts
If the components are wooden, the species affects the finish.
For dense enamel, beech is often convenient to consider.
For a clear or semi-transparent finish, oak with a more pronounced texture is interesting.
But there is no universal rule.
It is better to look at which parts will be next to each other.
For example:
- legs — oak;
- handles — oak;
- molding — oak;
- all under clear oil.
Such a project looks materially cohesive.
If half of the parts are oak and half are beech, the difference may become noticeable after clear finishing.
Under opaque paint, this issue becomes much less noticeable.
One sample is better than a large order from a picture
For the first piece of furniture, it is convenient to buy not the whole batch at once, but one sample of an important part.
This especially applies to:
- the legs;
- handles;
- carved overlays;
- large decor.
A sample allows you to check:
- the actual size;
- scale relative to the furniture;
- wood color;
- surface quality;
- mounting;
- convenience;
- Future finishing.
If a single chest of drawers is being made, you can buy the whole set at once when the model is already familiar.
If a new piece is being selected for a series, one trial item greatly reduces the risk.
A minimum specification is needed even for a single piece of furniture
There is no need to create a complex production table.
A clear list is enough.
For example:
| Detail | Article | Quantity | What to Check |
|---|---|---|---|
| Leg | As per project | 4 | height and mounting |
| Mounting plate | FUR-017 | 4 | angle and thread |
| Handle | Proun HL-053-1 | 6 | Size and position |
| Overlay | N-502 | 2 | facade field |
| Molding | MLD-002 | By cutting | profile and length |
Even such a simple table immediately shows which items have not yet been selected.
It also helps when purchasing.
If a single row lacks a specific SKU or size, the project is not yet ready for cutting.
Seven things best chosen before cutting
Before cutting the carcass, check seven points.
1. Legs
Their height, width, and mounting method.
2. Leg mounting
Plates, studs, base plates and other elements.
3. Handles
The specific shape, size and mounting points.
4. Hole pattern
No need to drill "approximately in the center". All points must be tied to actual parts.
5. Molding
If it is part of the facade or decorative frame.
6. Overlays and other decor
To leave free space for them in advance.
7. Finishing system
Oak, beech, enamel, lacquer, oil, or tinting must be coordinated with each other.
If these seven points are clear, cutting becomes much calmer.
What can be chosen after the carcass is manufactured
Not everything needs to be purchased in advance.
Some items can indeed be left for a later stage.
For example:
- removable internal accessories;
- some decorative details that do not affect dimensions and holes;
- small elements for which space has already been provided in advance;
- consumables whose quantity does not change the furniture geometry.
The main criterion is simple.
If a part affects:
- the dimensions of the cabinet;
- height;
- holes;
- the position of the facade;
- free field;
- the assembly method,
it is better to choose it in advance.
If it does not affect it — the purchase can be postponed.
Example: a DIY chest of drawers
Let's imagine a chest of drawers with three drawers.
Before cutting, the craftsman decides:
- the cabinet — he makes himself;
- the fronts — he makes himself;
- four legs — buys;
- leg fastening — buys;
- three handles — buys;
- two overlays — buys;
- molding for the frame — buys.
Now every finished part must go into the drawing.
The legs determine the height.
The plates determine the mounting location.
Handles — holes.
Overlays — the free central zone of the facade.
Molding — frame size.
Only after this can you confidently cut the body and facade parts.
If you do everything the other way around, every new purchase will force you to adjust the already finished furniture.
Example: a cabinet with a tall leg
Suppose a cabinet 600 mm high is being designed.
The craftsman wants to achieve an overall height of about 750 mm.
If you buy 150 mm legs, the simple sum matches the intended design.
But then it turns out that the mounting assembly adds to or changes the position of the part.
Therefore, the drawing must show the actual assembly, not just add two numbers together.
The same applies to the glide.
If it adds a few millimeters, for a separate cabinet this is almost unnoticeable.
For a row of identical items and precise alignment with adjacent furniture, it is better to take into account.
Example: a front with molding, handle, and overlay
Let's take a front of 400 × 700 mm.
The craftsman wants to make a frame from MLD-002 with a width of 22 mm.
After the frame, the inner field in width becomes approximately 356 mm.
In the center there should be an N-502 with a length of 300 mm.
Mathematically, it fits.
But you also need to leave space at the top and bottom, and place the handle on the side.
That is, the answer “300 is less than 356, so it fits” is insufficient.
You need to draw the entire composition.
This is exactly where a paper template shows more than calculating a single width.
Common mistakes when making furniture on your own
Mistake 1. Cutting the cabinet body first
And then looking for the legs.
As a result, the height changes.
Mistake 2. Buying legs without a mounting system
The supports are there, but there is no way to install them correctly.
Mistake 3. Drilling the fronts before choosing the handles
The new handle does not line up with the holes.
Mistake 4. Choosing an overlay based only on a photo
On a real facade, it turns out to be too large.
Mistake 5. Drawing molding as a conditional thin line
A real profile occupies a noticeable area.
Mistake 6. Not buying a sample piece
The error repeats across the entire batch.
Mistake 7. Mixing oak and beech randomly
Under a clear finish, the difference becomes noticeable.
Mistake 8. Not recording product codes
After a few months, it is impossible to repeat the same set.
Where to buy furniture components for DIY
It is more convenient to search not by one general query, but by a specific group.
Solid Wood Items — general section of wooden elements.
Furniture legs — ready-made wooden supports.
Furniture Handles — handles of various types.
Furniture hardware — mounting and auxiliary elements.
Carved Decor — ready-made decorative parts.
carved appliqués — facade overlay decor.
Wooden moldings — profiles for frames and finishing.
wooden construction set — ready-made shapes for composite furniture parts.
It is better to first make a list of components, and then go through these sections.
This reduces the chance of buying a beautiful part that does not fit a specific project.
Quick checklist before cutting
| What to choose in advance | Why |
|---|---|
| Legs | set the final height |
| Leg mounting | affects the angle and installation position |
| Floor protectors | affect the lower assembly and sometimes the height |
| Handles | determine the holes in the front |
| Molding | changes the size of the decorative field |
| Overlays | require free space |
| Wood species | affects the future finish |
| Finish | determines the preparation of wooden parts |
If at least one of these items still exists only as "I'll pick something later," it's better not to start the final cutting.
What ultimately needs to be done before the first cabinet part
Before starting production, you don't have to buy absolutely everything.
But everything that affects dimensions and holes must at least be precisely chosen.
The best order is this:
- come up with the furniture;
- determine what will be made yourself;
- choose purchased legs;
- choose the fastening;
- select handles;
- choose the molding and overlay decor;
- get the actual dimensions;
- add them to the drawing;
- check one sample if in doubt;
- only then proceed to cutting and drilling.
This way, purchased components don't get in the way of the project at the end, but become a normal part of the construction from the very beginning.
Frequently Asked Questions
What components are needed to make furniture with your own hands?
It depends on the project. Most often, legs, leg fastenings, glides, handles, moldings, and decorative elements are chosen separately. The internal technical hardware depends on the construction of the furniture itself.
What should be purchased before cutting the furniture carcass?
First of all, the parts that affect dimensions, height, holes, and clearance: legs, mounting, handles, large decor, and moldings.
When should you choose furniture legs?
Before finalizing the height of the cabinet and the lower assembly of the furniture.
Should you buy handles before drilling the facade?
Better yes. At minimum, a specific model with known dimensions and mounting method must be chosen.
How to choose fasteners for wooden legs?
First check the leg design: the stud, thread, mounting plate, and required angle. Then select a compatible plate or another assembly.
When should molding be included in the drawing?
Before the final marking of the facade. The actual width and depth of the profile change the decorative field and the position of other elements.
How to match a decorative overlay to the facade?
Measure the free space and make a full-size template of the overlay. Place it together with the handle and frame.
Can I buy unfinished wooden parts?
Yes. For DIY furniture this is often convenient: the shape is already ready, and enamel, oil, lacquer or tinting can be done yourself.
Which is better — oak or beech?
For a transparent finish, oak is often more interesting due to its pronounced texture. For dense enamel, beech is often convenient. But the choice depends on the specific furniture and finishing system.
Where to buy wooden components for furniture?
Wooden legs, handles, moldings, constructor elements and carved decor can be selected in the corresponding sections of the STAVROS catalog. It is better to choose them according to the drawing and real dimensions, and not after the cabinet body has already been manufactured.