

















Article Contents:
- Library as a space: why a bookshelf is more than just shelves for books
- Why a built-in bookshelf often looks unfinished
- Cornice on top: the element that changes everything
- Why exactly a cornice
- Which cornice to choose for a bookshelf
- How to mount a cornice on top of a bookshelf
- Moldings on facades and side parts: how to assemble a bookshelf into a system
- Three functions of moldings on a bookshelf
- Which moldings to use
- Frame molding on lower cabinet doors
- Decorative stucco: where to place the accent without overdoing it
- The principle of accent decor
- Which decorative elements to choose
- Decor for wooden furniture: when natural material matters
- A real home library: three design scenarios
- Scenario one: "Neat shelf" — minimal set
- Scenario two: "Classic library" — basic set
- Scenario three: "Formal study" — full set
- Color and painting: how to properly paint a shelving unit with stucco
- Monochrome: the most elegant solution
- Two-tone scheme: walls + shelving unit
- Highlighting moldings: nuanced contrast
- Technical installation details: what to consider in advance
- Surfaces
- Adhesive
- Cutting
- Sequence of work
- Connecting the shelving unit to the walls: a technique that unifies the interior
- What to buy for different tasks: summary table
- Frequently Asked Questions
- STAVROS: for those who build a library seriously




Library as a space: why a shelving unit is more than just shelves for books
There are interiors you remember. Not because they are expensive or trendy — but because they are alive. You want to linger in them, sit down, pick up a book. And almost always in such spaces there is one detail that is hard to articulate immediately, but which you feel right away: the shelving unit or bookcase looks like part of the room. Not placed there, but born there.
This is not a coincidence or expensive furniture. It is architectural logic: the cornice covers the top, the moldings assemble the sections, Decorative stucco adds an accent, and the unified paint ties the library to the walls and furniture.
That is exactly what this article is about. How to turn a built-in bookshelf from a functional object into an architectural part of the interior. Not with the help of an expensive cabinetmaker, but with a properly selected set of moldings, cornice, and stucco decor.




Why a built-in bookshelf often looks unfinished
Let's be honest. Most built-in bookshelves — even custom-made ones, from good material, with well-thought-out shelves — share one common trait: they look like furniture. Like a large cabinet inserted into a niche. That's not bad. But it's not what you want in a home library.
What is missing? Typically, three things.
First — the top finish. If the bookshelf does not reach the ceiling, an empty "gap" remains between it and the ceiling — an area that the eye perceives as incompleteness. If the bookshelf reaches the ceiling but without a cornice, it butts against it with the same technical blandness.
Second — vertical rhythm. The bookshelf consists of sections. If the transitions between sections are not marked, it looks like one large plane with horizontal shelves. Boring. Moldings provide vertical rhythm — dividing it into "chapters," like a good book is divided into parts.
Third — connection with the walls. A built-in bookshelf not decoratively connected to the wall remains a "guest" in the room. A molding belt that extends from the side post to the wall, or a cornice that continues onto the adjacent walls — this is the "seam" that stitches furniture and space together.
Stucco for the bookshelf solves all three tasks simultaneously.
Our factory also produces:


Top cornice: the element that changes everything
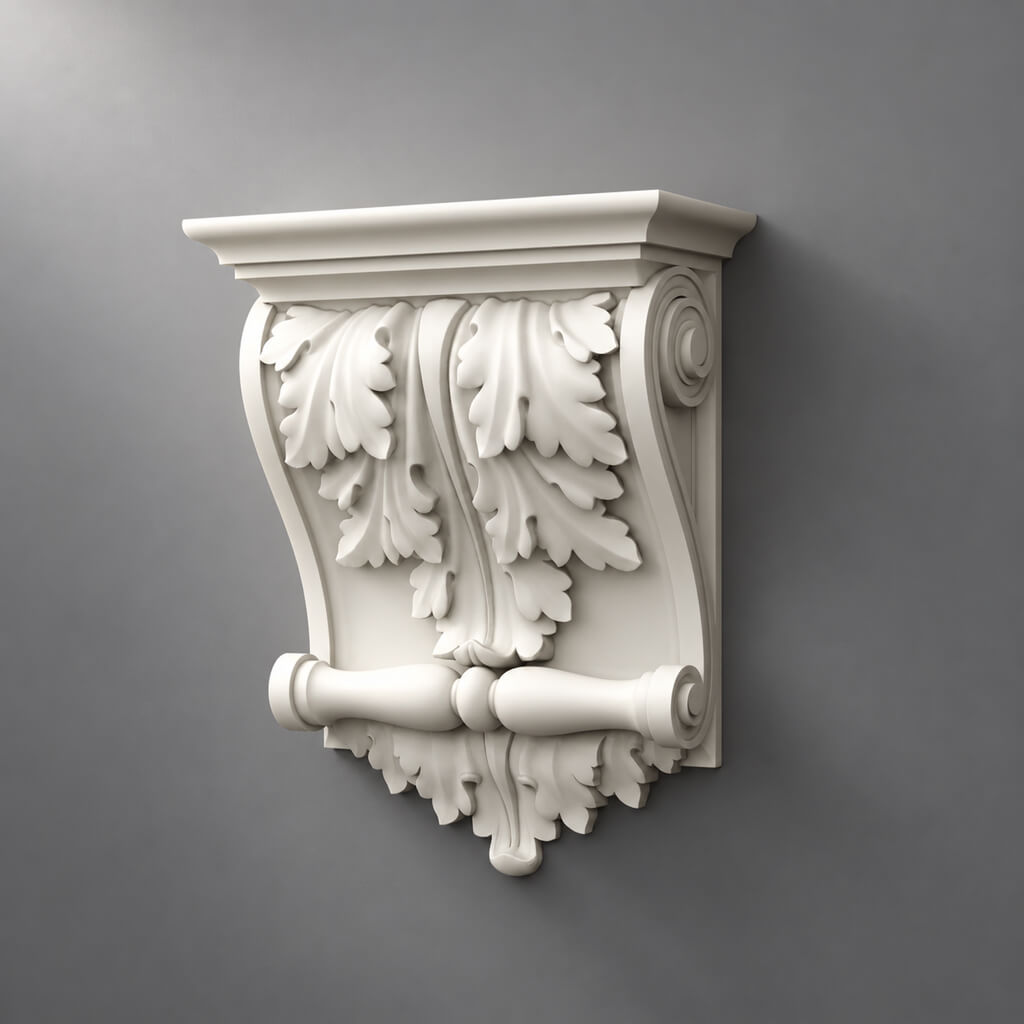
If you had to choose just one element to transform a built-in shelving unit, it would be the cornice. The top decorative profile that covers the horizontal line between the shelving and the ceiling.
Get Consultation
Why the cornice
When a person enters a room, their gaze moves horizontally at about 160–170 cm. This is the "primary scan" — it captures the overall picture. And it is at this level that the top line of the shelving unit is located — its "cap."
If this line is neat, finished, and has a profile, the brain reads: "architecture." If it is simply cut off and whitewashed — "furniture." The difference in perception is huge, but the difference in solution is a cornice 60–120 mm wide.
Which cornice to choose for a shelving unit
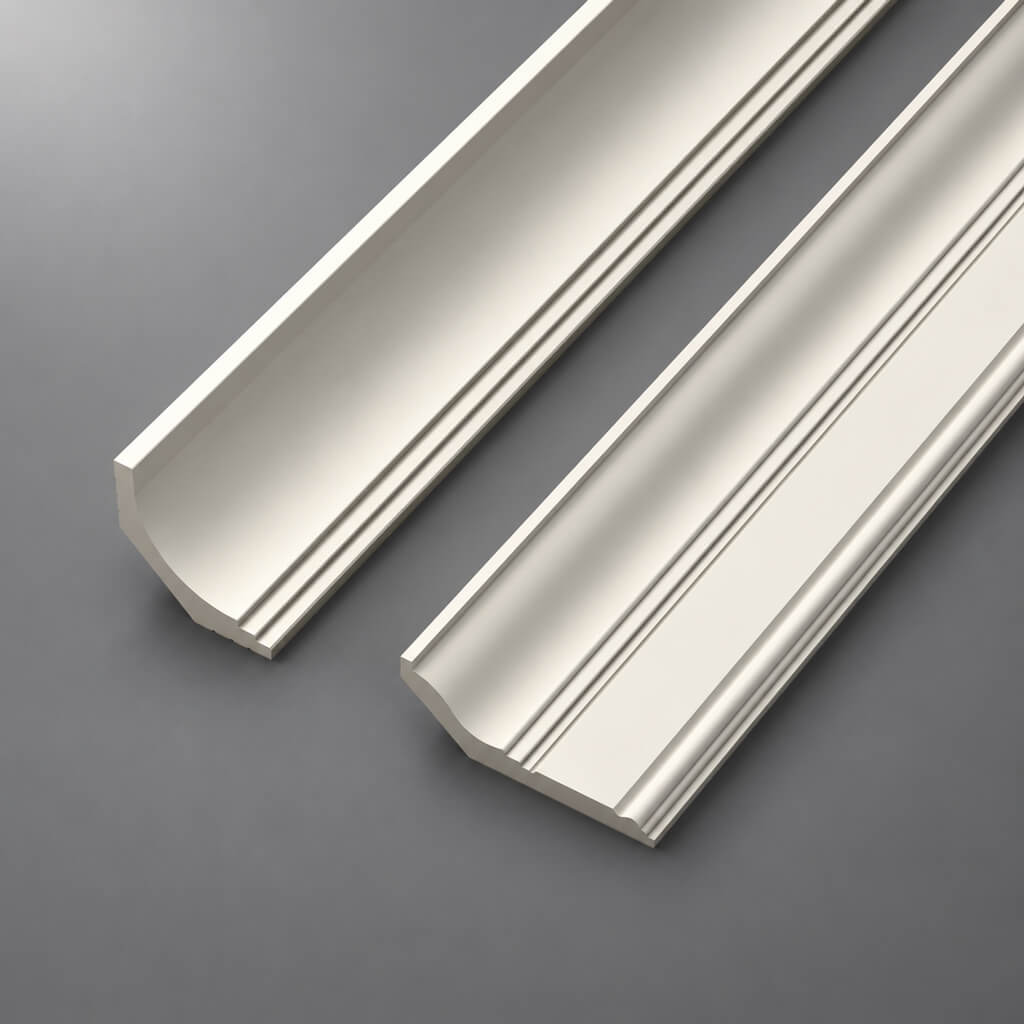
Ceiling molding In the classical sense, it is a profiled cornice that is mounted in the corner between the wall and the ceiling. For a shelving unit, it is used exactly the same way, only the "corner" is the space between the top horizontal shelf and the ceiling or the wall behind the shelving.
Profile options:
-
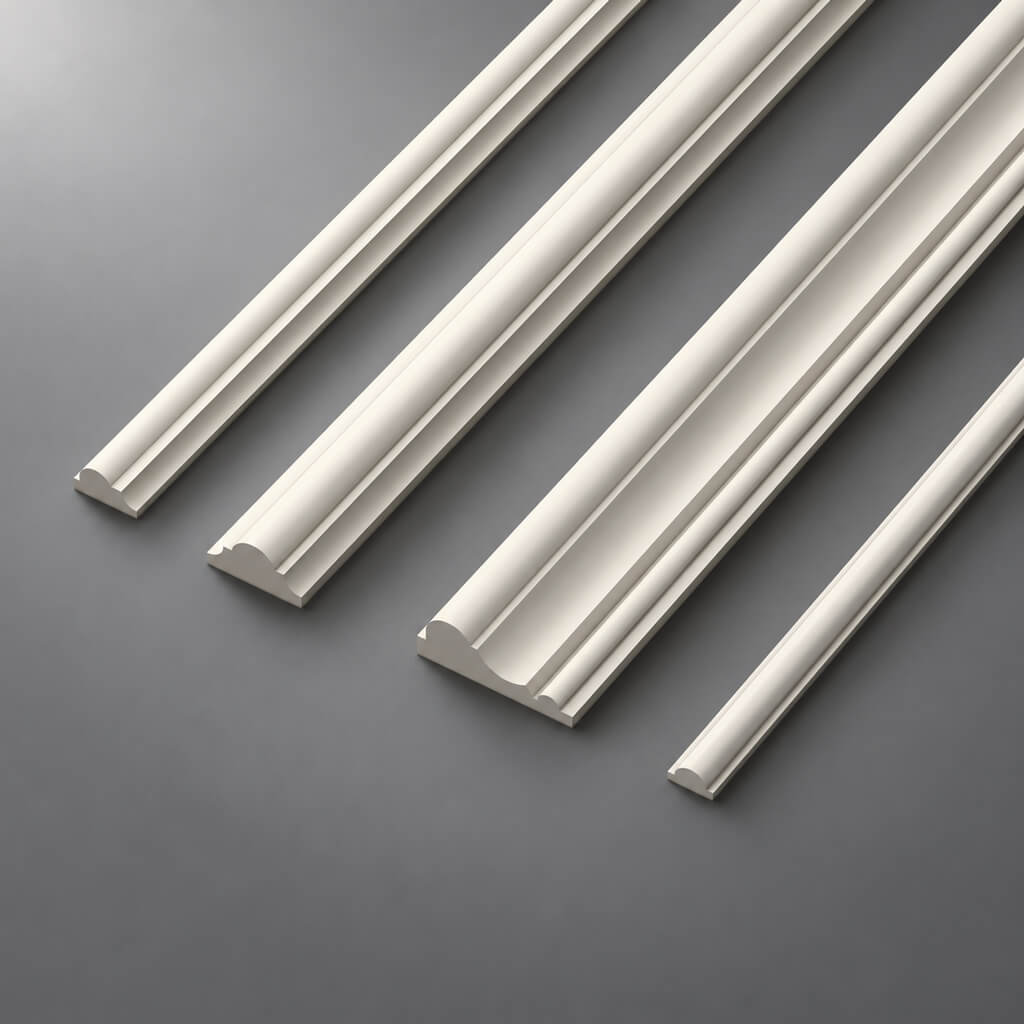
Modest cornice 50–60 mm — for small shelving units and modern neoclassicism. Thin profile, minimalist.
-
Medium cornice 70–100 mm — a universal size for most built-in shelving units 220–260 cm high. It is readable from a distance of 3–4 meters, giving the shelving a "furniture cornice" in the classical sense.
-
Large cornice 100–150 mm — for high library shelving units from 260 cm and above, for formal studies and living rooms with high ceilings.
How to mount the cornice on top of the shelving unit
Two options depending on the design:
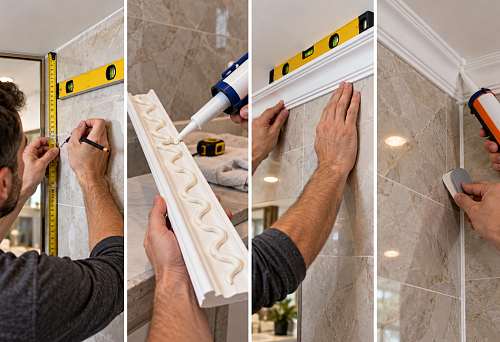
First option: the cornice is mounted on the top shelf of the shelving unit. Glue is applied to the back surface of the cornice, and the profile is pressed against the horizontal plane of the top shelf. If necessary, temporarily secure with painter's tape until dry. The joint with the ceiling or wall is filled with acrylic sealant.
Second option: the cornice is mounted between the shelving unit and the ceiling. If the shelving unit is flush with the ceiling, the cornice is glued to the wall/ceiling corner, covering the joint line of the shelving unit. This creates the illusion of being 'built-in' — the shelving unit looks like part of the architecture.
Moldings made of polyurethane for the top line, you can also use as an alternative to the cornice — especially if the ceiling height is limited and a massive cornice would feel 'oppressive'.
Moldings on facades and side parts: how to assemble the shelving unit into a system
Once the top line is resolved — it's time for the vertical. Moldings on the facades and side posts turn a set of shelves into an architecturally organized system.
Three functions of moldings on a shelving unit
First function: section separation. A vertical molding on each post between sections gives the shelving unit rhythm. Now the eye does not glide over the overall plane but 'reads' the shelving unit section by section. This is especially important for wide shelving units from 200 cm.
Function two: finishing the lower door fronts. If the shelving unit has a closed lower section with doors, molding frames transform smooth MDF fronts into classic "paneled" doors. This is one of the simplest and cheapest ways to make the fronts look more expensive.
Function three: connection with walls. A horizontal molding band at the level of the top shelf line, extending from the side post of the shelving unit onto the adjacent wall — this is an "architectural stitch" that sews together the furniture and the space.
Which moldings to use
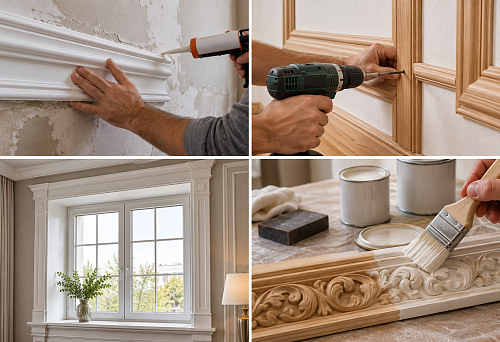
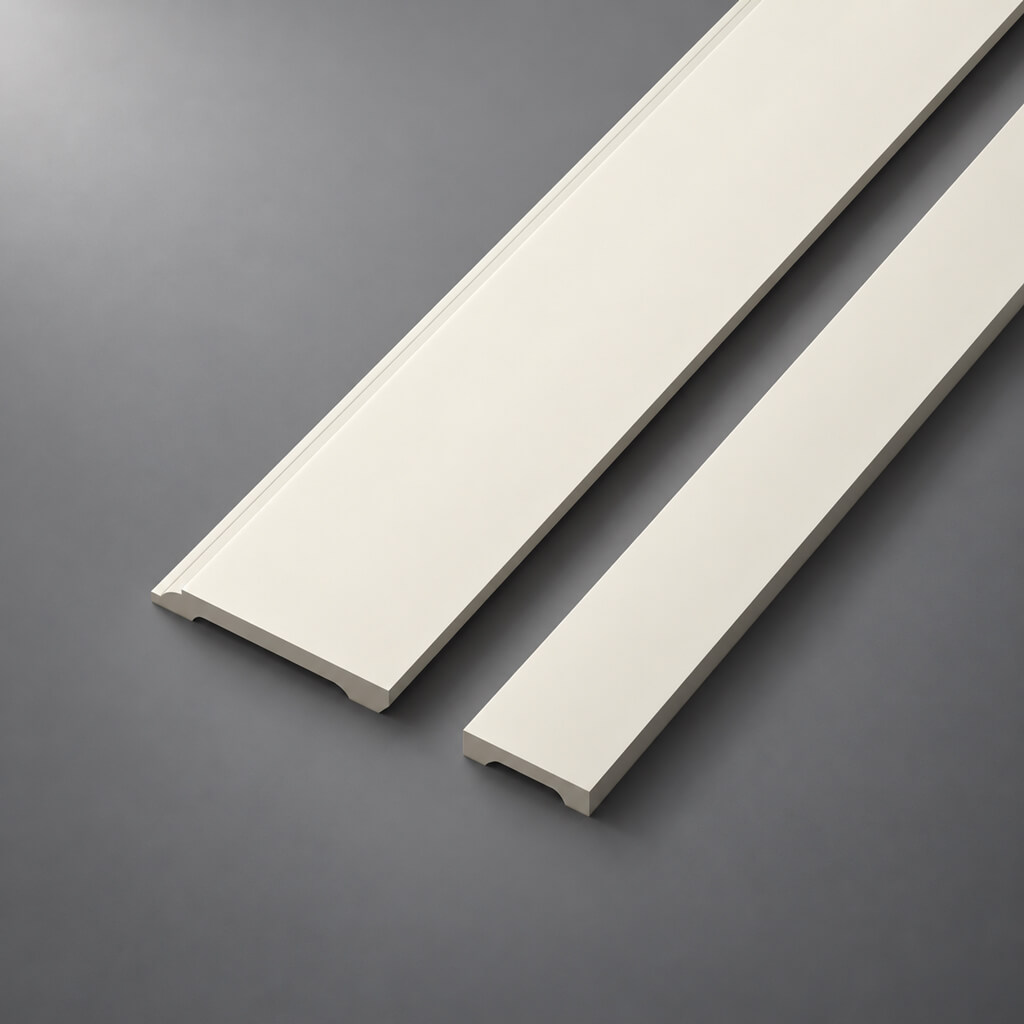
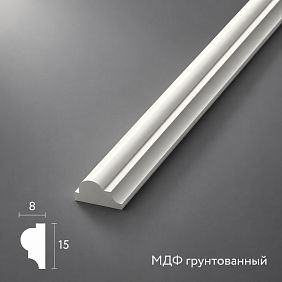
For fronts and vertical posts — Moldings for furniture made of wood (solid wood for wooden shelving units, for natural wood staining) or Moldings made of polyurethane (for painting in monochrome together with the body).
Molding width for vertical posts: 15–25 mm — delicate option, 25–35 mm — medium, most versatile, 35–50 mm — accent, for large shelving units and classic interiors.
Profile: rectangular (modern minimalism), semicircular, ovolo or quarter-round (classic), complex with relief (full classic).
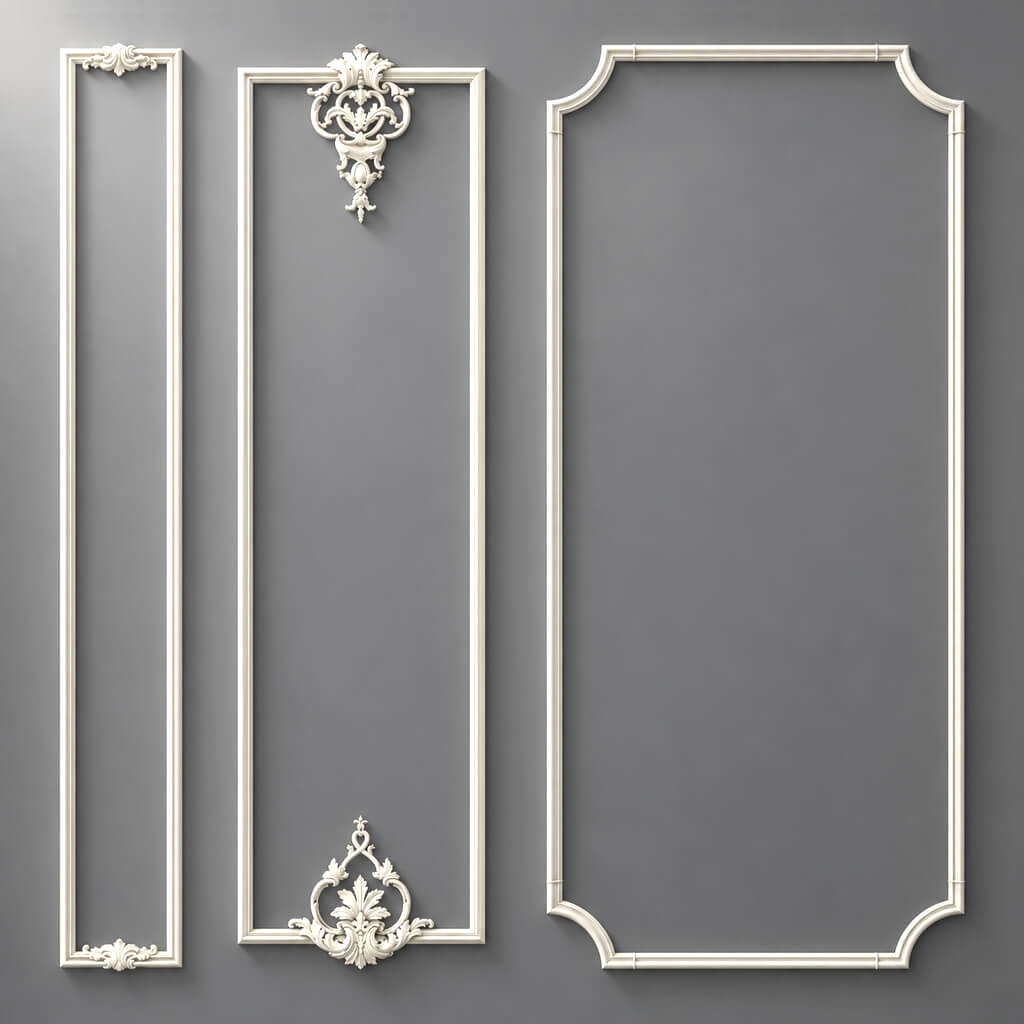
Frame molding on lower front doors
This is a separate story deserving a detailed discussion. A smooth MDF front without any details is "IKEA aesthetics," which is hardly compatible with a home library of a classic character.
Frame molding — a rectangular or vertically elongated frame made of molding on the door front — instantly elevates it to another category. This is a classic "panel" — an architectural technique that is several centuries old.
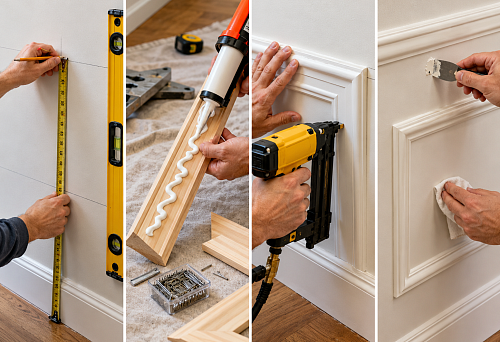
How to make a frame panel:
-
Marking the frame with an indent of 20–30 mm from the edge of the facade.
-
Cutting the molding with ends at 45° — four pieces per frame.
-
Installation with glue + pin nails through a gun.
-
Puttying corners, sanding, painting together with the facade.
buy polyurethane moldings for this job — means getting a precise profile, easy to cut and install.
Decorative stucco: where to place the accent to avoid overdoing it
This is where true craftsmanship begins. Decorative stucco on a shelving unit is not ornament for ornament's sake. It is a precise accent in the right place that 'activates' the entire system.
The principle of point decor
A common mistake is to evenly distribute decorative elements across the entire surface of the shelving unit. The result: no single detail works as an accent, everything turns into a 'patterned background'.
The right approach: one to three accent points for the entire shelving unit. Maximum.
Where are these points:
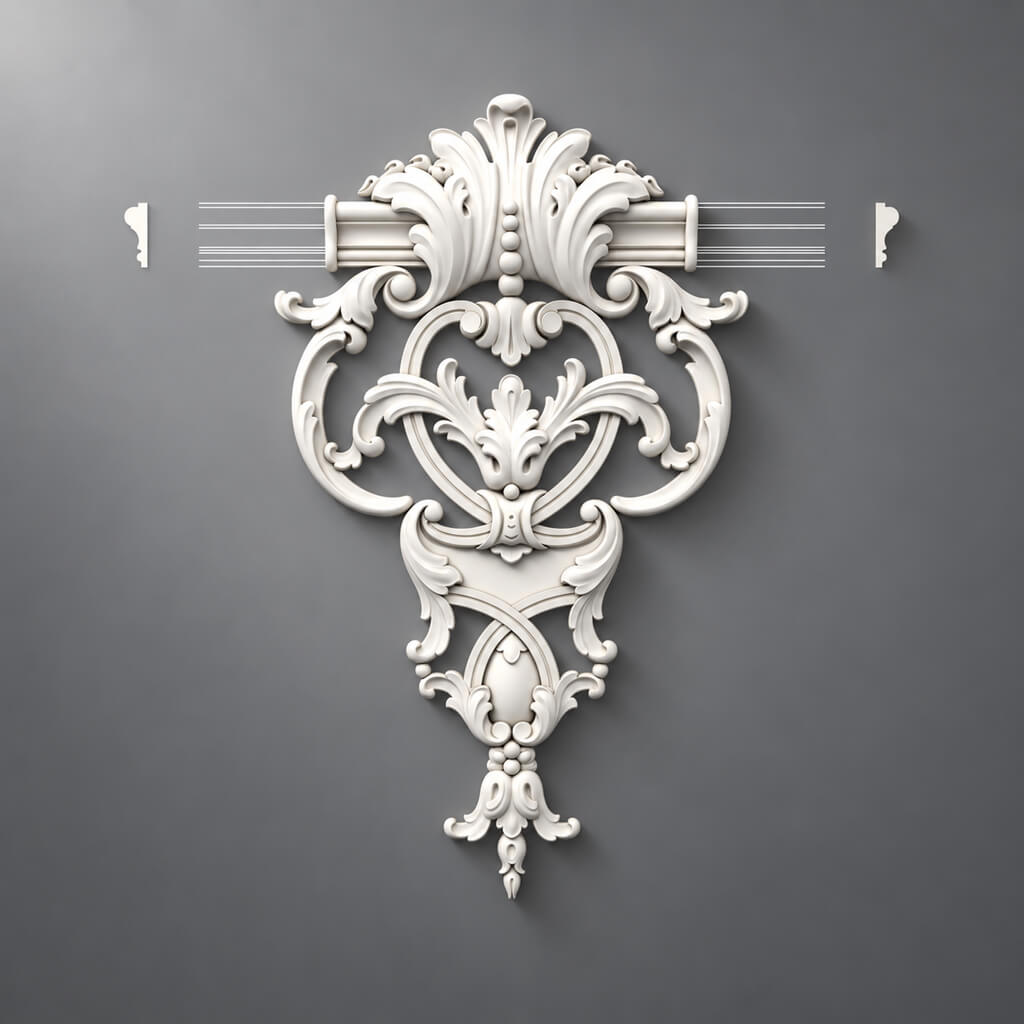
Central upper zone — the central section of the shelving unit, upper part, above the open shelves. A medallion, cartouche, floral overlay, or geometric ornamental element works well here. Size: 120–200 mm. This is the "header" of the entire library wall.
Transition points of verticals to the cornice — places where the vertical post meets the upper cornice. Small corner overlays 60–80 mm work here as "commas" — they add rhythm and make the transition organic.
Center of lower facades — if the lower part of the shelving unit has closed doors, a small decorative overlay can be placed in the center of each facade. But only if the shelving unit is wide and the doors are large — otherwise the overlay will look random.
Which decorative elements to choose
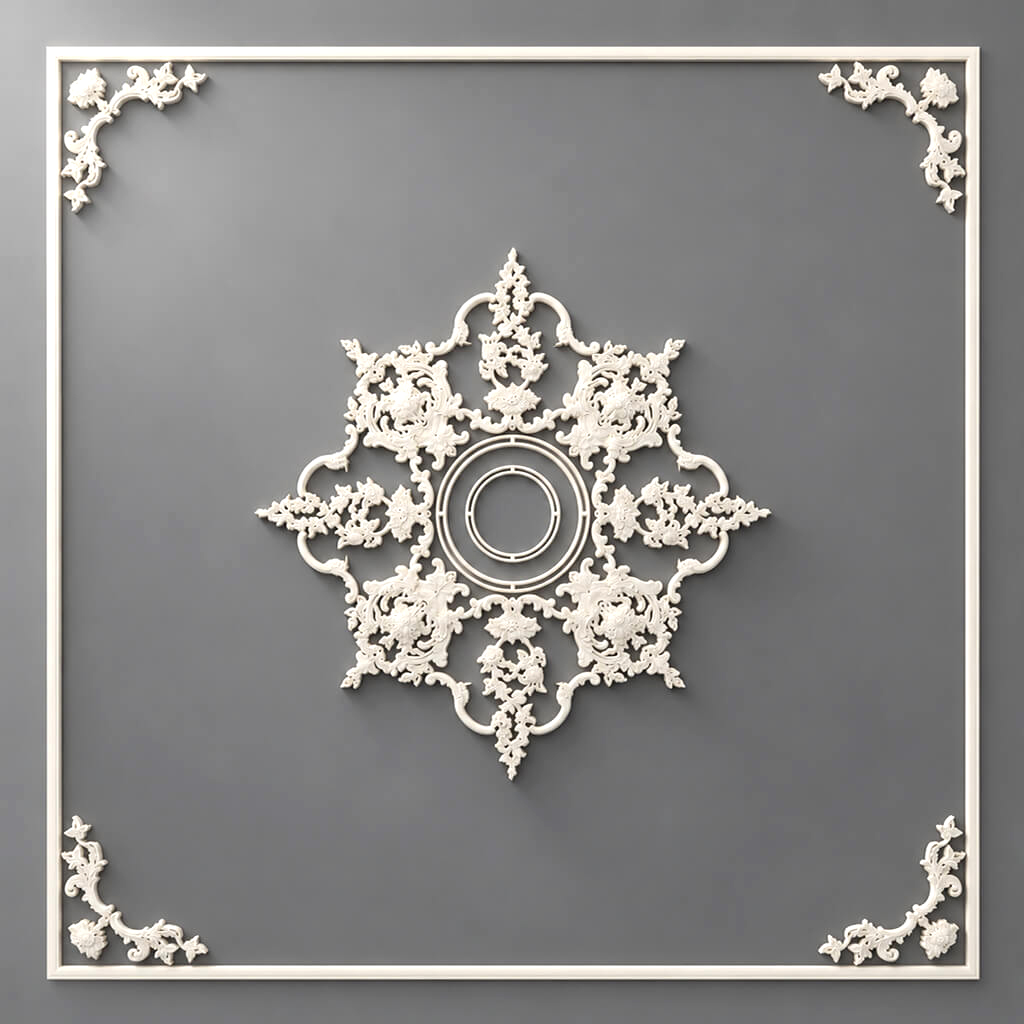
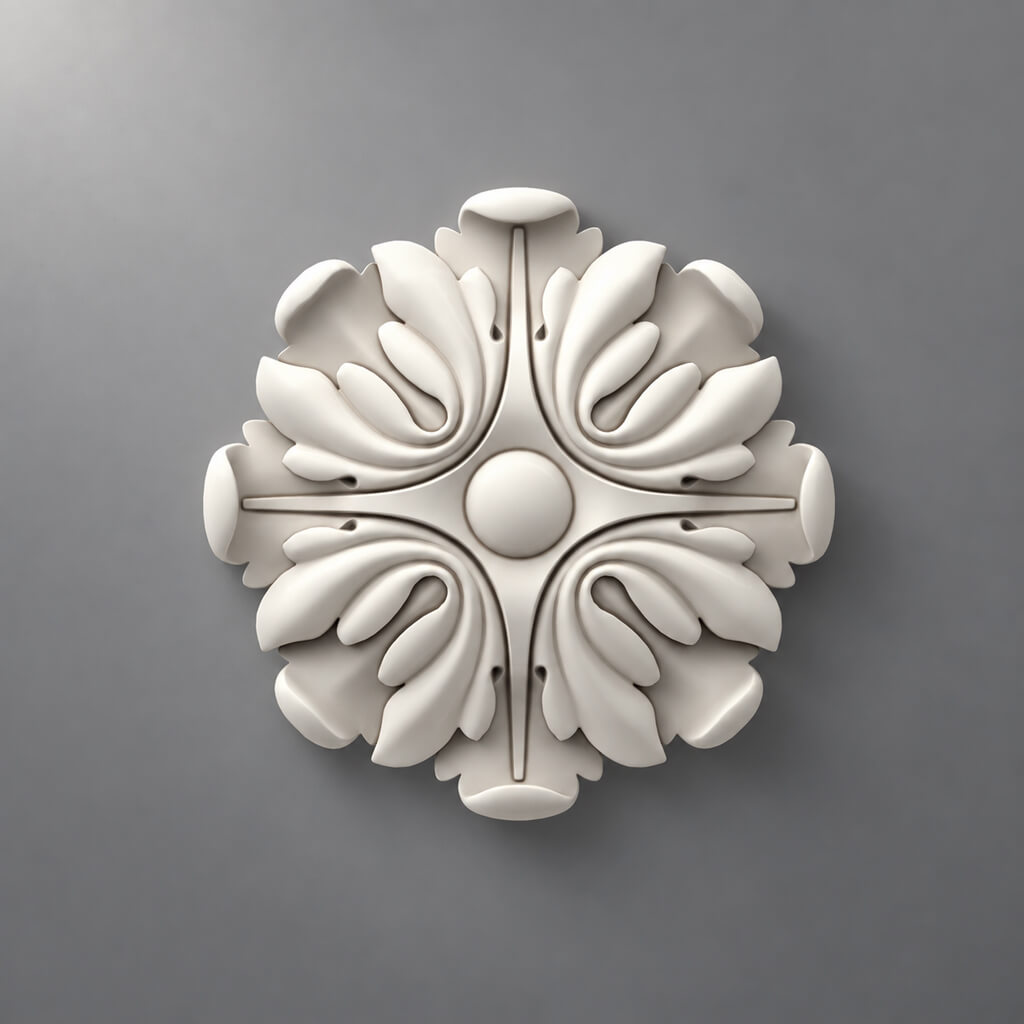
Buy decorative stucco for a shelving unit — means choosing from the "light overlays" category: small medallions, rosettes, floral motifs, geometric ornaments.
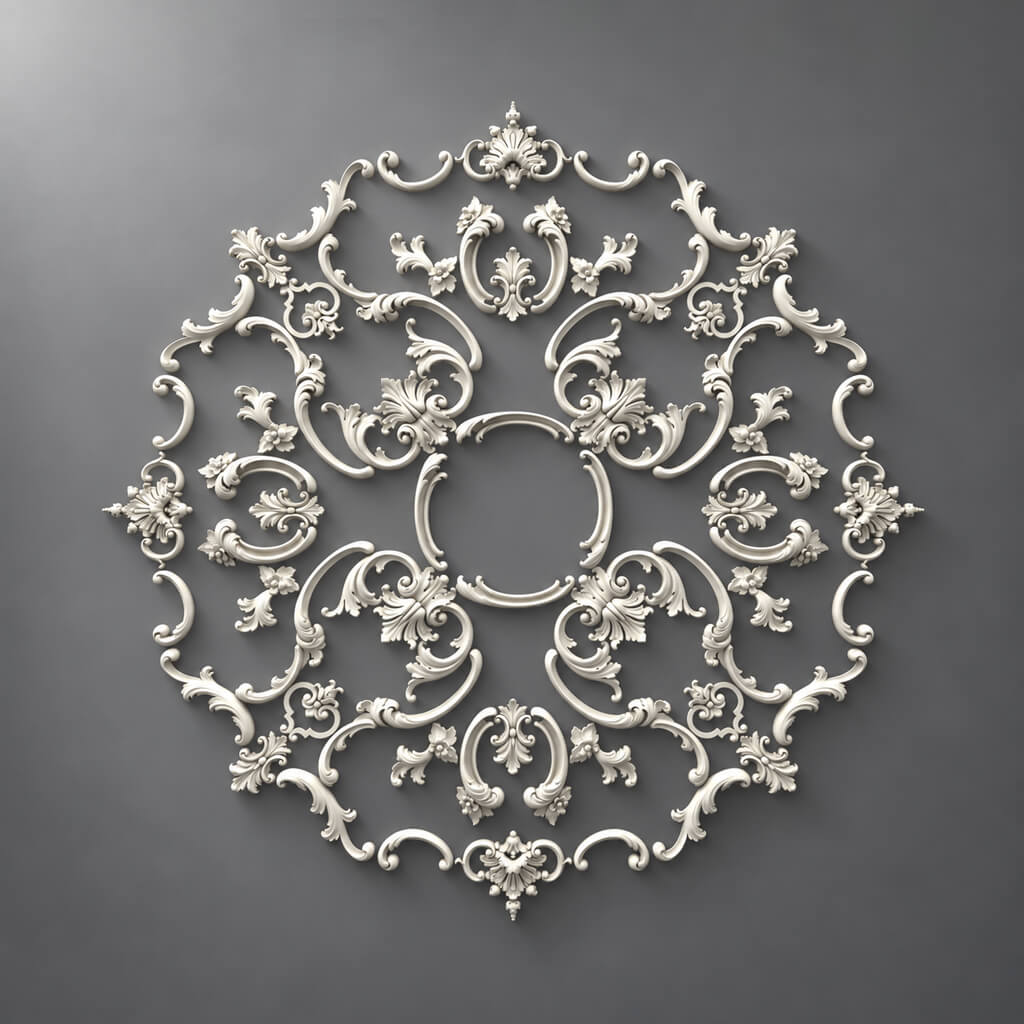
Medallion or rosette — a round or oval overlay with a relief ornament. A universal accent that works in any classic style. Diameter: 100–180 mm for shelving decor.
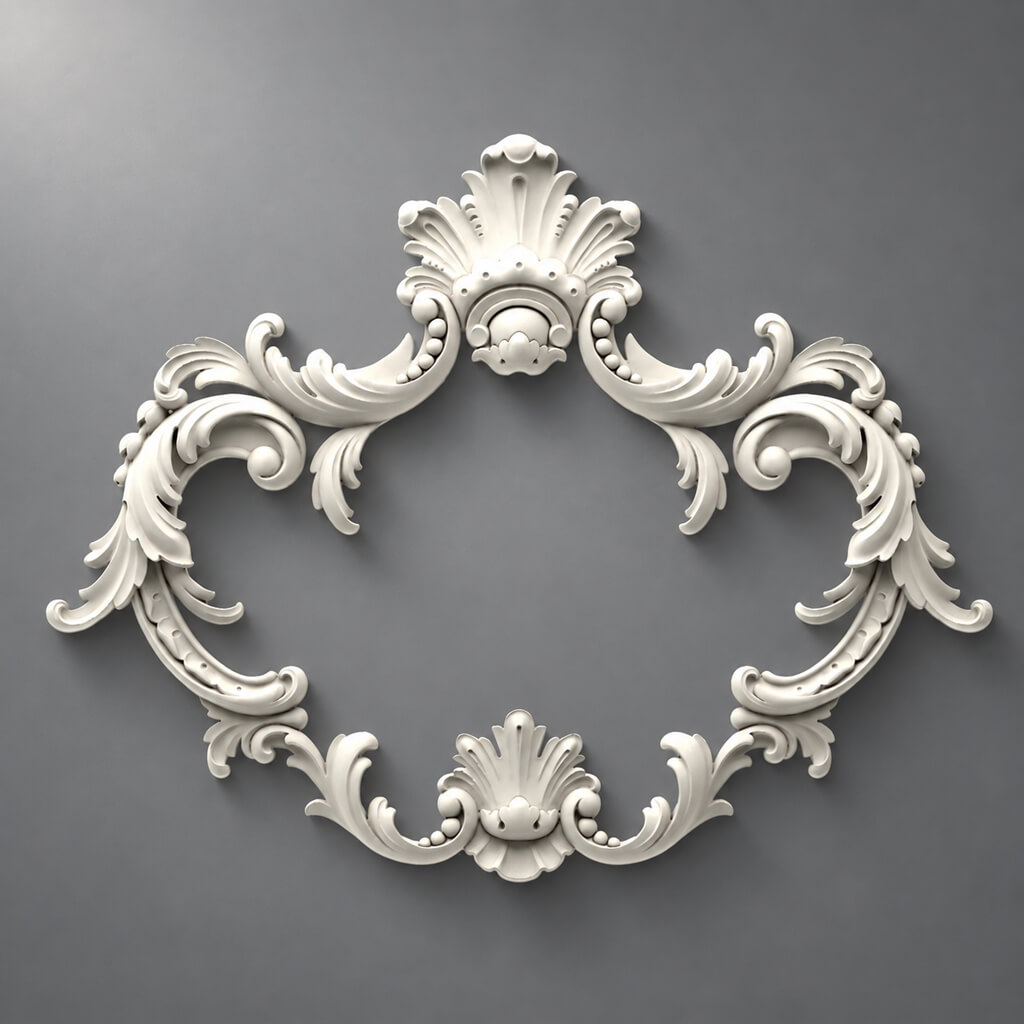
Cartouche — a horizontally or vertically elongated overlay with a relief center and ornamental frame. A more formal option for grand libraries.
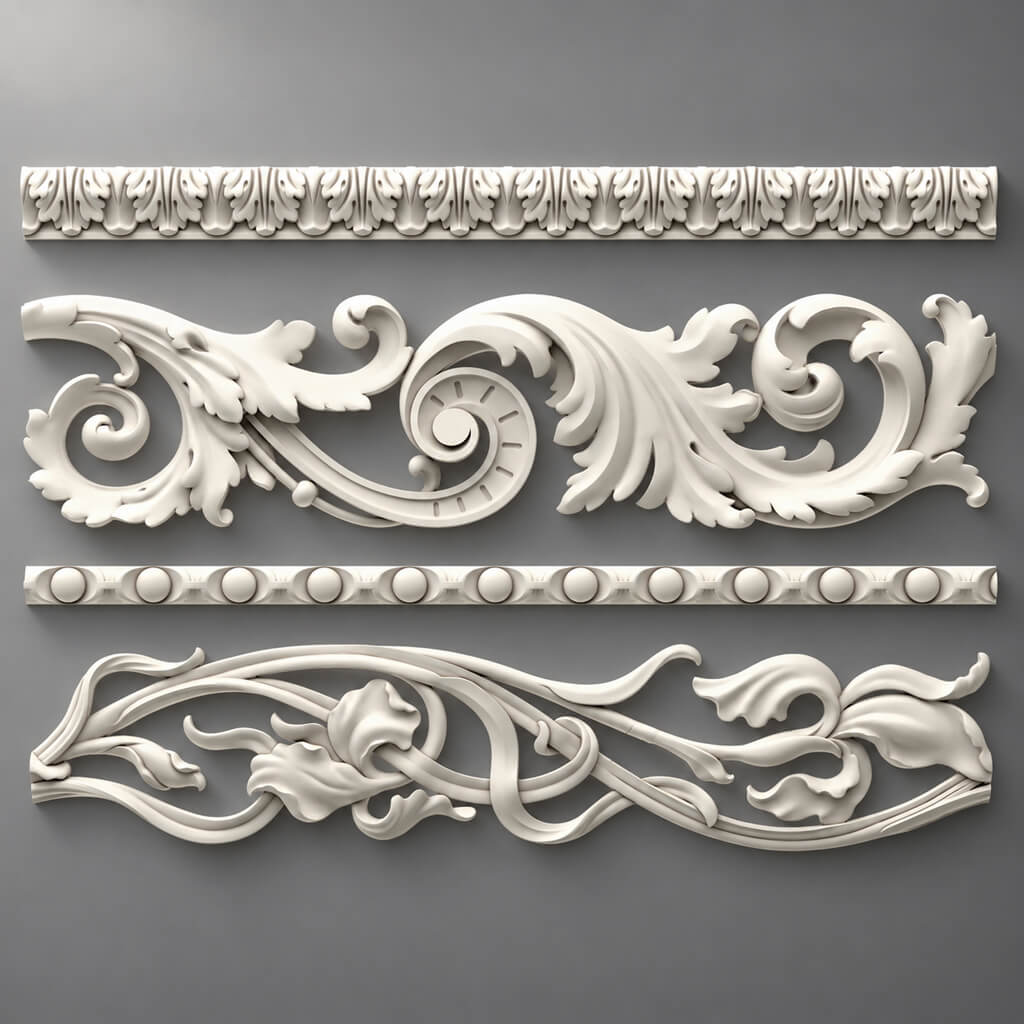
Floral overlays — acanthus leaves, garlands, laurel branches. For classic interiors in Empire and historicist styles.
Geometric overlays — diamonds, stars, rectangular relief tiles. For modern neoclassicism and art deco.
Wood furniture decor: when natural material matters
If the shelving unit is wooden and will be painted in a natural wood color — polyurethane molding won't work. Here you need decor for furniture solid wood: wooden overlays, carved elements, decorative furniture inserts. They are painted in the same color as the shelving unit and are perceived as part of a single wooden product.
A real home library: three design scenarios
To move from theory to practice — let's break down three specific scenarios. They cover most situations faced by owners of built-in shelving units.
Scenario one: "Neat shelf" — minimal set
For whom: a small shelving unit in the living room or bedroom, modern neoclassicism, modest budget for transformation.
What to buy:
-
Moldings made of polyurethane 20–25 mm — for vertical posts between sections.
-
Cornice or top molding 50–70 mm — for the top line.
-
Construction adhesive, acrylic sealant, paint.
Effect: the shelving unit gains a vertical rhythm and a neat top. It looks significantly more expensive with minimal investment.
Scenario two: "Classic Library" — basic set
For whom: country house, city apartment with high ceilings, interior in classic or neoclassical style.
What to buy:
-
Cornice 80–100 mm with a classic profile — the top line of the shelving unit.
-
Moldings 25–35 mm — vertical posts and horizontal belt.
-
Frame moldings on the lower facades.
-
Decorative stucco — medallion in the central upper zone.
-
Glue, sealant, primer, paint, 15% spare.
Effect: a full-fledged home library with architectural character. The shelving unit is perceived as part of the interior, not as furniture.
Scenario three: "Grand Study" — full set
For whom: high-end study, country house, interior with high ceilings from 280 cm and above.
What to buy:
-
Large cornice 100–140 mm with a composite profile — installed as a full architectural cornice connecting the shelving unit to the ceiling.
-
Moldings 35–50 mm on vertical posts.
-
Horizontal band between the upper open section and the lower closed facades — 30–40 mm.
-
Frame molding on each lower facade.
-
Buy Moldings — cartouche or medallion in the upper central area + corner overlays at the junction points of verticals with the cornice.
-
decor for furniture made of wood — if the shelving unit is to be painted in a natural color.
-
Glue, sealant, primer, finish paint.
Effect: a monumental study shelving unit with a full architectural language. This is a space you want to enter and stay in.
Color and painting: how to properly paint a shelving unit with stucco molding
One of the main questions when working with shelving and moldings is: how to paint? Everything in one color or highlight details?
Monochrome: the most elegant solution
Painting the shelving, moldings, cornice, and decorative molding in a single color means creating a monochrome architectural surface. The relief works only through shadows from the moldings. This is maximally restrained and maximally expensive.
Best colors for a monochrome library: cream, pearl, warm white (SW White Dove, NCS S 0502-Y, Benjamin Moore White Dove), deep green, anthracite, dark blue, ivory.
Two-tone scheme: walls + shelving
Shelving in one color, walls in another. This creates an "inserted" architecture: the shelving is perceived as a separate volume within the room. Works well when the shelving is floor-to-ceiling and occupies an entire wall.
Highlighting moldings: subtle contrast
Moldings half a tone darker or lighter than the main color of the shelving — this is a subtle contrast that "reveals" details without breaking the monochrome. Visible only up close — but that's exactly what's needed near the bookshelf.
Technical installation details: what to consider in advance
Surfaces
MDF, plywood, laminated chipboard are standard materials for cabinet furniture. Adhesion of glue to them is good. Before installation: sand smooth laminated surfaces with 80–100 grit sandpaper. Apply acrylic primer.
Adhesive
Acrylic mounting adhesive (e.g., Momento Fix or equivalent). For polyurethane moldings — sufficient. For wooden overlays — woodworking PVA + clamping or pin nails through a gun.
Cutting
Miter saw. 45° angle cuts for frames. Straight cuts for vertical posts. Important: the molding must fit exactly into the corner without gaps — otherwise the gap is filled and sanded.
Work sequence
-
Installation of vertical moldings on posts.
-
Horizontal belt between zones.
-
Frame moldings on cabinet door fronts.
-
Cornice — last of the structural elements.
-
Decorative overlays — very last.
-
Puttying joints, sanding, primer, painting.
Connecting the shelving unit to walls: a technique that unifies the interior
This technique is one of the most valuable, and it's rarely discussed. A horizontal molding band that extends from the side post of the shelving unit onto the adjacent wall creates an "architectural seam."
The shelving unit is no longer "leaned" against the wall — it "grows" out of it. This is a fundamentally different perception: built-in furniture versus placed furniture.
An even stronger technique: the cornice of the shelving unit continues onto the adjacent walls as a ceiling molding. Ceiling molding around the perimeter of the room, matching the profile of the shelving unit's cornice — it's a single horizontal "stitch" that goes around the entire perimeter at the same height. The room becomes a unified architectural statement.
What to buy for different tasks: summary table
| Task | What to purchase |
|---|---|
| Close the top of the shelving unit | Cornice or decorative profile |
| Make the facades more expensive | Moldings for furniture + panel moldings |
| Add a classic accent | Decorative stucco |
| Design the home library completely | Cornice + Moldings + Relief Decoration |
| Connect the shelving unit to the walls | Moldings in wall color extending to adjacent surfaces |
| Decor for a wooden shelving unit | Decor for Solid Wood Furniture |
| Assemble a complete set | Buy molding + cornice + moldings + glue + paint + 15% spare |
Frequently asked questions
How to style a built-in shelving unit?
A built-in shelving unit is styled with a cornice along the top line, polyurethane moldings on vertical posts and facades, decorative molding at accent points. A unified paint job ties all elements into a system.
What to buy for a home library?
Basic set: top cornice 70–100 mm, moldings for sections and facades, Relief Decoration for the central area, mounting glue, primer, and paint. Material spare — 15% of the calculated quantity.
Can stucco molding be used on a bookcase?
Yes. Polyurethane stucco molding mounts well on MDF and plywood — standard furniture manufacturing materials. Buy molding for a shelving unit — means choosing lightweight overlays with moderate relief that won't overload the facade.
How to make a shelving unit look like built-in furniture?
A cornice that connects the shelving unit to the ceiling. A horizontal molding belt transitioning from the shelving unit to the wall. Frame moldings on the facades of lower doors. A uniform monochrome paint job.
Is decor needed on every section of the shelving unit?
No. The principle of accent decor: one to three accent elements for the entire shelving unit. The central upper zone, corner transition points from verticals to the cornice, the center of lower facades — these positions are sufficient.
Which molding material is better for a shelving unit: wood or polyurethane?
It depends on the task. If the shelving unit will be painted in monochrome — polyurethane is optimal: lightweight, precise profile, no need for wood priming. If the shelving unit will be painted in a natural wood color — Moldings for furniture solid wood is more correct in terms of texture and perception.
STAVROS: for those who build a library seriously
A home library is a space of special significance. It is created once and for a long time. That is why the materials and components for its design must be reliable, precise, and systematic.
STAVROS manufactures Polyurethane Items for interior decor of the full range: moldings of all profiles, Decorative stucco in more than 100 models, Ceiling decoration to create a unified horizontal system in the room. Wooden Moldings for furniture и decor for furniture made of solid wood — for office and library shelving with a wooden finish.
Buy molding for built-in shelving and a home library — in the STAVROS catalog online. Delivery across all of Russia. Pickup in Moscow and Saint Petersburg.
Your library deserves to be more than just shelves with books — it should be a place you want to return to every day.