










Article Contents:
- What Chair Rail Molding Actually Does
- A visual boundary rather than a structural rail
- The distinction between decoration and protection
- Measure from the finished floor, not the subfloor
- Why the one-third guideline can help—and mislead
- Furniture and openings take priority
- Chair rail as the continuous upper boundary
- Applied wall panels versus true panel construction
- Crown molding and baseboard are not interchangeable
- Actual dimensions matter more than generic trim names
- A small sample is worth more than a digital mock-up
- Dining room: use the furniture as a real measurement
- Hallways and entryways: maintain one datum
- Living room: sometimes less is better
- Home office and library: support a paneled lower wall
- Bedroom and nursery: choose the context carefully
- Outlets, switches, and control devices
- Door casings, stair rails, radiators, and uneven corners
- Wallpaper borders and tile transitions
- Decide between two-tone paint and applied wainscoting
- Panel proportions and gaps
- When to use corner ornaments
- Example A: three 11-foot wall runs
- Example B: one 12-foot wall with three lower frames
- A reusable takeoff checklist
- Preparation and safe work sequence
- Cut, dry-fit, bond, and support
- Color sequencing and the finished appearance
- What is the usual chair rail molding height for an 8-foot ceiling?
- Is polyurethane a replacement for wooden chair rail?
- Can chair rail molding be installed without wainscoting?
- What is the difference between chair rail and wainscoting cap molding?
- Do I have to miter every joint?
- Can I put a rail over wallpaper or tile?
- Can one molding work for a rail and lower panel frames?
- Where should I start when ordering STAVROS decorative trim?
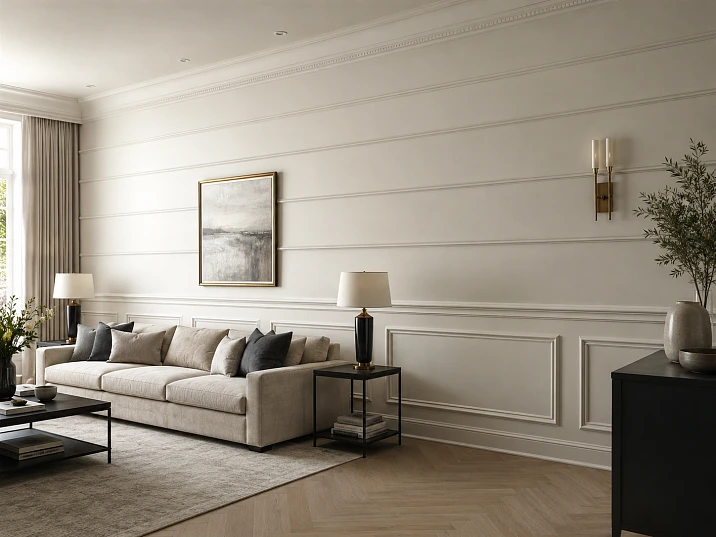
A horizontal strip of trim can change a room more decisively than another piece of furniture. In an eight-foot-high dining room, a carefully placed line separates a darker lower wall from a lighter upper wall. Along a hallway, the same line can connect several doorways and make a long surface feel intentional. In a home office, it can finish a sequence of painted panels without adding bulky millwork. The design detail Americans usually search for is chair rail molding. The important decisions are its height, profile, relationship to furniture, and whether it serves as a decorative border or part of a larger wainscoting design.
For most conventional rooms, start by testing the rail around 30 to 36 inches above the finished floor, then adjust the location to the actual ceiling height, door casing, chairs, and wall finishes. That is a practical design starting range, not a universal rule or a code requirement. Thin polyurethane molding can produce a refined horizontal line without a large wood chair rail. It does not automatically provide the same physical impact protection as a purpose-designed, substantial chair rail. Before ordering, decide which job the trim must actually perform.
This guide focuses on the interior polyurethane profiles offered by STAVROS, planning in U.S. inches and feet, calculating full stock lengths, installing trim on sound substrates, and coordinating the rail with paint and applied panels. Begin with the STAVROS collection of polyurethane wall molding if you want to compare the actual cross-sections while reading. The best result comes from drawing the entire wall first and treating the product selection as the final design decision, not the first.
What Chair Rail Molding Actually Does


A visual boundary rather than a structural rail
A traditional chair rail was associated with protecting plaster from chair backs. Today the term often describes a decorative horizontal band that divides a wall by height. It may be plain or profiled, painted to match the wall or used as a crisp color break. An applied polyurethane strip can perform the visual role when it is compatible with the substrate and installed correctly. A slender profile should not be specified as a guaranteed impact barrier in a busy dining room, school, restaurant, or corridor without product-specific evidence.
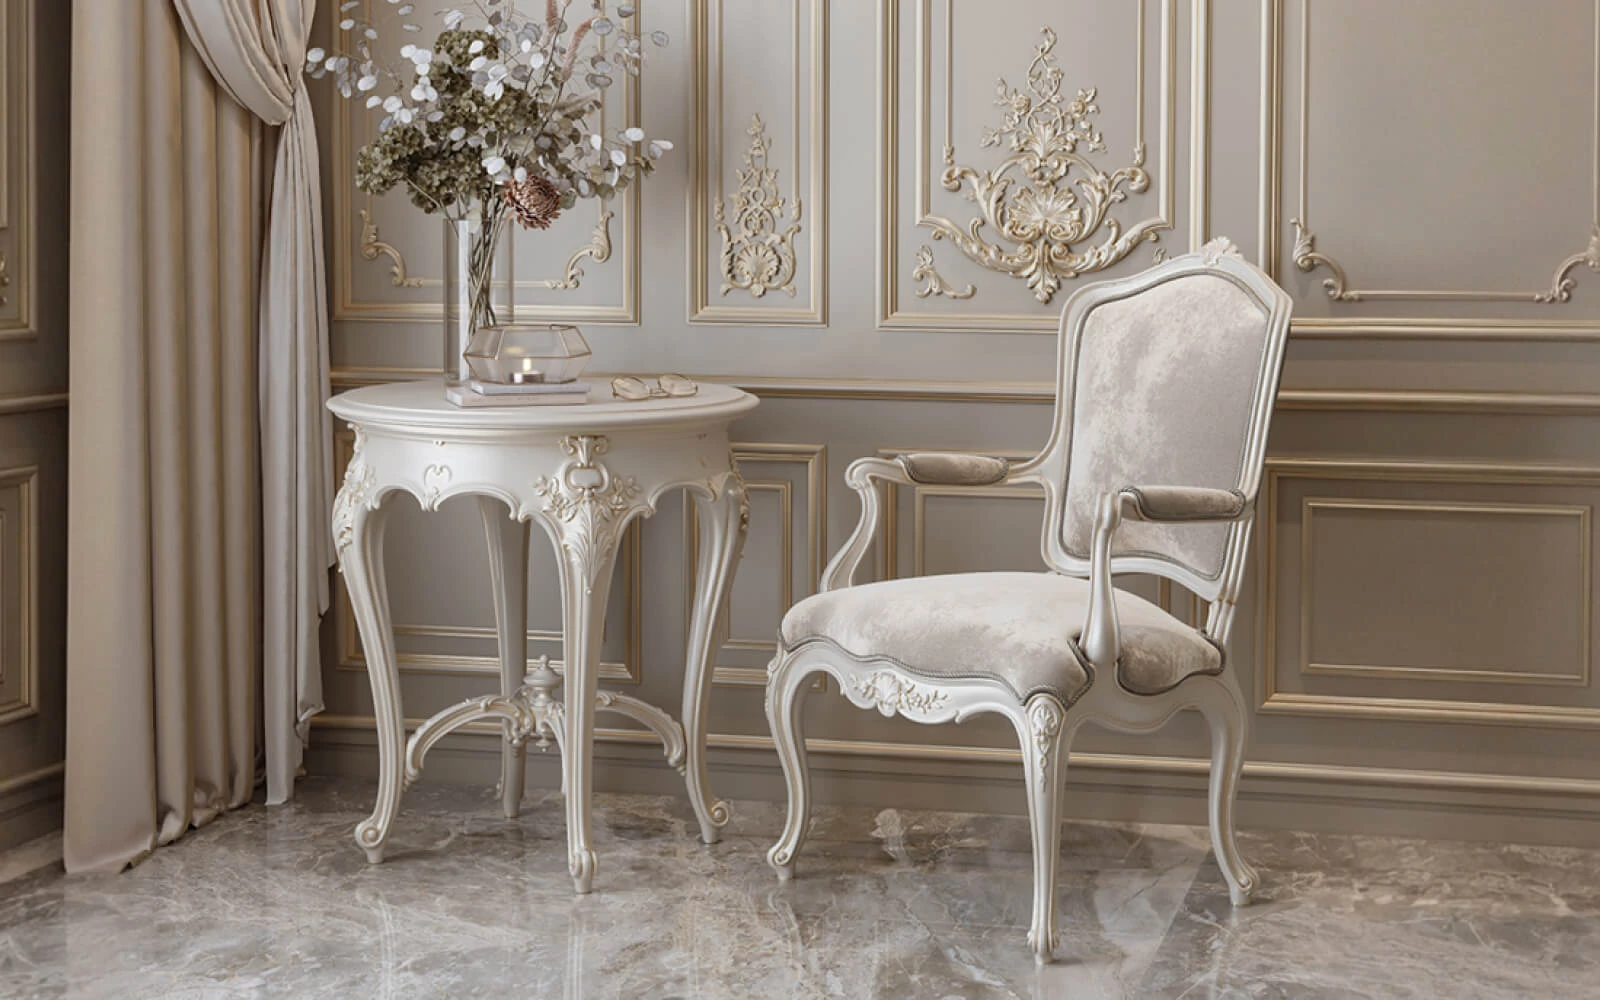
Consider the three ways a rail can function. First, it can complete two-tone paint: the color below stops at a deliberate architectural edge, and the color above begins cleanly. Second, it can top a lower band of vertical panel molding, making an ordinary painted surface resemble traditional applied wainscoting. Third, it can be an independent line that aligns with the room's furnishings, connects wall sections, and lends rhythm to a long passage. The same product can look very different in these situations.
A common mistake is to assume the rail must be broad and ornate. On a simple wall, a 0.59-inch-wide profile may communicate the line better than an elaborate contour. Conversely, a tiny bead may disappear when the wall is viewed across a large room. Selection is therefore about viewing distance, wall height, lighting, and what surrounds the trim—not only about the product photograph.
Наша фабрика также производит:



Смотреть весь Каталог продукции
The distinction between decoration and protection
If chairs actually contact the wall, measure the chair-back height and the impact area. A narrow molding installed at the expected contact point may receive repeated blows without protecting the painted surface above or below. A chair rail intended to take impact usually needs a suitable projection, strong anchorage, and a finish appropriate to the abuse. Polyurethane applied molding may instead be best used as a decorative element above a protective lower wall material, or in areas with less contact. Do not interpret the term "chair rail" as a verified load or impact rating for a specific STAVROS profile.
This distinction matters during budgeting. A decorative rail may require fewer materials and no major substrate changes, but it also cannot repair damaged drywall or replace a durable protective assembly. If the existing wall is exposed to frequent carts, dining chairs, or luggage, solve that functional requirement separately before investing in the visual treatment.
Получить консультацию
Chair Rail Molding Height: A Practical Starting Method
Measure from the finished floor, not the subfloor
Record the finished-floor elevation after flooring and underlayment are in place. If you mark from a temporary construction surface, the completed rail may sit at a visibly different height. Choose what your dimension refers to—usually the centerline of the rail or its upper edge—and use that same reference throughout the project. A two-inch-high trim band will not have its centerline and top edge at the same elevation, so an unspecified "36-inch rail" can cause a real layout error.
Start by measuring the ceiling height at several points. Older buildings may be out of level, and floor-to-ceiling measurements may differ from one end of the room to the other. Use a laser level to establish one visually consistent line rather than blindly measuring up from an uneven floor at each location. Then decide how the bottom zone should relate to furniture and panel proportions.
For a typical eight-foot ceiling, 30 to 34 inches from the floor often produces a restrained lower band. With nine-foot ceilings, 32 to 36 inches is a useful range to mock up. Ten-foot rooms can tolerate a higher division if the doors, furniture, and wall lengths support it. These are design ranges for initial testing, not universal mandates. The source article describes similar proportional thinking in metric units; the U.S. adaptation emphasizes the exact architectural conditions rather than prescribing a single height.
| Finished ceiling | Initial rail-height test | Design issue to verify |
|---|---|---|
| 8 ft (96 in) | 30–34 in | Keep a generous, calm upper wall |
| 9 ft (108 in) | 32–36 in | Coordinate chair backs and windows |
| 10 ft (120 in) | 34–40 in | Check tall doors and large furniture |
| Above 10 ft | Mock up before choosing | Consider a taller paneled base or another proportion |
Why the one-third guideline can help—and mislead
A common starting proportion places the dividing line near one third of the wall height. For a 96-inch wall, one third is 32 inches. For a 108-inch wall, it is 36 inches. This is easy to remember and often visually comfortable. However, the proportion is an aid to composition rather than a physical law. An unusually low window sill, an existing tiled backsplash, a wide doorway, or a tall sofa can make the numerical answer wrong for a particular room.
Test two or three candidate levels with removable painter's tape. Stand where people actually see the room: through the entry door, from the dining table, near the sofa, and from the adjacent hall. Photograph the wall from those positions, because a difference of two inches can be surprisingly visible when a strong dark-and-light paint division is involved. Move the tape before making any adhesive commitment. A few minutes of mock-up avoids a full line of patched holes or stripped paint.
Furniture and openings take priority
Chair rail molding installation should respond to where the room's equipment already sits. A dining chair with a 37-inch-high back may overlap a 32-inch decorative rail; that is not automatically a design failure, but the treatment will have a different visual and functional effect than one positioned above the chairs. A sofa can obscure the entire lower wall division, while a tall sideboard can make the rail look as though it accidentally cuts through the furniture.
Door casing is another important visual reference. A rail that meets an existing casing cleanly often looks intentional. A rail that terminates a fraction of an inch from the casing or abruptly touches its narrowest profile may look like a measuring mistake. Draw the casing's full shape at the intended height and decide whether the molding should return into it, end with a small deliberate gap, or stop at an architectural break. This decision should be made before any stock is cut.
Chair Rail, Picture Frame Molding, and Wainscoting: Different Jobs
Chair rail as the continuous upper boundary
A chair rail is primarily a horizontal element. When designers describe a "wainscoting chair rail molding," they often mean the trim that caps an arrangement of lower wall panels. In a simple two-color wall, no physical panels are necessary; the wall finish itself creates the visual division. A standalone line has few repeated joints, which makes it a manageable project for a homeowner comfortable with accurate measuring and finishing.
If the wall receives applied panels, the rail becomes part of a system. The vertical pieces beneath it should relate to the spacing of baseboards and doors. Changing the rail height also changes every panel height. That is why it is inefficient to buy a bulk pack of panel molding first and decide on the rail later. Complete the elevation drawing with all major heights before calculating the quantity.
Applied wall panels versus true panel construction
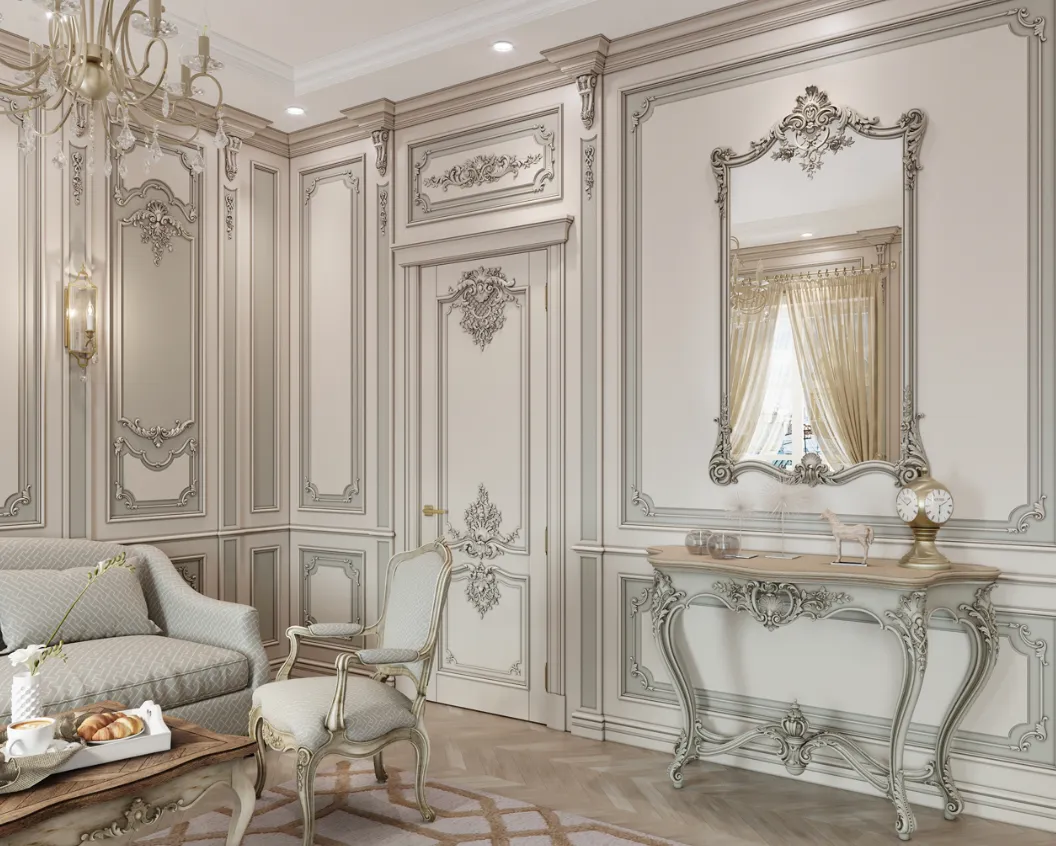
Applied picture-frame molding can create rectangles on finished drywall. This is not the same assembly as structural or traditional wood paneling. The painted drywall remains the main surface; the decorative profiles add relief. A full panel treatment may include back panels, stiles, rails, and cap details. Do not confuse these construction methods or assume that a narrow polyurethane strip substitutes for a thick wooden wainscot cap. Its job is visual unless the product has been evaluated for another use.
The related STAVROS guide to decorative polyurethane wall panels explains the architectural vocabulary behind applied lower-wall arrangements. Use it when your project includes many vertical divisions or larger framed fields. For the present project, focus on getting one continuous horizontal datum right before adding the secondary details.
Crown molding and baseboard are not interchangeable
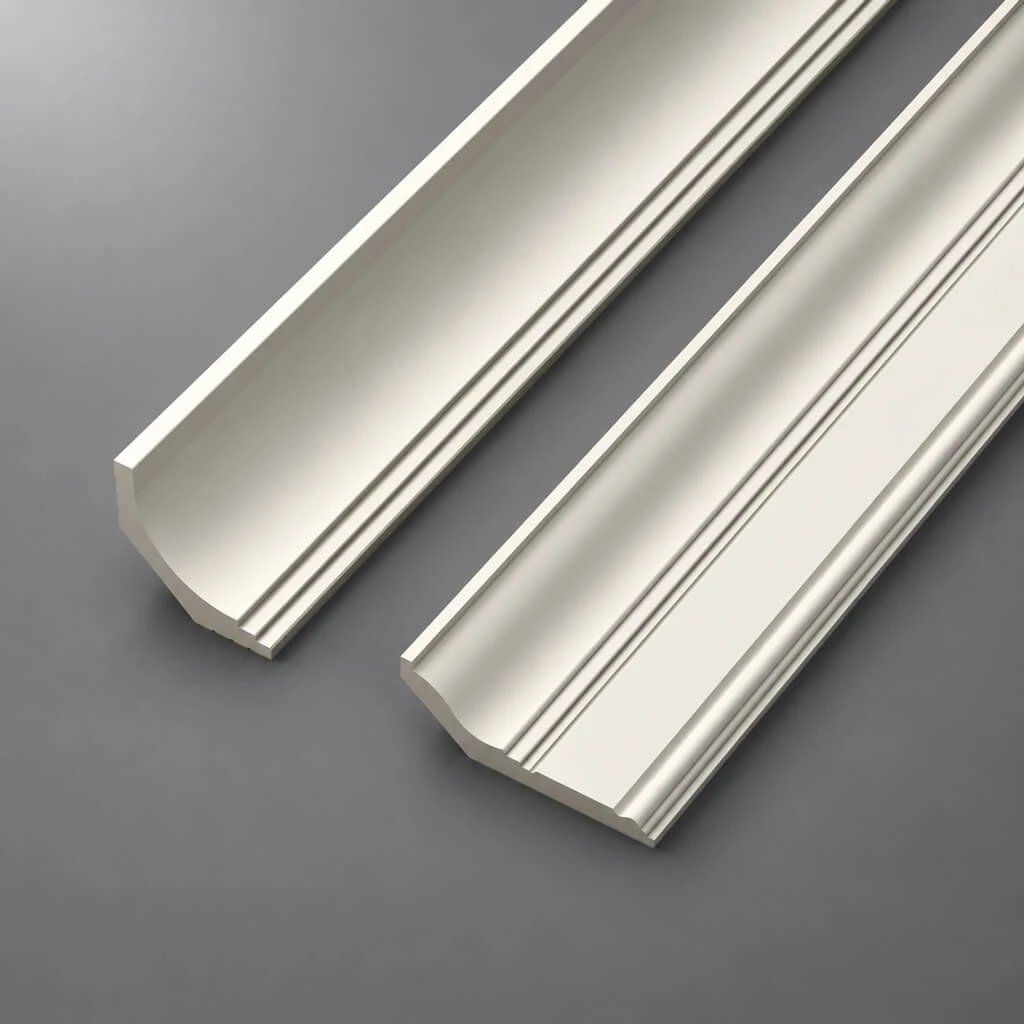
Crown molding is associated with the ceiling transition; baseboard finishes the lower edge of the wall. A chair rail occupies a separate mid-wall position. All three may be visible together, but a profile designed to bridge a wall-to-ceiling corner may not lie flat when used halfway up a wall. Likewise, a flat applied molding should not be represented as a drop-in substitute for an angled crown profile. Read each product's section drawing, attachment surfaces, and stated use rather than matching products solely because their patterns seem similar.
A balanced traditional interior often repeats related curves or simple lines at these three elevations. A modern interior may use a very light mid-wall rail and a plain baseboard, omitting crown molding entirely. The correct combination depends on architecture and restraint. Additional lines do not automatically make the space feel more luxurious.
Choosing Polyurethane Profiles From the STAVROS Catalog
Actual dimensions matter more than generic trim names
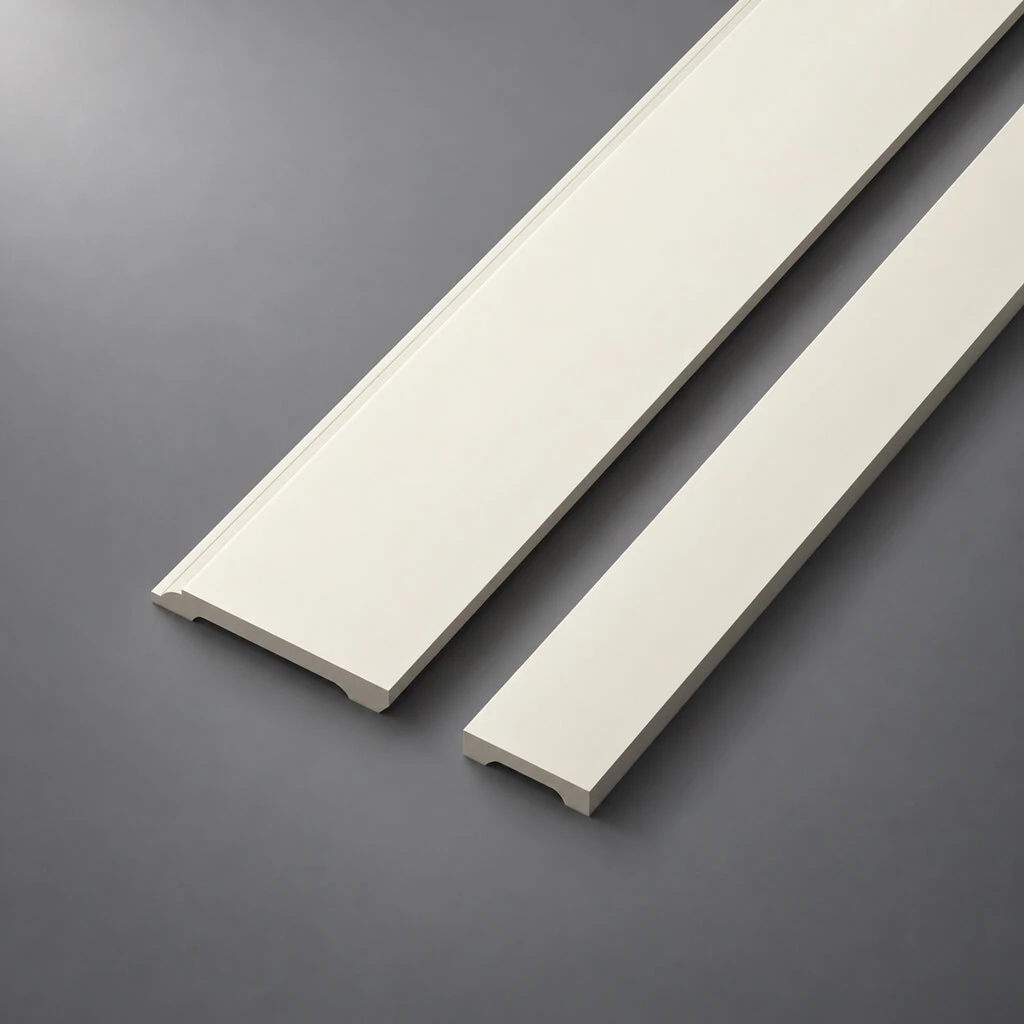
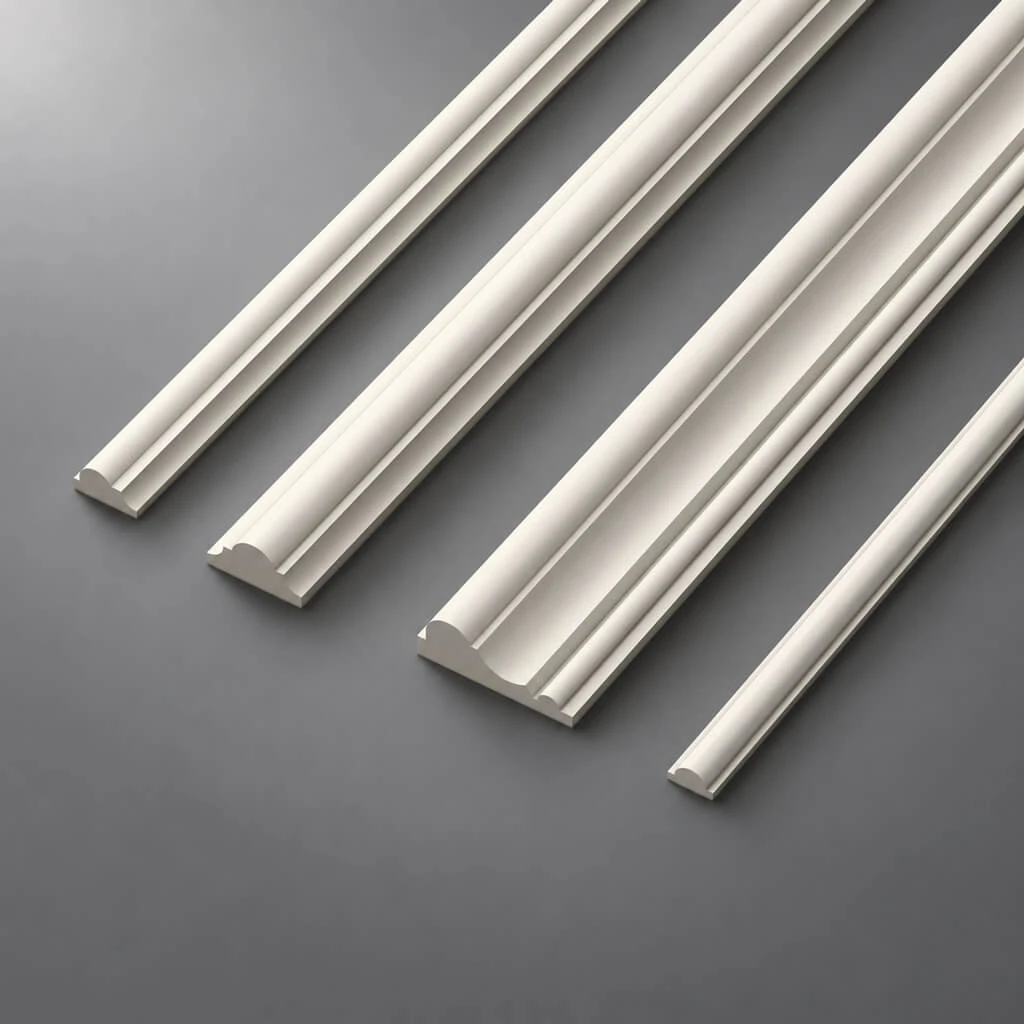
The current U.S.-facing STAVROS catalog lists a family of straight polyurethane moldings with a nominal stock length of 2,600 millimeters, or about 102.36 inches (8.53 feet). The table compares face width and thickness, not a claim that every profile was purpose-designed for resisting chair impact. These are compact decorative profiles: useful for a relatively fine horizontal accent, painted borders, and coordinated panel patterns. They are not giant hardwood rails simply because the project uses the chair-rail vocabulary.
| Verified polyurethane model | Cross-section, mm | Approx. face × depth, inches | Best visual use to test |
|---|---|---|---|
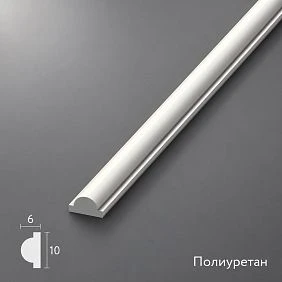
| MLDPU-001 | 10 × 6 | 0.39 × 0.24 | Very fine line on a compact wall |
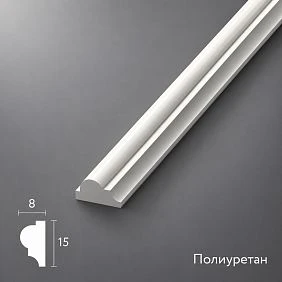
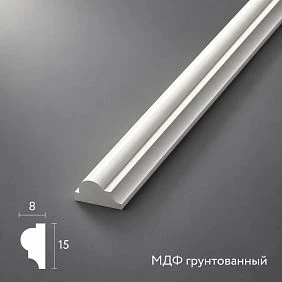
| MLDPU-004 | 15 × 8 | 0.59 × 0.31 | Subtle but defined color boundary |
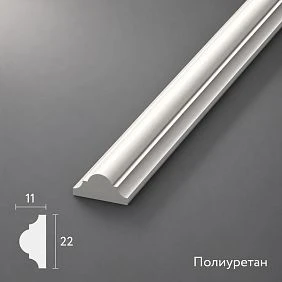
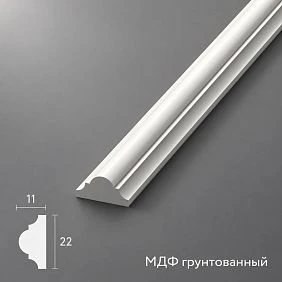
| MLDPU-002 | 22 × 11 | 0.87 × 0.43 | Medium-scale panel and border detail |
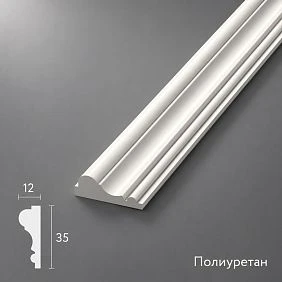
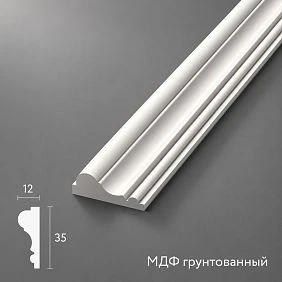
| MLDPU-003 | 35 × 12 | 1.38 × 0.47 | More visible architectural divider |
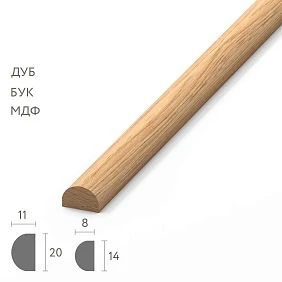
| MLDPU-027 | 14 × 9 or 20 × 12 | 0.55 × 0.35 or 0.79 × 0.47 | Rounded accent; specify the exact size |
The MLDPU-001 thin polyurethane molding works when you want a small, controlled line rather than a highly dimensional feature. Its 10-millimeter face width will remain quiet in a room where the paint boundary provides most of the visual contrast. It is especially sensible to compare against a slightly broader sample before deciding that the thinnest choice is enough.
The MLDPU-004 polyurethane molding is a useful next step at 15 by 8 millimeters. It provides more visible shape while remaining restrained. On an eight-foot wall with several doors, a compact section like this may be easier to coordinate with existing casings than a dramatic, deep rail. Compare the cross-section from the side as well as from the front; projection changes how the molding meets a return or nearby opening.
For a more defined edge, compare MLDPU-002 panel molding at 22 by 11 millimeters. In a two-tone room, it can carry a more obvious shadow line. In a paneled design, it can also serve as one of the repeated decorative elements, provided the joint geometry and visual weight work in the complete wall drawing. Keep in mind that the same profile appears heavier when painted dark against a light wall.
The broadest listed option in this comparison is MLDPU-003 polyurethane wall molding at 35 by 12 millimeters. It can create a stronger feature in a larger dining room or library, but the wider face is not proof of impact resistance. If nearby casing is unusually shallow, the contrast in projection may look awkward. Make a sample junction before buying for a whole room.
The MLDPU-027 half-round polyurethane profile is available in two section sizes. Its smooth shape can fit minimalist and softly classical treatments. Specify either the 14 × 9 mm or 20 × 12 mm version in the schedule. A product code without the size is not a complete purchase specification where more than one option exists.
A small sample is worth more than a digital mock-up
View samples under both daylight and the intended evening lighting. A contour that looks subtle under flat showroom light may create strong shadows under a wall sconce. Hold the profile against the actual painted surface and photograph it at the height chosen with tape. For two-color finishes, test how the molding changes the perceived boundary: a light profile against both wall colors reads differently from trim painted in the darker lower color.
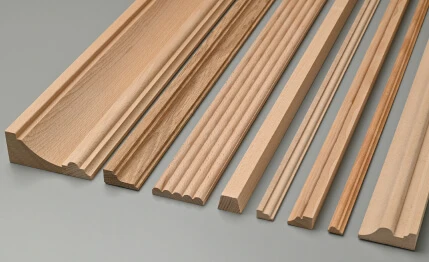
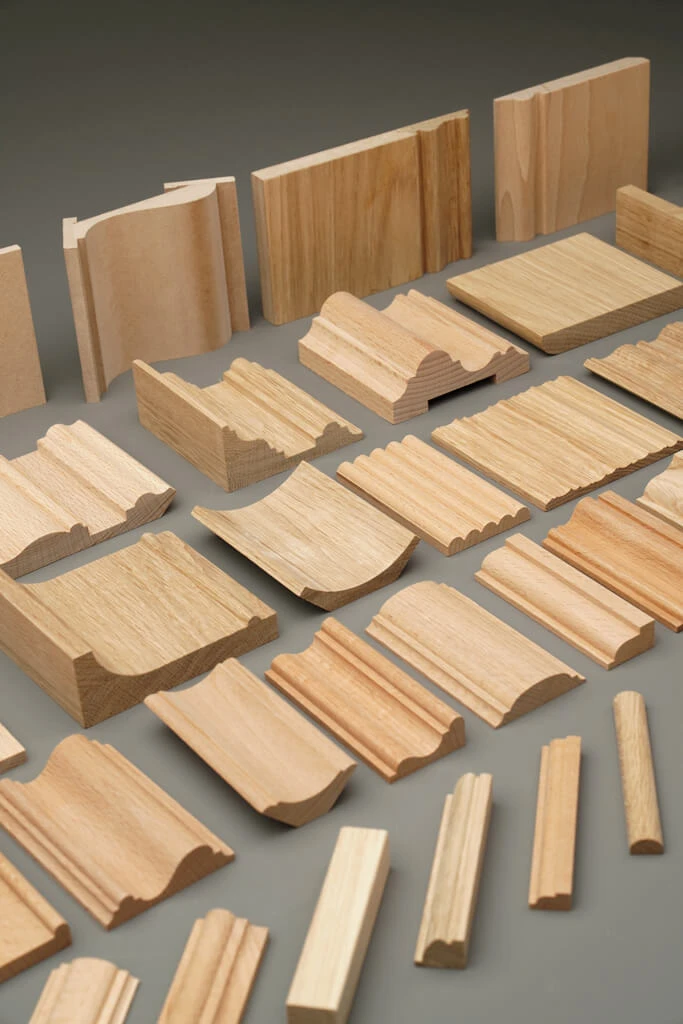
Confirm that the profile is polyurethane, not a visually similar primed MDF molding, PVC strip, or polystyrene item. These materials have different cutting, finishing, and service considerations. The category page displays more than one material family, so the product-level designation is essential. Check the latest product listing for dimensions, coating, and relevant installation instructions before ordering; no claim about U.S. warehouse stock or delivery timing is implied here.
Chair Rail Molding Ideas for Different Rooms
Dining room: use the furniture as a real measurement
A dining room is the traditional starting point, but a wall drawing should represent the furniture that will actually be used. Measure the dining chairs at their tallest point and note the clearance when they are pulled away from the table. Also record the buffet, table lamps, art, and thermostat. For a room with a 96-inch ceiling, a rail at 32 inches may look balanced while sitting below the backs of many chairs. That is acceptable when the rail is decorative, but it should not be described as a protective system. If preventing chair scuffs is a priority, select an independently suitable wall finish or protector and coordinate the decorative line around it.
For a relaxed traditional dining room, choose a medium profile and paint the lower 32 inches in a muted blue, olive, or warm gray; use an off-white or related neutral above. For a less formal result, paint rail and walls the same color and let the shallow shadow define the division. Hang large art with enough clearance so the bottom of the frame does not appear to rest accidentally on the trim. A rail crossing the room at a comfortable height can look considered even with no additional panel frames.
Where several walls meet, plan the color continuity before installation. If the lower color stops at one doorway but continues across an adjacent opening, the rail should follow the same clear logic. Avoid isolated short pieces of molding on leftover wall strips unless those sections contribute to the overall composition. An intentionally undecorated return can be better than a tiny sliver of profile.
Hallways and entryways: maintain one datum
A long hallway brings more doors and switches into the project. The design objective is a steady line connecting separate wall runs, not a forced continuous piece that ignores every obstacle. First survey door casing thickness and height, light-switch plates, handrails, thermostats, access covers, and any corner where the wall changes material. Move the proposed line above or below an obstruction when necessary, but do so consistently. A series of different rail heights can make a hallway appear disorganized.
A slim polyurethane molding helps avoid competing with door trim. If the hallway has numerous short sections, a 0.39- or 0.59-inch face can keep the composition calm. In some layouts the rail may end neatly at the casing; in others, a visual stop at the end of a wall section is more persuasive. See the STAVROS guide to molding layouts for long hallways and entryways when the project involves many narrow piers.
Do not let a decorative strip obstruct a door swing or protrude into a location where it can snag clothing. Check tight corners and hallway clearances with the actual profile held against the wall. A larger cross-section may be aesthetically appealing on a sample board but inappropriate beside a narrow door jamb. Layout is both an appearance decision and a practical fit problem.
Living room: sometimes less is better
In a living room, a chair rail can make a large, mostly blank wall feel more intentional. However, a sofa and media console often conceal parts of the lower wall, so avoid drawing the composition as though the furniture were transparent. Mark the line behind the largest pieces and see whether it emerges awkwardly at the sides. If most of the rail is hidden, moving it a few inches or limiting the treatment to a different wall may create a more coherent result.
Use a low-contrast scheme for rooms with busy furniture, open shelving, and many windows. Paint the wall and rail in closely related tones; rely on the shallow shadow rather than a hard white stripe. A high-contrast white rail can be attractive, but it introduces another visual horizon that may compete with the TV, fireplace mantel, or window sills. Treat the rail as one part of the room's existing horizontal composition.
A modern alternative uses one uninterrupted horizontal molding only on the principal wall rather than across the entire room. Finish it intentionally at an inside corner or a vertical architectural break. The choice should appear planned, not as though the installer ran out of material. For open-plan homes, follow the line only where the wall treatment logically continues; avoid dragging it across kitchen backsplashes, built-in cabinetry, or surfaces that demand another specification.
Home office and library: support a paneled lower wall
In a home office, the rail can define a lower band with narrow vertical decorative sections. Use a calm upper wall for shelving, framed prints, or lighting. Before drawing the sections, measure desk depth, chair movement, and any bookcases. Small panels partly concealed behind a desk may add cost without improving the view. Design what is visible from the doorway first, then refine the wall that appears in video calls.
A dark lower zone with a matching rail is one option for a library-style room. The molding becomes part of a continuous color field rather than a white outline. Warm white above and deeper color below can make an otherwise plain space feel deliberately divided. If you use a broader MLDPU profile, coordinate it with the room's baseboard shape instead of assuming that more relief always communicates more quality.
The lower panels can be suggested with applied molding rather than full timber construction. That distinction matters for budget and technique: the existing drywall needs to be stable, well finished, and sufficiently flat for the adhesive system. For a wall lined with bookshelves, leave the furniture mounting independent of decorative trim. A molded border is never a structural support for shelves or cabinets.
Bedroom and nursery: choose the context carefully
A restrained horizontal line can form a backdrop to a headboard or define a lower painted zone in a guest bedroom. Unlike a dining room, this does not necessarily function as a chair rail in the historical sense. Check the headboard height and wall sconces before setting the elevation. A line that cuts through the center of a headboard may be invisible or awkward. Sometimes one large molding frame above the bed is the better architectural choice; the room does not need both treatments.
In children's rooms, keep decorative components away from cribs and other situations in which a child might pull, climb, or catch objects on protruding pieces. Use products and coatings appropriate for the environment, and follow the manufacturer's installation guidance. Small glued decorations are not automatically safe because they are lightweight. If the line falls in a high-contact play area, a washable paint or a tougher protective lower-wall finish can do more practical work than a narrow applied molding.
Planning the Rail Around Real Architectural Obstacles
Outlets, switches, and control devices
An electrical wall plate requires access for maintenance. Never cover a receptacle, switch, junction box, or removable faceplate with decorative molding; never use trim to conceal damaged wiring or compromised devices. A proposed 34-inch rail may cross a thermostat or switch cluster. Move the rail, revise the panel layout, or create a clear visual break rather than carving a thin, awkward notch around the hardware.
Measure the outer dimensions of every cover plate, not merely the central opening. Leave room for the entire plate to be removed and reinstalled. If a different switch location is essential to the design, that is a separate electrical project for a qualified professional under applicable local rules. A decorative installer's job is to coordinate around the existing equipment, not improvise a relocation.
For multiple devices, sketch their rectangles at full scale on the proposed elevation. One adjustment to the rail height may resolve several conflicts simultaneously. The dedicated STAVROS article on wall molding around outlets and switches explores the broader layout problem; for a single continuous chair rail, the best answer is often simply to choose a different level.
Door casings, stair rails, radiators, and uneven corners
Door trim may project farther from the wall than the chosen polyurethane strip. A clean termination requires considering that depth difference, not just the face widths. If the molding ends against the casing, make a dry-fit sample and determine whether a small return, direct joint, or deliberate gap looks most finished. A protruding sharp edge near a frequently used doorway is worth avoiding.
Near stairs, a decorative wall line must not interfere with a required graspable handrail or its clearances. Do not present a polyurethane molding as a replacement for a compliant stair handrail. Likewise, heaters and radiators bring heat, airflow, and access considerations; confirm the product's relevant temperature limitations and maintain service clearances. Around a fireplace or heater, the appliance instructions and applicable rules take precedence over a decorative sketch.
In older homes, inside corners may not be exactly 90 degrees. Precutting every corner at a perfect 45 degrees based on an assumed square room can create visible gaps. Use an angle finder and actual wall measurements. If a long wall bows, holding a rigid profile against it can reveal a wavy gap; correct the substrate or revise the design rather than forcing the trim into an unsuitable contour. Do not assume a nominally straight polyurethane profile is flexible enough for curved walls.
Wallpaper borders and tile transitions
A chair rail often serves as a boundary between two different finishes. The visible junction can look crisp, but the molding must adhere to a sound underlying surface. Do not glue a long, heavy installation solely onto loose wallpaper and expect the wallpaper adhesive to support it indefinitely. Where the product requires bonding to a prepared wall, create the appropriate substrate condition first. If the finishes themselves need trimming, plan their edges beneath or immediately adjacent to the molding according to a tested installation sequence.
Tile transitions need separate attention. A projecting tile edge, waterproofing layer, or shower enclosure creates a technical condition that should not be solved with a purely decorative wood-style joint. Keep ordinary wall molding outside areas that require a tested wet-area assembly unless the specific components and installation method are approved for that use. In an ordinary powder room with painted drywall, a decorative line can work; inside a shower is a different specification.
Design the Lower Wall Before You Order Any Trim
Decide between two-tone paint and applied wainscoting
Two-tone paint is the simplest treatment. The lower color extends to the rail; the upper color begins above it. This arrangement asks the molding to establish one clean boundary. It is suitable for a dining room that already contains architectural details, a tight hallway, or an office where the budget is focused on a few visible changes. The rail's position and color contribute more than the number of decorative parts.
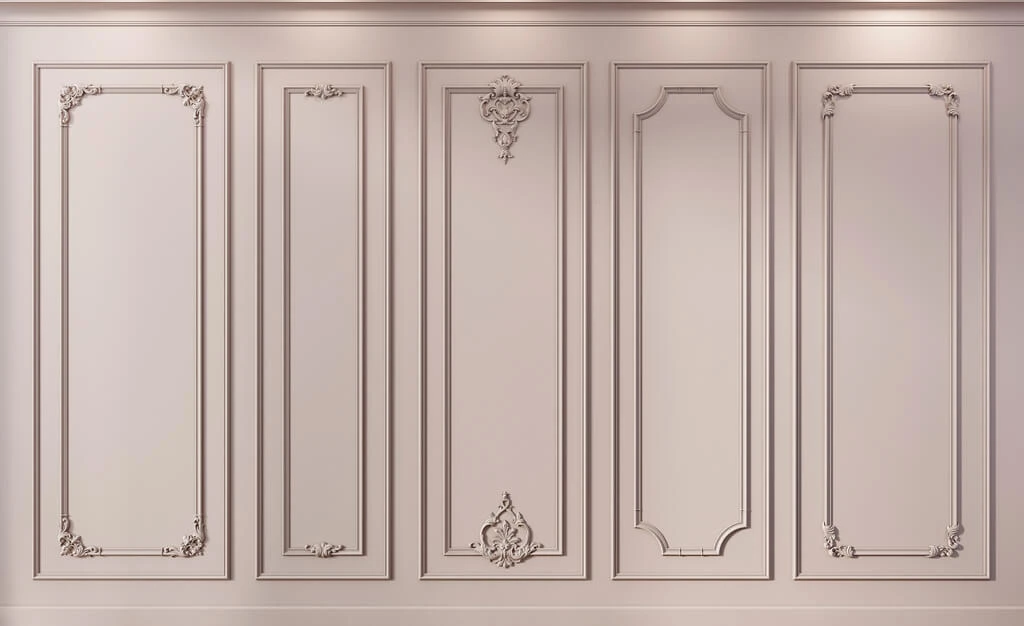
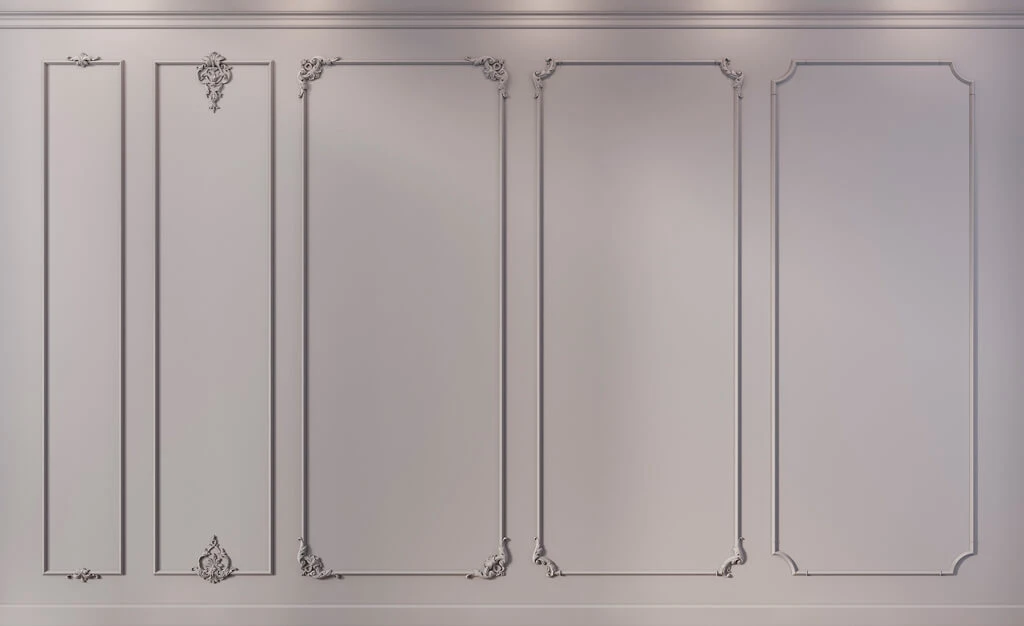
Applied wainscoting introduces vertical divisions and often small rectangles below the rail. Each panel needs a consistent width, top and bottom margin, and relationship to the baseboard. A room with irregularly spaced doors can make rigid equal-width panels impossible without awkward slivers. Instead, use equal-looking fields on the major wall and treat short leftover piers as independent compositions. The user-facing result should look balanced even if not every hidden measurement matches.
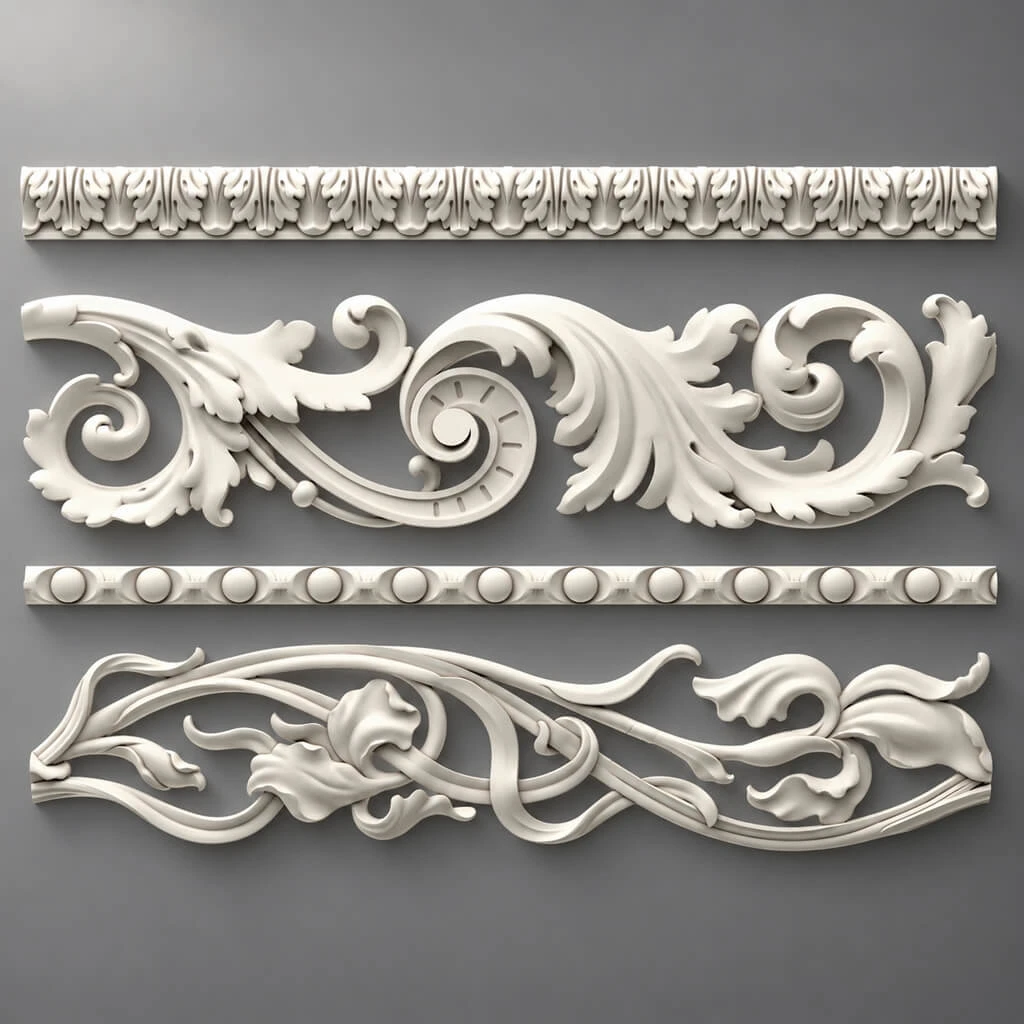
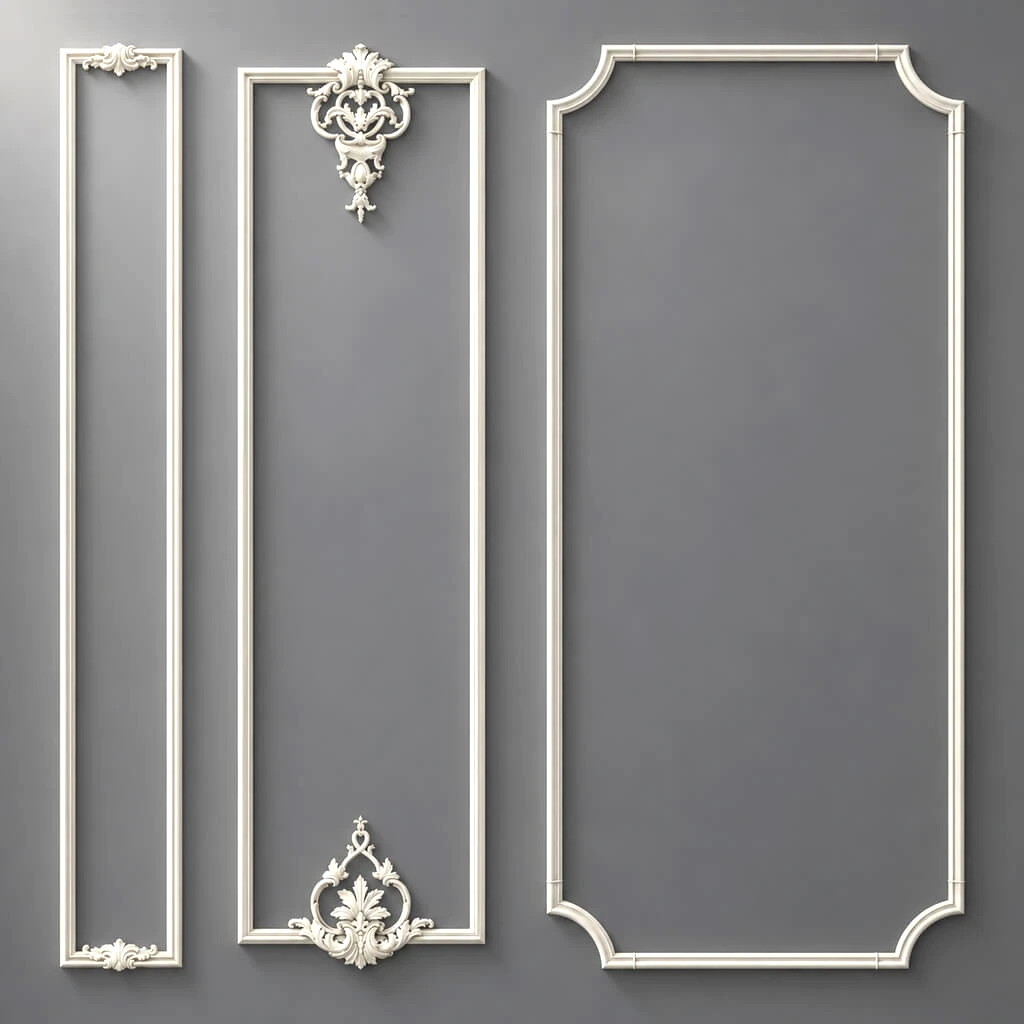
When shopping for wainscoting molding, distinguish the main horizontal chair rail from the finer panel profiles below it. If you need multiple decorative profiles, keep one main chair-rail section and a calmer secondary panel section. The catalog's polyurethane molding and decorative trim options can be compared by actual cross-section. Do not describe a collection of separate straight strips as a ready-to-install engineered wainscoting system. It is an applied decorative layout that still requires design, cutting, adhesion, and finishing.
Panel proportions and gaps
For a 12-foot-wide wall, three lower panels can create an even rhythm. Start by subtracting any doors and the desired end margins. Then divide the remaining clear width into three panels and the gaps between them. If the wall is 144 inches wide, you might reserve 9 inches on each end and use two 18-inch gaps between panel frames. That leaves 90 inches of panel width, or three 30-inch frames. This is an illustrative design, not an instruction to apply 9-inch margins to every room.
After choosing the widths, check the height of the lower field. If the chair rail centerline is at 34 inches, the panel frame must sit below the rail with room for its own top edge, the baseboard, and visual breathing space. A frame height of 24 inches may be suitable with a relatively low baseboard and carefully chosen offsets; verify it against the actual profiles. Too many cramped rectangles can make the wall feel fussy rather than architectural.
The same approach works for a single panel under a console or two large panels behind a sofa. Scale the divisions to furniture and wall openings. If every panel dimension is selected independently, inconsistencies become obvious across a long wall. Consistent margins often do more for the impression of craftsmanship than a more elaborate profile.
When to use corner ornaments
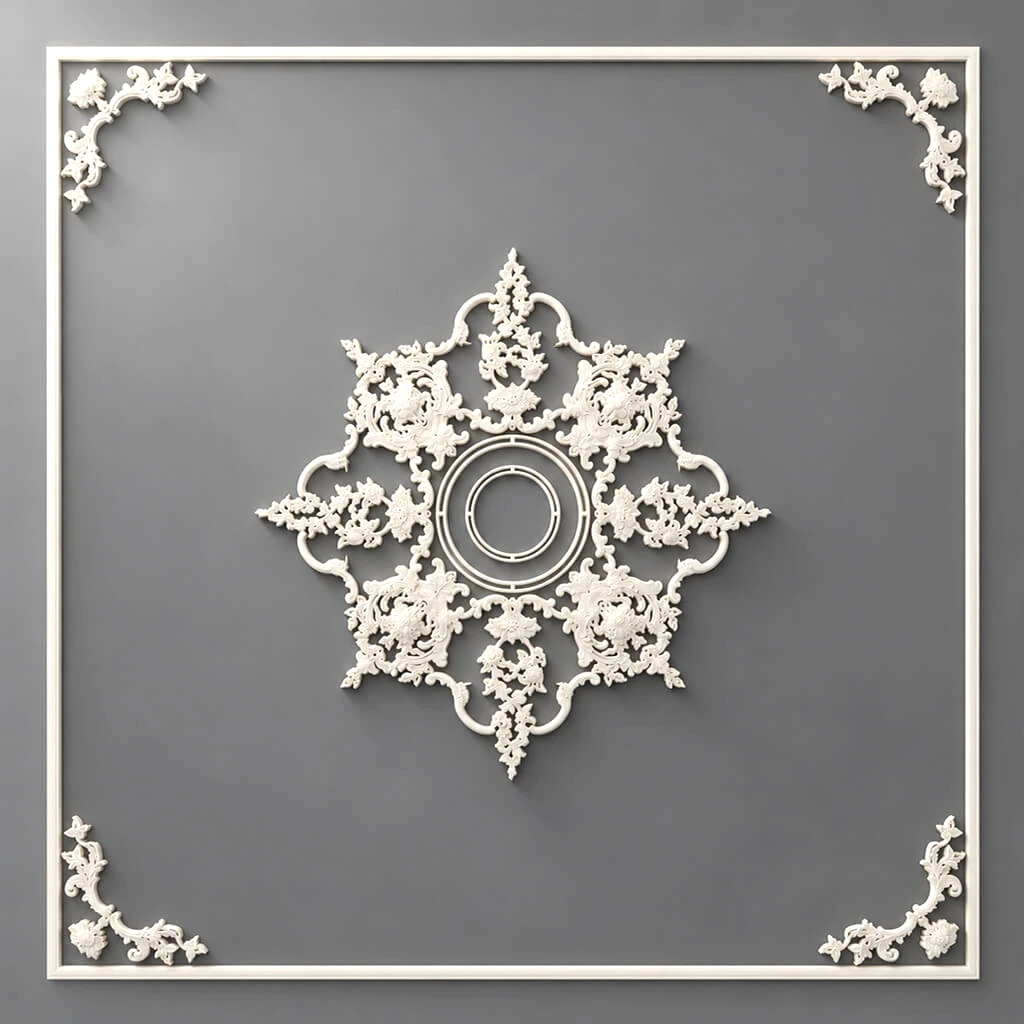
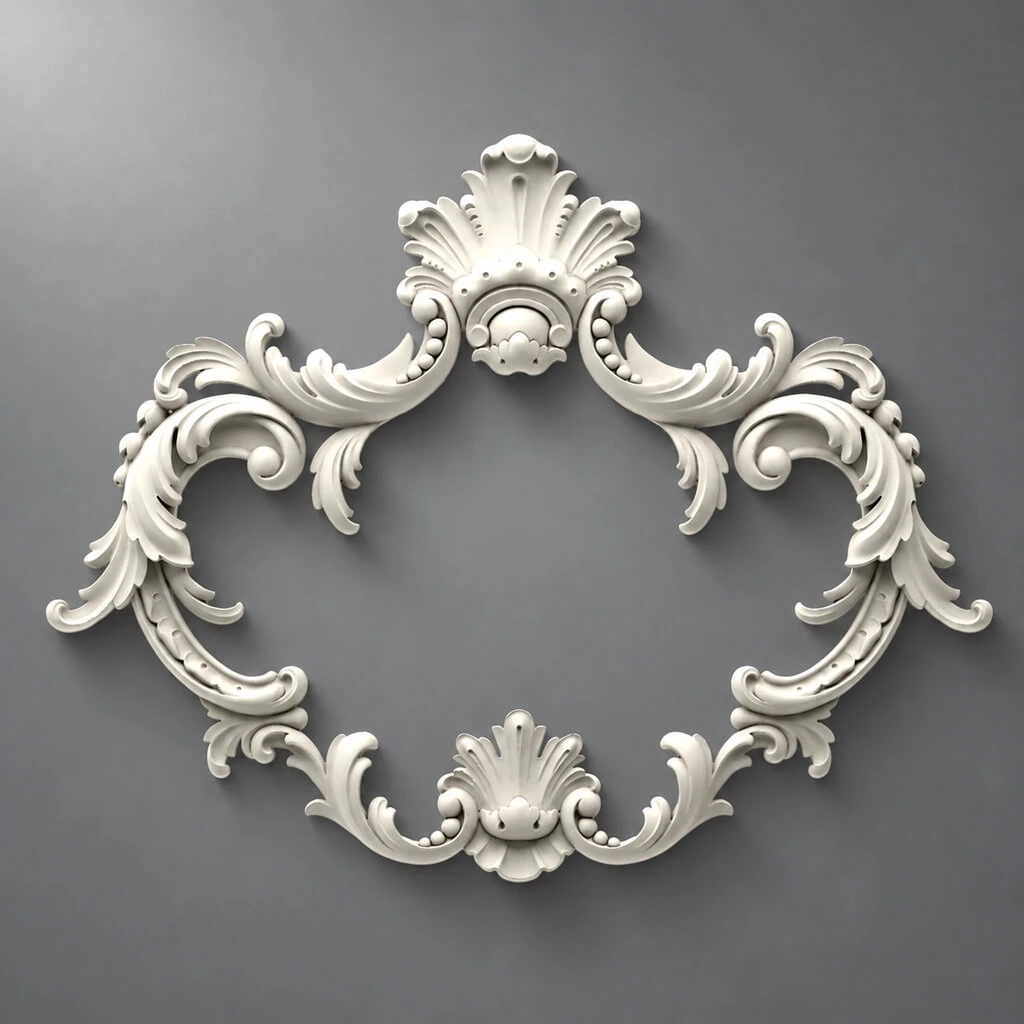
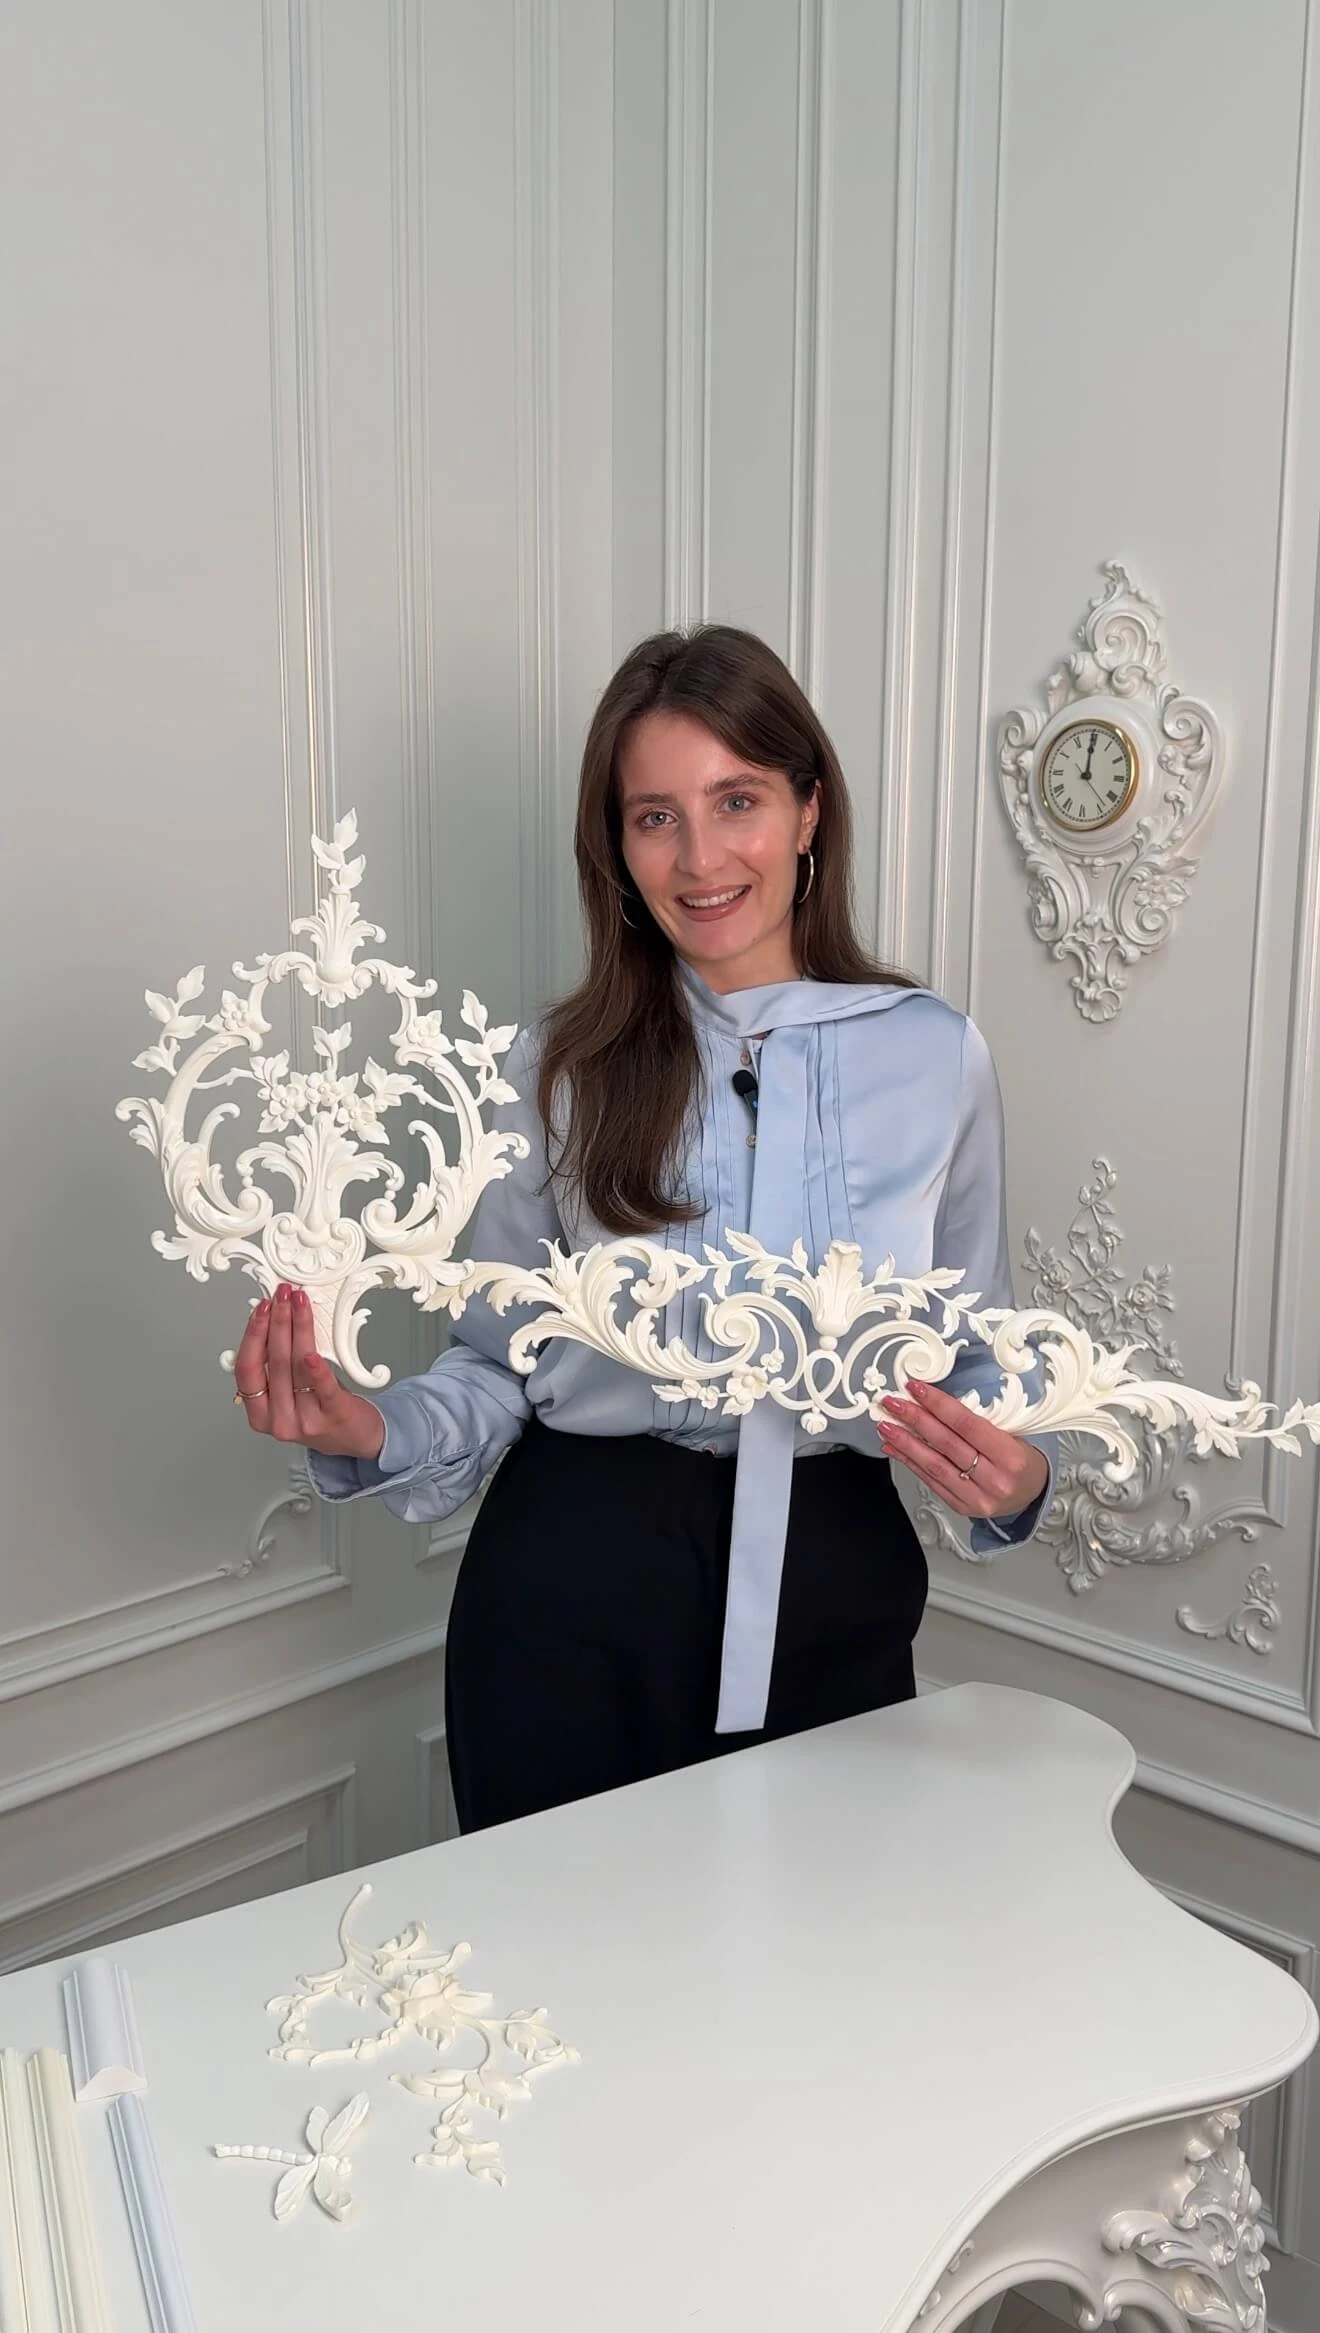
Ornamental corner pieces can change a restrained wainscoting design into a more classical one. They work best when the straight molding's exact section and the decorative corner's connecting shape are compatible. STAVROS publishes polyurethane molding corner and accent options, but visual similarity is not enough to guarantee a fit. Check product drawings and the complete dimensions of the ornament.
Corner pieces also change the cut lengths. If the ornamental piece replaces the mitered ends of a rectangular frame, the straight profile stops before the nominal corner, and the vendor-specific connecting portion determines its true length. Do not calculate a frame using both four complete mitered corners and four connecting ornaments unless the actual design calls for both. Make a one-frame mock-up before multiplying the quantities across a room.
How Much Chair Rail Molding to Buy: Two Worked Examples
Example A: three 11-foot wall runs
Imagine three separate straight wall sections, each measuring 11 feet (132 inches), with the molding running continuously along each section. The visible linear requirement is 396 inches, or 33 linear feet. If the selected straight STAVROS polyurethane stock is 102.36 inches long, simple division gives 396 ÷ 102.36 = 3.87, suggesting four lengths as a theoretical minimum. But a useful order is based on an actual cut list, not only the division.
A possible no-waste-heavy allocation uses three pieces cut to 100 inches, one from each of the first three stock lengths. A fourth stock length provides three 32-inch pieces. Each finished wall run consists of a 100-inch piece plus a 32-inch piece, joined in a planned location. Four purchased lengths therefore provide the nominal 396 inches plus limited allowance for saw kerfs. The fourth length has about 6 inches remaining before considering saw cuts; the first three have small offcuts. This allocation is feasible on paper but leaves little room for an inaccurate corner or a damaged profile.
For a real order, consider a fifth length as a contingency if stock availability, joint placement, or the installer’s preferred cutting method makes replacement difficult. More importantly, verify that the measured 132 inches includes the intended termination style. A mitered corner, return, or joining block changes the finished cut requirements. Where a seamless full-length 132-inch piece is mandatory, this 102.36-inch stock cannot supply it; a splice or another product is necessary.
Example B: one 12-foot wall with three lower frames
Now add applied wainscoting below a 144-inch horizontal rail. The example has three lower frames, each 30 inches wide and 24 inches tall, measured to the outside miter tips. Assume all rails and frame pieces use the same straight molding model; if you choose different profiles, prepare separate cut lists and separate purchase quantities for each model.
| Piece type | Number | Nominal cut length | Total linear inches |
|---|---|---|---|
| Horizontal chair rail | 1 + 1 | 100 in + 44 in | 144 |
| Frame top and bottom | 6 | 30 in | 180 |
| Frame sides | 6 | 24 in | 144 |
| Total | 14 | — | 468 in (39 ft) |
The bare arithmetic minimum is 468 ÷ 102.36 = 4.57, or five stock lengths. Unlike many panel plans, this example can actually be allocated into five lengths with reasonable small cutting allowances: stock 1 supplies the 100-inch rail; stock 2 supplies the 44-inch rail plus two 24-inch frame sides; stocks 3 and 4 each supply three 30-inch horizontals; stock 5 supplies four 24-inch verticals. The longest combined group is 100 inches, and the four 24-inch cuts occupy 96 inches before kerfs. This leaves small margins, so verify saw width, actual miter-tip dimensions, and the supplier's stock length before treating the plan as final.
A sixth length can be prudent for site errors or a changed layout, but do not label it mathematically necessary for the stated nominal pieces. Conversely, do not claim that four are enough merely because the parts look short. Each frame must have complete, usable pieces with the correct grain-free profile orientation and corner cut direction. Save the diagram with your order so the installer and purchaser agree on what each length is intended to produce.
A reusable takeoff checklist
Measure the true horizontal runs after subtracting door openings and stopped portions, then separate the pieces by profile and intended finish. Record each required cut, including returns. Plan how those cuts fit inside the supplier's stock length, allowing for saw kerfs, damaged ends, mitering, and useful offcuts. Buy an extra piece when risk justifies it, but do not let an arbitrary ten-percent formula replace the cut schedule. Use linear feet as a summary for budgeting; use individual inches for cutting.
If you are purchasing both a larger rail and a smaller panel trim, calculate them independently. The related STAVROS picture frame molding installation guide is useful for planning repeated rectangular cuts and corner orientation. This guide focuses on the higher-level horizontal line and the different challenges of long uninterrupted runs.
Installing Polyurethane Chair Rail Molding
Preparation and safe work sequence
People searching for how to install chair rail molding may find instructions for hardwood, MDF, and polyurethane on the same results page. Before adhesive is opened, verify the selected item's material, mounting instructions, and compatibility with the wall finish. Use the adhesive specified or approved for the product and substrate; some adhesives can damage certain materials or finishes. Repair flaking paint, dust, moisture problems, and weak compound before starting. A decorative strip should not be used as a bridge over loose plaster, peeling wallpaper, or unrepaired water damage. Provide appropriate ventilation and personal protection when cutting, sanding, priming, or using adhesives, following the relevant product instructions.
Mark a single level reference at the chosen elevation. Where the line crosses an opening, stop at the planned termination and restart using the same datum on the other side. Dry-fit the full first wall. Use a pencil to label the back of each piece and note which edge is its top. Symmetrical-looking profiles may still have an intended orientation, and a reversed piece can create a visible change in the shadow pattern. Plan long-run splices away from the most prominent sightline where possible.
Cut, dry-fit, bond, and support
Cut with a sharp, appropriate saw and a stable fixture. Miters must reflect the actual corner angle; a 45-degree cut is correct only for a 90-degree corner when a miter joint is intended. Test a scrap pair before trimming the final lengths. Use a joint style compatible with the profile, and do not assume that tiny finish caulk can conceal a badly miscut corner. On long runs, use straight, carefully fitted joints and avoid clustering multiple joints beside a door or wall light.
Apply adhesive according to the product's directions rather than inventing a generic bead pattern. Press the molding to the prepared surface and provide temporary support only where allowed. Painter's tape may help with light alignment, but it is not a substitute for the adhesive's required support or cure conditions. Keep the molding level while the bond sets. Do not use mechanical fasteners unless the selected product and installation method support them.
After curing, address the joints with a compatible filler or paintable sealant where appropriate, avoiding excessive material that buries the profile. Sand only if permitted for the product and filler. Prime as required, then apply the selected finish to a dry, clean surface. Test adhesion and color on a small area before coating the whole room. Paint sheen can alter how strongly small defects and raised edges read under directional light.
Color sequencing and the finished appearance
If the wall has two colors, plan the order of painting and installation so the finished dividing edge is clean. One approach is to prepare and paint the large wall fields first, install the molding on a suitable prepared substrate, then touch up or finish the molding and adjacent paint edges. Another sequence may be recommended by the adhesive or coating manufacturer. Do not apply adhesive to a weak fresh paint film before the coating has cured sufficiently for that system.
Use a straightedge, level, and careful masking rather than expecting caulk to straighten a crooked color transition. A light molding over a deep green lower wall can highlight tiny gaps. A single-color treatment is more forgiving visually, but it still requires flat bonding, consistent joints, and a smooth finish. Good workmanship is visible in the light passing across the wall, not merely in a front-facing photograph.
Mistakes That Make a Horizontal Rail Look Wrong
A rail set solely by a rule of thumb can land on a thermostat or cut through existing casing details. A rail selected only from a product photo can be visually too narrow or project too far from the wall. A room measured in overall linear feet without a cut plan can produce an unexpected shortage once long pieces and mitered corners are laid out. And a thin decorative profile mistakenly used as a protective impact strip can be damaged in the exact place where protection was expected.
Other common problems begin after installation: pieces attached over unstable paint; inconsistent orientation of an asymmetric profile; joints located at a highly visible centerline; incompatible sealant that cracks or cannot be painted; and an upper or lower color field that conflicts with the furniture. None requires a complicated design solution. A full-size sample, an accurate drawing, substrate preparation, and a written cutting plan resolve most of them before they become costly.
When the rail connects to picture-frame molding, do not make the lower frames an afterthought. Their top margins must be consistent below the rail. Where a wall has many openings, simplify the number of panels instead of forcing the same narrow rectangle into every gap. If you are updating an existing home, check the STAVROS discussion of wall molding for new and finished interiors for additional reminders about substrate condition and layout.
Frequently Asked Questions
What is the usual chair rail molding height for an 8-foot ceiling?
Around 30 to 34 inches above the finished floor is a useful starting range for a decorative line, with 32 inches corresponding to one third of a 96-inch wall. Mock up the position with tape and check chair backs, door trim, outlets, and nearby furniture before fixing a final height. The measurement reference—top, centerline, or bottom of molding—must be stated.
Is polyurethane a replacement for wooden chair rail?
It can replace a wooden rail's decorative function where the product and installation are suitable. It should not automatically be treated as equivalent to a robust wooden impact guard. Compare purpose, projection, substrate, attachment, and expected contact instead of assuming the two materials perform identically in every application.
Can chair rail molding be installed without wainscoting?
Yes. A single line can divide two paint colors or add architectural interest to a plain wall. Lower vertical frames and wood panels are optional. The simplest design is often appropriate for narrow rooms where additional repeated moldings would create clutter.
What is the difference between chair rail and wainscoting cap molding?
A chair rail is the visible horizontal trim at a chosen height; a wainscoting cap specifically finishes the top of a lower panel assembly. One product may be used visually for either task if its geometry and installation are appropriate, but a narrow applied molding is not automatically a mechanical cap for thick panel construction.
Do I have to miter every joint?
No. Different situations may use a miter, a straight joint, a return, or a compatible decorative connector. Choose the joint based on the profile, corner geometry, manufacturer's instructions, and desired finished appearance. Dry-fitting is more dependable than an across-the-board rule.
Can I put a rail over wallpaper or tile?
The surface must be compatible with the specified installation system. Loose wallpaper is not a suitable structural foundation for an adhesive-mounted strip; wet-area tile assemblies present additional concerns. Confirm the manufacturer-approved method and the underlying substrate before working on anything beyond ordinary sound painted drywall.
Can one molding work for a rail and lower panel frames?
Sometimes, but the visual balance must be checked. Using the same profile creates consistency, while using a broader rail and finer vertical frames may give a stronger hierarchy. Separate the cut lists if you select different STAVROS models; do not merge quantities across incompatible profiles.
Where should I start when ordering STAVROS decorative trim?
Begin with a wall drawing and a shortlist of actual polyurethane models. Compare MLDPU-002 and related wall molding profiles against your chosen mock-up, confirm the precise cross-section and length, then purchase from a verified item page. Obtain current availability, lead time, finishing, and shipping information directly rather than relying on a generic claim about all destinations.
A Smart STAVROS Purchase Plan
Choose the exact rail elevation, finish, and whether lower panels are included. Confirm the selected polyurethane SKU and size from the live STAVROS decorative molding catalog. Draw every wall run and frame, develop a real cut allocation using 102.36-inch stock only for products that list 2,600 mm lengths, and record compatible installation and finishing supplies. If the plan also calls for compatible accents, inspect the molding decoration collection separately instead of assuming ornamental pieces are included.
A well-designed chair rail is not measured by how much trim it puts on the wall. It succeeds when one controlled horizontal line belongs to the architecture, clears the practical obstructions, matches the scale of the room, and can be built from the actual products on the order. Measure first, make a sample, check the cut list, and let the finished wall—not the keyword or the catalog category—determine the design.