Article Contents:
- Buying the right part is not enough — it needs to be checked
- First the item code, then the appearance
- Don't measure everything — measure what affects the project
- For a furniture leg
- For the handle
- For the overlay
- For molding
- Critical for installation
- Critical for geometry
- Critical for finishing
- What furniture parts does a carpentry workshop need?
- How to check a finished wooden part before installation?
- What dimensions should be checked on a furniture leg?
- Should a handle be checked before drilling the cabinet front?
- How to check a carved overlay before painting?
- What should you check on a wooden moulding?
- Should you buy one sample before ordering a batch?
- What is an approved part sample?
- Should you re-check the same SKU when reordering?
- Where to buy ready-made wooden furniture parts?
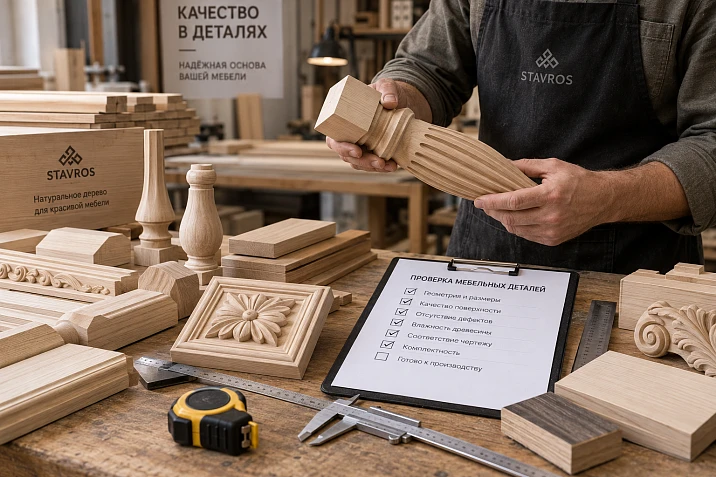
Page description: How a carpenter should check ready-made furniture parts before production: dimensions, geometry, material, surface, mounting, and sample. STAVROS legs, handles, overlays, and mouldings.
The correct SKU in the order does not yet mean the part can go straight into production.
A leg may arrive in the right model, but the workshop still needs to check its actual height and mounting section. A handle may fully match the product page, but before drilling a series of fronts, it is reasonable to place the actual sample and check the mounting position. A carved overlay may have the right size, but on a specific front it may turn out that its mounting plane or relief requires different surface preparation.
The cheapest point to detect an error is immediately after receiving the part.
The most expensive is after the fronts have already been drilled for it, twenty elements have been painted, the furniture has been assembled, and only then the mismatch is discovered.
That is why ready-made furniture parts for carpenters are not simply something to buy and unpack. They need to be accepted into production.
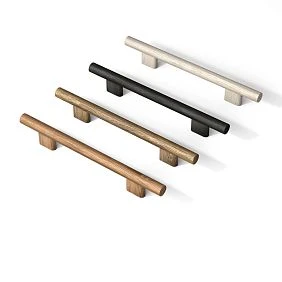
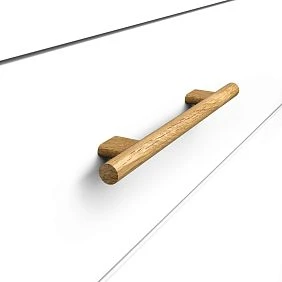
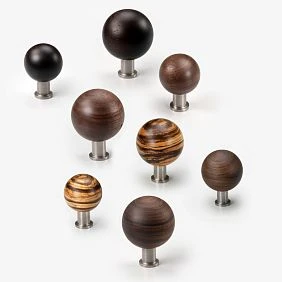
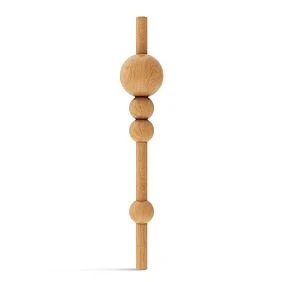
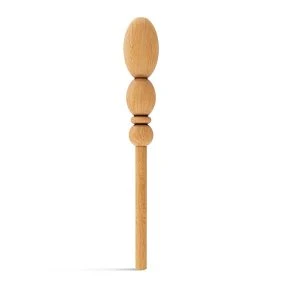
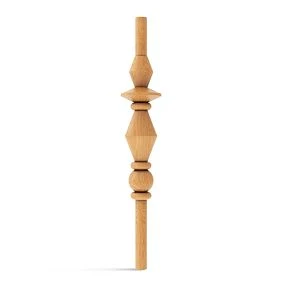
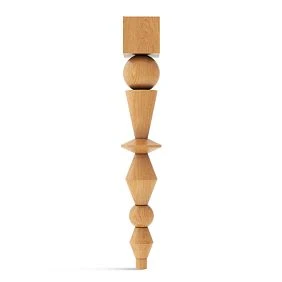
Buying the right part is not enough — it needs to be checked
Before launching a production run, the workshop needs to confirm more than just the fact that the correct item arrived.
You need to make sure that the specific part received is suitable for this particular project.
This is especially important if it affects:
- furniture height;
- holes in the facade;
- the drilling map;
- position of the decor;
- frame dimensions;
- Cutting;
- mounting method;
- finishing.
Checking one leg or one handle takes far less time than redoing an already finished furniture set.




First the item code, then the appearance
At receiving, identification is checked first.
Not a problem:
"Does this look like what was in the photo?"
And the specific data:
- manufacturer;
- article number;
- name;
- the material;
- version/design variant;
- the ordered quantity.
A photo is convenient for a quick visual check, but it is not a reliable identifier.
Two furniture legs can look almost identical and differ in height by a few millimeters.
Two moldings can have a similar pattern but a different profile.
Two handles can be from the same series but require different cabinet layout markings.
Therefore, the basis for acceptance is:
SKU + material + critical dimensions.
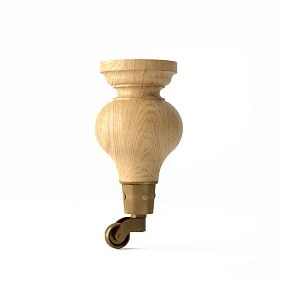
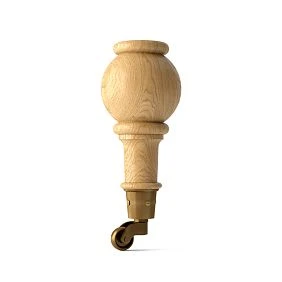
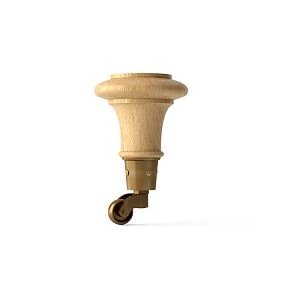
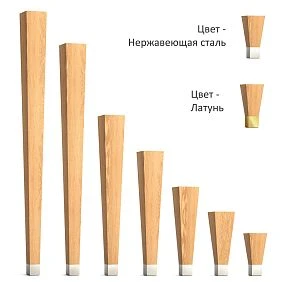
Our factory also produces:
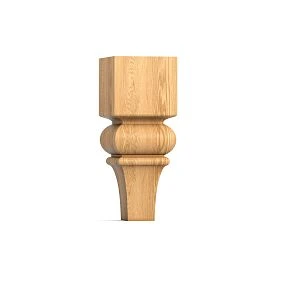
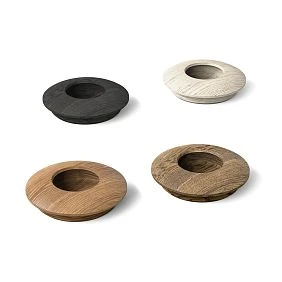
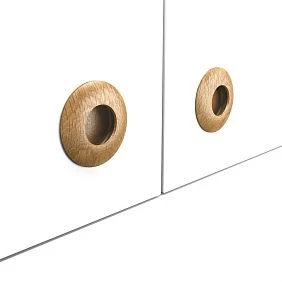
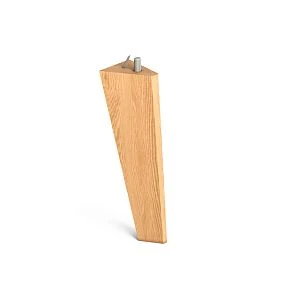
Don't measure everything — measure what affects the project
Incoming inspection should not turn into endless measurement of every surface.
You need to determine in advance which dimensions are critical.
The set will be different for different parts.
Get Consultation
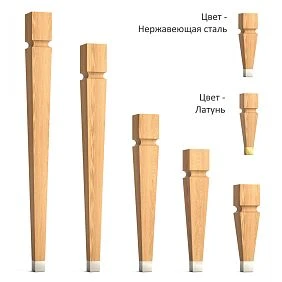
For a furniture leg
Check:
- height;
- width or diameter;
- size of the upper mounting part;
- position of the fastening unit;
- uniformity of parts within one set.
For the handle
Check:
- overall dimensions;
- mounting position;
- number of attachment points;
- distance between holes, if there are several;
- protrusion relative to the front.
For overlay
Check:
- maximum width;
- height;
- thickness;
- orientation;
- the plane of contact with the facade.
For molding
Check:
- width;
- the depth;
- cross-section;
- working length;
- profile pattern.
There is no need to come up with a universal list for all wooden parts. What is checked is what a specific drawing depends on.
Legs: four parts must work as a single set
Wooden furniture legs are often used as a set of four.
Therefore, it is not enough to check one leg separately.
You need to look at the entire set.
The four supports must match where it is critical:
- in height;
- in the basic geometry;
- by mounting part;
- by position relative to the body;
- in surface quality.
If one leg differs in height, the problem will show up already after assembly.
If the mounting plates differ, the fastening will have to be adjusted.
If the transparent finish leaves the wood visible, additionally check how cohesive the set appears in texture and shade.
Unpainted legs are checked before painting
for unpainted furniture legs the correct order is especially important.
Bad scenario:
received 20 legs → immediately sent them for painting → after finishing, began test-fitting.
More correctly:
- verify the article number;
- verify dimensions;
- assemble the set;
- check the fastening;
- do a trial installation;
- only then start the finishing.
Coating will not fix a geometric error.
On the contrary, after the finish, any sawing, additional drilling, or rework becomes more expensive.
One leg may be correct, but the set may not be
There is an important difference between checking an individual part and checking a set.
One leg may fully match the project.
But if four legs visually differ noticeably in wood tone, and the furniture is to remain under clear oil, the set still requires additional evaluation.
Under enamel, such a difference may not matter at all.
Therefore, acceptance always depends on the future finish.
The same set of parts is evaluated differently for opaque and transparent coating systems.
Handles are checked before drilling the facade
Wooden furniture handles you cannot judge by quantity alone.
If the handle determines the holes in the facade, the actual sample must be checked before drilling the batch.
Look:
- overall size;
- mounting point or points;
- position on the facade;
- protrusion;
- grip comfort;
- visual scale.
In a drawing, a small handle may look fine.
On a wide facade, it can get lost.
On a small drawer, the same model may turn out to be too conspicuous.
That is why one trial handle is often more useful than a dozen photos.
One trial handle can save an entire batch of facades
You need to work especially carefully if:
- the article is used for the first time;
- the furniture model is new;
- the handle has a non-standard shape;
- holes are drilled before painting;
- the fronts are expensive;
- the series consists of several identical items.
Working order:
- obtain one real handle;
- attach to the test front;
- check the installation location;
- make one test hole;
- make sure the fastening works;
- only then transfer the pattern to the entire series.
An error in one test front is local.
An error in the drilling map across twenty fronts is already a production issue.
Checking an unfinished handle
If used handles without coating, besides the geometry, the surface is checked.
You need to understand:
- whether the sanding matches the ordered finish;
- whether there are deep scratches;
- whether there are chips;
- whether the edges are finished evenly;
- whether there are any defects that will become apparent after enamel or oil application.
The inspection must take place before finishing.
After painting, some defects will become more noticeable, and fixing them will be more difficult.
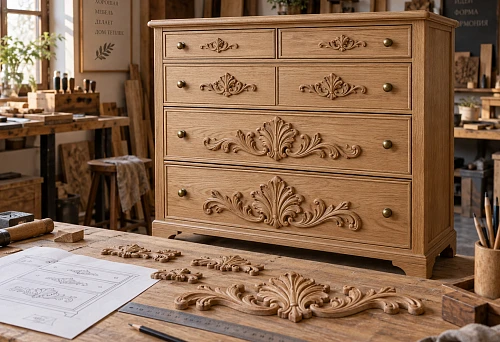
Carved overlay: size is only the beginning of the inspection
Decorative Inserts have a more complex geometry than a simple rectangular part.
Therefore, measuring only the width and height is not enough.
Check:
- maximum overall dimensions;
- thickness;
- orientation;
- symmetry;
- relief;
- the condition of thin areas;
- the mounting plane;
- actual fit to the facade.
Openwork elements require especially careful inspection.
They may have thin areas, protrusions, and recesses that are important not only visually, but also when preparing for finishing and installation.
N-502 as an example of a complex finished part
Wooden Decor N-502 measures 35 × 300 × 9 mm.
The model is available in beech and oak, and the product page lists different sanding quality options.
For such a part, it is not enough to say:
35 × 300 × 9 mm — the size matches, so everything is fine.
You need to place it against the project facade and check:
- where the relief is actually located;
- how the element sits on the surface;
- whether there is enough space around it;
- whether it conflicts with the handle;
- how it looks in the chosen orientation.
The more complex the carved geometry, the less sense it makes to accept the item based only on its external rectangular dimensions.
The left and right parts are checked separately
If mirrored overlays are used in the project, they cannot be combined into a single line item.
you need to separately check:
- left;
- right;
- quantity of each;
- correct orientation;
- position on the facade.
Even if they visually form a single composition, in purchasing and production they are two different parts.
In the specification, it is better to list them as separate lines.
This reduces the risk of getting two left parts instead of a pair.
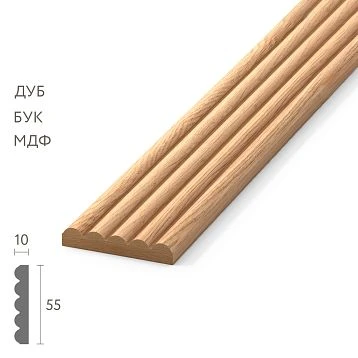
Molding is checked not only by length
Wooden moldings and other linear trim products must be checked before serial cutting.
Critical parameters:
- profile width;
- depth;
- cross-section;
- working length;
- pattern;
- direction of the ornament, if present.
A cross-section error changes the entire facade.
If the frame is designed for a profile 22 mm wide, but a different size is actually used, the inner field becomes different.
After this, the following may change:
- position of the overlay;
- panel size;
- distance to the handle;
- overall appearance of the frame.
One test cut before cutting the entire batch
Before cutting all the molding, it is useful to make one test joint.
For example:
- cut two pieces;
- make the miter cut;
- assemble one corner;
- attach it to a real facade;
- check the size and appearance.
If everything matches, only then cut the main batch.
This is especially important for a new profile.
One mistake in the miter saw setup, repeated on twenty cuts, turns a simple test question into a major waste of material.
Material check: oak and beech must not be confused after a clear finish
If the furniture is painted with an opaque enamel, the material and wood grade are evaluated primarily from the standpoint of surface preparation and technology.
With a clear finish, the material also becomes part of the appearance.
For oak and beech, the following differ:
- texture;
- fiber pattern;
- porosity;
- visual perception after tinting.
Therefore, the species is best confirmed before a test stain.
Especially if:
- the four legs must remain natural;
- handles and legs must look like a single set;
- the decor is selected for a single clear finishing system.
After lacquer or oil, differences may become more noticeable than on an untreated surface.
Surface inspection for enamel
For a part that will be painted with an opaque finish, the geometry and condition of the surface are examined first.
Undesirable:
- chips;
- deep scratches;
- noticeable dents;
- damaged edges;
- relief defects;
- areas requiring significant manual rework.
At the same time, any difference in wood texture cannot automatically be considered a defect if the surface will still be covered with an opaque coating.
The inspection must correspond to the future finish.
Checking the surface for a clear finish
If the wood remains visible, a visual assessment is added to the geometry.
Look:
- pattern;
- grain direction;
- shade;
- how the parts combine with each other;
- areas that will become more noticeable after oil or stain.
For a single overlay, the difference in shade may be insignificant.
For four legs standing next to each other, it is already noticeable.
Therefore, a clear finish requires checking not only an individual part, but the entire set.
A test coat is needed before finishing the batch
For a new product or a new finishing system, it is useful to make a test coat.
It answers several questions at once:
- how the surface behaves;
- whether the current sanding is sufficient;
- how the texture shows;
- how much the shade changes;
- whether additional priming is needed;
- whether the result matches the facade or the cabinet.
A test coat does not have to be done on the entire part.
Sometimes a separate sample of the same wood or one test item is enough.
The main thing is not to send the whole batch to finishing until the result has been checked.
What is an approved sample
After acceptance and trial installation, the workshop may keep one verified part as an approved project sample.
This does not mean that every future wooden part must match it in the natural wood grain.
Wood is a natural material.
But the sample is useful for checking:
- model;
- main dimensions;
- geometry;
- mounting position;
- project scale;
- selected finish.
When reordering, such a sample helps to quickly determine whether the new batch matches the already approved solution.
What to record for the approved part
No need to create a complex specification.
A clear table is enough.
| Field | What to specify |
|---|---|
| Part code in the project | for example, KNIFE-01 |
| Manufacturer | STAVROS |
| Article number | Exact model |
| Material | Beech, oak, MDF |
| Critical dimensions | only those important for the project |
| Finishing | code or clear description |
| Status | APPROVED |
| Link | clean link to the card |
You can additionally attach:
- photo;
- drawing;
- finishing sample;
- the approval date.
This is especially useful if the furniture will be repeated after a few months.
Selective batch inspection
There is no need to come up with a universal inspection percentage for every workshop.
The scope of inspection depends on the project.
Practical approach:
- first check several parts;
- be sure to check critical items;
- if everything is stable — continue;
- if a discrepancy is found — increase the scope of inspection.
Even an inexpensive part can be critical if drilling or the overall height of the furniture depends on it.
Conversely, a decorative element may allow for a slight natural variation in the wood if it does not interfere with the project.
Which defects are truly critical
It is more convenient to classify a problem not by the principle of "beautiful / not beautiful," but by its consequences.
Critical for installation
The part cannot be installed properly.
For example:
- fasteners do not match;
- mounting surface does not fit;
- hole is positioned differently.
Critical for geometry
The size or position of the part in the furniture changes.
For example:
- leg is taller;
- molding is wider;
- the overlay does not fit in the working area.
Critical for finishing
The problem will become noticeable after coating.
For example:
- deep scratch;
- chipping;
- surface texture damage;
- surface appearance that does not match the project.
This approach is more useful than trying to compile a single universal list of acceptable and unacceptable defects.
Do not rework the entire batch at once
If a discrepancy is found, the most dangerous reaction is to start mass-correcting all parts.
For example:
- sanding down the legs;
- redrilling the handles;
- resand the overlays;
- change the molding profile.
First, you need to understand:
is the problem isolated or systemic?
Check a few more details.
Verify the item code.
Compare with the drawing.
Check whether the error is in the project itself.
Only after that, make a technological decision.
Otherwise, you can turn a correct batch into an incorrect one with your own hands.
A new batch of the same item code is still a new acceptance
If the same item code is ordered three months later, it does not mean the check can be skipped entirely.
It is useful to quickly check again:
- model;
- the material;
- quantity;
- critical dimensions;
- Surface condition.
For a repeat series, this takes little time.
But it protects production from a situation where a different material, finish option, or size is accidentally selected in a new delivery.
If the item code has been replaced, it is already a new part
Let's imagine that the old leg has been discontinued and a similar model is being selected.
You cannot simply replace the link in the specification.
You need to open a new version of the project and check again:
- size;
- mounting;
- the overall height of the furniture;
- position on the drawing;
- finish;
- quantity.
The same applies to handles, overlays, and moldings.
A similar part is not necessarily interchangeable.
Incoming inspection before the finish saves more than control after assembly.
The cost of an error increases at each subsequent stage.
A conditional chain:
receiving the part → drilling → painting → assembly → packaging.
If the wrong handle is discovered at receiving, the issue is resolved by replacing one item.
If after drilling — a problem with the front appears.
If after painting — the cost of rework is higher.
If after assembly — the finished product has to be disassembled.
Therefore, incoming inspection is not bureaucracy.
This is a way to stop the error at the cheapest point.
Where a carpenter should look for ready-made furniture parts
For general selection, the following are used Wood and MDF Products.
Separate groups:
After choosing a specific item, it is best to add it to the specification right away with the article number, material, critical dimensions, and link.
This way, acceptance begins not with the craftsman's memory, but with already approved project data.
Short incoming inspection map
| Detail | Check before launch |
|---|---|
| Leg | article number, material, height, mounting part, set of 4 pcs. |
| Handle | size, fastening, position on the front, grip |
| Overlay | dimensions, orientation, relief, mounting plane |
| Left/right decor | direction, quantity of each version |
| Molding | cross-section, length, profile, test angle |
| Part for enamel | geometry, chips, scratches, ends |
| Part for clear finish | geometry, texture, shade, set matching |
| Repeat batch | item code, material, critical dimensions, condition |
What ultimately needs to be done before launching the series
A finished wooden furniture part must go through a short but clear path.
- Verify the SKU.
- Check the material.
- Measure the critical dimensions.
- Check the geometry.
- Inspect the surface.
- Test-fit on the actual assembly.
- Check the mounting.
- Make a test finish if it is new.
- Approve the sample.
- Only after that should you start drilling, painting, cutting, or serial assembly.
This scheme is especially important for a small workshop, where one mistake rarely remains just one mistake.
An unchecked part quickly turns into an incorrectly drilled facade, an unsuitable frame, extra painting, or rework of finished furniture.
Therefore, acceptance is part of production, not a formality after purchase.
Frequently Asked Questions
What furniture parts does a joinery workshop need?
It depends on the type of furniture. Ready-made legs, handles, decorative overlays, rosettes, moldings, and other wooden components are often used. This article is not about choosing an assortment, but about checking already selected parts before production.
How do you check a finished wooden part before installation?
Check the item code and material, then verify the critical dimensions, geometry, surface, mounting part, and actual fit on the project assembly.
What dimensions should be checked on a furniture leg?
First of all, the height, width or diameter, the upper mounting part, and the parameters that determine installation for a specific cabinet.
Should a handle be checked before drilling the front?
Yes. It is better to check the actual sample, its position, and its fastening before transferring the hole pattern to the entire batch of fronts.
How do you check a carved overlay before painting?
Check the overall dimensions, orientation, relief, mounting plane, condition of thin sections, and actual position on the facade.
What should be checked on a wooden molding?
Cross-section, width, depth, length, pattern, and one trial joint or corner before serial cutting.
Should you buy one sample before a batch?
For a new furniture model or a new SKU, this makes sense. One real sample allows you to check the geometry, fastening, and finish before a large order.
What is an approved part sample?
It is a verified part whose parameters are recorded as a working reference for a specific furniture project and subsequent repeat purchases.
Should the same SKU be checked again for a reorder?
Yes, although the check can be shorter. It is useful to reconfirm the model, material, quantity, critical dimensions, and condition of the new batch.
Where to buy ready-made wooden furniture parts?
The STAVROS catalog features dedicated sections for wood and MDF products, furniture legs, handles, carved overlays, moldings, and other ready-made components for furniture and carpentry projects.