





















Article Contents:
- Where to buy wooden slats in Chita and what to check before ordering
- What the RK-001 slat is: seven cross-sections and a length of 2400 mm
- Which slats to choose for a wall: size, rhythm and proportions
- Oak or beech: what changes in texture, finish and the feel of the wall
- RK-001 24 × 5 and 40 × 5 mm: a comparison before purchase
- Individual RK-001 slats or ready-made slatted panels
- Practical project: an accent wall 2740 mm wide
- How to calculate the number of slats for a different wall width
- Cutting length 2400 mm: why simple linear meter calculation falls short
- How much do RK-001 slats cost: four estimates at STAVROS prices
- How to compare the final estimate without overlooking hidden costs
- How to reduce finishing costs without random compromises
- How to combine slats with wooden skirting and door casings
- Sockets, switches, lighting: what to include in the design
- How slats look in the living room, hallway, bedroom and study
- Installing solid wood slats: substrate, marking and fixing
- Wood preparation and finishing coat
- Ordering RK-001 with delivery to Chita: how to prepare a specification
- How to inspect your order after delivery and before installation
- Seven common mistakes when buying and designing wooden slats
- Checklist before buying wooden wall slats
- Frequently asked questions about RK-001 slats and buying with delivery to Chita
- Where can I order oak slats in Chita?
- Are all seven RK-001 sizes available in oak and beech?
- How many slats are needed for a wall 2740 mm wide?
- How do 24 × 5 and 40 × 5 mm slats differ visually?
- Which slats should I choose for painting with opaque enamel?
- Which is more cost-effective: a narrow or a wide slat?
- Can a 2300 mm vertical be made from RK-001 with a length of 2400 mm?
- Can wooden slats be placed next to a doorway?
- How does solid wood RK-001 differ from the slatted panel and the interior RK-002?
- How to arrange delivery of long slats to the Trans-Baikal Territory?
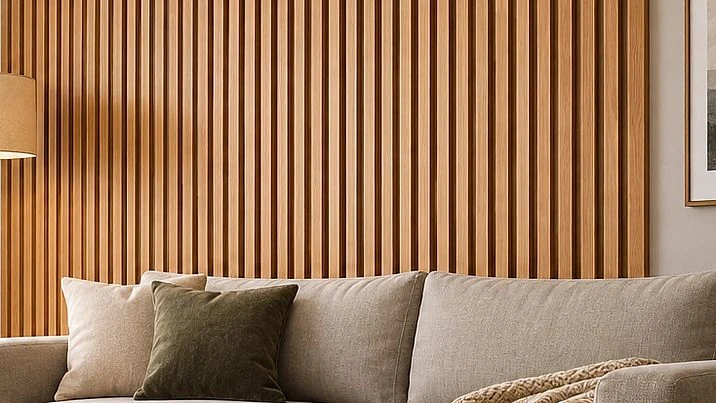
A buyer from Chita is choosing wooden slats for a 2740 mm wide accent wall. In the visualization everything looks simple: identical vertical lines, even gaps, neat junctions to the floor and ceiling. But when ordering, several practical questions arise. Which profile width will give the right rhythm? Why can 59 thin planks end up more expensive than 43 wide ones? How can solid 2300 mm verticals be obtained from a factory length of 2400 mm, and what should be specified for delivery to the Trans-Baikal Territory?
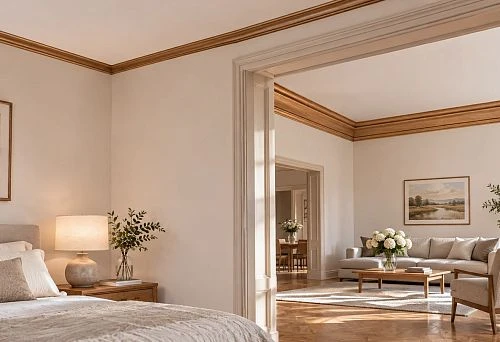
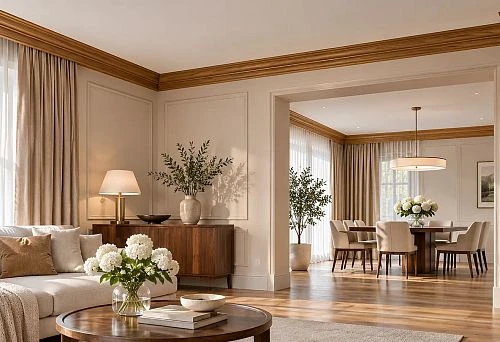
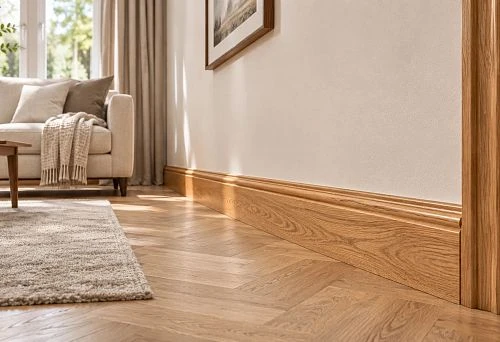
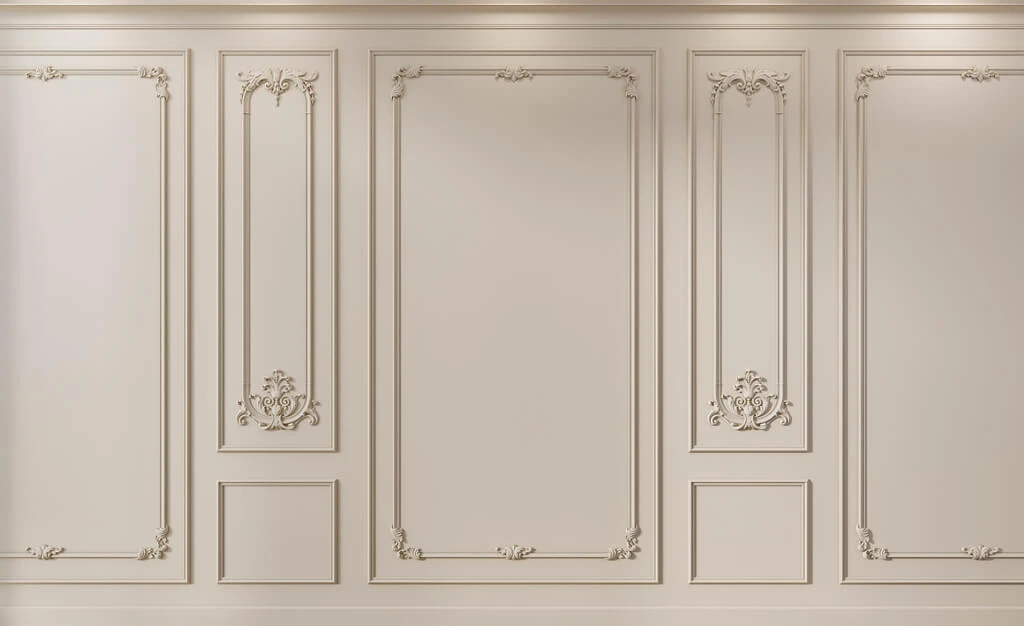
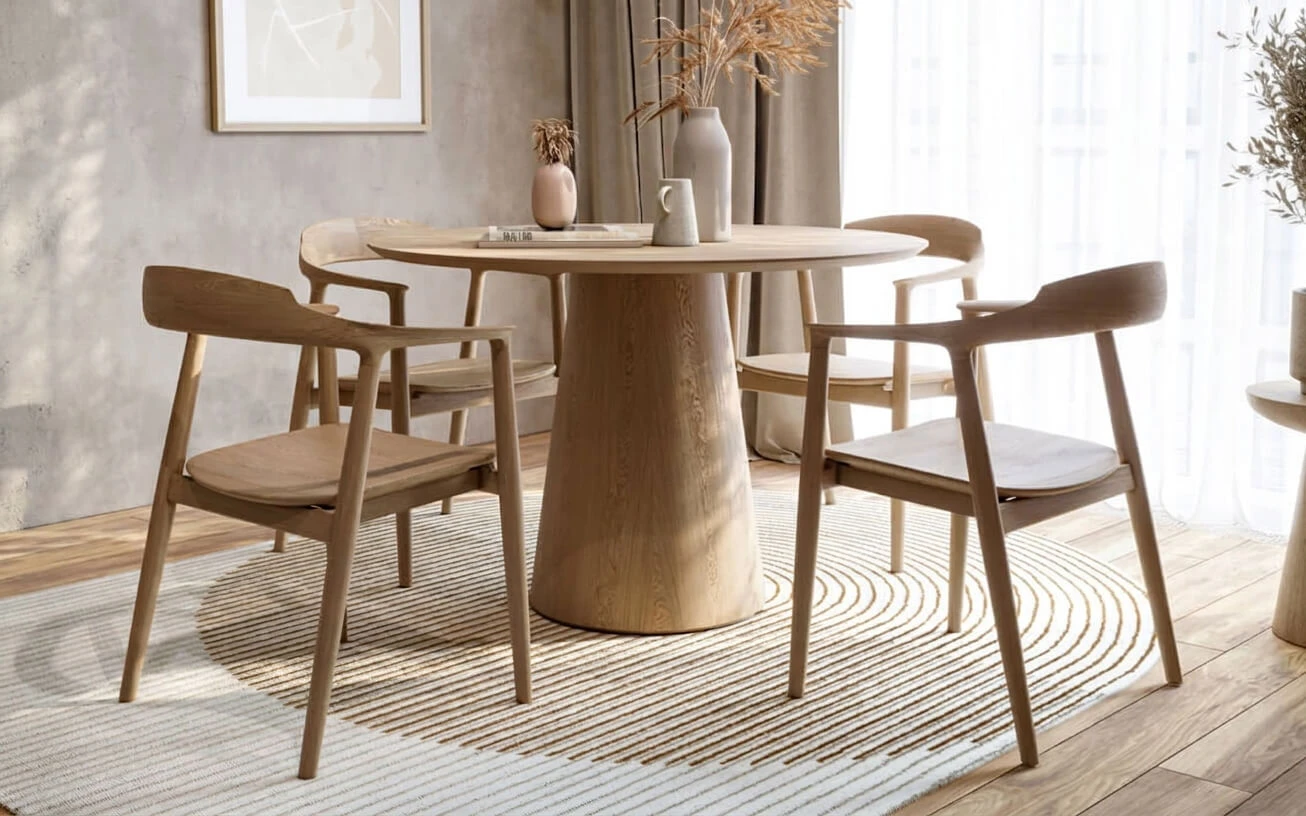
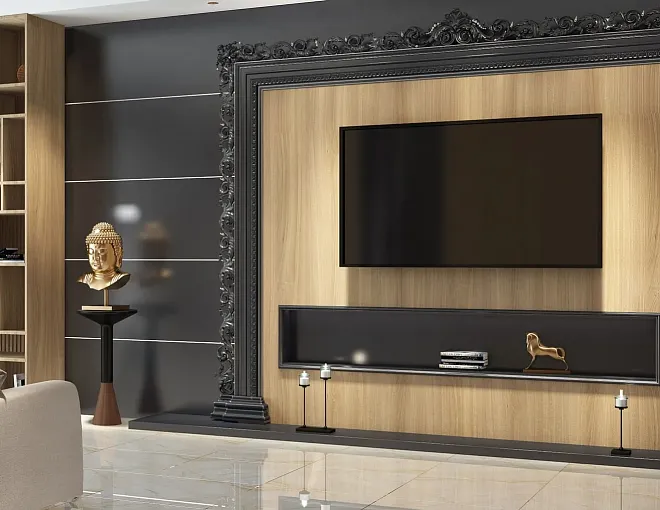
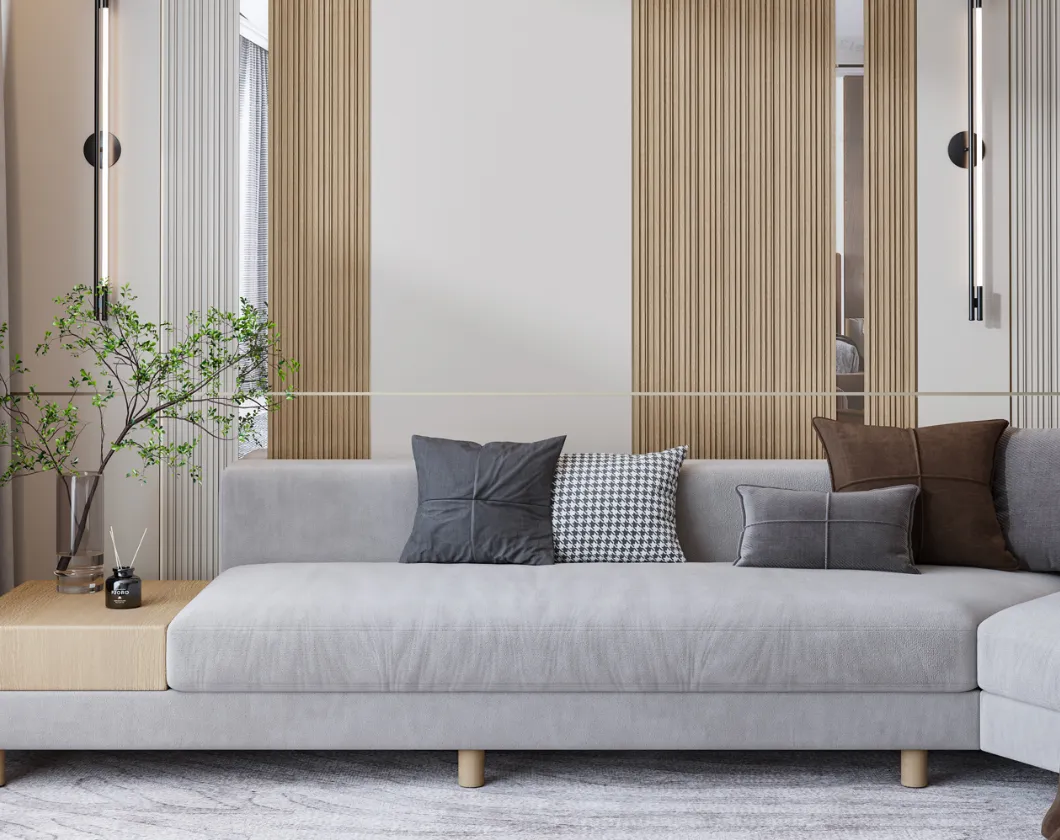
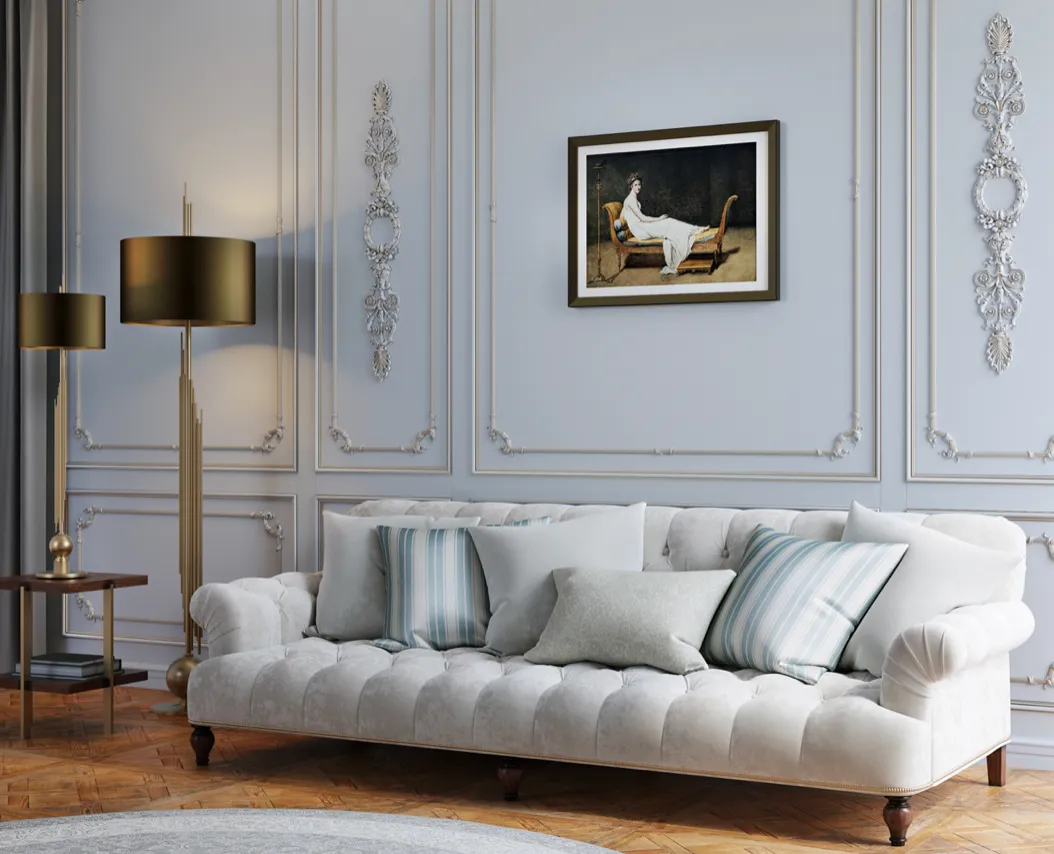
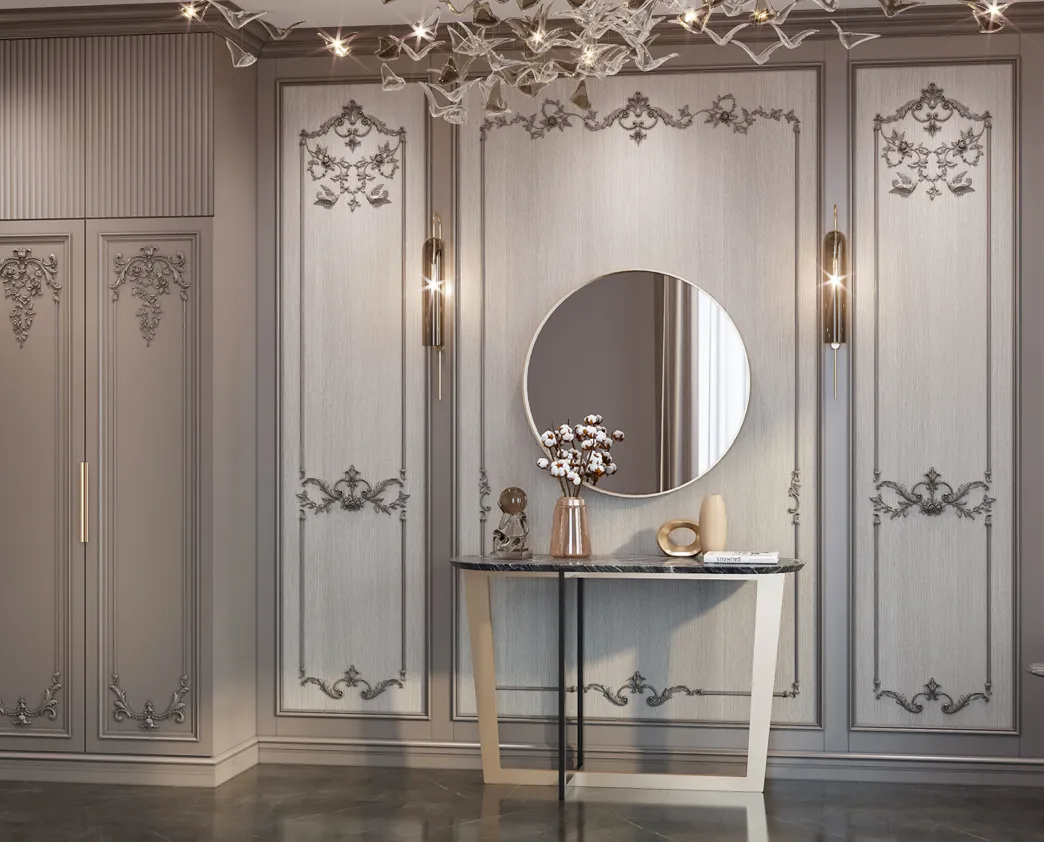
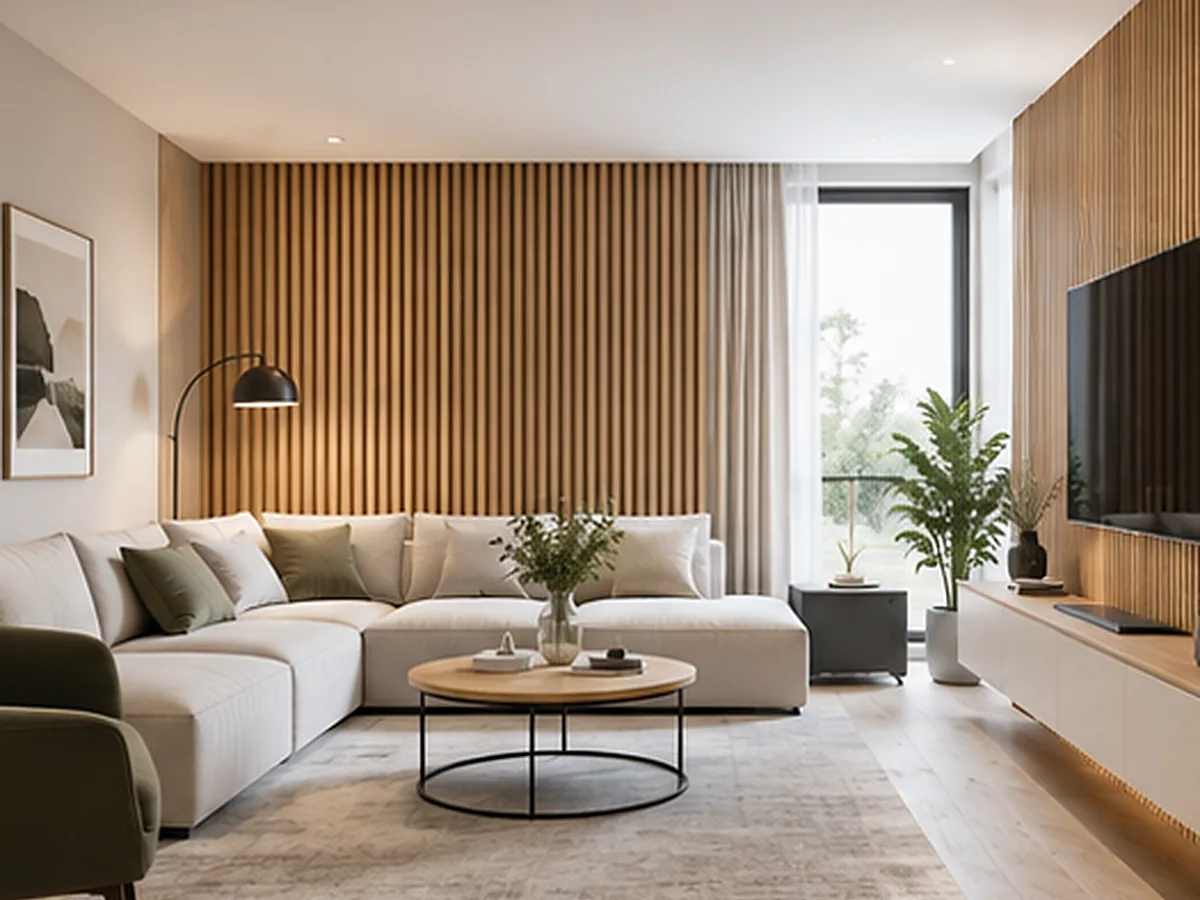
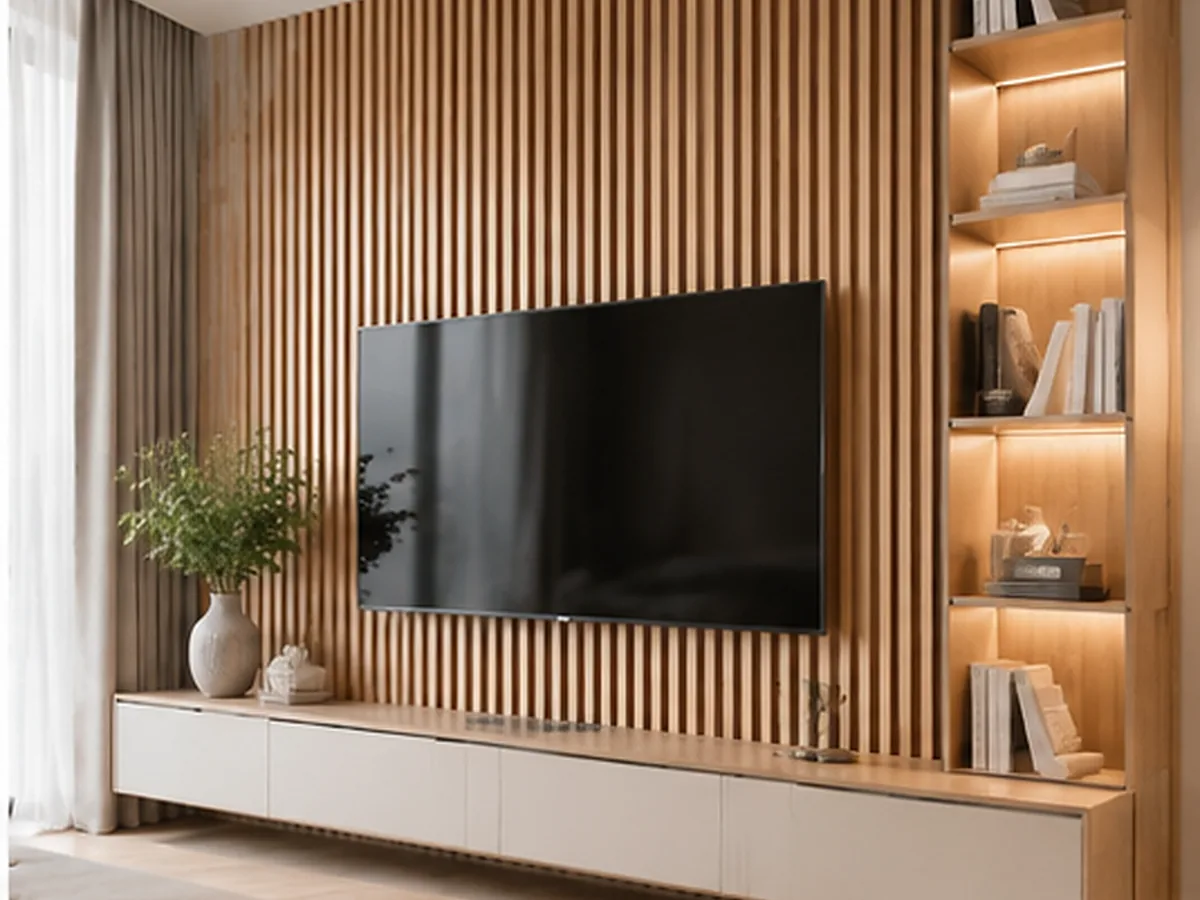
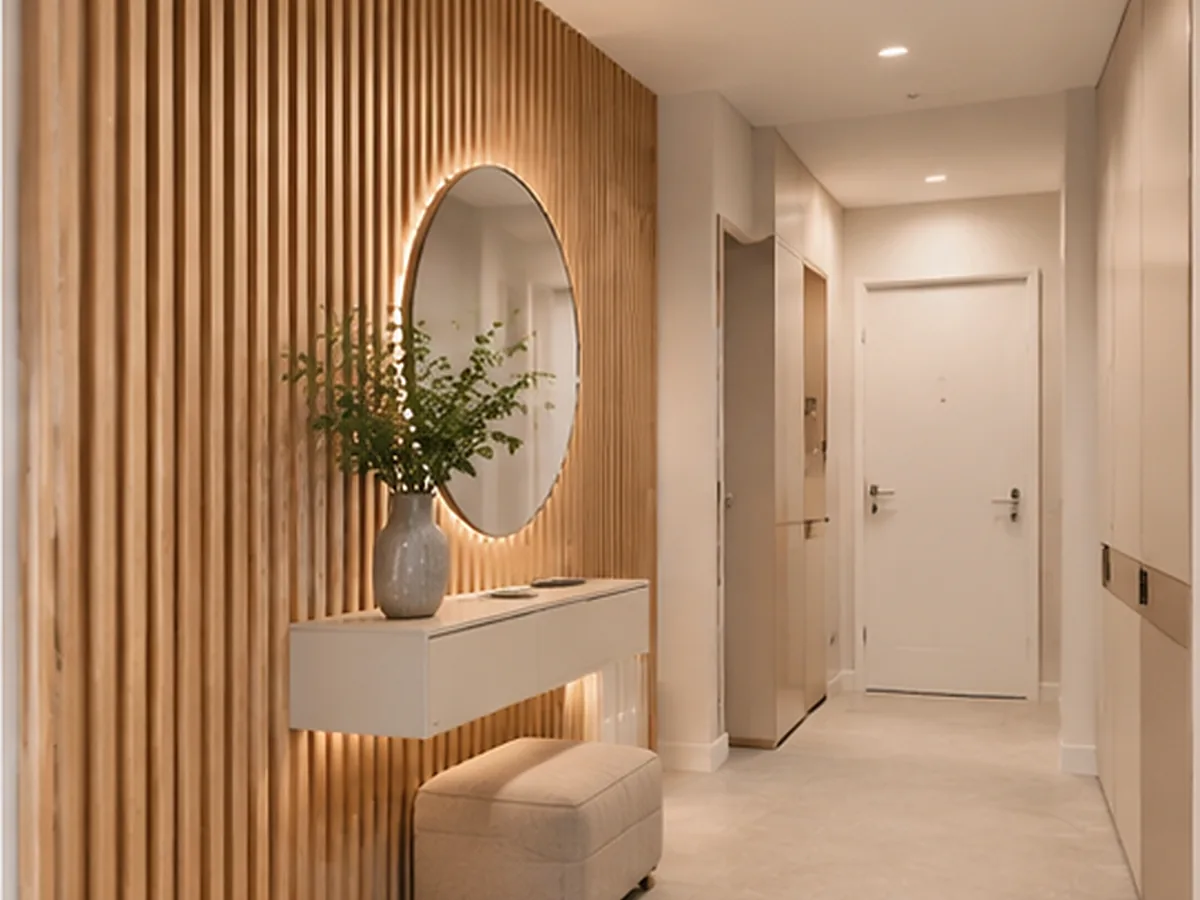
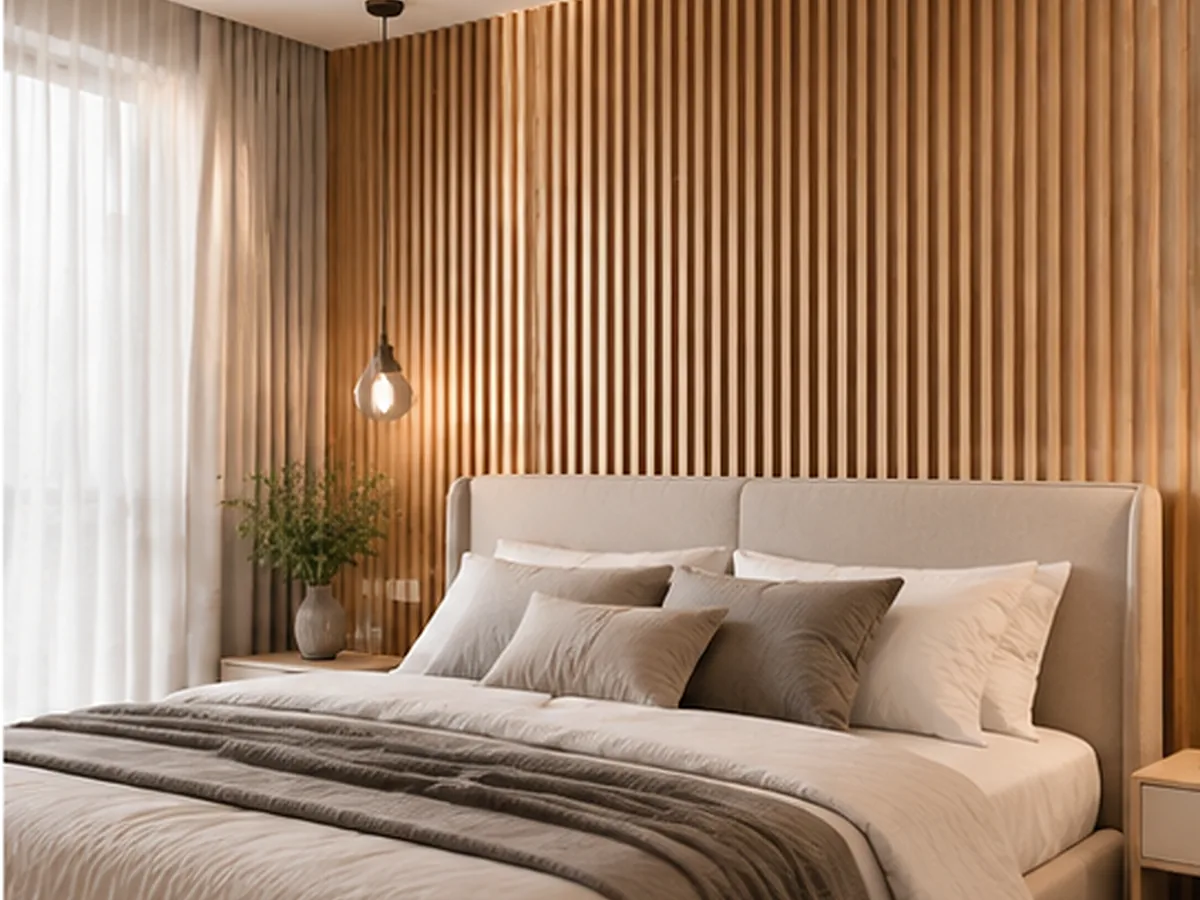
Let's break down the project using a real STAVROS product item — the RK-001 wooden slat made of oak and beech. We'll compare its seven versions, calculate the layout in two ways, check the cutting plan, draw up four estimates based on published prices, and prepare a specification for ordering. The numerical example can be transferred to another wall by substituting your own dimensions. The illustrations in this material are editorial visualizations of interior options, not photographs of completed STAVROS orders and not images of a specific SKU.
Where to buy wooden slats in Chita and what to check before ordering
If the task is to decorate a wall with solid wood planks, you should start not with a general photo of a "slatted wall" but with the product page of a specific profile. In the STAVROS catalog you can buy wooden slats in Chitaby choosing the cross-section, wood species and quantity. This refers to placing an order with delivery to the city, not to the availability of a local store or warehouse: information about the STAVROS showroom in Chita is not stated on the official page.
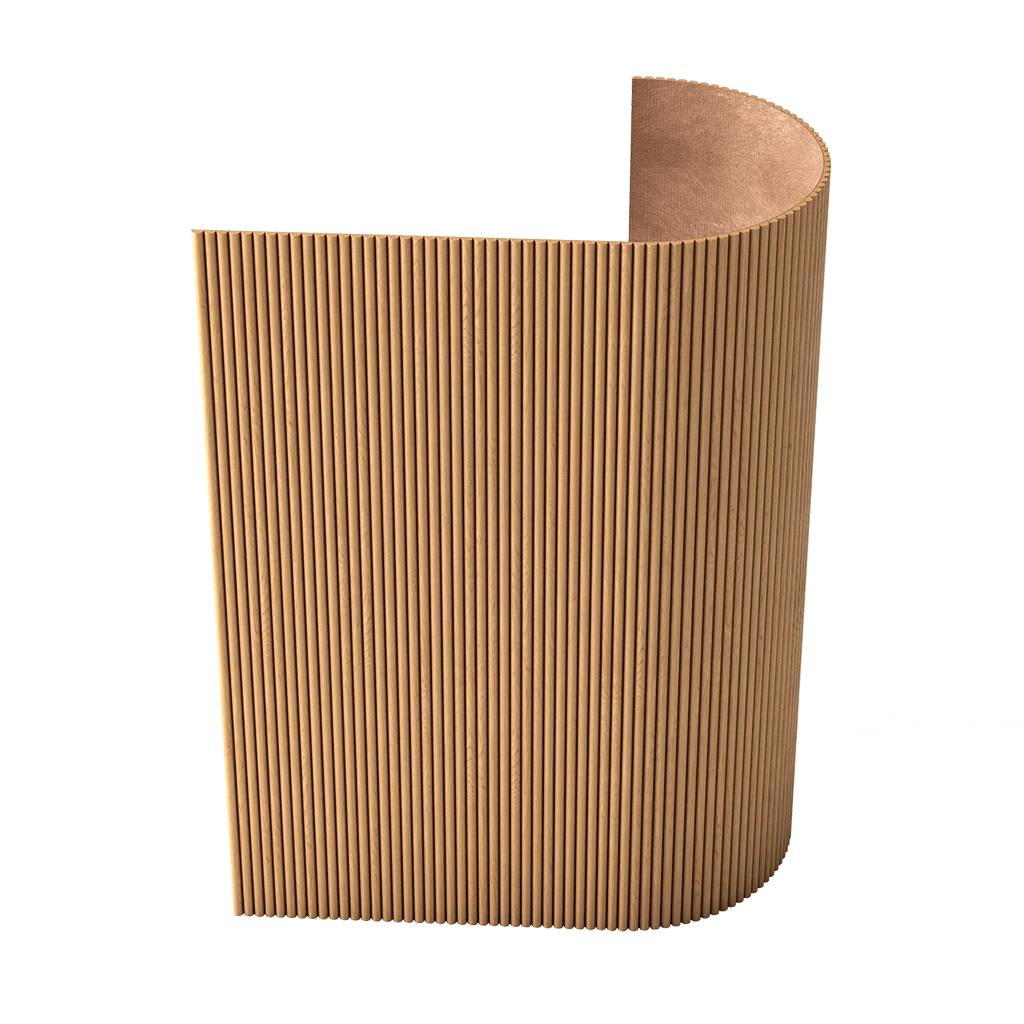
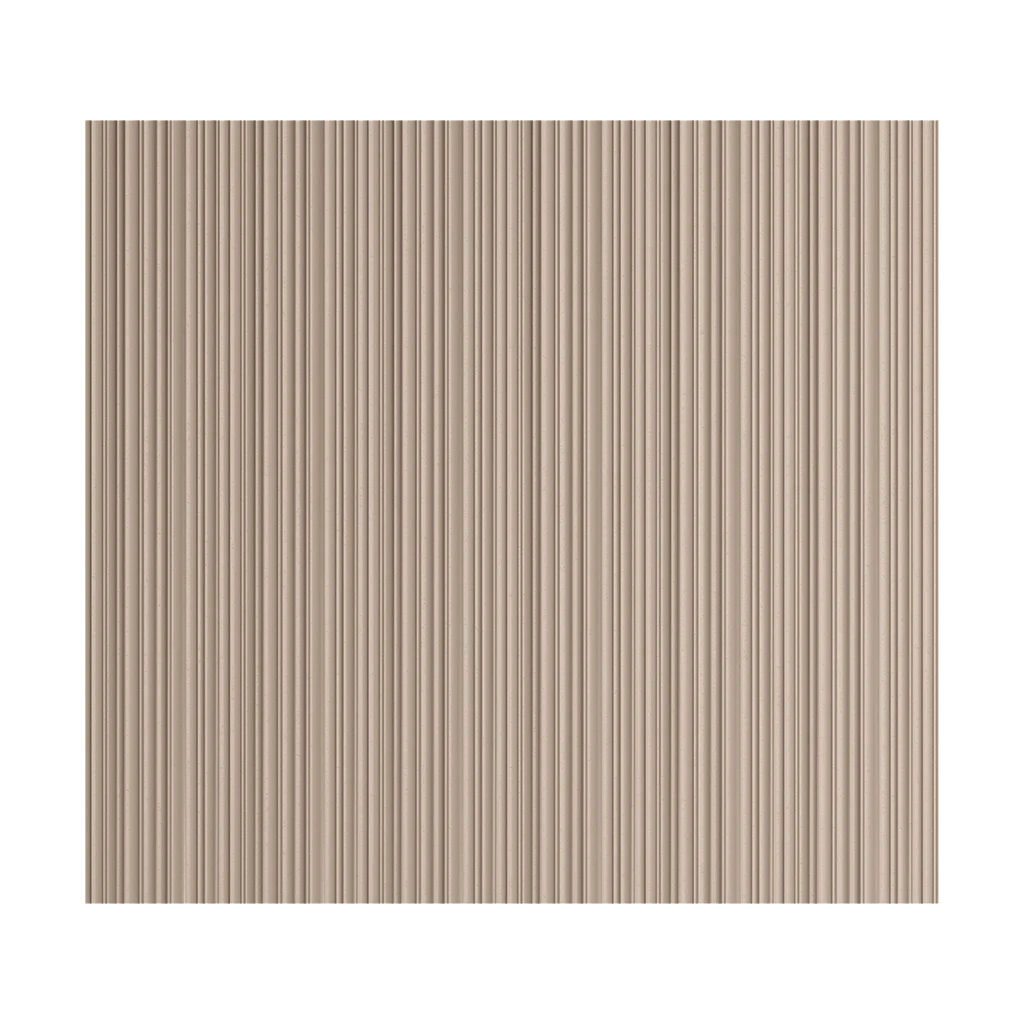
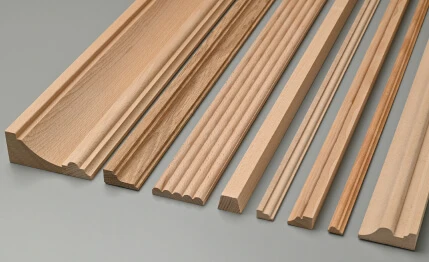
RK-001 is suitable for the finish under consideration. Its product card contains seven standard sizes, 2400 mm long, in beech and oak. This is significantly more useful than relying on a random size in a photograph: for some options the face width is only 15 mm, for others it is 80 or 90 mm; the depth of the projection above the wall also varies. The same spacing between slats will look completely different.
Before purchasing, write down five initial parameters: the clear width of the decorative area, the height of the verticals, the desired width of the visible slat, the size of the light gap and the finish coating. Separately photograph the areas with sockets, switches, door frames and floor skirting. These details are not secondary: they are most often the reason why an already chosen layout has to be changed.
It is useful to distinguish right away between the price of a single slat and the cost of the composition. If an area several metres wide needs to be covered, a lower price for a narrow product does not guarantee a lower order total: more narrow verticals will be required. At the end of this guide there is a full calculation for a wall 2740 mm wide with a finish 2300 mm high. It will help you choose a layout that is not only beautiful but also sensible for your budget.


What the RK-001 slat is: seven cross-sections and a length of 2400 mm
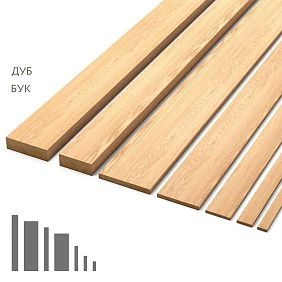
Buy wooden slat RK-001 — this means choosing one specific profile with several size versions. The table below shows the size range from the official product card. The first number is the face width A, the second is the depth C, the third is the length L. All values are given in millimetres; they refer to the nominal characteristics of the product, not to the permissible installation gap.
| Cross-section A × C, mm | Length L, mm | Wood species | What to consider when choosing |
|---|---|---|---|
| 15 × 5 | 2400 | Beech, oak | A thin, rhythmic line, many elements on a large wall |
| 24 × 5 | 2400 | Beech, oak | A dense decorative layout with shallow relief |
| 40 × 5 | 2400 | Beech, oak | A wider visible strip at the same shallow depth |
| 70 × 7 | 2400 | Beech, oak | An expressive graphic pattern with broad planes |
| 90 × 10 | 2400 | Beech, oak | A massive visual strip and prominent end faces |
| 60 × 23 | 2400 | Beech, oak | A dimensional relief that requires separate verification of the mounting |
| 80 × 23 | 2400 | Beech, oak | A large dimensional rhythm and a more prominent side edge |
The point of this range is not that the "largest" option must necessarily look best. The RK-001 24 × 5 mm and 40 × 5 mm have the same shallow depth, so the visual result is determined primarily by the frequency of the strips and the proportion of exposed wall. The 60 × 23 and 80 × 23 mm options, by contrast, create a substantially deeper relief: with side lighting, different shadows appear, and the edges of the composition are perceived differently.
Do not confuse the face width with the thickness. The designation 40 × 5 does not mean that the slat protrudes 40 mm: its wide face is 40 mm, and the depth is 5 mm. Before ordering, verify the section orientation against the drawing in the product page. If you need the effect of separate dimensional blocks, you cannot mentally replace a thin decorative plank with a dimensional profile while keeping the same budget.
Do not substitute the interior RK-002 for the RK-001. The models differ in construction and materials, and the calculation in question applies specifically to products made of solid oak or beech. First confirm the item code and section, and only then proceed to choosing the species and surface.
Our factory also produces:





Which slats to choose for the wall: size, rhythm and proportions
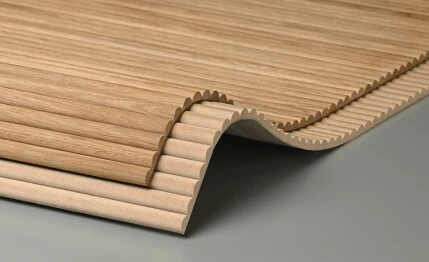
Imagine three identical walls with alternating slats and gaps. With a slat width of 15 mm, the composition consists of many thin lines. At 40 mm, each line becomes a distinct strip. At 90 mm, the surface is already perceived as an alternation of wide wooden fields and narrow slits. The difference is determined not by fashion, but by the ratio of the slat width to the gap width.
First, determine what task the finish is solving. If you need to create a backdrop behind a sofa, a calm repetition that does not conflict with large furniture is usually important. If you need to mark a small part of a hallway, large strips may turn out to be too heavy, especially next to several doors. For a narrow area by a mirror, a small fragment of 8–12 slats is sometimes more interesting than continuous cladding from corner to corner. These are design options, not universal standards.
A useful technique is to draw up three layouts on paper or in a simple table: slat width 24 mm and gap 20 mm; width 40 mm and gap 20 mm; width 40 mm and gap 30 mm. Count the modules and draw the first ten repetitions to scale. This makes it clear where the pattern becomes too dense and where the sense of a single plane disappears. For a 2740 mm wall, the 24 × 5 and 40 × 5 mm options will be calculated in detail below.
Room layout matters more than an abstract “beautiful spacing.” Check the visible part after installing the sofa or wardrobe: if the slats are one-third hidden by furniture, this is not necessarily a mistake, but the paid finishing area may turn out to be ineffective. Try to position the edge elements meaningfully relative to furniture, door casings, and the TV, and not only relative to the geometric center of the bare wall.
Finally, consider the direction of light. Side lighting emphasizes the microrelief and unevenness of the base; frontal daylight makes the strips calmer. Therefore, it is better to evaluate a color and cross-section sample in the room where installation is planned, and not only on a phone screen.
Get Consultation
Oak or beech: what changes in texture, coloring, and the feel of the wall
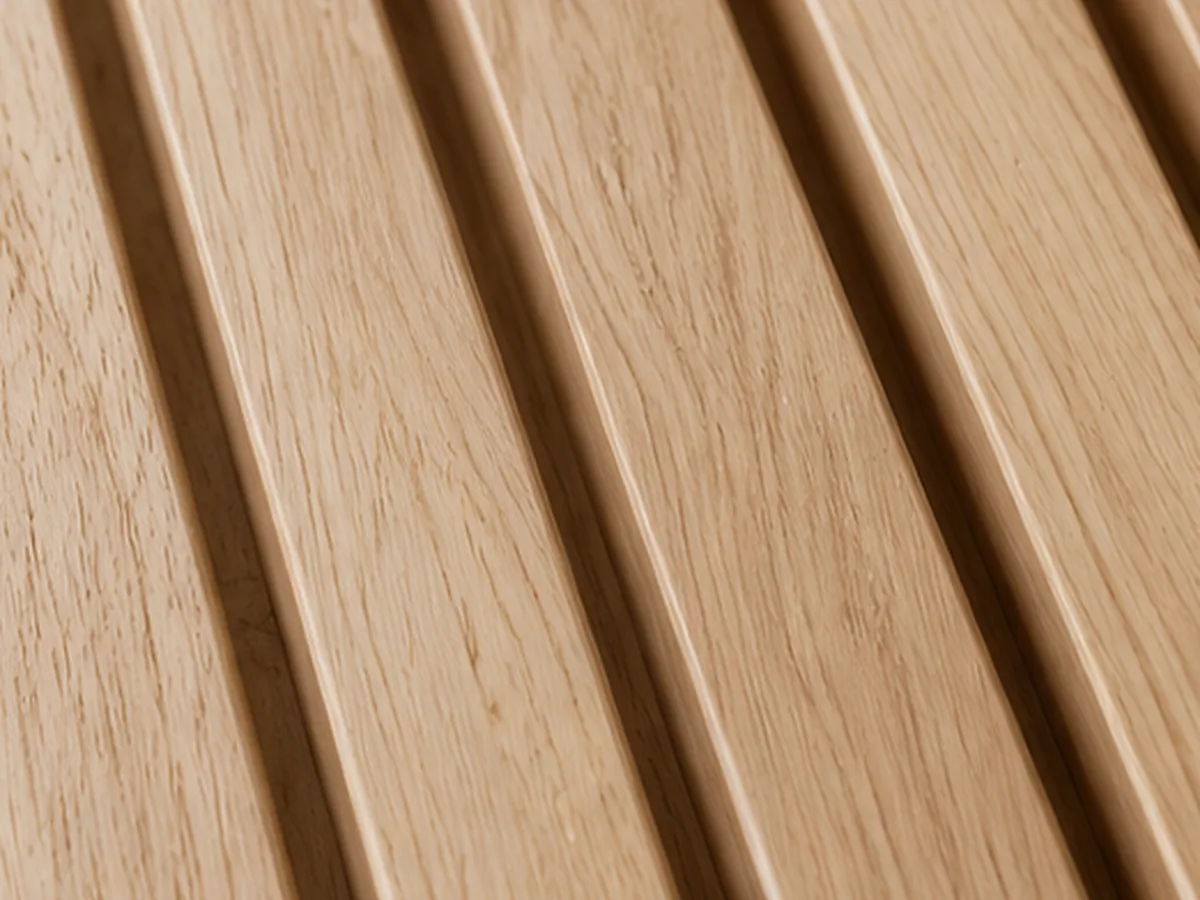
Oak and beech share a common advantage for interior decor: they are natural wood, not an image of a wood pattern on film. But the visual result differs. Oak is usually chosen when you want to show natural pores and active texture. Beech is often perceived as more even and calmer, so it is often considered for coating with opaque enamel. This does not mean that beech cannot be finished with a transparent composition or that oak must remain its natural color.
When choosing between species, you need to decide whether the wood pattern will be part of the concept. For a wall under transparent oil or lacquer, evaluate a photo of the actual batch or a sample, and find out the quality of preparation for tinting. With dense opaque paint, the color of the enamel, the quality of sanding, and the absence of noticeable defects on visible edges are more important. The shade of a sample after application to a wooden base sometimes differs from the one selected from a fan deck, so test coloring on an offcut is more useful than assumptions.
The official RK-001 product page offers oak and beech options and also specifies the “Prestige” sanding grade. In its reference information, STAVROS separately explains the difference between “for enamel” and “for tinting” preparation: with an opaque coating, selecting lamellas by shade has a different significance than with semi-transparent finishing. When ordering, do not assume these options are automatically equivalent; instead, confirm the available execution of the selected cross-section.
If planning buy wooden oak slats For the natural pattern, provide for additional coordination of tone between the slats and adjacent elements: the floor, architraves, doors, and countertop. The same oak under different finishes may appear warm, neutral, or darker. Adjacent wooden surfaces do not require an exact match of shades, but it is better to allow for their difference in the project in advance.
In dry residential premises, both species are suitable with appropriate finishing and compliance with operating conditions. Do not promise the wood unchanging geometry regardless of the indoor climate: humidity and temperature affect wood. For an unheated loggia, a wet area, or places with sharp fluctuations in conditions, a separate selection of material and protection system is needed, rather than transferring an interior recommendation without verification.
RK-001 24 × 5 and 40 × 5 mm: comparison before purchase
The two most understandable options for a training project are 24 × 5 and 40 × 5 mm. They have the same depth of 5 mm, so at first approximation you can compare the pattern without mixing it with the effect of a three-dimensional slat. The clear distance between adjacent elements assumed in the calculation is 20 mm. This is not a mandatory installation rule, but a visual rhythm chosen for the example.
| Parameter | RK-001 24 × 5 | RK-001 40 × 5 |
|---|---|---|
| Face width, mm | 24 | 40 |
| Depth, mm | 5 | 5 |
| Factory strip length, mm | 2400 | 2400 |
| Gap in our example, mm | 20 | 20 |
| Repeating module, mm | 44 | 60 |
| Share of wood in the module | about 54.5% | about 66.7% |
| Share of open background in the module | about 45.5% | about 33.3% |
The first option produces more frequent lines and more visible wall between them. The second creates large stripes, and its pattern is easier to read from a distance. This is especially important for a long living room wall, where a fine rhythm may be almost invisible in a photo but will look very dense at actual size.
Costs should be compared on the same section. A wider slat has a different price per piece, but the number of items decreases. In our example, the central composition 2600 mm wide will require 59 slats of 24 mm or 43 slats of 40 mm. The difference is 16 whole items. At a per-piece price, the total differs for both oak and beech.
Practical takeaway: choose two or three options by pattern scale, then calculate them down to whole slats. Don't settle the matter with a single phrase like "a narrow slat is cheaper": the cost of the set may disprove that impression. It is worth checking this even before ordering samples and approving the finish.
Individual RK-001 slats or ready-made slatted panels
An individual slat offers flexibility: you can choose the exact gap, build a fragment of non-standard width, work around a socket, or end the composition at the desired vertical. This is especially convenient if there are doors, a built-in wardrobe, or non-standard-sized furniture next to the wall. But flexibility means more independent marking and operations during installation.
A ready-made slatted panel solves a different problem: the elements are already connected by the product's construction, so installation can proceed in large modules. In the STAVROS catalogue there is Slat panel PAN-001 versions in oak, beech and MDF. The word "panel" is fundamental here: it is not simply several RK-001 slats laid out side by side, and one product cannot be substituted for another without analysing dimensions and construction.
For a fair comparison, first equalise the task. Take the same working width, height, desired appearance, background colour and abutment conditions. Then calculate the price of the full quantity of individual slats, the price of a sufficient number of panels, the cost of suitable fastening, cutting and finishing. Do not compare the price of one panel with the price of one slat: the volume of material and finished surface are not comparable.
An individual layout has an advantage in repair: sometimes one damaged vertical can be replaced without dismantling a large section. But this depends on the chosen fastening system; if the element is glued with a continuous layer to the wall finish, removal may also damage the base. The panel system, in turn, can conceal other structural elements and require special solutions for the edges.
For the described wall 2740 mm wide, we will keep the main calculation on RK-001. Panels are worth considering as an alternative if the speed of installation with ready-made fragments is more important and the geometry of the chosen model is suitable.
Practical project: an accent wall 2740 mm wide
Let's take a real project task, but not present it as a completed STAVROS object. The room has a wall section with a total width of 2740 mm. The decorative verticals are planned at a height of 2300 mm. On the left and right, the designer wants to keep the original 70 mm margin, and the gap between adjacent slats is to be 20 mm. This gives a working width of 2740 − 70 − 70 = 2600 mm. Important: this is the section allocated for the composition; the final side margins may change after rounding the number of slats.
First, let's make a layout with a 24 × 5 mm slat. One slat occupies 24 mm of face width, after which 20 mm remains to the next. For 59 slats, 59 × 24 + 58 × 20 = 2576 mm is required. Unlike a repeating module, no gap is added after the last slat: otherwise we would imperceptibly get an extra gap beyond the outermost element. 24 mm remains up to the original 2600 mm. If the row is centred, we add 12 mm to both original margins. The actual margins from the edges of the entire wall will be 82 and 82 mm.
Let's try placing 60 narrow slats. They will occupy 60 × 24 + 59 × 20 = 2620 mm, that is, 20 mm more than the permissible working width. The original concept could be changed, the gaps reduced or the finishing area extended, but that would already be a different project. For the given constraints, the correct whole number is 59.
Now the variant with a 40 × 5 mm slat. For 43 verticals, 43 × 40 + 42 × 20 = 2560 mm is required. The free remainder within the working section is 40 mm, that is, 20 mm on the right and left with symmetrical centring. The final margins from the edges of the wall are 90 mm. If a forty-fourth slat is added, the width increases to 44 × 40 + 43 × 20 = 2620 mm and again exceeds the original 2600 mm.
| Characteristic | Composition with 24 × 5 mm | Composition with 40 × 5 mm |
|---|---|---|
| Total wall width | 2740 мм | 2740 мм |
| Initial working area | 2600 мм | 2600 мм |
| Calculated quantity | 59 pcs. | 43 pcs. |
| Clear gap | 20 мм | 20 мм |
| Actual row width | 2576 мм | 2560 мм |
| Final side margin | 82 мм | 90 мм |
| Length of each vertical | 2300 мм | 2300 мм |
Both layouts are centered and both fit within the boundaries. The choice between them does not depend on mathematical "correctness": both solutions are correct, and the difference lies in the number of strips and the character of the pattern. Before approving the scheme, overlay the placement of furniture, switches, and light fixtures onto it. Sometimes a side margin of 82 mm looks better than 90 mm; sometimes this difference is not perceived at all. The main thing is that the margins are defined intentionally, rather than ending up as random leftovers after installation.
How to calculate the number of slats for a different wall width
For a uniform composition with equal gaps, it is useful to remember not the number "per square meter", but the formula for the number of whole elements. Let W be the available width of the decorative section, A the face width of the plank, and S the clear gap between adjacent planks. Then N = floor((W + S) / (A + S)). The notation floor means rounding down to a whole number: a partial slat in width is not installed in such a layout. The formula works for a row without additional gaps between the outermost slats and the boundary of the working area.
It is easy to derive from geometry: N slats occupy N × A; between them there are N − 1 gaps of S. Therefore, the total width of the row equals N × A + (N − 1) × S. It must not exceed W. We rearrange the values and obtain the expression above. This is simpler and more reliable than dividing the entire wall area by the area of one slat: area does not reflect the frequency of gaps or how the row ends.
Always perform a reverse check after rounding. For 59 slats 24 mm wide with a 20 mm pitch, the total is 2576 mm; for 43 slats 40 mm wide, it is 2560 mm. Distribute the remaining width between the left and right margins if symmetry is intended. If one margin is meant to be larger by design, the values do not have to be equal, but the sum of the remainder must still be correct.
The formula has a limitation: it applies to a single straight strip without openings. If the slats are interrupted by a door, window, niche, or furniture portal, you cannot automatically treat the entire wall as a single rectangle. Divide the composition into sections and recalculate each one. The same applies to sections with different gaps: there is no single S value there, so a detailed schedule of items is required rather than one short formula.
Record numbers in millimeters and do not mix them with meters. Once N is obtained, move on to the next independent question: how many factory slats are required to produce N verticals of the required length. This is the cutting calculation, which cannot be replaced by a width-based formula.
Cutting for a 2400 mm length: why a simple linear-meter count is not enough
The height of our composition is 2300 mm, and the length of one RK-001 is 2400 mm. Each vertical fits within one factory slat. On paper, 100 mm remains from each piece, not counting the saw kerf and possible trimming of the factory edges. These short offcuts will not allow another 2300 mm vertical to be made, no matter how many of them accumulate in total linear meters.
For a row with 59 verticals, a minimum of 59 whole slats is required; for a row with 43 verticals, 43 slats. The nominal total remainders are 5.9 m and 4.3 m respectively, but these are dozens of separate short pieces, not a continuous length of material several meters long. Claiming that two additional full-size slats can be assembled from 5.9 meters of waste would be a gross cutting error.
Prepare a schedule: item number in order, cross-section, species, required length after trimming, quantity of identical parts, and the source of each part — a whole RK-001 slat 2400 mm long. If there is a socket on the wall and some verticals need to be interrupted, record the upper and lower parts separately. Sometimes two short parts can be placed on one slat; sometimes the length, grain direction, or the need to match the texture prevents this.
Before sawing, clarify whether the slat will have a lower installation clearance from the finished floor, a gap before the ceiling junction, a visible end, or a covering profile. The 2300 mm height in our example is the length of the finished decorative vertical, not automatically the distance between concrete floor slabs. If the measurement was taken before the floor was laid or a stretch ceiling was installed, it needs to be revised.
For sawing, use a tool that ensures a clean end and settings suitable for the chosen species. When preparing slats with a clear finish, differences in the ends are especially noticeable. First, make a test cut on one element and assess the quality of the edge, then confirm the length and continue the batch. Expensive material is saved not by rushing, but by careful marking and checking the first sample.
How much do RK-001 slats cost: four estimates based on STAVROS prices
On the official RK-001 product page, as of November 18, 2026, for the 24 × 5 × 2400 mm cross-section, the prices listed are 840 rubles per piece for beech and 1150 rubles for oak. For 40 × 5 × 2400 mm — 1130 rubles for beech and 1620 rubles for oak. These are the prices of the selected finishes on the date of verification, not a promise of unchanging cost or a separate price list for Chita. Before payment, you need to confirm the price, the surface preparation option, and the order total.
An estimate without a technological reserve is calculated by directly multiplying the whole quantity by the price of one slat. For 59 pieces of 24 × 5 mm in beech: 59 × 840 = 49,560 rubles. For the same layout in oak: 59 × 1150 = 67,850 rubles. For the wider 40 × 5 mm slats, 43 pieces are needed: beech will cost 43 × 1130 = 48,590 rubles; oak — 43 × 1620 = 69,660 rubles.
| RK-001 version | Base quantity | Price per slat as of 11/18/2026 | Cost of slats without reserve |
|---|---|---|---|
| 24 × 5, beech | 59 pcs. | 840 ₽ | 49 560 ₽ |
| 24 × 5, oak | 59 pcs. | 1150 ₽ | 67 850 ₽ |
| 40 × 5, beech | 43 pcs. | 1130 ₽ | 48 590 ₽ |
| 40 × 5, oak | 43 pcs. | 1620 ₽ | 69 660 ₽ |
Let's look at the result without jumping to conclusions. In beech, the wider profile turned out to be cheaper for the full set by 970 rubles, even though each individual slat is more expensive. In oak, on the contrary, the narrow layout is cheaper by 1810 rubles. This means the question "which slat is more cost-effective?" has no single answer even with the same spacing, if the wood species is not fixed.
Now let's add a small technological reserve of about five percent, rounded up to a whole factory strip. For 59 pieces, that gives 62; for 43 pieces, 46. That's three additional strips per scheme. Totals with the reserve: beech 24 × 5 — 52,080 rubles; oak 24 × 5 — 71,300 rubles; beech 40 × 5 — 51,980 rubles; oak 40 × 5 — 74,520 rubles.
| Execution | Quantity with reserve | Total with reserve |
|---|---|---|
| 24 × 5, beech | 62 pcs. | 52 080 ₽ |
| 24 × 5, oak | 62 pcs. | 71 300 ₽ |
| 40 × 5, beech | 46 pcs. | 51 980 ₽ |
| 40 × 5, oak | 46 pcs. | 74 520 ₽ |
The reserve is not the same as a mandatory allowance and does not guarantee the absence of overruns: it depends on the geometry and the installer's experience. In our examples, rounding up to a whole strip gives slightly more than five percent for 43 items. The cost of the slats does not include the base material, fasteners, coating, any labor, or delivery. That is precisely why the resulting totals cannot be presented as the price of a turnkey renovation.
How to compare the final estimate without forgetting hidden costs
Buyers often compare two columns of slat prices, even though a finished wall composition consists of more components. For an objective assessment, create separate line items: RK-001 products; technological reserve; preliminary wall preparation; the chosen mounting system; test and main coating; consumables; cutting and installation labor; packaging and transport to the recipient. Keep optional items separate so they can be excluded or replaced without changing the cost of the slats themselves.
Not all costs are proportional to the number of strips. For example, the wall preparation area will hardly change if 43 wide slats are used instead of 59 narrow ones. However, the number of end cuts, marking operations, and inspections may change. Lighting depends on the length of the fixtures and the location of the power supply, not just on the square meters of decorative surface. A universal "plus twenty percent on everything" markup hides such differences.
If a contractor performs the installation, request a list of operations. Is base leveling included? Who protects nearby furniture? Is the coating applied before or after installation? Will the back sides and ends be painted if the chosen finishing system requires it? How are the joints at the baseboard and door frame finished? Clear answers are more important than one tempting total price.
When comparing quotes, keep the same specification: RK-001, the chosen wood species, one cross-section, 2400 mm length, quantity, surface preparation quality, and finishing requirements. If one estimate lists an MDF product with veneer under the guise of oak slats, that is already a different material and a different task. Comparing such figures as fully equivalent is incorrect.
If you want to expand the comparison, it is useful to look at the general STAVROS material on how what determines the price of a wooden slat. However, when ordering, use the specific product page and the specific quantity, not an averaged price range from an informational article.
How to reduce finishing costs without random compromises
The first way to save is not to buy extra material due to an uncertain layout. If it is known in advance that the composition will occupy 2600 mm, calculating to whole slats gives an exact baseline: 59 or 43 pieces. Buying in stages by eye, with possible additional purchases, often creates extra operations, transport costs and the risk of differences between batches. At the same time, the reserve should be included deliberately, not removed just for a nice total in the table.
The second way is to check the width of the most decorative section itself. Suppose the back panel of a large wardrobe will completely cover part of the composition. Is it necessary to extend the slats behind the wardrobe? Sometimes it is enough to keep the finish in the open area, if this does not disrupt the pattern and will not be visible from the side. But narrowing the composition without checking symmetry is also risky: a few saved planks can leave an unconvincing empty field near the door.
The third way is to choose the size based on the actual visual effect. Fine graphics do not necessarily require a bulky 80 × 23 mm slat; for deliberately deep shadows, a thin 24 × 5 mm slat may not produce the required result. Saving is effective when the technical solution changes while the concept is preserved, not when an expensive volume is simply replaced with a cheap flat strip and the same interior is expected.
The fourth way is to agree on the finishing method in advance. If a dense enamel is required, there is no point in paying extra for the effect of a transparent finish that will be covered anyway. And vice versa: do not choose a batch without agreeing on the texture if you want to show natural oak under a transparent coating. In both cases, the cost of a mistake may be higher than the difference between the species.
Finally, save on logistics through one agreed order, not through questionable packaging. Long products require protection from bending and damage. Saving on the transport frame without taking into account the shipping conditions can result in replacement of slats and lost time. The cost of delivery to Chita must be obtained based on the actual address and cargo parameters.
How to combine slats with wooden skirting and door casings
The edge of a composition rarely ends in empty space. Usually there is a skirting board along the bottom, a doorway at the side, and a ceiling or cornice visible above the verticals. Therefore, the slat should not be perceived as a separate strip existing on the wall on its own. Its edge must be coordinated in advance with the adjacent trim: it is the junctions that turn a beautiful visualization into a neat real-life installation.
For the lower junction, first determine where the face plane of the slat ends. One option is to bring the verticals down to the top edge of the skirting board, maintaining a clean horizontal line. Another is to stop the composition higher up so that a meaningful gap remains between it and the skirting board. If the skirting board is to be installed after the slats, the sequence of work affects the quality of the junction and the accessibility of fastening. You cannot set the length of all verticals before discussing this detail.
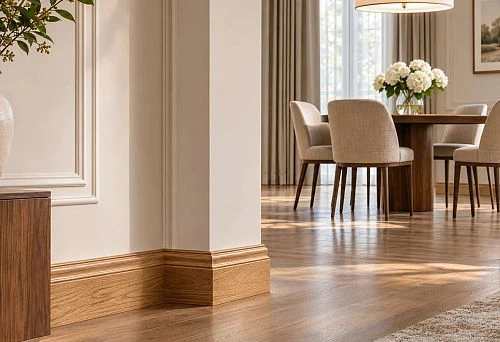
STAVROS has wooden plinth PLT-006 with solid wood versions. It can be considered as a separate lower element, but you should not automatically promise that its planes or profiles will match RK-001. PLT-006 has different dimensions, purpose and geometry. The junction is first checked against drawings and samples, then the color and finish are selected.
At the side termination near the door frame, it is important to leave a clear margin: the slats should not suddenly come right up against the casing if this visually breaks the pattern or interferes with opening the door. In a narrow hallway, take into account the door leaf's opening angle, the position of the light switch and protruding handles. With wide profiles, depth is especially significant: where a 5 mm slat barely changes the wall plane, the 23 mm option creates a new protrusion and may intersect with door hardware.
If part of the trim runs alongside a wardrobe, keep a single vertical axis for the composition. It is not necessary to make identical gaps at every junction, but any offsets must be recorded on the drawing. The contractor needs dimensions to the finished surfaces and a diagram of how the row ends, not verbal requests to "make it look nice".
Sockets, switches, lighting: what to include in the design
Electrical points can change the number of slats and the way they are arranged. If a socket is located in the middle of a section, first check its height, the width of its frame, plug accessibility and the position of the cable in the wall. You cannot simply cover it with a decorative vertical for the sake of even spacing; access to a live device must be maintained, and electrical installation is carried out in accordance with safety requirements.
There are several options. You can shift the decorative field so that the socket falls into an open gap or a free side margin. You can single out a local fragment without slats around the unit, but then it is important to finish the adjacent strips symmetrically. You can plan to relocate the point before finishing work, if this is technically permissible and is done by a specialist. The decision depends on the geometry of the device and the wiring, not just on the color scheme.
When placing a TV, attention should be paid not only to the bracket. Plan the power route, signal cables, the ability to remove the device and access to the connections. The slatted surface may look seamless, but it must remain serviceable. The TV mounting structure relies on a calculated base, not on decorative thin planks, which should not be assigned a load-bearing function.
Side LED lighting makes the wood texture more expressive, but at the same time it highlights vertical deviations and uneven gaps. First the geometry is installed, then the direction of the light is checked. Do not hide power supplies without the possibility of maintenance, and do not place wiring arbitrarily behind the wooden cladding. Coordinate electrical requirements with a qualified specialist before purchasing decorative materials.
For a project in Chita, it is useful to send the specialist a single drawing showing the layout of furniture, sockets, switches and lighting lines. It makes it easier to understand whether the specified 59 or 43 verticals can be maintained without interruptions and additional parts. If necessary, recalculation is done before ordering, not after the delivery of long-length items.
How the slats look in the living room, hallway, bedroom and study
In the living room, the decorative row most often serves as a backdrop for the sofa, TV or a small reading area. If the slatted finish is located behind the sofa, assess it not only in an empty room but also with the actual dimensions of the furniture. A high backrest may hide the lower part of the verticals; the side margins should match the width of the sofa, not an arbitrary center of the wall. For the TV area, the placement of cables, brackets and service points is especially important.
In the hallway, the task is often more difficult because of doors and the shallow depth of the space. There is no point in automatically covering the entire wall with slats here: a local strip by the mirror or console can give a neater result. For a narrow passage, choose the depth of the relief taking into account the usable width; a profile protruding by 23 mm is perceived and works differently from a shallow 5 mm plank. Check whether bags and clothing catch on the edge in a normal use scenario.
In the bedroom, the texture often becomes the backdrop for the headboard. The verticals can be stopped at a pre-selected height, frame the central field, or continue the composition up to the ceiling junction. When placed next to bedside lighting, coordinate the direction of light and access to switches. An overly frequent layout directly behind the headboard sometimes turns out to be visually more active than expected from a small sample photo.
In the study, wooden strips can mark the workspace or a strip behind the bookcase. In such a scenario, think about which parts of the wall will be occupied by shelves and equipment. The decor must not interfere with the mounting of heavy furniture; the load is transferred to the designated base. If video calls are used in the room, check the background with the camera at working distance: narrow repeating stripes sometimes produce an undesirable visual effect on video, although they look calm in person.
The general rule for all rooms is the same: do not transfer the same number of slats and the same spacing from someone else's project. Measure your own field, choose the ratio of wood to gap, take furniture into account, and only then calculate the quantity. That is why in our example we give two layouts rather than a single "correct" width.
Installation of solid wood slats: base, marking and fixing
The fixing method is chosen based on the actual geometry of RK-001, the condition of the base and the project requirements. A thin decorative profile of 24 × 5 mm should not be installed on the same assumptions as a bulky 80 × 23 mm slat. The contact area, the strength of the wall's finishing layer, the direction of the load and the possibility of subsequent replacement are important. There is no need to declare one universal adhesive or fixing pitch suitable for all conditions without checking the system manufacturer's instructions.
The first stage is inspecting the base. Check the strength of the existing coating, the absence of peeling paint, damp areas and protruding irregularities. If the wall is wavy, even spacing on the front plane will not save the situation: side lighting will reveal the unevenness. If necessary, the base is leveled or a separate subsystem is designed. For thin slats of shallow depth, the decision on the subsystem is especially important because additional battens change the overall protrusion of the entire finish.
The second stage is marking out. First, mark the outer boundaries and the centre of the composition. Then mark the position of several reference verticals according to the calculated module: 44 mm for the 24 + 20 variant and 60 mm for the 40 + 20 variant. It is convenient to check not only each individual gap but also the total width of several repeats. If ten modules should occupy 440 mm, measuring this section helps detect accumulated deviation earlier than it becomes noticeable at the opposite edge of the wall.
The third stage is a trial installation. Place several elements without final fixing, assess the direction of the grain, the side shadows and the position relative to the furniture. If the rhythm does not suit you, it can still be changed now without the losses of dismantling. When ordering with a finish coating, check whether there is a noticeable difference in shade between adjacent slats and how it is distributed across the whole composition.
The fourth stage is fixing according to the agreed technology. It may include a suitable mounting compound, mechanical fixing or a structural subsystem — the choice depends on the specific solution, not on the generic name “wooden slats”. Do not drill into walls without understanding the location of concealed wiring. Do not assume that a decorative product will automatically support additional equipment or shelves.
The fifth stage is checking the end of the row. After each group, check verticality, the face plane and a clean gap. It is convenient to install from a reference line rather than sequentially “by eye” from a non-square corner of the room. At the end, inspect the lower and upper ends separately: even with a level central section, untidy ends can ruin the whole result.
Preparation of the wood and the finish coating
Before installation, the products must be inspected after transport. Check straightness, the integrity of the edges, and the absence of cracks and transport damage. Do not open the packaging with a cutting tool right next to the face surface. If transport took place through varying temperature conditions, allow the material and packaging to equalise with the room conditions in accordance with the manufacturer's recommendations and the chosen finishing system. Do not set an invented universal acclimatisation period in hours.
For an opaque enamel, surface preparation, the choice of primer and system compatibility are important. Beautiful paint alone is not enough: an incorrectly prepared end may absorb the material differently from the face surface. For a transparent finish, a colour test and an assessment of the natural texture are especially important. A single shade of oil or varnish can reveal oak and beech differently, so it is better to make the choice on a real sample of the relevant species.
Agree the sequence of work before starting to cut. Sometimes it is more convenient to pre-treat long blanks and finally protect the ends after trimming. In other cases, the system provides for coating after installation. In any variant, do not leave newly exposed ends untreated if the finishing technology requires their protection. Clarify the compatibility of the adhesive, primer, varnish and finish coating so that one operation does not worsen the result of another.
Avoid overly general promises such as “solid wood never deforms”. Wood reacts to the indoor climate, and storage and operating conditions matter. Maintain reasonable conditions in the living space and follow the recommendations of the finish manufacturer. If it is a humid bathroom, an unheated space or exterior cladding, a separate project is needed: the very fact that RK-001 is made of oak or beech does not mean it is automatically suitable for any environment.
For regular care, gentle dry or slightly damp cleaning compatible with the applied finish coating is usually more important than aggressive universal products. Do not leave water in the joints or behind the decorative slats. If the coating is damaged, before restoring it locally, check how the new layer will differ from the adjacent elements in gloss and shade.
Order RK-001 with delivery to Chita: how to prepare a specification
So that the manager can check the set without a long correspondence, send a clear specification. For example: "RK-001, beech solid wood, cross-section 24 × 5 mm, factory length 2400 mm, quantity 62 pcs. including reserve; please confirm the processing quality and preparation for the selected finish; recipient — Chita, Zabaykalsky Krai." Attach a layout drawing with 59 verticals, final side margins of 82 mm and the required finished height of 2300 mm. Clearly separate the ordered quantity from the number of parts after cutting.
If oak or a 40 × 5 mm cross-section is selected, replace only the relevant specification lines and recalculate the total. Do not mix 59 and 43 slats in one document: these are alternative projects, not two stages of one order. If two different wall sections need to be ordered, create separate line items so it is clear which material and quantity belongs to each zone.
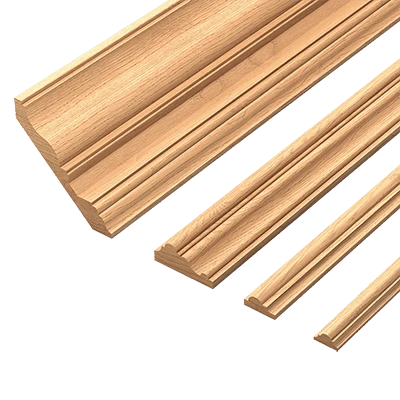
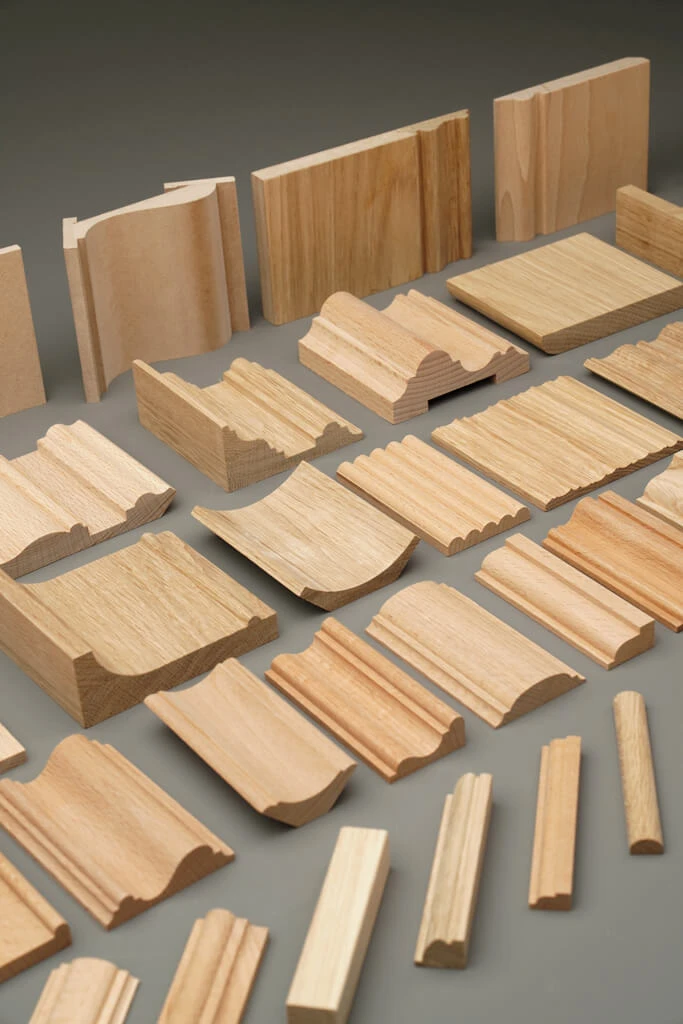
You can view in the catalog wooden moldings STAVROS and related profiles, but additional items should be purchased according to actual need. Selecting skirting, architrave and slats from the same species does not automatically guarantee a matching shade after finishing. Record the color and sample requirements in one order.
Before placing an order, confirm the availability of the required version, the current price, the availability of the selected type of preparation for finishing, the payment procedure and the method of transporting long items. On the page payment and Contact us to confirm shipping to your destination. the logistics terms are published; the specific calculation depends on dimensions, weight, address and the carrier's capabilities. Do not calculate the delivery cost based only on the price of the slats themselves.
A long shipment of 2400 mm is not the same as a small parcel. For it, you need to check the permissible dimensions for the selected transportation method and the availability of protective packaging. Specify not only the city but also the address or pickup point, contact details and preferred handover procedure. Ask for the transport costs to be shown as a separate line and clarify exactly what is included in the packaging.
If you plan to install it yourself, prepare questions about storage and finishing before the shipment arrives. If a contractor is doing the installation, it is advisable to coordinate the receipt date with the wall preparation schedule so that the items do not sit for a long time in an unsuitable room. The main result of placing the order is an agreed set of parameters and a confirmed final cost, not just an order number.
How to check the order after delivery and before installation
When receiving long-length moulding, do not limit yourself to a cursory inspection of the box. Match the labelling and documents against the specification: item code RK-001, the selected profile, the wood species, the 2400 mm length and the number of whole pieces. If the order contains 62 slats, count the slats themselves, not just the packaging units. If there are discrepancies, do not try to resolve the matter after cutting: first record the problem and agree it with the seller.
Inspect the packaging from all sides. Look for dents, fractures, damage to the ends, signs of moisture and compromised protective elements. If there are signs of transport damage, follow the seller's and carrier's rules: photograph the condition of the goods, keep the documents and promptly complete the required report. Do not claim that the damage necessarily occurred during production if this is not known.
After unpacking, check the visible faces, straightness and whether the material matches the selected finish. Minor natural variations in the wood grain should not automatically be considered defects, but actual mechanical damage and significant deviations should be assessed against the agreed product requirements. For a transparent finish, lay several slats side by side and see how consistently the texture looks. This will allow you to rearrange the elements before final fixing.
Before sawing and painting, do a test layout of at least a short section. A tape measure alone is not enough: try holding a sample against the wall, checking the direction of the light, the thickness of the projection and the junction with the skirting board. It is better to compare the purchased material with the project first than to correct a mismatch after the whole wall has been installed. This check is especially useful for a remote order, when the choice was made from the product page and photographs.
Seven common mistakes when buying and planning wooden slats
1. Calculating the quantity by wall area. Area is useful for estimating scale, but on its own it does not take into account the gaps between individual slats. As a result, the wrong number of pieces is purchased. The right approach is to first determine the face width and the clear gap, then count the number of whole verticals and check the actual width of the row.
2. Adding a gap after the last slat. The formula for N elements has only N − 1 internal gaps. If you use N gaps, you get an extra strip of air at the edge, and the side margins start to "float". Check the result using the formula N × A + (N − 1) × S and distribute the remaining free space separately between the wall boundaries.
3. Choosing by the price of a single slat. A 24 × 5 mm profile is cheaper per piece than 40 × 5 mm, but more narrow slats are required. In our example, the total differs even depending on the wood species. The right reference point is the total for the entire quantity including the reserve, not a single figure in the product card.
4. Confusing the face width with the depth. A 40 × 5 mm cross-section means a completely different relief than 60 × 23 mm. The required depth affects the light, the gaps near doors and the mounting system. Therefore, dimensions should be read from the drawing, not from the general picture of the decorative wall.
5. Not accounting for joints and electrical points. If the calculation reveals that a slat covers a switch or runs into a door handle, the layout will have to be changed on site. The solution is to mark all openings, fixtures, furniture and abutments on the project before paying for the kit.
6. Treating total offcuts as a full reserve. Six meters of short 100 mm pieces cannot be turned into two 2300 mm verticals without joints. Calculate not only the total linear meters, but also the number of whole blanks of the required length, the cut locations and whether joints are acceptable.
7. Placing an order without agreeing on delivery and finishing. The mistake shows up late: the package length does not suit the chosen transport method, and the surface does not match the planned clear finish. The right action is to clarify in advance the type of preparation, packaging, delivery address, lead time and full order amount, keeping the seller's answers.
These mistakes share one cause: a decision based on a photo is made before the specification is prepared. For a project in Chita this is especially inconvenient due to the need to arrange transport for long items. An accurate plan and an agreed kit eliminate most of the uncertainty before the cargo is shipped.
Checklist before buying wooden wall slats
To verify that your order is ready, go through the following list. If even one item remains unclear, it is better to clarify it now rather than after purchase.
- Base and geometry: the clear width of the wall, the height of each vertical, and the location of corners have been measured; finished floor and ceiling coverings have been taken into account.
- Pattern: the RK-001 profile has been selected, the clear gap has been agreed, the left and right margins have been specified, and the whole number of slats has been calculated.
- Cutting: the required length has been recorded for each part; the quantity of factory 2400 mm strips has been checked separately from linear meters.
- Material: oak or beech has been selected; the texture, intended finish, and available surface preparation option have been agreed.
- Adjacent elements: skirting boards, architraves, doors, furniture, sockets, switches and lighting are taken into account.
- Fastening: the selected installation method is compatible with the substrate, cross-section and finish; electrical safety matters have been referred to a specialist.
- Estimate: slats, reserve, finishing, labour, packaging and delivery are calculated separately; prices are tied to the verification date.
- Logistics: the pickup address in Chita, packaging dimensions, method of handing over the cargo and the procedure for recording possible damage have been agreed.
For our 2740 mm wall, the key entry in the checklist will be: working width 2600 mm; margins after centring 82 mm with 59 slats of 24 × 5 or 90 mm with 43 slats of 40 × 5; height of finished verticals 2300 mm; factory length of RK-001 2400 mm. This line combines design and purchasing into verifiable numbers.
Frequently asked questions about RK-001 slats and buying with delivery to Chita
Where can I order oak slats in Chita?
You can place an order through the official STAVROS catalog, choosing the RK-001 oak version with Contact us to confirm shipping to your destination. The website states the delivery terms, but this does not imply that STAVROS has a separate warehouse or showroom in Chita. Before paying, confirm the selected cross-section, the current price, the packaging terms, and the availability of shipping to your address. A general overview of choosing a supplier is available in the article "Where can I buy a wooden slat?".
Are all seven RK-001 sizes available in oak and beech?
The table on the official product page lists seven cross-sections with a length of 2400 mm and prices for both wood species. These are 15 × 5, 24 × 5, 40 × 5, 70 × 7, 90 × 10, 60 × 23, and 80 × 23 mm. When ordering, check not only the size but also the selected surface treatment option and the preparation for the final finish: do not assume that any combination is automatically available on the same terms.
How many slats are needed for a wall 2740 mm wide?
In our project, the decorative area is limited by initial margins of 70 mm on each side, so the working width is 2600 mm. With a clear gap of 20 mm, 59 slats 24 mm wide or 43 slats 40 mm wide fit. After centering, the actual outer margins are 82 mm or 90 mm, respectively. If you change the area width or the gap, the number of verticals must be recalculated rather than copied from this example.
How do 24 × 5 and 40 × 5 mm slats differ visually?
Both protrude above the base by a nominal 5 mm, but the width of the visible wood strip differs. With an equal gap of 20 mm, the 24 mm profile creates a denser grid and a larger share of visible background; the 40 mm profile creates a larger pattern. To choose, it is useful to draw the area to scale and check it with the furniture. For cost, be sure to compare the entire composition, not an individual slat.
Which slats should I choose for painting with opaque enamel?
For opaque finishing, both oak and beech can be considered if the selected version and surface preparation are compatible with the coating system. Beech is often preferred for its calmer texture, but this does not automatically mean an advantage in enamel quality. Check the "for enamel" preparation, the quality of sanding, the primer, and whether the ends need treatment. The final color should be confirmed on a sample, since a screen image does not provide a reliable assessment of the shade.
Which is more cost-effective: a narrow or a wide slat?
This depends on the wood species, quantity and price of the specific option. In an estimate without a reserve, 59 beech slats 24 × 5 mm cost 49,560 rubles, while 43 beech slats 40 × 5 mm cost 48,590 rubles. For oak in the same layouts, the amounts are 67,850 and 69,660 rubles. Prices from the official product page were verified on November 18, 2026; delivery, coating and installation are not included. In another project, the ratio may change.
Can a 2300 mm vertical be made from an RK-001 that is 2400 mm long?
Yes, if the specific product is suitable in terms of quality and geometry: one factory slat can yield one piece with a nominal length of 2300 mm, with a remainder of about 100 mm before accounting for trimming and saw kerf. Such a short remainder cannot produce a full second vertical. Therefore, for 59 decorative strips, at least 59 source slats are needed, and for 43, 43. A reserve for damage and errors is accounted for separately.
Can wooden slats be placed next to a doorway?
Yes, but first check the door leaf swing, handle protrusion, casing position and clear passage width. Thin and bulky slats change the wall face plane differently. It is better to mark the last rib of the composition on the drawing and maintain a clear transition to the door frame than to end the row with a random half of the gap. If necessary, a few edge dimensions are adjusted after a trial layout.
How does RK-001 solid wood differ from a slatted panel and interior RK-002?
RK-001 in the options under consideration is a separate slat made of solid oak or beech. PAN-001 is a ready-made panel item with its own construction, dimensions and material options, including MDF. Interior RK-002 is also not an unconditionally identical replacement for RK-001 in terms of material and geometry. If solid wood is what matters, the specification must explicitly state the item code, wood species and cross-section, not just the words “slatted finish.”
How do I arrange delivery of long slats to Zabaykalsky Krai?
Provide the exact city and address or your chosen pickup point, the quantity and length of the slats, then request confirmation of packaging and shipping method. The official STAVROS page describes Contact us to confirm shipping to your destination.; the final cost is determined for the specific order and route. Do not calculate a fixed timeframe from the distance on a map. Upon arrival, inspect the protective frame, documents and condition of the material before cutting and installation.
Buying STAVROS wooden slats in Chita: final procedure
If you need a calm, dense pattern, start with RK-001 24 × 5 mm; if wider lines matter more, compare it with RK-001 40 × 5 mm. For a 2740 mm wall with a 2600 mm working field and a 20 mm gap, 59 and 43 verticals are calculated respectively. Both layouts fit within the selected width but give different side margins and different costs. Evaluate oak and beech not only by price, but also by the finish and wood pattern intended for the interior.
Before paying, transfer the calculation into your own specification, attach a junction diagram, and confirm current prices. To choose a finish, open the product page solid wood RK-001 wooden slats. To agree on the order and shipping terms, use the contacts on the official website. The more precisely the cross-section, species, length, quantity, and finish are specified, the easier it is to assemble a set for a specific wall and arrange delivery to Chita without extra clarifications.