








Article Contents:
- How to correctly start placing stucco decor on a wall
- What to base on when placing a set of stucco decor
- What indent to leave from the floor and baseboard
- What indent to leave from the ceiling
- How to account for furniture when placing stucco decor
- Behind the bed
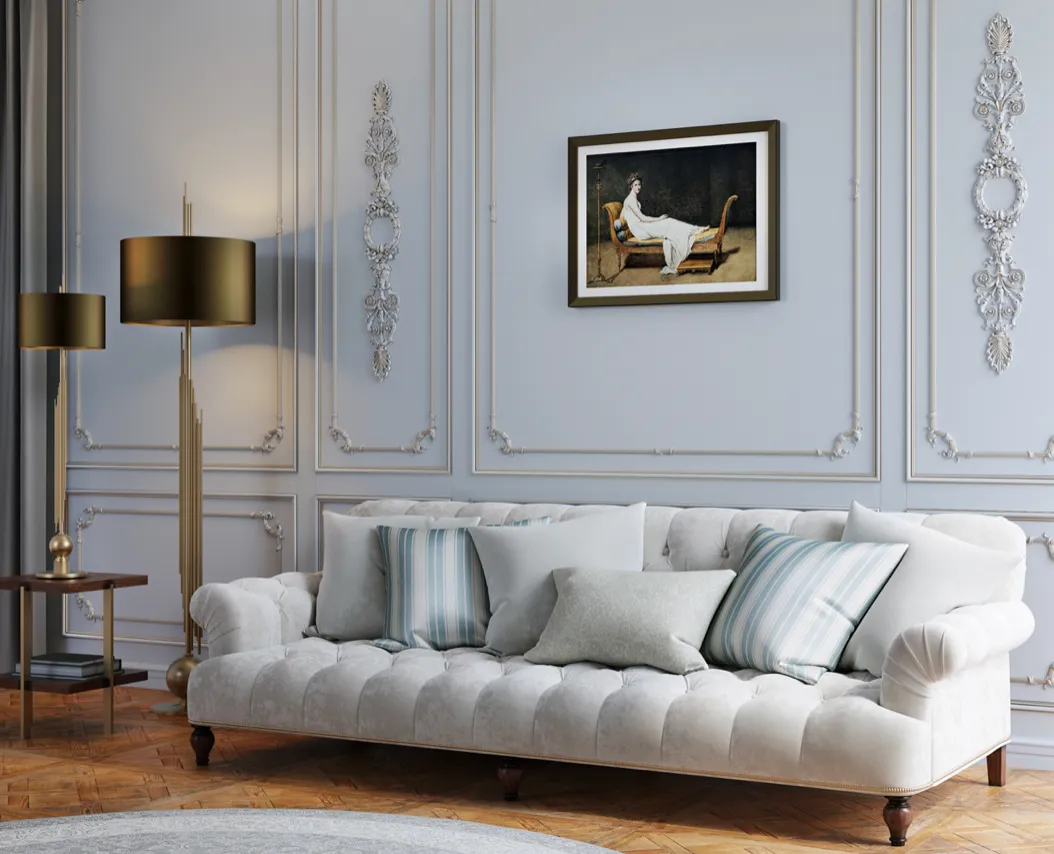
- Behind the Sofa
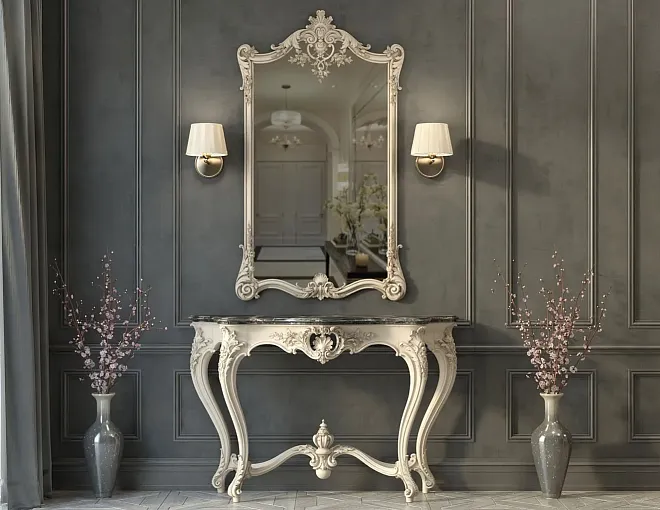
- Above a console or dresser
- In the TV area
- What to do with outlets, switches, and sconces
- Step-by-step layout scheme for a set of stucco decor
- Where to place a ready-made set of stucco decor
- In the center of the wall
- Above furniture
- Paired on the sides
- Inside a wide composition
- Common mistakes when placing a set of stucco decor
- Signs of successful placement of stucco decor
- FAQ: Answers to Popular Questions
- About the Company STAVROS
Most people hesitate not before choosing decor, but before placing it. The set is already found, the style is defined, the size roughly fits — but that one question arises that stalls the purchase: "Where exactly should I glue it? Not too high? Will I hit a socket? Will I press it against the baseboard?" This anxiety is familiar to anyone who has ever held a tape measure and looked at an empty wall.
The good news: how to place stucco decor on a wall is a question with a clear algorithm for an answer. No intuition, no "by eye." The height of stucco decor on the wall, indents for moldings, orientation relative to furniture or architectural axis — all of this is resolved through sequential measurements and temporary marking, after which you will see the finished result even before you open the tube of glue.
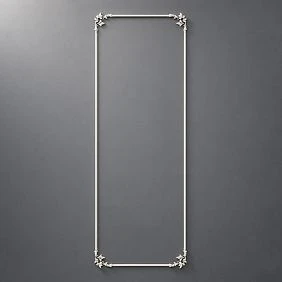
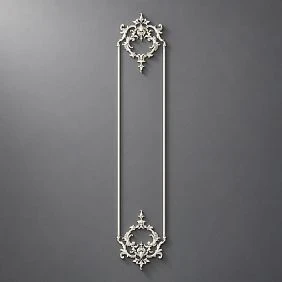
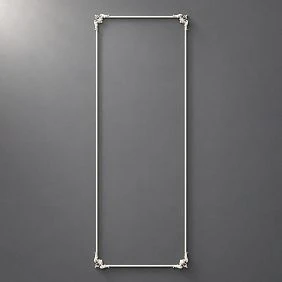
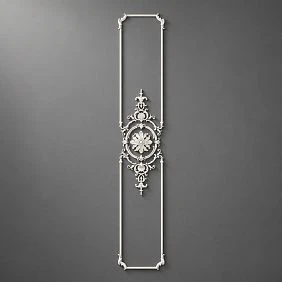
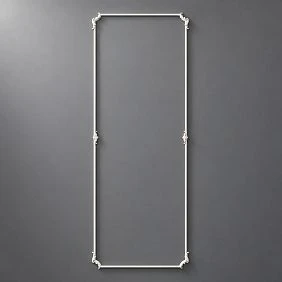
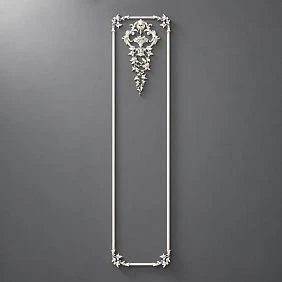
How to properly start placing stucco decor on a wall
The first and most common mistake is starting with glue. You want to hang the purchased set as quickly as possible, and your hand reaches for the tube before the tape measure. This leads to rework.
The right start is marking. Marking stucco decor on the wall is not an extra step or a professional's overcaution. It is the only way to see the future composition in real proportions, with real offsets, and in a real context: with furniture, lights, baseboards, and ceiling.
What needs to be done first:
-
Measure the wall by width and height — from floor to ceiling, from corner to corner.
-
Record the height of the baseboard, if present — it affects the lower boundary of the decor.
-
Measure the width and height of furniture if the decor is placed above it: bed, sofa, console, dresser, TV stand.
-
Mark the positions of outlets, switches, sconces, and any other wall elements.
-
Check for the presence of a ceiling cornice, cove, or cornice strip — they affect the upper boundary.
-
Determine what is the main axis: specific furniture or an architectural element.
Only after that — painter's tape. They use it to mark the outline of the future set on the wall. This is exactly how professionals mark moldings on the wall: they don't guess, they check on the actual surface, at actual scale.
How to place a set of stucco decorcorrectly is a matter of sequence, not talent. Give yourself 20–30 minutes for marking, and you will save yourself from weeks of regret about being "just a little off."
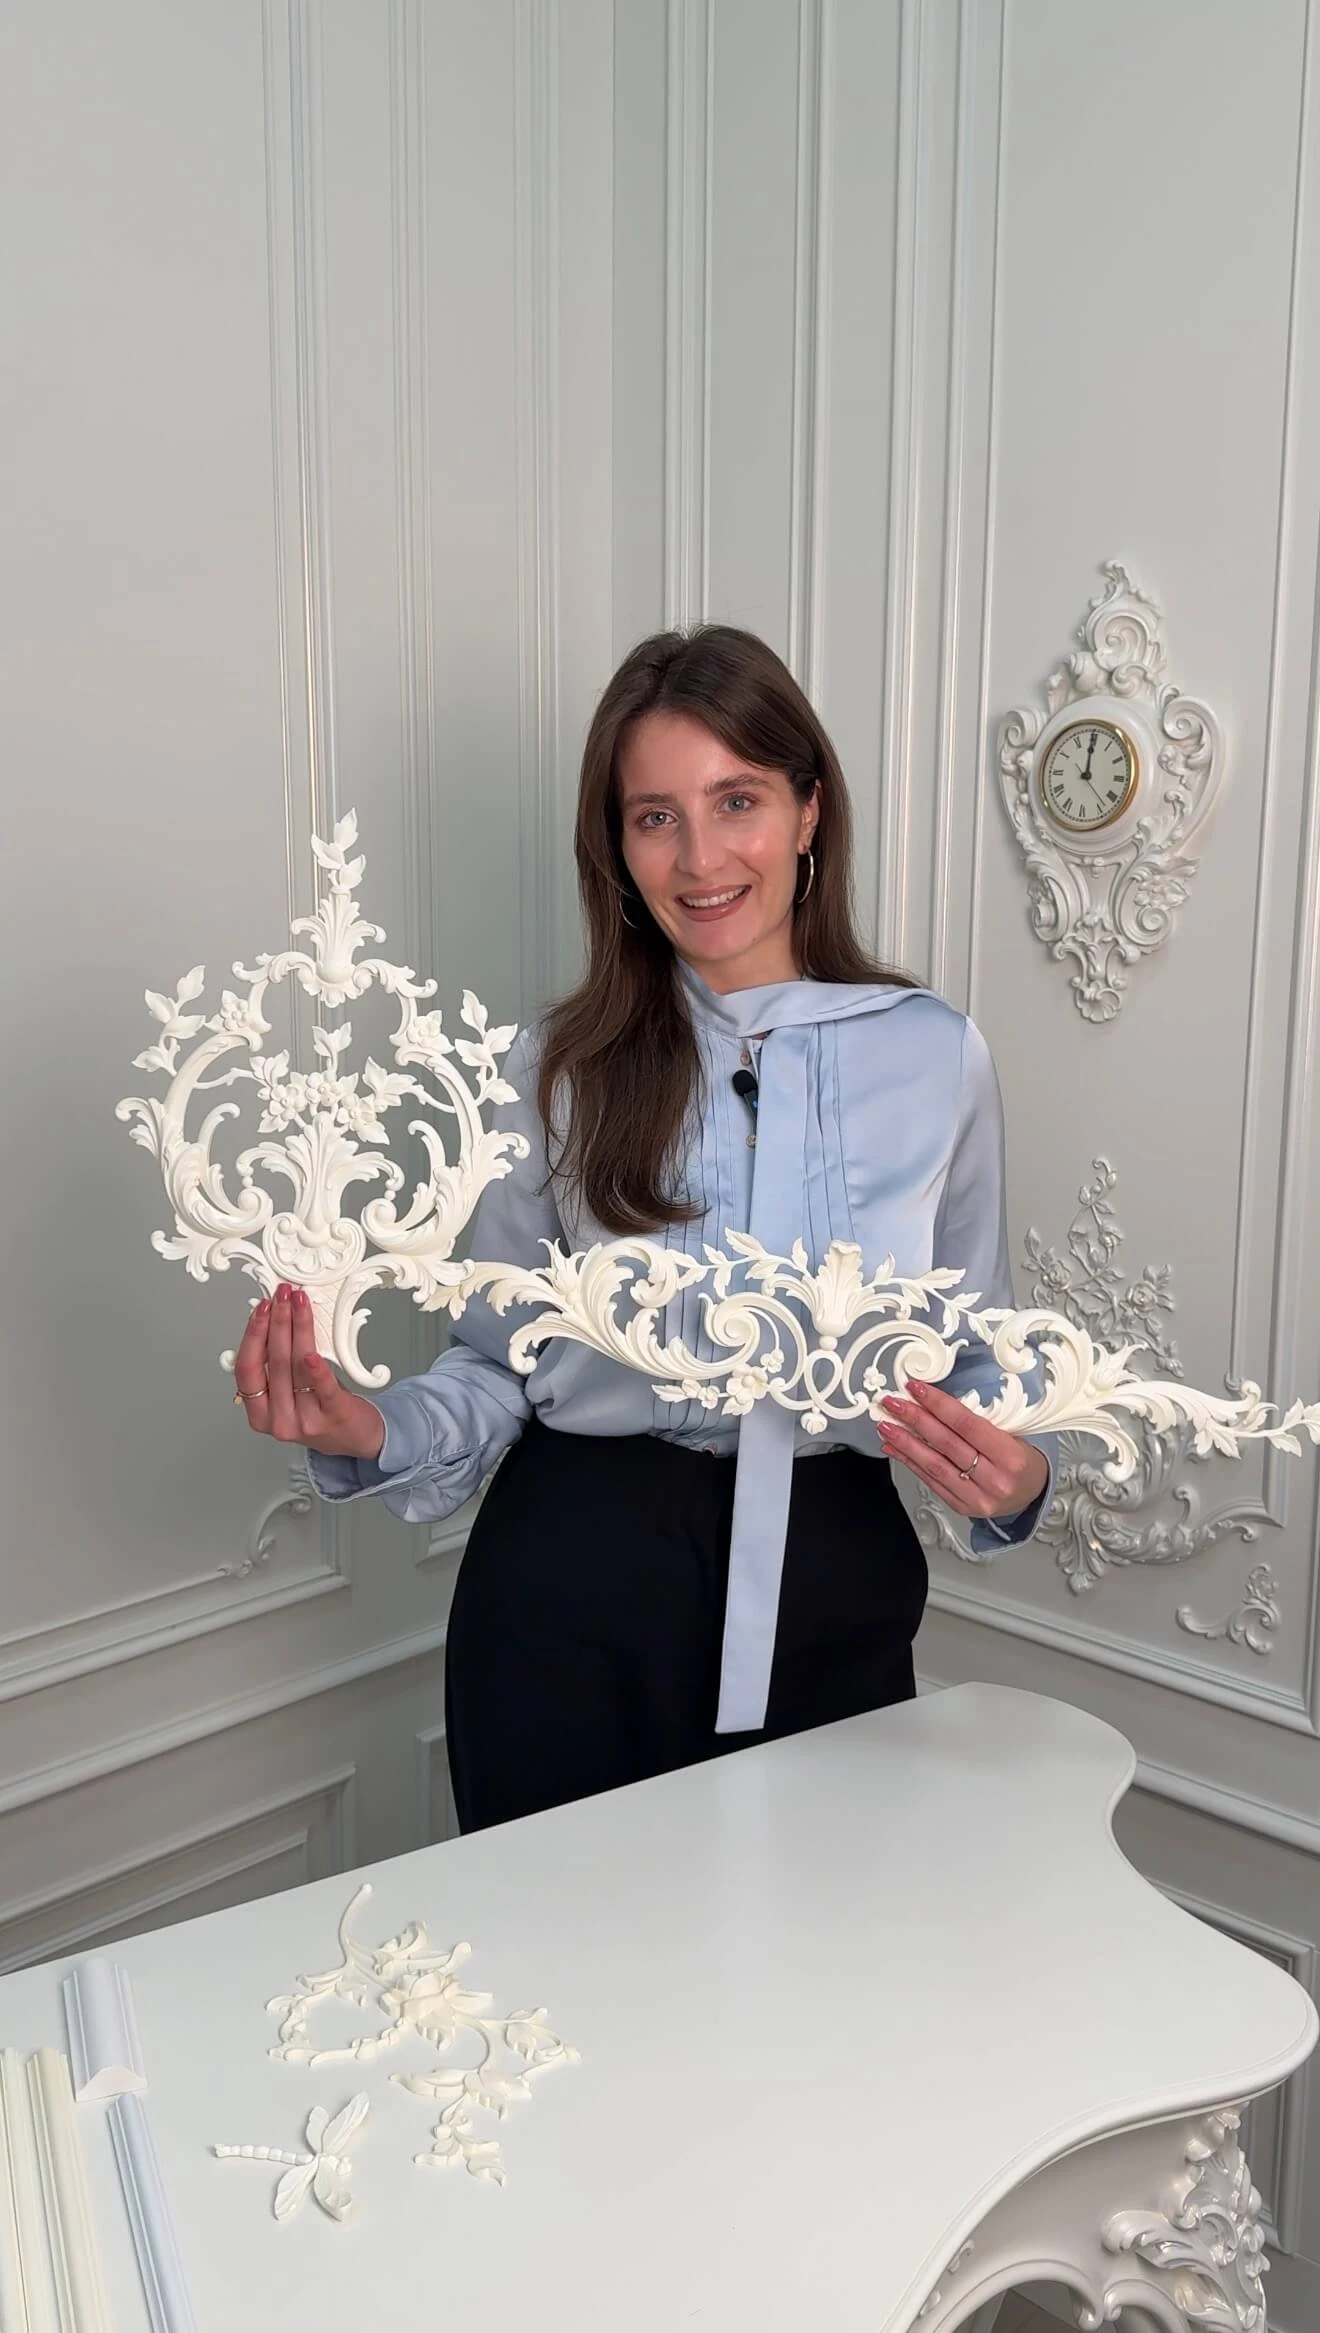


What to base the placement of a stucco decor set on
One of the main misconceptions is that stucco decor should always be centered on the entire wall. This is incorrect. The center of the wall and the center of proper decor placement are different things, and confusing them causes most mistakes.
The rule is simple: how to position moldings on the wall depends on what is the visual axis of the zone. The wall itself is a canvas. The axis is set by furniture or a functional element.
| Zone | Where the center comes from |
|---|---|
| Wall behind the bed | From the center of the headboard |
| Wall behind the sofa | From the center of the sofa or the entire soft seating group |
| Console zone | From the center of the console |
| TV zone | From the center of the TV or TV cabinet |
| Narrow pier | From the geometric center of the wall section |
| Dining area | From the center of the table or the chandelier above it |
| Free wall without furniture | From the geometric center of the wall |
Stucco decoration on a wall with furnitureworks correctly only when it is aligned with the center of this furniture. Even a shift of 8–10 cm is perceived as an error — especially in symmetrical interiors where the eye is accustomed to order.
There are exceptions. If the sofa is not centered on the wall, it doesn't mean the decor should be glued to the center of the wall, ignoring the furniture. Or, conversely, if the entire wall is an accent wall without dominant furniture, the decor is aligned with the architectural center. The goal is the same: the decor should be perceived as a continuation of the space, not as a random spot on the wall.
How to place stucco decor above furniture is not just a matter of horizontal centering. It's also a matter of vertical balance: at what height does the lower edge of the set start relative to the top line of the furniture. More on this below.
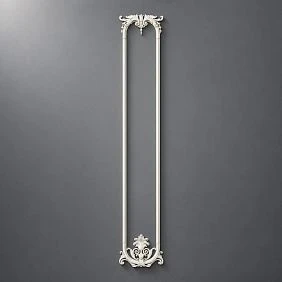
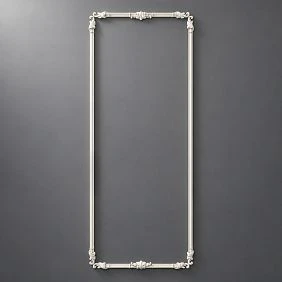
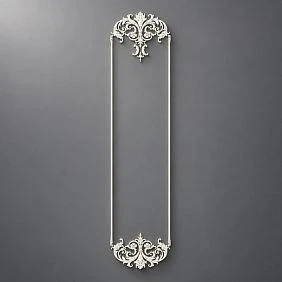
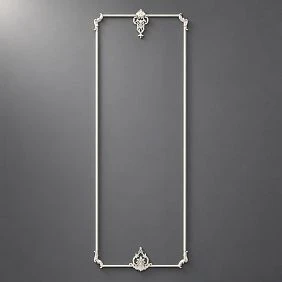
Our factory also produces:
What indentation to leave from the floor and baseboard
It would seem that the bottom indentation is a technical issue. But it determines whether the decor will look "suspended in the air" or "pressed to the floor." And both extremes are a mistake.
The indentation of the molding from the baseboard depends on several factors: the height of the baseboard, the type of flooring, and whether there is furniture in front of the wall.
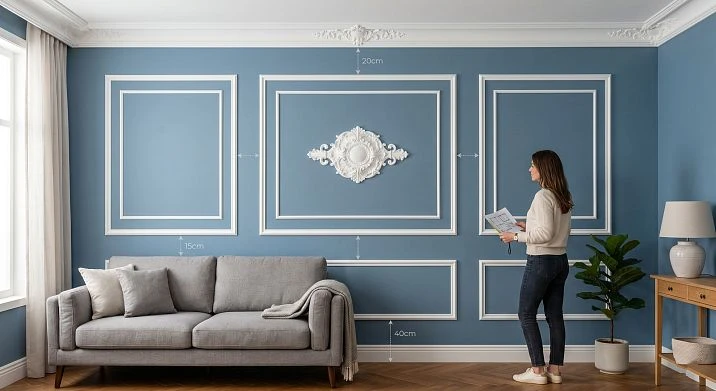
Baseboard up to 10 cm high. The lower part of the decorative frame or set should be at least 15–20 cm from the top edge of the baseboard. This creates air between the baseboard and the lower border of the decor — the wall "breathes" rather than looking filled from bottom to top.
Baseboard 15–20 cm high (designer, wide). Here, the indentation needs to be increased to 25–30 cm. A high baseboard is decorative in itself — and creates a zone near the floor. The decor above it should start at a sufficient height so as not to conflict with this zone.
If there is furniture in front of the wall. How much to indent from the floor for moldings in this case is a question that is solved differently. The lower part of the decor may be partially hidden behind the back of a sofa or the headboard of a bed. This is not a mistake — it is normal practice. It is only important that the upper part of the set is fully readable and has enough air up to the ceiling.
If the decor is placed on an empty wall without furniture. The indentation of moldings from the floor in this case is determined by the logic of visual balance: the lower edge at a height of approximately 40–60 cm from the floor is a standard solution for walls 2.5–3 m high. The height of the upper edge is also taken into account: the decor should not press against the ceiling.
Practical test: draw a horizontal line on the wall along the intended lower edge of the decor, step back 2–3 meters and look. If the line seems too low — raise it. If too high — lower it. This is how experienced installers check the indentations.
Get Consultation
What indentation to leave from the ceiling
Indentations of moldings from the ceiling is a topic that is underestimated. And it is here that the effect of a "heavy" wall often occurs: the decor goes too high, and the entire composition begins to press down.
Basic rule: how much to indent from the ceiling for stucco — from 15 to 30 cm, depending on the ceiling height and the size of the set.
Ceiling 2.4–2.6 m. This is a low ceiling, and any bringing the decor closer to it creates an effect of compressed space. The optimal indentation is at least 20–25 cm. At the same time, it is better to choose the set itself not too high vertically — otherwise it will take up a large part of the wall and create overload.
Ceiling 2.7–3.0 m. The standard for most modern apartments. Here, the top offset can be reduced to 15–20 cm. The height of stucco decor on the wall with such a ceiling can be more significant: the set will occupy an expressive place without creating a feeling of pressure.
Ceiling above 3 m. In these spaces, the offset from the ceiling can be larger — 25–40 cm. A high ceiling allows you to "play" with the vertical: place the set at a medium height, without tying it to either the ceiling or the floor.
Ceiling cornice or paduga. If there is a decorative cornice or molding along the perimeter of the ceiling, the decor on the wall should start below it. The distance from the ceiling molding to the top edge of the wall set is at least 10–15 cm. This creates a visual gap where the wall "lives" and prevents the decors from competing with each other.
For low ceilings, it is better to choose elongated vertical formats — they visually lift the wall upward. More details about such solutions are in the articleVertical wall decor made of polyurethane: there, the principles of working with height format depending on room parameters are analyzed.
How to account for furniture when placing stucco decor
Furniture is not just "what stands in front of the wall." It is an active participant in the decorative scene that dictates both width, height, and center. Ignoring it during layout is like composing a menu without knowing who will be at the table.
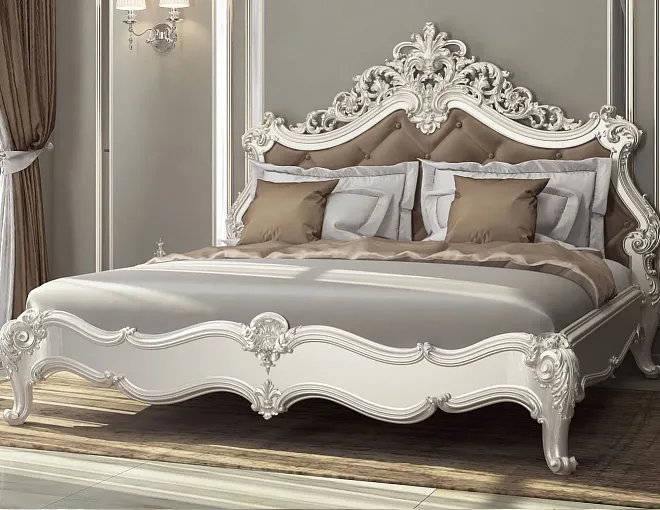
Behind the bed
How to place moldings behind the bed is one of the most common questions. And there are several scenarios depending on the height of the headboard.
If the headboard is low (up to 60–70 cm): the bottom edge of the decor can be lowered almost level with the headboard or even slightly lower — it will still be visible. The main thing is that the bottom line of the set is parallel to the horizon, and the center of the decor coincides with the center of the bed.
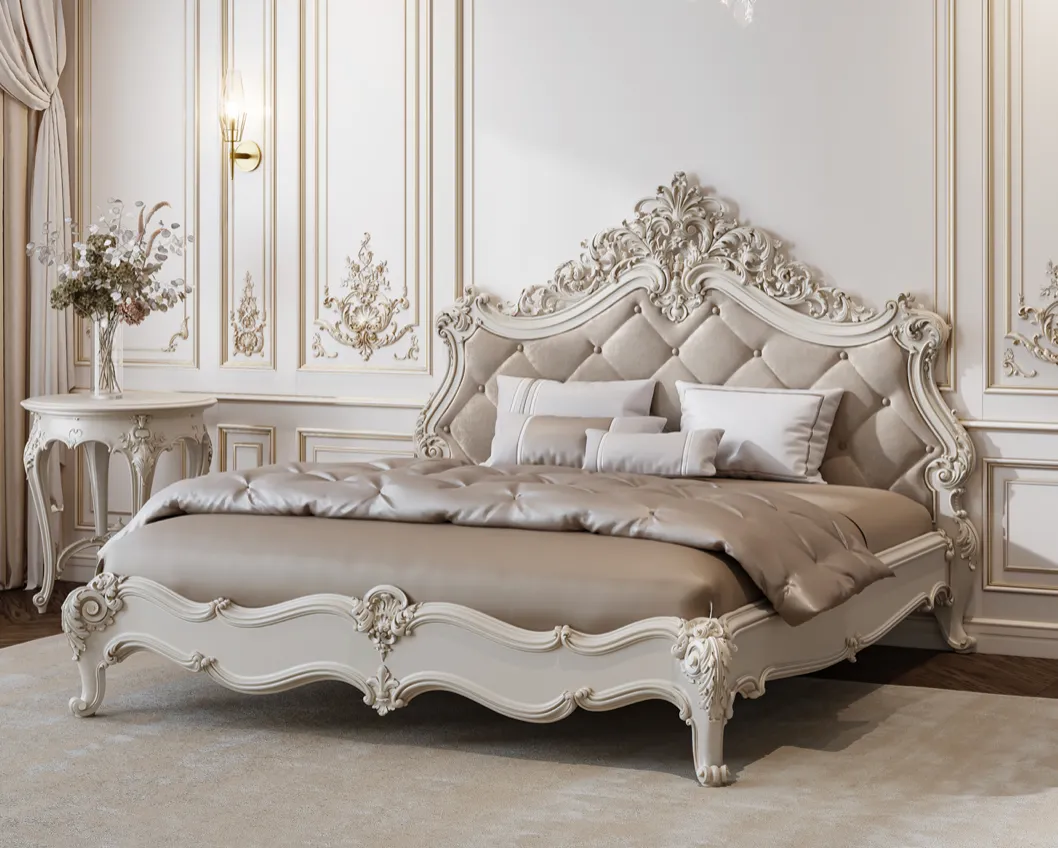
If the headboard is high (80–120 cm): the stucco decor behind the bed starts immediately above it, with an indent of 10–15 cm. This creates a coherent vertical group: bed — pause — decor — ceiling. Each element is read separately and yet works as an ensemble.
If the bed is flush against the wall and the headboard is pressed against it: the lower molding may partially go behind the bed. This is acceptable — but undesirable for symmetrical frame sets where the lower horizontal line is important for proportion.
The height of the decor above the bed is approximately in the range of 80 to 150 cm from the top point of the headboard. This is a standard zone where the decor remains in the optical focus of a person lying in bed or entering the bedroom. More details on selecting decor based on bed size — in the articlehow to choose a set of stucco decor for the width of a bed or sofa.
Behind the sofa
The indents of moldings from furniture in the case of a sofa are slightly different. A sofa, as a rule, has a high back: 80–90 cm from the floor. And it is from the back that you need to measure the space downwards and upwards.
The lower edge of the decorative frame should be at least 15–20 cm above the sofa back. This is important for several reasons: the decor should be fully visible, not hidden behind the furniture; a visual gap is needed between the decor and the sofa, allowing the wall to "breathe"; pillows thrown on the sofa should not cover the lower part of the frame.
Decorating the wall behind the sofamade of polyurethane — is one of the most popular tasks. There is aseparate detailed material, where sizes, types of sofas, and specific formats of sets for different sofa groups are analyzed.
Above a console or dresser
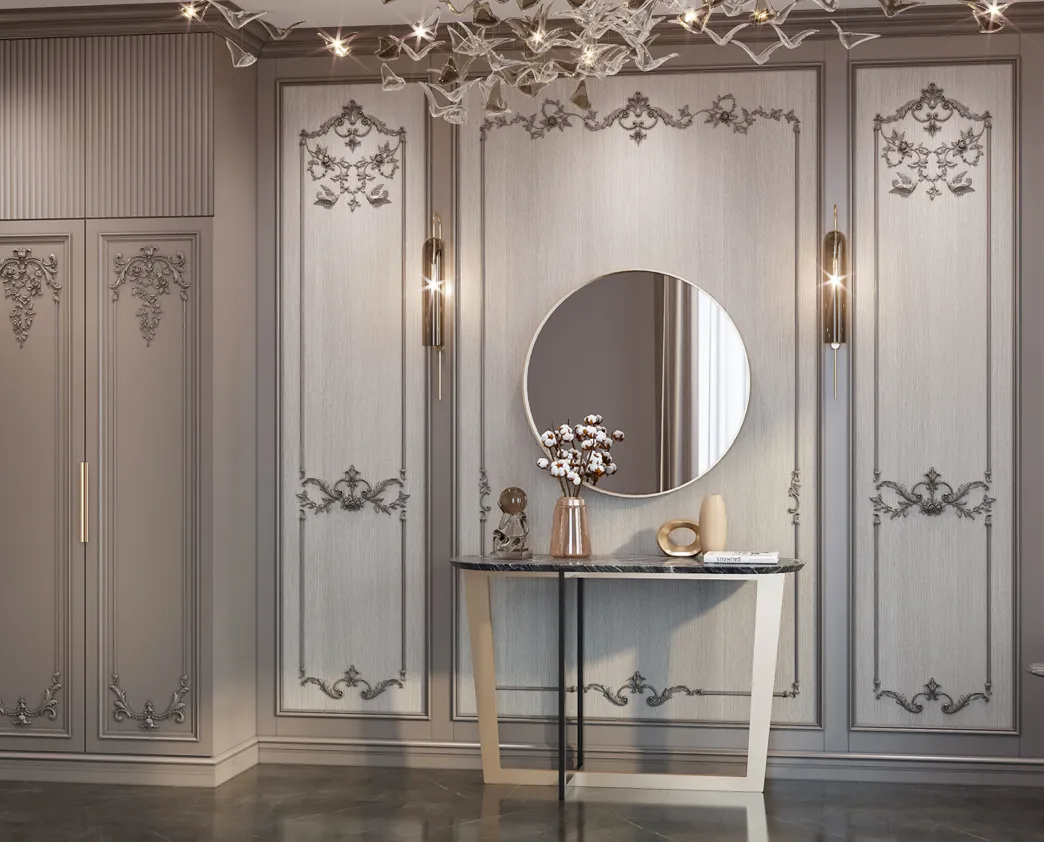
How to place stucco decor above a console — the logic is the same as above other furniture, but with one important nuance: a console is typically much narrower than a sofa or bed. This means the gaps on the sides from the furniture to the edges of the decor will be larger — and that's normal.
The bottom edge of the decor above the console: at least 15–20 cm from the console surface. If a mirror is planned above the console, you need to first determine the mirror's height and then position the decor around or above it.
How to arrange stucco decor above a dresser — similarly: center the decor along the dresser's axis, with the bottom edge 15–20 cm from the top surface of the furniture. If there are decorative items on the dresser, they should not overlap the lower part of the decor. Account for their height in advance.
Detailed breakdown of scenarios for a console — in the articleStucco decor for a wall with a console.
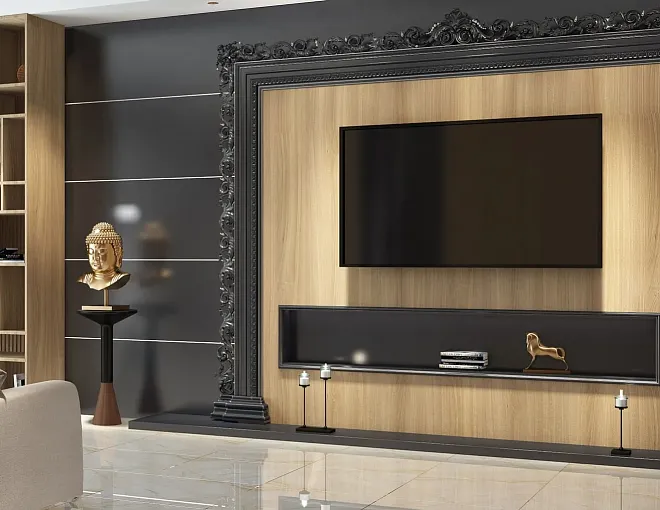
In the TV area
The TV zone is a space where several large elements compete: the TV, bracket, cables, cabinet, outlets. How to place stucco decor in the TV zone is a task that requires special attention to detail.
The main rule: moldings in the TV zone should not interfere with the screen, bracket, cable channel, or device ventilation area. Decor here works best on the sides of the TV — as a symmetrical vertical frame. Or as a background horizontal composition behind the TV with sufficient clearance on each side from the edge of the screen (at least 15–20 cm on each side).
If the TV is mounted on a bracket to the wall, you need to check the bracket's range of motion when swiveling and ensure the decor does not fall into the movement zone. If the TV is on a cabinet, the bottom line of the decor should be above the top edge of the TV in its normal position.
Before purchasing a kit for the TV zone: draw all the infrastructure on the wall — bracket, TV, outlets, cables, cabinet width. Only then overlay the decor outline. This will save nerves and money.
What to do with outlets, switches, and sconces
Outlets and switches are practical obstacles that need to be worked around before installation, not after. Installing stucco decor with consideration for outlets requires planning at the layout stage, not re-gluing after installation.
The socket should not fall on the joint of the molding. The joint is a weak point of the structure: if a socket is placed there, it is both aesthetically unattractive and technically inconvenient during use. Workaround options:
-
Shift the entire composition a few centimeters to the left or right, if this does not break the symmetry.
-
Change the outer dimensions of the frame so that the socket ends up outside or inside the decorative field, rather than on the molding.
-
Fit the socket inside the frame — if it is positioned symmetrically and does not create obstructions.
Installing moldings near a switch is a separate case. It is better to leave the switch outside the decorative frame or place it so that it is symmetrical relative to it. A switch that 'cuts into' the middle of the frame disrupts both logic and aesthetics.
How to place stucco near a sconce is an important question for the bedroom and hallway. Electrical outlets for sconces should be marked on the layout diagram in advance:
-
If sconces are planned inside the frame — their placement should be symmetrical relative to the central vertical axis.
-
If sconces are on the sides of the frame — they should be on the same horizontal line as the middle of the set or the upper third.
-
If the decorative installation has already been completed, but the wires have not yet been brought out — working with the electrical system without damaging the moldings is significantly more difficult.
Wall decor with sconces and moldings is a scenario that needs to be thought through as a single system: stucco, light, and their mutual arrangement. You cannot first glue the decor and then think about where the wire goes.
polyurethane wall moldingin this regard, it is convenient: the material is easy to cut, adjust, and adapt to existing infrastructure. But it is more correct to first apply markings, coordinate the location of outlets with an electrician, and only then install the decor.
Step-by-step marking scheme for a set of stucco decor
This is the central block of the article. The step-by-step scheme is your main tool before purchasing and installation. Follow it sequentially, and an error with size or height will become almost impossible.
Step 1. Measure the wall.
Width from corner to corner (or from corner to opening), height from floor to ceiling. Write down the values.
Step 2. Measure the furniture.
Width of the bed, sofa, console, TV stand — the furniture above or next to which the decor will be placed. Also write down the height from the floor to the top point of the furniture (backrest, headboard, console surface).
Step 3. Find the vertical axis.
Mark the center of the furniture or architectural zone on the wall. Make a light pencil mark or stick a vertical strip of tape along the axis.
Step 4. Determine the vertical position of the set.
Where should the bottom edge start? If there is furniture, leave 15–20 cm of air from the top point of the furniture. Without furniture, rely on the visual balance of the entire wall.
Step 5. Apply tape along the outline.
Masking tape on all four sides of the future set: bottom horizontal, top horizontal, left and right verticals. This is a 1:1 scale visualization of the placement.
Step 6. Check the gaps.
-
From the bottom tape to the baseboard — is there enough air?
-
From the top tape to the ceiling — is the frame pressed against the ceiling?
-
On the sides — are the gaps symmetrical relative to the furniture or wall?
Step 7. Evaluate outlets, switches, sconces.
Does any of them fall on the tape outline? If yes, adjust the position before installation.
Step 8. Step back 2–3 meters.
Look at the markup from a real viewing distance. How does the tape relate to the furniture? Does the decor feel like part of the composition or like a random rectangle?
Step 9. Compare with the dimensions of the set.
Check that the width and height of the tape match the dimensions of the selected assembled set. If they don't match, either adjust the markup or choose a different size.
Step 10. Only after this — purchase or installation.
The installation diagram for stucco decor on the wall starts right here. The tape is removed, the wall is prepared, and you work according to a clear markup — without guessing or improvising.
This algorithm is the standard scheme for placing moldings on a wall, used by designers when developing interior projects. There is no secret: just a sequence that works.
Where can you place a ready-made set of stucco decor
Ready-made set of stucco decor for the wall — a universal solution that works in several scenarios. Each has its own placement logic.
In the center of the wall
The most architectural scenario. The set is placed at the geometric center of a free wall — without reference to specific furniture. Works well in a hall, entryway, at the end of a corridor, or in an accent area of the living room.
Balance of top and bottom margins is important here — they don't have to be equal, but should create a sense of intentional placement. If the bottom margin is significantly larger than the top, the set "floats" upward. If the opposite — it "presses" downward. The sweet spot: bottom margin slightly larger than top — creates a feeling of stability.
Above furniture
The most common scenario.Decorative frames made of moldings on the wallabove a bed, sofa, console, chest of drawers, vanity table — the same logic applies everywhere: center of decor = center of furniture, bottom edge with air from the top point of furniture.
Paired on the sides
Two symmetrical sets — a powerful tool for symmetrical interiors. This placement works well on the sides of a bed (next to nightstands), on the sides of a fireplace, near a mirror in the entryway, or by the front door.
Set of polyurethane stucco molding on the wallin a pair requires perfect symmetry: both sets must be on the same horizontal line, at the same distance from the central element, and have the same margin from the floor and ceiling.
Inside a wide composition
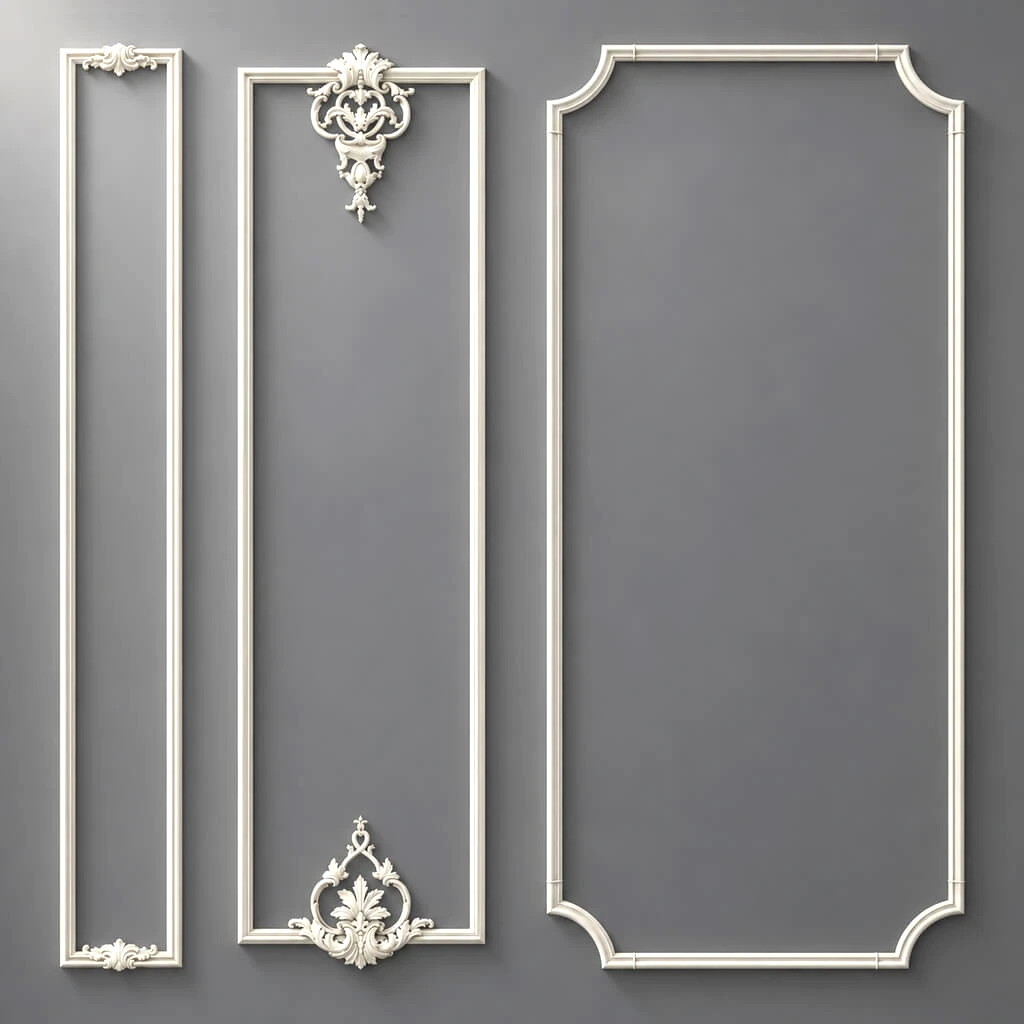
The finished set becomes the central element of a wider decorative system. On its sides,Moldings made of polyurethane, Decorative Insertssmaller frames or panels are added. This is an approach for accent walls: when one set is not enough, but you don't want a random collection of elements.
In this scenario,Ready-made molding frames for the wallunderstanding the calculation principles is useful — more on this in the articlehow to calculate moldings and stucco decor for a wall.
Ready-made sets are convenient for walls behind the bed, sofa, console, and dresser. In the catalog,. Clear lines, created using modern technologies, emphasize the strict aesthetics of the room. Each decorative element harmoniously fits into the overall concept, creating a sense of order and thoughtfulness.you can choose a set by size, style, and purpose, and then use it as a ready-made base for a decorative zone.
Common mistakes when placing a set of stucco decor
Over decades of working with decor, the same list of mistakes accumulates. They repeat from interior to interior, and each one stems from the same thing: installation without preliminary marking.
1. Gluing decor without marking. The most costly mistake. Polyurethane can be removed after installation if done carefully — but why waste time on that?
2. They align with the center of the wall, even though the furniture is not centered. The sofa against the wall is slightly shifted to the left — but the decor was hung strictly in the center of the wall. Result: the decor and the sofa exist in different coordinate systems, and it's immediately noticeable.
3. Too small a gap from the baseboard. The bottom molding almost touches the baseboard — the wall looks cramped, and cleaning inevitably leads to contact.
4. The top of the set is pressed against the ceiling. This is especially painful with low ceilings: the feeling of lack of air literally intensifies.
5. The height of the sofa, bed, or console is not taken into account. The bottom frame is half hidden behind the furniture — the proportion is broken, and the installation needs to be redone.
6. An outlet or switch falls on the molding joint. This is both unsightly and inconvenient. It can be solved by simply adjusting the position during the layout stage.
7. The symmetry of the sconces is not checked. The sconces hang at the same height but at different distances from the frame — and it's noticeable. Both lights should be symmetrical not only with each other but also relative to the decor.
8. Too small a set for a large wall. The wall is three meters, but the set takes up 40 centimeters. The decor gets lost and looks out of place — too random for such a scale.
9. The ceiling cornice is not taken into account. The top of the set goes right up to the cornice, and the two decorative elements "stick together" into one unclear object.
10. They evaluate the layout while standing close to the wall. Wall decor is perceived from a distance of 2–4 meters. Standing at the wall, it's impossible to assess proportions — only from the actual viewing distance.
All these mistakes lead to nothing but rework. And each rework means time, materials, and nerves. Marking with painter's tape takes 20 minutes and eliminates all ten items on this list at once.
Signs of successful placement of stucco decor
How to know if everything is done right? The answer is not in numbers — it's in the feeling. Well-placed decor does not attract separate attention. It simply makes the interior more beautiful.
Here are specific signs:
-
The decor is connected to the furniture or architectural zone — it 'belongs' to that place, rather than hanging on its own.
-
There is air above, below, and on the sides — the wall does not look cramped or overloaded.
-
The composition does not press against the baseboard, ceiling, or side walls — it has its own space.
-
Sockets, switches, and sconces look like part of the system, not random obstructions.
-
The set is read as a whole — the lower edge is not hidden behind furniture, the upper edge does not disappear into the ceiling cornice.
-
The wall looks complete, not overloaded — stucco organizes the space, rather than filling it.
-
The decor can be painted the color of the wall and it will remain elegant —stucco decor on the wall for painting in the color of the wall and there is a test for placement quality: if the proportions are correct, monochrome decor looks like an architectural relief. If the proportions are violated — painting in one color only amplifies the errors.
About how to choose between monochrome and contrasting solutions — in the article stucco decor in the color of the wall or contrasting. And the nuances of working with niches, ledges, and non-standard areas are covered in the article stucco decor for niches, ledges, and piers.
After the layout is checked, proportions are approved, and the purchase is made — installation begins. Everything about proper installation techniques: installing polyurethane moldingandinstallation of polyurethane molding — comprehensive guides on glue, corners, joints, and painting.
There is no need to assemble decor from dozens of individual elements. Ready-made set of stucco decor already has well-thought-out proportions — it remains to place it correctly on the wall, check the offsets, and prepare the surface for installation.
FAQ: Answers to popular questions
At what height should stucco decor be placed on the wall?
The height depends on the zone: above the bed — with an offset of 10–15 cm from the headboard, above the sofa — 15–20 cm from the backrest, above the console — 15–20 cm from the surface. On a free wall — guided by visual balance relative to the floor and ceiling. There is no universal number — there is a principle: the decor should not touch the floor, ceiling, or furniture.
What gap should be left from the baseboard to the molding?
At least 15–20 cm from the top edge of the baseboard. With a tall designer baseboard (15–20 cm) — no less than 25–30 cm. There should be visual air between the baseboard and the bottom edge of the decor — the wall must "breathe."
Is it necessary to align the stucco decor with the center of the wall?
Not always. If the decor is placed above furniture — align it with the center of the furniture. The center of the wall is only important for a free wall without a dominant furniture element.
How to place moldings near outlets?
The outlet must be accounted for before installation: it should not fall on the joint of the molding. Adjust the position of the set during the marking stage so that the outlet ends up either inside the frame or outside — but not on the molding.
Can I buy the set first and then decide where to glue it?
It's better to do the opposite. First marking — then purchase. From the marking, you will find out the exact required size, clarify the gaps, and ensure that the set fits the actual wall, not an imaginary one.
What to do if the ceiling is low — 2.4 m?
Choose vertical formats for sets — they visually lift the wall. Increase the gap from the ceiling to 20–25 cm: the lower the ceiling, the more important the air above. Do not take overly tall horizontal sets — they overload the limited space.
How to place decor in a room with furniture along the entire wall?
Identify the main furniture piece — bed, sofa, dresser. It will become the axis. The rest of the furniture is the background. Decor is oriented towards the main element, not the entire furniture line.
How to know if I marked it correctly?
Step back 2–3 meters and look. If the layout looks connected to the furniture, if there is air on all sides and nothing is pressing against the baseboard or ceiling — it's correct. If something feels "off" but unclear what — try raising or lowering the bottom border by 5–10 cm.
About the company STAVROS
STAVROS is a Russian manufacturerpolyurethane productsfor interior finishing: moldings, ready-made wall kits, cornices, decorative overlays and profiles for walls, ceilings, doorways and niches.
All STAVROS products are manufactured in Russia, meet requirements for residential spaces and are designed for DIY installation without special equipment. Polyurethane is easily cut with a knife or jigsaw, precisely joined at an angle, glued with acrylic or liquid nail compounds, and painted in any color — with water-based, latex, and enamel paints.
The STAVROS catalog features collections of ready-made wall kits —Neoclassical, Neoclassic Light, Japandi, Versailles Light— for different styles and sizes. Each kit comes with precise assembled dimensions, recommendations for application areas and installation options.
STAVROS works with private customers, designers and construction teams. If you are planning decor placement and are unsure about the size or format — company specialists will help select a kit for your specific wall, furniture and ceiling height.View the catalog of ready-made kits— it already has everything you need for your wall.