Article Contents:
- First screen: full list — no preludes
- Why you can't buy only the decor: three real-life scenarios
- Scenario one: glue ran out halfway through
- Scenario two: wrong sealant purchased
- Scenario three: no spare taken
- Basic kits by task: what to buy specifically
- Kit for molding frames on the wall
- Kit for ceiling rosette
- Wall decorative overlay kit
- Room perimeter cornice kit
- Facade decor kit
- Set for furniture decor
- What glue is needed for polyurethane stucco: buyer's logic
- Light thin elements (overlays, furniture profiles)
- Long moldings and linear elements
- Ceiling elements
- Corner joints
- Facade elements
- Furniture fronts
- Sealant for stucco: why it's needed and which to choose
- What sealant does
- Why only acrylic
- How to apply
- Primer for polyurethane decor: when mandatory, when can be skipped
- Why primer is important
- When primer is mandatory
- When you can skip primer
- Primer consumption
- Paint for polyurethane molding: choosing for the task
- Interior painting: matching wall color
- Interior painting: contrasting
- Acrylic paint — basic choice
- Exterior painting
- Important nuance: paint gloss
- How to correctly calculate the reserve: specific numbers
- For straight linear moldings (moldings, cornices, baseboards)
- For corner elements
- For rosettes and overlays
- For facade decor
- For furniture decoration
- Installation tools: what you need to have
- Essential minimum
- For ceiling installation additionally
- For facade installation additionally
- Complete table of kits by task
- Additional elements often forgotten
- Molding decor as an accent inside the frame
- Wall decor as space filler inside frames
- Corner moldings as a ready-made solution for corners
- Purchase sequence: how to assemble a kit correctly
- Ten mistakes when assembling a kit: a checklist
- Frequently Asked Questions
- About the Company STAVROS
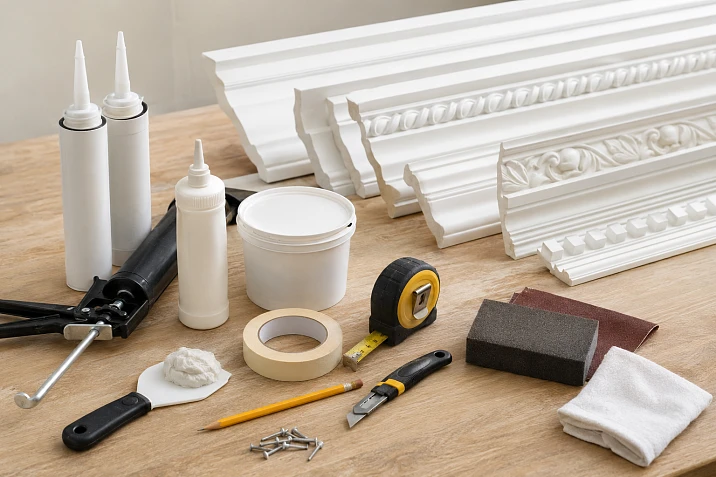
Imagine this: the moldings are bought, the rosette is chosen, the overlays have arrived in perfect packaging. The master arrives at the site — and it turns out there is no glue. Or there is glue, but the sealant was forgotten. Or everything is there, but the paint was bought wrong, and it goes on in patches. Sound familiar? This is a classic story of decorative renovation, where saving time at the purchase stage results in losing time at the installation stage.
installation of polyurethane molding — a process where the result is determined not only by the decor. It is determined by the kit: decor + installation materials + spare parts + tools + finishing. Buying a molding and forgetting the glue is like buying an expensive jacket and not getting a shirt.
This article is not about installation technique. It is about purchasing. About what needs to be put in the cart along with molded decoration made of polyurethane, so that installation goes without interruptions, joints come out clean, and the result looks professional from day one.


First screen: full list — without preludes
For those who skim and want an immediate answer:
What to buy together with polyurethane stucco:
-
The decorative element itself: moldings, cornices, overlays, rosette, baseboard.
-
Corner elements — if you need right angles for frames or transitions.
-
Adhesive for polyurethane decor — specialized, not PVA or general-purpose liquid nails.
-
Acrylic sealant — for final sealing of joints and seams.
-
Acrylic primer — for treating decor before painting.
-
Interior paint — to match the walls or a chosen color.
-
Spare decor 10–15%.
-
Painter's tape.
-
A sharp knife or a fine-toothed hacksaw — for trimming.
-
A miter box or protractor — for precise angles.
-
A level or laser level.
This is the minimum complete set. Each item is necessary. None can be put off "for later."




Why you can't buy only decor: three real-life scenarios
It sounds cliché, but this is the most common mistake. Let's break down what happens when consumables are bought "later."
Our factory also produces:
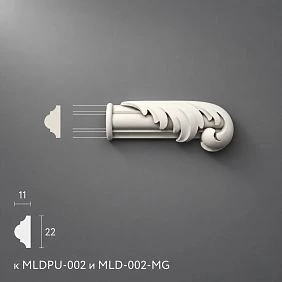
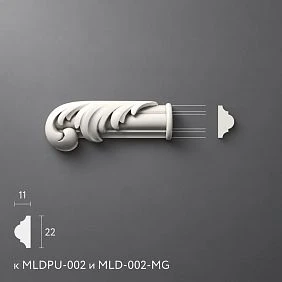
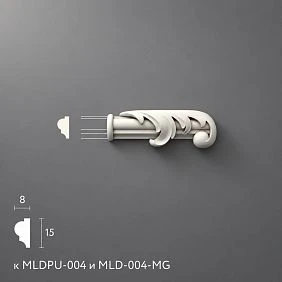
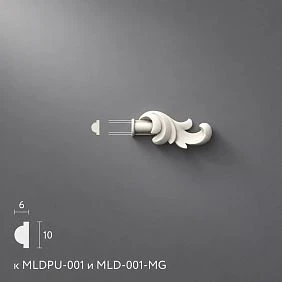
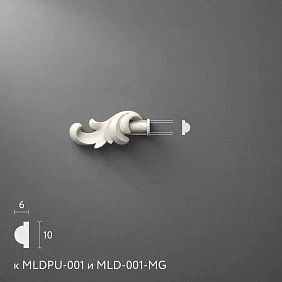
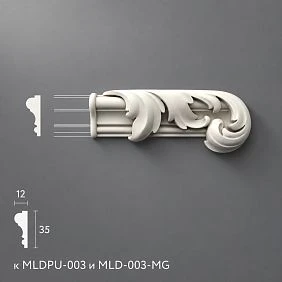
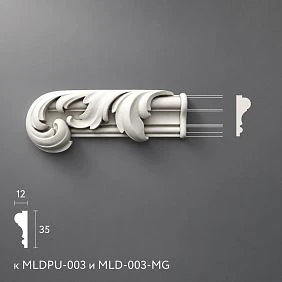
Scenario one: glue runs out halfway through
Moldings are laid out on the wall, the first three meters are glued — the glue ran out. The store is far away, delivery is only tomorrow. An unsecured molding cannot be left without glue: it will slide or deform. Work stops for several hours or a day.
Get Consultation
Scenario two: the wrong sealant was bought
They bought silicone sealant — "as usual." But it can't be painted. The joint is sealed, but after painting, the seam remains a dark spot on the white wall. Rework: remove the sealant, replace it, repaint. Acrylic sealant can be painted; silicone cannot.
Scenario three: no spare taken
When cutting one molding at an angle, the cut direction was wrong — the profile is ruined. Need another one. The same article is not available in the store. Delivery takes a week. The wall remains unfinished.
The conclusion is simple: You can buy ready-made stucco matching the Baroque style. Calculate the quantity: linear meters of cornices and moldings, number of rosettes, pilasters, consoles, corner elements. Add a ten to fifteen percent allowance for trimming. and mounting materials need to be ordered together. In one order. One visit from the master — without interruptions.
Basic kits by task: what exactly to buy
Different tasks require different kits. Let's break them down by scenarios.
Kit for molding frames on the wall
This is the most popular task — rectangular panel frames made of molding on walls.
Decor:
-
Moldings made of polyurethane — in the required profile and cross-section, length according to calculation + 12% spare.
-
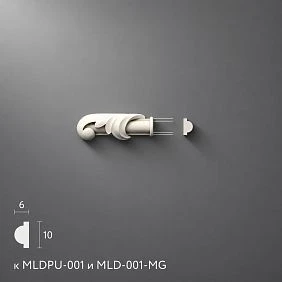
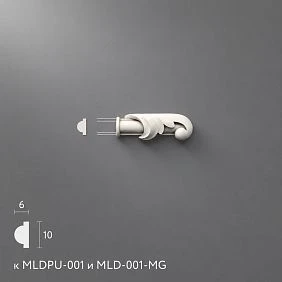
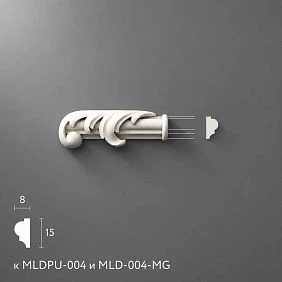
Decor for Molding — corner inserts for right angles of frames (by number of corners).
-
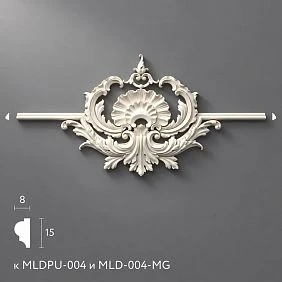
Decorative Inserts — if an accent is needed in the center of the frame or at corner points.
Installation:
-
Polyurethane adhesive (more details in the material what to glue polyurethane molding with).
-
Acrylic sealant — for joints of moldings with the surface and in corner connections.
-
Acrylic primer.
-
Paint.
Tools:
-
Level.
-
Painter's tape.
-
Sharp knife.
-
Miter box.
Ceiling rosette kit
A rosette is a local element, but it also requires its own set.
Decor:
-
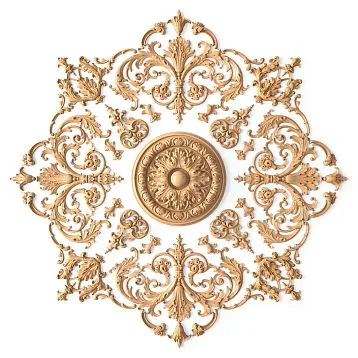
ceiling rose made of polyurethane — of the required diameter, with the correct inner hole for the chandelier.
Installation:
-
Adhesive — for ceiling installation, a fast-setting one that holds weight until fully dry is needed.
-
Additional fastening — for heavy rosettes with a diameter of 600 mm or more.
-
Acrylic sealant.
-
Primer.
-
Paint matching the ceiling color.
Marking:
-
Center point on the ceiling — exactly in the center of the room.
-
Compass or template matching the rosette diameter.
Set for decorative wall overlays
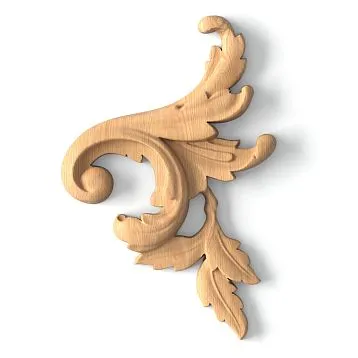
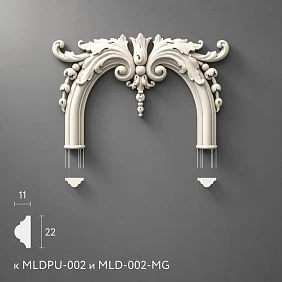
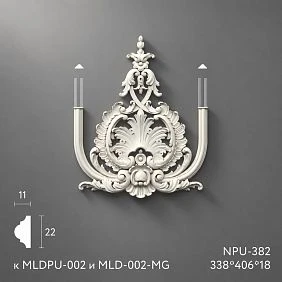
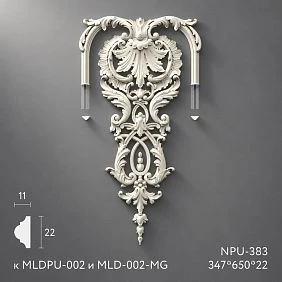
decorative polyurethane elements — medallions, cartouches, corner overlays — are mounted pointwise but require precision.
Decor:
-
Overlays themselves — with a 10% surplus (fragile elements are easily damaged during installation).
Installation:
-
Adhesive — not too fast-setting, to allow time for adjustment.
-
Sealant — for outlining the contour if the element does not fit tightly against the wall.
-
Primer.
-
Paint.
Marking:
-
Template for symmetrical placement.
-
Level and ruler.
Cornice kit for the room perimeter
The cornice is the longest element, requiring the most glue and sealant.
Decor:
-
Cornice profiles — length along the perimeter + 15% for cutting corners.
-
Polyurethane trim — if an additional belt below the cornice is needed.
Installation:
-
Glue — several tubes (1 tube of 300 ml is used for approximately 5–7 linear meters).
-
Sealant — 1–2 tubes per room.
-
Primer.
-
Paint.
Corner connections:
-
Internal and external corners of the cornice — ready-made corner elements or cutting on a miter box.
Kit for facade decor
Buy polyurethane decor for the facade This is a different set of consumables compared to the interior.
Features:
-
Exterior glue is frost-resistant and moisture-resistant.
-
Additional mechanical fastening — anchors, dowels for large facade elements.
-
Facade sealant is weather-resistant.
-
Facade primer.
-
Facade paint is resistant to UV and moisture.
-
A larger margin of 15–20%, as cutting on the facade is more complex.
Furniture decor kit
For built-in furniture and dresser facades — the most delicate set.
Decor:
-
Thin Polyurethane decorative appliques A profile that does not interfere with the hardware.
-
Moldings — minimum width, proportionate to the scale of the facade.
Installation:
-
Glue with a short open time — for precise positioning.
-
Minimal sealant consumption — only for closing gaps at the edge of the element.
-
Primer compatible with the furniture facade surface (chipboard, MDF).
-
Furniture paint — matching or contrasting.
What glue is needed for polyurethane moldings: buyer logic
Technical characteristics of the glue are a topic for a separate article. Here — only buyer logic: what to choose for a specific task.
Detailed guide on selection and application — in the article molded decoration adhesive.
Light thin elements (overlays, furniture profiles)
For thin and light decorative elements — glue with sufficient open time (60–90 seconds). It allows adjusting the position before pressing. Low consumption — a 300 ml tube covers many elements.
Long moldings and linear elements
For straight long profiles — glue with moderate viscosity, without excessive fluidity. Apply in a zigzag pattern on the back surface, then press the profile against the wall. Fixation during setting is important — with painter's tape or temporary supports.
Ceiling Elements
For the ceiling — glue with good initial adhesion. An element glued to the ceiling cannot be supported forever — it must hold on its own within a few minutes after pressing. Some professionals use glue in combination with dowel nails for heavy ceiling elements.
Corner Joints
In corners, moldings are joined at 45°. The joint is additionally glued and leveled with sealant. The glue here is not only for fixing to the wall but also for connecting the two ends of the molding together.
Facade elements
Only frost-resistant, weather-resistant glue. Standard interior glue on the facade will freeze in winter and release the element.
Furniture facades
Special glue compatible with the facade surface (MDF, chipboard, laminate). Regular polyurethane glues may not provide the necessary adhesion to furniture surfaces without prior preparation.
Sealant for moldings: why it is needed and which one to choose
The question "is sealant needed for moldings" often arises among those who see it on the checklist for the first time. The answer is clear: it is needed. But not instead of glue — together with it.
What sealant does
After the molding or overlay is glued and the glue has dried, thin gaps remain:
-
Between the back surface of the decor and the wall — especially if the wall is uneven.
-
At corner joints.
-
Along the edges of the element, if the fit is not tight.
-
Between adjacent strands of molding.
Without sealant, these gaps remain visible after painting — dark lines along the contour of the element. The sealant fills the gap, levels it, and after painting the joint becomes invisible.
Why only acrylic
Acrylic sealant — can be painted. After drying, it accepts paint just like plaster or polyurethane. Silicone sealant — cannot be painted at all. Paint does not adhere to it. If you fill the joint with silicone, after painting you will get a shiny strip that cannot be painted over.
There is one rule: for polyurethane moldings — only acrylic sealant.
How to apply
-
Apply a thin bead of sealant along the contour of the element — after the adhesive has set.
-
Smooth it out with a wet finger or spatula until it looks even.
-
Allow to dry — usually 2–4 hours.
-
Prime and paint as usual.
Sealant consumption is low: one 310 ml tube is enough for 20–30 linear meters of molding with careful work.
Primer for polyurethane decor: when mandatory, when can be skipped
This question separates professionals from amateurs. The professional answer: priming is almost always necessary.
Why primer is important
The surface of polyurethane is smooth and poorly absorbent. Paint applied directly to untreated polyurethane can:
-
Apply unevenly (in patches).
-
Dry at different rates on different areas of the relief.
-
Peel over time — especially in damp rooms or under mechanical stress.
Acrylic primer creates an adhesive layer — uniform, compatible with both polyurethane and paint. After priming, the paint lays evenly in one coat, without "spots."
When primer is mandatory
-
When painting after installation.
-
On the facade — always.
-
In wet rooms (kitchen, bathroom).
-
If the decor was purchased in advance and stored without protection.
When you can do without primer
Technically — if a self-priming paint with high adhesion is used and the decor relief is simple. But this is more of an exception. Primer is a cheap consumable that insures against problems with the quality of the final paint job. Skipping it to save a few hundred rubles is irrational.
Primer consumption
One liter of acrylic primer — for 8–12 m² of surface (considering the decor relief). For an average room with moldings — 0.5–1 L is enough.
Paint for polyurethane stucco: choosing for the task
Paint is the last element in the chain, but the mistake here is the most noticeable: bad paint 'kills' even perfectly installed decor.
Interior painting: matching the walls
The most common approach is to paint moldings, cornices, and overlays in the same color as the walls. The decor 'blends' into the surface, creating architectural relief without color contrast. This requires:
-
The same paint used for the walls. Or an exact color match when tinting.
-
The same sheen (matte wall + glossy decor = visible gap).
Interior painting: in contrast
White decor on a gray wall, gold on white, gray on milky — this is expressive, requires clear relief and careful installation. All joints and imperfections are more visible here than with monochromatic painting.
Acrylic paint — the basic choice
For most interior tasks — acrylic matte or semi-matte paint. It:
-
Applies well to acrylic primer.
-
Does not yellow over time.
-
Diluted with water.
-
Dries quickly.
-
Easily repainted if necessary.
Facade painting
For facade decor, only specialized facade paint: weather-resistant, elastic, UV-resistant. Regular interior paint on the facade will crack after the first winter.
Important nuance: paint sheen
Matte decor on a matte wall — subtle, delicate. Glossy decor on a matte wall — expressive, theatrical. Satin decor on a satin wall — the sweet spot for most interiors.
How to correctly calculate the reserve: specific numbers
Stock is not "just in case." It is a mandatory part of the calculation. Here are the specific rules.
For straight linear elements (moldings, cornices, baseboards)
Base stock: 10–12% of the calculated length.
Why exactly this amount? Cutting at 45° when forming frame corners or transition joints — each internal corner "consumes" an additional piece of profile. If a room has 8 internal cornice corners, that's already 8 pieces for cutting.
For complex frames with many corners — stock 15%.
For corner elements
Corner inserts are counted individually: by the number of frame corners. A standard frame has 4 corners — 4 corner inserts. Stock — 1–2 additional for the entire project.
For rosettes and overlays
Rosette — a piece item. Stock: 1 additional unit, if the price allows. For large and expensive rosettes — agree on return or additional purchase.
Overlays — take with a stock of 10–15%, especially if they are fragile (thin ornament, leaves).
For facade decoration
Margin 15–20%: trimming complexity is higher, working at height increases the risk of errors, weather can adjust the installation process.
For furniture decor
Margin 10%: work is spot-based, fewer errors, but furniture profiles often require adjustment to specific facade dimensions.
Installation tools: what you need to have
Tools are not consumables, but their absence stops work just as much as the absence of glue.
Mandatory minimum
-
Sharp knife — for precise trimming of thin moldings and overlays.
-
Fine-tooth saw — for cornices and wide profiles.
-
Miter box — for cutting at 45° without a protractor. Magnetic miter box with angle lock — for neat, repeatable cuts.
-
Level — construction bubble or laser. Horizontal and vertical alignment is critical for moldings and frames.
-
Tape measure and pencil — for marking.
-
Painter's tape — for temporary fixation of elements while glue sets, for masking surfaces when applying sealant.
-
Caulking gun — a 310 ml tube needs to be extruded evenly.
-
Spatula — for smoothing sealant.
For ceiling mounting additionally
-
Stepladder with a stable platform.
-
Support brackets or temporary props for large-diameter sockets — while the adhesive sets.
For facade mounting additionally
-
Drill with a masonry bit — for dowels.
-
Silicone gun or construction syringe.
-
Scaffolding or staging.
Complete table of kits by task
| Task | Decorative element | Adhesive | Sealant | Primer | Paint | Stock |
|---|---|---|---|---|---|---|
| Molding frames on the wall | Moldings + corners | Universal PU | Acrylic | Acrylic | Interior | 12% |
| Perimeter cornice | Trim | For ceiling elements | Acrylic | Acrylic | Interior | 15% |
| Ceiling rosette | Rosette | Quick-setting | Acrylic | Acrylic | In the color of the ceiling | +1 pc. |
| Overlays on walls | applique | With open time | Acrylic | Acrylic | Interior | 15% |
| ceiling decor | Ceiling Decor | Ceiling | Acrylic | Acrylic | In the color of the ceiling | 12% |
| Facade decor | Facade elements | Frost-resistant | Weather-resistant | Facade | Facade | 20% |
| Furniture decor | Thin molding | For MDF/particleboard | Minimally | Compatible | Furniture | 10% |
Additional elements often forgotten
Decor for moldings as an accent inside the frame
Decor for polyurethane moldings — these are not only corner inserts. These are linear elements inside the profile, accent inserts in the middle of the horizontal sides of the frame, rosette "knots" in the corners. They turn a simple frame into a rich one. And they are often forgotten when making a shopping list.
Wall decor as filling the space inside frames
Between molding frames or inside them — Polyurethane wall decor: small three-dimensional medallions, cartouches, ornamental accents. They turn a wall from "framed" to "architectural."
Corner moldings as a ready-made solution for corners
Instead of cutting at 45° on a miter box — Polyurethane corner moldings. These are ready-made corner sections that are mounted in the corner without cutting. They significantly speed up installation and provide a clear, neat corner even on uneven walls.
Purchase sequence: how to assemble a kit correctly
The correct order of actions when compiling a shopping list:
Step one: Define the task and area — wall, ceiling, furniture, facade.
Step two: Measure all parameters — perimeters, areas, number of corners, frame sizes.
Step three: Select the main decorative element from the catalog.
Step four: Add compatible elements — corners, overlays, inserts from the same line.
Step five: Calculate the quantity + 10–15% extra.
Step six: Add glue — number of tubes based on calculation.
Step seven: Add sealant — 1–2 tubes per object.
Step eight: Add primer — based on the consumption for the decor area.
Step nine: Add paint — with extra for a second coat.
Step ten: Check the availability of tools.
All of this — in one order. One visit. No stops.
Ten mistakes in assembly: a checklist
Mistake one: buying moldings without glue.
The most common one. Glue is not 'I'll buy it at any hardware store.' Polyurethane decor requires specialized glue.
Mistake two: using silicone sealant instead of acrylic.
Result — a non-paintable seam. Only acrylic.
Mistake three: not buying extra.
5–10% is a must. 12–15% for complex projects.
Mistake four: buying paint without checking compatibility with primer.
Different manufacturers — different compatibility. Better to take primer and paint from the same brand.
Mistake five: forgetting corner inserts.
Molding without corner inserts — an unfinished frame or complex manual trimming.
Mistake six: not considering the base.
Glue for interior installation on drywall is not the same as glue for facade installation on brick. The base determines the choice of glue.
Mistake seven: only counting the length without trimming.
Every corner is an extra piece of profile. 8 corners in a frame = 8 short segments «wasted».
Mistake eight: buying elements in different styles.
Wall Decor classic style + geometric molding = style conflict.
Mistake nine: forgetting painter's tape.
Without it, sealant is applied unevenly, and glue leaves marks on the wall near the decor.
Mistake ten: not checking if the decor can be painted.
Polyurethane can always be painted — that's its advantage. But only after priming. Without it — risks of uneven coverage.
Frequently asked questions
What must be bought together with polyurethane stucco molding?
Glue for polyurethane decor, acrylic sealant, acrylic primer, paint, and 10–15% spare decor. Plus corner elements if right angles of frames are needed.
Can stucco molding be glued without primer?
Technically, sometimes it can. But primer ensures even coverage during painting and long-term adhesion. For a neat result, primer is mandatory.
How much spare molding should be taken?
For straight moldings without complex corners — 10%. For frames with many corners or complex geometry — 15%.
Does sealant replace glue?
No. Glue holds the element on the surface. Sealant closes joints and gaps after installation. These are different functions — you cannot do without one of them.
What to buy for installing moldings on a wall?
Moldings made of polyurethane, corner elements, glue, acrylic sealant, primer, paint, spare profile, level, and painter's tape.
What glue to use for ceiling elements?
Glue with good initial adhesion — so the element stays in place on its own a few minutes after pressing. For heavy rosettes — additional mechanical fastening. More details in the article installing polyurethane molding.
Can stucco be painted any color?
Yes. Polyurethane Items after priming, they accept any acrylic paint in any color. This is one of the main advantages of the material.
About the company STAVROS
STAVROS — manufacturer and supplier polyurethane molding decoration with a full professional catalog for interiors and facades. The STAVROS range includes Moldings and cornices, ceiling rosettes, Decorative Inserts, Wall Decor, Ceiling Decor, Decor for Molding, Trim and installation materials.
STAVROS works with private clients, designers, and professional installers across Russia. STAVROS specialists help select a complete set for a specific task — decor, consumables, spare parts — so that installation goes without interruptions and the result looks exactly as intended.