

























Polyurethane Decorative Molding & Trim

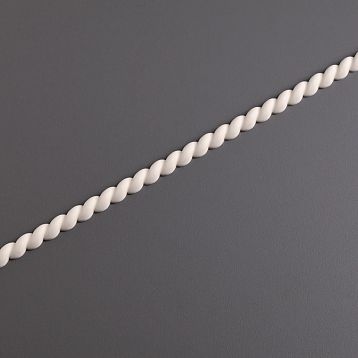

 5-10 days
Decorative molding KPU-125
10.05 $


 5-10 days
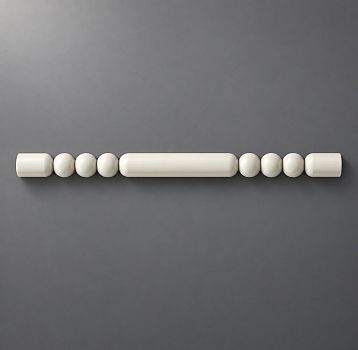
Decorative KPU-105 molding
10.28 $

 5-10 days
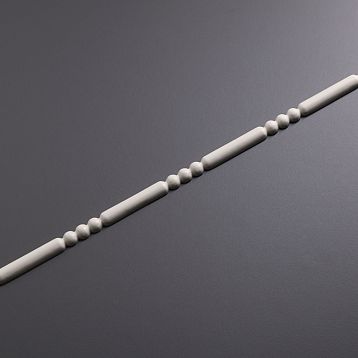
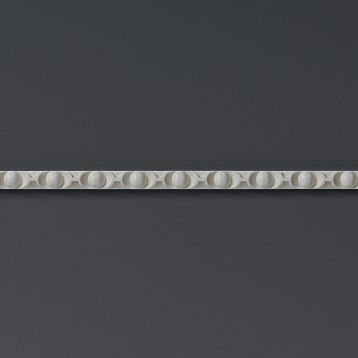
Decorative molding KPU-034
24.40 $

 5-10 days
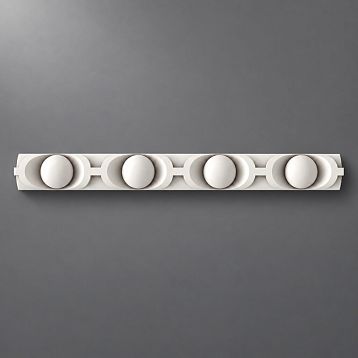
Decorative molding KPU-020
32.65 $

 5-10 days
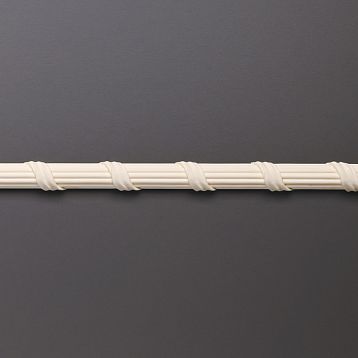
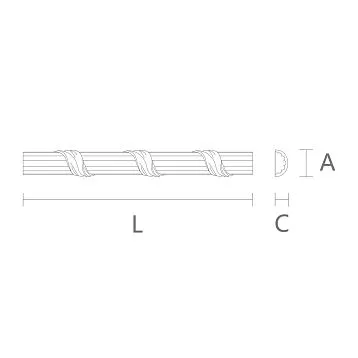
Decorative molding KPU-094L
82.28 $


 5-10 days
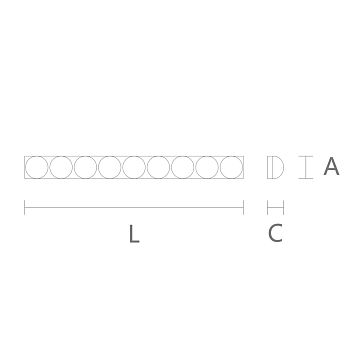
Decorative Molding KPU-094R
82.28 $


 5-10 days
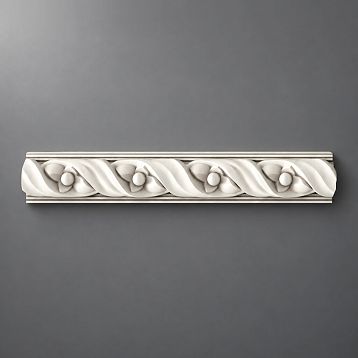
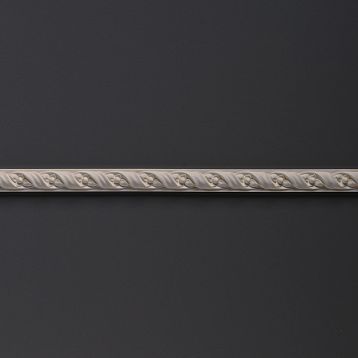
Decorative Moldings KPU-006
36.60 $

 5-10 days
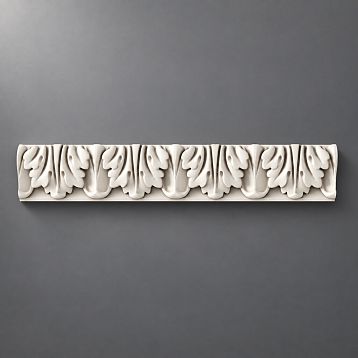
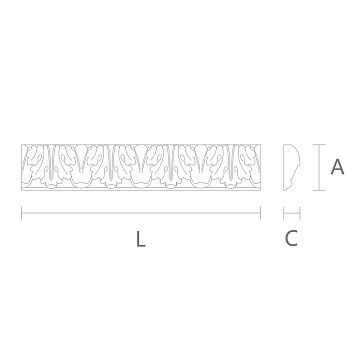
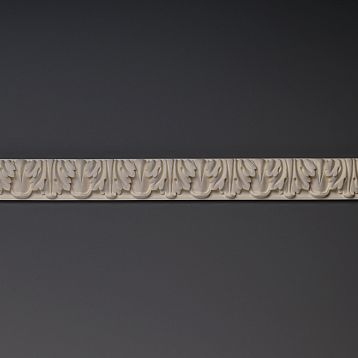
Decorative molding KPU-077
77.97 $

 5-10 days
KPU-001 Decorative Molded Decoration
from 74.03 $


 5-10 days
Decorative Moldings KPU-080
88.26 $


 5-10 days
Decorative molding KPU-074
161.45 $


 5-10 days
Decorative Molding KPU-012
246.24 $


 5-10 days
Decorative Moldings KPU-003
from 36.60 $


 5-10 days
Decorative molding KPU-043
from 88.26 $


 5-10 days
Decorative Moldings KPU-060
99.50 $



 New
5-10 days
New
5-10 days
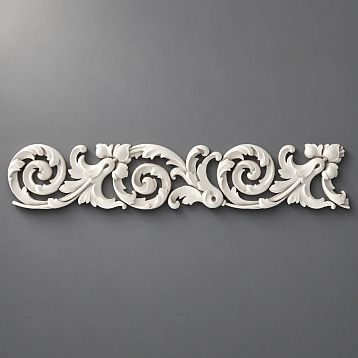
Decorative stucco KPU-130
119.47 $


 5-10 days
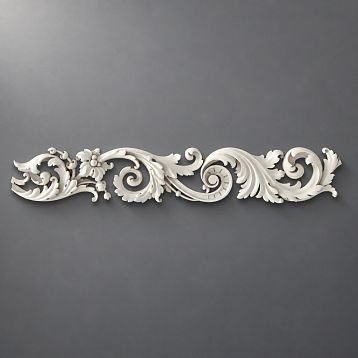
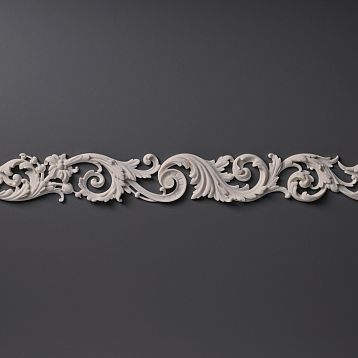
Decorative Molded Molding KPU-081
161.45 $

 5-10 days
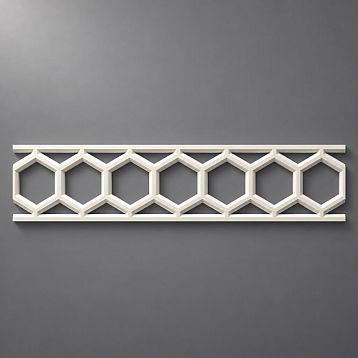
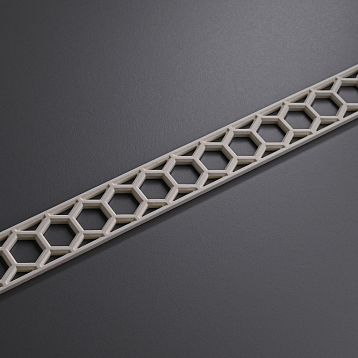
Decorative molding KPU-062
173.89 $

 5-10 days
Decorative molding KPU-118
82.28 $


 5-10 days
Decorative Moldings KPU-112
96.51 $


 5-10 days
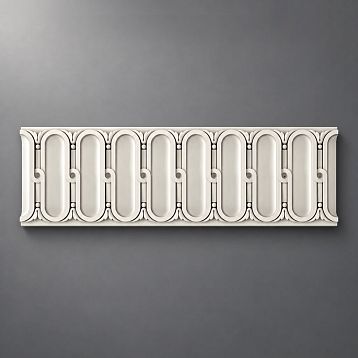
Decorative molding KPU-114
140.76 $


 5-10 days
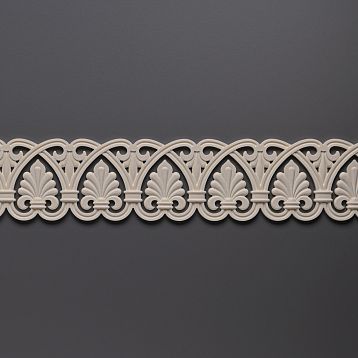
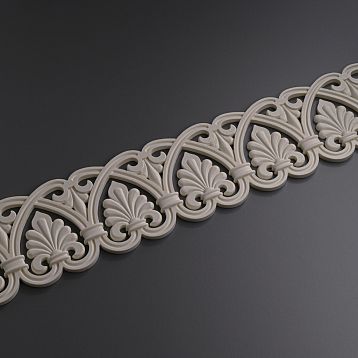
Decorative molding KPU-046
148.77 $

 5-10 days
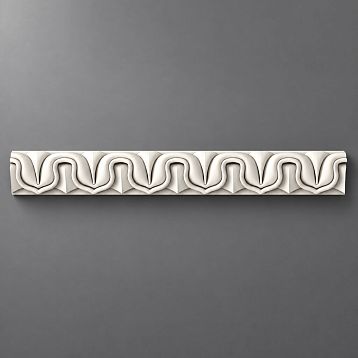
Decorative Molding KPU-064
161.45 $

 Bestseller
5-10 days
Bestseller
5-10 days
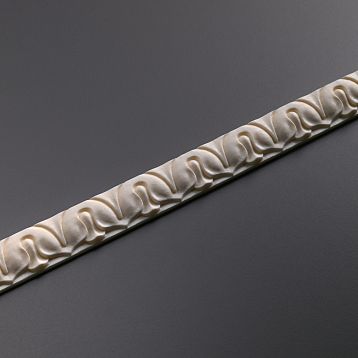
Decorative Moldings KPU-004
from 32.65 $


 5-10 days
Decorative molding KPU-071
82.28 $


 5-10 days
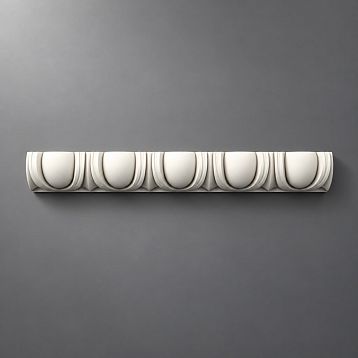
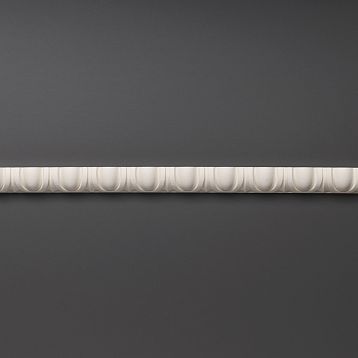
Decorative molding KPU-016
96.51 $
 5-10 days
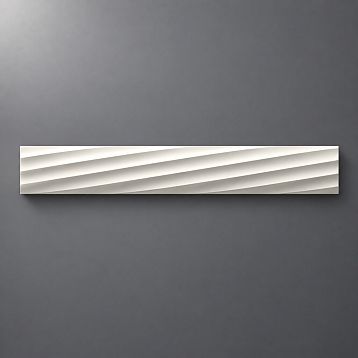
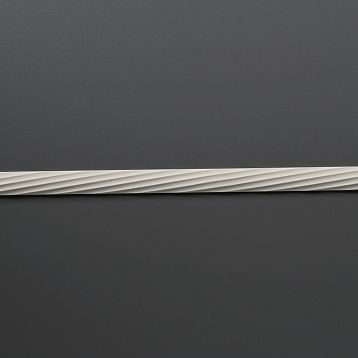
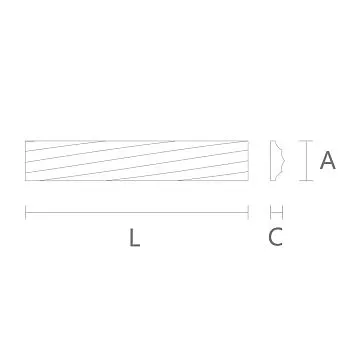
Decorative molding KPU-011
186.44 $

 5-10 days
Decorative molding KPU-124
74.03 $


 5-10 days
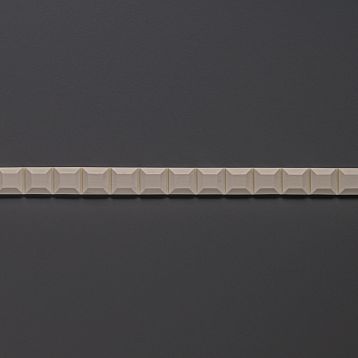
Decorative molding KPU-110
52.14 $


 5-10 days
Decorative molding KPU-121
62.07 $
Buy Polyurethane Decorative Molding and Ornamental Trim
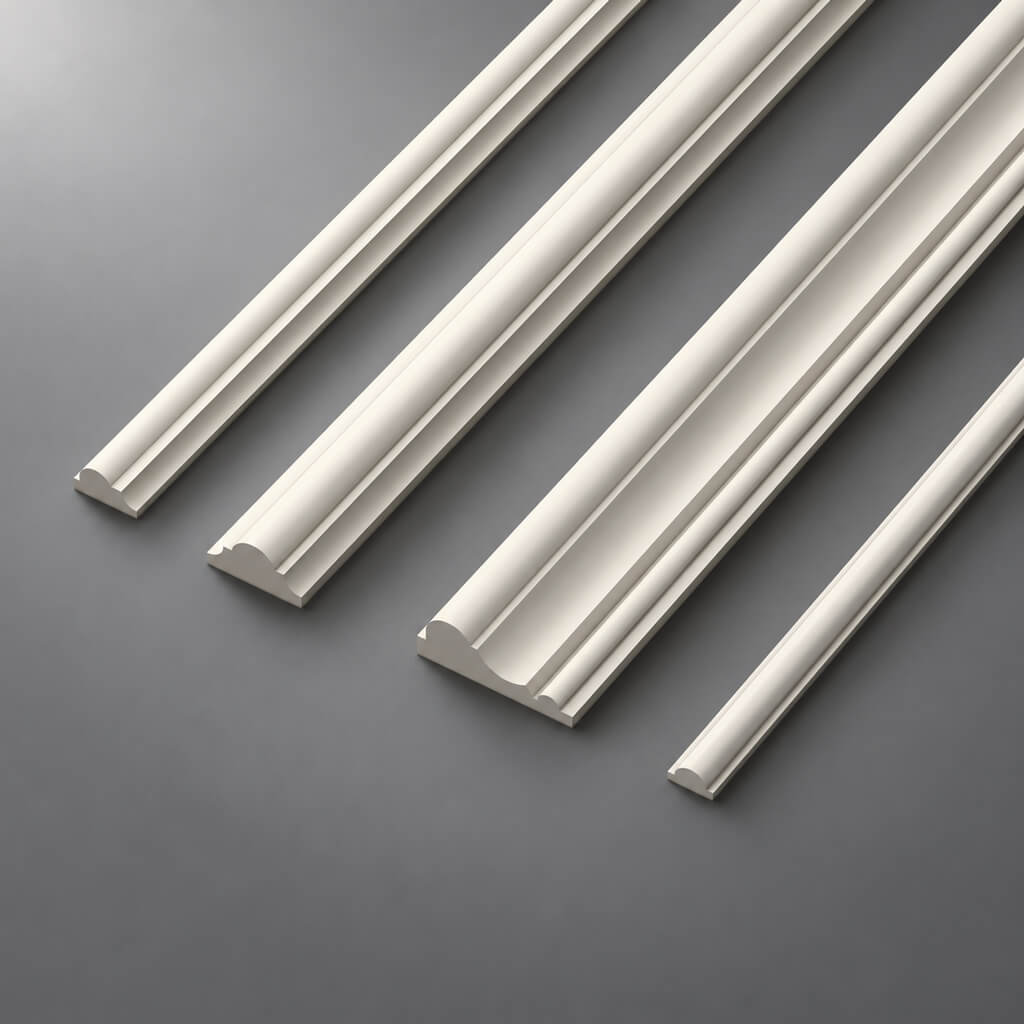
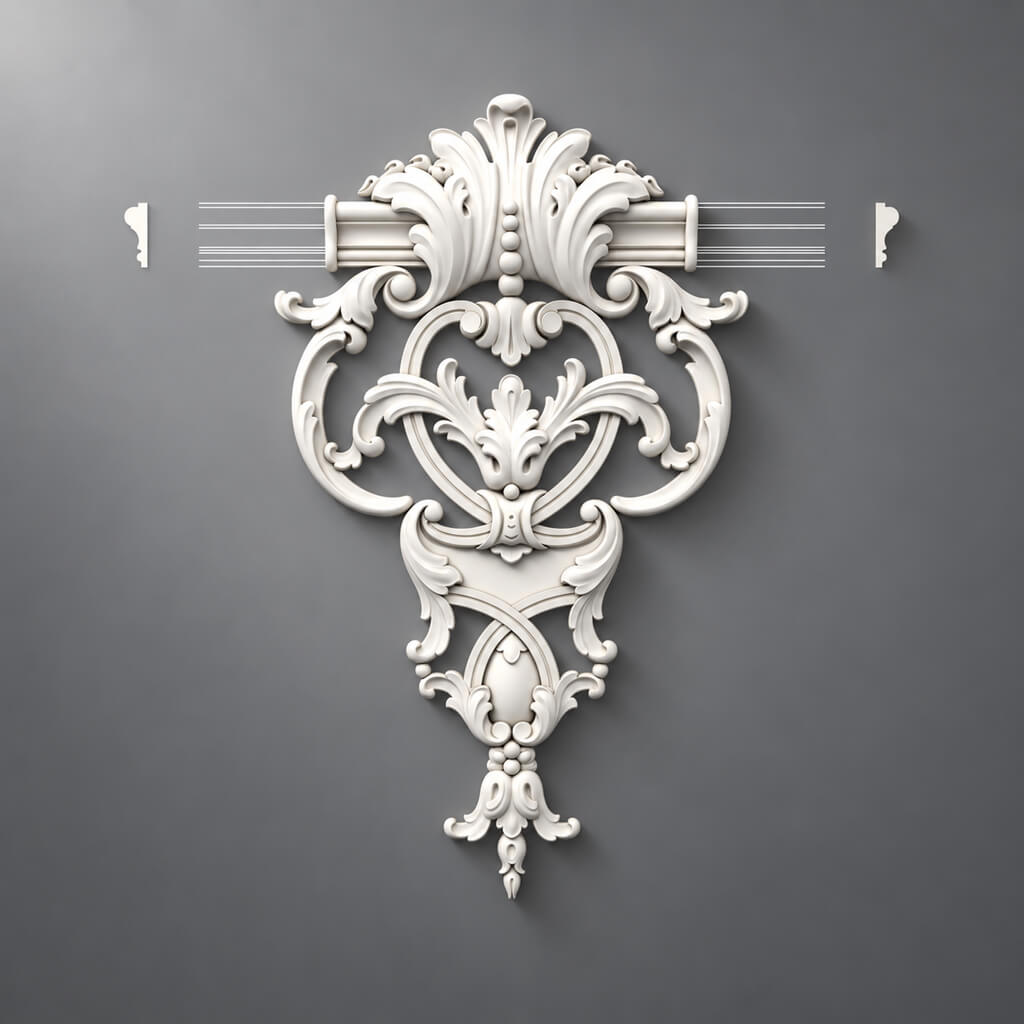
A line of ornament can change how an entire surface is read. A narrow beaded border gives a painted panel a precise edge. A repeating leaf pattern introduces movement along a wall. A wider floral band creates a feature in its own right. STAVROS polyurethane decorative molding brings these possibilities together in a collection of linear profiles and ornamental strips.
Explore designs for wall frames, ceiling borders, decorative surrounds, and selected furniture details. The KPU range includes restrained geometric patterns as well as richly modeled leaves, shells, and scrolls. You can choose a profile that quietly connects other elements or make the ornament the main feature of the composition.
Start with the pattern and the area it will occupy, then compare the dimensions. Width, projection, supplied length, and the direction of the ornament all affect the finished result. The wider polyurethane architectural decor collection offers related elements for developing the design beyond a single decorative border.
Find the Pattern That Suits Your Interior
Beaded Borders and Rope Molding
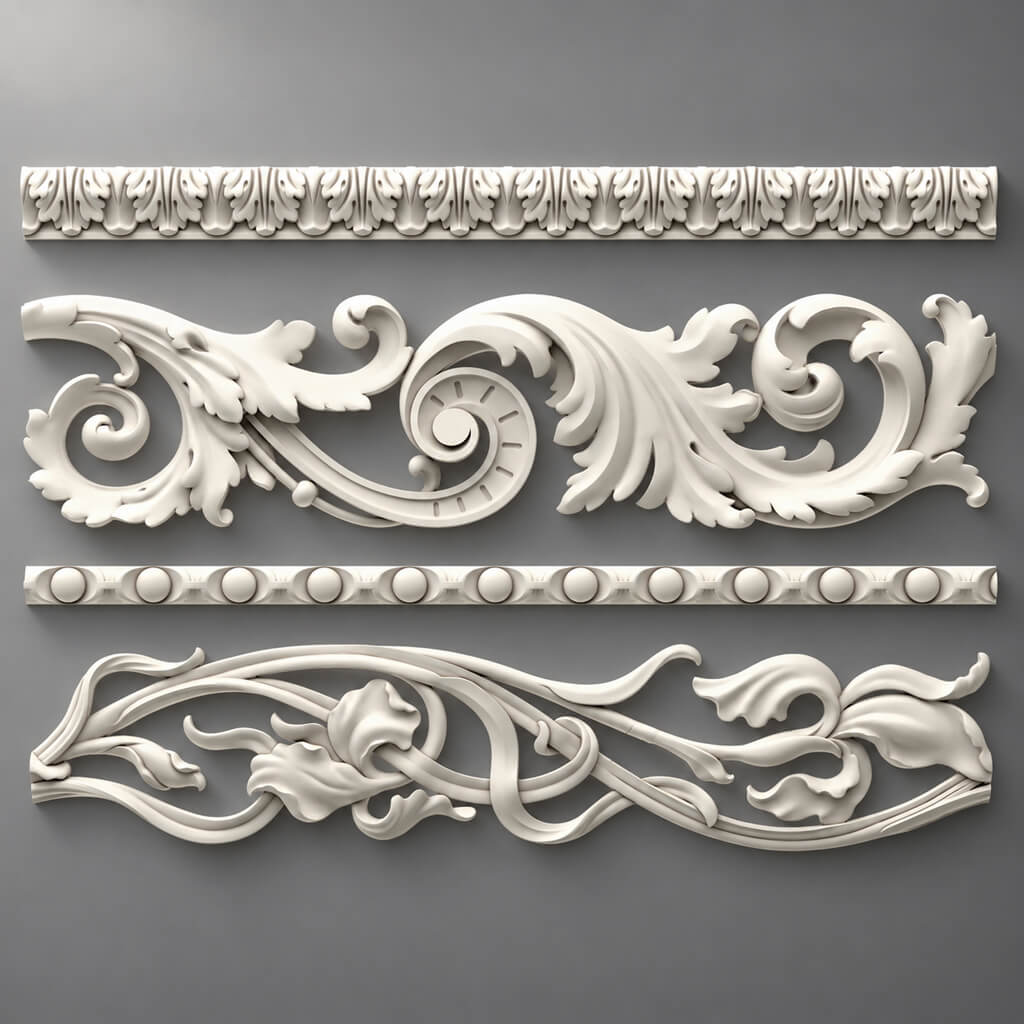
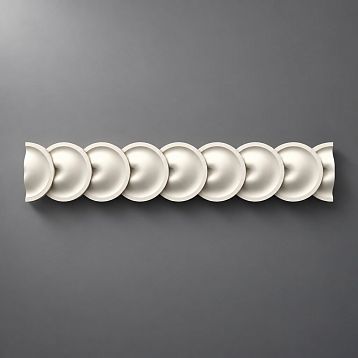
Small repeating details work well where a frame needs a clear outline without a broad band of ornament. KPU-105 presents a row of rounded beads, while KPU-006 places a similar rhythm against a straight backing. KPU-034 combines small beads with longer rounded elements, creating a more varied repeat along the strip.
KPU-125 introduces a twisted rope pattern. Its narrow profile makes it an option to consider for a fine decorative edge or a secondary line within a larger arrangement. Compare the relief from the front and side: even a slim border can cast a noticeable shadow when light falls across the surface.
Egg and Dart Molding and Classical Repeats
Egg and dart molding alternates rounded egg forms with pointed details. KPU-016 provides this classical pattern in a polyurethane profile with a 23 mm face width. It can give a border a recognizable rhythm without relying on large floral ornaments.
Other designs in the collection use overlapping rounded forms, stylized leaves, or repeating curved shapes. Choose by the actual motif shown on the product page, rather than treating all classical ornament as interchangeable. The spacing of the repeat matters when a border turns a corner, meets a central accent, or runs beside another patterned surface.
Acanthus Leaves and Ornate Molding
Leaf ornament introduces softer contours and deeper variations in shadow. KPU-001 uses a repeated acanthus-style pattern and is listed in several widths. This gives you a way to compare different scales while keeping the same general decorative character. KPU-074 and KPU-012 offer other arrangements of classical leaf relief.
For a fuller ornamental frame, consider how much detail will be visible at the normal viewing distance. An intricate border at eye level can reward close inspection; higher on a wall, the broad silhouette may become more important than the smallest details. Match the size of the motif to its position in the room.
Reed and Ribbon Details
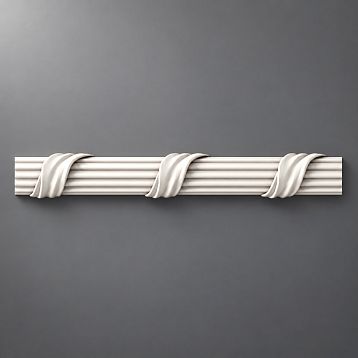
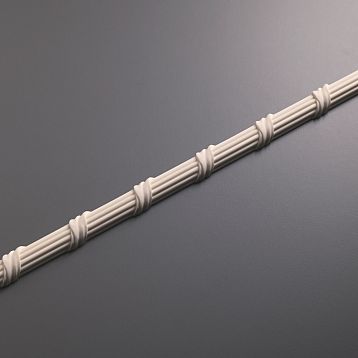
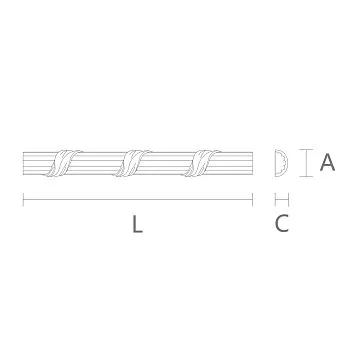
KPU-094L and KPU-094R combine parallel reeds with diagonal ribbon-like bands. The paired versions reverse the direction of the wrapping detail, which is useful when planning a symmetrical arrangement. Both are listed at 24 × 12 × 2000 mm.
Review the orientation of each piece on the drawing before ordering. A left and right pair does not mean that either profile is a ready-made corner. The ends, joints, and any change of direction still need to be planned for the particular frame or border.
Floral Scrolls and Decorative Frieze Molding
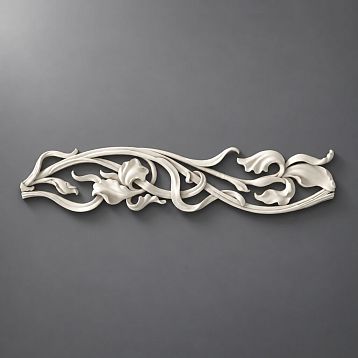
Flowing ornament can create a continuous visual movement along a surface. KPU-043, KPU-060, KPU-062, and KPU-081 provide different combinations of leaves, stems, and curls. KPU-130 combines scrolling foliage with roses in a wider, open ornamental strip.
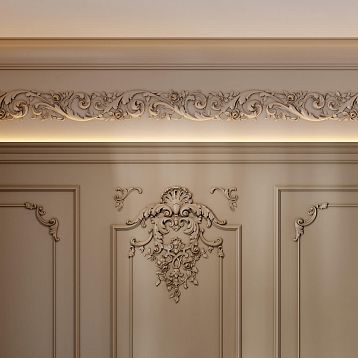
Use a decorative frieze molding to establish a horizontal band or to add a more elaborate accent within a larger wall treatment. Consider the direction of the foliage, the position of prominent flowers, and the way adjoining sections meet. In open designs, the wall color remains visible between the elements and contributes directly to the finished pattern.
Geometric Trim for Contemporary Interiors
The collection also includes patterns built from lines and repeated shapes. KPU-118 uses linked hexagons; KPU-112 creates a diamond lattice; KPU-114 introduces overlapping elongated curves. These open designs can connect decorative trim with a more graphic interior scheme.
Solid geometric profiles offer a different effect. KPU-110 has a chevron pattern, KPU-121 and KPU-122 use faceted blocks, and KPU-119 introduces angular relief. KPU-123 and KPU-129 create closely repeated linear textures. Choose a pattern that relates to the room's larger lines, then use its depth and color to control how strongly it stands out.
Compare Profile Dimensions Before Ordering
The KPU selection includes face widths from 9 to 120 mm and listed relief depths from 4 to 27 mm. Supplied lengths vary by model. Many profiles are 2000 mm long, while other designs are listed at 930, 1000, 2330, or 2600 mm. Check the chosen product and size option before preparing a cutting list.
The examples below show width × projection × length. Inch dimensions are rounded conversions of the metric measurements.
| Product | Dimensions, mm | Dimensions, inches |
|---|---|---|
| KPU-125 rope molding | 9 × 5 × 1000 | 0.35 × 0.20 × 39.37 |
| KPU-105 beaded molding | 11 × 6 × 1000 | 0.43 × 0.24 × 39.37 |
| KPU-016 egg and dart molding | 23 × 17 × 2000 | 0.91 × 0.67 × 78.74 |
| KPU-094L reed and ribbon molding | 24 × 12 × 2000 | 0.94 × 0.47 × 78.74 |
| KPU-118 geometric trim | 40 × 5 × 2000 | 1.57 × 0.20 × 78.74 |
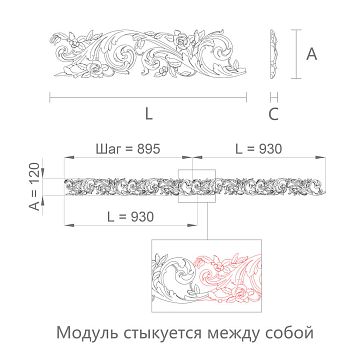
| KPU-130 floral trim | 120 × 17 × 930 | 4.72 × 0.67 × 36.61 |
| KPU-103 patterned frieze | 116 × 11 × 2330 | 4.57 × 0.43 × 91.73 |
| KPU-129 ribbed trim | 105 × 7 × 2600 | 4.13 × 0.28 × 102.36 |
Some product references contain several size options. For example, KPU-001 acanthus molding is listed in 20, 30, 40, and 50 mm widths, with corresponding differences in relief depth. Record the selected dimensions as well as the model number so that the order identifies the exact version you need.
Choose Width and Relief for the Surface
The face width determines how much of the surrounding surface the trim occupies. A narrow border can define the edge of a small panel; a broader strip can become a decorative band with its own visual weight. Compare the molding with the complete panel or wall area, not just with another small product photograph.
Projection matters separately. Two profiles of similar width can produce different effects if one lies close to the surface and the other has deeper relief. Consider door movement, nearby hardware, and the relationship with adjacent moldings. Where two products meet, inspect their side profiles as well as their front views.
View the proposed ornament under the room's likely lighting. Side lighting can make even shallow relief appear pronounced, while diffuse light may soften the same pattern. A sample or a full-size outline helps judge the width; a finish sample helps establish how much contrast the relief will create against the wall.
Decorative Wall Molding and Applied Frames
An applied frame can organize a painted wall, surround a decorative inset, or establish a repeating rhythm along a room. Draw the complete arrangement before choosing the final quantity of trim. Include the spacing between frames and their relationship to doors, windows, furniture, and switches.
A narrow beaded or rope profile can outline a panel with relatively little visual weight. A leaf pattern creates a more elaborate border. Open geometric trim can introduce a graphic edge where the background color shows through. If you are using wallpaper within the frame, compare the scale of its pattern with the molding so that both remain readable.
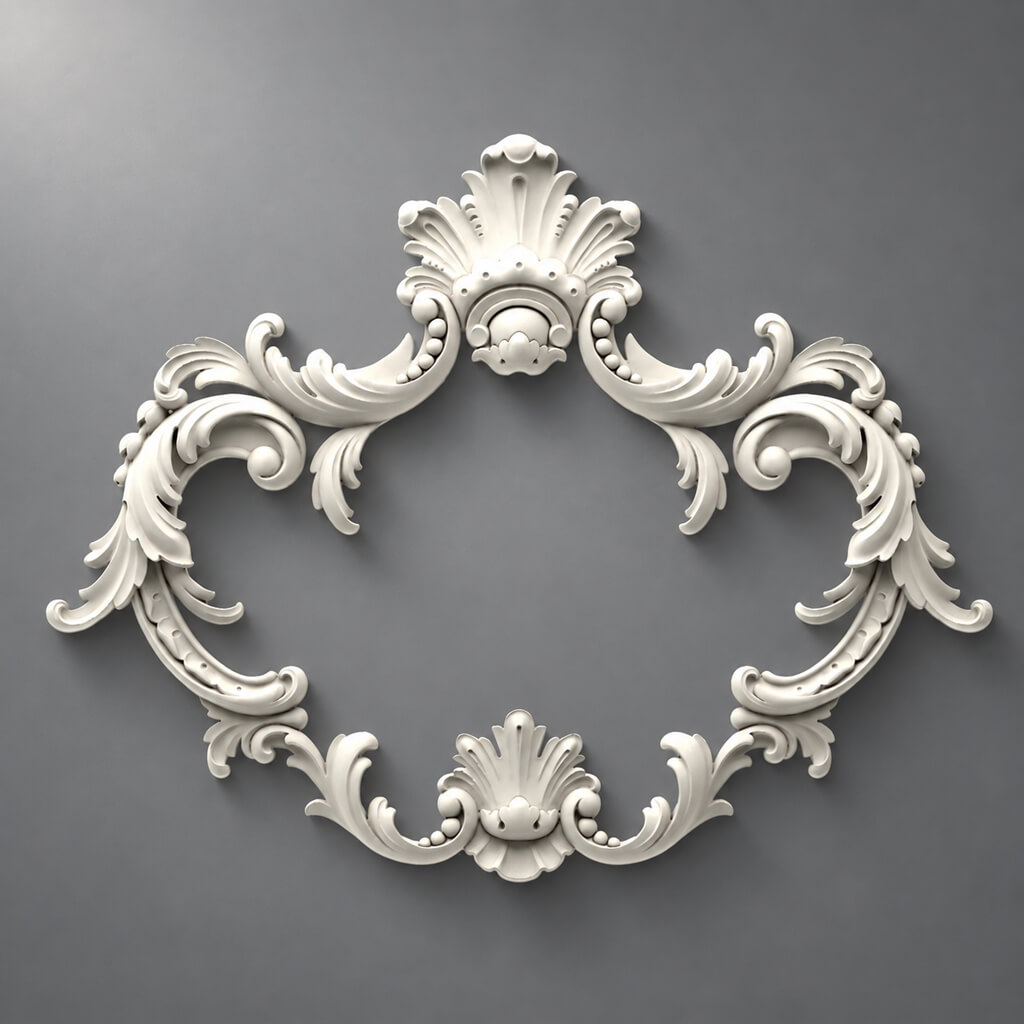
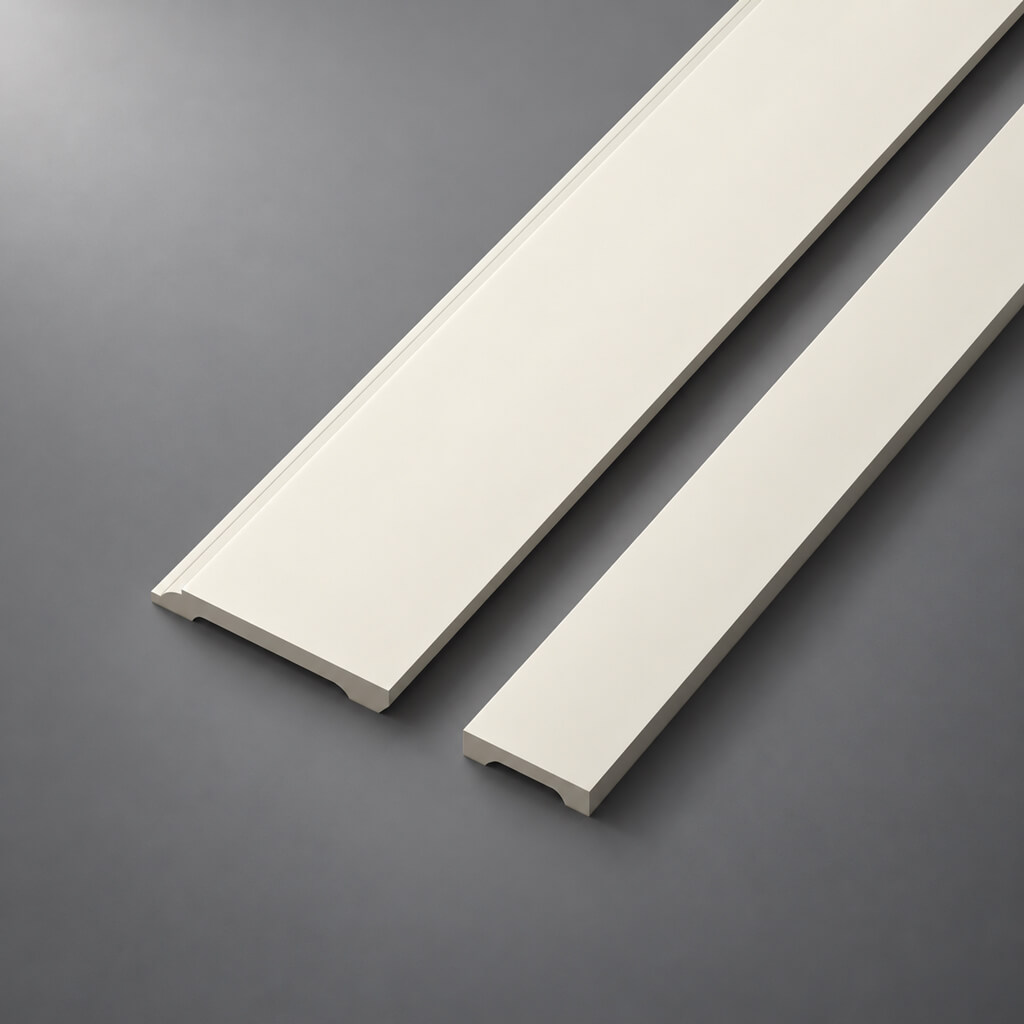
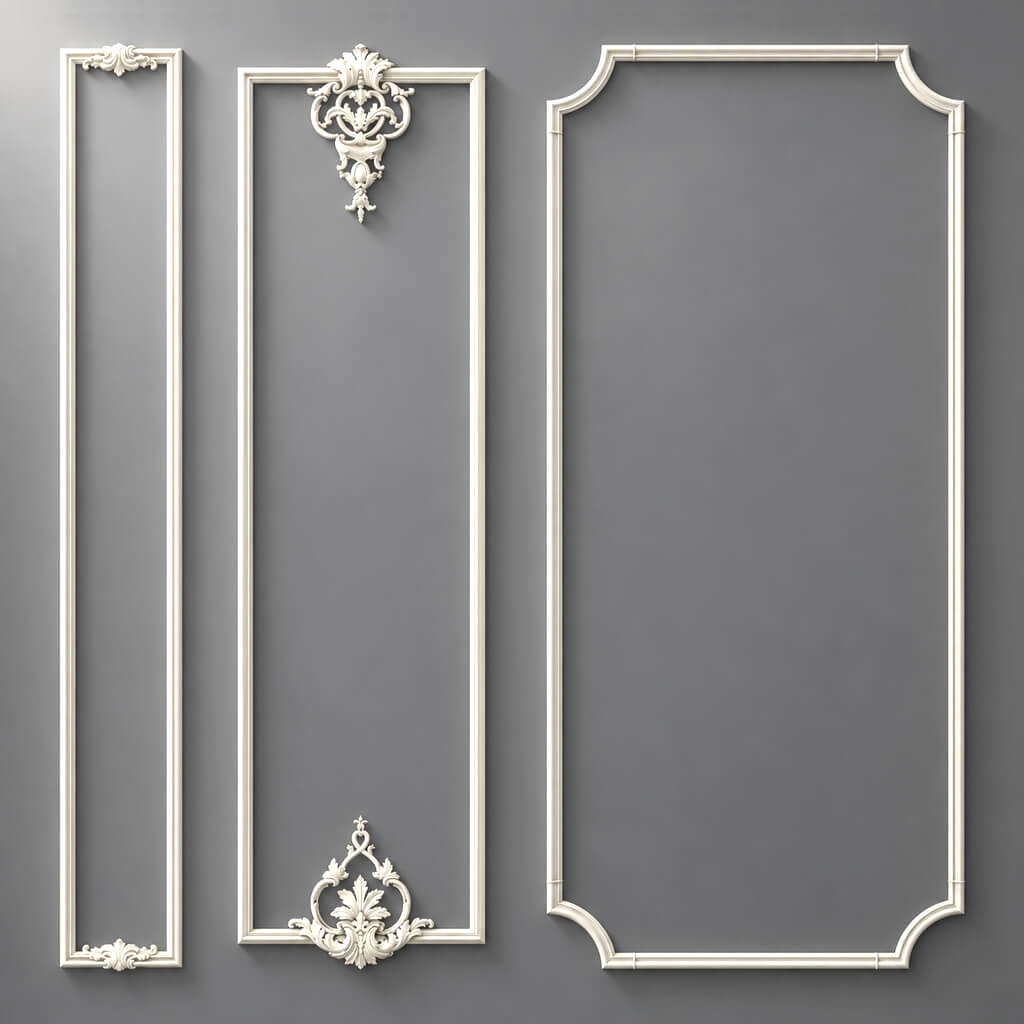
For wider layouts, explore decorative wall compositions and straight panel moldings. A plain profile can establish the main frame while an ornamental strip adds detail inside or alongside it. Check the dimensions of both products and decide how their ends and corners will meet before ordering.
Decorative Borders for Mirrors and Furniture
Polyurethane ornamental molding can also be considered for an applied border around a mirror or a decorative inset on furniture. Start with the supporting surface and the space available around the object. The trim can provide the visible ornament while the mirror or inset has its own suitable support.
If you need a freestanding picture frame, check the profile cross-section and the proposed frame construction. Picture frame molding may require a rabbet to receive the artwork, glazing, and backing. An ornamental strip intended to be applied to a surface does not automatically provide that feature. Choose the decorative border and supporting construction together.
For furniture applications, check the clearance around moving doors and drawers and the positions of handles and hinges. A slim border may suit a small front, while a broad frieze needs a surface large enough to show its repeat. Plan the ornament as part of the furniture design so that the pattern remains coherent when the piece is used.
Ceiling Borders and Ornamental Friezes
Decorative molding can define a ceiling panel or introduce a band of detail around a central composition. Draw the border in relation to the lighting position and the room's main axes. The ornament should have enough space to form a clear outline without crowding a medallion or another ceiling feature.
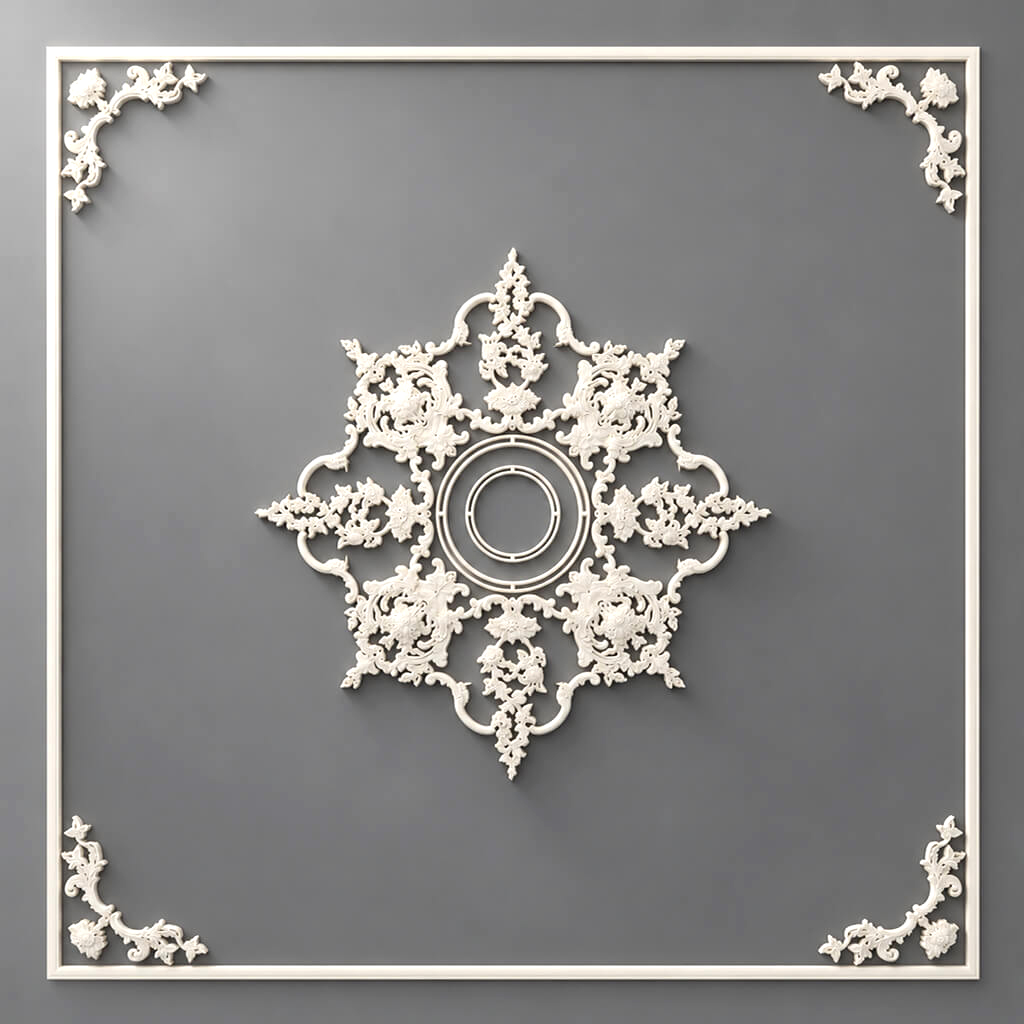
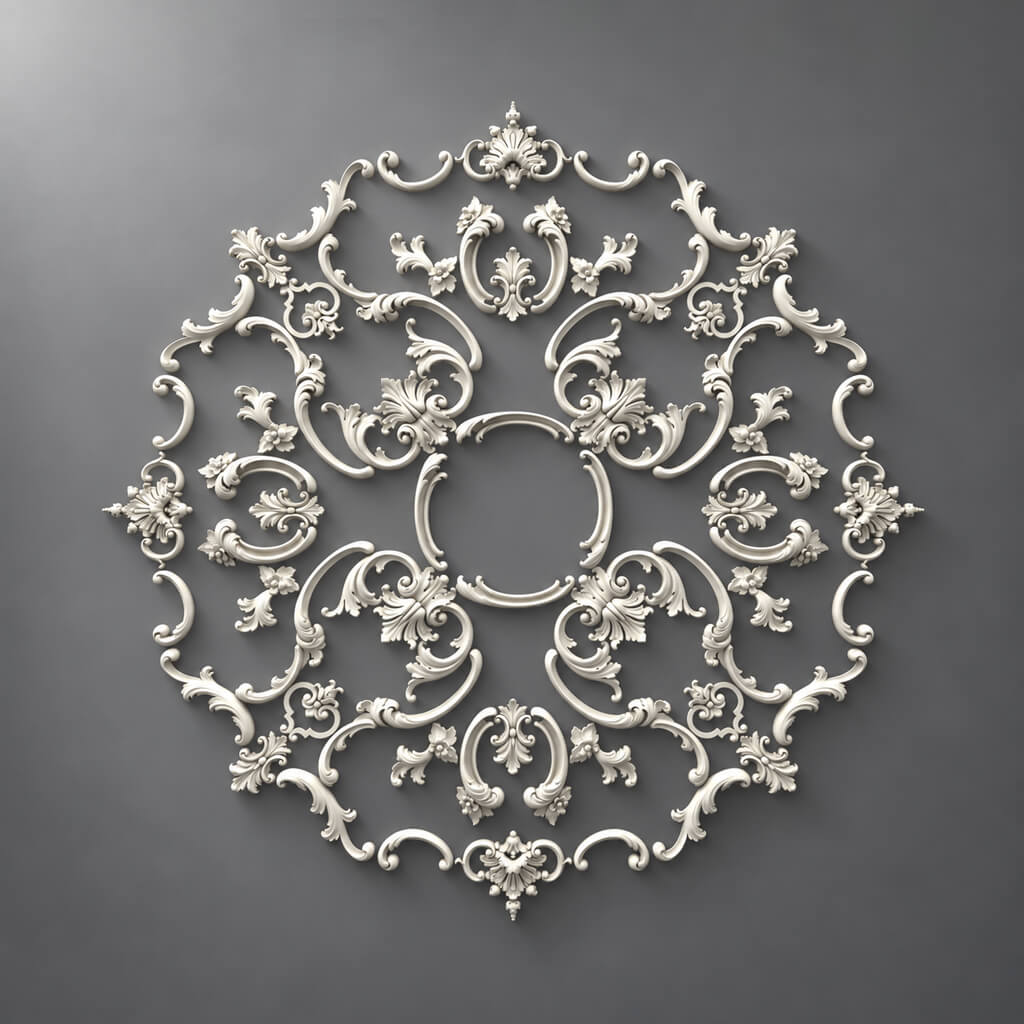
Explore polyurethane ceiling medallions when the design centers on a chandelier, or consider the broader range of ceiling decoration compositions for a more extensive arrangement. Repeating a related leaf or scroll motif can connect these elements without making every detail identical.
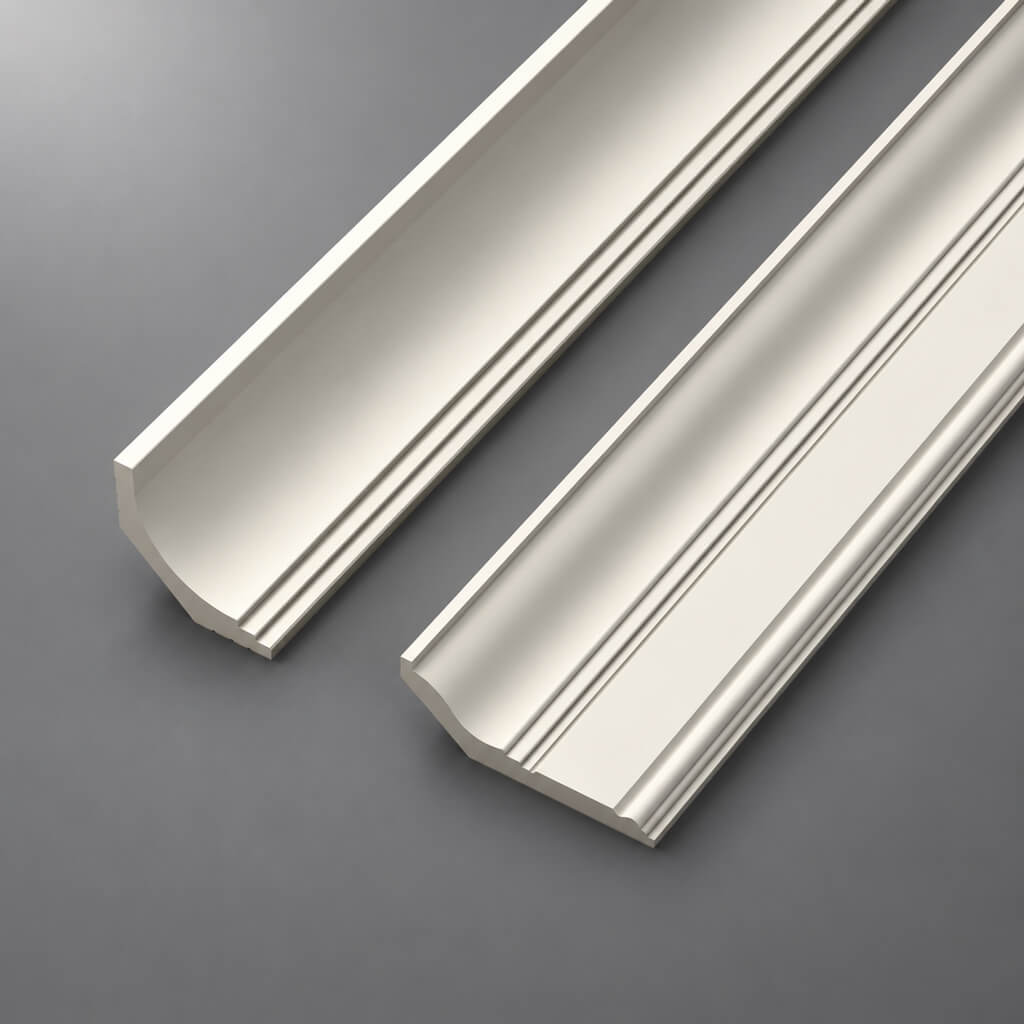
At the wall-to-ceiling junction, review the separate polystyrene crown molding collection. An ornamental KPU strip can be considered as an adjacent decorative band, with its own mounting surface and layout. Check the cross-sections and clearances when combining profiles; a flat decorative strip and a projecting cornice occupy the space differently.
Plan the Pattern at Corners and Joints
With ornamental molding, the cut position affects the visible pattern. A joint through the middle of a leaf can look different from a joint between repeats. Before cutting, lay out the sections and decide which part of the motif should sit at the center of the frame or the most visible part of the wall.
Work outward from that reference point and check both ends. For symmetrical frames, compare the pattern at opposing corners. With directional designs, such as the paired KPU-094R reed and ribbon trim, record which version belongs on each run.
Where the design calls for a separate ornamental junction, explore molding corners and decorative accents. Match the actual width, depth, and meeting surfaces before combining products. A visually related corner ornament is not necessarily a direct fit for every KPU profile.
Open floral and geometric strips need particular attention at their ends. Decide whether the run should finish at a complete motif, continue into another section, or meet a separate accent. Include that decision in the cutting plan so the installer can preserve the intended rhythm.
Calculate Quantities from a Cutting Plan
Add up the required lengths, then check whether the individual pieces can be cut from the supplied stock. A total measured in linear feet or meters is a starting point; it does not by itself establish the number of full lengths to order.
State how each frame dimension is measured: to the outside edge of the molding, to its centerline, or to the inner opening. These are different measurements once the profile has width. Mark the chosen reference on the drawing and use it consistently for every panel. This helps prevent a frame from becoming larger or smaller than intended when the installer converts the layout into actual cuts.
For example, a frame with two 1600 mm sides and two 1200 mm sides uses 5600 mm of finished trim. Three 2000 mm lengths provide 6000 mm in total, but none can contain two of those sides as unbroken pieces. If every side must remain unjoined, four stock lengths are needed before allowing for the exact miter geometry, saw cuts, and pattern positioning.
The calculation changes with the selected product. KPU-125 and KPU-105 are listed at 1000 mm long, while KPU-130 is 930 mm long. A design planned around 2000 mm strips therefore needs a different joint arrangement when one of these models is chosen.
Prepare a cutting list for each profile and size. Include the required finished pieces, acceptable joint locations, directional versions, and allowances for matching the ornament. Discuss that list with the installer before placing the order, particularly for repeated wall frames where the same pattern must align across several panels.
Coordinate Trim with Other Decorative Elements
A linear border becomes more effective when its details relate to the rest of the room. Polyurethane onlays and appliques can introduce a central accent above a frame or within a larger panel. Decorative rosettes provide smaller repeated details for selected junctions or focal points.
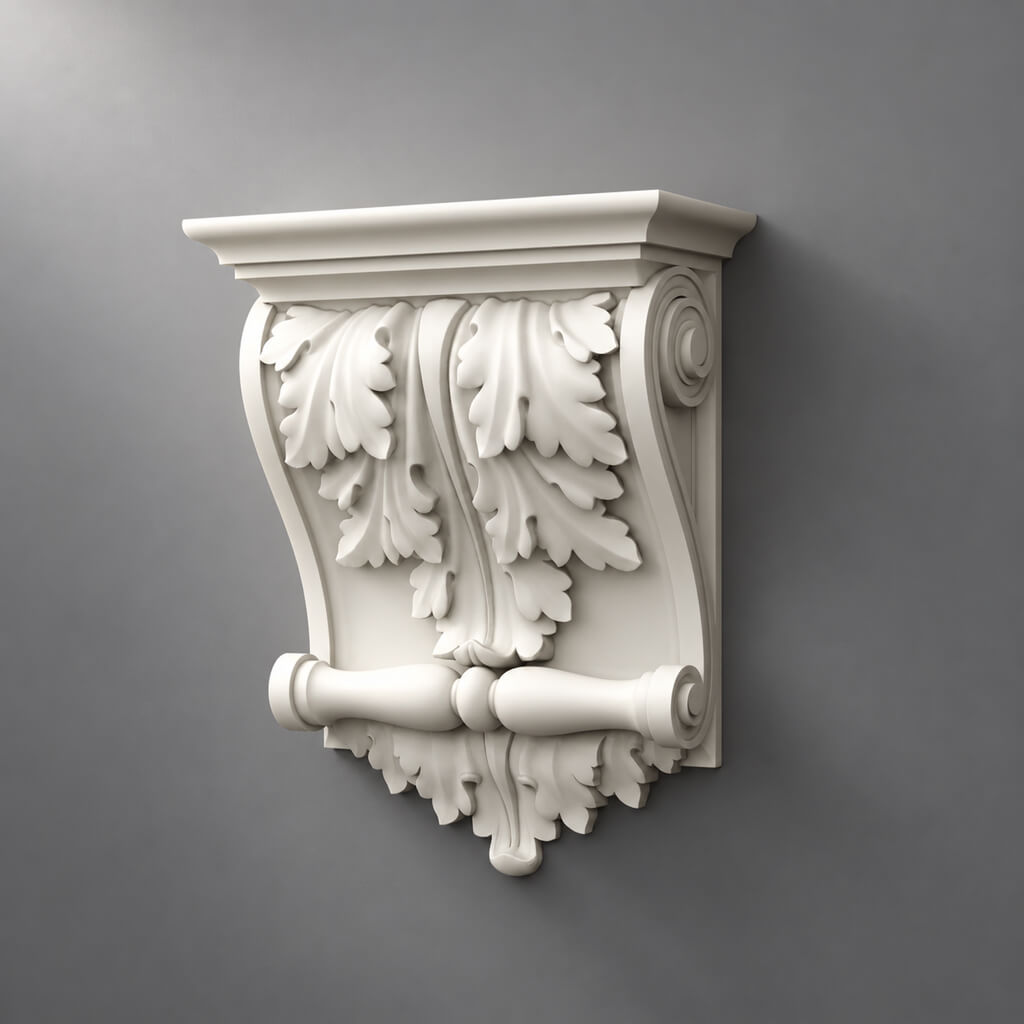
If the interior includes pilasters or framed openings, compare decorative brackets and capitals with the scale of the surrounding molding. At floor level, polystyrene baseboards offer options for completing the perimeter. Choose the appropriate material and profile for each location, then use proportion and finish to connect them visually.
Prepare and Finish Polyurethane Decorative Trim
Plan the finish alongside the layout. Painting the trim to match the wall emphasizes its relief through light and shadow. A contrasting color makes the border more distinct. Selective highlights can emphasize the raised parts of a floral or classical pattern, while a single consistent color can suit a geometric design.
Confirm the supplied surface condition and the appropriate primer and coating system for the selected products. Test the finish before applying it to all the trim. Thin, controlled coats help keep fine lines and recesses readable; excessive buildup can soften the detail that made the profile attractive in the first place.
Use the samples and catalogs section to explore available reference materials. Review the proposed preparation and coating sequence with your decorator, including which work will be completed before installation and which joints or cut ends will need attention afterward.
For installation, establish straight reference lines and check the supporting surface before fixing the molding. Choose adhesives and any additional fixings according to the product and substrate requirements. Dry-fit the sections and inspect the pattern at joints before committing to the final position. The installation and finishing guidance provides a starting point for discussing the work with your installer.
Order the Right Profile for Your Project
When comparing polyurethane trim, record the model number, selected dimensions, quantity of full lengths, and intended finish. Include a marked drawing for layouts with repeated panels, directional ornament, or several coordinated profiles. This gives the order and installation teams the same reference for the finished design.
Check current availability and the configuration offered on each product page. Plan installation materials and finishing work alongside the decorative profiles. Review the payment and delivery information and confirm arrangements for the actual destination and project schedule when placing your order.
Frequently Asked Questions
What distinguishes decorative molding from a plain molding?
The profiles in this category carry a visible ornamental pattern, such as beads, leaves, rope, scrollwork, or geometric relief. A plain molding relies mainly on its cross-section to create its outline and shadow. Both can be used within a coordinated design, with each selected for its particular visual role.
Is this carved wood molding?
The KPU products in this category are specified as polyurethane. Their molded ornament can provide the visual character associated with carved architectural detail. Check the material specification when ordering, especially if your project combines polyurethane decor with wood or other types of trim.
Does every profile come in a 2000 mm length?
Many do, but the collection also includes other supplied lengths. The dimension table gives examples, and individual product pages show the available options. Use the length of the selected model when preparing quantities and positioning joints; do not assume that every design shares the same stock length.
Can ornamental molding be used around a mirror?
It can be considered as an applied decorative surround when the supporting surface and installation method are suitable. The mirror needs its own secure mounting. For a separate frame that holds the mirror, review the required backing, rebate or rabbet, corner construction, and support with the person making the frame.
Can I bend a straight profile around an arch?
Confirm the suitability of the exact product for the required radius before planning a curved installation. A polyurethane material label alone does not establish flexibility. Use a product specified for the proposed shape and installation method, and agree the layout before cutting or fixing the ornament.
Choose Your STAVROS Decorative Molding
Select the ornament that suits your surface, compare its width and relief, and check the supplied length against your cutting plan. From fine beaded borders to broad floral and geometric friezes, STAVROS polyurethane decorative molding gives you a range of ways to bring a considered line of detail into the interior.
Request a Call
Have questions about our products or your project? Leave your contact details and our team will get back to you.
Your request has been sent!
Our manager will contact you within 5 minutes