Article Contents:
- Why stucco is most often chosen based on interior photos
- Visual intent: when the picture precedes the purchase
- What is important to see in the photo first
- Stucco on the wall: ideas for the living room, bedroom, and hallway
- The wall as a canvas: three main techniques
- Living room: where stucco works best
- Bedroom: stucco as air behind the headboard
- Hallway: a small space with maximum effect
- Stucco on the ceiling: when it is appropriate and how to use it correctly
- The ceiling is a special field for stucco
- Ceiling cornice: the first step into the world of stucco
- Chandelier rosette: an accent in the center of the ceiling
- Ceiling frames: depth without height
- Stucco for the TV area: decor that doesn't compete with the screen
- TV area — a field of tension between technology and decor
- Three approaches to decorating the TV wall
- Consistency of the TV area with the rest of the space
- Stucco in the classical style: strict order as the highest freedom
- Classics are a system, not arbitrariness
- Scale and proportions in the classics
- Color of stucco molding in a classic interior
- Stucco molding in modern classic: restraint as a statement
- Neoclassicism today: less relief, more air
- Modern classic and polyurethane decor
- Painting stucco molding in the color of the wall
- How to choose stucco molding elements from photos on the internet
- From a beautiful picture to specific dimensions
- Step 1: Assess the scale in the photo
- Step 2: Determine the profile type
- Step 3: Count the number of elements
- Step 4: Choose the color
- Step 5: Explore types of polyurethane moldings
- Molding design mistakes: what ruins a beautiful idea
- Mistake 1: Decor too small for a large wall
- Mistake 2: Overcrowding
- Mistake 3: Different styles in one room
- Mistake 4: Incorrect frame layout
- Mistake 5: Ignoring furniture
- Mistake 6: Random material without understanding properties
- How to combine moldings with furniture and wooden decor
- Molding is not alone: it is part of a system
- Lighting: an ally of stucco
- Polyurethane stucco: why it's chosen today
- Three main advantages over plaster
- Installing polyurethane stucco: what you need to know
- Where to buy interior stucco: catalog and selection
- FAQ: popular questions about stucco in interiors
- STAVROS: polyurethane stucco for your interior
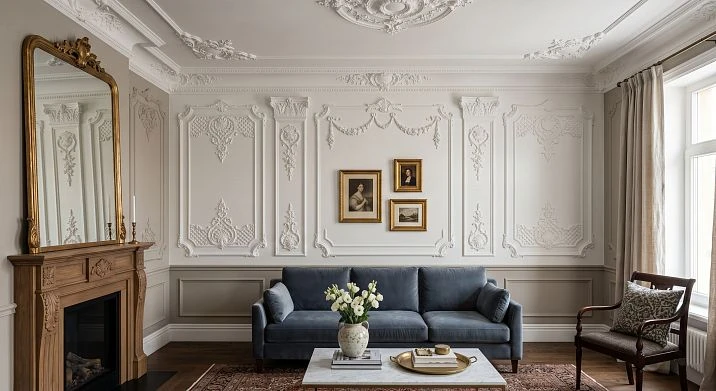
There are interiors you walk into — and immediately feel: there's something special here. Not the furniture, not the wall color, not even the light. Something subtle, almost elusive — the line of a cornice, a relief on the wall, a white molding forming a rectangular frame around an accent area. That is molding in interior — an architectural language thousands of years old, yet today it sounds as fresh as it did in the Baroque era.
moldings photos online gather hundreds of thousands of views. People scroll through pictures of wall and ceiling decor, save inspiring options — and then come to the question: 'How can I do this at home?' This article is for them. Not for those building a palace. For those who want to make an ordinary apartment lively, deep, and memorable.
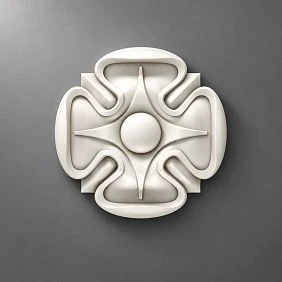
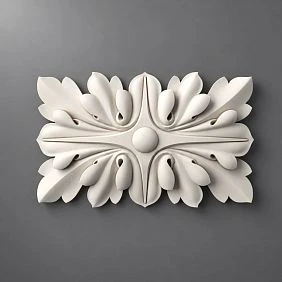
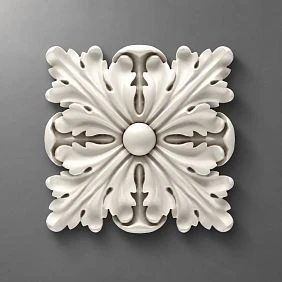
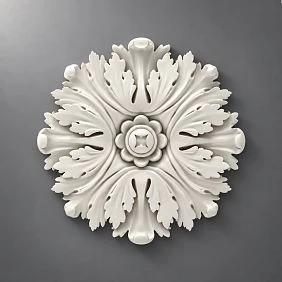
Why stucco molding is most often chosen based on interior photos




Visual intent: when the picture precedes the purchase
Stucco molding is a rare case in construction decor where the purchase decision almost always starts with an image, not a specification. A person doesn't search for "60mm wide molding with a heel profile." They search for "stucco molding on a living room wall photo" — because they want to first see how it looks in a real space.
And this is the right approach. Because Plasterwork design it is not a technical choice. It is a choice of image. The same wall with moldings of different widths and relief depths looks completely different. A narrow flat 30mm molding creates an almost graphic, minimalist pattern. A wide 80–100mm profile with deep relief creates rich classical decor.
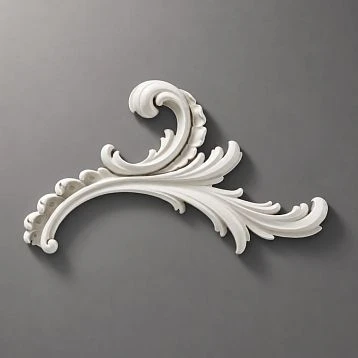
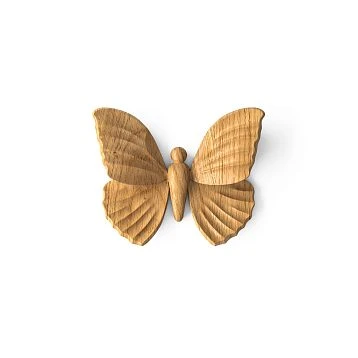
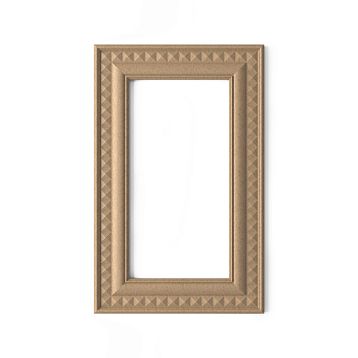
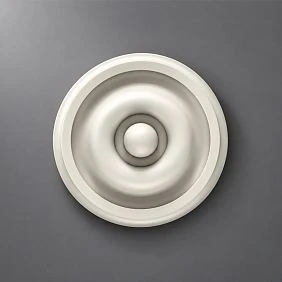
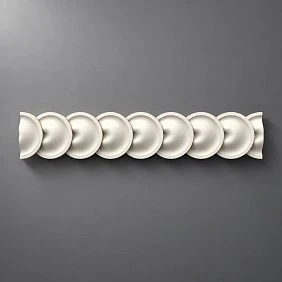
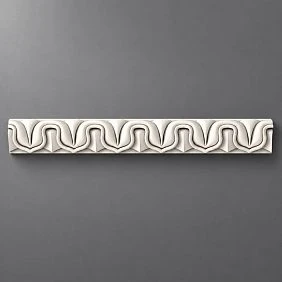
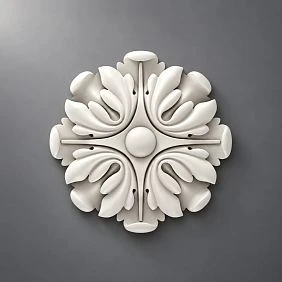
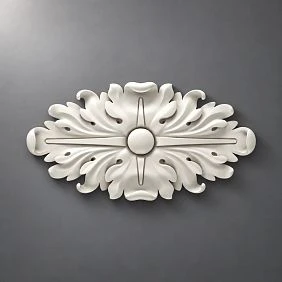
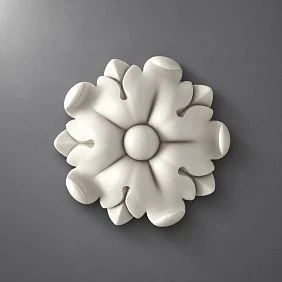
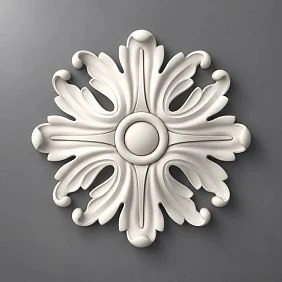
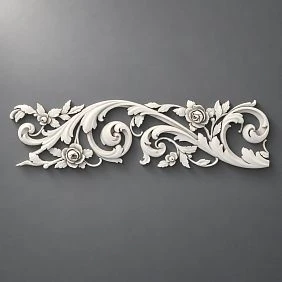
Our factory also produces:
What is important to see in the photo first
When looking at a photo with stucco molding, you need to pay attention not only to "beautiful / not beautiful." You need to read the space:
-
Ceiling height. In a photo with a high ceiling (3.5m and above), stucco molding looks different than on a 2.7m ceiling. The scale of the decor must match the scale of the room.
-
Density of decor. How many elements are on the wall? Is it one frame on an accent wall or a dense system of moldings dividing the entire plane?
-
Relief depth. Does the decor protrude by 5mm or 25mm? Deep relief creates a more expressive shadow — especially with directional lighting.
-
Connection with furniture. Stucco molding "works" in tandem with furniture: a classic sofa under a frame of moldings is one thing. The same molding above a modern corner sofa is something completely different.
Get Consultation
Stucco molding on the wall: ideas for the living room, bedroom, and hallway
The wall as a canvas: three main techniques
Molding on the Wall — the most widely used method of using decorative relief in the interior. And it is here that the possibilities are greatest.
Technique 1: Frames from moldings. One of the most popular visual solutions is a system of rectangular frames made from moldings. The frames can be the same size (uniform grid) or different (hierarchy — large and small fields). The wall is divided into decorative "panels," each forming a separate field. This is a classic European technique — from palace baroque to modern neoclassicism.
Inside the frame, the wall can be painted the same color (a single plane with relief) or a darker / lighter shade (contrasting field fill). Contrasting fill is more expressive, a single tone is more restrained and refined.
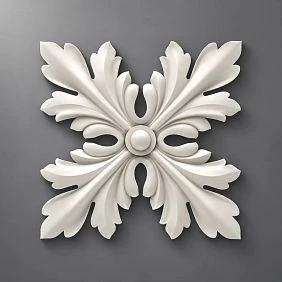
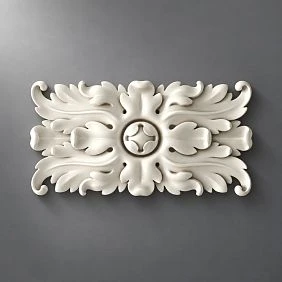
Technique 2: Decorative overlays and ornaments. — everything must correspond to the chosen era. in the form of applied decorative details — rosettes, cartouches, corner elements, relief panels — are placed pointwise: above the fireplace, in the center of an accent wall, in the spaces between windows.
This is a freer approach than the strict system of molding frames. It allows you to create accents without covering the entire wall surface with decor.
Technique 3: Stucco molding as a horizontal belt. A horizontal strip of moldings or a frieze at a height of 80–100 cm from the floor (the level of the back of a sofa or chair) visually divides the wall into two zones. This is a technique from the arsenal of classical interiors — very restrained and at the same time very expressive.
Living room: where stucco works best
The living room is the main space of the house, and it is here that stucco style it reveals itself in full force.
Accent wall behind the sofa. The most popular solution for the living room. One wall stands out with a system of molding frames or a large decorative panel. The sofa in front of this wall — and the space instantly gains focus. Frames are recommended to be 40–70% of the sofa's width — this creates a visual connection between the furniture and the wall decor.
Entire living room wall with molding frames. A more ambitious and rich option. The entire side wall or wall with windows is divided into a system of rectangular fields. With a single color — this technique looks refined and never "screams."
Piers between windows. If the living room has several windows — the piers are ideal for vertical molding frames. The decor fills the "dead" wall spaces and creates a rhythmic pattern.
Bedroom: stucco as air behind the headboard
In the bedroom, stucco on the wall works differently than in the living room. There is no need for a decorative "explosion" — an atmosphere is needed. Restrained elegance, soft relief, thin lines.
Bed headboard. A rectangular frame of molding behind the headboard is a "frame" for the bed. A simple and very effective technique. Frame size: typically, the width of the bed plus 20–30 cm on each side, height from the headboard to 20–30 cm below the ceiling.
System of small frames. Two or three frames at pillow level on each side of the central one (behind the headboard) — a richer option for a spacious bedroom.
Horizontal frieze at the ceiling. A molding tape around the perimeter of the room is a subtle and very "noble" way to add decor to the bedroom without overloading it.
Hallway: a small space with maximum effect
The hallway is a small room that greets guests first. It is here that stucco on the walls gives the maximum "cost effect" with a minimum amount of material.
Several small rectangular frames made of thin molding 30–40 mm on the side wall of the hallway — and an ordinary space acquires the image of an expensive and well-thought-out interior. Important: hallways often have low ceilings — choose a small width molding so as not to weigh down the space.
Stucco on the ceiling: when it is appropriate and how to use it correctly
The ceiling is a special field for stucco
Plaster ornament for walls and ceilings there are as many as the architectural decor itself. Historically, the ceiling was the main field for rich relief — it was there that plasterers created the most complex and expressive compositions.
Today, the approach to ceiling stucco has become much calmer. Not a meter-diameter rosette and not a ceiling lamp with full-length angels — but a restrained cornice around the perimeter, a neat rosette under the chandelier, a delicate frame made of ceiling molding.
Ceiling cornice: the first step into the world of stucco
Ceiling cornice (ceiling plinth) is the simplest and most common way to use stucco on the ceiling. This is a profile installed in the corner between the wall and the ceiling, which:
-
Hides the technical gap between different surfaces.
-
Creates a clear transition line.
-
Visually "raises" the ceiling when the width is chosen correctly.
-
Gives a sense of architectural completeness.
Choosing the cornice width depending on the ceiling height:
-
Ceiling 2.5–2.7 m: cornice 50–70 mm.
-
Ceiling 2.7–3.0 m: cornice 70–100 mm.
-
Ceiling 3.0 m and above: cornice 100–150 mm or more.
Chandelier rosette: accent in the center of the ceiling
cornice under the chandelier — a decorative rosette installed in the center of the ceiling around the chandelier suspension point. This is one of the most "expensive" decorative effects at minimal cost: one element, central position — and the ceiling ceases to be just a white plane.
The diameter of the rosette is selected in proportion to the diameter of the chandelier and the ceiling area. For a chandelier with a diameter of 50 cm — a rosette of 50–70 cm. For a large chandelier in a big living room — 80–100 cm.
Ceiling frames: depth without height
Frames made from ceiling moldings, forming rectangular or square fields on the ceiling — a technique from the classical architecture of coffered ceilings. In modern execution, it is much simpler and lighter: a thin molding 30–50 mm forms a frame that divides the ceiling into zones.
This technique is especially organic in living rooms with high ceilings: the frames "fill" a large plane without weighing it down.
Molding for the TV zone: decor that does not compete with the screen
The TV zone is a field of tension between technology and decor
A TV on the wall is a structural necessity in most modern living rooms. But the question of how to design this wall around the screen remains acute.
One wrong decision is to overload the TV zone with rich decor that competes with the screen for attention. Another is to leave the TV simply "nailed to the wall" without any framing.
Molding for the TV zone is a middle path. It does not shout, does not argue with the screen, but creates an architectural context in which the TV looks not like a random gadget, but like an element of a designed interior.
Three approaches to decorating the TV wall
Approach 1: Rectangular frame around the TV. The molding forms a frame exactly around the TV area — like a picture frame. Size: slightly larger than the screen (10–20 cm on each side). Molding width: 40–70 mm. Effect: the TV is "built into" the wall as an architectural element.
Approach 2: Panel system on the entire TV wall. The wall behind the TV is divided into a system of rectangular fields of different sizes. The TV is placed in the central field (or between fields). A richer option, works well with ceiling heights from 2.8 m.
Approach 3: Vertical lines on the sides of the TV. On both sides of the TV — vertical moldings or pilasters. They "hold" the screen between them and create the feeling of a niche without an actual recess in the wall.
Consistency of the TV area with the rest of the space
The TV area decor should not be isolated. If there is stucco on other walls in the living room, the TV area should use the same molding, the same style, the same finish. Different profiles on different walls in the same room is a common mistake.
Stucco in a classic style: strict order as the highest freedom
Classic is a system, not arbitrariness
Types of moldings in a classic interior, they obey a strict law: symmetry, hierarchy, proportionality. There is not a single random element. Every detail is in its place, every line responds to another.
A classic interior with stucco is:
-
Cornice around the perimeter of the room — a continuous horizontal belt.
-
Pilasters or semi-columns on walls — vertical accents.
-
Molding frames on walls — a system of fields between pilasters.
-
Ceiling rosette in the center — accent for the chandelier.
-
Frieze under the cornice — ornamental band.
-
Decorative overlays in frame corners — corner rosettes.
All together creates a "tectonic" system — the feeling of an architecturally designed space.
Scale and proportions in classic style
One of the main rules of classic decor: the element must be proportionate to the space. Small moldings on a large wall disappear. Large decor on a low ceiling feels oppressive.
For ceiling height 3.0 m and above: cornice 100–150 mm, molding in frames 60–80 mm, relief depth 20–35 mm.
For ceiling 2.7–3.0 m: cornice 70–100 mm, molding 40–60 mm.
For a ceiling of 2.5–2.7 m: cornice 50–70 mm, molding 30–45 mm, minimal relief.
Color of stucco in a classic interior
The most "aristocratic" option is white stucco on a white wall. This seems paradoxical: white on white — why? But it is this solution that creates the most exquisite effect: the relief is "read" through shadows, not through color contrast. The space looks rich — and never "shouts."
Contrast option: white stucco on a dark wall (dark blue, dark green, anthracite) — a dramatic look, characteristic of English and Scandinavian classics.
Stucco in the color of the wall with a slightly darker background of the field in the frame — an exquisite solution of modern neoclassicism.
Stucco in modern classics: restraint as a statement
Neoclassicism today: less relief, more air
Modern classic is one of the most popular styles in Russian interior design. And it is for it Decorative stucco is one of the key tools.
Unlike historical classics, modern neoclassicism does not overload the space. The principle of "less, but more precise" works here:
-
Moldings are thinner and flatter: profile 40–60 mm with low relief.
-
Fewer elements: not 12 frames per wall, but 2–4, large and clear.
-
Finish: most often the stucco is painted in the color of the wall — no contrast, only texture and shadow.
-
Absence of overloaded ornament: smooth or minimally profiled surfaces.
Modern classic and polyurethane decor
Polyurethane moldings — the ideal material for modern classic. It is lightweight, does not create load on the wall, cuts with an ordinary knife and glues without special tools. With proper installation and painting, it is indistinguishable from gypsum or cement stucco.
polyurethane decor is not afraid of moisture (unlike gypsum), does not crack during building shrinkage, does not crumble. This is a practical choice for residential interiors that are used daily.
Painting stucco in the color of the wall
A very popular technique in modern neoclassicism: all stucco — cornice, moldings, overlay elements — is painted in the same color as the wall. The result is a monochrome surface with relief. Effect: subtle, refined, expensive.
How it works technically:
-
Installation polyurethane molding for purchase from the catalog.
-
Joint putty.
-
Priming the entire surface — walls and stucco together.
-
Painting in a single color — 2 coats of acrylic paint.
Result: the wall looks like an architectural object, not like "applied decor."
How to choose stucco elements from photos on the internet
From a beautiful picture — to specific dimensions
Here's a typical scenario: a person sees a photo of a living room with stucco on Pinterest or Instagram. Saves it. Wants to do the same. But how to go from the picture to the purchase?
Step 1: Assess the scale in the photo
The molding in the photo may look wide — but in reality be 40 mm. This is because the ceiling height and wall area create a scale context. Determine the approximate ceiling height in the photo — and mentally recalculate the dimensions of the decor.
Step 2: Determine the profile type
Is the molding in the photo flat (almost no relief), semi-circular, with a heel, or with a fillet? This determines which profile type it belongs to. molding catalog moldings are classified by profile type — this makes it easier to find an analogue.
Step 3: Count the number of elements
In the photo: how many frames are on the wall? What is their size relative to the wall? With a wall width of 4 m and frames about 80 cm wide — that's roughly 4 frames horizontally. Apply this logic to your own walls.
Step 4: Decide on the color
In the photo, is the stucco white on a white wall, contrasting, or matching? This is an important decision — it changes the entire character of the decor.
Step 5: Study Types of polyurethane molding
Before buying — study what types of decor exist: moldings, cornices, rosettes, pilasters, decorative overlays, corner elements. Each one serves its own purpose.
Mistakes in stucco design: what ruins a beautiful idea
Mistake 1: Too small decor on a large wall
A 20 mm molding on a wall 3 m high and 5 m wide is like a thread on a sheet. The decor must be proportionate to the surface. The minimum width of molding for main frames in a living room with a 2.7 m ceiling is 40–50 mm.
Mistake 2: Overcrowding
Decor everywhere does not mean 'rich'. A space overloaded with stucco looks heavy and unsettling. A good rule: decor should occupy no more than 20–30% of the wall area. The rest should be a clean surface.
Mistake 3: Different styles in one room
Classic molding with rich relief and a modern angular overlay are two languages that do not speak to each other. All elements in one room should belong to the same stylistic group: one manufacturer, one series, one proportional logic.
Mistake 4: Incorrect frame layout
Frames are 'off' not centered, not symmetrical horizontally or vertically. This is immediately noticeable—and then impossible to ignore. Before installation, mandatory marking with a level and tape measure.
Mistake 5: Ignoring furniture
Stucco is designed together with furniture, not separately. The molding frame should 'hold' the sofa beneath it—in width, height, and proportions. If the sofa is a two-seater 160 cm wide, the central frame should be comparable in width.
Mistake 6: Random material without understanding properties
Gypsum stucco is heavier and requires more complex installation. polyurethane moldings buy — means choosing a lighter, moisture-resistant, and more practical material for a residential interior.
How to combine stucco with furniture and wooden decor
Stucco is not alone: it is part of a system
Decorative stucco on the walls — is one layer of decor. But an interior consists of several layers, and they all must speak the same language.
Wooden decor and stucco. Wooden decoration — overlays, rosettes, carved elements on furniture — create a theme of natural material. Polyurethane stucco on the walls is painted the same white color as the wooden furniture elements. The result is a coordinated system: white stucco + white enamel on wooden parts.
Classic furniture. If in the interior Classic Furniture with carved legs, profiled facades, gilded handles — the stucco on the walls should be comparably rich. A simple flat molding next to a formal classic cabinet is a disproportion.
Wooden baseboards and cornices. The wooden baseboard at the floor and the polyurethane cornice at the ceiling should be coordinated in width and profile. A too-wide cornice with a narrow baseboard is a violation of proportions.
Lighting: an ally of stucco
Stucco "comes alive" in side and directional lighting. Direct overhead light kills shadows — and the relief becomes flat. Side light from sconces, wall lamps, floor lamps — emphasizes the depth of the profile, makes shadows expressive.
This is fundamentally important when choosing a place for stucco: walls that have side light sources will give the maximum decorative effect.
Polyurethane stucco: why it is chosen today
Three main advantages over plaster
Polyurethane moldings has replaced plaster as the main material for decorative stucco in residential interiors. There are three reasons.
Weight. Polyurethane is 5–8 times lighter than plaster for the same volume. This means: no wall reinforcement, no anchors, no fears that the decor will fall off. PU stucco is attached with mounting glue — and holds securely.
Moisture resistance. Plaster gets wet in high humidity, loses strength, and becomes covered with mold. Polyurethane is inert to moisture. It can be used in kitchens, bathrooms, hallways.
Processing. Polyurethane molding is cut with a regular sharp knife. Corners are trimmed to the desired angle with a miter saw or miter box. No special tools, no professional training required.
Installation of polyurethane stucco: what you need to know
-
Surface preparation. The wall or ceiling must be dry, level, and dust-free. Priming with acrylic primer is mandatory.
-
Marking. Using a pencil and level — lines for the future location of the molding.
-
Cutting. The molding is cut to the required length. Corners — at 45° in a miter box.
-
Installation. Apply liquid nails or special polyurethane adhesive to the back surface of the molding. Press and secure with painter's tape until set (15–30 minutes).
-
Puttying. Joints and areas adjacent to the wall — a thin layer of acrylic putty.
-
Painting. After the putty dries — primer, then 1–2 coats of paint.
Where to buy interior stucco: catalog and selection
The right choice of stucco is a choice from a full range with precise characteristics: profile width, relief depth, type of decor, ornament pattern.
Full catalog of stucco and polyurethane decor:
-
Buy decorative stucco — the entire range of polyurethane products.
-
Polyurethane wall decor — trims, rosettes, cartouches, corner elements.
-
cornice under the chandelier — ceiling rosettes.
-
Types of polyurethane molding — a detailed breakdown of all types of decor.
-
stucco style — about the aesthetics and function of stucco molding in interiors.
-
Polyurethane molding allows creating a stylish and presentable exterior of a house, while the material retains its qualities in any weather conditions. — for exterior finishing.
-
Wooden decoration — for coordinated design of furniture and interiors.
FAQ: popular questions about stucco molding in interiors
How does polyurethane molding differ from plaster molding?
Polyurethane is 5–8 times lighter, moisture-resistant, cuts with a knife, and is mounted with glue without anchors. Gypsum is heavier, brittle, afraid of moisture, and requires professional installation. For residential interiors, polyurethane is preferable in every way.
Can polyurethane molding be painted?
Yes, and that is one of its main advantages. Acrylic or water-based paint applies evenly. You can paint it the same color as the wall or a contrasting one.
How to calculate the amount of molding for frames on a wall?
Measure the perimeter of each planned frame (2 × width + 2 × height). Add up the perimeters of all frames. Add 10–15% for trimmings. This is the required linear footage.
Is stucco only suitable for classic styles?
No. In modern neoclassicism, Scandinavian, Art Deco, and even some loft variations, stucco is used as an architectural tool. The key is choosing the right profile and density of decor.
Can molding be installed by oneself?
Polyurethane — yes. This is one of the few types of finishing work that can be done without professional training with proper marking and accuracy.
How to avoid visible joints of molding at corners?
Cut at 45° in a miter box + acrylic putty on the joint + thorough sanding after drying + painting. With proper execution, the joint is nearly invisible.
STAVROS: polyurethane stucco for your interior
Stucco in interior with photos — is always about how to transform a space from functional to expressive. Wall molding, ceiling cornice, chandelier rosette — these details don't change the architecture of the house. They change its character.
STAVROS offers a full range buy polyurethane molding — moldings, cornices, overlays, rosettes, corner elements, decorative panels. All products are made of high-quality polyurethane with a clear relief, stable dimensions, and a perfectly prepared surface for painting.
STAVROS supplies decor for residential interiors, country houses, hotel and restaurant projects throughout Russia. A single catalog — a single style — a single quality.