












Article Contents:
- Start with the fireplace, not the molding
- An appliance-specific safety checklist
- Electric fireplaces: familiar appearance, model-specific rules
- Gas and wood-burning fireplaces: additional constraints
- Visual symmetry is a choice, not a requirement
- 1. One large picture-frame panel above a permitted mantel zone
- 2. Twin vertical panels beside the fireplace
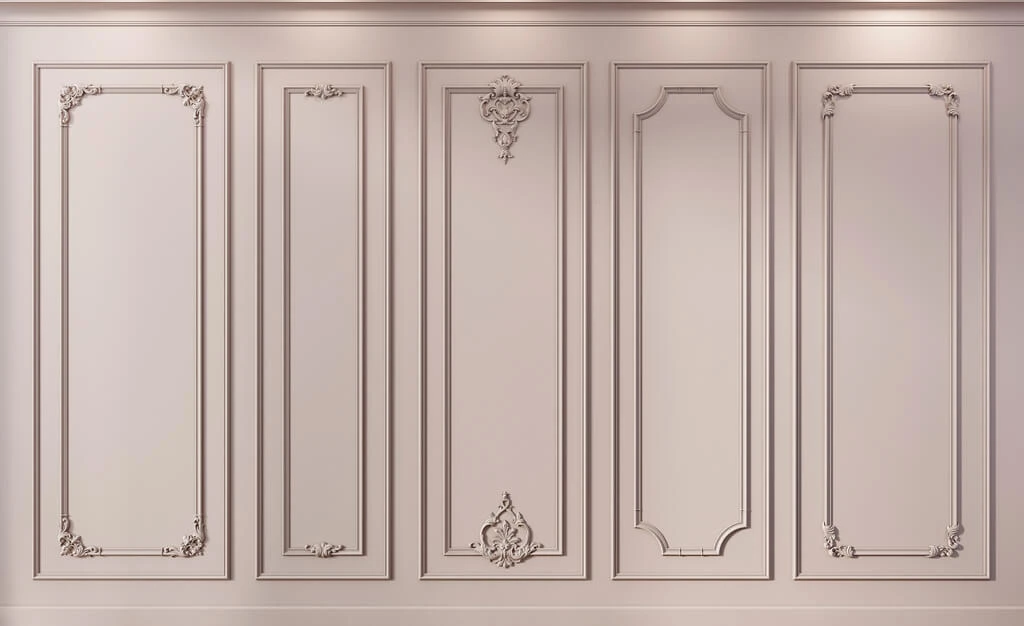
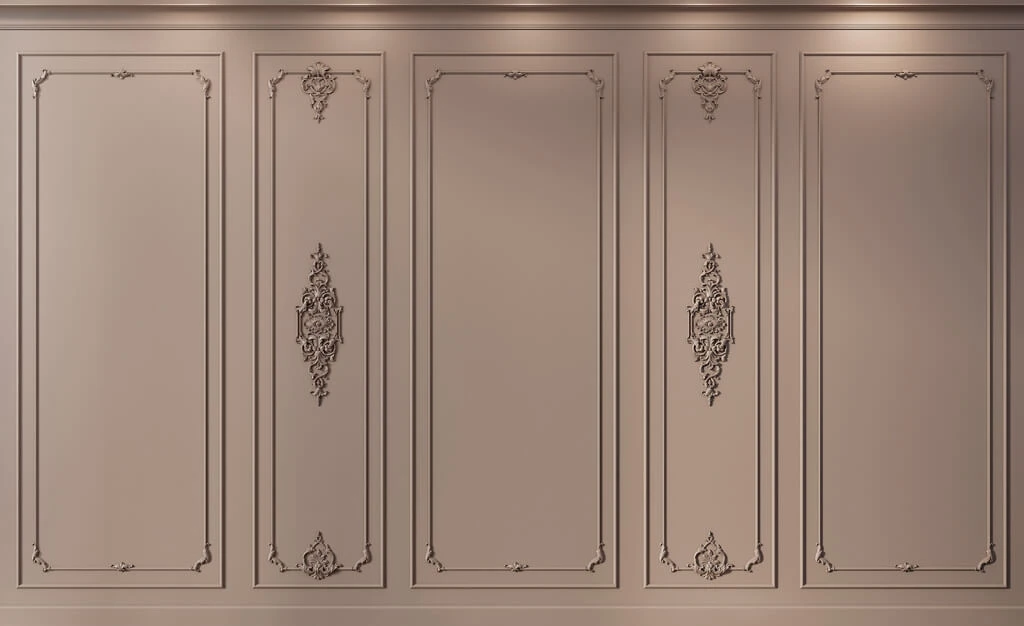
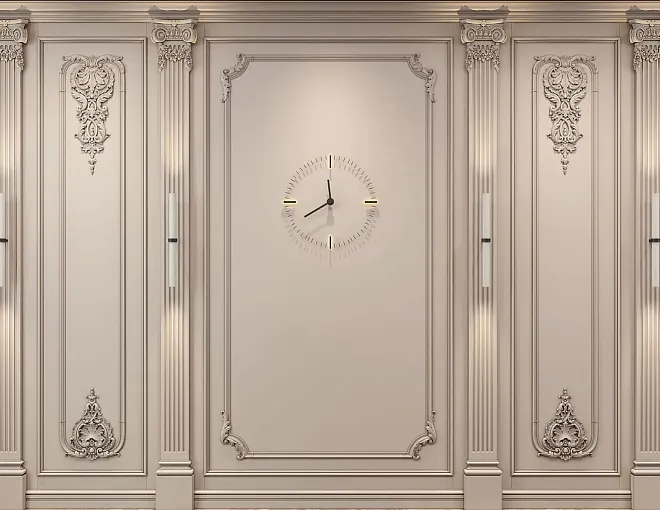
- 3. A three-panel accent wall
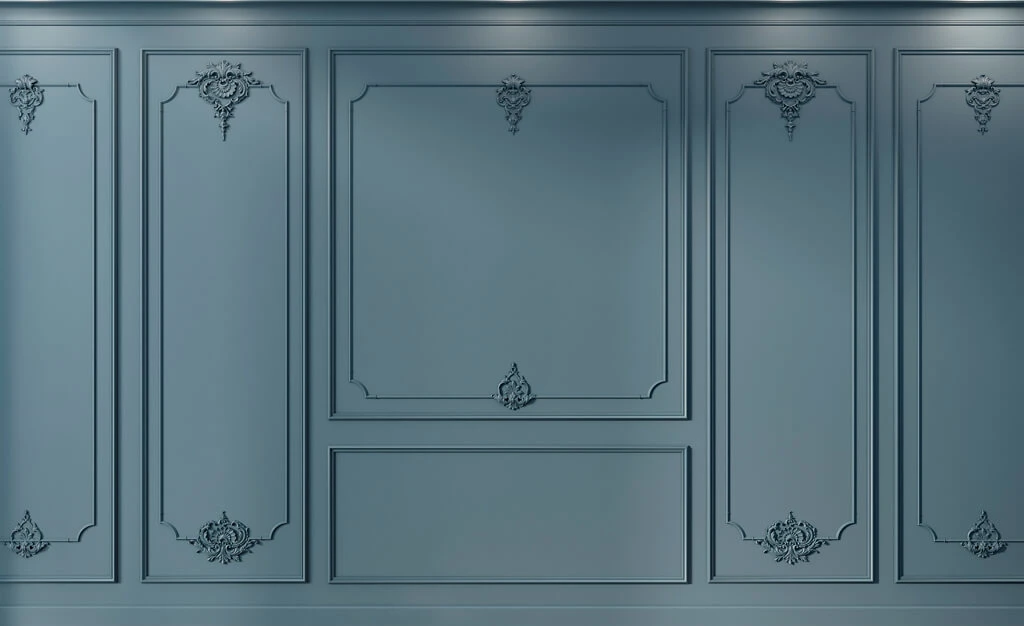
- 4. Dark-on-dark contemporary molding
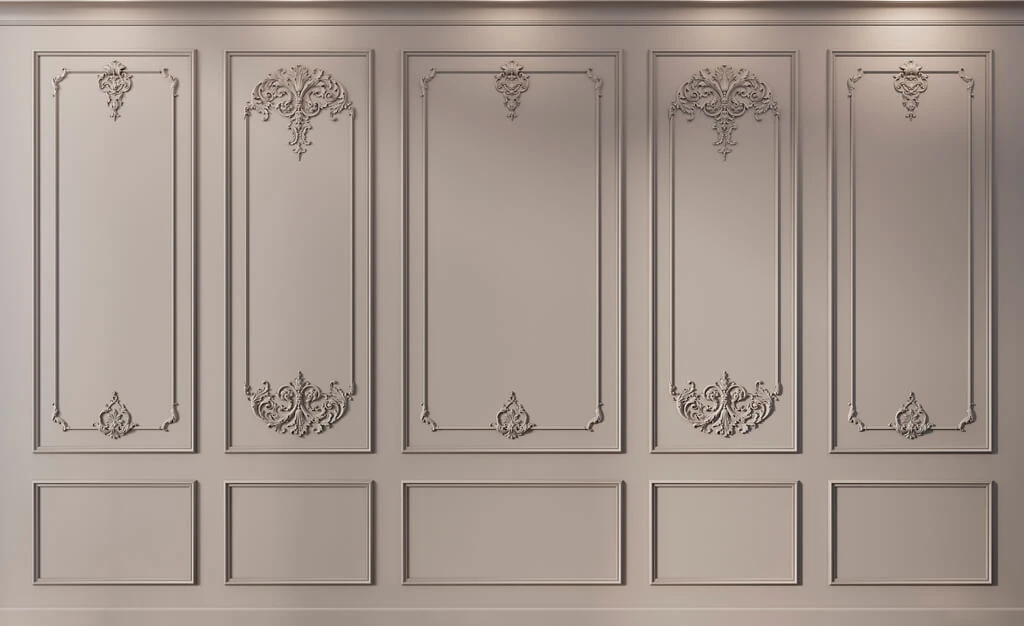
- 5. A restrained grid for a wide media wall
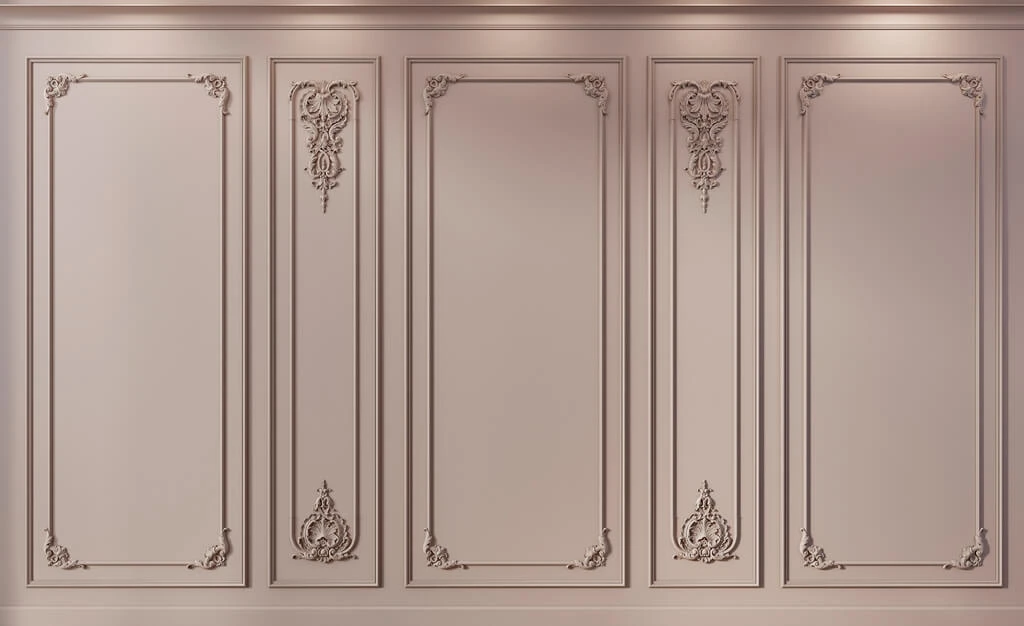
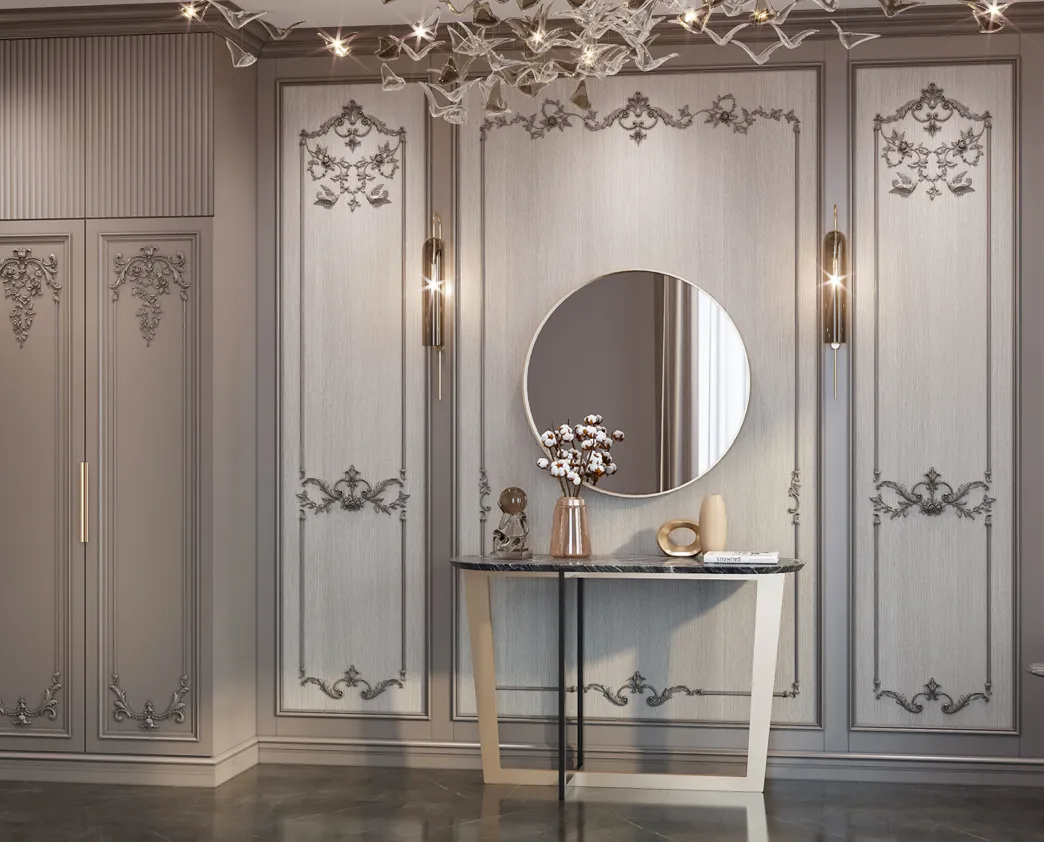
- 6. Neoclassical trim with a modest center accent
- 7. Trim that continues onto adjacent, ordinary walls
- A quick selection method
- Example: two tall side frames
- Example: three compact square panels
- Example: a broad central panel
- Prepare the wall and materials
- Lay out, then attach
- Finish joints without overfilling
- Warm white and restrained classic interiors
- Deep color and contemporary rooms
- Two-tone schemes
- Small living room or apartment
- Family room with built-ins
- Double-height great room
- Traditional study
- Can polyurethane molding go around an electric fireplace?
- Can I place polyurethane directly against a gas fireplace surround?
- What is the difference between wall molding and a fireplace mantel?
- Is picture frame molding on walls still appropriate in a modern room?
- How much molding should I order?
- Can decorative panels hide a fireplace vent or inspection opening?
- What is the easiest DIY wall molding pattern?
- Should I use wall molding ideas from social media as installation instructions?
- Is a decorative polyurethane kit automatically suitable for a fireplace?
- Can I paint the molding and wall the same color?
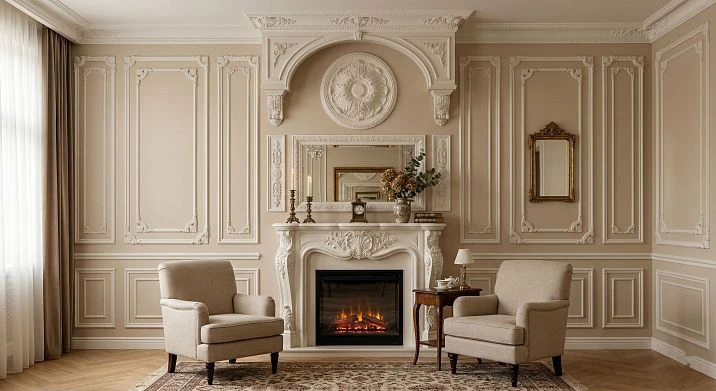
A fireplace wall should feel intentional even when the fire is off. Architectural trim can turn blank drywall into a composed backdrop, connect a mantel to nearby built-ins, and give art or a television a clear visual boundary. Yet decorating a working fireplace is different from designing an ordinary accent wall: the appliance, its instructions, the surrounding construction and the finish materials must be considered before the first piece of trim is ordered.
This guide explains how to plan fireplace wall molding ideas using polyurethane profiles in locations where their use is permitted. It covers wall trim molding proportions, panel layouts, cut planning, installation and paint choices, with examples for electric, gas and wood-burning installations. The design suggestions are not approval to put a combustible decorative product near heat. The fireplace manufacturer’s specified clearances and local code requirements always come first.
Start with the fireplace, not the molding
The fastest way to avoid an expensive redesign is to identify what type of fireplace you have and obtain the correct installation manual. A surface that looks cool when the appliance is idle can become hot during operation. Heat output can change with fan settings, flame intensity, vent configuration and surrounding construction. A mantel, television recess or decorative surround can also change airflow. Neither a photograph nor an assumed distance is sufficient to determine whether a trim material may be installed.


An appliance-specific safety checklist
- Record the fireplace manufacturer, model number, fuel type and whether the unit is built in, wall mounted or freestanding.
- Find the current installation instructions for that model and read diagrams for mantels, sidewalls, facing materials, trim, vents, air openings and clearances to combustible construction.
- Identify the exact finish zone that the manufacturer permits. Some areas need noncombustible material; others permit particular finishes subject to defined conditions.
- Check applicable local building and fire requirements and obtain any needed approval from the authority having jurisdiction; when the rules or instructions conflict, do not improvise.
- Ask a qualified fireplace installer or building professional to evaluate uncertain conditions before purchasing or mounting polyurethane.
- Keep service access, ventilation slots, screens, controls, sensors and required inspection openings free of decorative trim.
Polyurethane trim should be treated as a potentially combustible decorative building product unless its specific documentation establishes otherwise. “Heat resistant” in a generic product description is not a substitute for a listed assembly, certified fire performance or installation permission. Never install it inside a firebox, onto a hot metal face, over a required noncombustible surround, across a vent or inside a manufacturer-defined clearance zone.
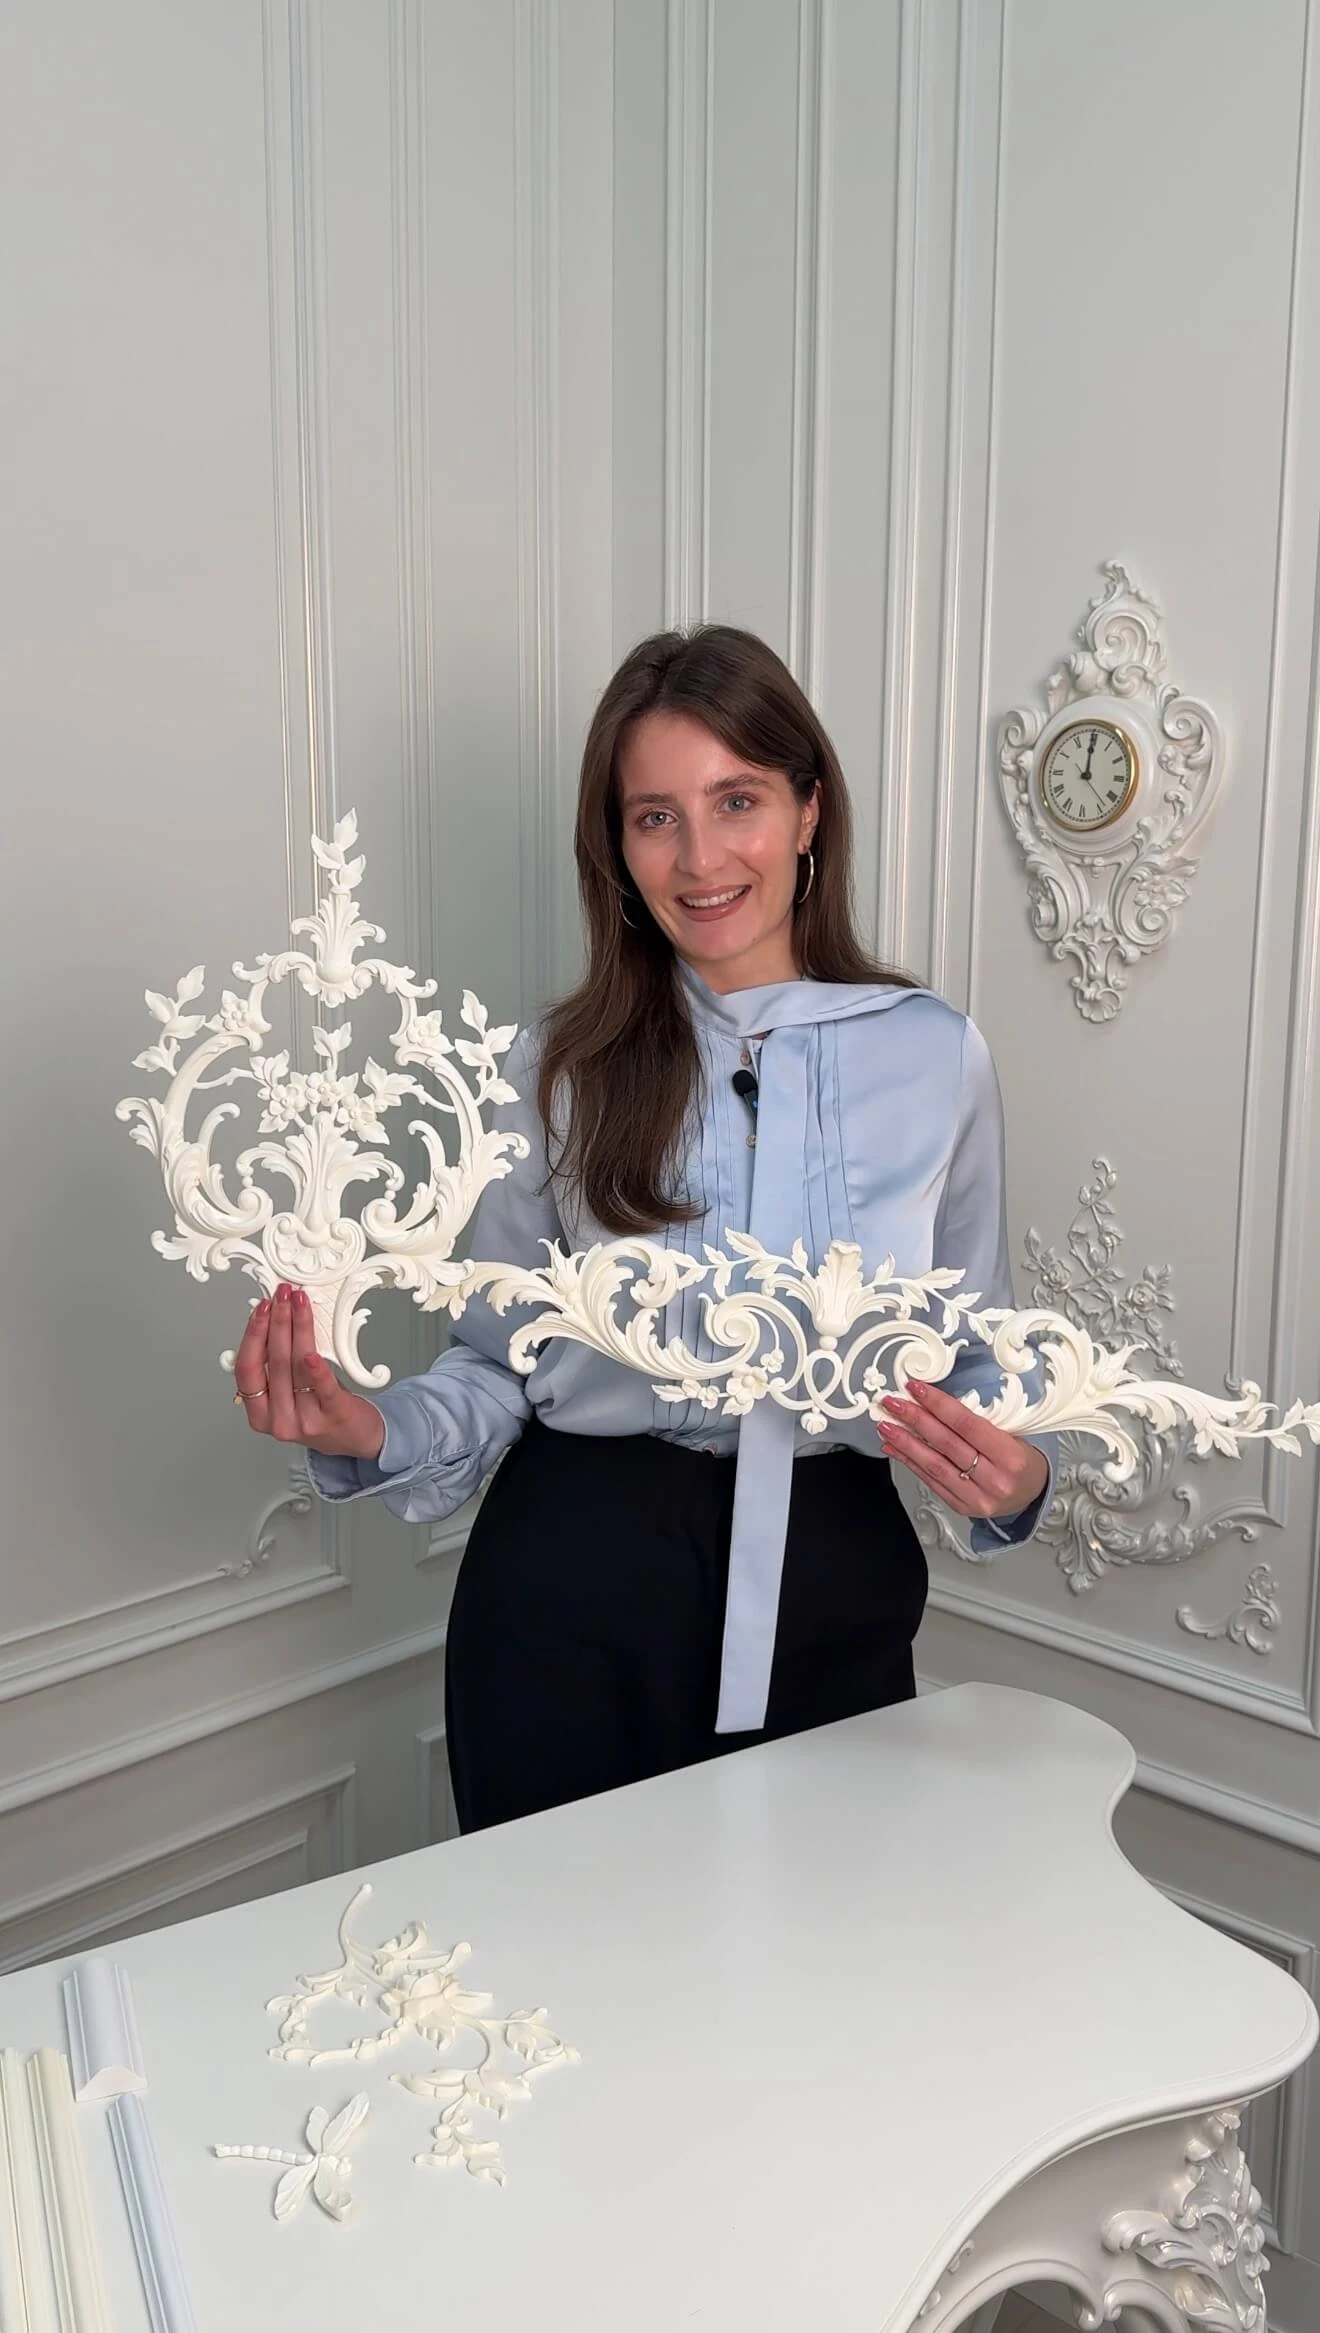
Наша фабрика также производит:


Смотреть весь Каталог продукции
Electric fireplaces: familiar appearance, model-specific rules
An electric flame display does not automatically make a fireplace wall safe for every decoration. Some units incorporate heaters with directed warm-air discharge; some are decorative only; others have front, top or bottom ventilation. The finish requirements can be very different. Treat the model’s instructions as the controlling specification, including when the heat function is rarely used. A trim layout that leaves air outlets unobstructed today must remain unobstructed after adding a mantel, television or shelf.
Получить консультацию
Gas and wood-burning fireplaces: additional constraints
For gas units, distinguish direct-vent products, inserts, open-front styles and other configurations. The allowed facing material, mantel projection and sidewall conditions depend on the appliance and its tested installation. For a wood-burning fireplace, sparks, radiation, chimney and hearth requirements make arbitrary close-range decorative cladding especially inappropriate. Use a suitably qualified professional for the firebox and surround; reserve aesthetic polyurethane framing for independently approved, remote wall areas.
What makes a fireplace wall look complete?
A successful wall design reads as one composition instead of separate boxes pasted around a fire opening. Three elements usually control the result: the fireplace opening or mantel as the primary anchor; the size and proportions of the entire wall; and the relationship of trim with art, lighting, shelving and furniture. Decorative wall molding can reinforce those relationships through rhythm and shadow without adding much visual clutter.
On a narrow wall, one restrained frame above the mantel may be enough. On a wide wall with bookcases, matched panels can give the flanking areas their own structure. In a two-story living room, tall side frames may establish vertical order, but the same design squeezed onto an eight-foot ceiling can feel theatrical. Start with a pencil sketch of the entire elevation, including outlets, grilles, access hatches and the finished floor line.
Visual symmetry is a choice, not a requirement
A centered traditional fireplace often benefits from equal panel widths on each side. However, an offset fireplace in a contemporary room may look better with a deliberately unequal arrangement: one large open field, a single vertical frame or a balanced grouping of shelves. Do not force identical trim boxes onto a wall that contains a doorway or one-sided built-in. Balance the actual visual weight, not only the tape-measure distances.
Seven fireplace accent wall molding ideas
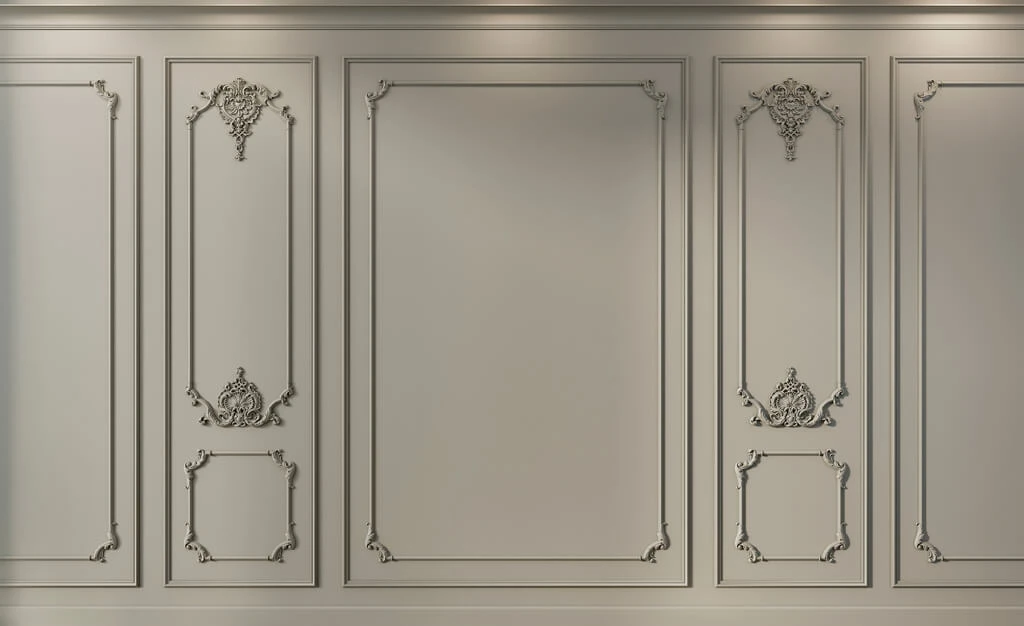
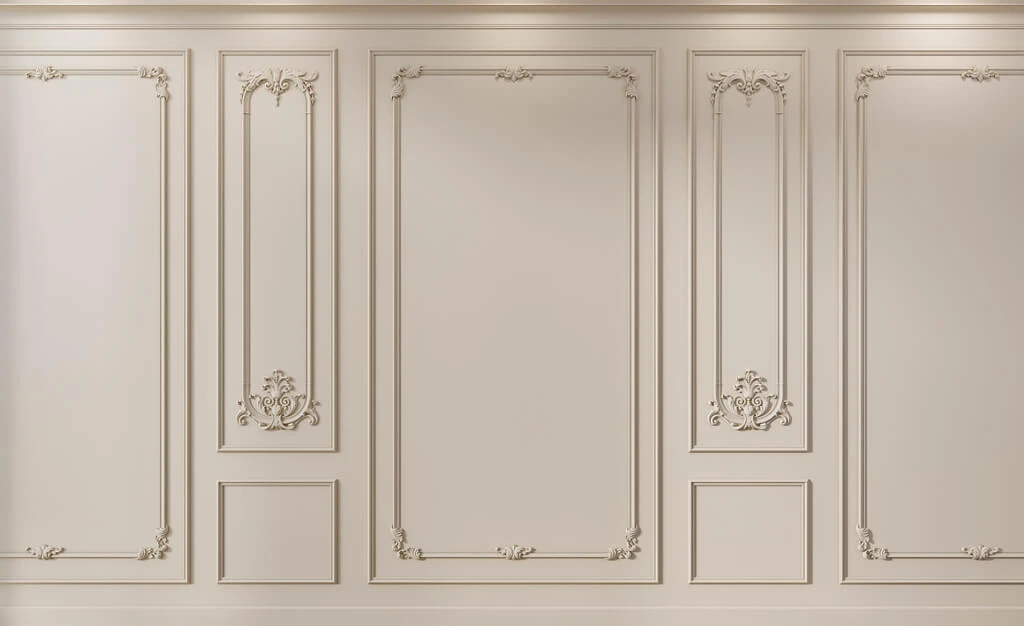
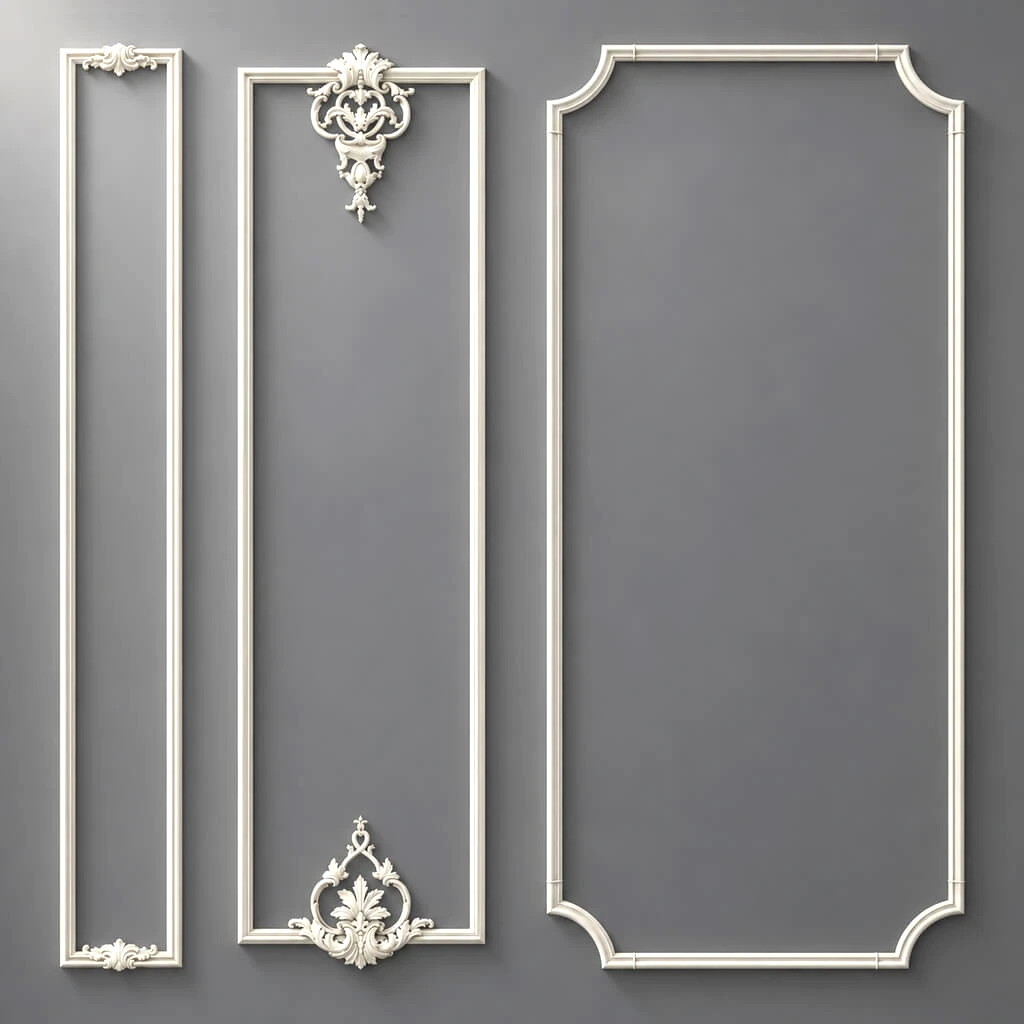
1. One large picture-frame panel above a permitted mantel zone
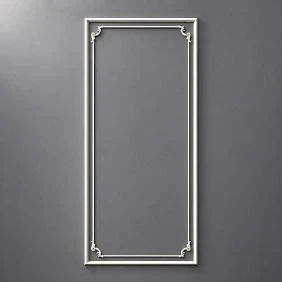
For a calm traditional or transitional room, outline one broad rectangular field above the mantel. Use a simple profile and leave sufficient negative space for a mirror, painting or textured paint. The ideal panel width depends on the width of the fireplace and the wall: visually, the frame can align with a mantel edge or a nearby architectural datum, but that alignment does not overrule appliance clearances. If a required no-trim region interrupts the panel, move the entire composition into a permitted wall area instead of reducing the gap arbitrarily.
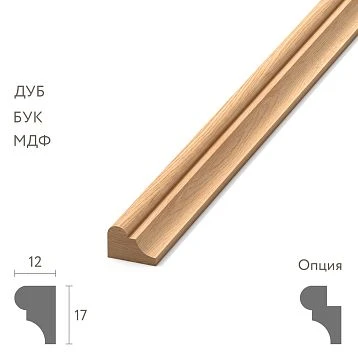
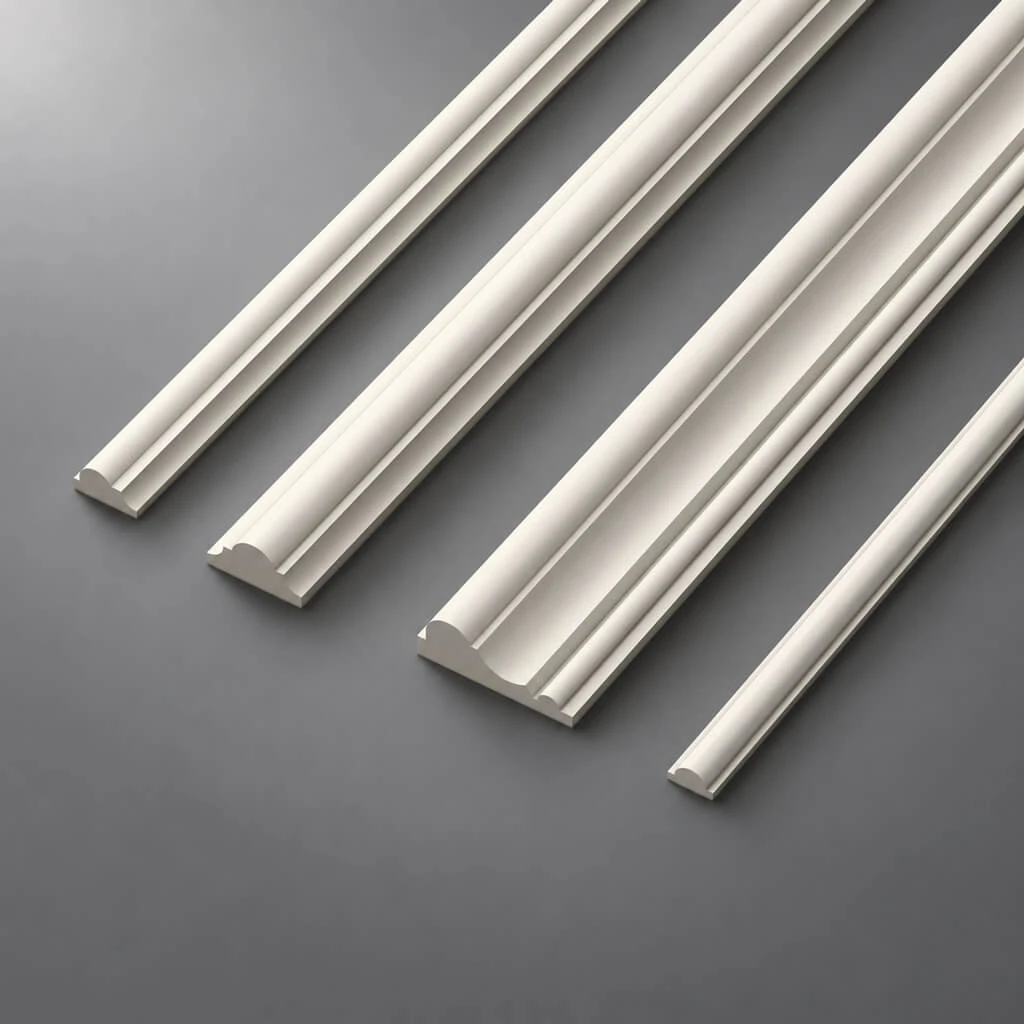
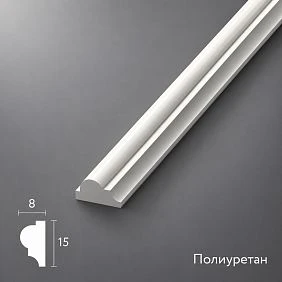
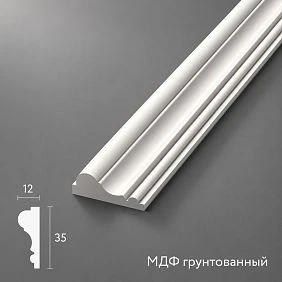
This is a natural use for picture frame molding on walls. A slim edge creates depth without competing with a substantial mantel. For stronger definition, compare the profile shape of polyurethane molding MLDPU-003 before committing to a deeper relief.
2. Twin vertical panels beside the fireplace
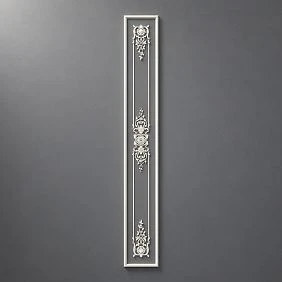
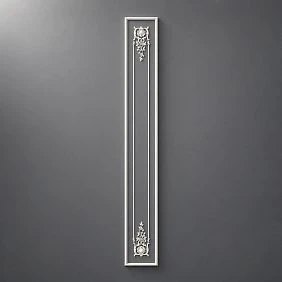
Two tall rectangles can make a standard wall feel wider and organize sconces or built-in cabinetry. Keep the tops and bottoms aligned with elements already in the room. If the fire opening is not exactly centered, adjust side fields so they read as intentional architecture rather than an unsuccessful attempt at symmetry. The entire trim, including its protruding profile, must be outside restricted appliance zones.
3. A three-panel accent wall
When the fireplace is centered in a wide living room, use a strong central field and two narrower side fields. This gives the wall a familiar architectural rhythm without requiring a complicated ornament. A useful starting sketch is a central panel around half the available decorative width and the balance split between two sides; revise that proportion around actual cabinetry, windows and the fireplace manufacturer’s restrictions. The idea is an optical guide, not a fixed construction formula.
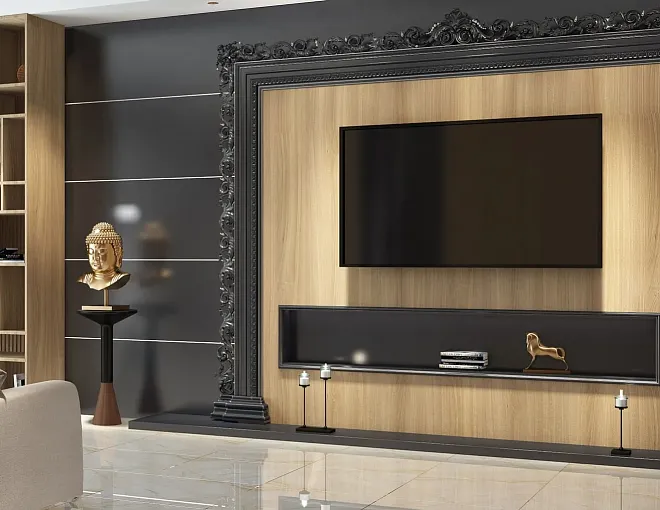
4. Dark-on-dark contemporary molding
Paint the wall and trim in one deep charcoal, forest green or warm umber shade. Matching colors let profile shadows do the work and can calm a busy television wall. Matte and low-sheen finishes usually make minor surface variation less conspicuous, but only use primers and paints approved for the specific substrate and location. Never assume paint makes underlying polyurethane noncombustible.
5. A restrained grid for a wide media wall
A series of aligned rectangles can visually tie a fireplace to adjacent open shelving or a large television. Before adding horizontal members, consider sightlines from the sofa and where a TV mount or future cable access needs to go. Avoid a trim joint exactly where a wall bracket must fasten. A rectangular grid becomes much more refined when it repeats the shelf spacing and does not cover service panels.
6. Neoclassical trim with a modest center accent
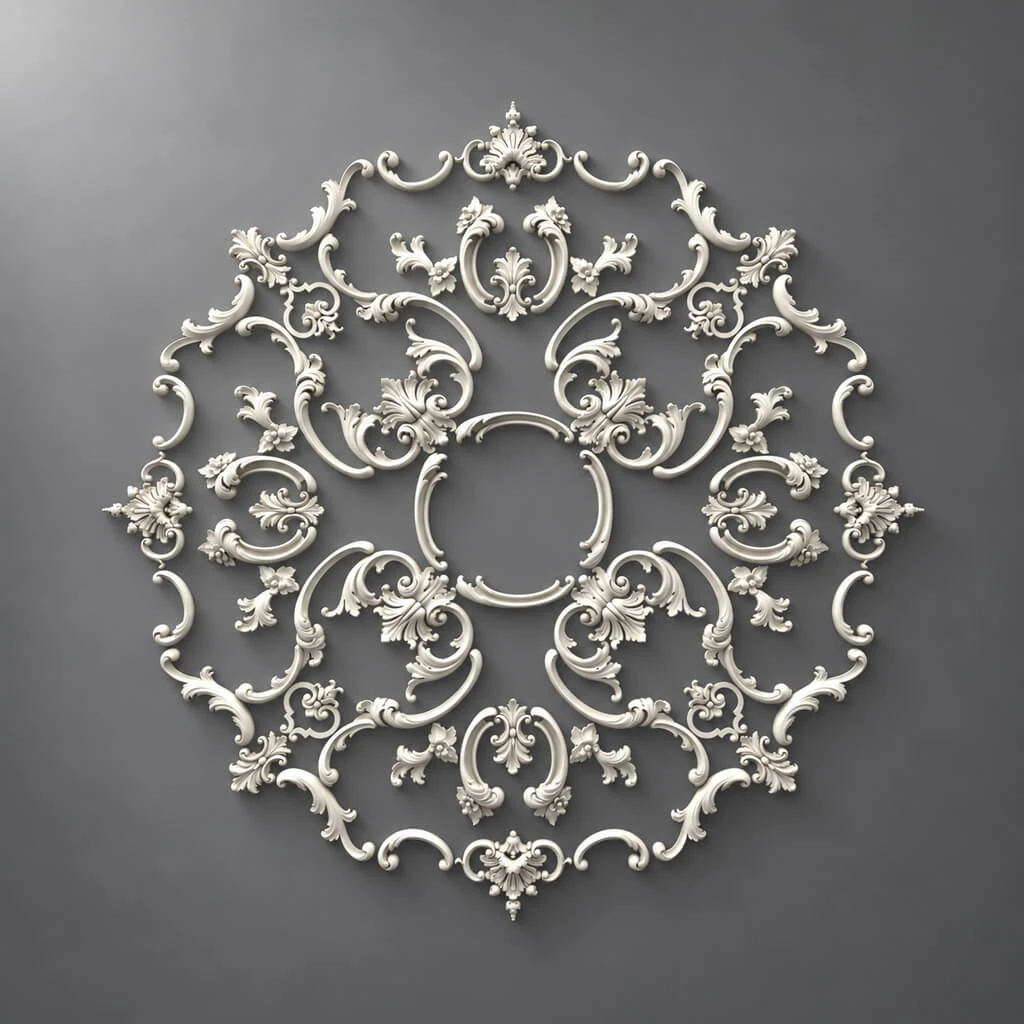
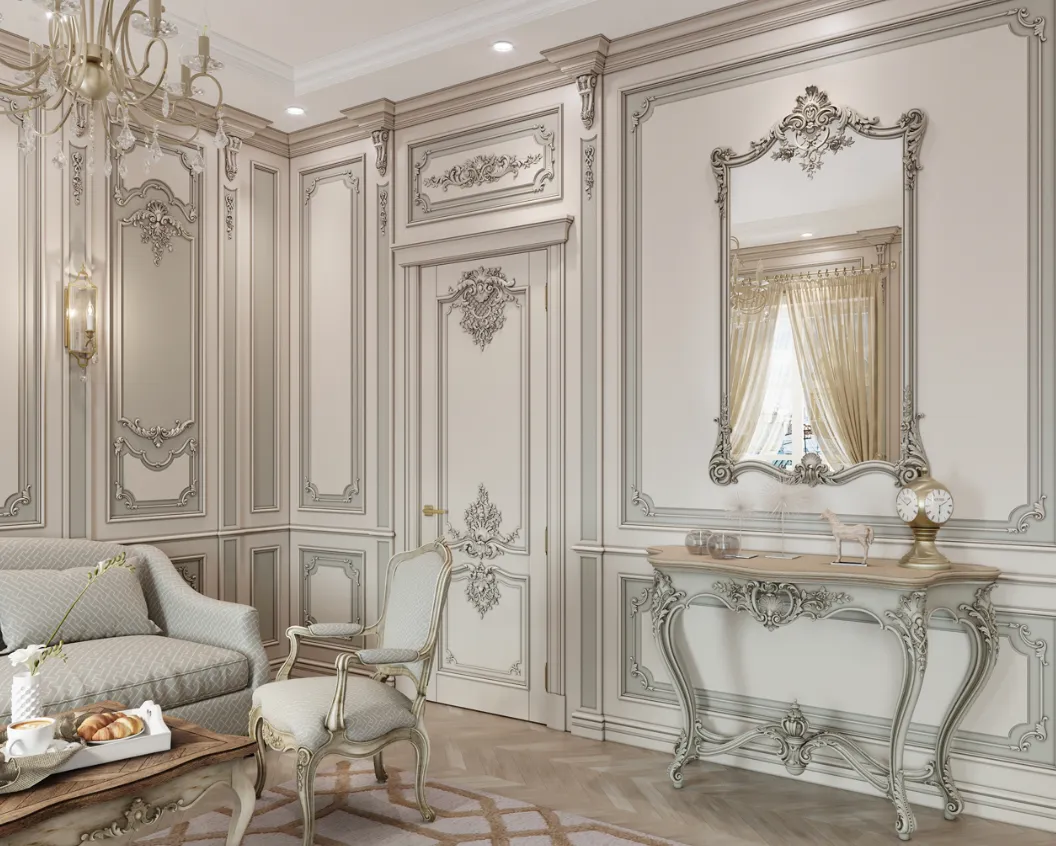
A more expressive profile can support a traditional mantel, paneled cabinets and classic lighting. Keep ornament concentrated in one location rather than placing decorations at every corner. The eye should reach the fire opening first, then the architectural surround, then any individual details. For a small room, a narrower, quieter profile often looks more convincing than large relief moldings.
7. Trim that continues onto adjacent, ordinary walls
If a fireplace occupies only one part of a long wall, repeat a simplified panel size beyond the immediate fireplace zone. The continuity can make the room feel designed as a whole. One benefit is that much of the decorative molding can be installed on wall surfaces far from the appliance, making it easier to respect all restricted areas. In the side seating zones, wall trim molding can frame art or unify painted drywall without trying to imitate a fire-rated surround.
Choosing polyurethane molding and accent panels
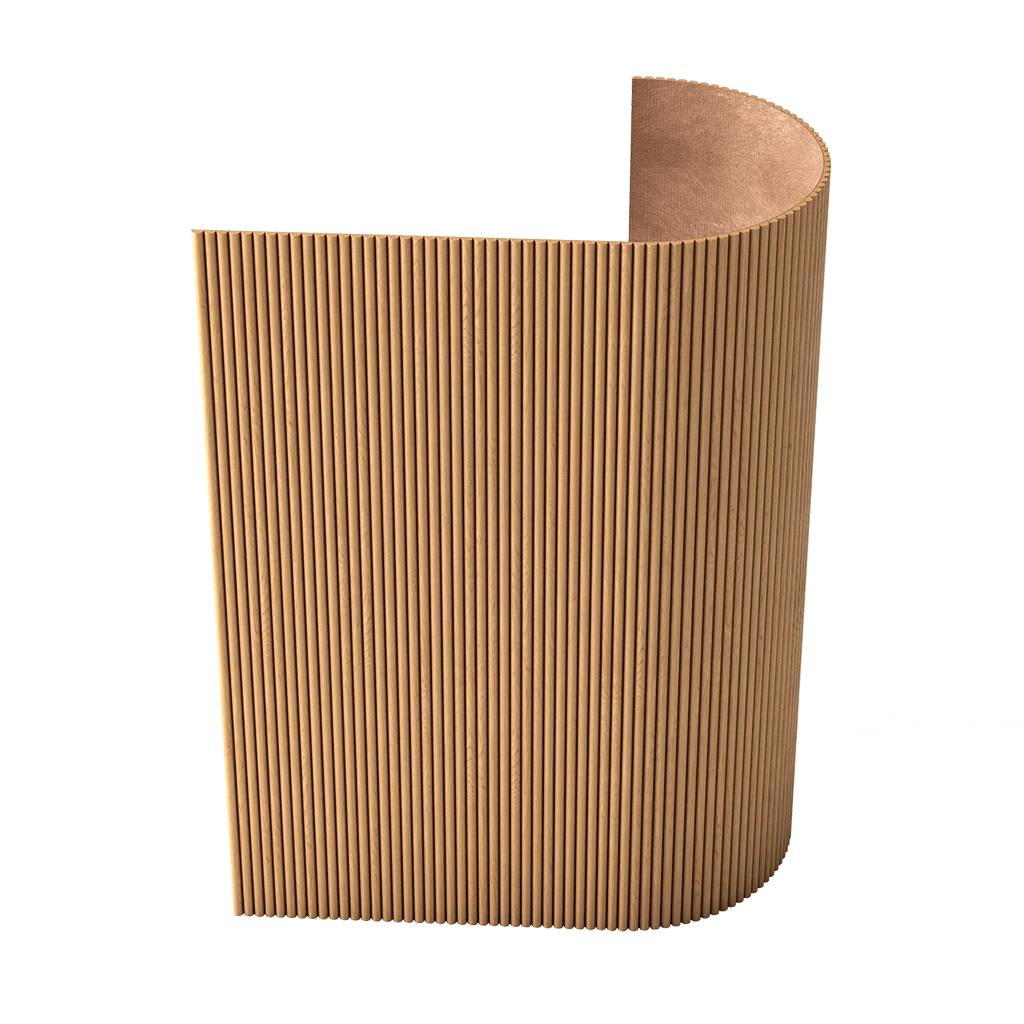
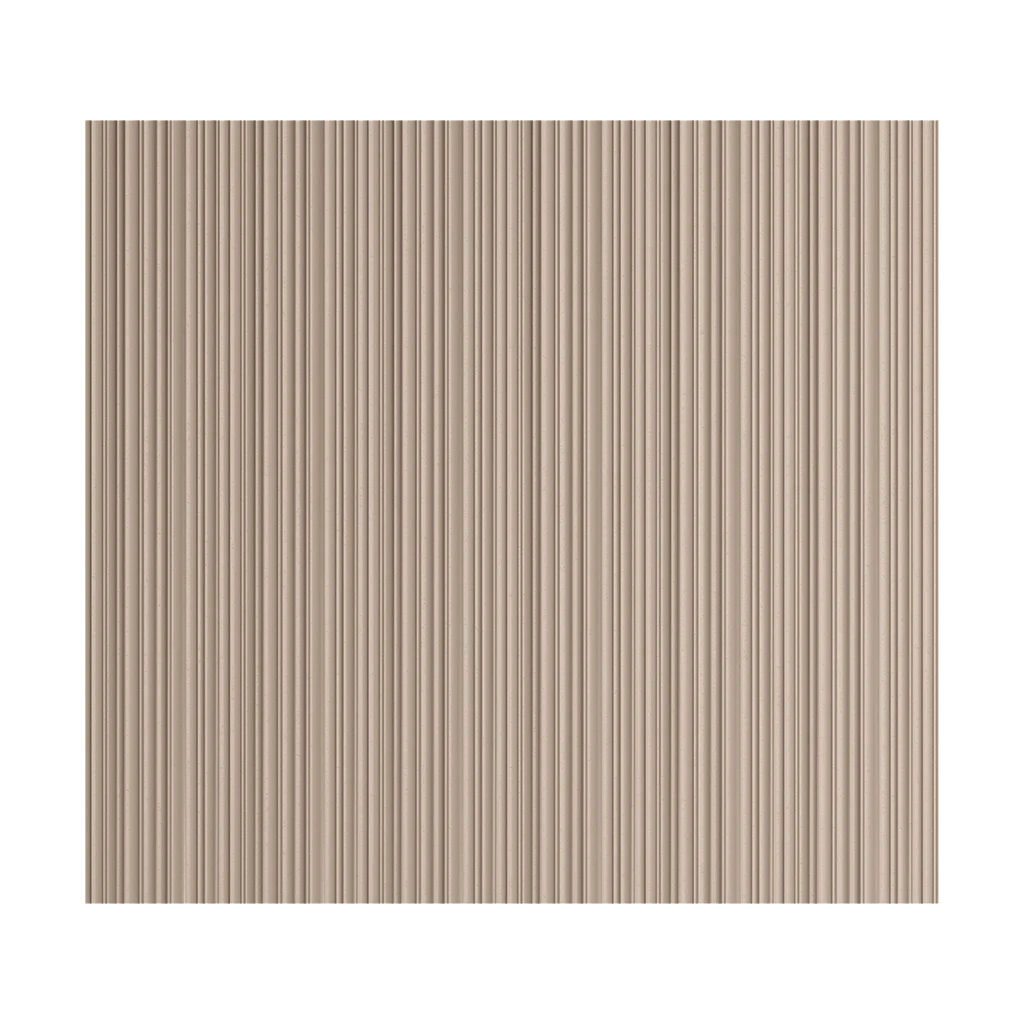
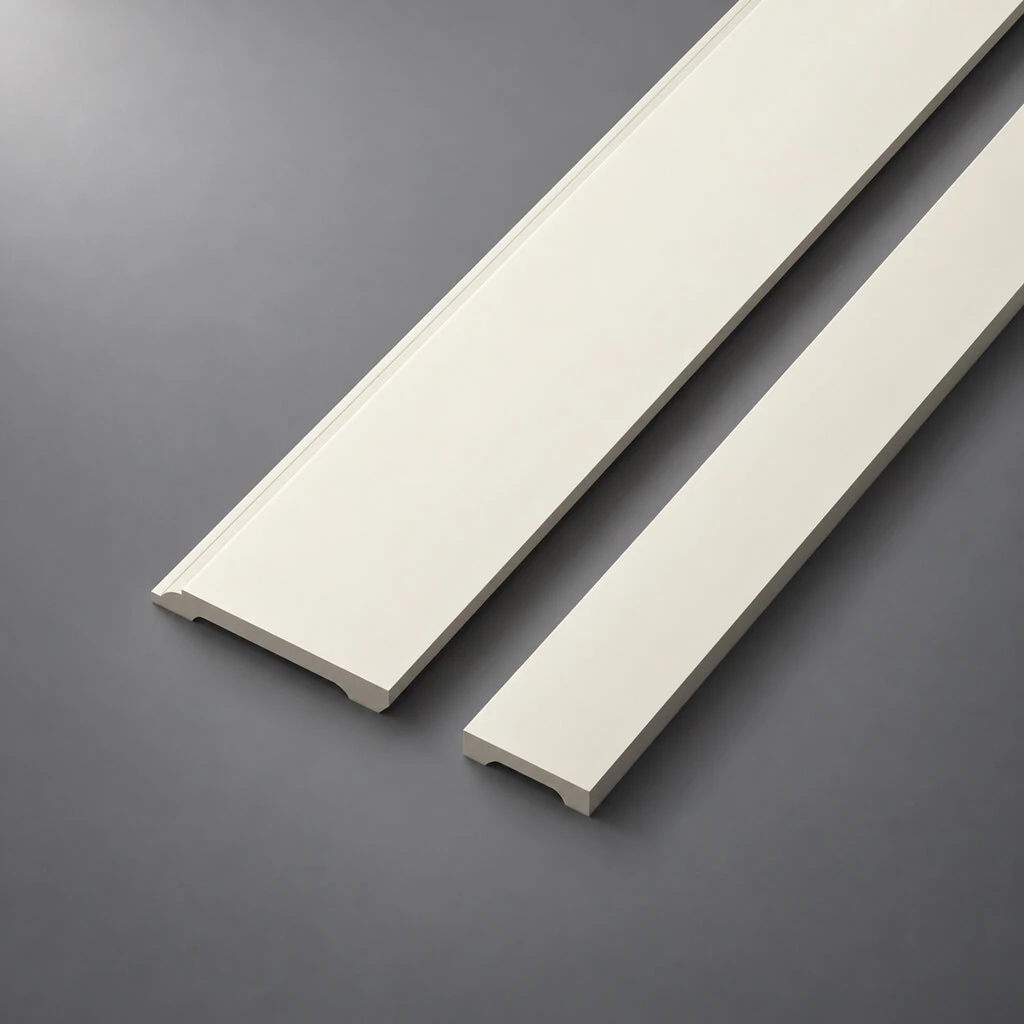
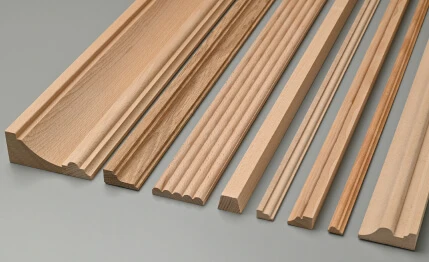
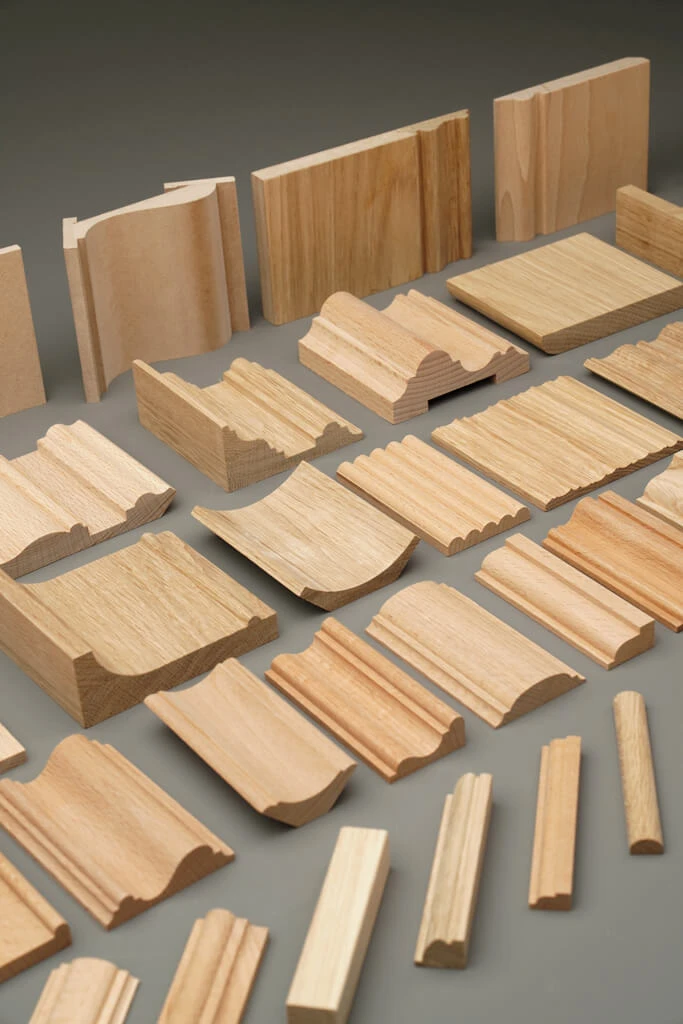
“Panel molding” usually refers to a narrow raised strip used to outline a rectangle or divide wall fields. A wall panel may instead be a sheet, board or fabricated assembly. Those are not interchangeable products, and nothing about a decorative profile turns the underlying wall into a tested fire-rated assembly. For this project, choose by verified composition, size, shape, surface finish and intended interior application; then verify where it can legally and safely be installed.
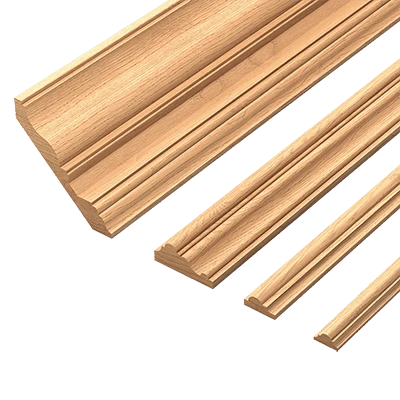
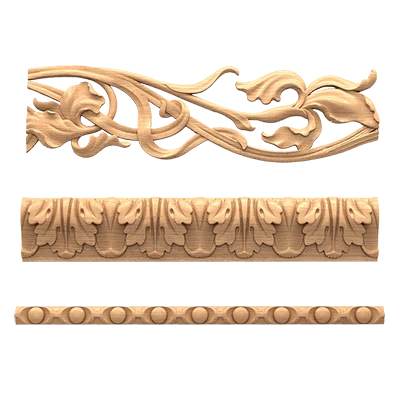
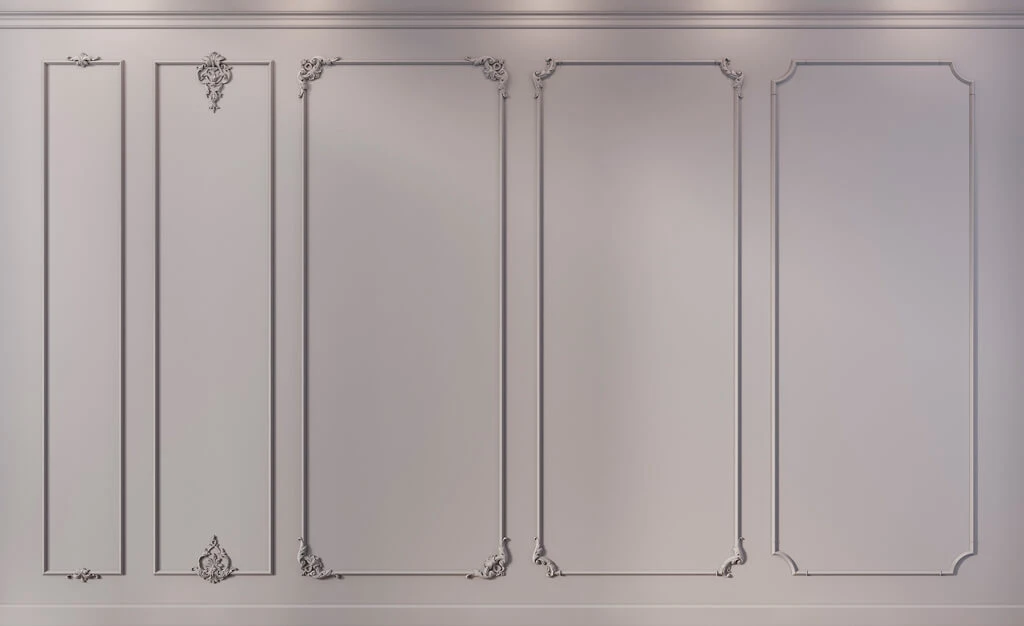
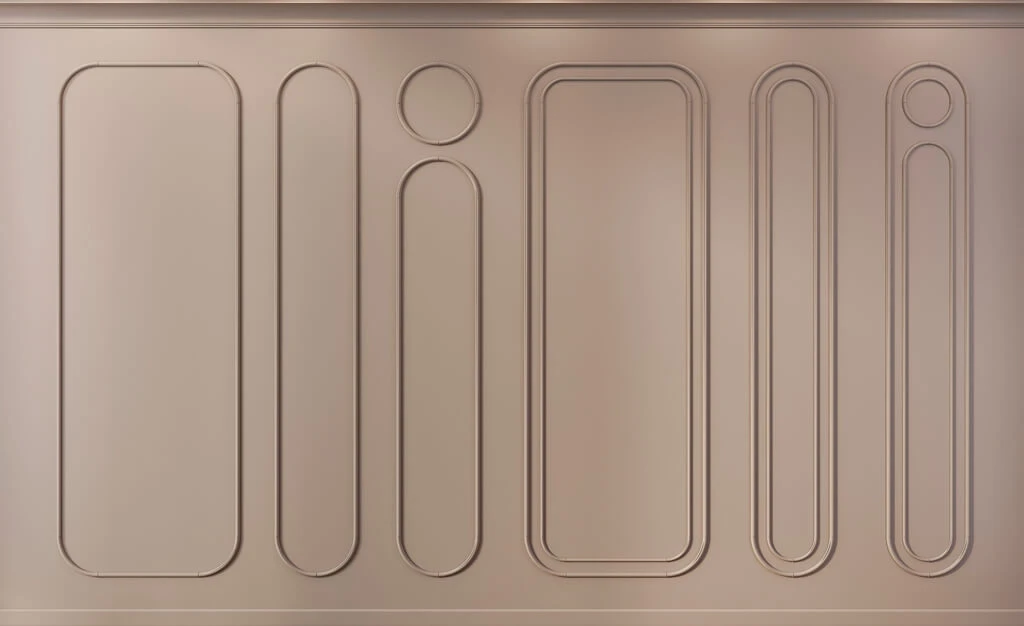
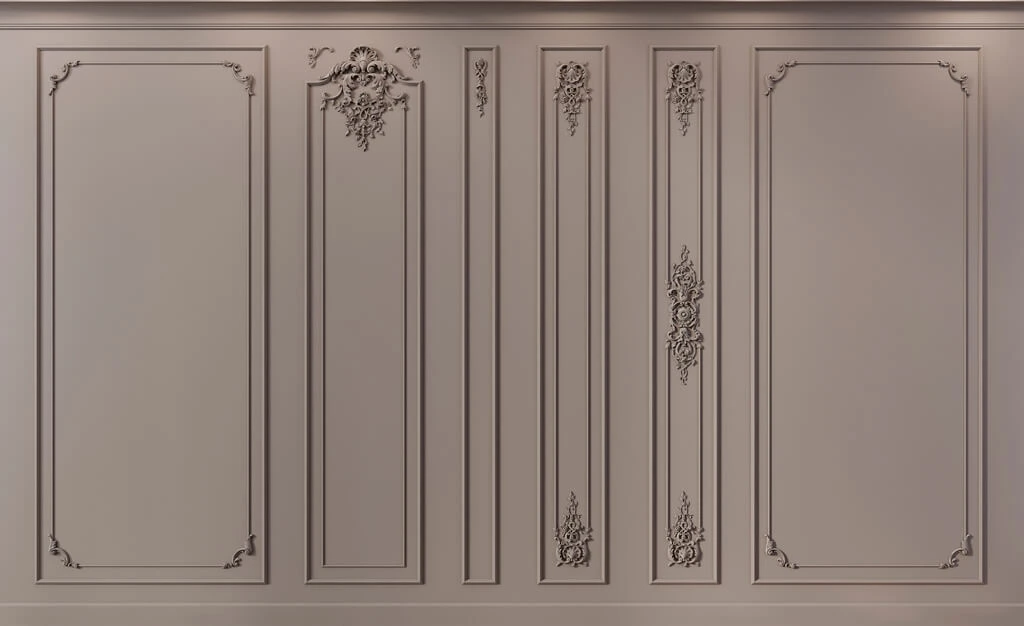
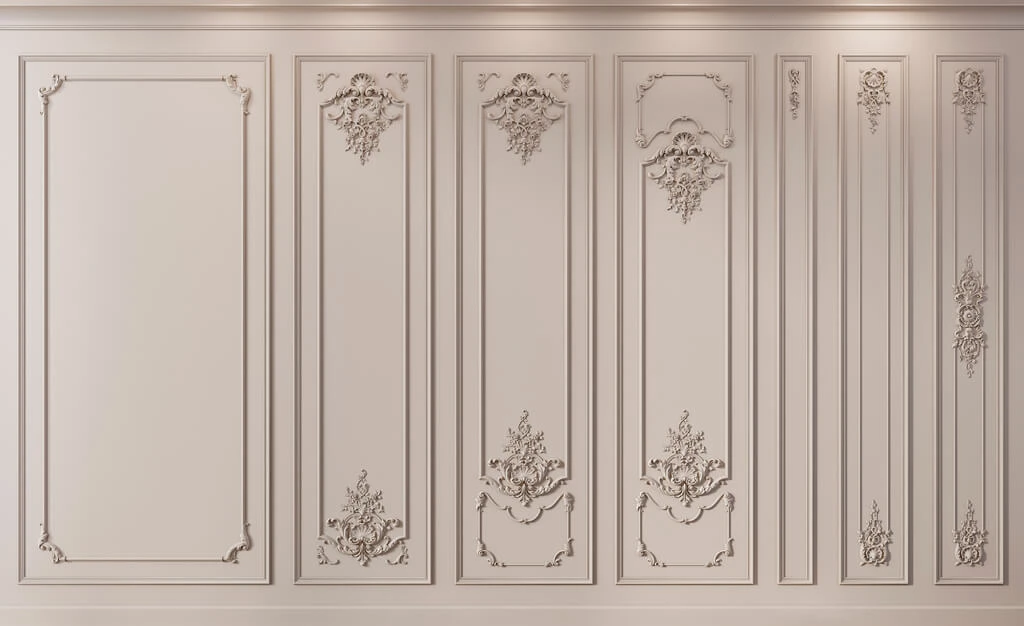
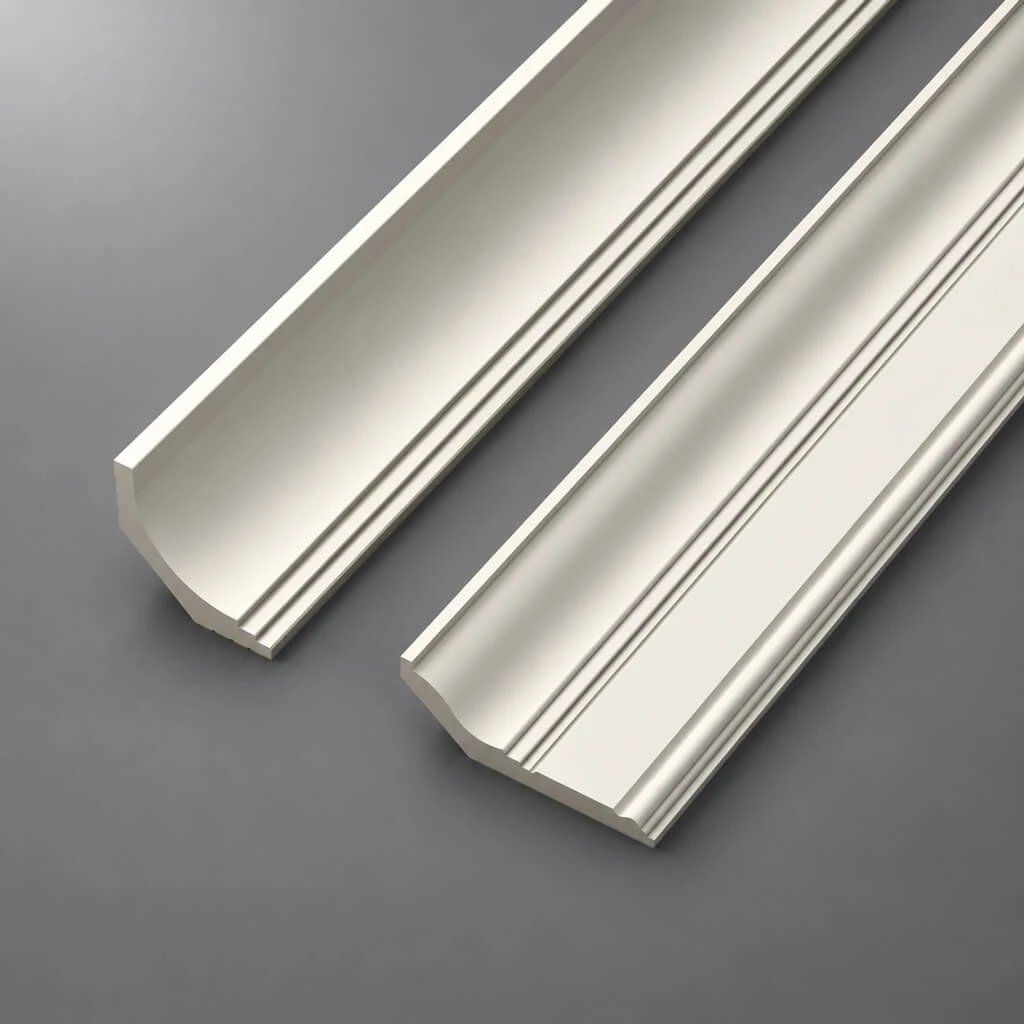
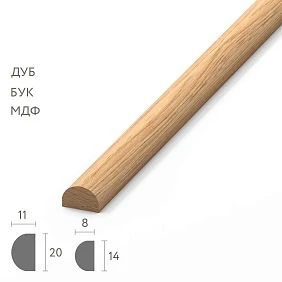
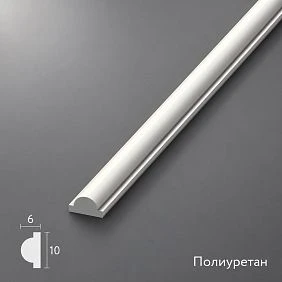
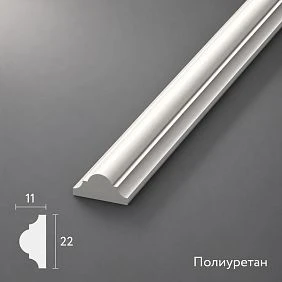
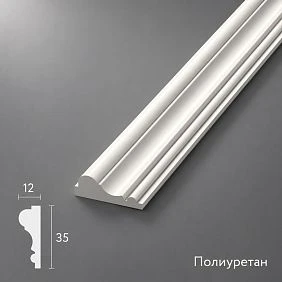
The STAVROS polyurethane moldings catalog provides starting profiles for wall designs. The examples below are cataloged as polyurethane wall molding; check the current product detail page for the length, finishing guidance, stock and suitability for your location before ordering.
| STAVROS profile | Catalog cross section | Visual use on an approved wall area |
|---|---|---|
| MLDPU-001 | Check current product drawing | Simple thin-lined frame |
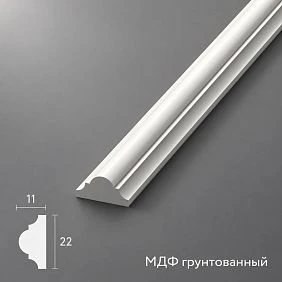
| MLDPU-002 | 22 × 11 mm (approx. 0.87 × 0.43 in.) | Everyday picture-frame layout |
| MLDPU-003 | 35 × 12 mm (approx. 1.38 × 0.47 in.) | More pronounced architectural relief |
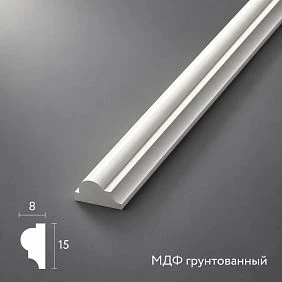
| MLDPU-004 | 15 × 8 mm (approx. 0.59 × 0.31 in.) | Subtle inset rectangles |
Do not use the section dimensions as finished stock lengths: they describe the profile cross section, not how long a piece is supplied. A wider profile occupies more visual space and changes the exact measurements needed for a frame. Request a sample or inspect a full-scale drawing whenever possible. Also confirm adhesive compatibility, whether the supplied surface is ready for paint, and any project-specific restrictions. No generic profile is guaranteed suitable for every fireplace wall.
A quick selection method
- Select one design direction: thin and modern, mid-weight traditional, or a stronger classical relief.
- Mark the boundaries of all manufacturer-restricted areas on a drawing before choosing the locations for frames.
- Mock up a few feet of the intended outline using low-tack tape on a clean ordinary wall surface, taking care not to obstruct the fireplace or vents.
- Compare the molding’s projection with adjacent door casing, cabinet fronts and crown molding.
- Check that every proposed seam and corner can be cut, attached and finished on the actual substrate.
How to measure a fireplace feature wall
Measure the entire wall width, finished ceiling height, mantel dimensions and location of any fixed elements. Record the fireplace opening, but do not draw trim boundaries from the opening alone: the relevant manufacturer diagrams may measure from a hot face, glass edge, cabinet or another reference point. Transfer those definitions directly to your elevation and distinguish permitted decorative wall from required clearance or noncombustible facing.
Mark the centerline of the fire opening and the centerline of the room separately. They may differ. For two side frames, establish a common top, bottom and outer margin using a level. Then locate switches, sconces and TV mounts before deciding the final panel width. Paper sketches are useful, but a full-size tape layout often reveals proportion problems that a small screen hides.
Example: two tall side frames
Assume an approved, remote portion of a feature wall can fit two identical decorative rectangles. For a purely illustrative cut list, each rectangle has a measured molding centerline width of 28 inches and height of 60 inches. Each frame therefore needs two 28-inch horizontal pieces and two 60-inch vertical pieces, for a nominal perimeter of 176 inches. Two frames need 352 inches, or about 29.3 linear feet of molding before cuts, kerf, flaws or waste. This arithmetic is for material planning only; it says nothing about safe placement.
The crucial distinction is total footage versus usable full pieces. Suppose, strictly as an example, a supplier offers 78-inch sticks. Ten cut segments are not needed here: there are eight pieces, four at 60 inches and four at 28 inches. Each 60-inch length consumes an individual stick and leaves an 18-inch offcut, too short for a 28-inch horizontal. The four 28-inch lengths fit two per stick, requiring two additional sticks. The minimum is therefore six 78-inch sticks, before any damaged pieces or mistakes. Five sticks contain 390 inches in total, which exceeds the 352-inch perimeter, but still cannot yield the required four long pieces plus four short pieces. Always build a cut plan from the actual lengths sold.
Example: three compact square panels
Now imagine three squares, each with a 20-inch measured centerline side. There are twelve equal 20-inch segments, totaling 240 inches or 20 linear feet. Using hypothetical 78-inch sticks, three segments fit on each stick before kerf, so four sticks may work if end allowances and saw kerf still permit the three cuts. Verify the available stock length, true usable length and cutting tolerance. A project with one larger square or a different joint detail may require more stock even at nearly the same total perimeter.
Example: a broad central panel
A central rectangle 48 inches wide and 30 inches tall has a nominal perimeter of 156 inches, or 13 linear feet. If the molding is sold in lengths shorter than 48 inches, a visible splice may be necessary unless another stock option is available. Avoid placing a splice at eye level or exactly at the middle of a strongly lit top rail. Inspect the manufacturer’s instructions for approved joint treatment and do not assume a butt joint can be disguised with caulk alone.
How to cut wall molding accurately
A crisp picture-frame design depends on repeatable measurements more than elaborate tools. Determine whether the dimensions on your drawing refer to inside edges, outside edges or the molded profile’s centerline; mixing those conventions is a common cause of frames that will not close. For rectangular frames, 45-degree miter cuts are a familiar starting point, but site conditions and profile geometry can require adjustment. Uneven walls and out-of-square corners must be considered rather than hidden beneath thick filler.
- Check the profile orientation. Many moldings have a definite top and bottom; keep the face consistently oriented as pieces move to the saw.
- Measure the reference points on the wall and transfer the intended finished lengths to a cut list with labels such as left vertical, right vertical, top and bottom.
- Test cuts with scrap to confirm blade direction, miter alignment and the way the profile lies in the saw.
- Cut the longest segments first when that makes the best use of the stock length, while considering the complete nesting plan.
- Dry-fit each complete frame on a clean flat surface or against the proposed wall outline, checking all four corners before any adhesive is applied.
- Label the pieces and set aside clean usable offcuts for the next frame rather than treating all leftover pieces as waste.
Readers searching for how to cut wall molding often focus on the 45-degree setting, but the more important habit is measuring from the correct long point or short point of the miter every time. If the profile has complex relief, a practice corner can reveal whether the return line looks seamless. An extra few minutes of fitting usually save more time than heavy sanding and repeated caulk applications after installation.
DIY wall molding installation: a practical sequence
A straightforward project on a conventional painted wall may suit an experienced DIY homeowner. A fireplace-specific installation, by contrast, must not begin until the finish location and construction requirements have been resolved. If work involves opening the wall, wiring a fireplace, altering venting or changing a required surround, use the qualified trades and permits that the project calls for. Decorative trim must not be used to conceal an installation defect.
Prepare the wall and materials
Repair loose paint and damaged drywall outside the restricted zone. Dust and grease can prevent adhesives from bonding, and a heavily textured surface may leave visible gaps. Verify the substrate, adhesive and primer are mutually compatible. Acclimation and storage practices should follow the actual product instructions. Even light trim should not be attached to a dirty, peeling coating or to a surface that is expected to move significantly.
Lay out, then attach
Use a level or laser to draw reference lines lightly on the finished wall, and tape the dry-fitted pieces in place to inspect the composition from the room’s main seating position. Check all applicable setback diagrams once more. Apply a manufacturer-approved adhesive as directed, respecting its working time and curing requirements. Temporary holding methods, if appropriate, must be compatible with the substrate and must not damage wiring or hidden fireplace components. Do not put nails or screws through a fireplace enclosure simply to hold a decorative strip.
Finish joints without overfilling
When the bond has cured, finish miter joints using the method recommended for the profile and coating. A paintable flexible sealant may help resolve tiny wall-to-trim shadow gaps where approved; it does not repair a bad mechanical fit or serve as a fire barrier. Let fillers and sealants cure as directed before sanding and painting. Maintain service access and inspect that vents and openings remain clear after all finishing work.
Paint colors and finishes for a fireplace wall
Paint is an unusually strong design tool here because it can either emphasize or hide the trim. A single color on the wall and molding makes narrow profiles read as intentional architectural lines. Contrasting colors bring greater visibility to the frame and can help a simple rectangular grid feel traditional. Consider daylight direction: grazing light exposes uneven joints and overly thick caulk, while diffuse lighting tends to soften small imperfections.
Warm white and restrained classic interiors
A warm off-white wall paired with matching white trim makes a fireplace mantel, artwork and natural textures the focus. Avoid selecting a bright blue-white trim automatically when the surrounding cabinetry, ceiling and stone have warm undertones. A small sample on the actual wall is more reliable than the chip under store lighting.
Deep color and contemporary rooms
Dark olive, charcoal, muted navy and soft black make shallow trim elegant because the low-contrast shadows become the decoration. Keep sheen consistent across the wall and profiles if a monolithic look is intended. Ensure that the wall preparation and coating system produce acceptable adhesion and a clean edge on the selected polyurethane surface.
Two-tone schemes
A contrasting panel interior can work when the rest of the room already has a strong palette. One option is a warm greige wall, same-color molding and a darker central inset. Another is a subdued white wall with a gently contrasting wood mantel. Keep material transitions intentional; a fireplace wall that mixes decorative stone, wood slats, strong trim, wallpaper and multiple paint colors can become noisy very quickly.
No ordinary decorative paint should be represented as making a combustible molding suitable inside a heat-restricted zone. If the fireplace requires noncombustible facing, use a material and tested assembly that the appliance documentation and jurisdiction allow instead of painting polyurethane and hoping for the best.
Coordinating molding with a television, mirror or sconces
A television above a fireplace is not always a comfortable or permitted choice. Verify the fireplace manufacturer’s installation conditions for a TV or mounted object, the television manufacturer’s operating-temperature limits, the viewing height and the availability of secure structure. A recessed wire path must not penetrate or interfere with a regulated fireplace enclosure. Wall molding should make the screen look integrated without impeding ventilation or access to the mount.
Mirrors and framed art can be easier to place, but they still require heat and hanging-hardware review. Rather than centering a narrow molding frame around every object, first choose the correct object height and surround proportions; then set consistent margins. Sconces need electrical boxes and proper clearance from nearby features. Coordinate wiring and mounting before the trim is glued down.
Layouts for different room styles
Small living room or apartment
Use one central field or a pair of very slim side frames rather than a network of tiny rectangles. Keep the molding profile shallow so it does not visually compete with a compact mantel. A neutral single-color finish gives an inexpensive-looking wall more structure without sacrificing the room’s sense of airiness. In a rental, check whether any adhesive installation or painting requires approval.
Family room with built-ins
Treat the fireplace, cabinetry and wall trim as one elevation. Panel top lines may align with cabinet shelves, while side margins follow the stiles or bookcase openings. Maintain clearances, ventilation and access to outlets. A frame that ends exactly at a cabinet joint is often more convincing than one that floats between unrelated dimensions.
Double-height great room
Tall walls need larger-scale shapes, not necessarily thicker molding. Multiple stacked panels can break up a large expanse, but too many short boxes create busy horizontal stripes. Try one tall outer frame on each permitted side and a broad upper field that visually connects with window heads or high shelves. Measure sightlines from across the room, not only at arm’s length.
Traditional study
Deep paint, a restrained classical molding and symmetrical shelves can create a library-like setting. Ensure that dark-colored trim and woodwork are distinct from any material the appliance requires to be noncombustible. Consider the direction of desk lights and sconces because their grazing light can magnify every imperfect miter.
Common mistakes that make a fireplace wall harder to maintain
- Using one clearance number for every fireplace. Appliance-specific instructions and local requirements govern, not a number copied from a design article.
- Decorating over vents or access panels. Keep airflow and maintenance routes functional after paint and trim installation.
- Confusing decoration with a rated surround. Wall molding is not a substitute for a fireplace facing or protective assembly.
- Choosing profile size before drawing the elevation. A beautiful sample may be too heavy for narrow wall fields.
- Calculating only linear footage. Long cuts and short stock lengths can substantially increase the quantity needed.
- Forgetting the mantel or TV projection. Depth, not only the front elevation, affects clearances and visual balance.
- Assuming adhesive will fix a crooked wall. Prepare the substrate and dry-fit the geometry first.
- Painting before testing the installation. Verify the layout, joints and bonding system before a final finish.
- Making every frame identical regardless of obstacles. A deliberate asymmetric composition can work better than forcing a false symmetry.
Questions to ask before ordering STAVROS molding
Write a short specification that includes the product code, quantity of full lengths, cut plan, profile dimensions, wall substrate, intended coating, adhesive system and installation area. Include clear photos or an elevation drawing of the fireplace wall. The decision to locate polyurethane in an area must be established by appropriate fireplace and building documentation; a decorative-product retailer’s general description is not that determination.
Start with decorative wall molding options, then compare MLDPU-004 for a subtle panel edge with MLDPU-002 for a medium-depth outline and MLDPU-003 for a bolder design. For a more minimal composition, inspect MLDPU-001. Check each current product page before choosing lengths and quantities. The precise ordering, payment and shipping options should also be confirmed at checkout rather than assumed.
Frequently asked questions
Can polyurethane molding go around an electric fireplace?
Only where the instructions for the exact electric fireplace permit that type of material and installation, and where local rules also allow it. A heater-equipped electric model can have warm air outlets and surface temperatures that make an attractive trim position unsuitable. Never use an invented universal distance.
Can I place polyurethane directly against a gas fireplace surround?
Do not assume that is allowed. Gas fireplaces have model-specific facing, projection and combustible-material restrictions. A seemingly decorative outer metal edge may be part of the appliance assembly. Consult the manufacturer’s diagrams and a qualified installer before designing the trim.
What is the difference between wall molding and a fireplace mantel?
Wall molding outlines decorative fields or creates surface relief. A mantel is a projecting architectural component or shelf, sometimes integrated with the surround. Its projection and construction can be subject to different appliance requirements. Neither element should be selected solely by appearance in the immediate fireplace area.
Is picture frame molding on walls still appropriate in a modern room?
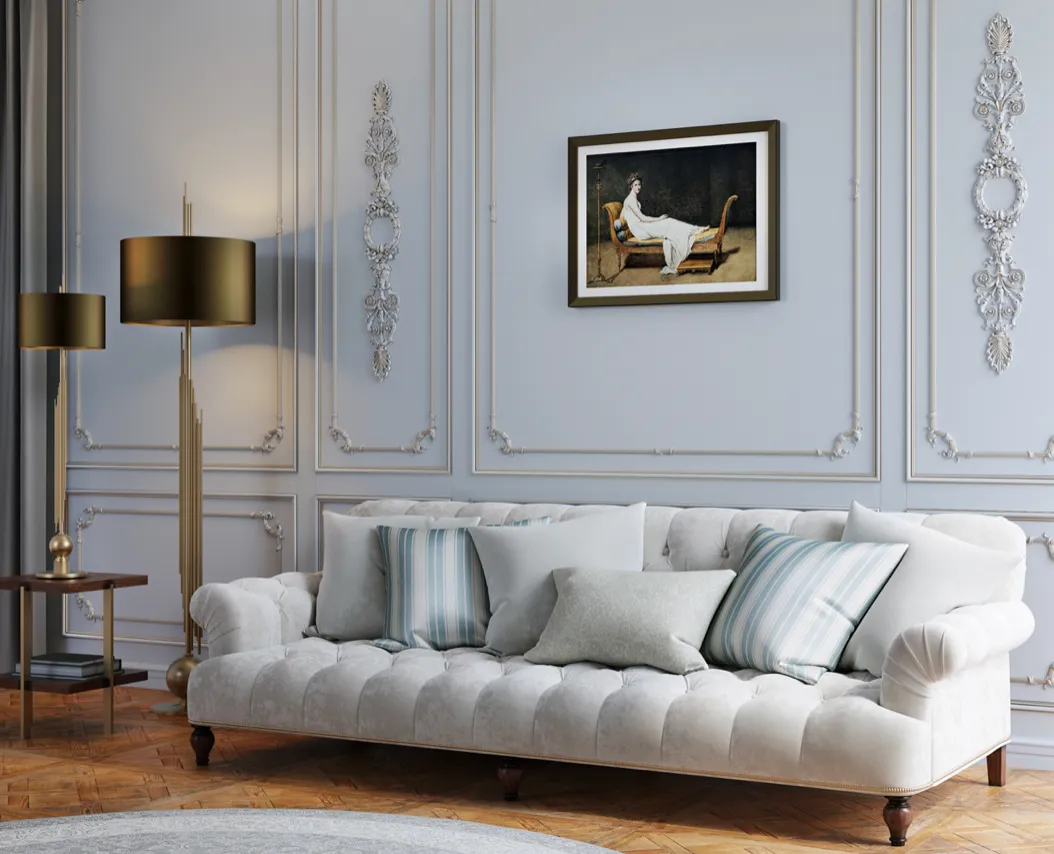
Yes. The same rectangular geometry can look current when the profile is slim, the number of frames is limited and the molding is painted the same shade as the wall. Modern designs often favor larger open areas and fewer ornamental corners.
How much molding should I order?
Calculate each individual cut, add them to a stock-length cutting diagram and account for saw kerf, unusable offcuts, damage and installation errors. The total perimeter gives useful linear footage, but does not prove that a particular number of stock sticks will work. The two-frame example above illustrates why.
Can decorative panels hide a fireplace vent or inspection opening?
No. Never conceal an appliance vent, control, sensor or service access point with a decorative panel. Create a different design or ask a qualified professional about an approved alternative that keeps the required openings functional.
What is the easiest DIY wall molding pattern?
A single rectangular picture frame on a conventional, permitted wall area is usually simpler to lay out and finish than a multi-panel grid. It still needs level reference lines, compatible adhesives, correct cuts and a suitable surface. The fireplace-specific conditions should be resolved first.
Should I use wall molding ideas from social media as installation instructions?
Use photographs for proportions and color inspiration, not for combustible-material clearances, appliance ventilation or construction methods. An image may not show an underlying approved noncombustible assembly or the actual fireplace model.
Is a decorative polyurethane kit automatically suitable for a fireplace?
No. A coordinated decorative kit may simplify an interior wall composition, but its parts do not become rated fireplace materials by being sold together. Verify each component and use it only in an approved location.
Can I paint the molding and wall the same color?
Yes, provided the coating system is compatible with the molding and substrate and the installation location is otherwise permitted. Matching colors can conceal small transitions and produce a cohesive architectural appearance, but paint does not change the required fire safety conditions.
A careful design creates the strongest result
The most convincing fireplace feature wall does two things at once: it looks deliberately composed, and it respects the technical demands of the appliance. Begin by mapping zones where decoration is allowed. Then choose a restrained geometry, compare actual polyurethane profiles, draw each cut and test the full-size proportions. Only after those steps should installation and finishing begin.
Browse the STAVROS wall molding collection for profile ideas and product drawings. In the finished room, the fireplace remains the focal point; the trim simply gives it an architectural setting. Where the manufacturer calls for noncombustible facing or a clear space, keep that requirement intact and use decorative molding elsewhere on the wall.