Article Contents:
- Why the doorway deserves its own trim plan
- Door casing versus wall molding: know the difference
- Five doorway trim looks for American interiors
- Measure the doorway before picking a profile
- An example in feet and inches: estimating trim
- Selecting the right material
- Coordinating trim with wall panels and baseboards
- Practical installation sequence
- The common problems and how to avoid them
- Paint and finishing choices
- Budgeting without fictitious price promises
- Frequently asked questions
- Build a coherent STAVROS doorway design
- Explore compatible decorative profiles
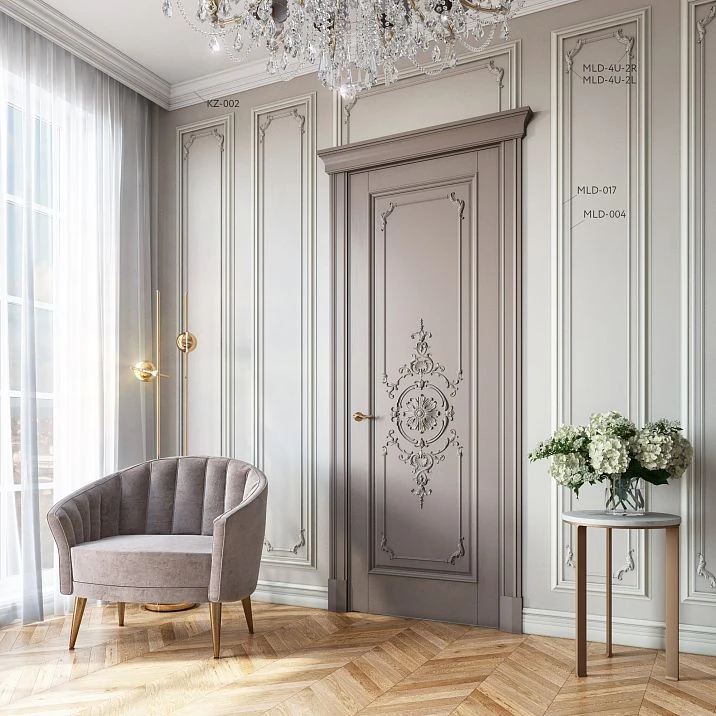
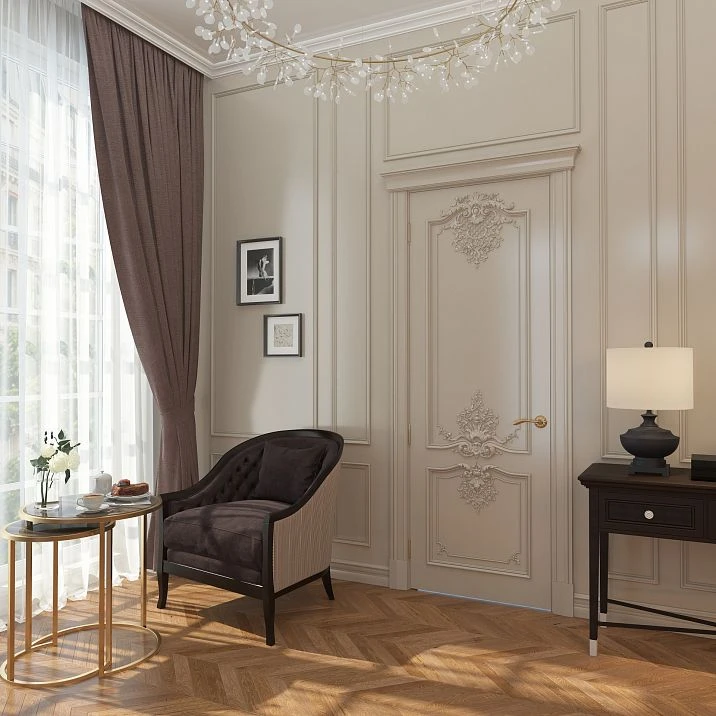
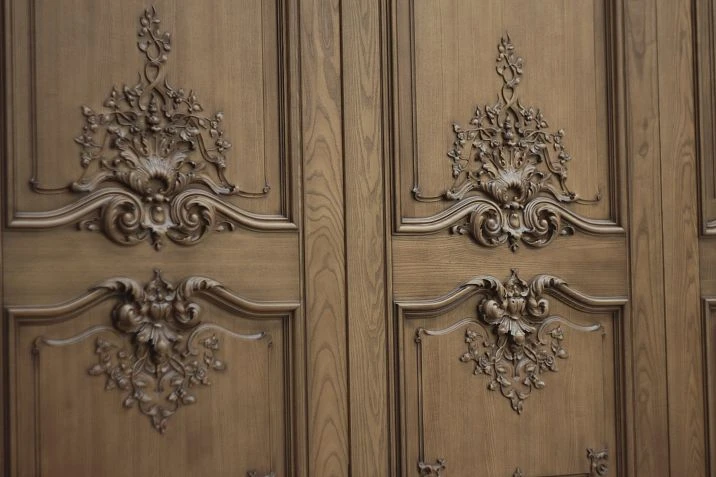
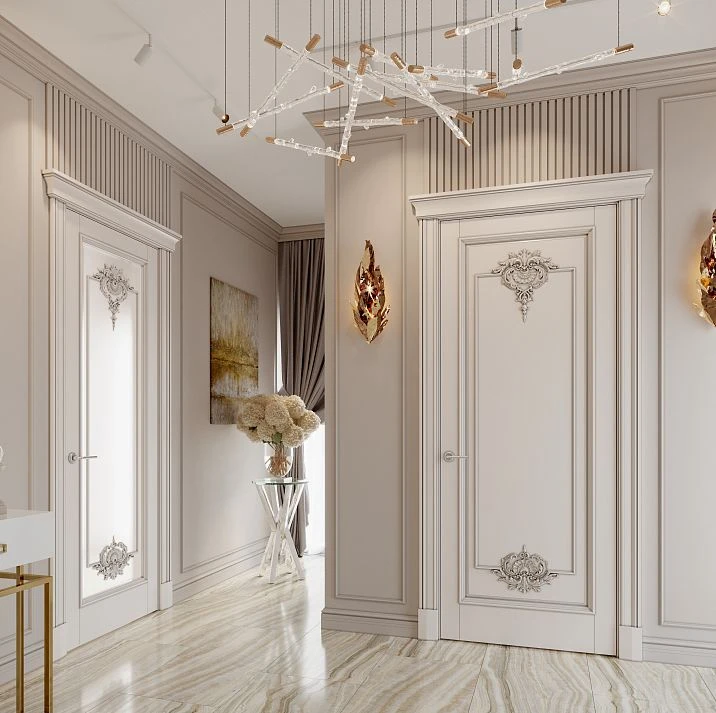
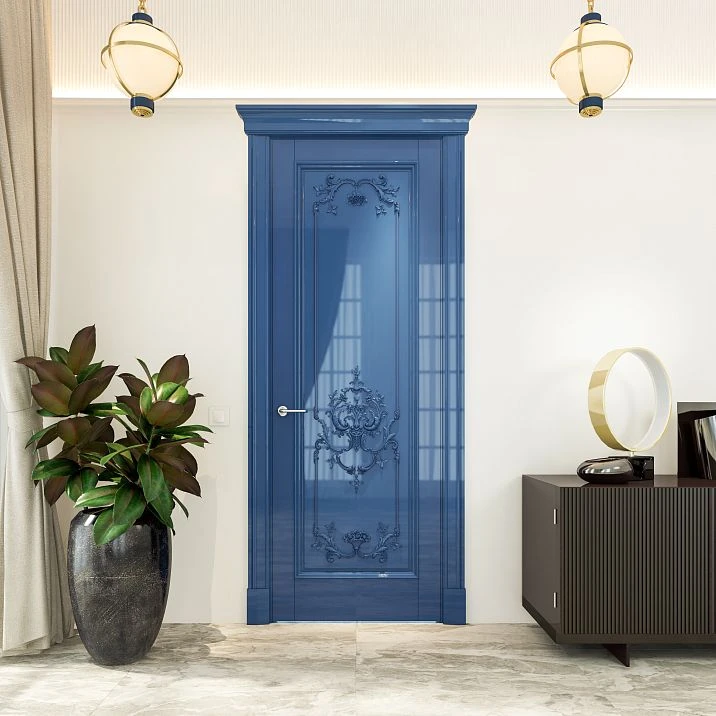
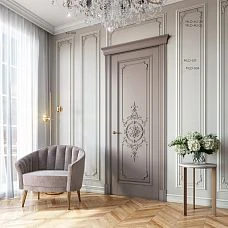
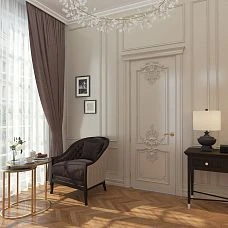
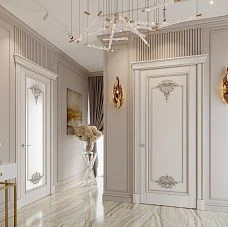
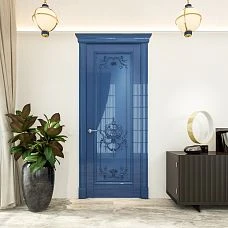
Doorway Trim Ideas: Decorative Molding & Door Casings
Decorative door trim can turn an ordinary interior opening into a considered architectural detail. This practical U.S. guide explains the difference between functional door casing and applied ornamental molding, how to plan proportions, and how to measure, install, and finish a coordinated design.
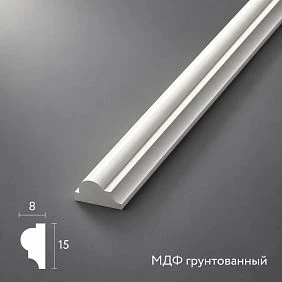
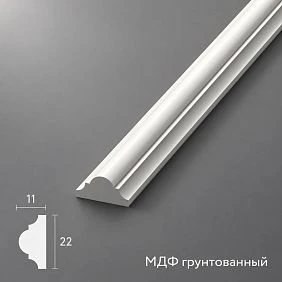
Why the doorway deserves its own trim plan
A doorway interrupts the largest visual surface in a room. The casing around it is both a protective transition and a frame that controls how the opening relates to nearby walls, baseboards, ceiling details, and furniture. In a U.S. home, the best trim usually looks deliberate rather than simply bigger. It follows a repeatable proportion, meets the baseboard cleanly, and leaves enough room for hinges, hardware, switches, and adjacent openings.
This guide approaches decorative door trim as a coordinated design project. It explains conventional door casing, more expressive applied molding, carved appliques, and the practical choices needed before ordering. It is an American adaptation of a STAVROS article about framing door openings with moldings and overlays, not a claim that every decorative profile is a structural door casing.
A typical interior doorway can be visually quiet, with flat painted casing, or can become a feature with a layered header and restrained ornament. Neither is automatically more sophisticated. Success depends on the door style, the ceiling height, whether other doors are visible in the same sightline, and how far the moldings project from the wall.




Door casing versus wall molding: know the difference
Door casing is the trim that surrounds the perimeter of the door opening and covers the joint between the jamb and drywall. Its dimensions, reveal, and placement must be coordinated with the actual installed jamb. Decorative wall molding is a separate applied profile used to form frames or add relief around a doorway; it does not automatically replace the functional casing.
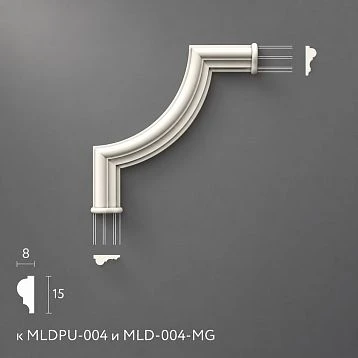
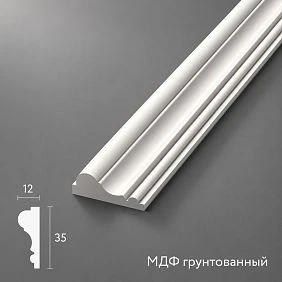
Trim sold for decorative panels may have an elegant face but an unsuitable back or insufficient width to cover a rough wall-to-jamb joint. Before choosing a STAVROS polyurethane molding for a doorway design, compare its profile, projection, available length, finish, and the substrate. When a conventional casing is needed, retain a suitable casing first and consider an applied detail beside or above it. See the MLDPU-002 molding for examples of decorative profile forms and product-level details.
This distinction also protects the design from a common mistake: placing ornament directly where a latch, hinge barrel, strike plate, or door swing needs clearance. A beautiful molding is only successful if the door continues to open fully and the exposed edges can be finished without damage.
Наша фабрика также производит:


Смотреть весь Каталог продукции
Five doorway trim looks for American interiors
For modern and transitional homes, start with a flat or gently rounded casing in the same finish as the door. Add one slim detail outside the main casing only when the wall has adequate space. A monochromatic scheme lets the profile create a shadow without making the opening visually busy.
For traditional interiors, pair a consistent casing with a separate backband-style accent and an understated header. It is safer to build a layered appearance from compatible pieces than to stack arbitrary strips with conflicting projections. A modest top detail can echo crown molding without imitating an oversized architectural pediment. See the MLDPU-003 decorative profile for examples of decorative profile forms and product-level details.
For a contemporary farmhouse interior, prioritize broad, simple lines. Keep embellishments sparse and repeat the same casing profile across connected rooms. Bright white trim against a warm neutral wall works, but painting the casing, door, and adjacent wall in one color can make a small hallway feel calmer.
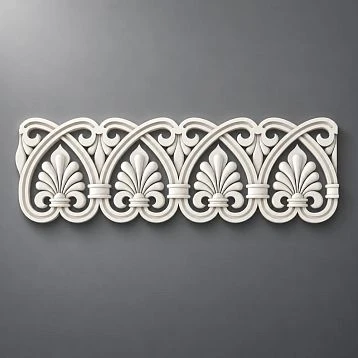
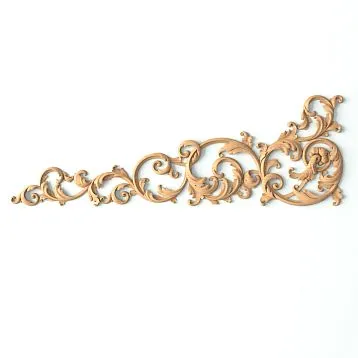
For French-inspired rooms, decorative appliques can sit above the opening, often centered in a clearly defined header field. Treat an applique as ornament, not as a replacement for required jamb trim or framing. The strongest example is often a single centered detail rather than multiple competing flourishes.
For a home office or formal dining room, doorway trim can continue the rhythm of wall frames. Align the top of applied wall panels with nearby architectural reference lines rather than forcing every frame to touch the casing. A short clear separation often makes the craftsmanship look more intentional.
Получить консультацию
Measure the doorway before picking a profile
Measure the finished opening, not a catalog illustration. Record the width between the outside edges of the jamb, the height from finished floor to the underside of the header, and the exposed wall on both sides. Check both sides of the door: trim conditions can differ due to cabinets, switches, plumbing walls, corners, and hallway intersections.
Inspect the jamb extension and the wall finish. If drywall sits proud of the jamb, the casing might rock or leave a gap. If the wall is wavy, a rigid decorative strip will reveal inconsistencies unless you prepare the surface. Identify whether the existing trim is to be removed or retained; a layered addition has different quantities and clearance needs.
Sketch a front elevation with the casing width, desired reveal, head treatment, and any independent decorative frame. For an 80-inch-tall residential door, do not assume the casing has exactly an 80-inch vertical run. The final cut length depends on how the head casing joins the side pieces and how the bottoms terminate at the floor or plinth blocks.
An example in feet and inches: estimating trim
Imagine one doorway with two side trim runs of 82 inches each and one head run of 40 inches, measured on the actual planned trim path. The starting linear footage is (82 + 82 + 40) / 12 = 17 feet. If you plan 15 percent cutting allowance, 17 x 1.15 = 19.55 linear feet. Round up to compatible stock lengths, accounting for the number and direction of miters.
For four identical openings, the straightforward base quantity is 68 linear feet before waste. But repeating the same trim does not remove the need to check unusual walls, nonstandard headers, or a different profile near a closet. Long uninterrupted pieces may be important for visible vertical casings; verify how many unspliced lengths each product can supply.
Keep a separate line item for applied decorative rectangles, header ornaments, returns, and plinths. A mitered decorative rectangle is calculated from the actual outer perimeter of the profile, not from the door opening itself. The width seen in elevation is not always the same as the distance between installation marks.
| Measured run | Length | Notes |
|---|---|---|
| Left side | 82 in. | Confirm reveal |
| Right side | 82 in. | Check hinge clearance |
| Head | 40 in. | Allow for joint style |
| Total | 204 in. / 17 ft. | Before cutting allowance |
Selecting the right material
Paint-grade wood and MDF remain familiar choices for door casing. Wood can suit stained trim and characterful profiles, while MDF can provide a consistent painted surface in properly conditioned interior spaces. Neither should be assumed moisture-proof. Their fastening and repair methods differ from those for polyurethane decorative moldings.
Polyurethane molding offers crisp decorative relief and is often used as an applied architectural accent. It can work especially well where the objective is a consistent profile and painted appearance. However, an ornamental polyurethane strip should not be assumed to withstand the same impact as a purpose-built door casing. Read the product page and use the recommended adhesive, finishing system, and mounting procedure. See the MLDPU-001 profile for examples of decorative profile forms and product-level details.
If you are comparing an MDF casing with polyurethane accent molding, the answer may be to use both: functional casing at the opening and decorative relief positioned beyond it. A successful material combination is about proper roles and surfaces, not about declaring one material universally superior.
Coordinating trim with wall panels and baseboards
An attractive door surround should not appear disconnected from the room. Begin with the baseboard height, casing width, and the wall trim already in place. Decide which line is dominant. In a room with strong baseboards, a narrow doorway surround may look too delicate; in a small apartment, excessively wide casings can crowd the limited wall between openings.
Where a wall frame approaches the doorway, leave an intentional clearance. Compare the visual weight of the frame profile with the casing rather than matching every dimension exactly. Repeated gaps between openings and adjacent picture-frame molding can make a row of doors feel carefully designed. See the MLDPU-002 molding for examples of decorative profile forms and product-level details.
If a decorative header is introduced, balance it against the ceiling height. Near a low ceiling, keep the top composition compact. In a taller room, a layered header can be more expressive, provided it does not collide with crown molding, sprinkler heads, return air grilles, or the door closer.
Practical installation sequence
First, protect the floor and confirm the door operates correctly. Carefully remove loose caulk and damaged old trim if a replacement is planned. Repair the wall, remove remaining adhesive where appropriate, and make sure surfaces are clean and dry. Avoid relying on a cosmetic profile to hide active water damage or moving cracks.
Second, dry-fit every component. Mark the jamb reveal consistently, then check corners against a square before cutting. A nominal 45-degree miter will not always produce a closed joint on an out-of-square opening. Make small test cuts where feasible. For profiles with a pronounced pattern, confirm the relief lines continue across the joint. See the MLDPU-003 decorative profile for examples of decorative profile forms and product-level details.
Third, attach the chosen casing according to its manufacturer and substrate requirements. Decorative polyurethane moldings may require a specified adhesive and temporary holding method. Do not substitute a generic construction adhesive without checking compatibility. Mechanical fastening may or may not be appropriate for a particular product.
Fourth, treat seams and finishing as part of the design. Fill small paint-grade gaps using approved products. Allow adhesives and fillers to cure for their stated times; sand only when the material permits it. Primer and paint compatibility matter, especially where wood, drywall, and polyurethane meet.
The common problems and how to avoid them
Most disappointing doorway projects start with measurement errors or a trim profile chosen in isolation. A broad new casing can block a nearby light switch, make the hinge-side corner difficult to paint, or conceal an access panel. The fix is simple but often skipped: tape the intended outline onto the wall and open the door fully.
Misaligned reveals draw attention even when the ornamental detail is excellent. Use the same reference edge for all three sides, but respect unusual jamb conditions. On a bank of doors, compare the horizontal header lines before finalizing the cuts. Small differences are more visible when several openings sit side by side. See the MLDPU-004 polyurethane molding for examples of decorative profile forms and product-level details.
Another common error is overdecorating. A carved overlay, intricate casing, strong wall-panel molding, and busy wallpaper can compete. Choose a focal element and let the others support it. In a modest hallway, fewer profiles with cleaner joints usually beat a complicated arrangement.
Paint and finishing choices
White casing is familiar but not compulsory. Matching the casing to the wall makes the doorway quieter, while a measured contrast can emphasize architecture. On older doors with uneven surfaces, semi-gloss paint can make flaws more visible than a lower-sheen finish. Choose the coating based on the expected contact, room lighting, and manufacturer guidance.
For a custom-looking result, treat the installed casing and its applied accent as one composition. That does not mean all materials receive identical surface preparation. Prime exposed wood end grain as needed, confirm the decorative molding finish, and apply appropriate paint in thin, controlled coats so relief details remain readable.
Test the intended color next to the actual door face and hardware. Warm whites, cool grays, and deep muted tones can change dramatically under hallway lighting. Painting a small sample board is usually less expensive than repainting an entire series of door surrounds.
Budgeting without fictitious price promises
A useful budget separates materials, cutting allowance, surface repair, adhesive and fasteners, finishing supplies, labor, and disposal of removed trim. The amount of ornament affects both material and installation time. A basic three-piece casing is generally easier to plan than a layered composition with custom miters and individual appliques.
Do not treat a low per-foot price as the total project cost. Stock lengths, damaged walls, unusual corners, lead time, and finishing can matter more. If using multiple profiles, order a sample or compare the sections to ensure they sit together properly; a mismatch in depth can create a joint that cannot be concealed neatly. See the MLDPU-001 profile for examples of decorative profile forms and product-level details.
For a whole-home renovation, begin with one sample doorway and use it to validate the casing reveal, cut sequence, adhesive compatibility, finish, and visual scale. That prototype provides a more dependable basis for estimating ten openings than multiplying an untested sketch.
Frequently asked questions
Can polyurethane decorative molding replace door casing? Not automatically. Door casing covers the jamb-to-wall transition and must withstand normal use. A decorative polyurethane molding may work as an applied accent, but confirm its suitability and installation method before using it in a functional location.
How much molding does one interior doorway take? It depends on the measured side runs, head run, joint details, and stock length. The worked example above uses 17 linear feet before allowance, not a universal standard for all doors.
Should the doorway trim match the baseboard? Matching is a straightforward solution, especially in connected rooms. Coordinated proportions and profiles also work. Avoid visibly unrelated shapes and wildly different projections unless the contrast is a deliberate feature.
Can I put decorative molding around an existing casing? Often yes, if the wall is sound and the design leaves enough clearance for the door and hardware. Make a full-size taped outline before cutting any decorative material.
Are decorative appliques suitable above a doorway? They can be, particularly on a designed header field. Check the dimensions and mounting substrate and keep the composition balanced. Do not use an applique to conceal an electrical junction or required access.
What should I do if the walls are not square? Measure each side independently, check the head level, and dry-fit the pieces. Small finish gaps may be repairable, but significant movement, moisture, or damaged framing needs correction before trim installation.
Build a coherent STAVROS doorway design
The STAVROS catalog includes decorative polyurethane molding profiles that can be considered for applied accents, wall frames, and coordinated trim compositions. Browse the actual profile drawings before specifying a piece for a door surround. Compare width, projection, length, finish, and the shape of the back surface.
For visual comparison, inspect several models rather than assuming all moldings serve the same purpose. A simpler profile may be ideal as a restrained accent, while a more detailed option can support a formal interior. Product selection should follow the measured site and required clearance, not a general claim that an individual SKU is perfect for every doorway. See the MLDPU-003 decorative profile for examples of decorative profile forms and product-level details.
A beautiful door opening combines functional casing, consistent reveals, correctly placed ornament, and good finishing. Start with those fundamentals. Decorative wall trim is most effective when it enhances the architecture rather than disguising unresolved installation problems.
Explore compatible decorative profiles
For planning, review the STAVROS polyurethane molding category and compare the drawings for MLDPU-001, MLDPU-002, MLDPU-003, and MLDPU-004. Check the live specifications rather than assuming a decorative profile is rated as a door casing.