Article Contents:
- What needs to be restored in an old support system
- How to determine which leg to use as a reference
- How to measure a surviving support
- How to calculate the restored furniture height
- One leg, a pair, or a full set
- Top plate and old mounting
- Can the previous holes be used
- How to match turned, carved, and geometric shapes
- Turned legs
- Carved legs
- Geometric legs
- Can a ready-made leg be shortened for old furniture
- What to do if the old leg is in good condition but its finish differs
- Can casters be installed instead of wooden supports
- Do you need a spare leg after repair?
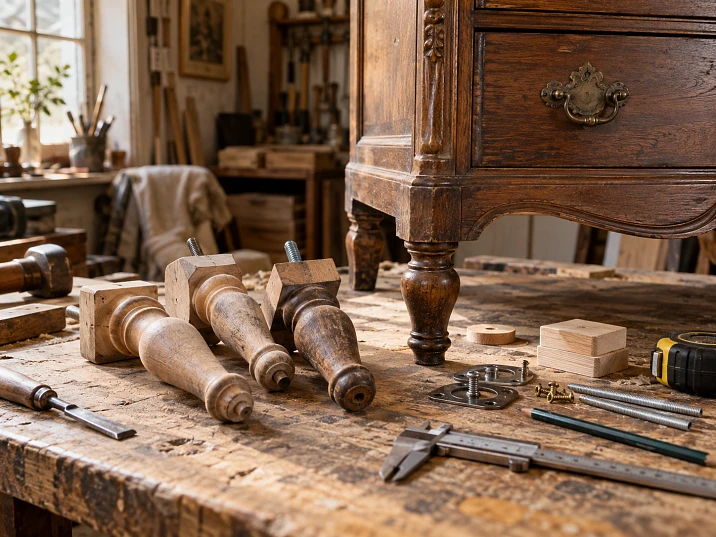
A new leg may match the old one in length and still lift one corner of the dresser. The reason is often the seating depth: the previous support partially entered the base, while the new one rests against it with its end. An added mounting plate also changes the position of the cabinet. That is why furniture legs for restoration are chosen after measuring the entire joint, not by a single number in a catalog.
An old piece of furniture already has a defined cabinet, mounting points, and proportions. You need to find out which supports have survived from the original construction, measure their working height, and check the condition of the base. Only after that can you decide whether a ready-made part can be installed, whether modification will be needed, or whether it must be made precisely to a sample.
The working height of a support is the distance from the selected mounting plane of the cabinet to the floor in the assembled joint. It is this that determines the level at which the furniture will stand. The full length of the leg, including the hidden mounting part, may be different.
What needs to be restored in an old support system
A successful replacement restores the furniture's stable position, required height, and consistent appearance. For this, the new support must fit the cabinet, the mounting, and the neighboring legs at the same time. A beautiful profile solves only part of the task.
Start with the purpose of the work. If an ordinary cabinet is being restored for further use, coordinated changes to the construction are acceptable. If a historical piece must be preserved, the choice of ready-made legs is much more limited: the original joints, material, and surviving parts all matter.
A mass-produced support similar to the lost one may be a reasonable solution for repair. But it can be considered an exact restoration of the original only after comparison with a reliable sample. When a rare profile or complex joint needs to be reproduced, searching a catalog does not always replace the work of a craftsman making it to order.
Do not rush to replace the legs if the damage belongs to another joint. Wobbling may come from the apron — the horizontal part of the frame connecting the supports — or from the corner joint of the base. If the leg is sound, repair the cause of the movement; otherwise the new part will end up in the same weakened place.
Before inspection, unload the furniture and provide stable support under the sturdy parts of the body. Do not leave a heavy item on three legs just to test-fit the fourth. Convenient access to the joint is needed for measurements, not for stress-testing the remaining parts.




How to determine which leg to use as a reference
An old item may have four original supports, three original and one later, or several different replacements. First, describe all the parts and their locations. Even if one leg looks better than the others, that does not yet make it the correct reference.
Compare the shape, dimensions of the upper part, fasteners, tool marks, and the nature of the finish. Pay attention to extra holes, shims, and noticeable displacement of the support relative to the base. These signs help detect previous interventions, but each of them requires an explanation.
A difference between front and rear legs does not by itself prove repair. Furniture may have carved front supports and simpler rear ones that were intended from the start. Such an item should not be turned into a set of four identical parts just for the sake of external uniformity.
| What was found during inspection | What to check next |
|---|---|
| One leg differs in shape | Is there confirmation that the others form the original set |
| Front and rear supports are different | Do the differences match the design, old photographs, and pairing |
| There is a shim under one leg | Does it compensate for wear, a skewed mounting, or an uneven floor |
| There are several groups of holes on the base | Which group is associated with the surviving joints and the original position of the support |
| All the legs show signs of replacement | Can the original height and shape be determined from other data |
Original parts are studied together with the body. The trace of the former pad shows its position, but usually does not give the full height of the lost leg. A single photograph without a scale also cannot reliably restore the exact dimension.
If the original version remains unknown, record this in the project. It is possible to select functionally and visually suitable legs for old furniture, but the result will be a justified reconstruction or alteration, not a confirmed reproduction of the original construction.
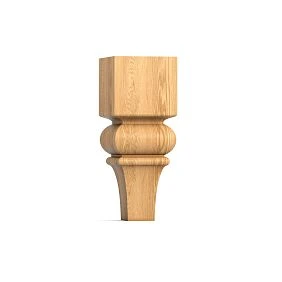
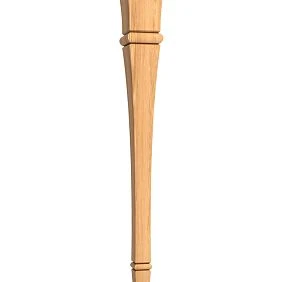
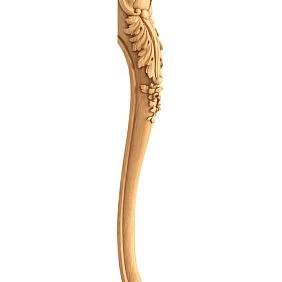
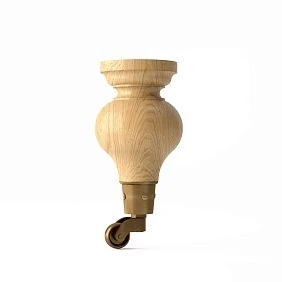
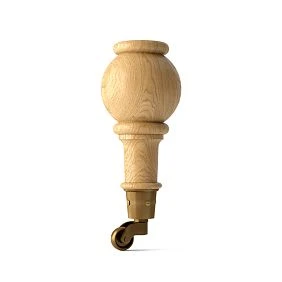
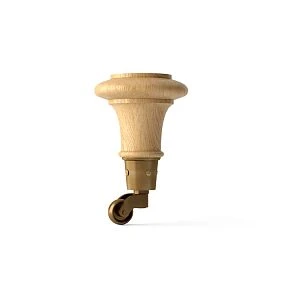
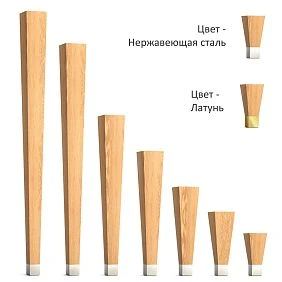
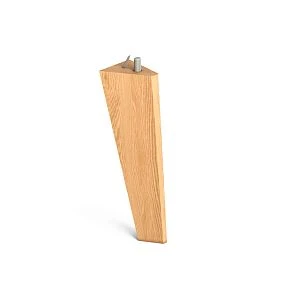
Our factory also produces:
How to measure the surviving support
The leg is photographed together with the mounting point, then separately from several sides if removal is possible without damage. It is useful to have a scale ruler in the photos. A carved part is photographed from the front, the side, and the back: a single angle hides the curve and the location of the mounting part.
Record the full length and working height separately. For a straight support, additionally measure the upper and lower cross-sections, the maximum width or diameter. For an angled and shaped one — the position of the mounting axis relative to the contact patch with the floor.
It is better to reference cross-sections to a single datum, for example, to the upper support plane. Then the entry “diameter at a distance of 40 mm from the top” describes a specific location. A set of diameters without coordinates does not allow the turned profile to be reproduced.
Fix:
- the dimensions and shape of the upper mounting part;
- the location of holes, tenon, stud, or other joint;
- the seating depth and position of the bearing surface;
- characteristic profile transitions along the height;
- the thread direction and the orientation of the part on the body;
- the condition of the lower end and the presence of a glide;
- areas of wear, loss, and previous repair.
The last point affects the result more than it seems. A surviving leg may have been shortened or worn down at the bottom. If you copy only its current length, you will reproduce the damage. Compare it with the paired part and the overall position of the body.
For a complex silhouette, make a full-scale contour drawing. It is convenient to place it over a printout of the new support if the scale has been verified. Mark the visible and hidden parts separately: the mounting tenon must not inadvertently fall within the dimensions of the decorative section.
Get Consultation
How to calculate the restored height of furniture
Choose a common mounting plane from which the body and supports can be measured. If it is at the same level at all installation points, the calculation looks like this:
Total furniture height = height of the body above the mounting plane + working height of the support beneath it.
For example, the distance from the mounting plane to the top of the chest of drawers is 680 mm. Based on the surviving structure, it has been determined that the total height should be 820 mm. Then the working height of the support system needs to be 140 mm: 820 − 680.
Suppose the selected straight leg has a total length of 155 mm, of which 15 mm of the mounting portion extends above this plane. Without other additional elements, it provides the required 140 mm. If, however, an additional plate and a glide together increase the distance to the floor by another 5 mm, the final height of the item will become 825 mm. This is a conditional example showing why the assembled unit must be calculated.
The drawing clarifies exactly what is included in the catalog dimension. It may refer to a wooden part, a finished assembly, or a specific measurement base. You cannot independently subtract the stud length from the product height until it is established whether it is included in that dimension.
For an angled leg, the length along the axis is not equal to the vertical rise of the cabinet. Compare the height in the installed position at the specified angle. Rotating the mounting plate can change not only the direction of the leg but also the furniture's footprint.
If the lower mounting points of the cabinet are at different levels, one calculation for all legs is not enough. A diagram must be made for each joint. First determine whether this is intended by the design or resulted from damage; then determine the working dimensions.
Do not try to reconstruct an unknown original height from a single convenient modern dimension. A height chosen for a new use is acceptable in an agreed alteration, but it should be distinguished from the established original value.
One leg, a pair, or a full set
The number of parts to replace is determined after checking their condition and the possibility of preserving the agreed support system. Different options differ in both the scope of intervention and the result.
One leg. Suitable when the working height, mounting part, shape, and orientation can be replicated, and the remaining supports are in good condition. For a visible part, the ability to match the material and finish is also important. A separate scenario is covered in the article about how when you can buy a single furniture leg instead of a set.
A pair. Sometimes for repairing household furniture it is reasonable to replace the two front supports if an exact match for one is unavailable and the front requires a matching pair. However, the front and rear joints must still produce the intended position of the cabinet. Identical appearance at the front does not compensate for a height error.
A full set. This option is considered when all supports are unusable or previous repairs have already disrupted the unity of the structure. For a household alteration, this may be a convenient solution. However, installing a different production set changes the item and is not a historically accurate reproduction merely because the new legs are similar in style.
Replacing all legs with exact replicas based on reliable data is a separate task. For antique furniture, its necessity and method of execution are assessed together with a restorer. Surviving original parts are not removed automatically for the sake of easier matching.
A full set does not always consist of four pieces. A long case or sofa may have additional central supports. Take into account the actual construction, including hidden elements, and do not reduce the number of support points based on a photo of the front.
Upper mounting plate and old attachment
An externally suitable leg may have a mounting plate that is too small or a different hole position. Then the force will be transferred to the edge of the base instead of the intended strong area. Before purchase, the entire upper assembly is compared.
Check the width and depth of the mounting plate, its position relative to the aprons and panels, the distances to the edges, and access for fasteners. If the leg must fit against two sides of the frame, evaluate both surfaces. Matching one hole does not confirm the compatibility of the other parts of the joint.
| Surviving joint | What needs to be determined |
|---|---|
| Tenon or wooden dowel | Dimensions, seating depth, condition of the socket, and the role of the joint in the frame |
| Threaded stud with threaded mating part | Thread diameter and pitch, engagement length, condition of the mating element |
| Mounting plate | Dimensions, angle, hole pattern, and the section of the body to which it is attached |
| Screw mounting through the base | Thickness of the assembly, access from the reverse side, and required hardware |
| Leg as part of the side rail joint | The geometry of all joints and the sequence for restoring the frame |
Do not identify threads by outer diameter alone. Similar sizes may have a different pitch, and a damaged stud creates a false impression that the new part simply fits tightly. Never force incompatible parts together.
On a chair or armchair, the leg is sometimes part of the load-bearing frame, connected to the side rails and stretchers. Such a part cannot be automatically replaced with a short support on a modern plate. A suitable structural joint must first be developed.
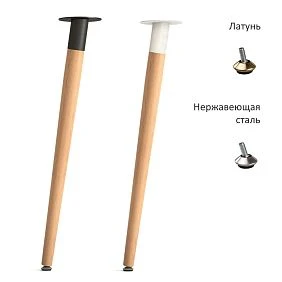
For removable supports, you can select furniture hardware for legs, but the components are selected according to the joint design. The presence of a universal plate in the catalog does not mean that it can be attached to any old base.
Can the existing holes be reused
An old hole is kept in service if its position is suitable, the wood around it is sound, and the joint matches the new part. The mere presence of a hole does not make it a ready mounting point.
Inspect the edges, check for cracks and signs of crushing, and assess the condition of the threaded insert or other mating element. If the fastener spins and the wood around it is destroyed, replacing just one leg will not solve the problem.
Restoring the mounting seat is a separate carpentry operation. Depending on the damage, it may require repairing the base, restoring the socket, or developing a different joint. It is selected based on the material and load, not on how quickly the hole can be closed.
Wood filler intended for surface leveling does not by itself restore a load-bearing joint. A longer screw is not a universal solution either: it may hit a thin panel, come out the other side, or end up too close to the edge.
Before drilling new holes, mark the old ones on the diagram. Areas of wood capable of working in the chosen joint must remain between them. If installing a new leg requires completely replacing the base, include this work in the estimate before purchasing the entire set.
How to match turned, carved, and geometric shapes
After checking the fit, move on to the silhouette. Legs of the same height can support the visual mass of the cabinet differently. A slender support has a small lower diameter and a light transition to the base; a massive one has a wide contact patch and a dense upper volume. For restoration, matching the characteristic proportions is important.
Turned legs
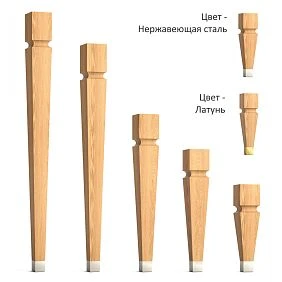
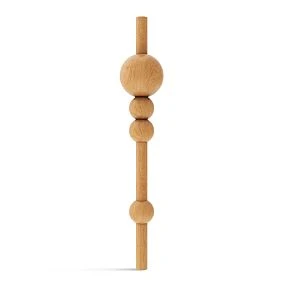
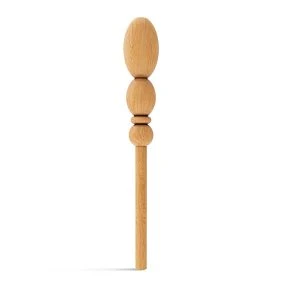
When selecting Turned furniture legs, compare more than just the maximum diameter. Note where the beads, narrowings, and transitions are located. Shifting one pronounced bead higher or lower changes the silhouette even when the overall length is the same.
For example, let's take two supports 160 mm high. On the first, the widest ring is 35 mm from the top base; on the second, it is 65 mm. Formally, both match in height, but next to a surviving leg the difference will be noticeable. The measured drawing needs the coordinates of the main profile sections.
Carved legs
У carved furniture legs check the direction of the ornament, the curve, the depth of the relief, and the visible side. A part suitable for the right front corner is not necessarily suitable for the left one by simply rotating it.
Look at how the carving relates to the front. If the scroll on the old leg continues the line of the apron, the new ornament must be aligned with that line. A similar leaf or flower without matching position does not produce the same result.
Thin areas of the relief are also assessed from the standpoint of installation and movement. A decorative protrusion should not become an accidental point of support for the cabinet or a place by which the furniture is lifted.
Geometric legs
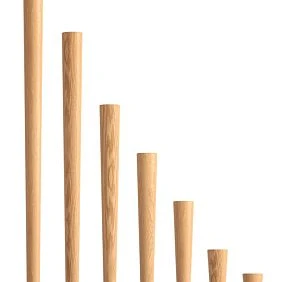
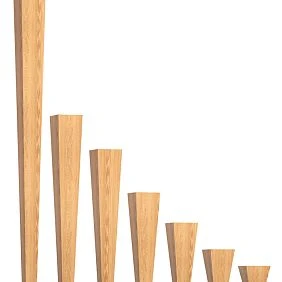
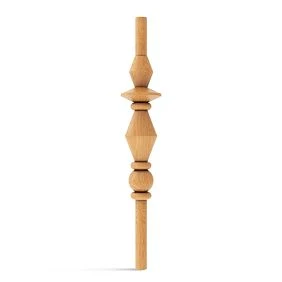
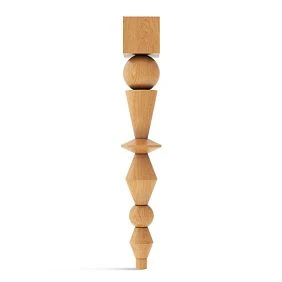
For laconic old furniture, they select geometric furniture legs: straight, tapered, or other options suitable according to the drawing. The age of the item does not require mandatory carving.
On such supports, the slant, taper, and setback from the edge of the carcass are especially noticeable. The front legs may be splayed to the sides, while their top plates remain hidden. Replacing them with vertical parts of the same length will change both the appearance and the location of the support points.
How to choose the wood for a new leg
If the surface will remain visible, it is desirable to install the species of the original support. The color of the old finish can hinder identification: a dark leg is not necessarily made of dark wood. The grain on a preserved exposed area can be more informative than a general photo of the item.
Beech and oak have different texture character. For a transparent finish, this matters even when the tone is close. Under opaque enamel, the difference is less noticeable, but the quality of the surface, the condition of the blank, and the suitability of the chosen species for the construction are still important.
One should not choose oak merely as a conventionally “more reliable” material. The strength of the finished system depends on the cross-section, grain direction, condition of the wood, and the connection to the carcass. A different species does not fix a weak mounting point or a crack in an old rail.
Check the available blank options. On the STAVROS page, the quality of wooden products options for enamel and for tinting are described, differing in the selection of lamellas by color and texture. The required option for a specific leg is confirmed in the product card or when ordering.
When replacing a single visible support, matching the material is usually more important than when completely repainting a household item. If the texture cannot be precisely matched with a serial part, decide in advance whether the difference is acceptable or whether custom production from a sample will be required.
How to match the finish to existing furniture
New wood of the same species does not have to match the old wood in color right away. The appearance of an item is affected by light, previous coatings, and traces of repairs. In addition to tone, compare the sheen and character of the surface: identically brown parts can differ noticeably due to glossy and matte coatings.
For independent matching, the following are convenient from STAVROS open boundless possibilities for designers, furniture makers, and anyone striving to create unique high-quality furniture.. On the sample, you can test the tinting, intermediate layers, and final coating. First approve the result, then treat the remaining new parts.
Compare the sample with the part of the furniture next to which it will be located. The lower area of a chest of drawers may look different from the tabletop. If you focus only on the darkest stained area or on the faded side, the new leg will end up mismatched with the surrounding surfaces.
For a test color sample:
- Prepare the new wood using the method intended for the legs.
- Apply the chosen finishing system according to the material instructions.
- Wait for the specified drying and coating formation time.
- Compare the shade and sheen next to the old furniture under several lighting conditions.
- Label the sample and record the materials, sequence, and application conditions.
A flat board helps with color selection, but it does not fully show how the finish behaves on carving and end grain. For a complex profile, it is better to make the final test on a new part or a suitable three-dimensional sample. Recesses may look darker, while protruding areas may reflect light more strongly.
Do not strip the surviving finish from the entire piece of furniture just to match a new leg. On a historical item, it is part of its value. The condition and compatibility of the old finish are assessed first, and the method of matching the new part is chosen with its preservation in mind.
Patina also does not replace precise matching. Darkening the recesses too contrastingly can make the new support more noticeable than the others. For repaired household furniture, the goal is usually a consistent appearance, not the maximum number of artificial aging marks.
If a suitable ready-made option has already been found, you can consider furniture legs with finish. They are compared with the item using a real sample; the color name and the image on the screen do not guarantee a match.
What to check on a trial leg before ordering a set
A sample of the new leg is needed to confirm compatibility without prematurely reworking the entire item. First, it is placed against the unloaded and securely supported body, and the top plate, profile direction, and working height are compared.
If drilling is required to test the joint, whenever possible first test it on a separate mock-up of the assembly with the appropriate materials and thicknesses. Such a mock-up helps identify a geometric error, but it does not confirm the strength of the old wood. The condition of the actual base is assessed separately.
During the trial fitting, check whether the leg hits the apron before the intended surface, whether the fastener is accessible, and whether the required orientation can be achieved. For a carved or angled support, the tightened joint must match the design position. It must not be left loose just to get the correct rotation.
Evaluate the leg under the carcass from a normal distance. On the workbench, the new part may seem almost an exact copy, but next to a tall side panel, an overly bulky top or a short taper becomes apparent. The surviving support and a photo of the original position are more useful here than a general impression from the catalog.
After mechanical inspection, the finish and configuration are approved. The specific selected size, material, and manufacturing variant are carried over into the order. Buying four similar legs after a successful trial of one different model reduces the value of the inspection to zero.
How to find the cause of wobbling after replacement
Equal leg length does not guarantee a level position of the furniture. The result is affected by mounting surfaces, installation angle, frame condition, and floor. Trimming a new part cannot be prescribed based on first impression.
First check that all supports are installed up to the intended stop and have the required components. Then compare the distances from the same structural bases of the body to the floor. Separately inspect the joints: movement in the stretcher may feel like wobbling on a leg that is too short.
| Observation | Possible direction of inspection |
|---|---|
| One corner does not rest on a level reference surface | Working height, seating depth, tilt of supports, and geometry of the base |
| The body moves relative to the leg | Condition of the fastening and the wood around it |
| Wobbling changes after moving it to another place | Floor evenness and contact conditions of the foot pads |
| Door gaps changed after installation | Position of the body, skew of the frame, and distribution of support |
| The long base sags in the middle | Condition and position of the provided central support |
The table helps guide the inspection, but does not establish the cause without verification. Several defects may act simultaneously. For example, an uneven floor can hide a difference in seating that will become noticeable after moving.
Foot pads are also taken into account in the working height. Different thickness or uneven compression of soft pads changes contact with the floor. Do not use a random set of shims as confirmation that restoration is complete.
The check begins with the item unloaded. Operational load is applied only after checking the joints and within limits justified by the design. For old furniture, the permissible load cannot be calculated by simply multiplying the conditional strength of one leg by four: loading may be uneven, and the weak point may be the carcass.
What to consider for a chest of drawers, wardrobe, sofa, and armchair
For cabinet furniture, replacing supports affects the position of the lower part of the facade. Check that the bottom drawer opens, the door gaps, and the clearance under the plinth. If a decorative strip has dropped to the floor, it must not accidentally take the load instead of the legs.
For a long wardrobe or sideboard, the provided intermediate supports and their connection to the base are retained. When selecting legs for a chest of drawers, wardrobe, and nightstand do not assess only the visible corners. A reinforced outer leg does not compensate for the absence of a necessary support under the middle of the carcass.
Raising a wardrobe onto longer legs is already a modification of the structure. Along with the height, the stability conditions and the performance of the fasteners change. Such an alteration cannot be considered safe merely because the new support is thicker than the previous one. The existing means of securing the furniture to the wall must also remain functional after the position is changed.
For a sofa and armchair, the seat height together with the condition of the soft elements is important. If the seat has become too low due to sagging webbing, springs, or filling, higher legs mask another fault. After repairing the seat, the final height may turn out to be excessive.
When selecting Wooden legs for sofas, clarify the condition of the lower frame and all central supports. For an armchair, separately check the original tilt and the method of connection to the frame. If the support is structurally connected to the side rails, a ready-made removable leg cannot be considered a direct replacement.
Do not open the upholstery or disassemble a working complex assembly just to clarify a decorative dimension. First gather the available information and determine which measurements actually require disassembly. A damaged or inaccessible load-bearing assembly is better inspected in a workshop before purchasing parts.
What to keep in the description of a restoration project
A short schedule helps separate established facts from assumptions. It is needed not only for procurement: it can be used to explain why a certain height was chosen and which parts of the item were preserved.
| What to record | Contents of the record |
|---|---|
| Item and purpose of work | Repair for use, restoration by sample, or agreed alteration |
| Original supports | Photographs, position of each part, signs of repairs and damage |
| Basis for dimensions | Preserved sample, drawing, document, or separately noted assumption |
| Height | Full length of the part and working height at the joint separately |
| Installation | Seat, holes, mating elements, seating depth and angle |
| Selected leg | Manufacturer, item number, size, material and link to product page |
| Quantity | Front, rear and additional supports, separately by version |
| Finishing | Signed sample and applied coating system |
| Check | Fitting result, condition of the cabinet and required work on the base |
Label the saved old legs and fasteners by installation location. Even a damaged part can still be a source of information about the profile and connection. It is especially important not to mix the original elements with those that appeared during a later repair.
Drawings of new products can be found in the section drawings and models STAVROS. If the product page does not include the dimensions of the mounting part, request them before ordering. Scaling a perspective photo to determine the position of the fastener is not sufficient.
Additional questions before purchase
Can a ready-made leg be shortened to fit old furniture
Only if modification is acceptable for the selected part and does not compromise its construction. Trimming from the bottom may alter the shape of the foot, while trimming from the top may destroy the mounting plate or part of the profile. For carved and angled supports, a modification drawing is required first. Choosing a model close in height does not mean that excess length can always be removed without consequences.
What to do if the old leg is in good condition but its finish differs
First, determine the cause of the difference. It may be natural surface change or a trace of a previous repair. A sound original part does not necessarily need to be replaced. For historic furniture, the decision on finish correction is made with regard to its preservation and value.
Can casters be installed instead of wooden supports
This is a change in the function of the assembly and requires separate verification. A caster support transmits forces to the fastening differently, and movement creates additional stresses on the old body. Matching height alone is not sufficient; for the restoration of the original stationary construction, this option is not a direct replacement.
Is a spare leg needed after repair
Not necessarily. A spare makes sense if obtaining the required version again is difficult or if servicing a series of identical items is planned. For a single piece of furniture, it is more useful first to keep exact dimensions, the article number, and a finish sample. If a spare is nevertheless purchased, it is labeled and stored separately from parts of another project.
Where to buy furniture legs for restoration
When the working height, condition of the base and type of connection are known, you can select wooden furniture legs and compare suitable versions. The request includes the article number, size, wood species, finish option, quantity and details of the required fastening. For complex selection, attach photos of the body and measurements of the surviving support.
If you need to buy furniture legs for restoration to stain yourself, choose an unfinished version with suitable surface characteristics. For a ready-made finish, first agree on a real sample. Compare the cost together with fasteners, modification, finishing and base repair: it is these operations that can significantly affect the project budget.
Before payment, check the availability of the required version, completeness and delivery terms. The repair time should take into account receiving the parts and the time for trial finishing, not just installing the fasteners.
Complete the purchase of the full set after checking a trial support, if the model or connection has not yet been finalized. Confirmed dimensions and the installation diagram allow you to order the required legs without accidentally changing the height of the body, and the saved finish sample allows you to match the new parts with what remains of the old furniture.