









































Wall Molding Kits & Polyurethane Wall Decor

Collection "Neoclassic"

Neoclassic Light Collection

Japandi Collection

Versailles Light Collection

Versailles Collection

Botanical Garden Collection

Tauride Garden Collection

COLLECTION "SUMMER GARDEN"

Brussels Collection

Verona Collection

Ekateringof Collection

Petersburg Collection

Peterhof Collection

Tsarskoye Selo Collection

Pavlovsk Collection
Wall Decor Gallery of Applications
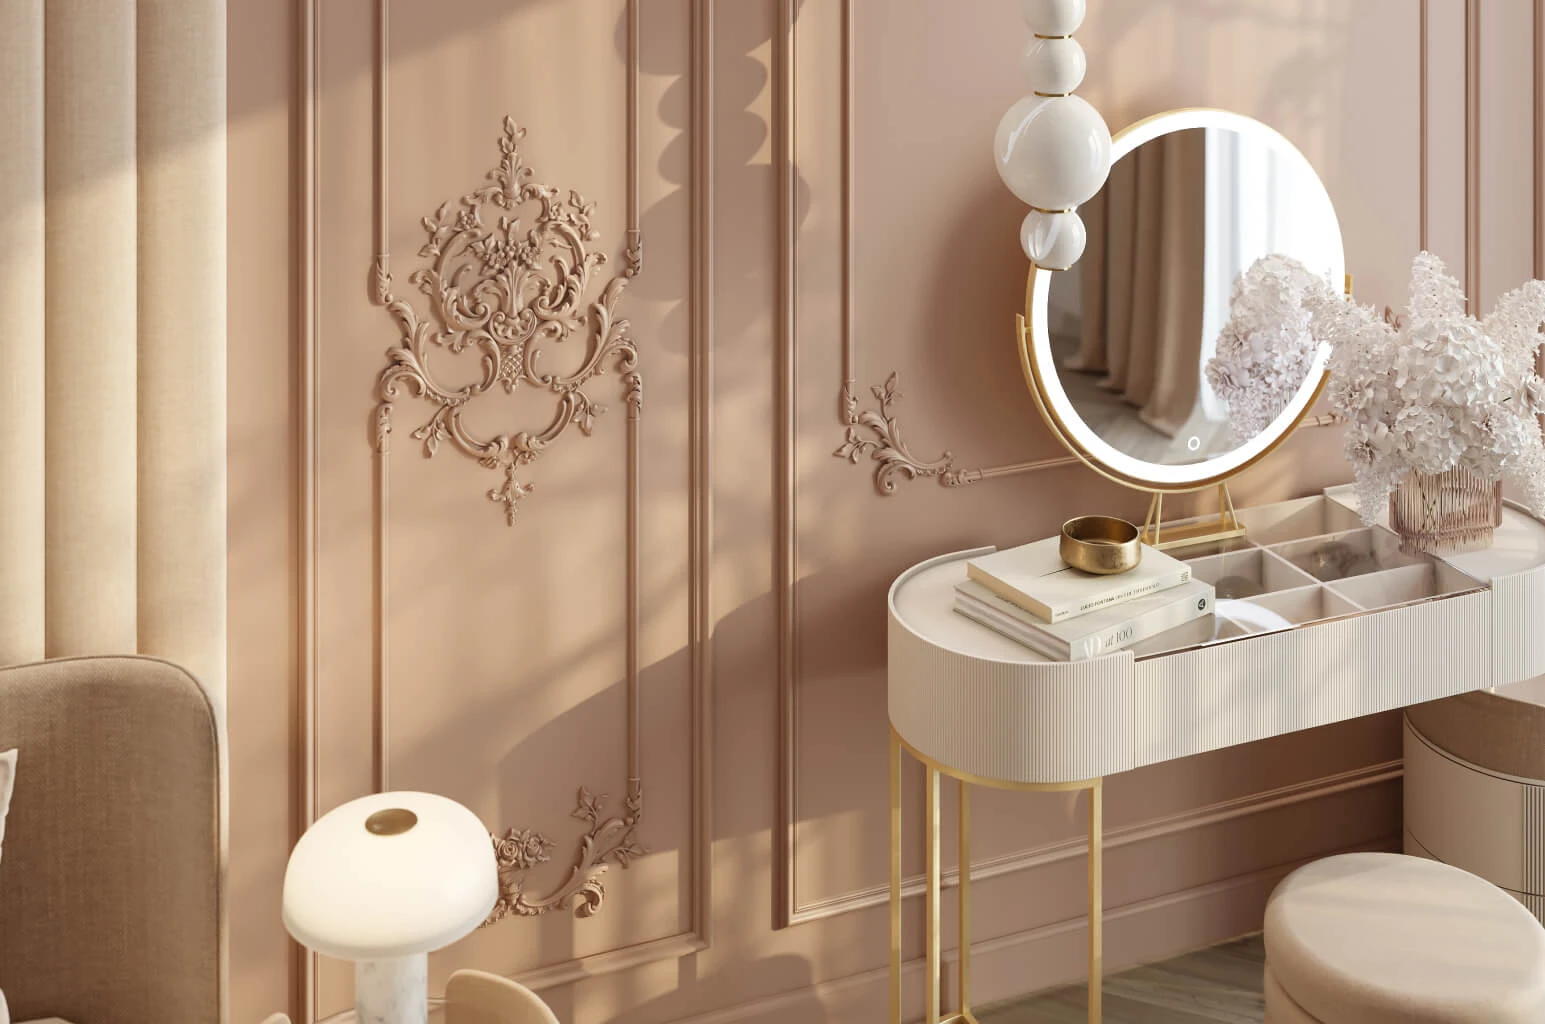
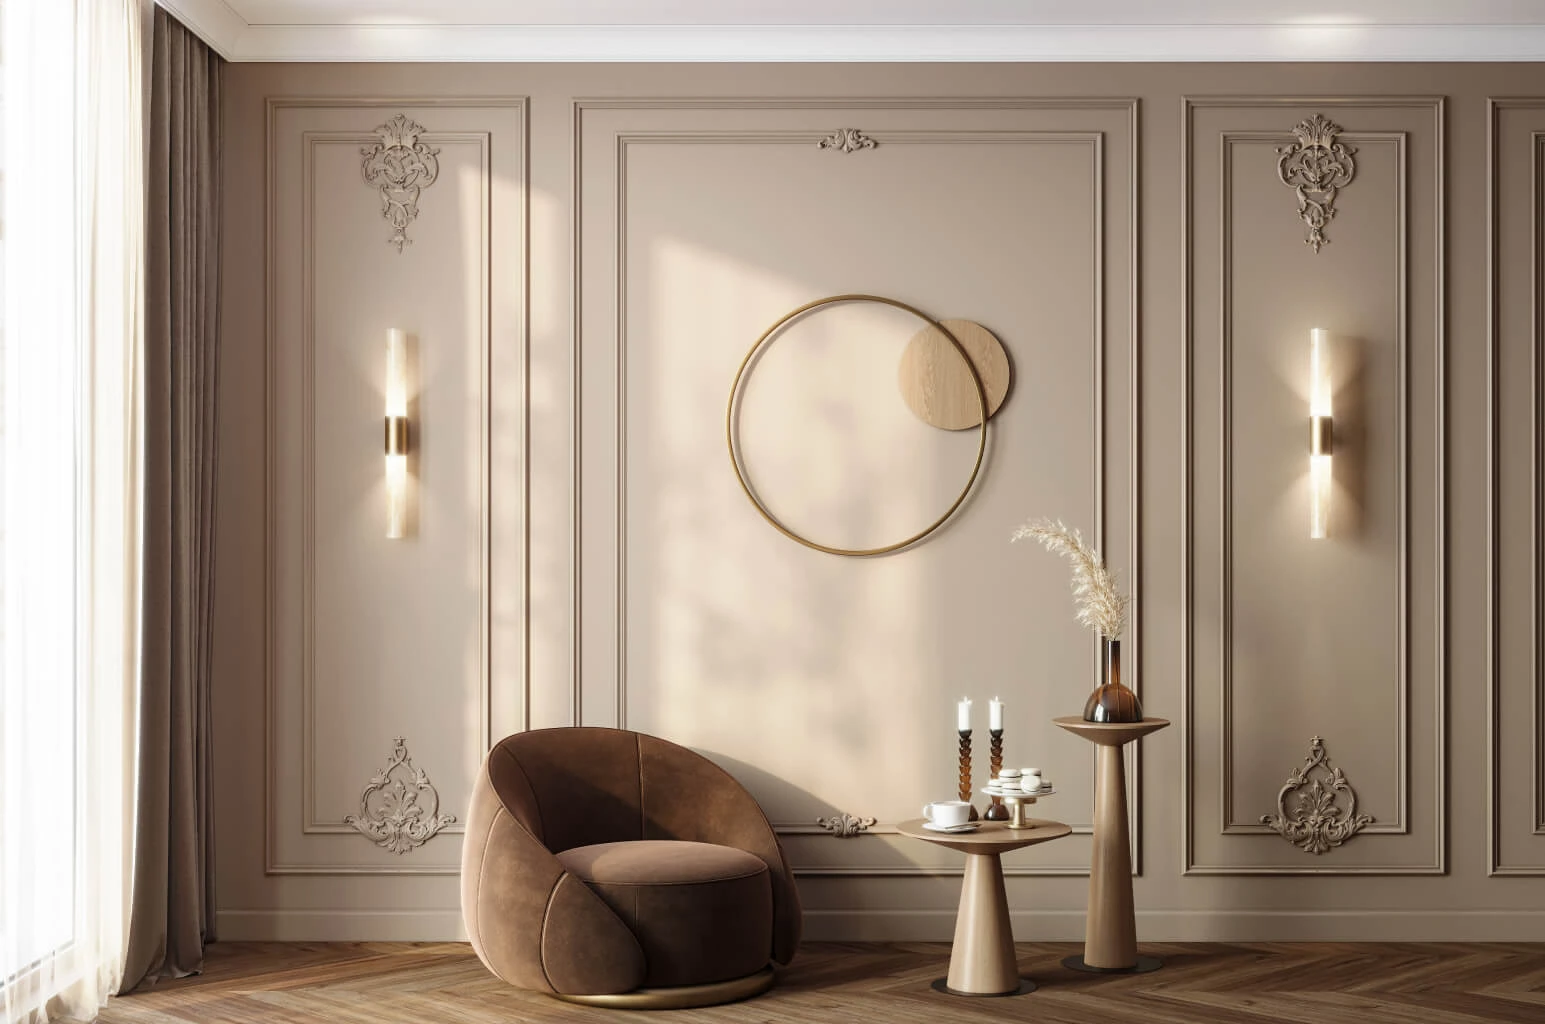
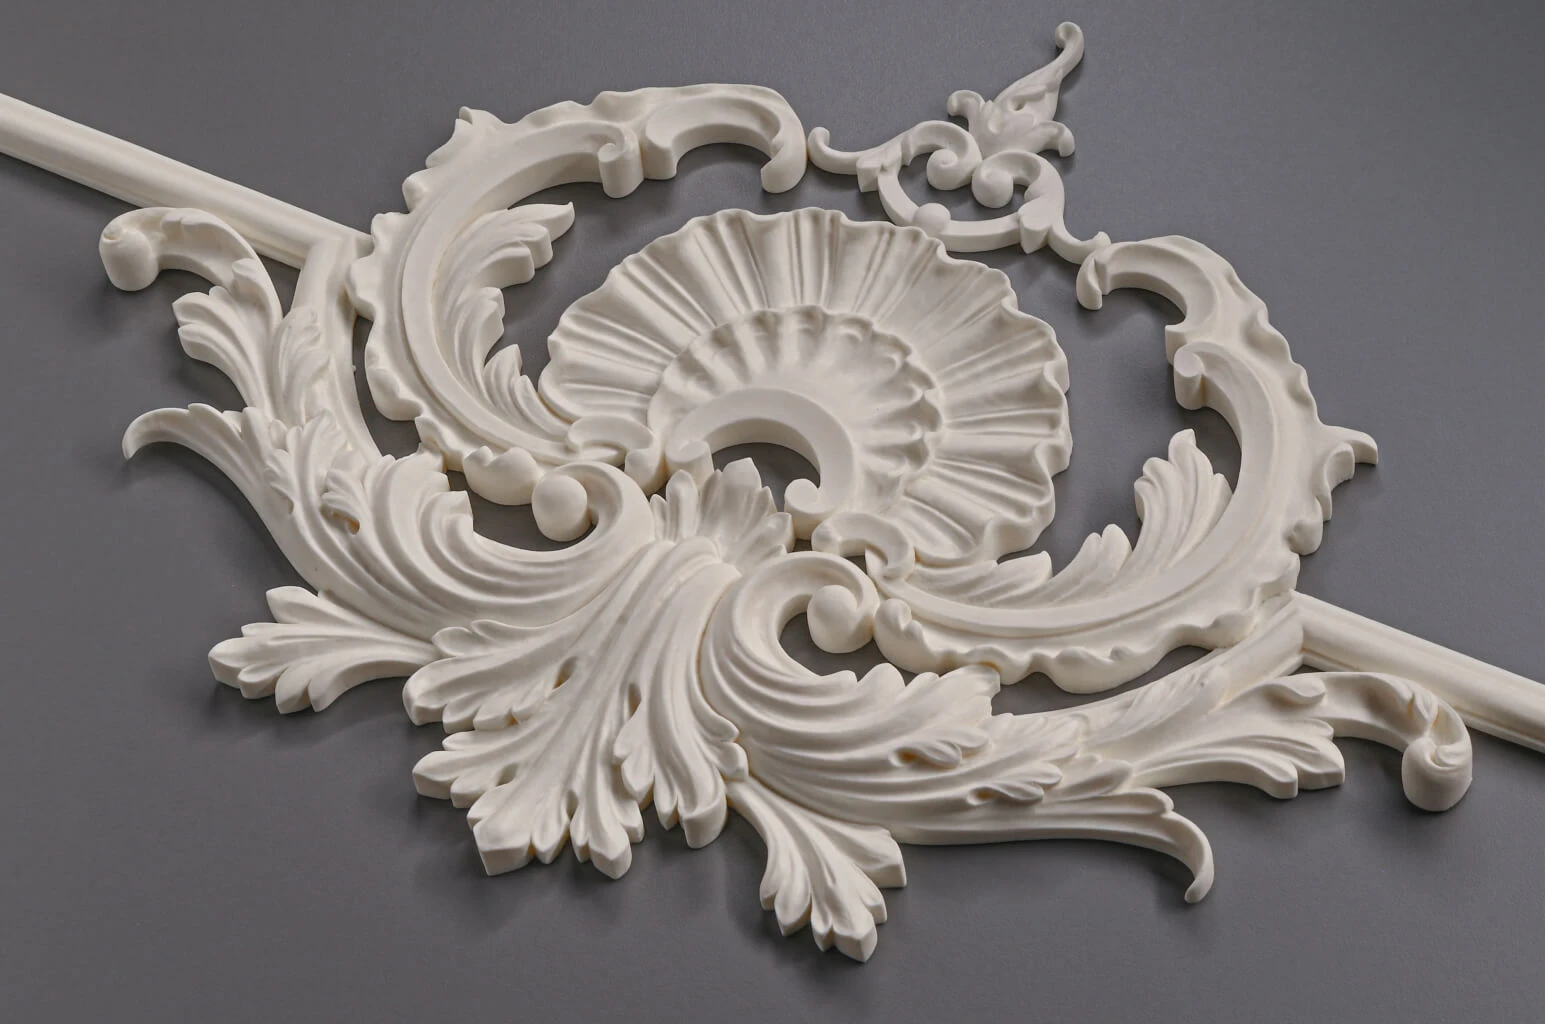
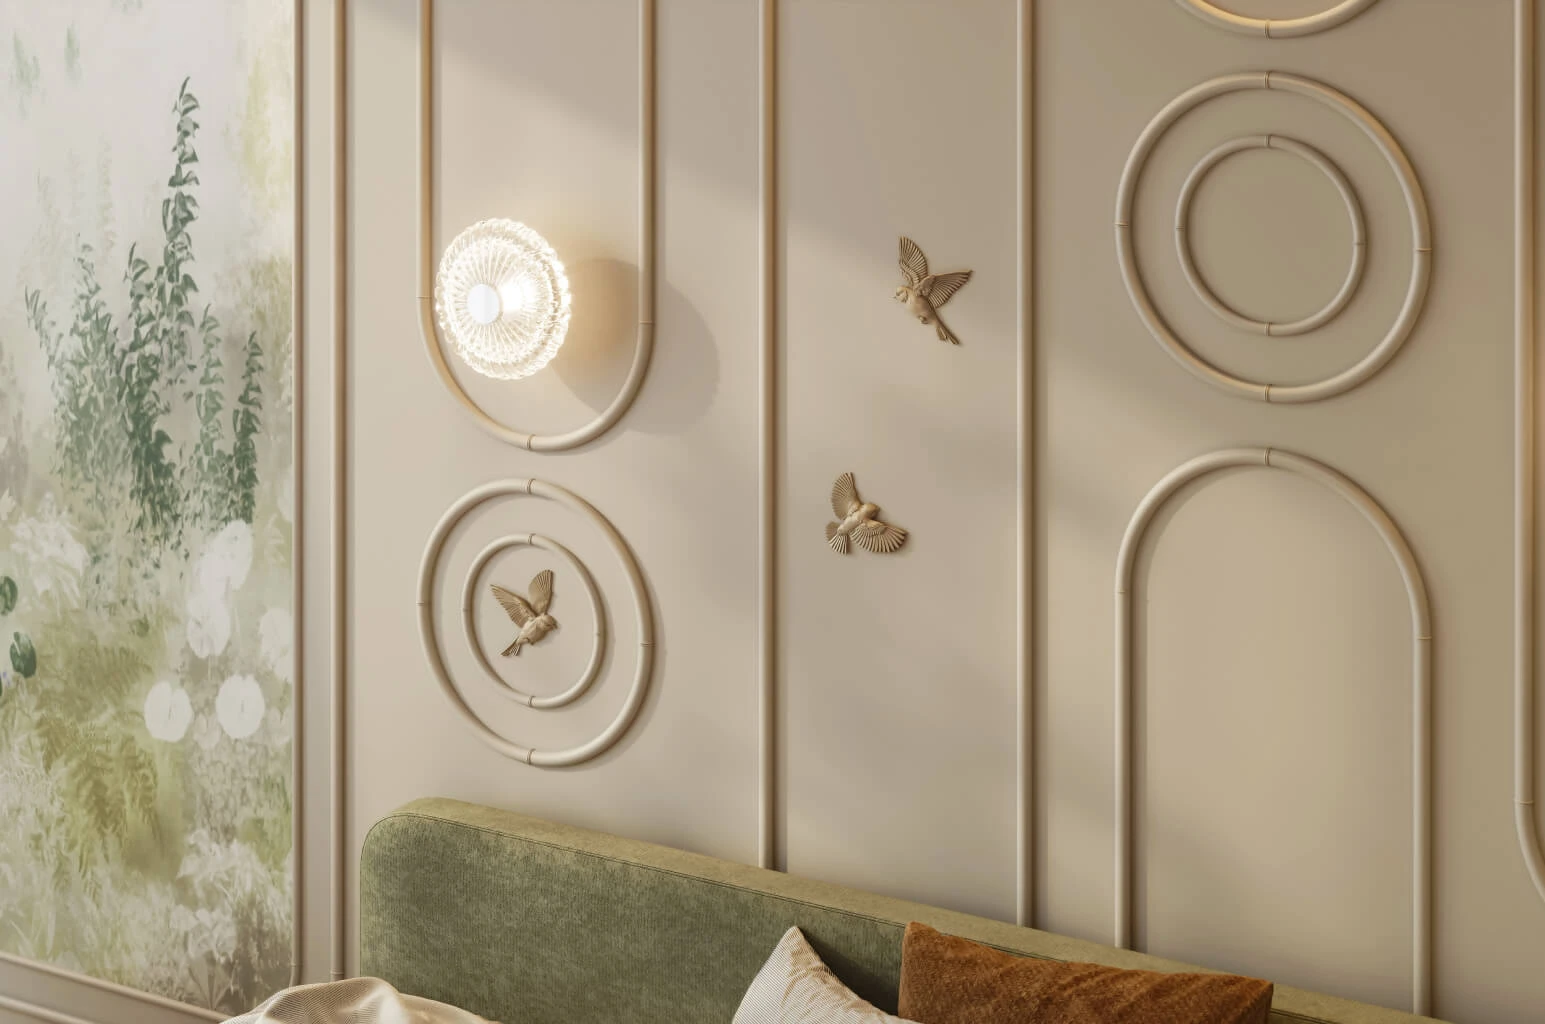
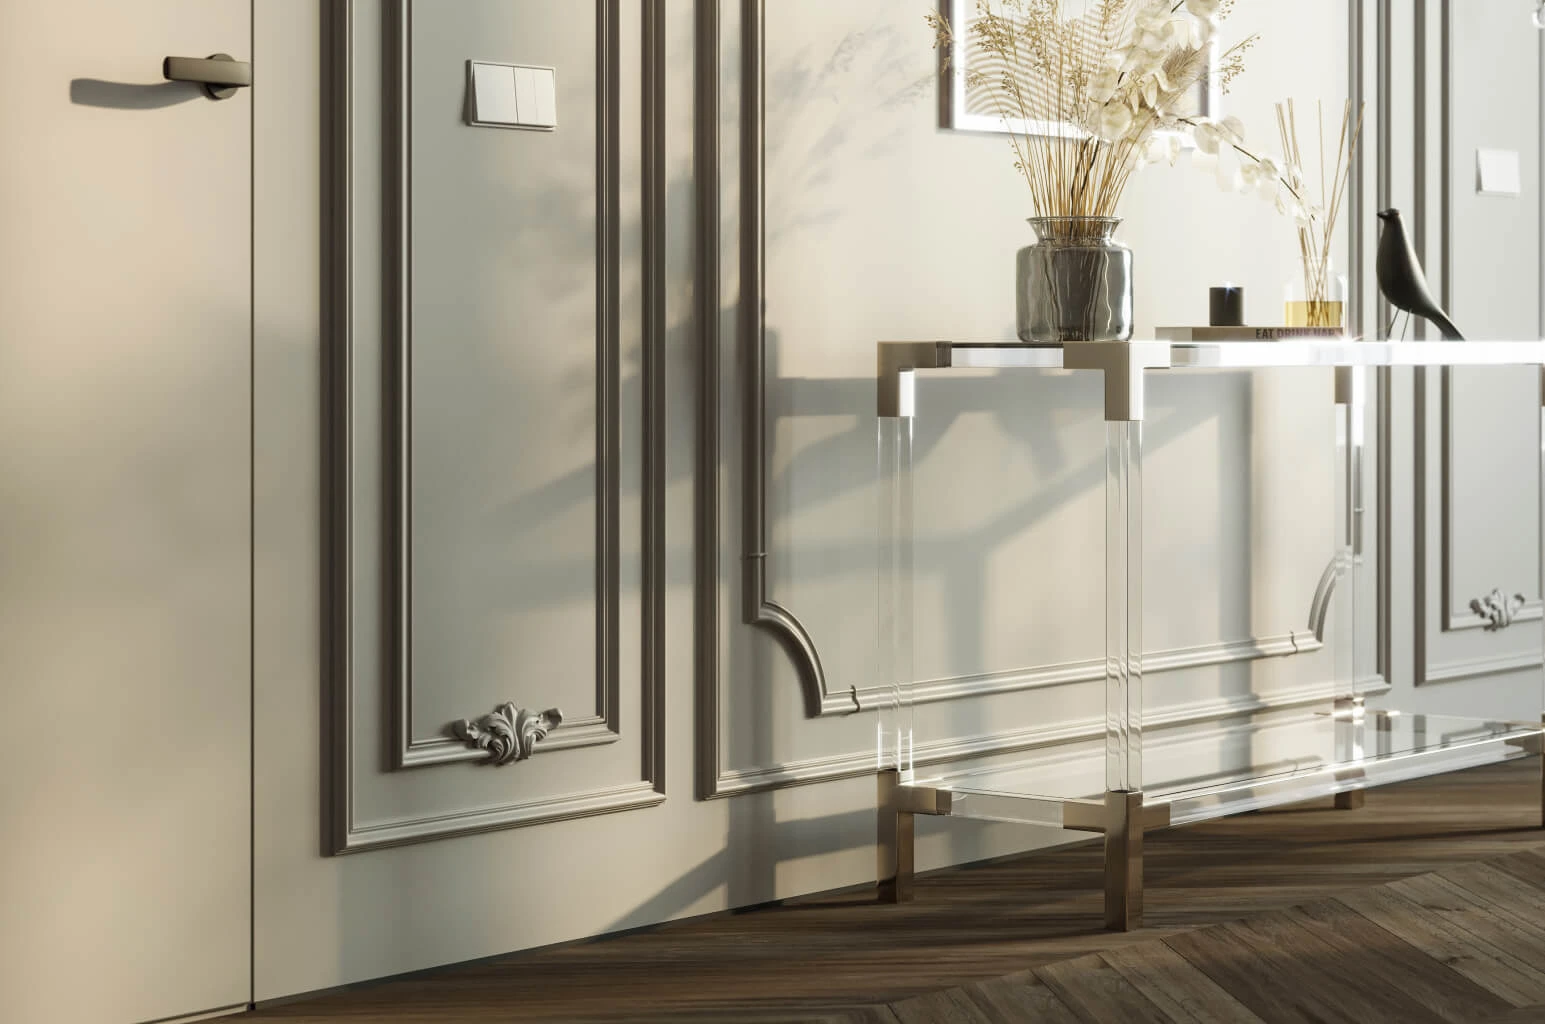
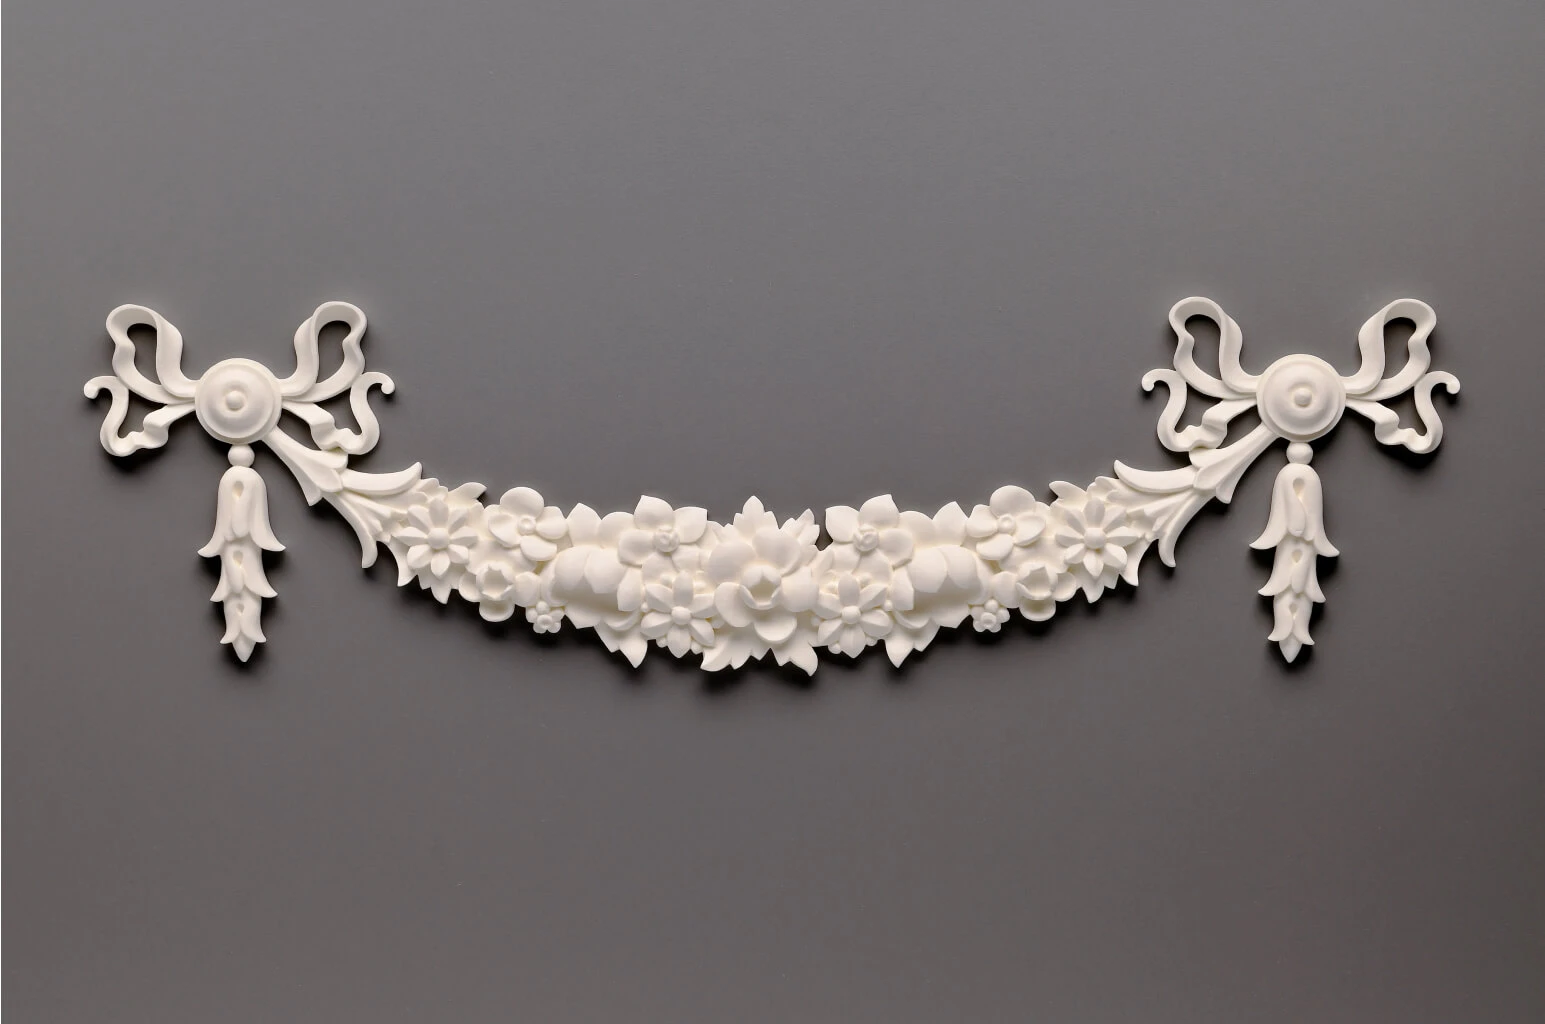
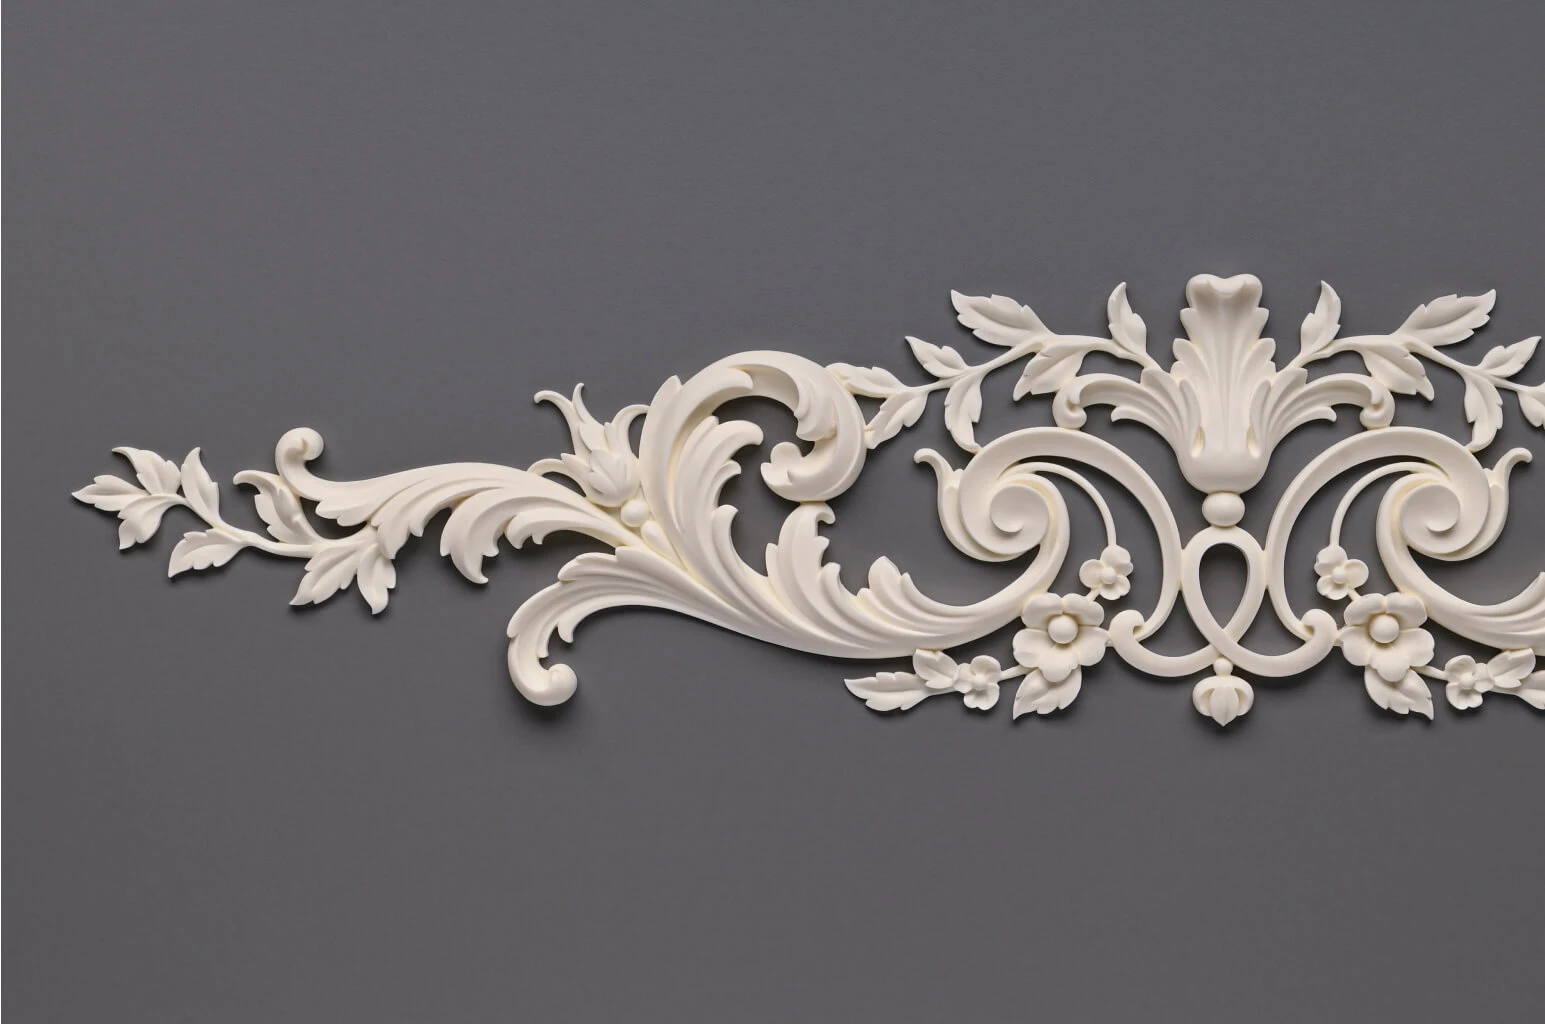
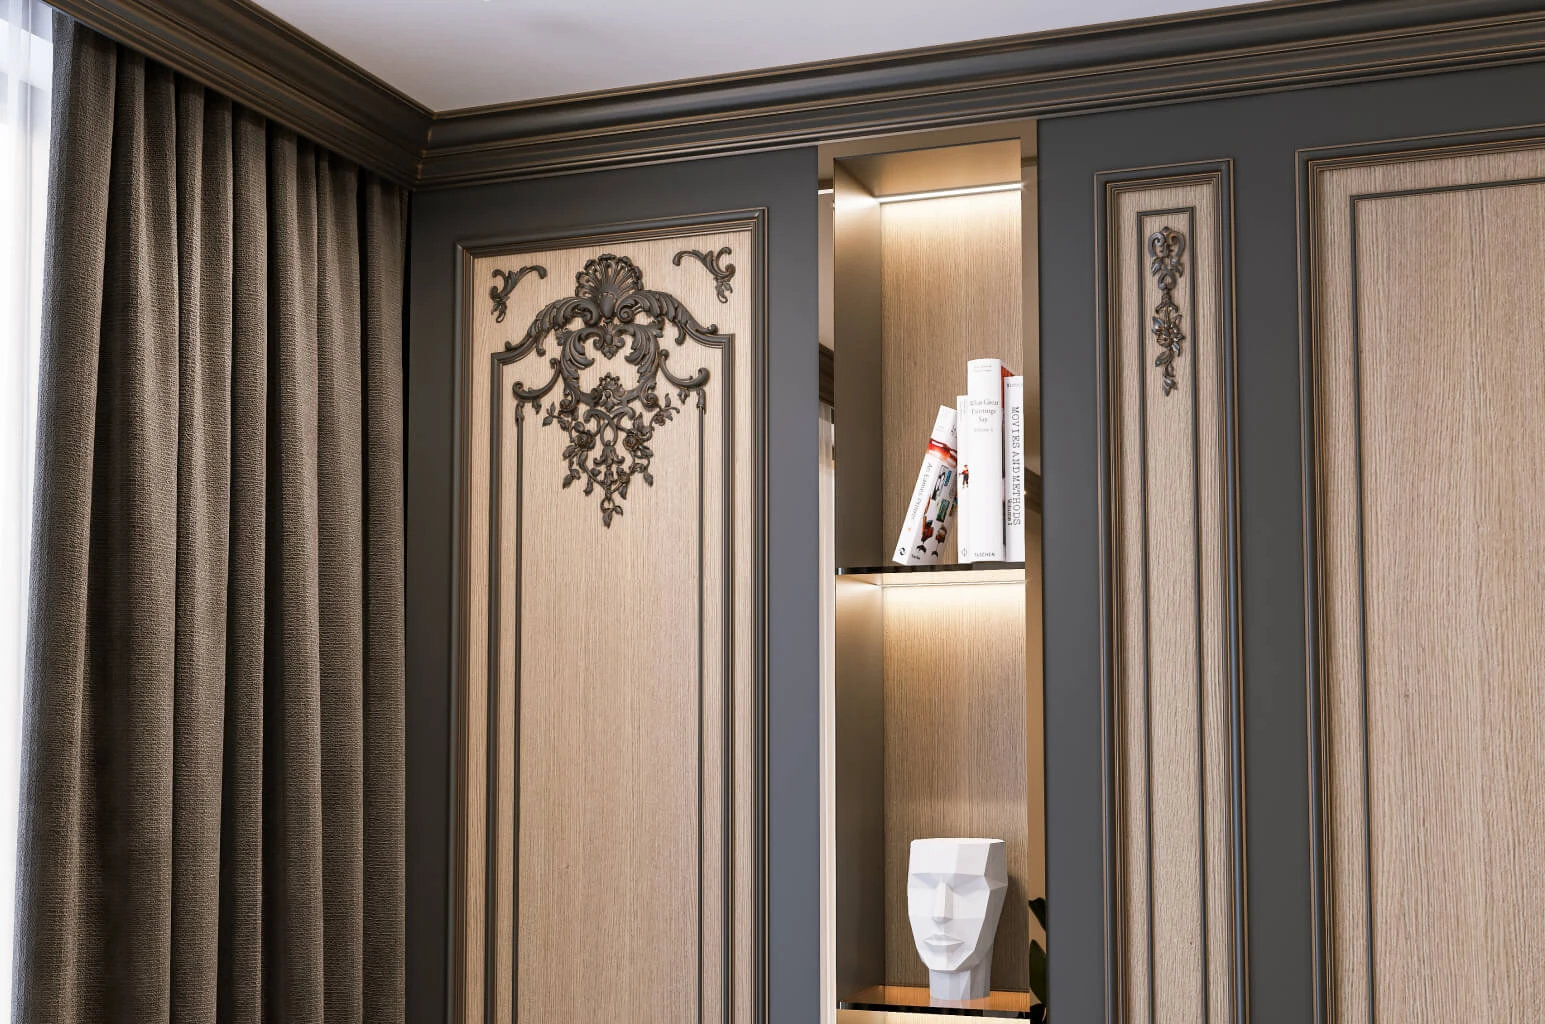
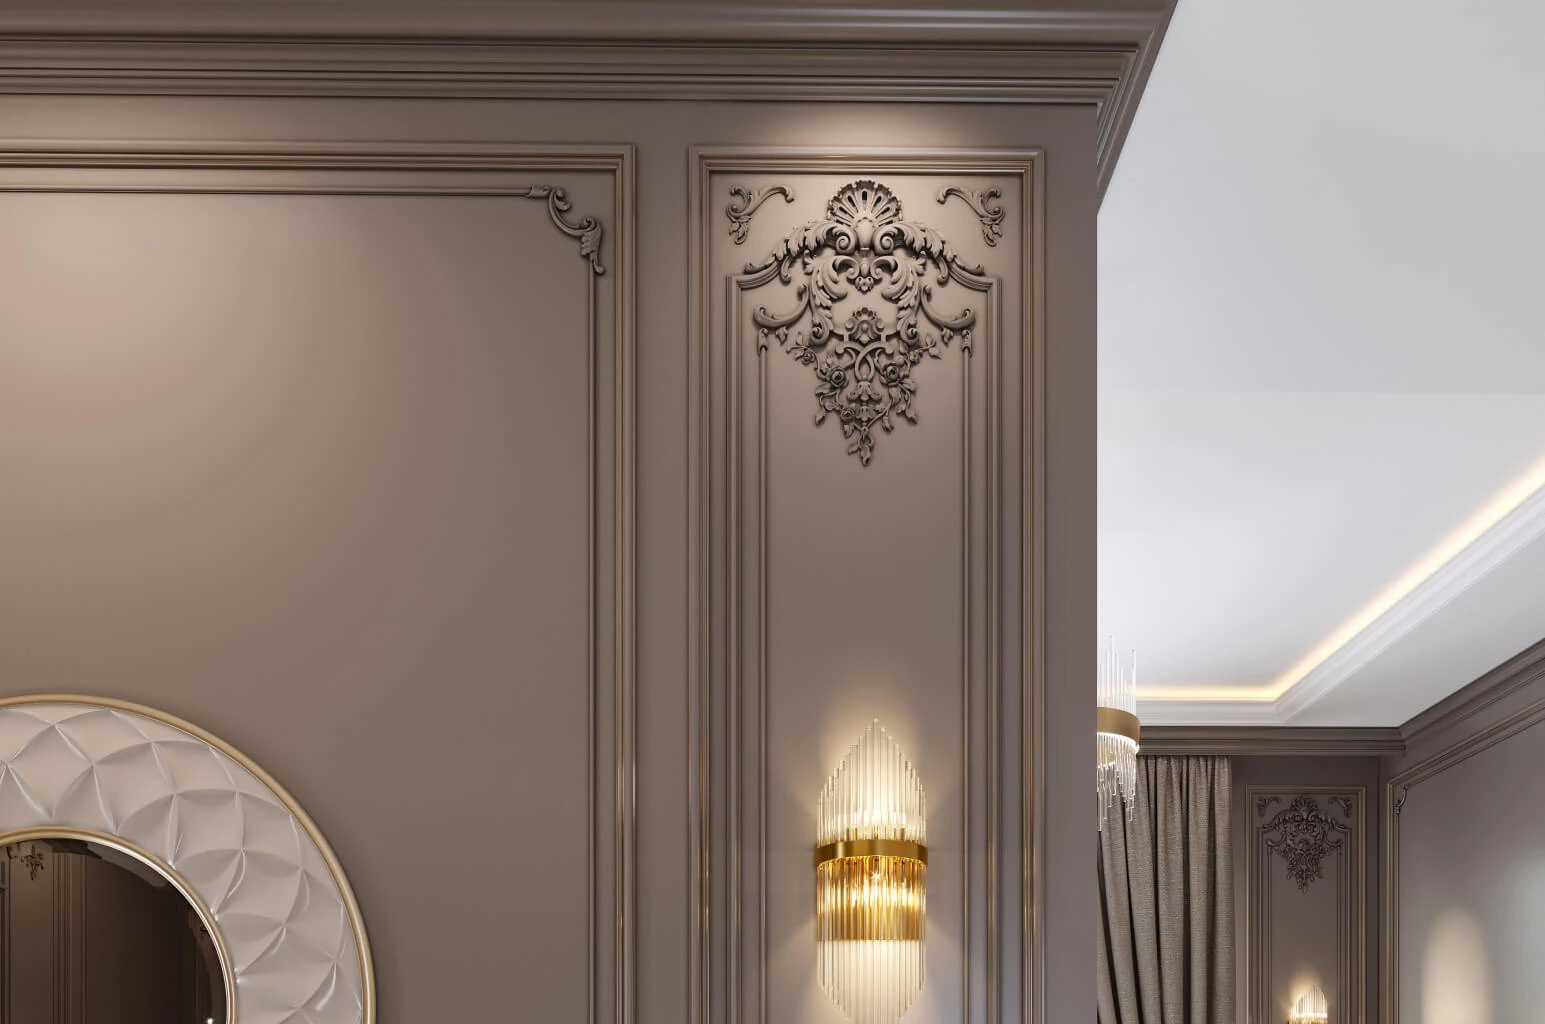
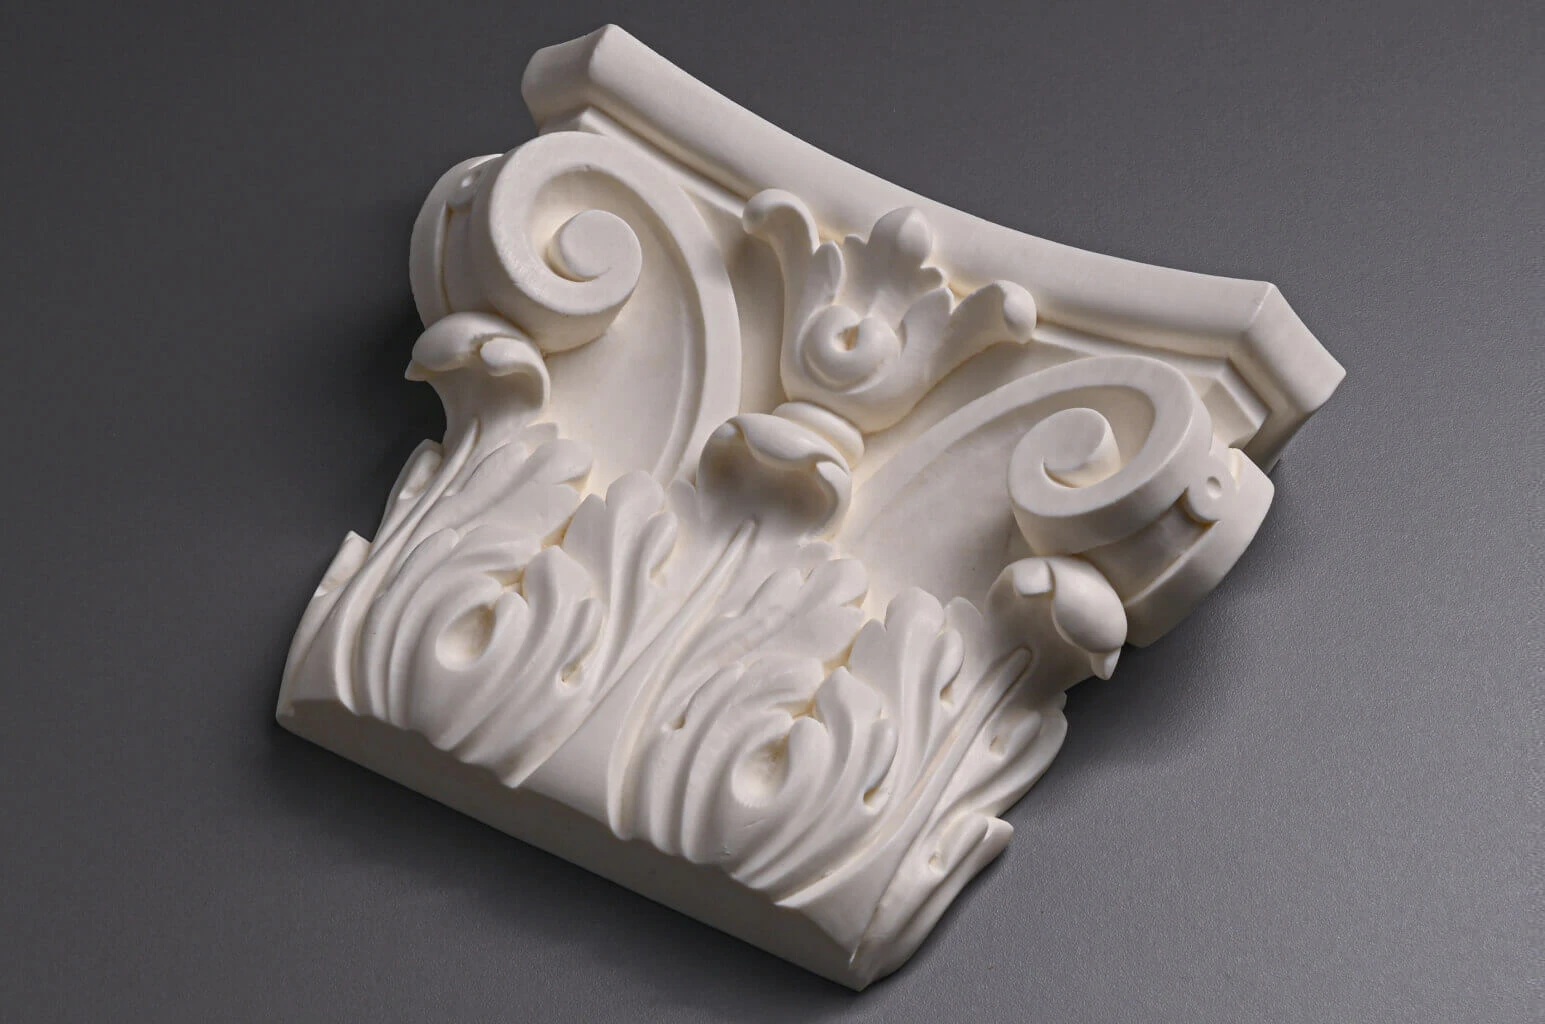
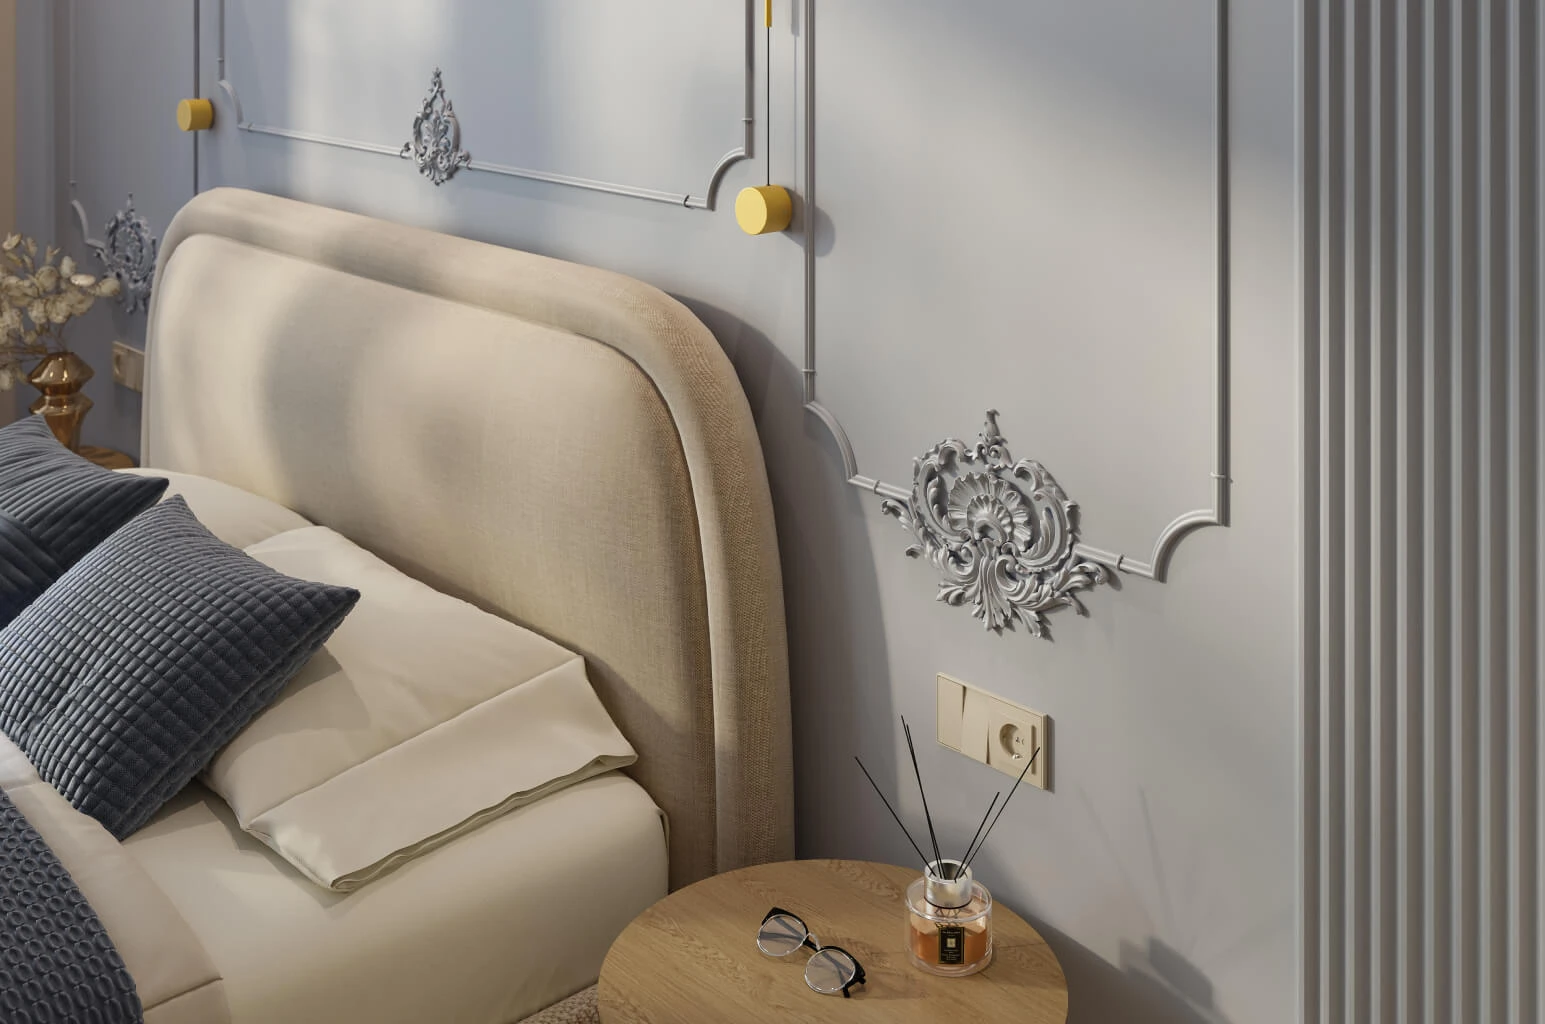
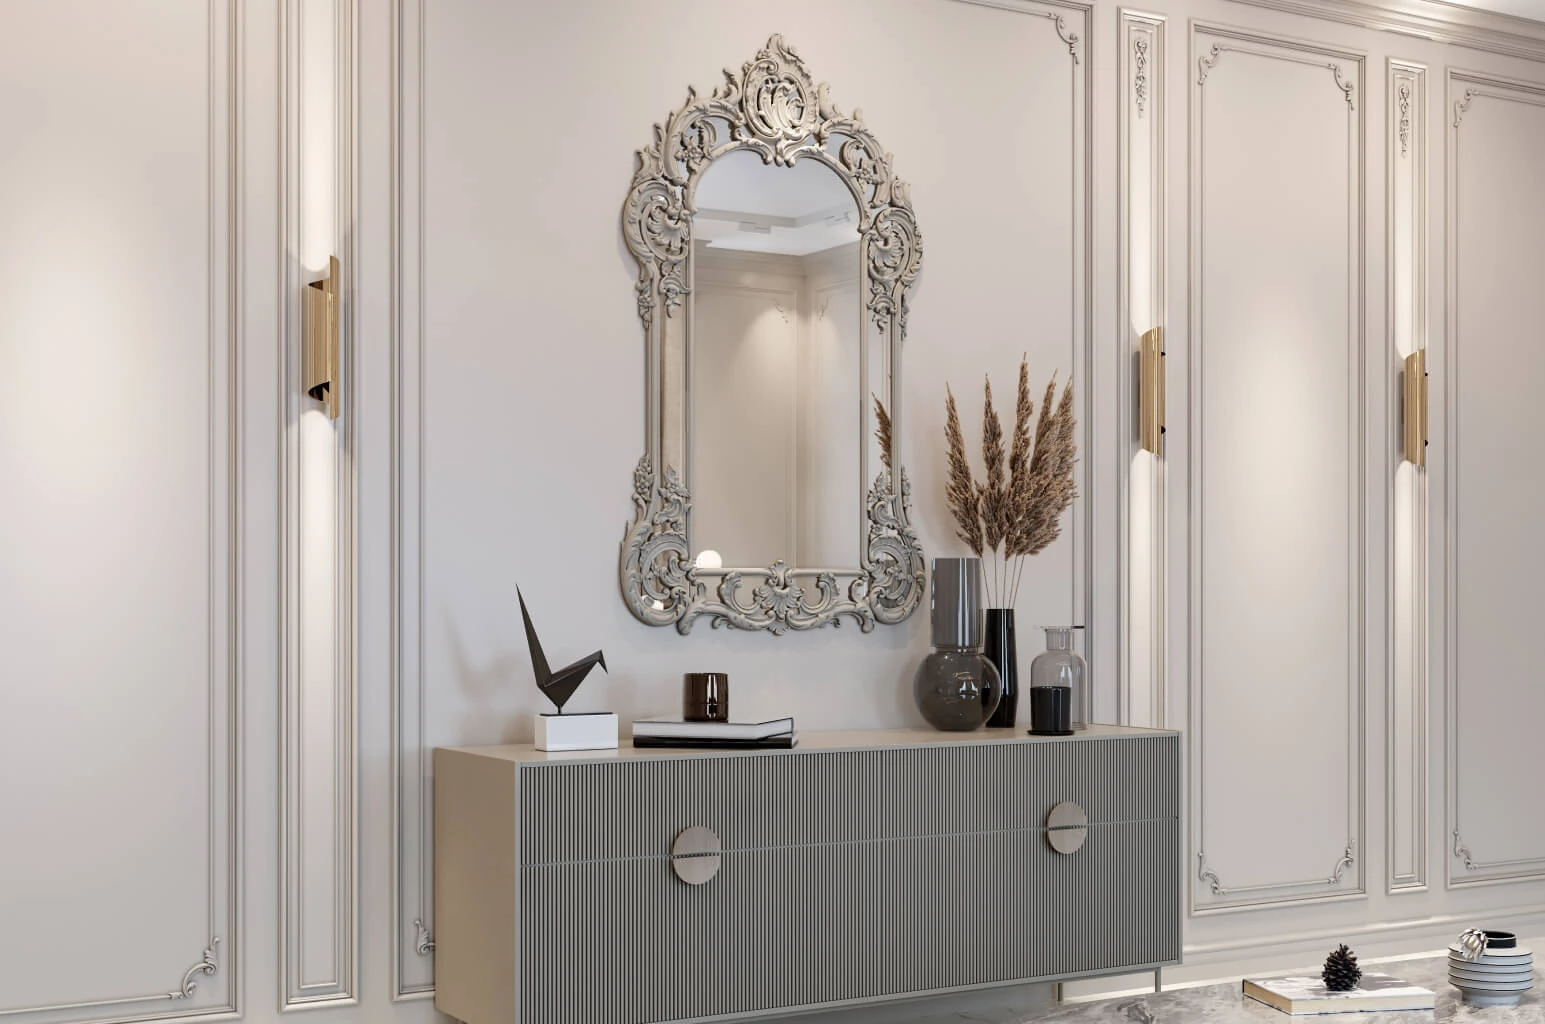
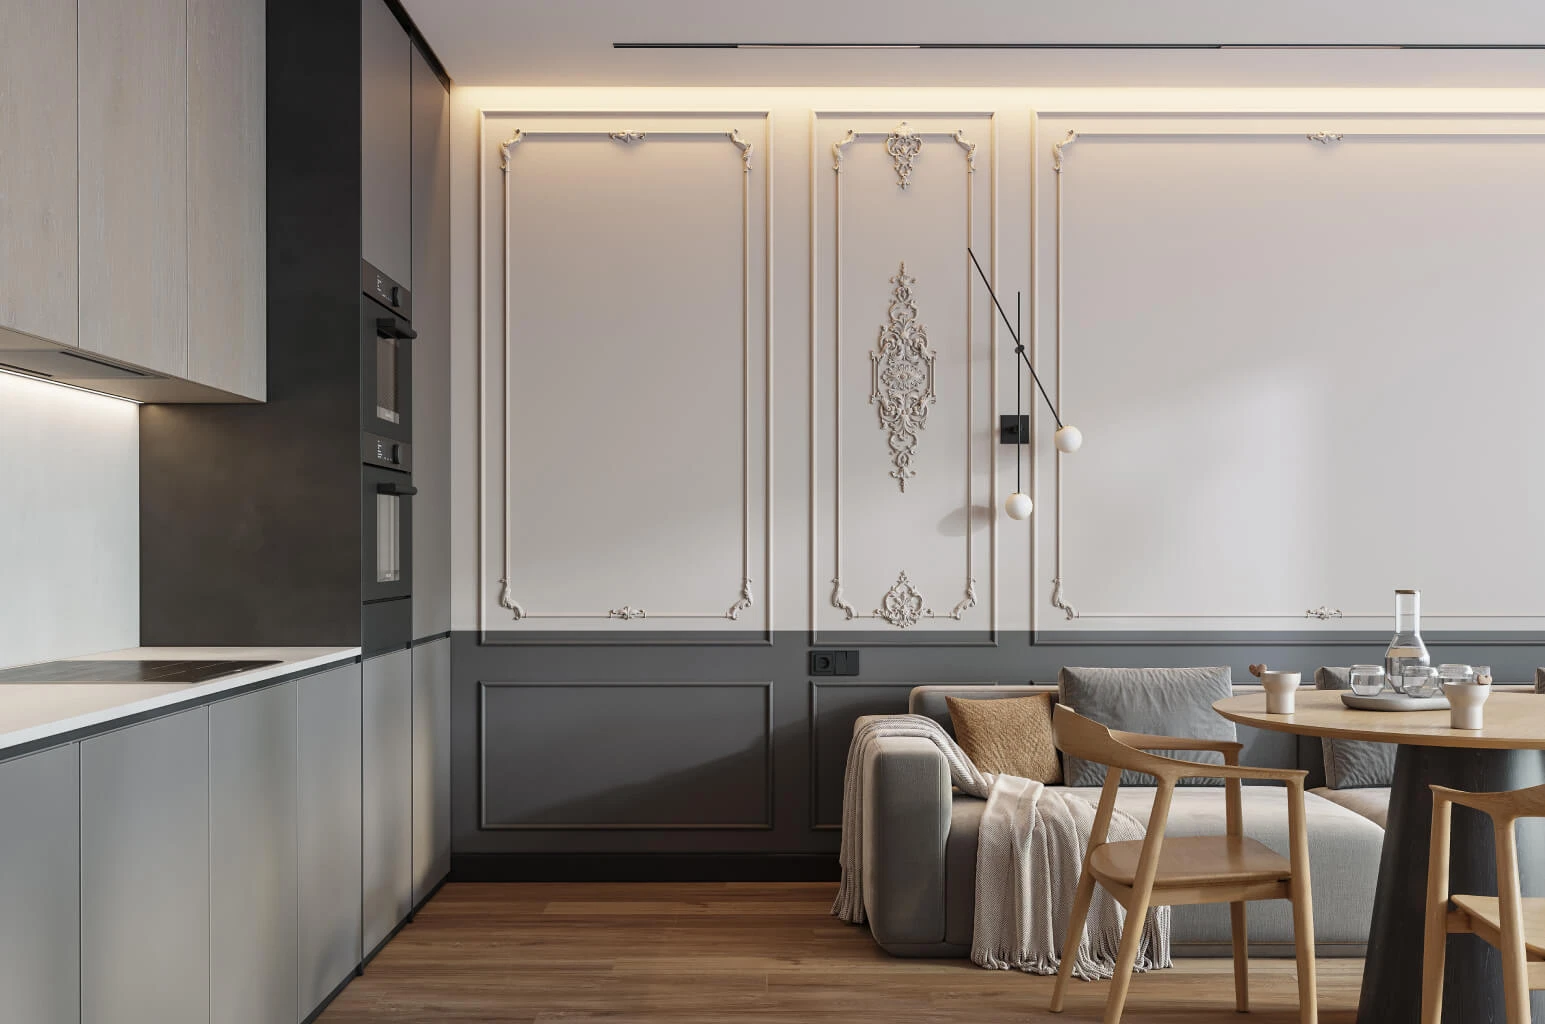
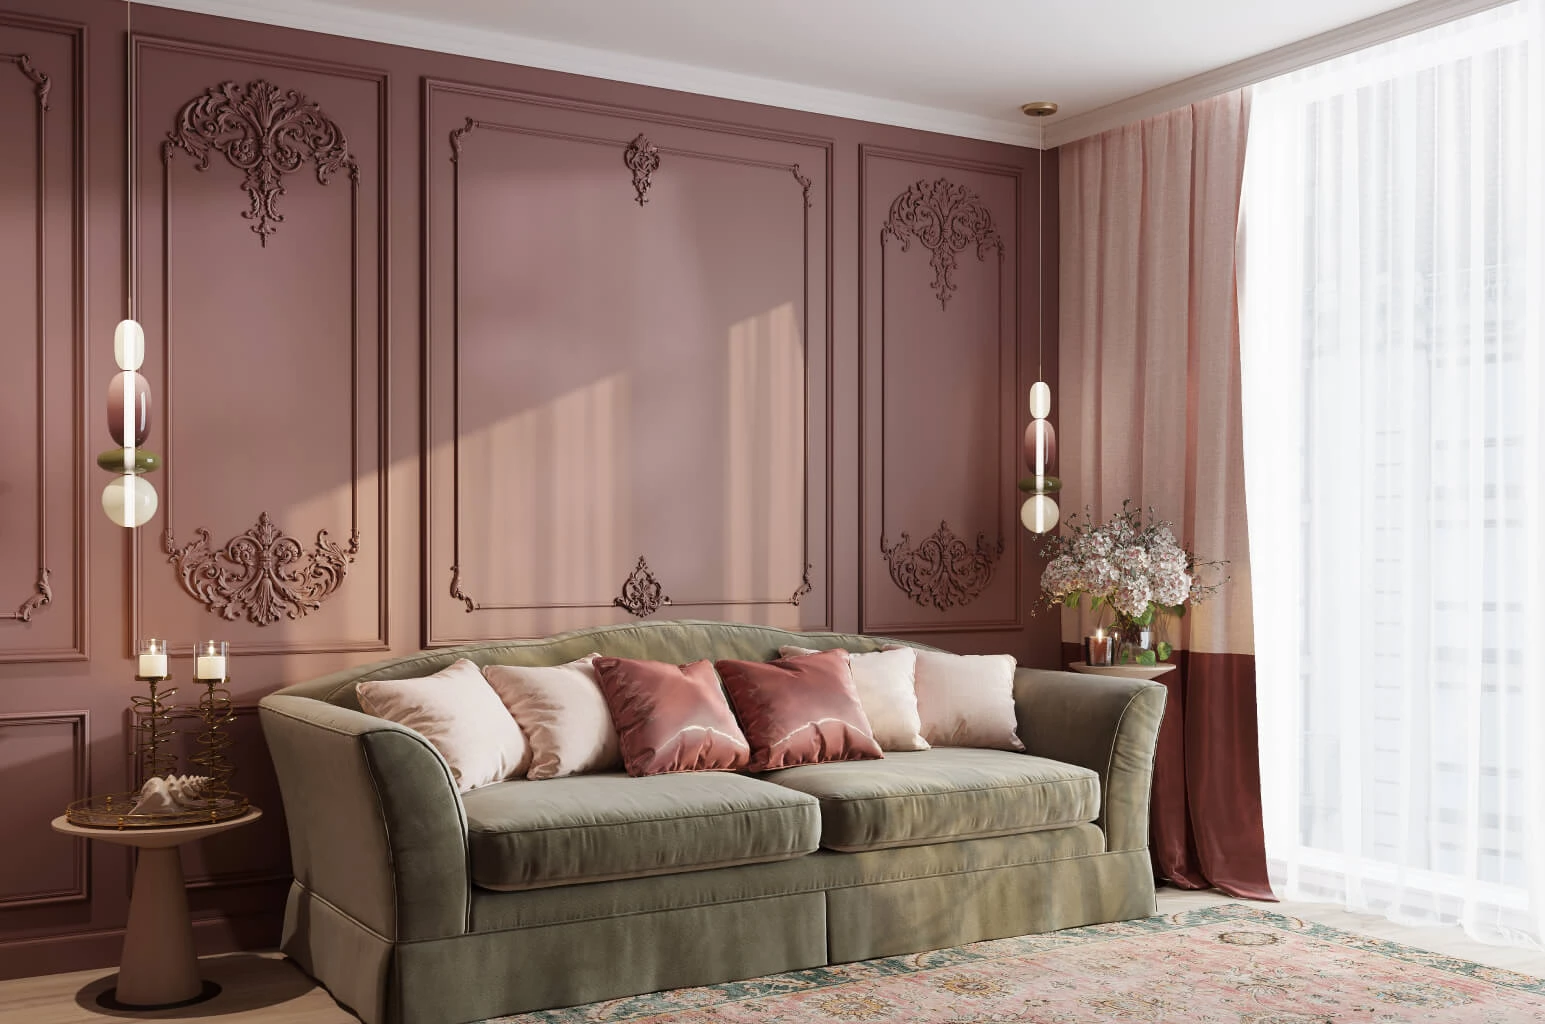
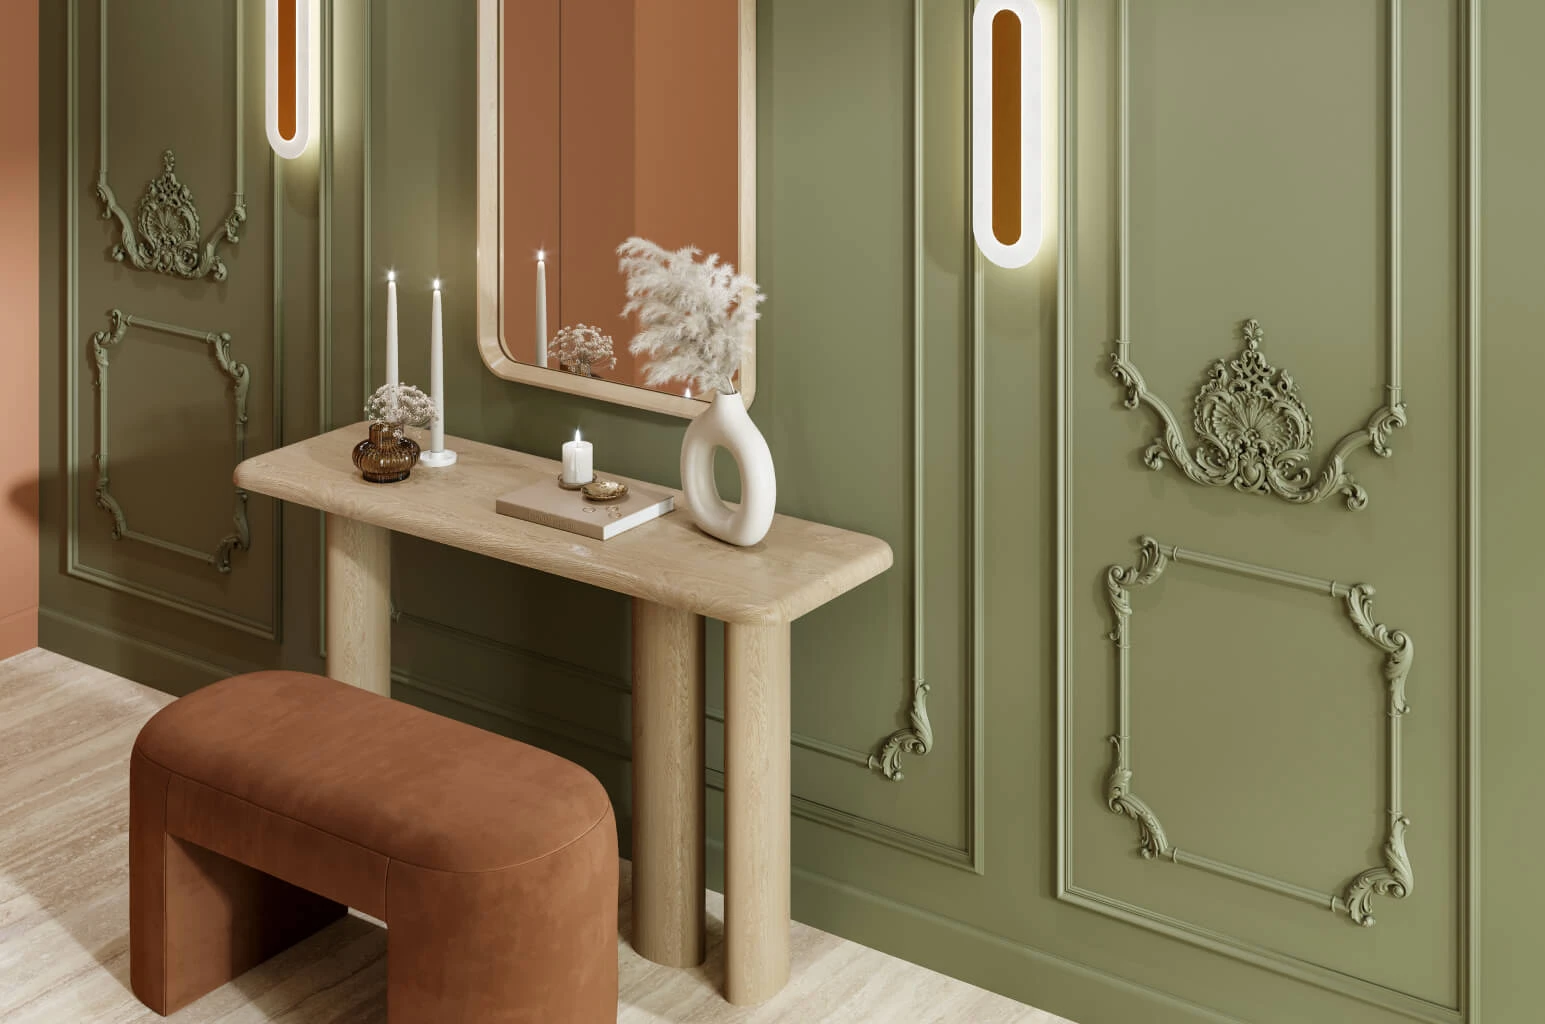
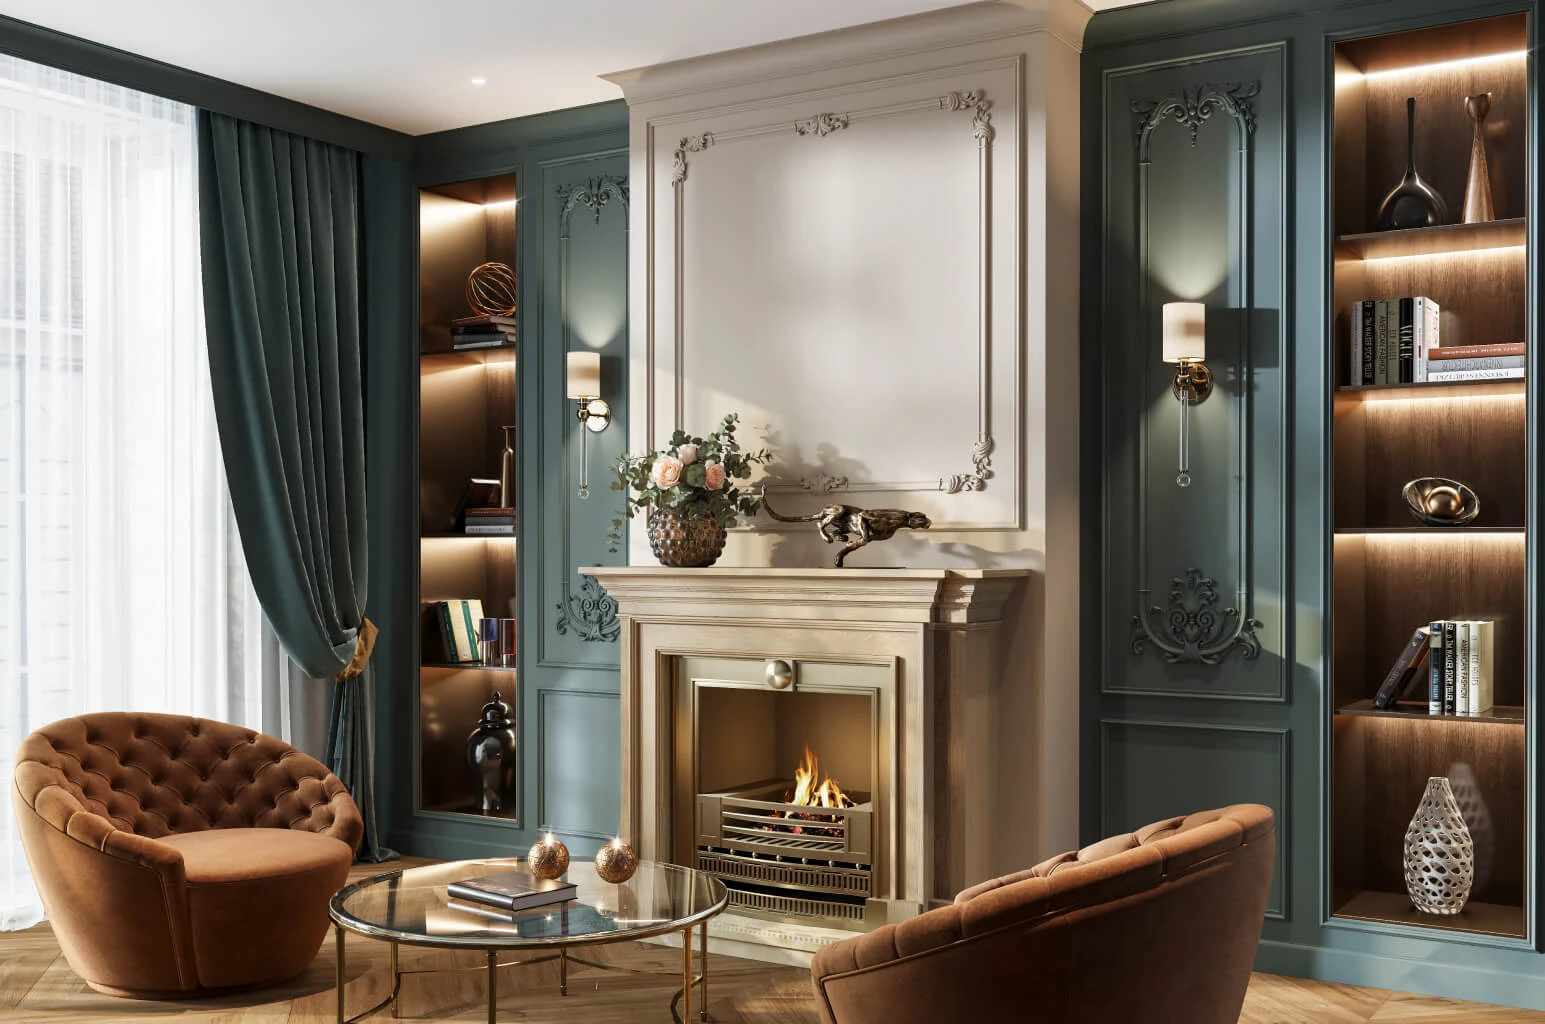
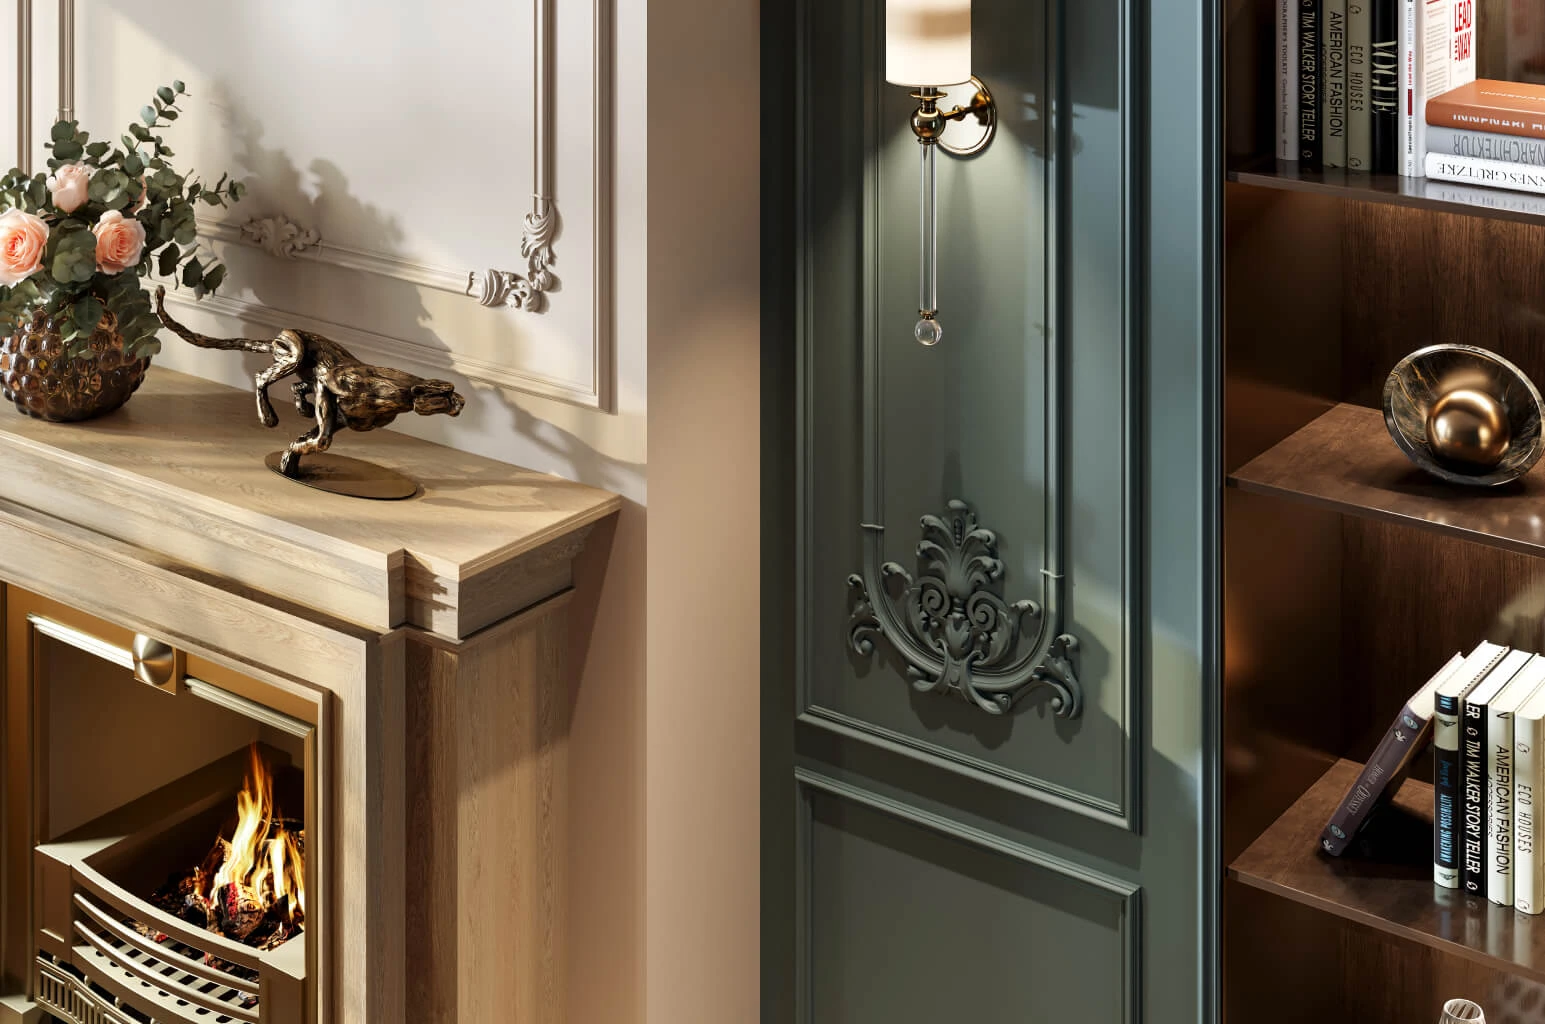
Wall Molding Kits with Polyurethane Decorative Elements
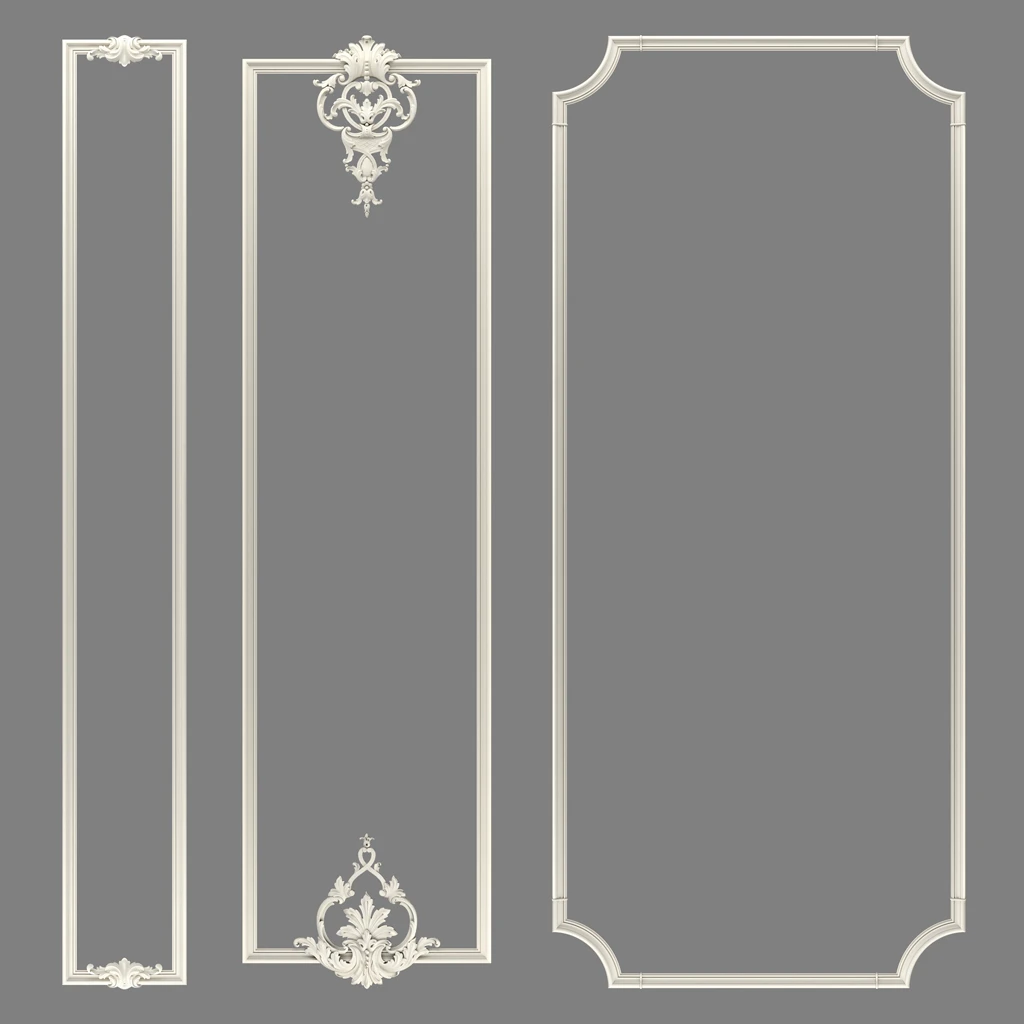
Wall molding gives a plain surface a deliberate rhythm: a narrow frame beside a doorway, a broad composition behind a bed, or a sequence of decorative panels along a dining room wall. The outline establishes the proportions. A curved corner, a floral ornament, or a carefully placed scroll gives the composition its character.
STAVROS wall molding kits bring profiles and decorative elements together in coordinated designs. Browse the collections to compare the shape of each frame, the amount of ornament, and the space it occupies. You can choose a composition for one feature wall or develop a consistent arrangement across several rooms.
Polyurethane wall decor is an important part of this collection. Materials vary by design: some kits contain polyurethane profiles and ornaments, while others combine polyurethane decorative elements with primed MDF moldings. The component list on each product page identifies what you are ordering.
These collections belong to the wider STAVROS range of architectural molding and decor. Start with the wall composition, then select related details that suit its proportions and the architecture of your room.
Choose the Composition Before the Individual Ornament
The first decision is how the wall should be divided. A single tall frame creates a different effect from three repeated frames, even when both use the same profile. Narrow compositions can articulate the spaces between openings. A wider arrangement can establish a backdrop for a sofa, sideboard, or headboard.
Look at the room from its usual viewing positions. In a living room, that may be the entrance and the opposite sofa. In a hallway, the wall is often seen at an angle. A profile that appears delicate in a close photograph may read more clearly through its shadow when viewed along the wall.
The ornament should support that arrangement. A richly decorated corner draws attention to the outline of a frame. A central accent brings the eye toward a particular point. Open space within and around the composition lets those details remain distinct.
Choosing a wall molding kit gives you a defined design to assess against your room measurements. It also helps you see how the profiles and accents relate before you commit to a larger order.
Explore the STAVROS Wall Decor Collections
The collection pages provide a practical way to narrow your choice. Compare several designs within one collection, then look at neighboring collections if you want a different frame shape or a change in decorative detail. Keep the product code with your saved images so that the design you discuss is the design you order.
| Collection | Product family |
|---|---|
| Neoclassic wall molding kits | CPU-1 |
| Neoclassic Light wall decor | CPU-2 |
| Japandi wall molding kits | CPU-3 |
| Versailles Light wall decor | CPU-4 |
| Versailles wall molding kits | CPU-5 |
| Botanical Garden wall decor | CPU-6 |
| Tauride Garden wall decor | CPU-7 |
| Summer Garden wall decor | CPU-8 |
| Brussels wall decor | CPU-9 |
| Verona wall decor | CPU-10 |
| Ekateringof wall decor | CPU-11 |
| St. Petersburg wall decor | CPU-12 |
| Peterhof wall decor | CPU-13 |
| Tsarskoye Selo wall decor | CPU-14 |
| Pavlovsk wall decor | CPU-15 |
Treat the collection name as a starting point for browsing. The specific frame, its dimensions, and its component list determine whether it suits your project. Designs within the same collection can serve different parts of a wall, so compare the individual drawings as well as the interior photographs.
Compare Wall Molding Kits by Size and Construction
Three examples show why product specifications matter. A narrow Neoclassic composition, a broader Japandi frame, and a Versailles design can have similar overall heights while occupying very different amounts of wall space.
| Wall molding kit | Listed width × height × depth | Listed components and materials |
|---|---|---|
| CPU-1-1 Neoclassic wall molding kit | 11.81 × 90.55 × 0.83 in | The displayed component list combines NPU-399 polyurethane ornaments with MLD-003-MG primed MDF molding. |
| CPU-3-1 Japandi wall molding kit | 42.24 × 90.55 × 0.51 in | MLDPU-027 polyurethane molding and MLDPU-027U-1 polyurethane corner elements. |
| CPU-5-1 Versailles wall molding kit | 39.37 × 90.55 × 0.79 in | Polyurethane decorative corner elements with MLD-003-MG and MLD-002-MG primed MDF moldings. |
Use the current drawing for the selected configuration when setting out the wall. The listed dimensions describe the composition, while component lengths describe the individual pieces used to build it. An illustration of a furnished room may show several compositions together.
A frame measuring 90.55 inches in height occupies most of a 96-inch wall before you allow for baseboard, crown molding, and the intended margins. Check the usable height early. A design can look perfectly proportioned in a photograph and still require a different arrangement in your room.
Understand Polyurethane and MDF Within a Kit
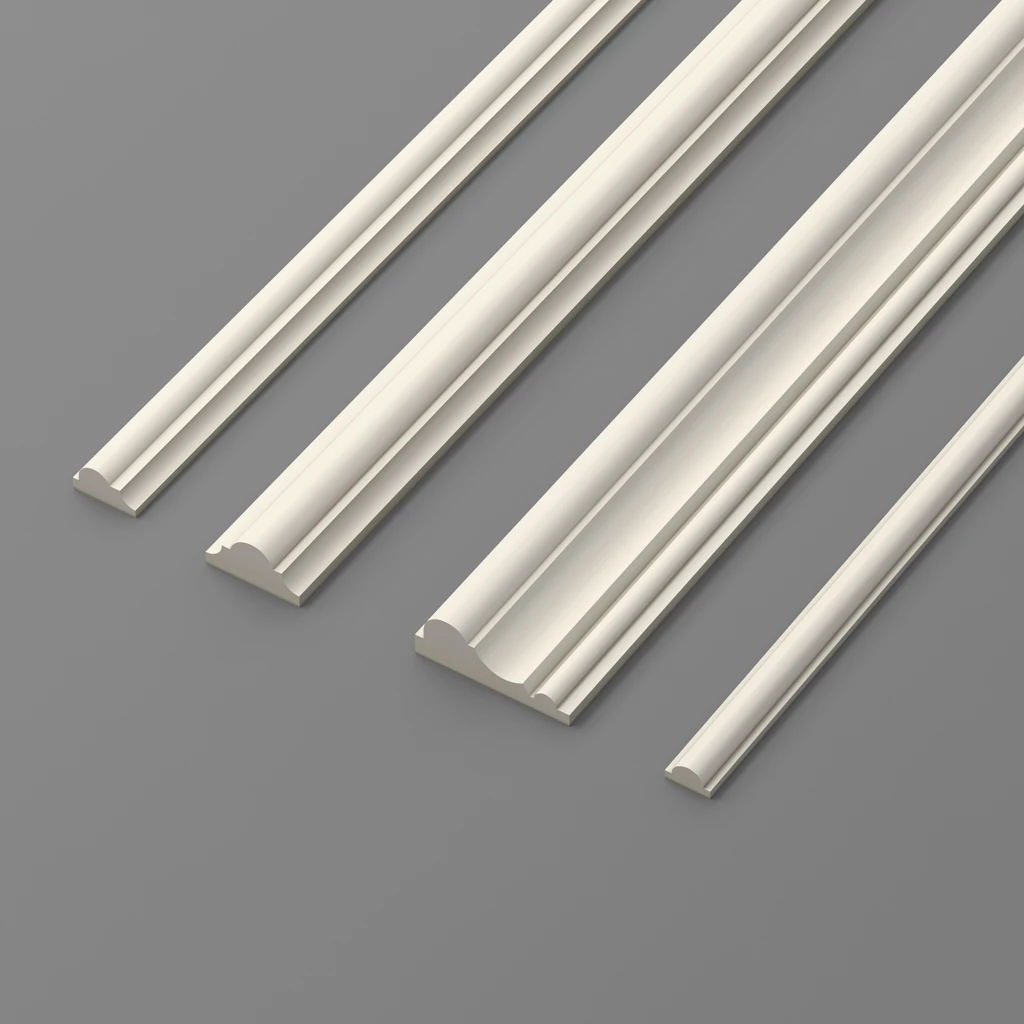
Polyurethane allows decorative elements to carry shaped edges, curved forms, and detailed relief. Primed MDF moldings provide straight profiled sections in a number of the wall compositions. When both materials are used, their preparation and finishing need to be considered together.
The CPU-5-1 component list, for example, explicitly includes polyurethane ornaments and primed MDF profiles. CPU-3-1 lists polyurethane for both its straight molding and corner elements. These are different constructions, even though both products belong to the same wall decor department.
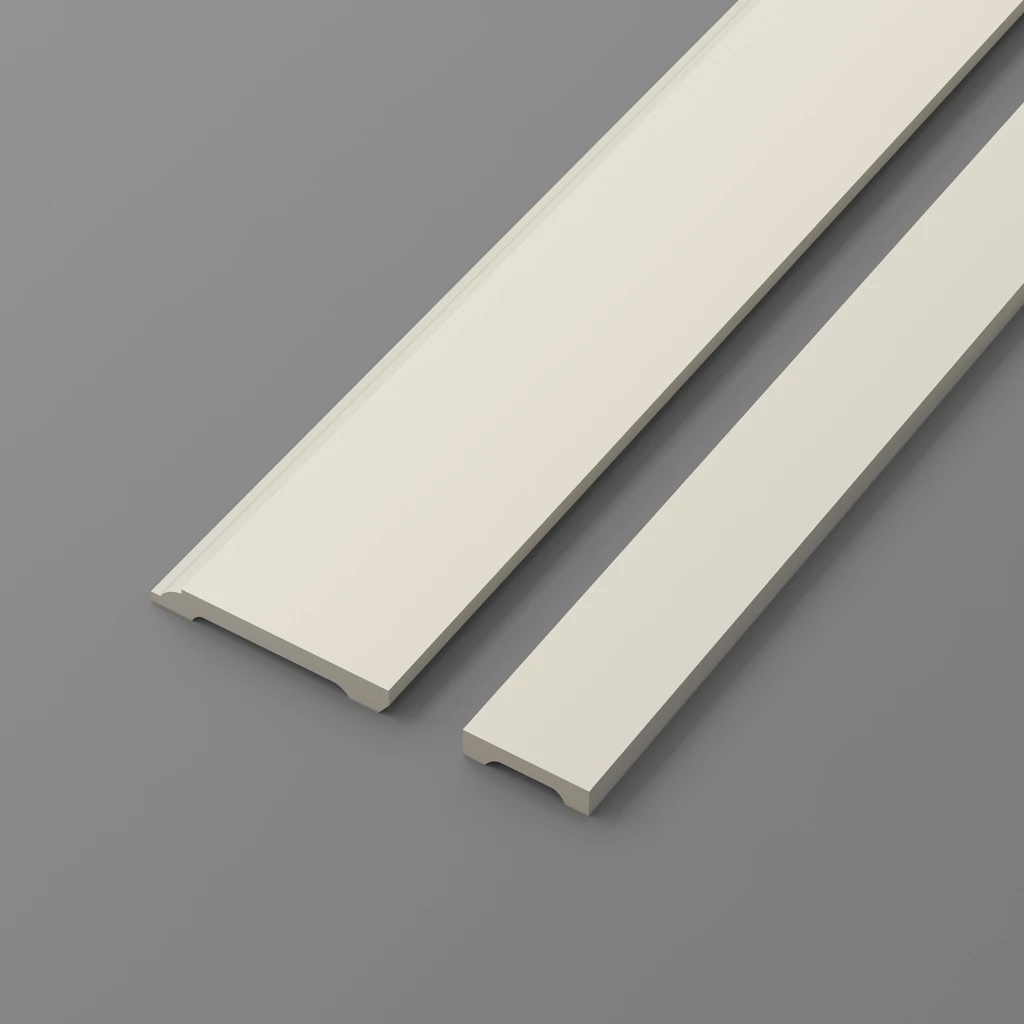
If your specification requires polyurethane throughout, select a kit whose complete component list meets that requirement. For an individual layout, you can also browse polyurethane wall molding and select compatible profiles. The broader molding category contains several materials, so use the material description on the particular product.
Room conditions matter when making this choice. A kit containing MDF needs to be assessed as a complete assembly. For a bathroom or another location with moisture exposure, confirm the suitability of every component, the coating, and the installation method before ordering. The material of one ornament does not establish the performance of the whole frame.
Measure the Wall Around the Furniture
Begin with an elevation of the wall: a straight-on drawing showing its width, height, openings, and fixed features. Add the baseboard and ceiling trim, then mark electrical outlets, switches, wall lights, and anything else that will interrupt the decorative layout.
Next, place the furniture. A headboard may conceal the lower part of a tall composition. A sideboard can make a decorative center appear too low. A sofa positioned off the wall's center changes the balance of a symmetrical arrangement. Draw these relationships before deciding how many kits to buy.
For repeated frames, account for the outer margins as well as the gaps between them. As a simple planning example, three frames each 24 inches wide occupy 72 inches. On a 120-inch wall, that leaves 48 inches for two gaps and two end margins. Equal 12-inch spaces would fit mathematically, but the door casing, furniture, and ornaments may suggest a different distribution. This is a layout example, not a standard STAVROS kit size.
Measure the full extent of projecting ornaments. A scroll can extend beyond the straight molding and reduce the apparent space between neighboring frames. Check the width of the decorative composition at its widest point, especially beside curtains and door casings.
Transfer the proposed outline to the wall with suitable temporary markings. Seeing it at full scale often resolves questions that a small drawing leaves open.
Give Each Room a Clear Decorative Focus
Living Rooms
A wall behind the main seating area is a natural place for a coordinated molding arrangement. Decide whether the composition should center on the sofa, the wall itself, or another architectural feature. That decision establishes the position of the remaining frames.
If artwork will hang inside a frame, allow breathing room around it. The molding becomes part of the setting, and the artwork should still have a comfortable relationship to the furniture below. For a television wall, plan the screen, cables, outlets, and equipment access before positioning decorative accents.
Bedrooms
The bed usually provides the main axis for bedroom wall decor. A broad central composition can frame the headboard, while narrower arrangements can relate to the bedside tables. Check the actual headboard height and the position of bedside lighting.
Keep the most detailed ornaments visible above or beside the furniture. When the wall and molding share a color, the relief can remain quiet through much of the day and become more noticeable under evening lighting. A contrasting finish creates a stronger outline and makes the geometry more prominent.
Dining Rooms
In a dining room, consider the wall from both a seated position and the entrance. Repeated frames can organize a long surface, while one larger composition can emphasize a sideboard or a piece of art.
Allow for chairs moving away from the table and for the furniture placed against the wall. Decorative relief should have enough clearance for ordinary use. The rhythm of the molding can continue around the room, but its arrangement needs to respond to windows, doors, and changes in wall length.
Hallways and Entryways
Hallways often call for narrower compositions and careful attention to projection. The wall may be viewed from close range, making the profile, finish, and joints especially visible.
Measure door swings and the space around consoles, coat storage, and light fittings. On a short entry wall, one well-proportioned frame can provide a complete architectural gesture. Longer corridors allow repetition, with spacing adjusted to the sequence of openings.
Balance Simple Profiles and Decorative Relief
The amount of ornament is only one part of a design. The width of the profile, the shape of the corners, and the space inside the frame all affect how formal or restrained it appears. A richly detailed accent can work in a relatively simple interior when it has enough space around it.
Compare the profiles against existing door casing and baseboard. A very slim wall frame beside a substantial casing may need a more generous margin. A broad profile can become visually dominant when placed close to another strong architectural edge.
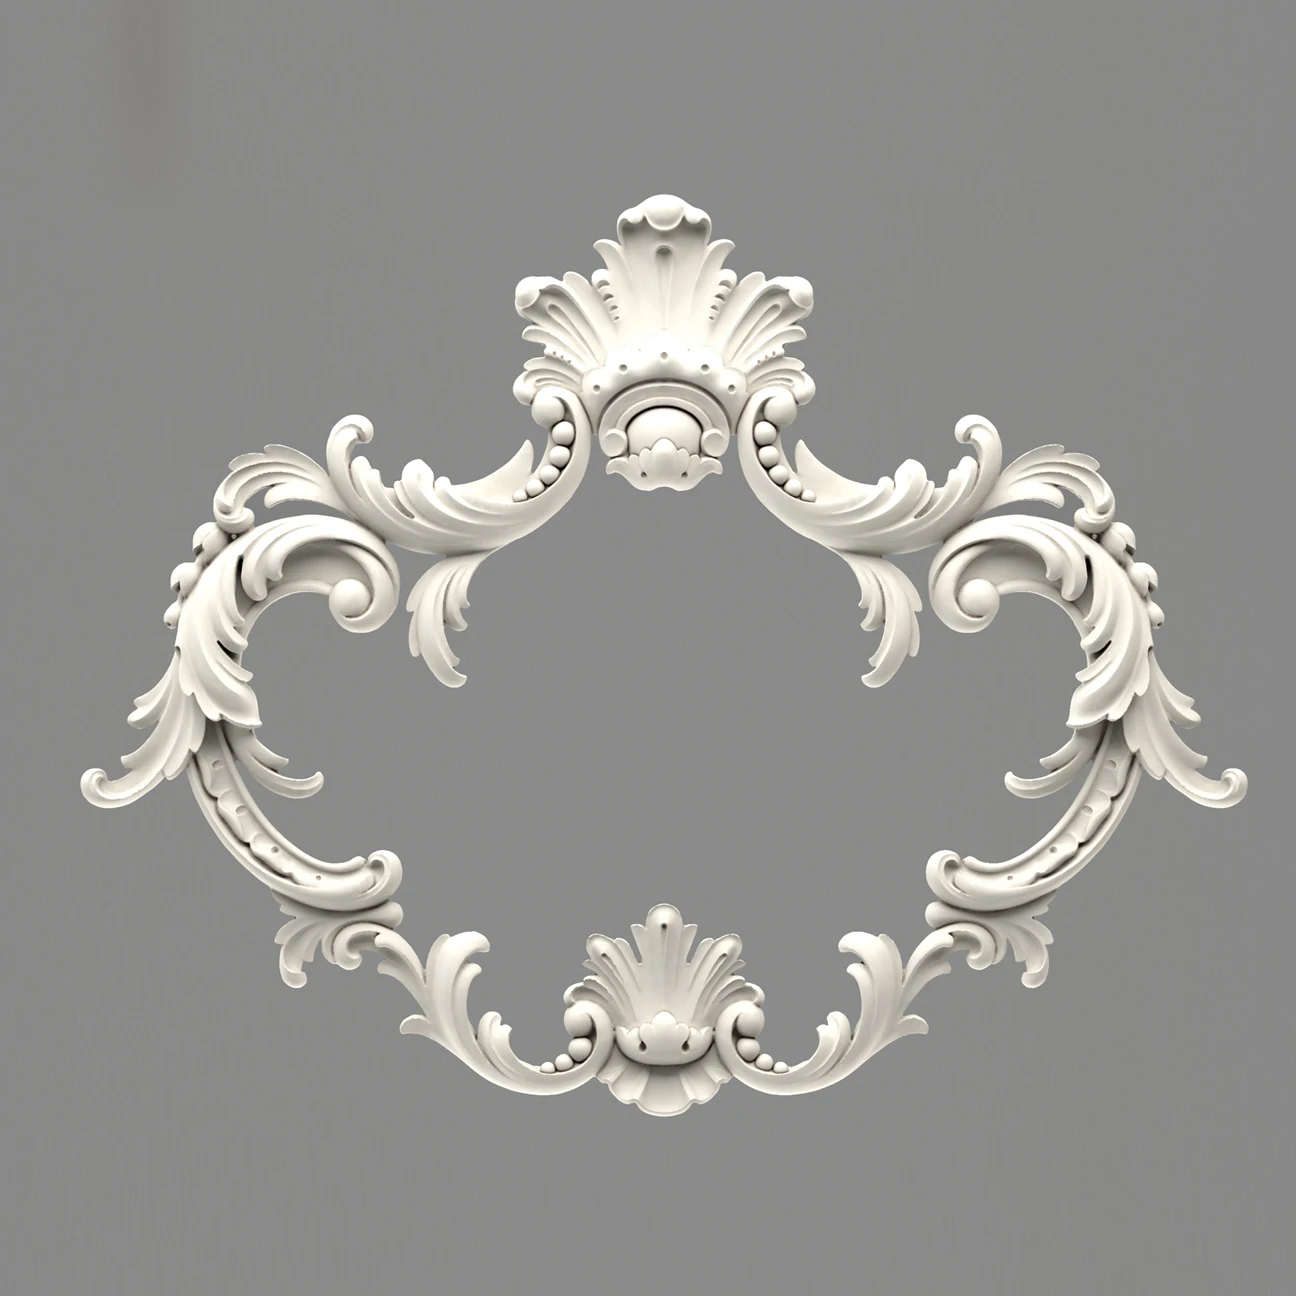
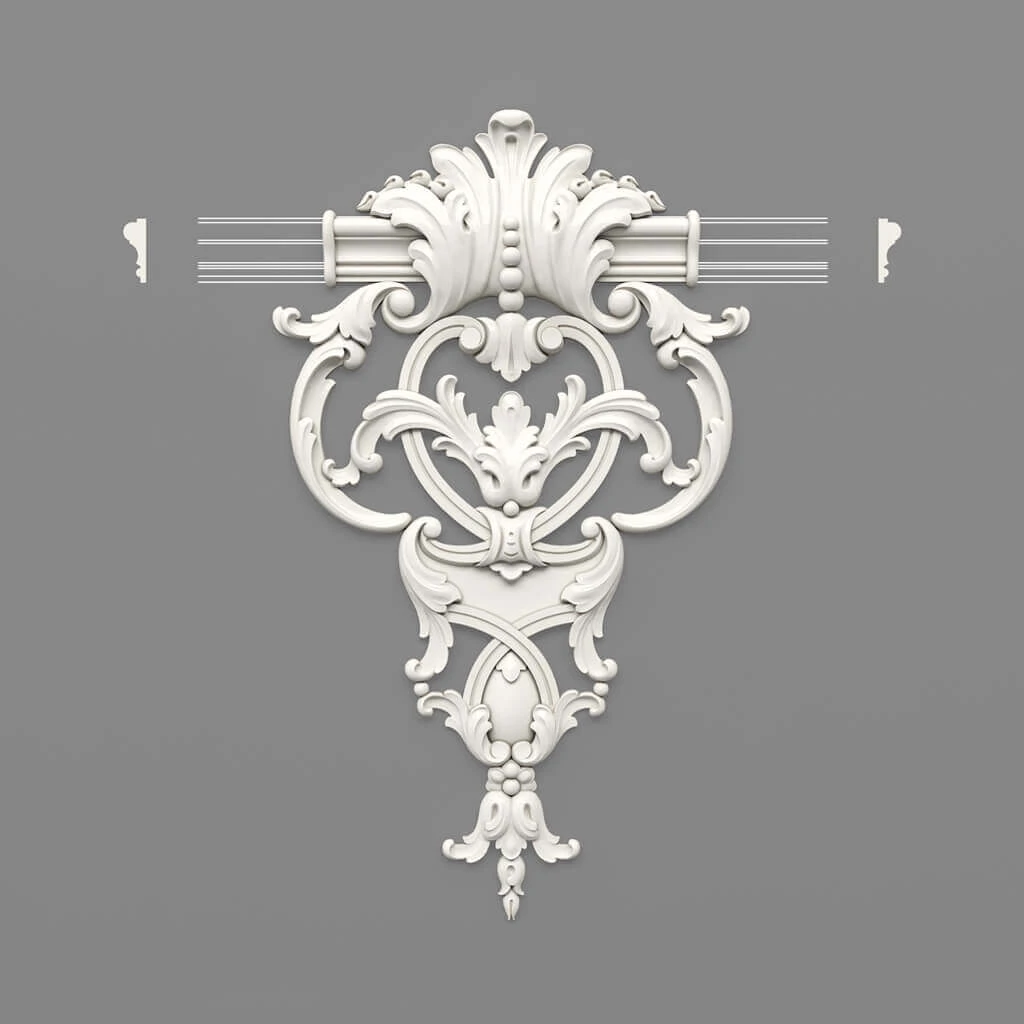
For an individual composition, polyurethane appliques offer decorative accents that can be selected separately. Check their footprint and projection against the frame. Left and right versions may be required for a symmetrical arrangement.
Where an ornament meets a profiled strip, choose molding corners and decorative accents intended for the appropriate series. Compatibility includes the profile shape and dimensions as well as the visual motif. Matching those details makes the transition between the straight section and the ornament more convincing.
Plan Color, Wallpaper, and Lighting Together
Painting the molding and wall in the same color emphasizes shadow and relief. A contrasting frame gives the panel a more graphic presence. Both approaches can suit an ornate or a simple design; the result depends on the room's light, the chosen sheen, and the surrounding finishes.
Wallpaper within a molded frame can introduce pattern without covering the entire wall. Establish where the paper will end and how its motif will sit within the opening. For several matching frames, decide whether the pattern should repeat in the same position or continue across the wall.
Try the intended coating on a sample or an inconspicuous area and follow the product's finishing instructions. A mixed-material kit may require preparation appropriate to each surface. Keep coats controlled around fine relief so that paint does not fill the detail.
Wall lights deserve a place in the initial drawing. A sconce can align with the center of a frame or sit between repeated panels. Check its mounting plate, projection, and wiring position. Light cast along the wall also makes uneven surfaces and joints more visible, so the substrate and finish should be assessed under the lighting you plan to use.
Coordinate the Wall with Other Architectural Details
A wall composition can be developed alongside other STAVROS decorative elements. Choose a few relationships to repeat across the room, such as the curve of a scroll, the proportions of a floral motif, or the width of a border.
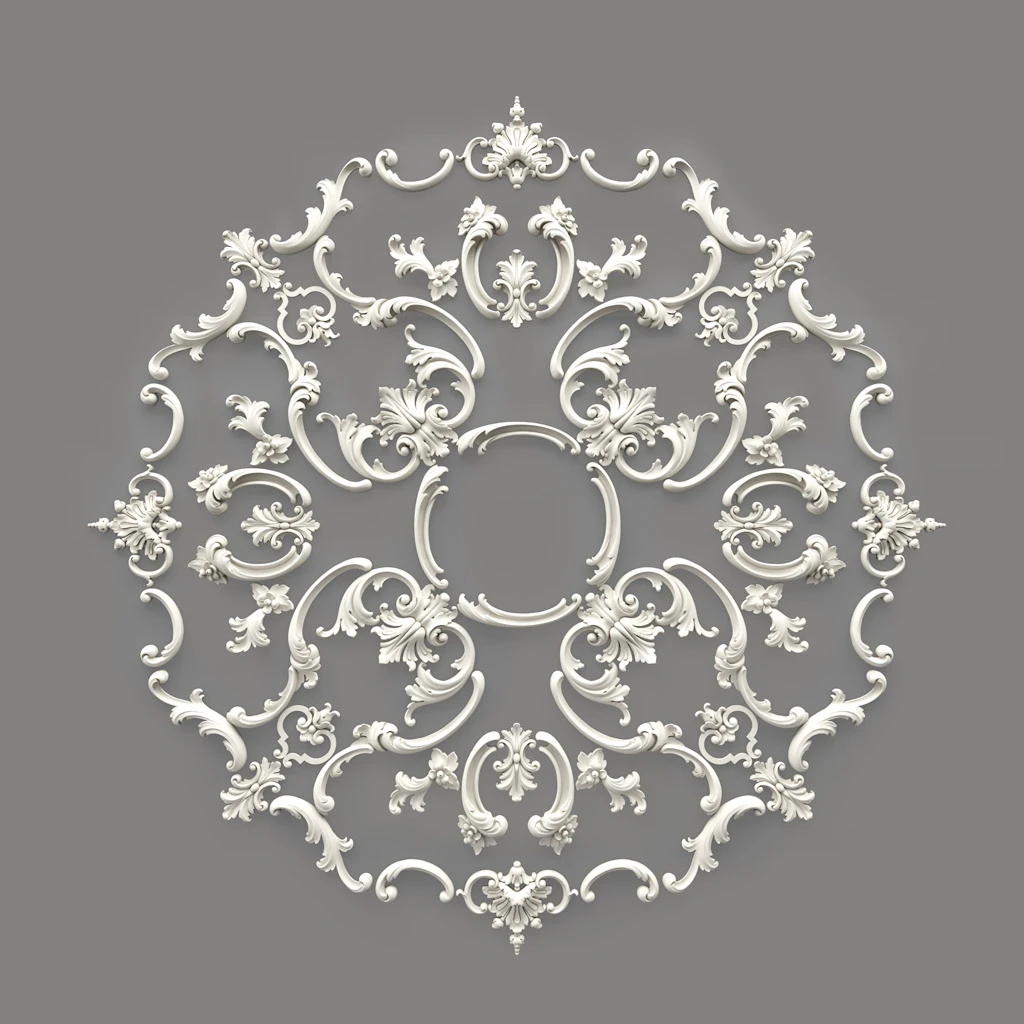
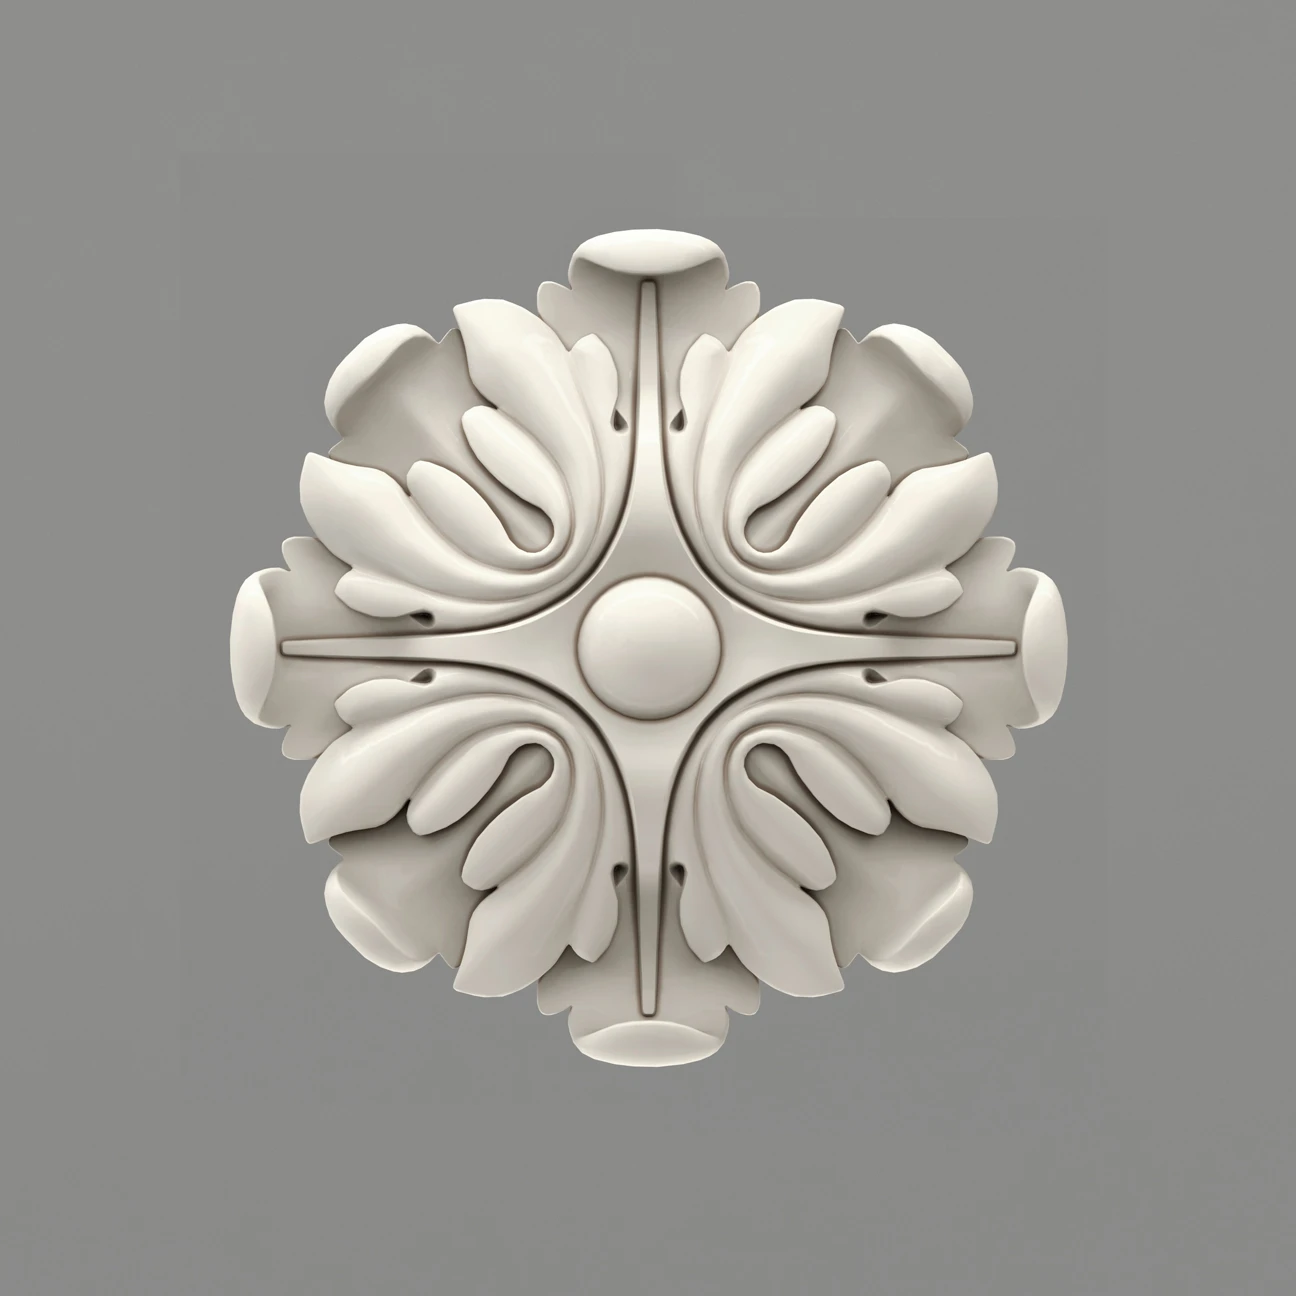
Polyurethane rosettes can provide compact accents within a planned composition. Compare their diameter and depth with the surrounding profile. An isolated rosette needs a deliberate position, whether it marks a center or forms part of a repeated arrangement.
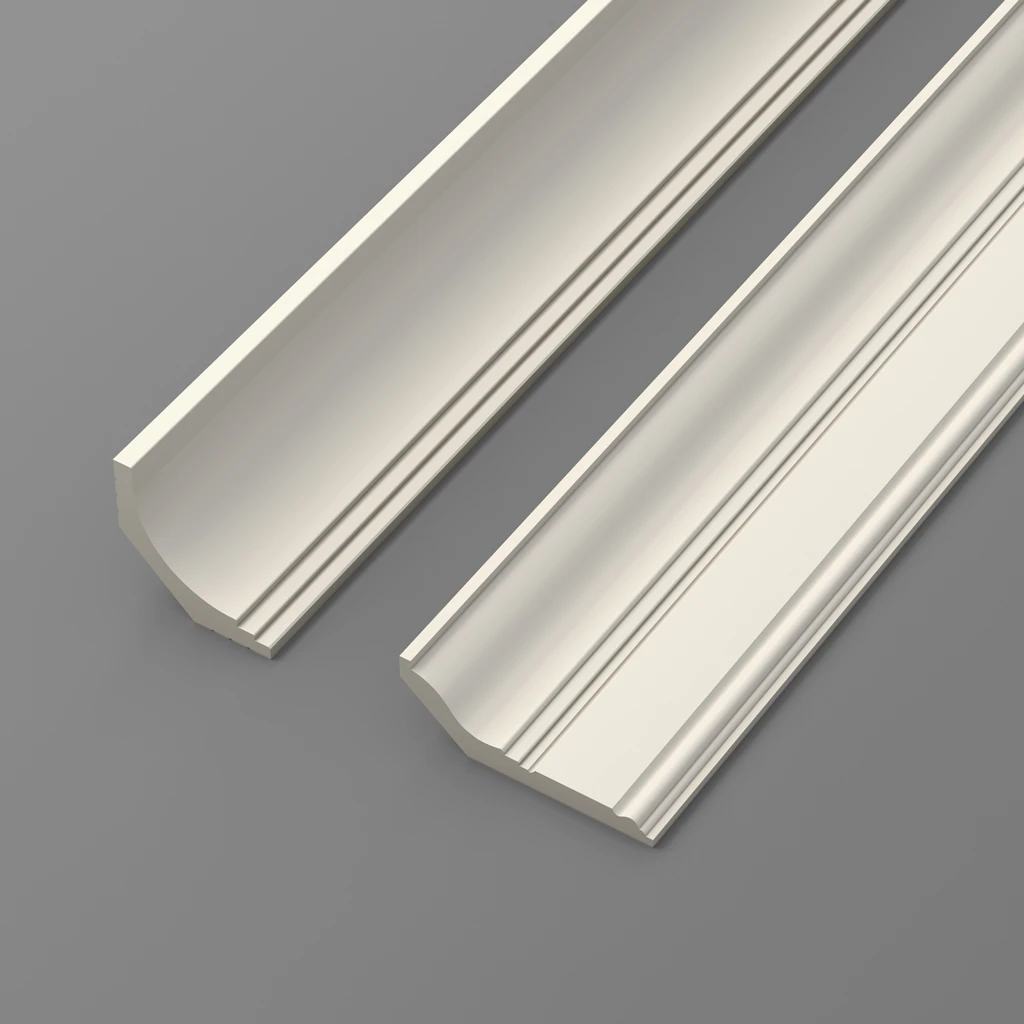
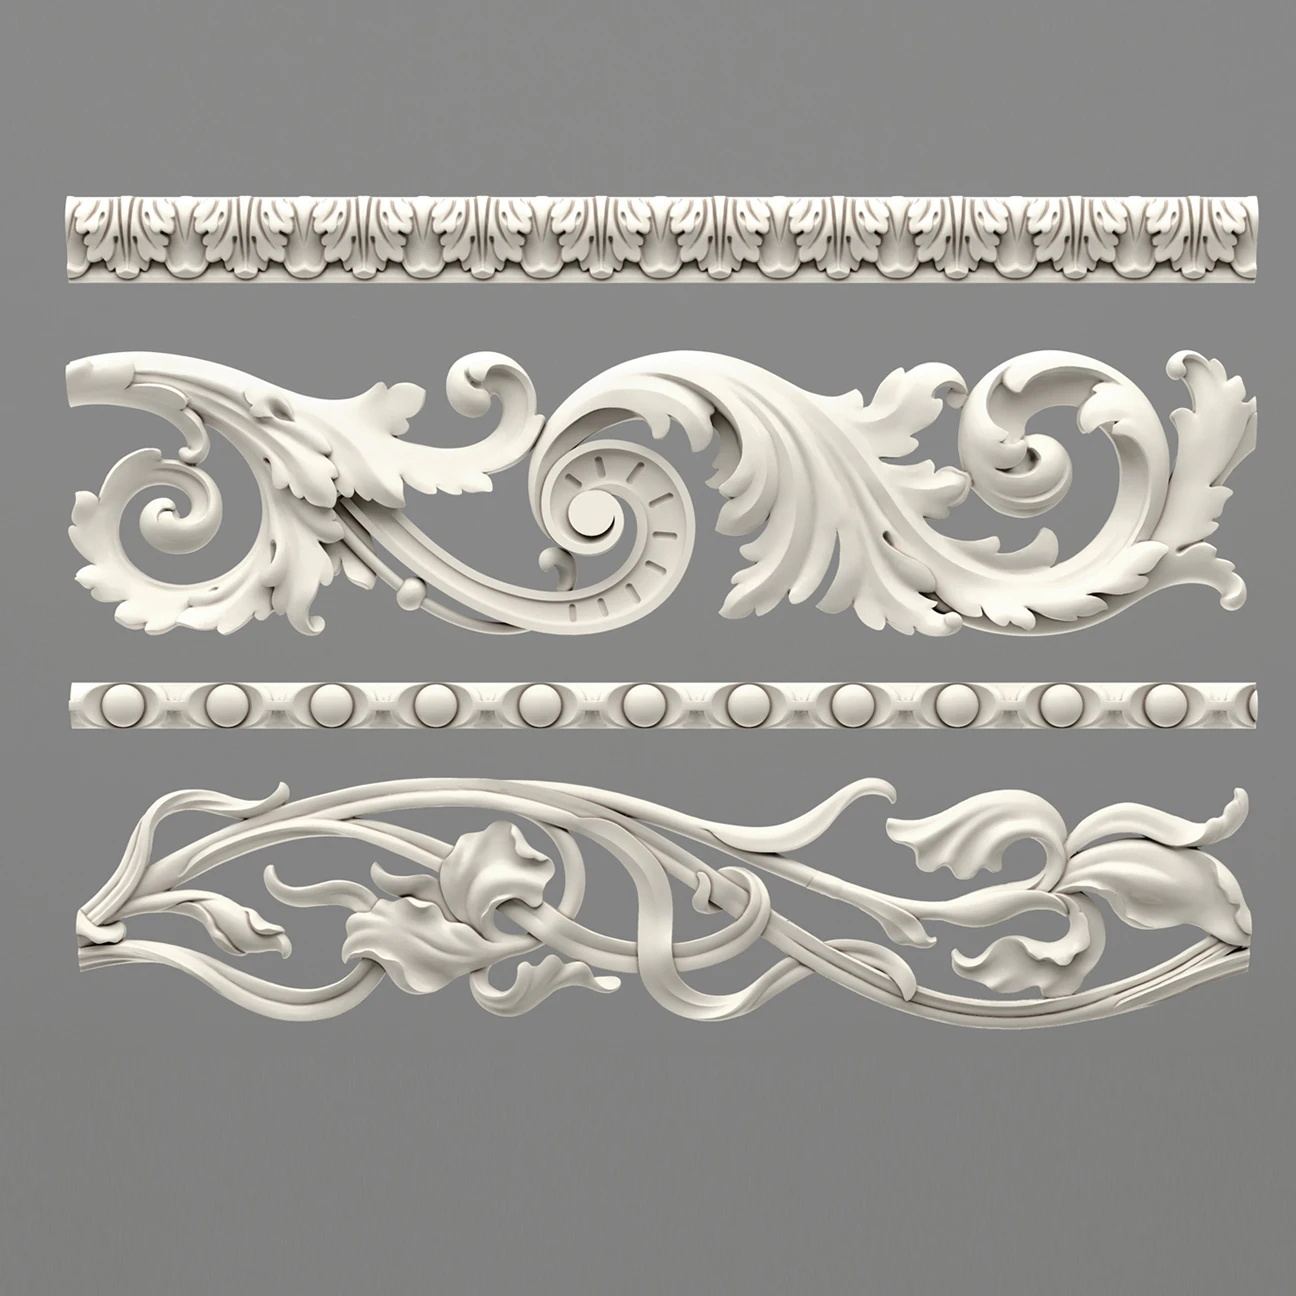
For a continuous ornamental line, browse polyurethane decorative molding. A patterned border can relate to the relief on a wall frame, but its scale should suit the viewing distance and the length over which it will repeat.
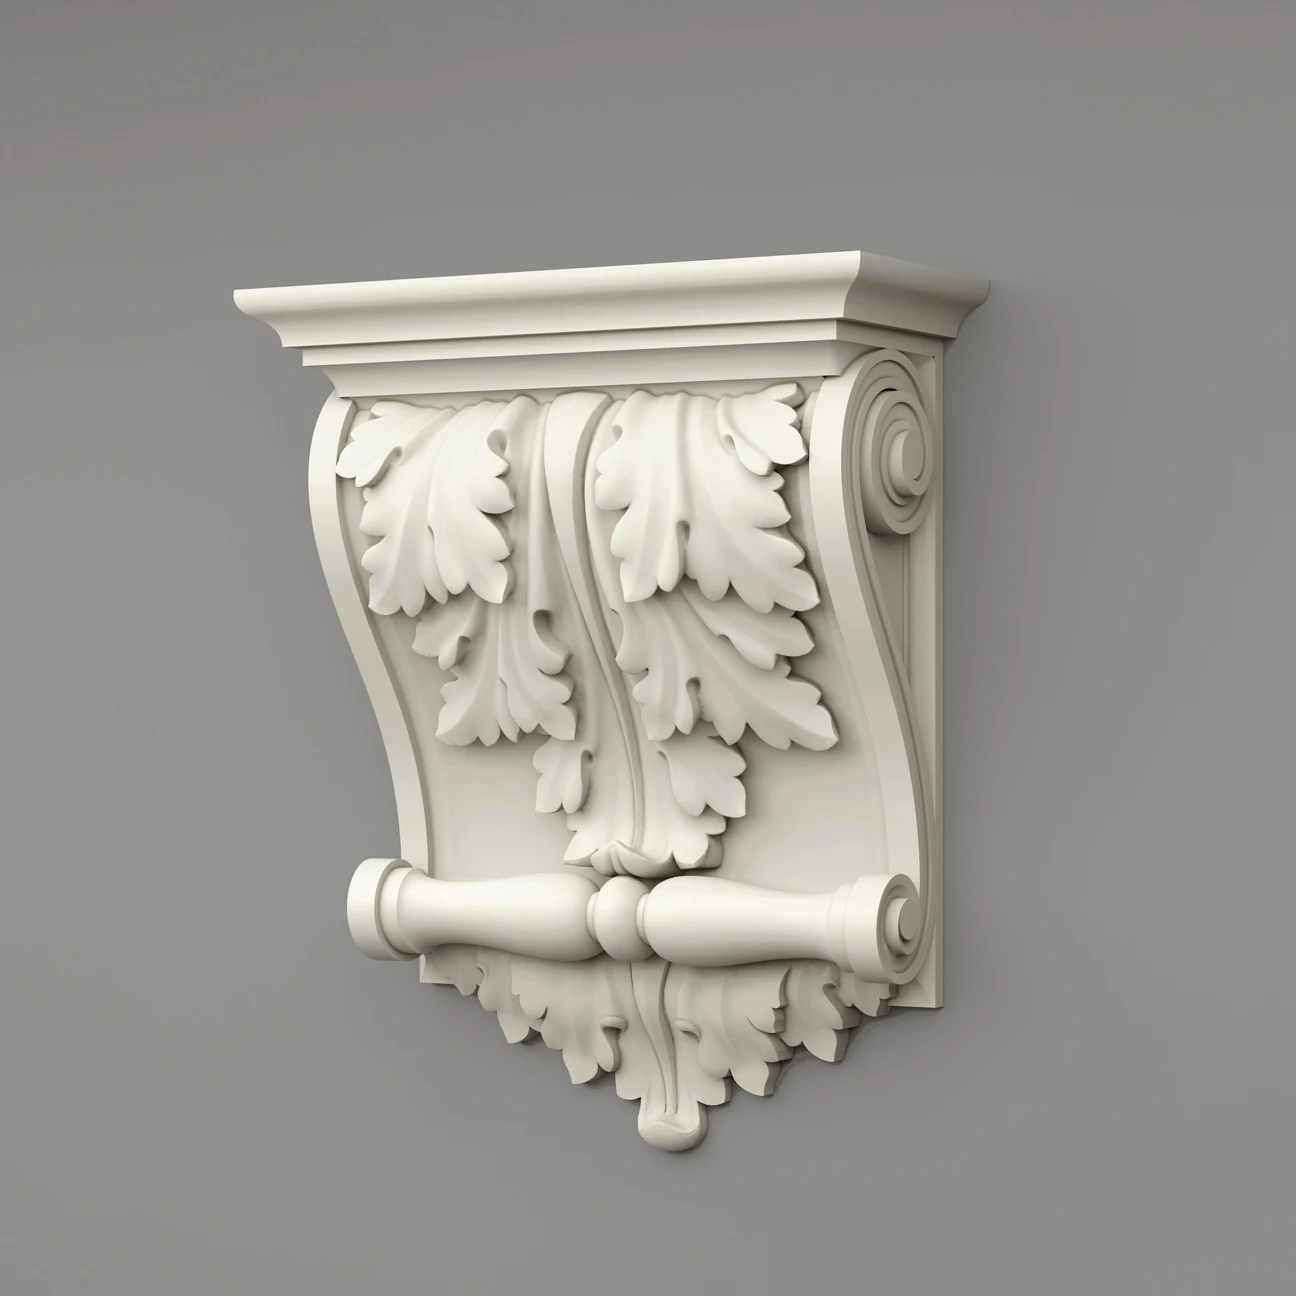
Polyurethane corbels introduce a deeper decorative element around a planned architectural feature. Treat them as decorative products unless the particular item has a stated load-bearing specification. Shelves and other supported objects need their own appropriate fixing arrangement.
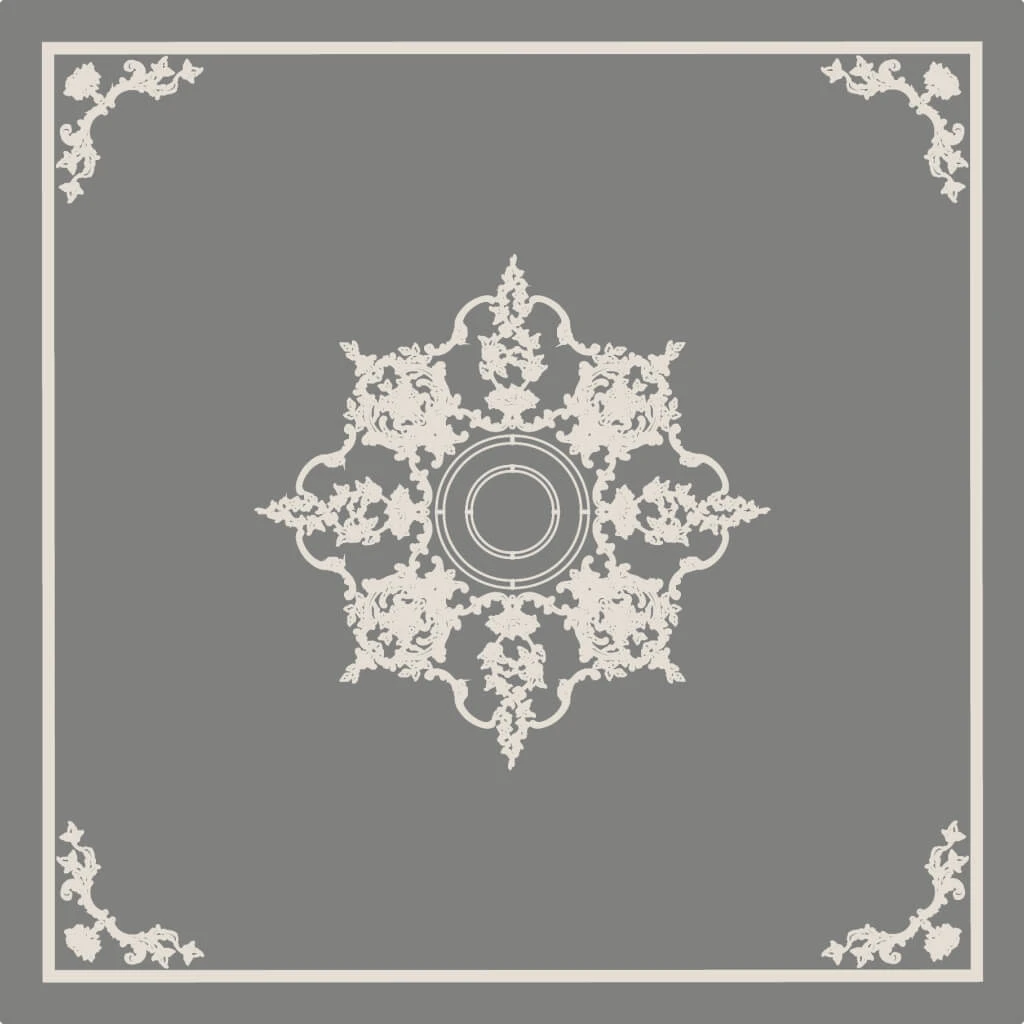
The ceiling can share the same decorative language. Compare ceiling decor kits for a coordinated overhead composition, or select polyurethane ceiling medallions around a suitable light fitting. The wall and ceiling can differ in complexity while retaining related shapes and proportions.
Prepare for Installation Before the Order Arrives
A decorative wall frame depends on accurate setting out and a sound substrate. Inspect the wall for loose finishes, dampness, and uneven areas before scheduling installation. Repair the underlying surface so that the molding has a stable base.
Review the product drawing with the installer and establish the sequence of assembly. Confirm which pieces need cutting, how the corners are formed, and how the decorative elements meet the profiles. A kit is a coordinated selection of components; its name alone does not establish that it arrives assembled, cut to your room dimensions, or supplied with adhesive.
Use mounting products and any additional fixings suitable for the specified materials and wall surface. Follow their application, curing, and finishing instructions. The requirements can differ between a polyurethane ornament, an MDF profile, and the substrate to which they are attached.
Dry-fit the relevant sections before final fixing. Check the overall dimensions, orientation, and alignment of repeated elements. Work from the room's established reference lines and verify how the arrangement meets surrounding trim.
Allow time for joint treatment and the final finish. These stages determine whether separate pieces read as a coherent wall composition. Include them in the project schedule alongside the delivery and preparation of the components.
Build a Clear Order for Your Wall Decor
An accurate order starts with the layout and the product codes. For each wall, identify the selected kit, the number of compositions, and the required finish. Where your design adds separate ornaments or molding lengths, record those items separately.
| Confirm before ordering | Why it matters |
|---|---|
| Kit code and selected configuration | Similar designs can have different dimensions or component lists. |
| Overall width, height, and projection | The complete composition needs to fit around furniture and fixed features. |
| Materials for every component | Preparation and suitability depend on the whole assembly. |
| Included profiles, ornaments, and quantities | A room photograph may contain more than one kit or additional products. |
| Supplied lengths and cutting requirements | The installer needs to understand how the finished layout will be assembled. |
| Finish and installation materials | Adhesive, joint treatment, primer, and paint need to match the specification. |
| Availability and delivery arrangements | Confirm the schedule and destination for the particular order. |
Compare the cost of the complete wall treatment when reviewing alternatives. A kit price is one part of the project; preparation, installation, finishing, and any additional components also belong in the budget. For several rooms, keep each room's quantities separate so changes to one layout do not affect the rest of the order.
Questions About Wall Molding Kits
Are all STAVROS wall decor kits made entirely of polyurethane?
Materials vary. CPU-3-1 lists polyurethane profiles and corner elements. Other designs, including CPU-5-1, combine polyurethane decoration with primed MDF moldings. Check the current component list for the configuration you select.
Do the kits include solid wall panels?
The featured CPU compositions use molding and decorative elements to form frames on the wall. The visible area inside the frame is generally the wall or your chosen decorative finish. Check the product contents before specifying any separate backing or infill.
Can I change the dimensions of a frame?
A proposed size change needs to be checked against the profiles, ornaments, supplied lengths, and assembly drawing. Ask STAVROS to confirm the appropriate components for your intended layout before ordering. Moving a straight section can also change the spacing and balance of the decorative details.
Can I paint the wall molding to match the room?
Plan the finish around the materials and preparation specified for the selected products. Confirm coating compatibility and test the appearance before completing the installation. Matching the wall color produces a different effect from highlighting the frame in a contrasting shade.
How do I order several matching compositions?
Prepare a wall-by-wall schedule with product codes, quantities, dimensions, and any additional components. Use the same finish specification where you want a continuous appearance. Confirm availability and delivery arrangements for the full order before fixing the installation date.
Buy Wall Molding Kits from STAVROS
Browse the collections to find a frame that suits your wall, then compare its drawing, dimensions, and component list with your project. Choose polyurethane wall decor for the detail you want, with the complete kit specification guiding your material selection.
Order the selected composition through its product page or send STAVROS your preferred codes, quantities, wall measurements, and delivery destination for a project quotation. A clear layout gives you the information needed to buy the right decorative elements and carry the design through to installation.
Order a call
Do you have questions? Fill out the form and send it.
Your request has been sent!
Our manager will contact you within 5 minutes