


Article Contents:
- Why Use Stain to Treat Decorative Elements?
- Highlighting Wood Grain Texture
- Changing Color and Style of the Item
- Protection from External Influences
- Step 1: Surface Cleaning
- Step 2: Sanding the Item
- Step 3: Surface Degreasing
- Step 1: Choosing the Tool
- Step 2: Applying Stain
- Step 3: Drying
- Final Coating

Stain is an indispensable tool for wood treatment, helping to emphasize its natural texture, achieve the desired shade, and protect against adverse external influences. This is especially relevant for items such ascarved appliqués, Furniture Components, Moldings and cornices, Furniture Handles andOutletsIn this article, we will explain how to properly use stain to achieve a flawless result, and also examine the specifics of treating each type of decorative element.


Why Use Stain to Treat Decorative Elements?
Stain is not just a wood coloring agent. It performs several important functions, helping to preserve longevity, improve appearance, and enhance the functionality of items.


Highlighting Wood Grain Texture
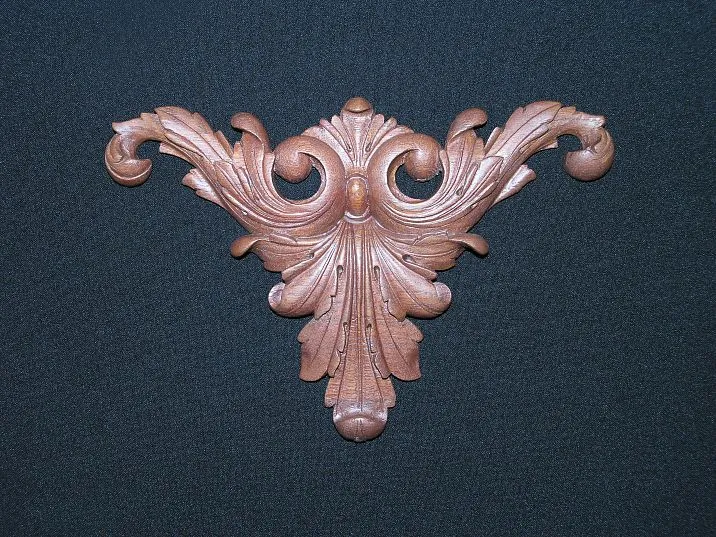
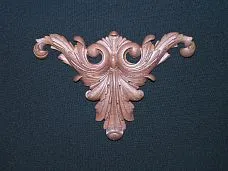
One of the main advantages of stain is its ability to highlight the unique wood grain texture. This is especially relevant for items such asCarved decorative inserts for furnitureStain penetrates deeply into the wood pores, making the wood grain pattern more vivid and pronounced.
-
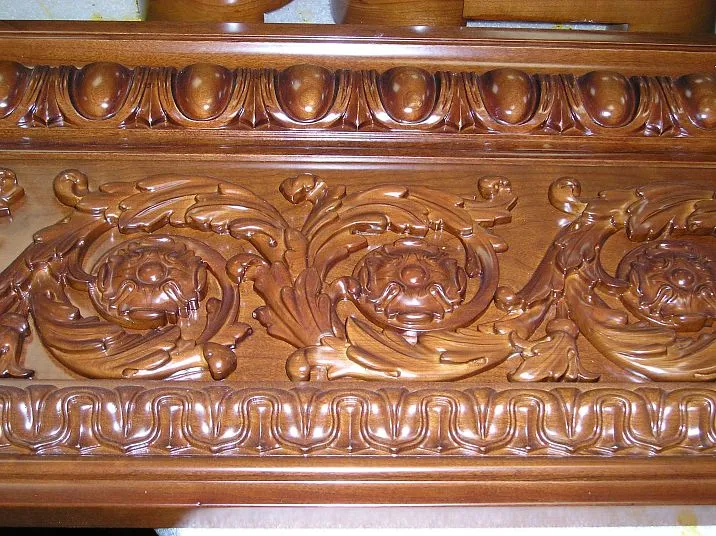
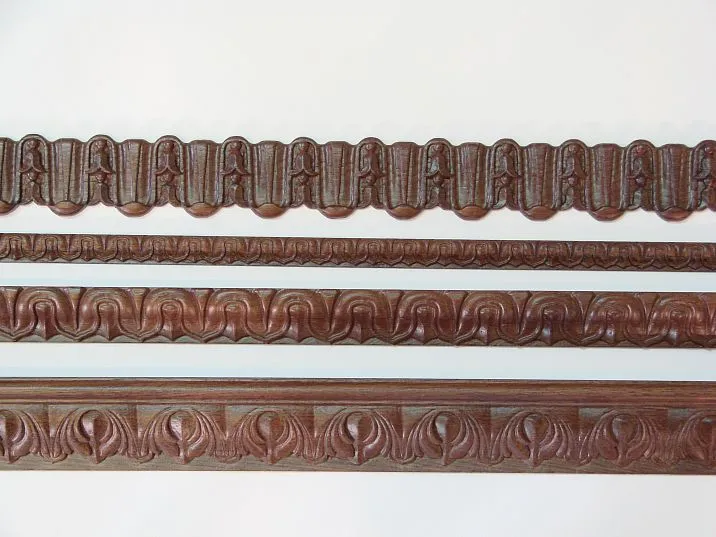
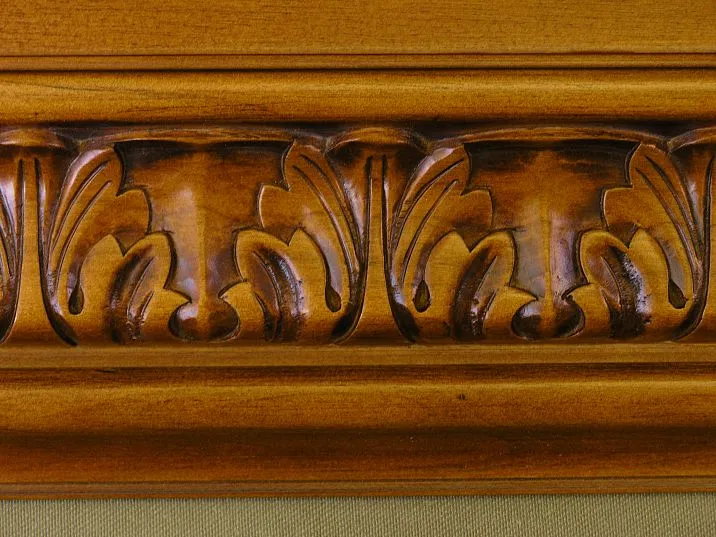
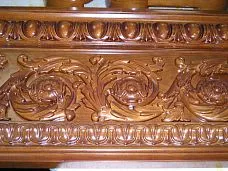
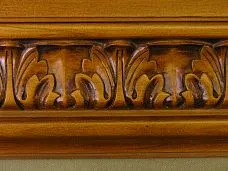
For large decorative elements, such asMoldings and cornices, using stain helps to accentuate patterns and create a luxurious finish.
-
If you are working withfurniture handles orrosettes, stain gives them an elegant look while preserving the natural texture.
Our factory also produces:


Changing Color and Style of the Item
Stain offers a wide range of shades, allowing decorative elements to harmoniously blend into the interior. For example:
-
Using 'Wenge' colored stain, you can givefurniture legs a noble dark tone suitable for classic interiors.
-
For light interiors, shades like 'Oak' or 'Ash' are ideal, as they emphasize the naturalness of items such asInlays for furniture.
-
Warm tones look great onmolding and cornices, making them accent elements of the interior.
Get Consultation
Protection from external influences
Decorative elements, especially used in conditions of high humidity or temperature fluctuations, require protection. Stain helps prevent negative effects:
-
Water resistance. For example, when treatingof furniture legs the stain creates a barrier protecting the material from deformation.
-
Color brightness retention. This is especially important formolding andcrown moldings, which are exposed to ultraviolet rays.
How to prepare decorative elements for staining
Proper preparation of items is the key to a successful result. Skipping or careless execution of this stage may lead to uneven coloring and reduced protective properties.
Step 1: Surface cleaning
Before applying the stain, remove all dust, dirt, and remnants of old coating from the item. This is especially important for small details, such asFurniture Handles andOutlets.
-
Use a soft brush or cloth to remove dust from recesses of carved appliqués.
-
If the surface is coated with varnish, remove it using sandpaper or a solvent.
Step 2: Sanding the item
Sanding helps make the surface perfectly smooth, which is especially important for items such asfurniture legs. Use medium-grit sandpaper:
-
For large elements, such asMoldings, sanding helps avoid roughness.
-
For small details, it is important to pay attention to edges and corners to ensure even paint application.
Step 3: Surface degreasing
Degreasing removes oil residues and improves stain adhesion. Use a cloth soaked in alcohol to treat such elements ascarved appliqués andFurniture Handles.
Applying stain: step-by-step process
To achieve an ideal result, it is important to apply the stain correctly.
Step 1: Choosing the tool
To apply the stain, use the appropriate tool:
-
Brush. Suitable for large details, such asfurniture legs.
-
Foam or cloth. Ideal for small items, such asOutlets.
-
Sprayer. Evenly applies stain to items such asMoldings and cornices.
Step 2: Applying the stain
-
Apply the first layer along the grain of the wood.
-
Let it absorb for 10–15 minutes.
-
Remove excess stain with a cloth to avoid drips.
Step 3: Drying
Drying takes 12 to 24 hours depending on the type of stain. For small elements, such asFurniture Handles, drying time may be reduced.
Step 4: Final Coating
For additional protection, apply a final coating:
-
Glossy varnish for shine and durability.
-
Wax to preserve the natural look.
Conclusion
Stain is a universal solution for treating decorative elements. Stavros products, such ascarved appliqués, Moldings, Furniture Handles andfurniture legs, are ideal for using stain.
Select the desired elements inStavros catalog and give them a unique style using stain!


