Article Contents:
- 1. What is a moodboard and why do you need it?
- 1.1 Definition of a moodboard
- 1.2 Importance of a moodboard in the creative process
- 2. Preparation Stage: Defining the Goal and Concept
- 2.1 Formulating the idea
- 2.2 Creating a conceptual plan
- 3. Finding Sources of Inspiration
- 3.1 Internet resources and digital platforms
- 3.2 Print publications and physical sources
- 3.3 Tactile materials
- 4. Systematization and Selection of Materials
- 4.1 Classification by categories
- 4.2 Selection of key elements
- 4.3 Creating a "raw collection"
- 5. Moodboard Composition: The Art of Creating a Harmonious Layout
- 5.1 Choosing the format
- 5.2 Arranging elements
- 5.3 Iterative process
- 6. Final Evaluation and Feedback
- 6.1 Break and fresh perspective
- 6.2 Discussion with colleagues and clients
- 6.3 Documentation and preservation
- 7. Practical Tips for Success
- 8. Conclusion
In the world of creativity and design, it is often difficult to capture and fix that tiny spark of inspiration, which in an instant transforms into an idea, and then into a full-fledged project. A moodboard, or visual mood board, becomes the tool that helps gather all these thoughts, emotions, and images together. It not only allows you to structure ideas but also sets the overall tone for the future project. In this article, we will thoroughly explain how to properly create a moodboard so that it becomes an endless source of inspiration and a practical guide for bringing your visions to life.


1. What is a moodboard and why do you need it?


1.1 Definition of a moodboard
Mood board (from the English 'mood board') is a visual compilation that combines images, color palettes, textures, fonts, quotes, and other elements capable of conveying the atmosphere and concept of your project. It is like a collage, where each detail has meaning and contributes to creating a unified story.
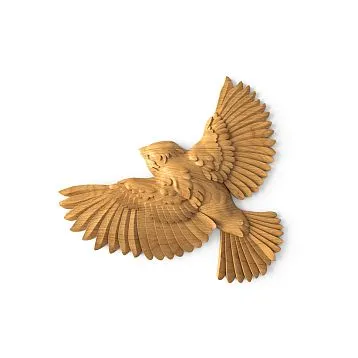
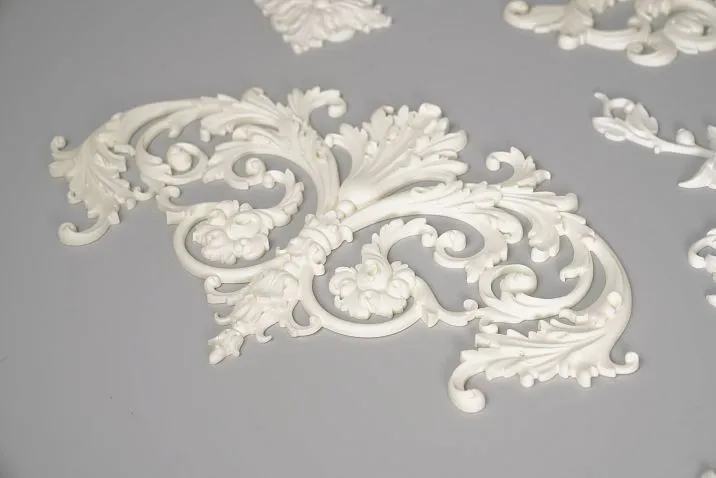
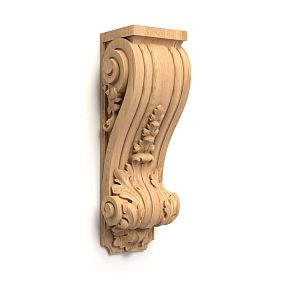
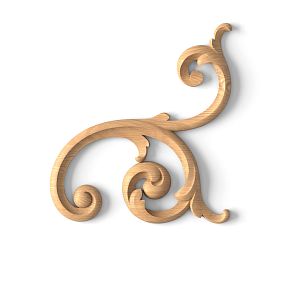
Our factory also produces:


1.2 Importance of the mood board in the creative process
The mood board helps:
● Visualize ideas. Abstract thoughts take on concrete form, allowing you to see the overall project concept before implementation.
● Structure information. Collecting and organizing elements allows you to better understand which aspects to develop and which can be omitted.
● Facilitate communication. When a client or team sees a visual representation of the concept, it simplifies discussion and agreement on details.
● Save time and resources. A well-constructed mood board allows you to avoid unnecessary revisions and rework during project implementation.
Get Consultation
2. Preparation stage: Defining the goal and concept
2.1 Formulating the idea
Before starting to gather materials, it is important to clearly define what you want to convey through your mood board. Answer the following questions:
● What mood should be conveyed?
For example, coziness, dynamism, minimalism, or eclecticism.
● What style do you want to embody?
This could be Scandinavian, industrial, classical, modern, or any other style.
● Who is your target audience?
Your mood board should speak the language of those for whom the project is created.
● What key ideas and values do you want to highlight?
Write them down; this will serve as your guide moving forward.
2.2 Creating a conceptual plan
Write down all thoughts and associations in a notebook or electronic document. Create a brief textual overview that will serve as the foundation for your mood board. This concept will help you filter out the unnecessary and focus on the most important aspects.
3. Searching for sources of inspiration
3.1 Internet resources and digital platforms
The modern internet offers an inexhaustible source of ideas. Use:
● Pinterest. Create boards with images that resonate with your idea.
● Behance and Dribbble. Browse the work of other designers and artists.
● Instagram. Follow hashtags related to your project and save posts you like.
3.2 Print publications and real-world sources
Do not forget about traditional sources of inspiration:
● Design magazines and books. Here you can find not only beautiful photographs but also interesting conceptual solutions.
● Archives and catalogs. Sometimes vintage clippings and retro elements can add uniqueness and depth to your mood board.
Personal observations. Walks, trips, visiting exhibitions and museums — all of this can bring new ideas and unexpected associations.
3.3 Tactile materials
If your project is related to interior design or physical space, collect samples of fabrics, paper, wood, or other materials. Real textures will help visualize the tactile perception of the future design.
4. Systematization and selection of materials
4.1 Classification by categories
Break all collected elements into groups:
● Colors: primary, secondary, accent.
● Textures and materials: smooth, rough, shiny, matte.
● Images: photographs, illustrations, cutouts.
● Textual elements: quotes, words, phrases that evoke the desired associations.
4.2 Selection of key elements
From each category, select the most vivid and suitable elements. Do not be afraid to be selective — excess only distracts from the main idea. Let your mood board be concise and clear, where every detail plays its part.
4.3 Creating a "raw collection"
Collect all selected materials into one file or on a table if you are working in physical format. This will be your "raw collection" from which you will later choose the final elements for composition.
5. Mood board composition: The art of creating a harmonious composition
5.1 Choosing the format
Decide on the format in which your mood board will be created:
● Digital format:
Use online services and programs (Canva, Milanote, Adobe Spark, Photoshop). This will allow you to quickly edit, move elements, and share the result with colleagues.
● Physical format:
If tactile experience is important to you, create your mood board on a large sheet of paper or in a special album. Working with cutouts, fabric samples, and other materials, you will be able to feel textures and volume.
5.2 Arrangement of elements
When composing, follow these principles:
● Balance.
Arrange elements so that they harmoniously complement each other, without creating overload.
● Focal points.
Determine which elements will be central and attract attention. These may be bright images or key colors.
● Contrast and unity.
Play with contrasting elements, but ensure all parts work in a unified style.
● "White space".
Don't fill every void. Leave empty zones so the eyes can 'rest', and the overall composition appears clean and thoughtfully designed.
5.3 Iterative Process
Don't be afraid to experiment! Try different arrangements of elements, add and remove details. A mood board is a living document that can be adjusted as the project develops. Sometimes the best result comes after several reviews and revisions.
6. Final Evaluation and Feedback
6.1 Break and Fresh Perspective
After assembling the composition, take a short break. Return to the mood board several hours or even the next day. A fresh perspective will help you see what can be improved or changed.
6.2 Discussion with Colleagues and Clients
Show your mood board to others:
● Colleagues. Joint discussion will help identify the strengths and weaknesses of the composition.
● Clients. The feedback received will allow you to adjust the project according to the client's expectations and tastes.
6.3 Documentation and Saving
Save the final version of the mood board in a convenient format for future use. This will serve as the basis for developing the technical specification, selecting materials, and implementing the project.
7. Practical Tips for Success
● Be sincere and bold.
Your mood board should reflect your unique idea and creative individuality. Don't be afraid to experiment and include elements that genuinely evoke emotions in you.
● Use high-quality materials.
The quality of images and textures determines the overall impression. Choose materials with particular care.
● Leave room for revisions.
A mood board is not a final product, but a tool for developing an idea. Be prepared to make changes as new information or ideas arise.
● Update your mood board.
The creative process is constantly evolving, and your mood board may change. Return to it, add new elements, remove outdated ideas — let it remain current.
8. Conclusion
Creating a mood board is an engaging and creative process that helps transform abstract thoughts into a concrete visual plan. From properly defining the goal to carefully selecting materials and thoughtfully arranging the composition — every stage is important and requires attention to detail. A mood board becomes your guide in the world of ideas, a communication tool for your team and clients, and a source of inspiration for future achievements.
Remember: every element of your mood board matters, and every detail is a step toward realizing your dream. Create boldly, experiment, and don't be afraid to make changes. Your mood board is a reflection of your soul, your vision, and your unique style.
If you aim to realize the boldest ideas and create a space that inspires, trust professionals. STAVROS is a reliable partner in the world of design, helping to turn even the most abstract concepts into reality.
STAVROS offers comprehensive solutions for interior design, branding, and implementing projects of any complexity. Their innovative approach and attention to detail will help you create a mood board that becomes the foundation for a true design masterpiece.
May every one of your mood boards become a starting point for great ideas, a reflection of your individuality, and a key to creating a space that inspires and transforms the world around you!