Article Contents:
- Project Planning
- Defining the Concept and Style
- Required materials and tools
- 1. Surface preparation and planning
- 2. Installation of wooden panels
- 3. Sanding and initial finishing
- 4. Application of Protective Coating
- 5. Ceiling decoration
- Classic style
- Modern minimalism
- Eclectic approach
- Plan in advance
- Use quality materials
- Follow the stages in order
- Pay attention to details

Creating a beautiful wooden ceiling by yourself is a unique opportunity to transform the interior, bring warmth and natural elegance of wood into it, and demonstrate a creative approach and skill in working with this noble material. Such a project not only allows you to save money, but also gives you a chance to create a unique work of art that will delight the eye for many years.
In this article, we will thoroughly explain how to make a beautiful wooden ceiling by yourself. You will learn about the necessary materials, stages of preparation and installation, as well as the use of decorative elements, such as %sPolyurethane moldings, Wooden cornices andBaseboardsto create a truly harmonious and stylish space.


Project planning


Defining the Concept and Style
Before starting work, it is important to determine the overall concept of the ceiling. Think about what style you want to bring into the interior: classic, minimalist, rustic, or eclectic. This will depend on the choice of material, type of finish, and decorative elements. A beautiful wooden ceiling made by yourself should harmonize with the overall interior of the room, complement the furniture, and create a cozy atmosphere.
Our factory also produces:


Required materials and tools
To implement the project, you will need:
● High-quality natural wood (boards or panels) – it is best to choose species such as oak, beech, or ash.
● Fasteners: screws, brackets, wood glue.
● Tools: saw, sander, drill, level, tape measure, brushes for applying varnish or oil.
● Protective coating: varnish, oil, or wax for wood.
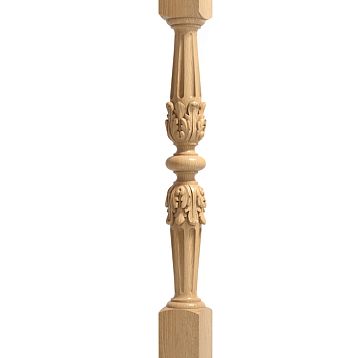
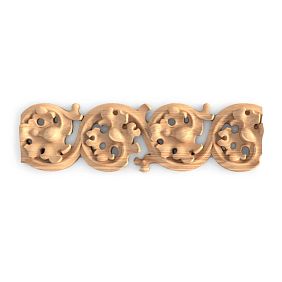
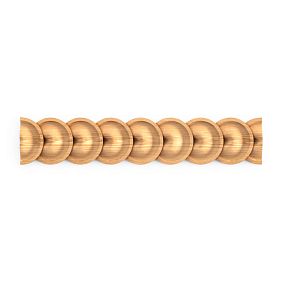
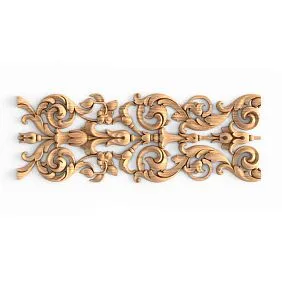
● Decorative elements: %sPolyurethane moldings, Wooden cornices, Baseboards.
A well-prepared list of materials and tools is the key to a successful project.
Get Consultation
Stages of creating a wooden ceiling by yourself
1. Surface preparation and planning
Start with careful measurement of the room. Determine the ceiling area, mark the locations of ventilation openings and light fixtures. Then prepare the surface: if there is already an old finish on the ceiling, carefully remove it, level and clean the surface from dust and dirt. This will allow the new coating to adhere better to the wood.
2. Installation of wooden panels
After preparing the surface, you can proceed with installing wooden panels or planks. If you choose panels, ensure they have the same thickness and width. Attach the panels to the ceiling using screws and special wood glue, paying special attention to the levelness and horizontal alignment. Use a level to ensure each panel is on the same plane and no unevenness is created.
3. Sanding and initial finishing
After installing the wooden ceiling, be sure to sand it to smooth all joints and seams. This will remove small imperfections and unevenness, and also prepare the surface for applying a protective coating. It is important to sand carefully to preserve the natural wood texture.
4. Application of protective coating
Protective coating plays an important role in the durability and aesthetics of a wooden ceiling. You can choose one of several options:
● Lacquering. Transparent lacquer will create a glossy, smooth surface, highlight the natural tones of the wood, and provide reliable protection against moisture.
● Oil finish. Oil imparts a rich color to the wood, preserving its natural appearance, and protects against ultraviolet rays.
● Waxing. Wax will create a matte finish and add additional softness to the surface.
Apply the chosen coating evenly, following the manufacturer's instructions, and allow it to dry completely.
5. Ceiling decoration
To make your wooden ceiling truly unique, add decorative elements:
● Polyurethane moldingPolyurethane moldings can be used to create complex patterns and ornaments, giving the ceiling an elegant appearance.
● Wooden cornicesWooden cornice helps create a smooth transition between the ceiling and walls, as well as hides all joints and seams.
● BaseboardsBaseboards complete the look, framing the space and adding a sense of completion to the interior.
● Decorative appliqués. Use appliqués to create accent details that highlight the uniqueness of your ceiling.
The placement of decorative elements can be planned in advance, based on the overall interior design, so that each element complements the others and creates a harmonious whole.
Ideas for inspiration
Classic style
In a classic interior, a beautiful wooden ceiling made by hand can be adorned with carved patterns and classical molding, creating an atmosphere of luxury and timeless elegance. Such a ceiling pairs beautifully with heavy wooden cornices and baseboards, emphasizing traditional folk art motifs.
Modern minimalism
In modern minimalism, the focus is on clean lines and natural wood texture. Here, a beautiful wooden ceiling looks especially striking due to minimalist decorative elements: delicate polyurethane molding and neat cornices help preserve the purity and simplicity of forms, creating a sense of space and freshness.
Eclectic Approach
Eclectic style allows mixing traditional craft motifs with modern design solutions. For example, you can combine classic carving with minimalist lines and contemporary decorative elements. This approach enables creating a unique work of art, where each element—from wooden panels to decorative moldings—contributes to an unmistakable interior.
Practical tips and recommendations
Plan in advance
Before starting work, be sure to prepare a detailed plan including dimensions, placement of decorative elements, and the order of operations. This will help avoid mistakes and achieve an ideal result.
Use quality materials
The quality of a wooden ceiling largely depends on the materials used. Prefer natural wood, quality fasteners, and modern protective coatings. This will ensure longevity and preserve the aesthetics of your project.
Follow the sequence of stages
Follow the sequence: from surface preparation and installation to sanding, finishing, and decorating. This approach ensures even application of protective coatings and eliminates unevenness.
Pay attention to details
Decorative elements, such as polyurethane molding, Crown Molding, Baseboards andDecorative Insertscan become key accents of your ceiling. Do not hesitate to experiment and introduce new ideas—each detail can significantly improve the overall appearance.
Conclusion
Creating a beautiful wooden ceiling by yourself is a creative and engaging process that allows you to bring to life all your design ideas and add warmth and coziness of natural wood to your home. Using quality materials, following installation technology, and not forgetting decorative elements, you will be able to create a ceiling that will become the centerpiece of the interior and a source of inspiration for many years.
Let your project reflect your love for nature, respect for traditions, and pursuit of perfection. Experiment, create, and enjoy the result—a beautiful wooden ceiling made by yourself will give your home a unique style, elegance, and atmosphere of coziness that will delight you and your loved ones every day.